Electrical issues in your vehicle can be frustrating and sometimes challenging to diagnose, but understanding the basics of automotive electrical systems can help you troubleshoot and resolve these problems effectively.
Modern cars rely heavily on electrical components for everything from starting the engine to powering the infotainment system, and a malfunction in one part of the system can affect the entire vehicle’s performance.
Common electrical issues include battery problems, faulty alternators, blown fuses, and bad wiring connections. By learning how to identify and address these issues, you can save time and money on repairs and ensure that your car runs smoothly.
In this guide, we will explore five common electrical issues in vehicles and provide step by step instructions on how to troubleshoot and resolve them. By following these tips, you can gain a better understanding of your car’s electrical system and become more confident in handling electrical problems.
Whether you’re dealing with a dead battery, flickering lights, or an unresponsive electrical component, these troubleshooting methods will help you identify the root cause and take the necessary steps to fix the issue. Let’s see the details and learn how to keep your vehicle’s electrical system in top shape.
1. Dead Battery
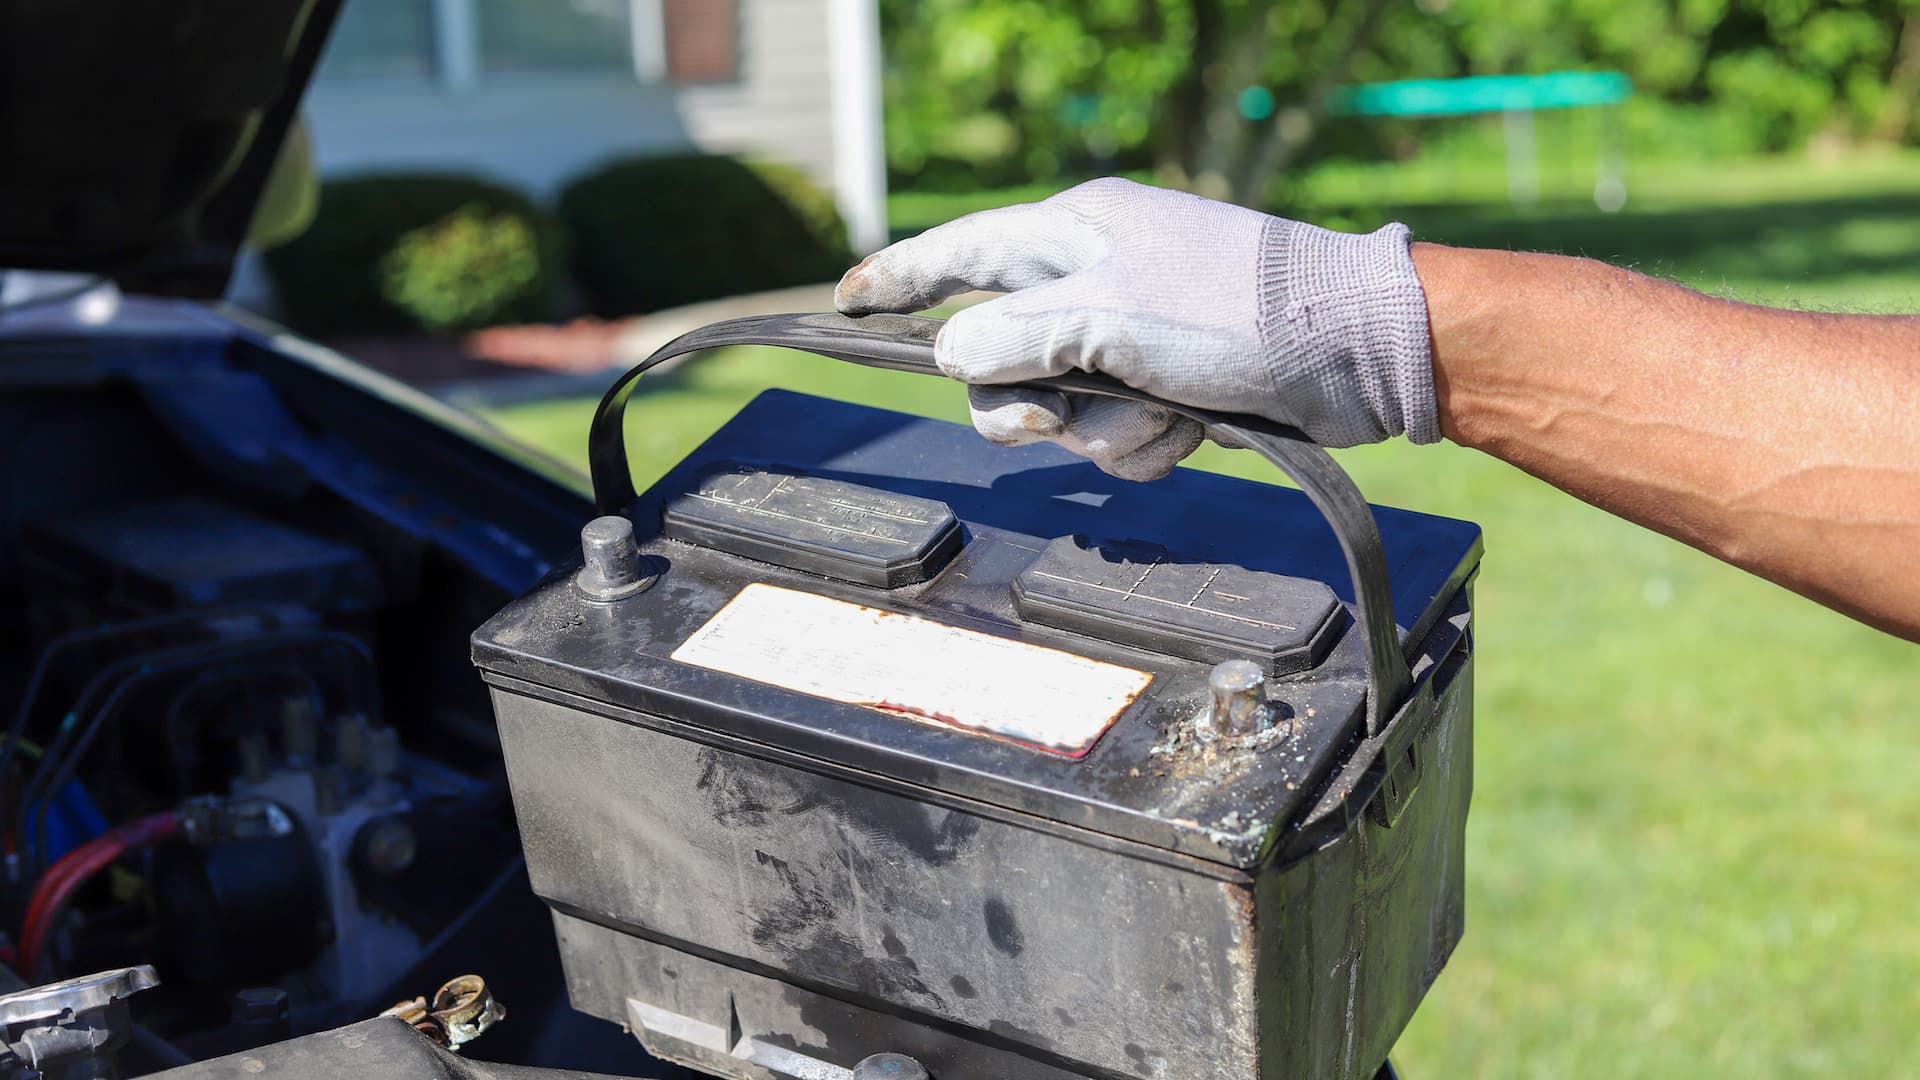
One of the most common electrical issues in vehicles is a dead battery. If your car won’t start, the first thing to check is the battery. Signs of a dead battery include dimming headlights, a clicking sound when you turn the key, or no response at all when you try to start the engine. To troubleshoot a dead battery, follow these steps:
1. Check Battery Terminals: Inspect the battery terminals for corrosion or loose connections. Corrosion can be cleaned using a mixture of baking soda and water. Make sure the connections are tight and secure.
2. Test the Battery Voltage: Use a multimeter to measure the battery voltage. A fully charged battery should read around 12.6 volts. If the voltage is below 12 volts, the battery may need to be charged or replaced.

3. Jump-Start the Battery: If the battery voltage is low, try jump-starting the car using jumper cables and another vehicle with a good battery. Connect the cables according to the instructions in your owner’s manual and allow the battery to charge for a few minutes before attempting to start the car.
4. Charge or Replace the Battery: If the jump-start is successful, consider charging the battery using a battery charger. If the battery repeatedly dies, it may be time to replace it.
By following these steps, you can diagnose and address a dead battery issue, ensuring that your car starts reliably.
2. Faulty Alternator
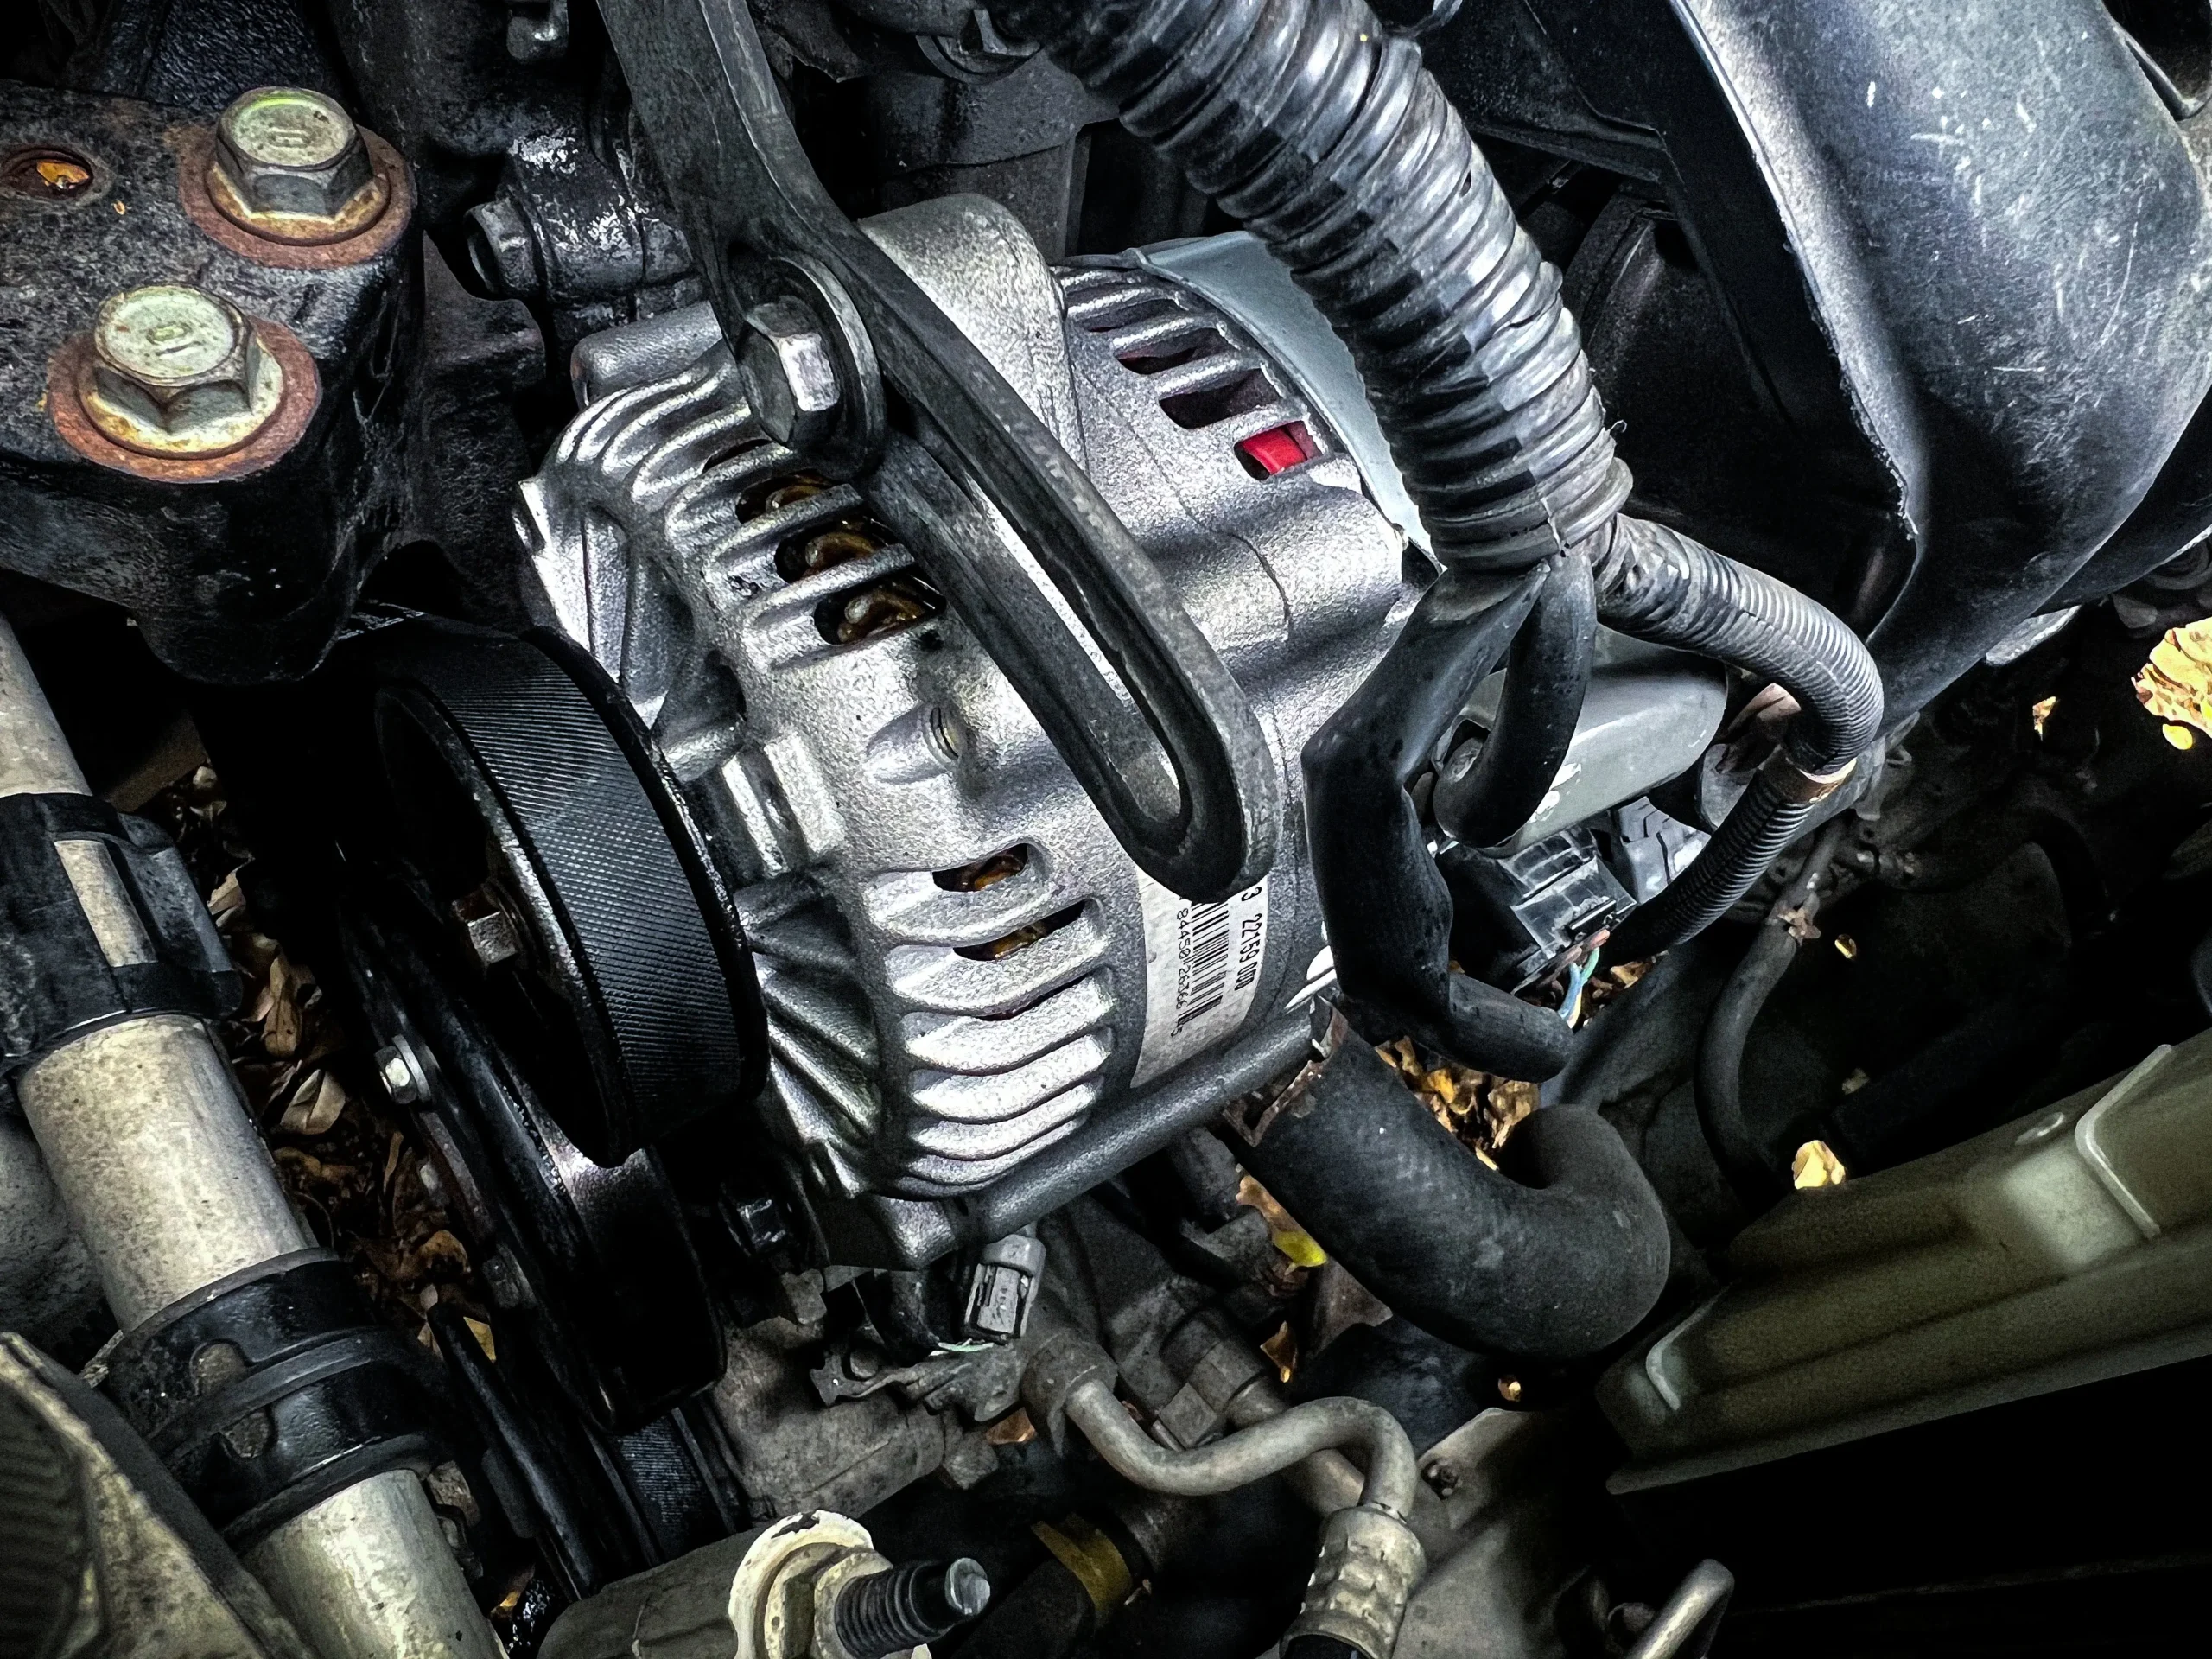
The alternator is responsible for charging the battery and powering the electrical systems while the engine is running. A faulty alternator can lead to a dead battery and other electrical issues. Symptoms of a faulty alternator include dimming headlights, a warning light on the dashboard, and electrical components not working properly. To troubleshoot a faulty alternator, follow these steps:
1. Check the Alternator Belt: Inspect the alternator belt for wear and tension. A loose or damaged belt can cause the alternator to malfunction. Replace or adjust the belt if necessary.
2. Test the Alternator Output: Use a multimeter to measure the voltage at the battery terminals with the engine running. The voltage should be between 13.5 and 14.5 volts. If the voltage is outside this range, the alternator may not be charging the battery properly.

3. Inspect the Alternator Connections: Check the electrical connections at the alternator for corrosion or loose wires. Clean and tighten the connections as needed.
4. Listen for Unusual Noises: A failing alternator may produce unusual noises, such as grinding or whining sounds. If you hear these noises, the alternator may need to be replaced.
By diagnosing and addressing a faulty alternator, you can ensure that your car’s battery remains charged and that the electrical systems function properly.
3. Blown Fuses
Fuses protect your car’s electrical circuits from overloads and short circuits. If a specific electrical component, such as the radio or power windows, stops working, a blown fuse might be the culprit. To troubleshoot blown fuses, follow these steps:
1. Locate the Fuse Box: Consult your owner’s manual to find the location of the fuse box. Most vehicles have one under the dashboard and another in the engine compartment.
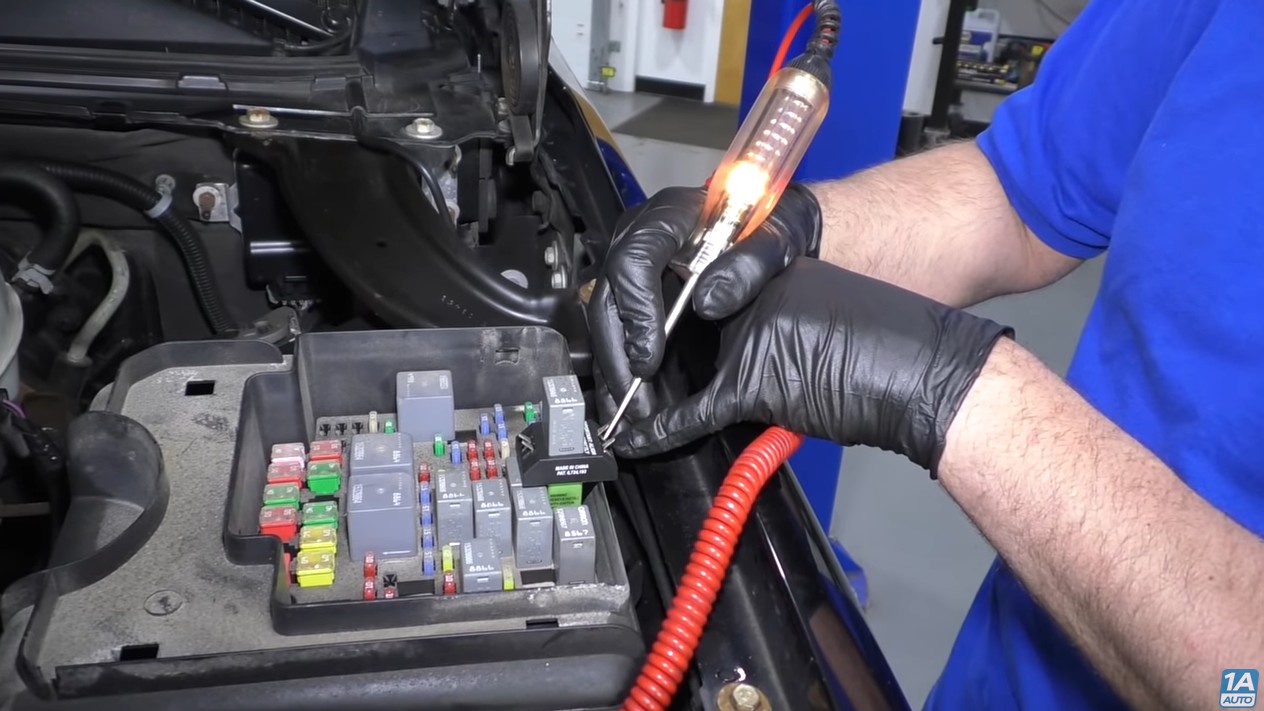
2. Identify the Blown Fuse: Use the fuse diagram in the owner’s manual or on the fuse box cover to identify the fuse for the malfunctioning component. Check the fuse for a visible break in the metal filament or signs of blackening.
3. Replace the Blown Fuse: If the fuse is blown, replace it with a new one of the same amperage rating. Using a fuse with the wrong rating can cause further electrical issues.
4. Test the Component: After replacing the fuse, test the electrical component to see if it works. If the fuse blows again, a deeper electrical issue may require a professional diagnosis.
By identifying and replacing blown fuses, you can restore functionality to the affected electrical components in your vehicle.
4. Bad Wiring Connections
Faulty or loose wiring connections can cause various electrical issues in your vehicle, including intermittent power loss, flickering lights, and unresponsive electrical components. To troubleshoot bad wiring connections, follow these steps:
1. Inspect Wiring Harnesses: Examine the wiring harnesses in your vehicle for signs of damage, such as frayed wires, loose connections, or corrosion. Pay close attention to areas where wires may be exposed to heat or vibration.
2. Test Continuity: Use a multimeter to test the continuity of the wiring. This helps identify any breaks or faults in the wiring that could be causing electrical issues. Repair or replace damaged wiring as needed.
3. Secure Loose Connections: If you find any loose connections, tighten them to ensure a solid electrical contact. Use electrical tape or heat-shrink tubing to insulate exposed wires and prevent short circuits.
4. Check Ground Connections: Ensure all ground connections are clean and secure. Poor grounding can cause electrical problems and affect the performance of various components. Clean the ground points and firmly reattach the connections.
By inspecting and repairing bad wiring connections, you can resolve many common electrical issues and ensure that your vehicle’s electrical system operates smoothly.
5. Faulty Relays
Relays are electrical components that control the flow of current to various systems in your vehicle. A faulty relay can cause specific electrical components, such as the fuel pump or cooling fans, to stop working. To troubleshoot faulty relays, follow these steps:
1. Locate the Relays: Consult your owner’s manual to find the location of the relays. Relays are usually found in the fuse box or a dedicated relay panel.
2. Identify the Faulty Relay: Use the relay diagram in the owner’s manual or on the relay panel cover to identify the relay for the malfunctioning component. Swap the suspected faulty relay with a known good relay of the same type to see if the problem is resolved.
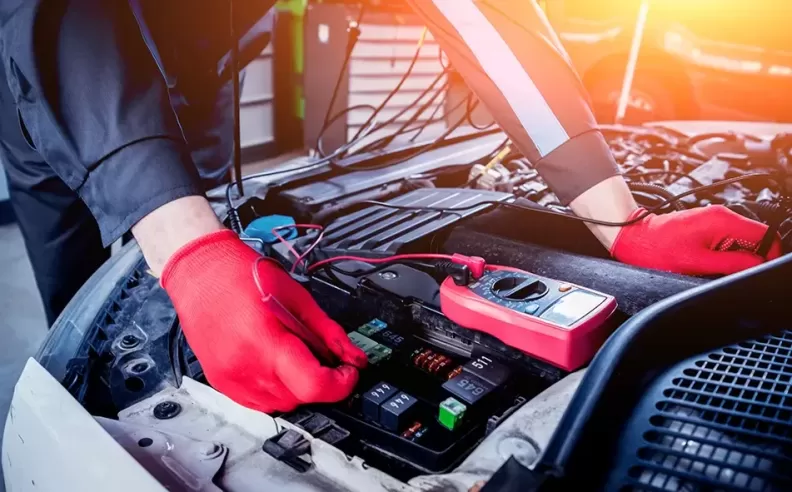
3. Test the Relay: Use a multimeter to test the relay’s resistance and continuity. Check the relay’s specifications in the owner’s manual to ensure it meets the required parameters. If the relay fails the test, replace it with a new one.

4. Inspect Relay Contacts: Check the relay’s contacts for signs of corrosion or damage. Clean the contacts if necessary and ensure they make a solid connection.
By identifying and replacing faulty relays, you can restore functionality to the affected electrical components and ensure your vehicle operates reliably.
By following these troubleshooting steps, you can identify and resolve common electrical issues in your vehicle. Regular maintenance and prompt attention to electrical problems will help keep your car running smoothly and prevent more serious issues from developing.

