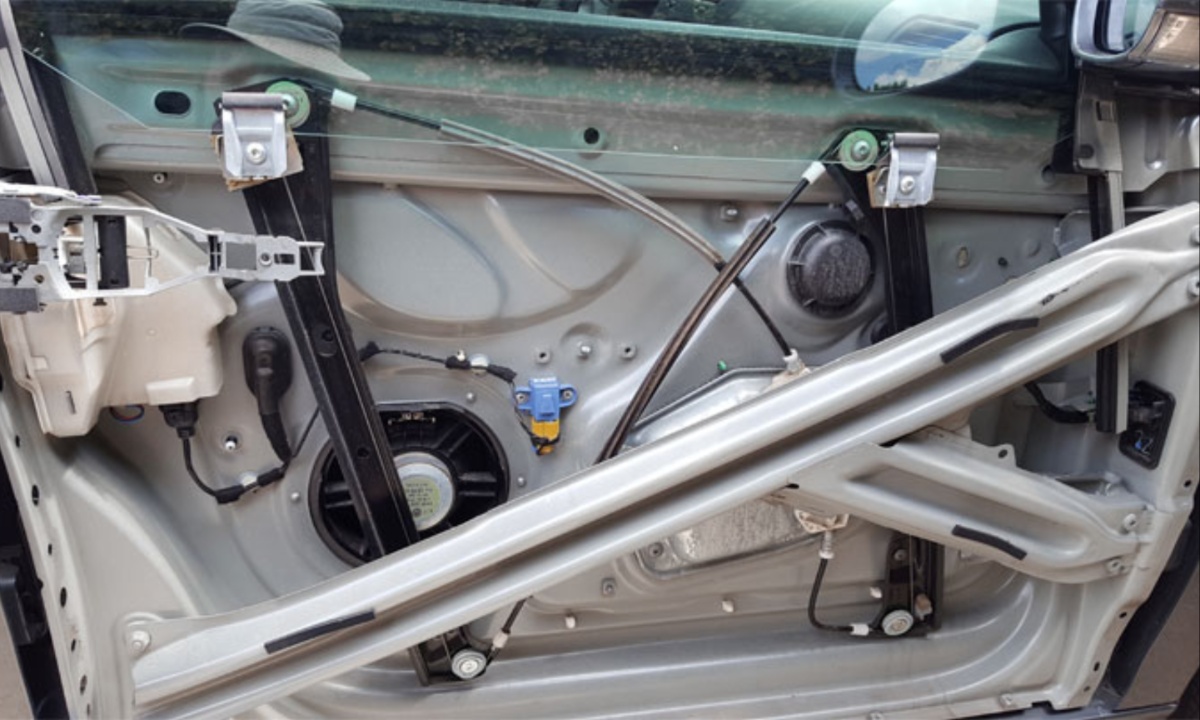
Car window regulators are mechanisms that allow the smooth movement of car windows up and down. Located inside the door panels, these components are typically connected to window motors, either as a single unit or as separate elements, depending on the vehicle model. There are two main types: cable and gear regulators. Despite their simplicity, these components are essential for ensuring a car’s functionality and comfort.
Maintaining window regulators is straightforward, requiring occasional lubrication to keep them in good working condition. However, issues such as wear and tear, jamming, or abnormal noises can arise, necessitating repairs or replacements.

Common Problems with Window Regulators
Recognizing Issues
Over time, car window regulators may experience various problems, including damaged cables, jammed windows, or complete failure. Symptoms such as abnormal noises or windows not moving as expected often indicate underlying issues. Diagnosing these problems early can save time and costs.
Troubleshooting Basics
Troubleshooting is crucial to pinpointing the source of window issues, which may not always stem from the regulator itself. Tools to scan the motor, switch, and electrical components can assist in identifying the problem. Seeking expert help during this step ensures accurate diagnosis.
Preparing for Window Regulator Repair
Gathering Tools
Before beginning repairs, gather essential tools such as screwdrivers, a cordless drill, a set of sockets, a trim panel removal kit, a voltage tester, and leather gloves. Additionally, a service manual specific to your car model will guide the process.
Removing the Door Panel
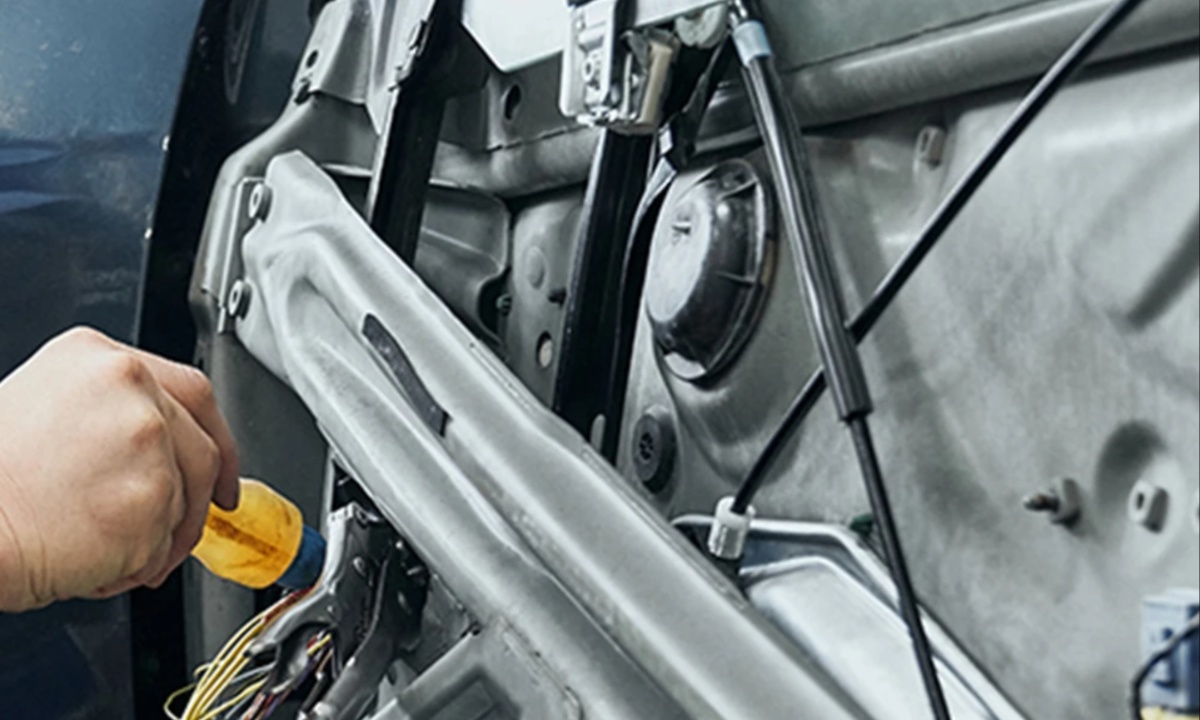
Start by removing the door panel to access the window regulator. Unfasten screws or clips around the panel’s perimeter and disconnect any wires or hooks attached to the door components. Handle the panel carefully to avoid damaging internal connections.

Step-by-Step Guide to Repairing Window Regulators
Step 1: Troubleshooting the Problem
Begin by systematically identifying the root cause of the issue. Problems such as loose cables, damaged switches, or faulty motors can mimic regulator failure. Use a voltage tester and other tools to inspect all components thoroughly.
Step 2: Disconnecting the Window
Lower the window to access its connection with the regulator. Use a screwdriver to remove fasteners securing the window to the regulator. For windows glued to the regulator, apply heat gently to loosen the adhesive. Secure the glass with painter’s tape to prevent breakage.
Step 3: Removing the Regulator
Carefully detach the regulator from its mounting inside the door. Avoid using excessive force to protect other components. Depending on the vehicle model, remove the regulator through an access hole in the door.
Handling the Window Motor
Step 4: Removing the Motor
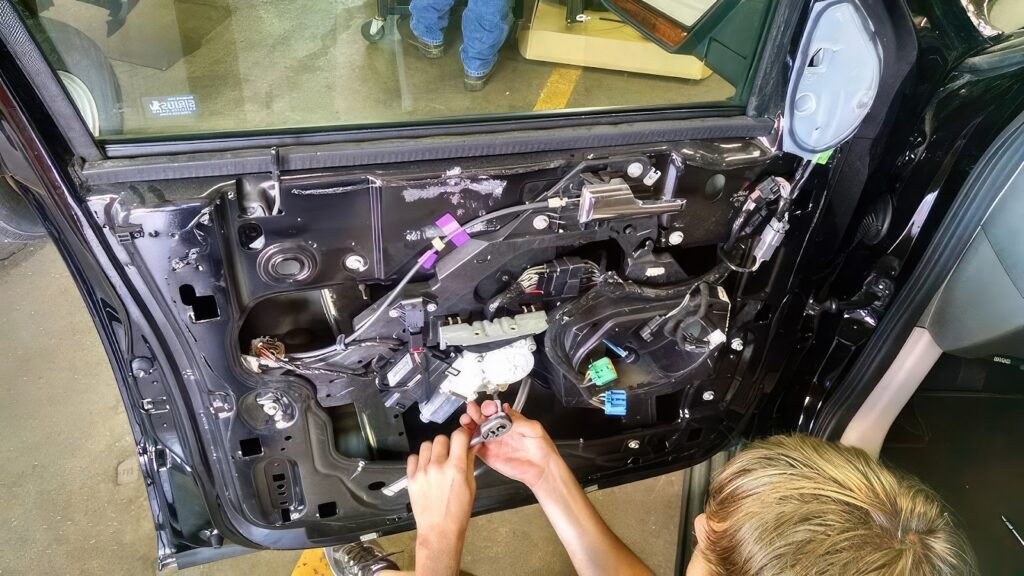
If the motor is separate from the regulator, disconnect its cables and fasteners. Use caution when handling tension springs to prevent injury. If the motor and regulator are a single unit, skip this step and proceed directly to repair or replacement.
Step 5: Repairing or Replacing the Regulator
Inspect the regulator to determine if repairs are feasible. Minor issues can often be resolved with professional help. If replacement is necessary, install the new regulator precisely, following the service manual’s instructions. Ensure all connections and placements are accurate.
Reassembly and Testing
Step 6: Reinstalling the Window
Reconnect the window to the regulator, ensuring all fasteners are secure. Test the new regulator to confirm it functions correctly. If it does not, revisit previous steps to identify potential errors.
Step 7: Reassembling the Door Components
Reconnect all electrical and mechanical components, including wires and hooks, to their respective positions. Reinstall the door panel and secure it firmly, ensuring no loose elements are left inside.
Preventative Measures and Alternatives
Simple Fixes Before Replacement
In some cases, the issue may be as simple as misaligned cables or insufficient lubrication. Regular maintenance, such as lubricating the regulator, can resolve minor problems and prevent further damage.
Ensuring Longevity
Conduct routine inspections of the regulator and associated components. Promptly address issues like abnormal noises or window misalignment to avoid costly repairs or replacements in the future.
Repairing a car window regulator requires careful attention to detail and the proper tools. If you lack experience, hiring an expert is a wise choice to avoid mistakes and ensure the job is done correctly. Selecting a quality replacement regulator and handling components carefully can minimize additional repair costs. Proper maintenance and timely repairs will keep your car’s window mechanisms operating smoothly for years to come.

