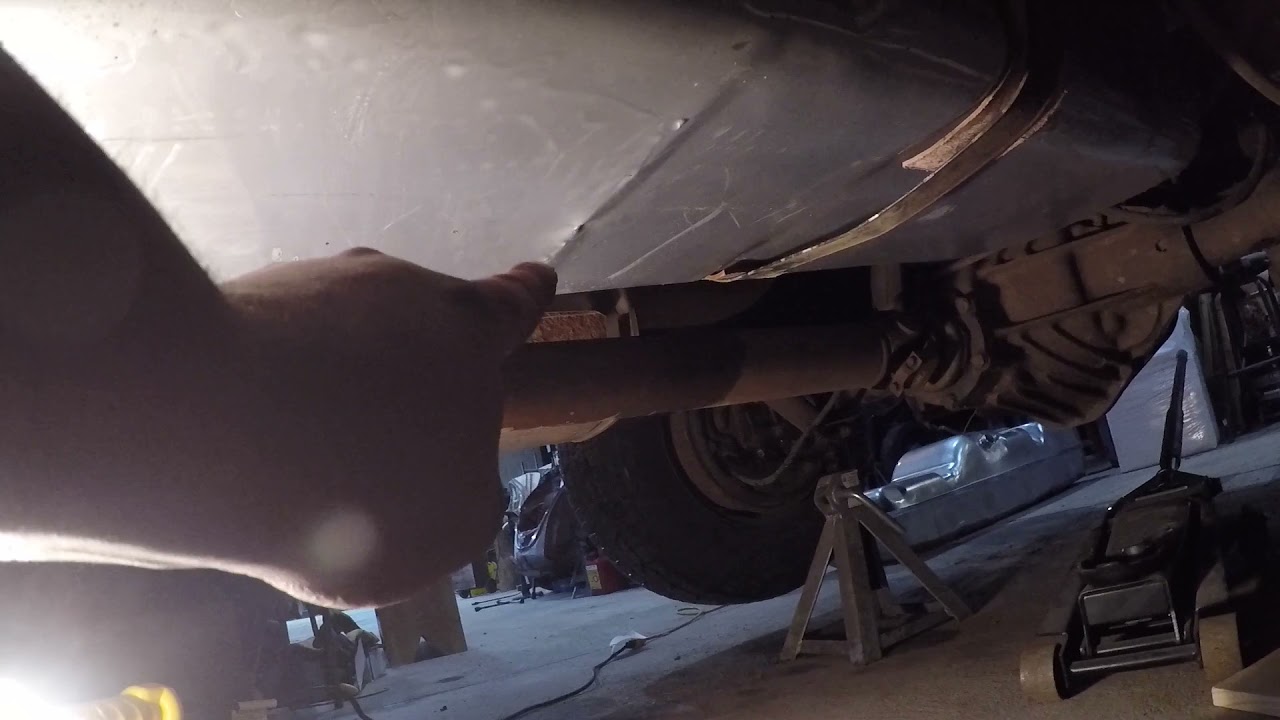
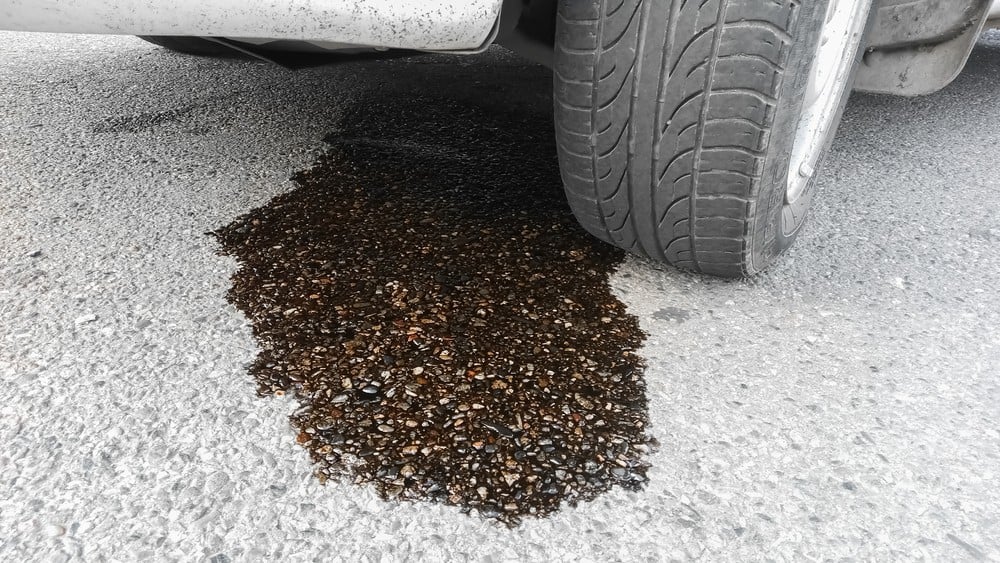
Gasoline leaks, especially those that result in puddles on the ground, can be a concerning sign. Though the sight of leaking fuel is often alarming, the repair process is typically straightforward and can be done with minimal effort, provided the proper safety measures are taken. In most cases, the leak can be sealed with epoxy putty for a temporary fix, or welding may be required for a more permanent solution. Before proceeding with the repairs, it is essential to identify the source of the leak, clean the area, and decide on the appropriate method for sealing the leak.
Step 1: Prepare the Tank and Identify the Leak
Cooling Down the Tank
If the fuel tank has recently been in use, it is crucial to allow it to cool down before starting the repair process. A hot tank poses burn risks, so give it about 30 minutes to cool after shutting off the engine. Before touching the tank, assess its temperature by placing your hand close to the surface. If the tank feels warm, wait a little longer for it to cool. In cases where immediate handling is necessary, ensure you wear heat-resistant gloves to protect yourself.
Elevating the Vehicle for Access
For many vehicles, the gas tank is located beneath the car, making it difficult to access directly. To reach it, you will need to use a jack. Begin by positioning the jack under the car’s frame at the designated jack points, and then lift the rear of the car. Once the car is elevated, place jack stands securely around the lifted areas to support the vehicle. Make sure the car is stable before crawling underneath. If you’re working on a motorcycle, lawnmower, or other small equipment, a jack may not be necessary, as these tanks are often more accessible.
Draining the Tank
Before making any repairs, it is important to drain the fuel from the tank to avoid spills. Place a suitable gas-safe container underneath the tank’s opening and use a funnel for better control. Open the tank’s valve or tilt the tank to pour the gas into the container. Always use heat-resistant containers when handling gasoline.
Marking the Leaking Area
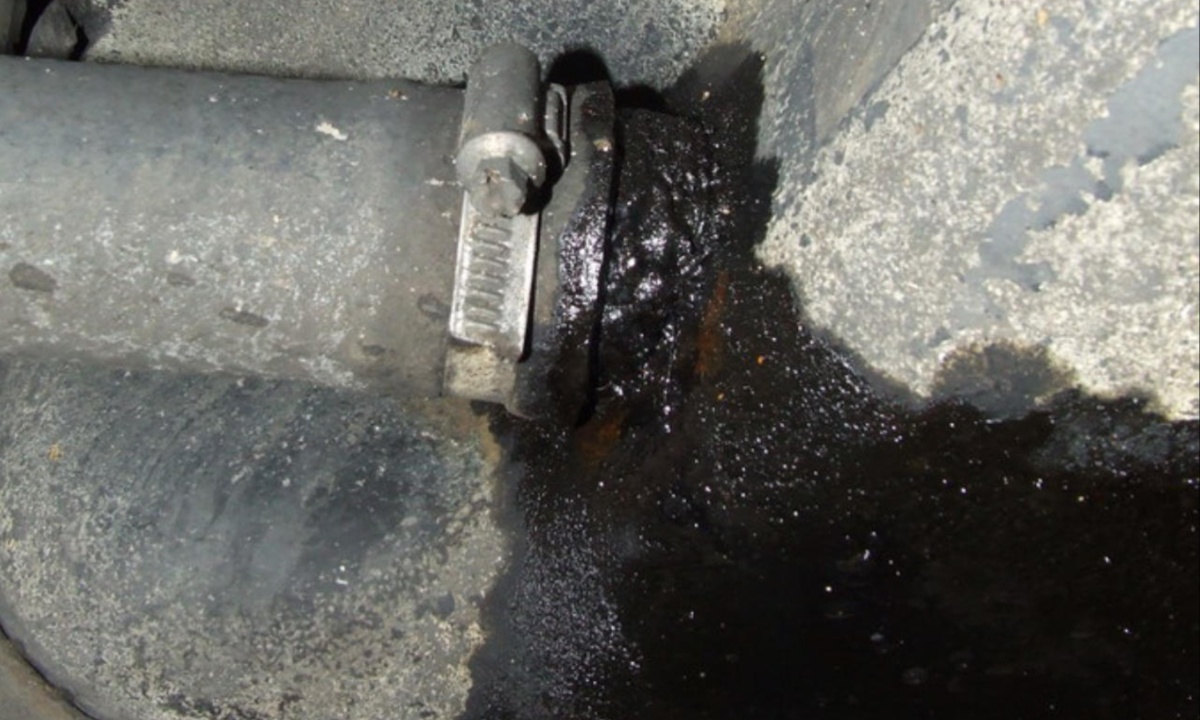
Identifying the precise source of the leak can be tricky, as small leaks might not always be visible. Start by checking for visible signs of fuel stains or damp areas. Leaks are often accompanied by a build-up of grime or noticeable fuel residue. If the leak is hard to spot, remove the tank and pour water through it, watching for spots where the water escapes. Once the leak is located, mark the spot so it is easier to address.
Removing the Tank for Better Access
If the leak is located in a difficult-to-reach area, removing the tank may be necessary. To do so, first disconnect the fuel hoses and unscrew the bolts holding the tank in place. Gently lower the tank, ensuring that any attached electrical wires are carefully disconnected. If removing the tank seems too complicated, especially for a minor leak, consider using epoxy putty for a simpler fix that doesn’t require full removal.
Step 2: Preparing the Tank for Repair
Cleaning the Tank for Welding
If you choose to repair the leak using welding, thorough cleaning of the tank is vital to prevent any risks of combustion from gas fumes. Begin by flushing the tank with hot water to remove any debris. Use a soft-bristled brush to scrub the interior if necessary. Once the tank is cleaned, allow it to dry in a well-ventilated area with plenty of airflow. It’s essential to ensure that no gas odor remains in the tank before proceeding with the welding process.
Sanding the Affected Area
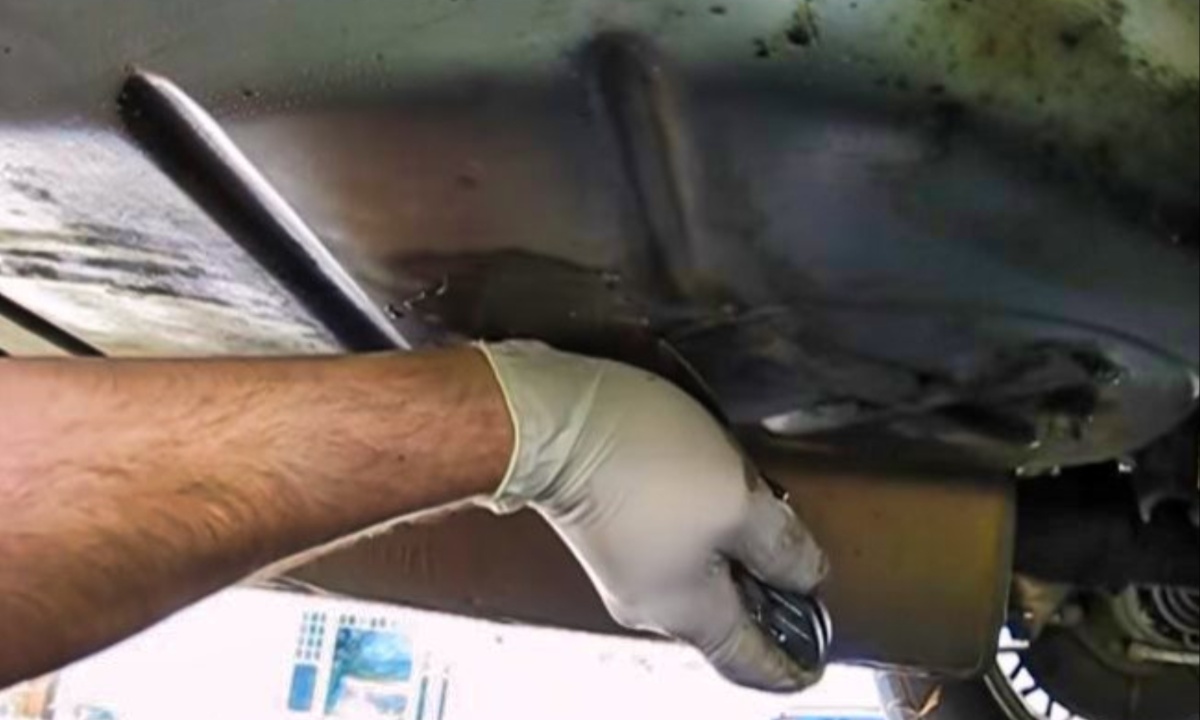
Regardless of the repair method, the area surrounding the leak must be properly prepped. Sand the surface around the leak with 120-grit sandpaper, creating a rough surface for better adhesion of the repair material. Focus on an area extending about 2-3 inches around the leak to ensure proper sealing. If necessary, use coarser sandpaper, such as 80-grit, to remove stubborn stains or rust.
Degreasing the Tank
Once the area is sanded, clean the surface using rubbing alcohol or a degreaser to remove any remaining dust, oil, or grime. This step is crucial to ensure that no impurities interfere with the repair. Use a clean cloth to scrub the area thoroughly, and repeat the process if needed until the surface is entirely free of contaminants.
Step 3: Repairing Small Leaks with Epoxy Putty
Activating the Epoxy Putty
Epoxy putty is a simple yet effective method for sealing small leaks. Most epoxy putty kits come in two parts, usually labeled A and B. To activate the putty, take equal amounts from both containers and knead them together in your hands for 4-5 minutes. This process will ensure that the putty reaches a consistent color and texture. Some putties may not require mixing and only need to be kneaded to the right consistency.
Shaping the Putty
Once the putty is activated, shape it to cover the damaged area. If the leak is a long crack, roll the putty into a thin strip to apply it evenly. For small holes, mold the putty into a ball, pressing it over the leak. The putty should overlap the sanded area slightly to ensure an airtight seal.
Applying the Putty
Press the putty directly onto the crack or hole. Use your fingers to press it firmly into the damaged spot and smooth it over the surrounding surface. Make sure the putty is spread evenly and completely covers the affected area. If necessary, apply additional putty to reinforce the patch.
Allowing the Putty to Set
After applying the putty, let it dry for at least one hour. Ensure that the tank is not used until the putty has fully hardened, as it may not form a strong seal if disturbed too soon. Once dried, refill the tank and check for any signs of leakage.
Reapplying the Putty
Epoxy putty is not a permanent solution, and over time it may lose its effectiveness. If the tank begins to leak again, apply a fresh layer of epoxy putty over the damaged area. Regularly inspect the tank for any new leaks, as the putty may need to be replaced periodically.
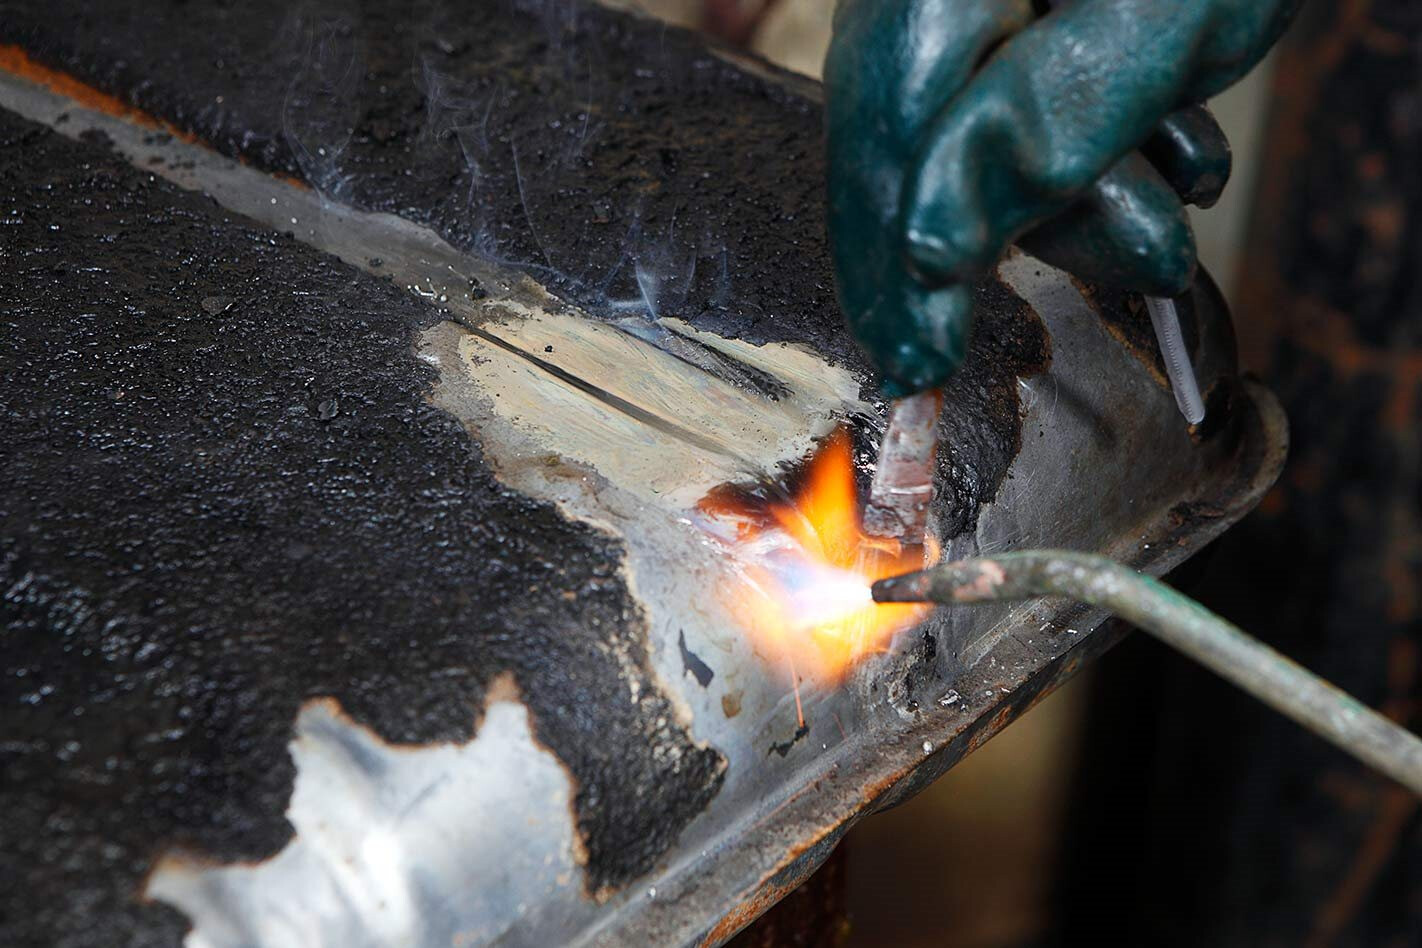
Step 4: Repairing Larger Leaks by Welding
Choosing the Right Welder and Rod
For larger leaks, such as holes greater than 1 inch in diameter, welding provides a more permanent solution. If you’re working with a plastic tank, a plastic welder is required, while a stick welder is used for metal tanks. Select a welding rod that matches the material of the tank—polyethylene for plastic tanks, or steel or aluminum rods for metal tanks.
Wearing Proper Protective Gear
Welding involves high heat and potential fumes, so it’s essential to wear appropriate protective gear. A welding mask with a shaded lens will protect your eyes, while heat-resistant gloves and long-sleeved clothing will shield your skin from burns. Always work in a well-ventilated area, ideally outdoors or with open windows, to avoid inhaling hazardous fumes.
Positioning the Welder and Rod
Set the gas tank in a stable position and begin heating the welder. Hold the welder at a 45-degree angle above the leak, with the welding rod positioned at the opposite 45-degree angle. For plastic tanks, ensure the welder reaches 325°F (163°C), and for metal tanks, heat the welder to 375°F (191°C).
Welding the Leak
Start melting the welding rod around the edges of the crack or hole. Work slowly, ensuring that the melted rod covers the entire perimeter of the leak. Once the edges are sealed, move to the center of the leak, filling it with the melted material until it forms a solid, consistent coating.
Allowing the Weld to Cool
After completing the welding process, allow the tank to cool for at least 8 hours in a well-ventilated area. Once the welded area is cool to the touch, inspect the repair to ensure it has solidified properly.
Finishing the Weld
To smooth out the weld, use 120-grit sandpaper to sand down any uneven spots. If necessary, use an angle grinder to speed up the process. After smoothing the area, you can paint the tank if desired and then refill it with fuel.
Final Thoughts: Ensuring a Safe and Effective Repair
Whether you choose to repair your gas tank with epoxy putty or opt for welding, both methods can restore functionality to a leaking tank. However, the key to a successful repair lies in careful preparation—cleaning, draining, and sanding the tank, followed by the appropriate sealing technique. Regularly check for new leaks to ensure that your repair lasts, and if necessary, reapply the putty or reinforce the repair with welding for a more permanent solution. Always prioritize safety by working in a well-ventilated area and wearing protective gear when handling fuel or using welding equipment.

