Engine oil is the essential substance that ensures all the components of your engine function smoothly. Over time, however, it becomes contaminated and needs to be replaced.
An engine oil change should always include replacing the oil filter, and your vehicle’s manufacturer will provide a guideline on how frequently this service is needed. Let’s ensure your engine keeps running at its best with a straightforward oil change process.
Before You Begin
Always refer to the owner’s manual and, if possible, a detailed service manual before starting an oil and filter change for your vehicle.
Certain vehicles may require specific steps, such as a computer reset or other unique servicing requirements. Failure to follow these procedures correctly could result in engine damage.
Should You Use an Engine Oil Flush?
Engine oil flush is a specialized product designed to break down gunk and deposits inside your engine before an oil change. To use it, add the entire bottle to your engine, then let the engine idle for 10 to 20 minutes before draining the oil.
It’s not necessary to use engine oil flush for every oil and filter change. Instead, you might consider using it every second or third change.
For owners of older vehicles, it’s important to be cautious about using engine oil flush, especially if it has never been used before. In some cases, the buildup of grime inside an older engine can act as a seal for deteriorating oil seals. Removing this grime could lead to a leaking engine.
Before you begin, carefully read all instructions and follow each step in order.
Be aware that the vehicle’s exhaust system, engine oil, and other components under the vehicle may be hot. Always exercise caution when performing an oil change.
Step 1: Gather the Necessary Tools
To start, ensure you have all the tools and materials required for the job. These include:
- Engine oil
- Oil filter
- Oil drip pan
- Floor jack
- Jack stands
- Funnel
- Ratchet and socket or wrench (for the oil drain plug)
- Oil filter pliers
- Paper towels
Additionally, refer to your vehicle’s owner’s manual to determine the correct oil type, oil capacity, filter type, and the designated jack points for your car.
Step 2: Jack Up Your Vehicle
Use a floor jack to lift the vehicle and position jack stands underneath it. Ensure the vehicle is securely supported on the jack stands before proceeding. This step is critical for safety during the oil change process.
Step 3: Remove the Oil Cap
To begin, open the vehicle’s hood and locate the oil cap. Remove the oil cap and place it in a secure location where it won’t be misplaced.
Also Read: 7 Essential Car Maintenance Tips to Avoid Costly Repairs
Step 4: Drain the Oil
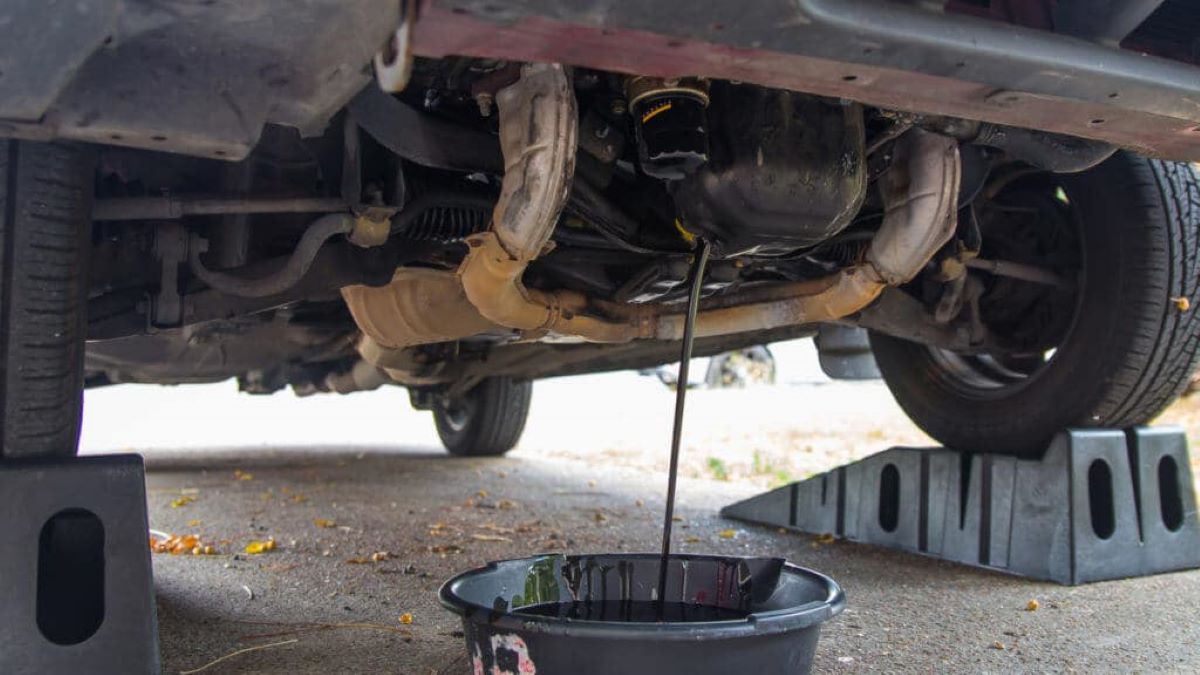
Locate the oil drain plug underneath the vehicle. Position the oil drip pan directly beneath the drain plug to catch the old oil. Carefully remove the drain plug, allowing the oil to drain completely into the pan.
Once the oil has fully drained, move the oil pan beneath the oil filter. Remove the oil filter and allow any remaining oil to drain out.

Step 5: Install the New Oil Filter and Replace the Drain Plug
Take the new oil filter and apply a thin layer of oil to its seal to ensure a proper fit. Install the oil filter by hand until it is snug, then tighten it an additional quarter turn using oil filter pliers.
Next, replace the oil drain plug. Tighten it by hand until it is finger-tight, then secure it further with an additional quarter to half turn to ensure a firm seal.
Step 6: Add the New Oil
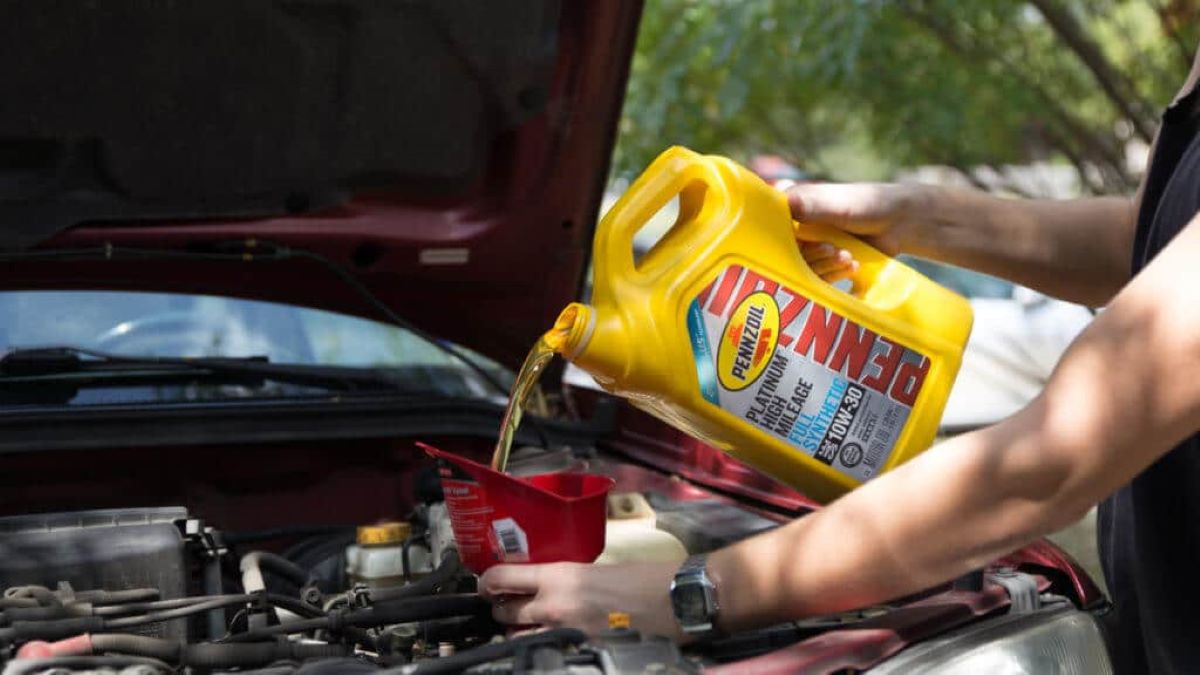
After the oil filter and drain plug are securely installed, use a funnel to pour the correct amount of fresh oil into the engine. Once the oil has been added, replace the oil fill cap securely.
Next, remove all tools and the oil drain pan from beneath the vehicle. Safely remove the jack stands, lower the vehicle using the floor jack, and then fully remove the jack.
Choosing the right engine oil for your car is crucial to keeping it running at its best. With so many brands available, selecting the right motor oil is as important as choosing the right food for your engine. The best engine oil brand will provide your car with the necessary care to maintain peak performance.
Consider it a special treat for your engine—it will reward you with improved performance and fewer problems over time. When you’re shopping for the best engine oil, keep in mind that quality should never be compromised.
Opting for high-quality oil will pay off in the long run, benefiting your car’s health and overall condition. By choosing the right engine oil, you’re ensuring a smoother ride, enhanced durability, and greater reliability for your vehicle.
Using low-quality engine oil in your car can lead to significant issues with both performance and longevity. It’s like trying to nourish your body with junk food instead of healthy meals that provide the essential nutrients.
By choosing the best car engine oil from trusted motor oil brands, you ensure your engine receives the best care. Think of it as giving your car a luxurious spa treatment—restoring and pampering it for better function.
On the contrary, using subpar engine oil is like putting your engine through a stressful, unhealthy diet. Stick with top-tier engine oil from reputable brands, and your car will reward you with smoother rides and a longer lifespan. After all, your car’s engine deserves the finest care, just like you do!
Where To Get it: Engine Oil
Step 7: Check the Oil Level
Allow the oil to settle in the engine for about five minutes. Then, locate and remove the oil dipstick. Wipe the dipstick clean with a rag or paper towel. Reinsert the dipstick fully, then remove it again to check the oil level.
Also Read: 10 Best Cars for City Driving That Are Easy to Maneuver
The oil level should fall between the “add” and “full” lines, ideally closer to the “full” mark.
If the level is too low, add more oil in small increments, rechecking the dipstick each time, until the correct level is reached. Finally, reinstall the dipstick securely.
Step 8: Perform Final Checks
Start the vehicle and confirm that the oil pressure is normal. Let the engine run for a few minutes, then inspect underneath the vehicle to ensure there are no leaks.
Turn off the engine and check the oil level one more time to verify it is at the appropriate level.
Record the oil change in your maintenance log. If your vehicle is equipped with an oil change reminder system, follow the owner’s manual instructions to reset it.
Following these steps will help ensure a safe and efficient oil change procedure. Always prioritize safety and refer to your vehicle’s manual for specific details related to your car.

