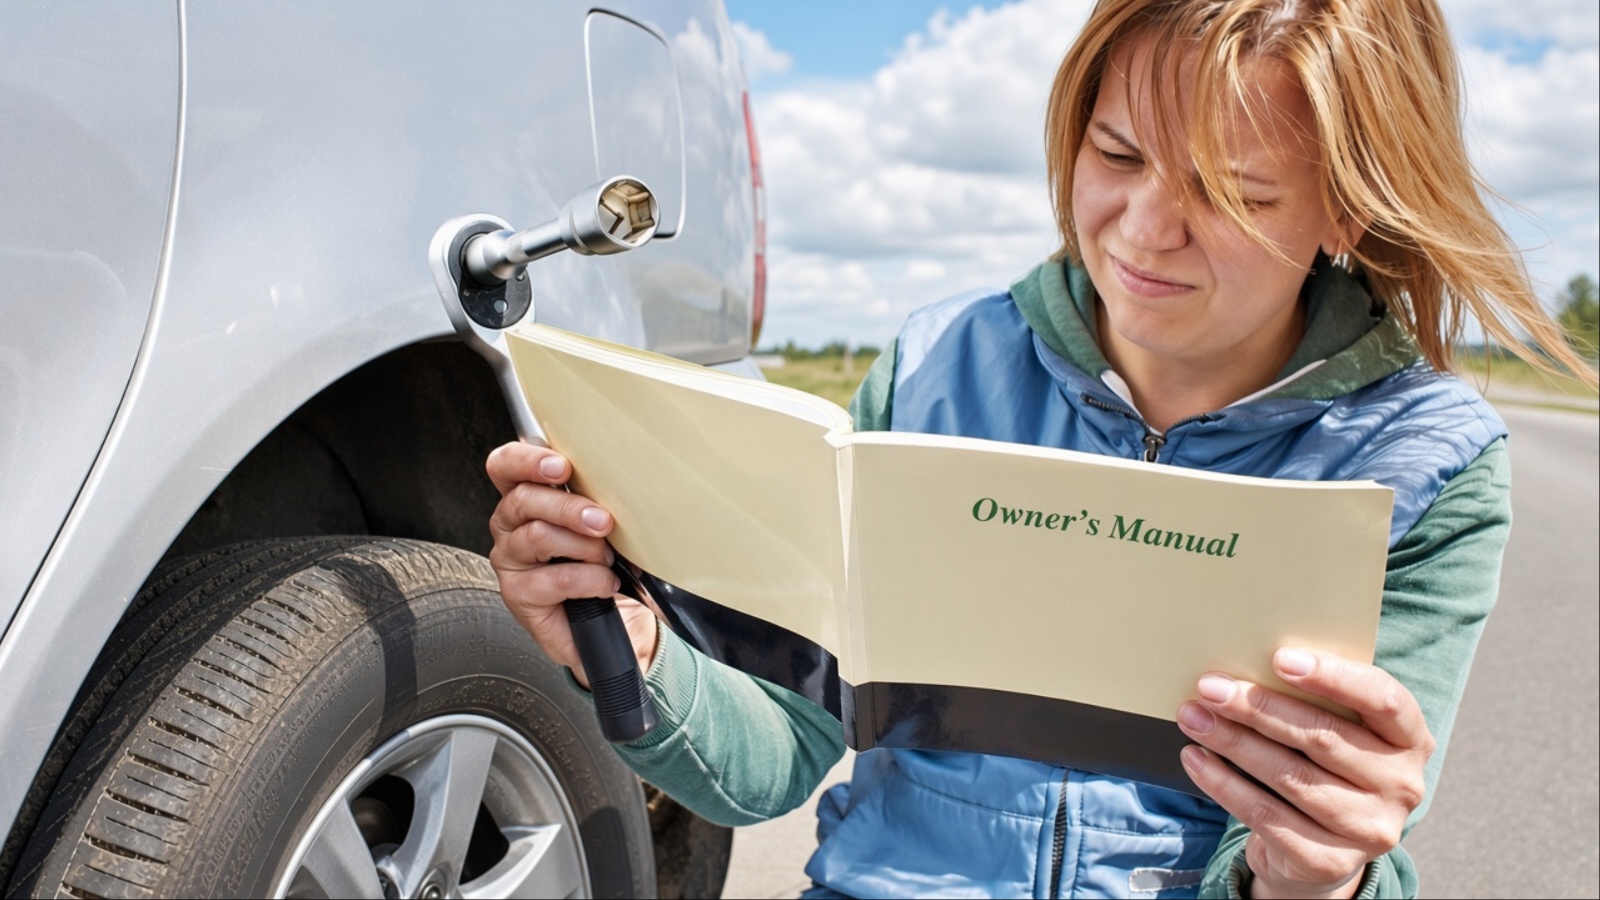
Be honest, when’s the last time you actually opened that thick little book stuffed in your glove box? Most of us shove it aside and never look back, yet that overlooked manual is quietly packed with information that could save you serious cash.
It tells you exactly what fluids your engine needs, what tire pressure keeps you safe, how to lift your car without causing damage, and dozens of other details that dealerships and repair shops don’t always volunteer.
Skipping it means paying full price for things you could easily handle yourself, or worse, following bad advice that shortens your car’s life. Grab that manual, because these ten sections alone can put real money back in your pocket.
1. The “Severe” Maintenance Schedule
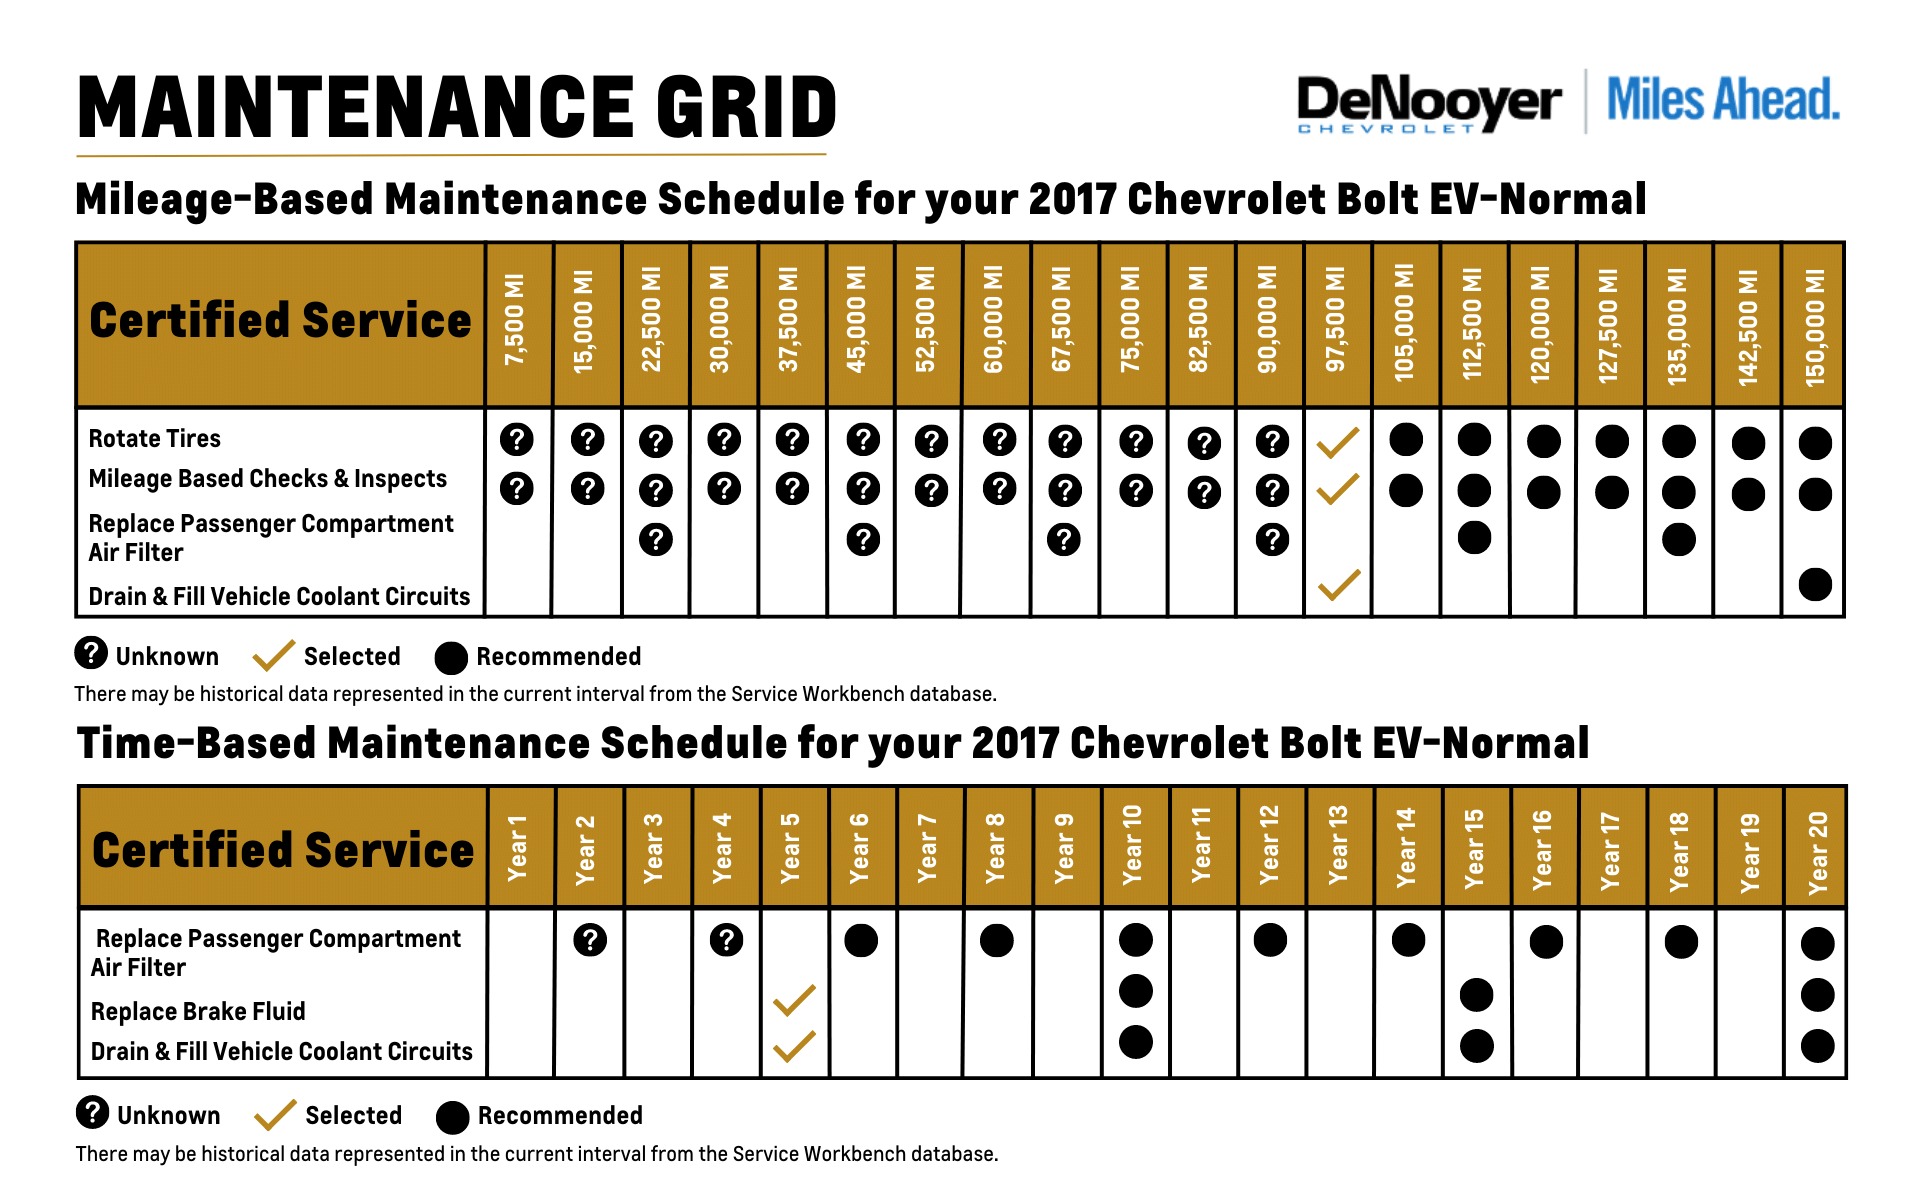
Many drivers may not realize that their vehicle can wear out sooner than expected when they follow a maintenance schedule that does not match their driving conditions.
Manufacturers typically publish two separate timelines, one for normal driving and another for severe conditions, and plenty of everyday habits accidentally qualify as severe without drivers ever recognizing it.
Think about your actual routine for a second. Do you make lots of short trips across town, the kind that never let your engine fully warm up? Spend serious time stuck in stop-and-go traffic? Drive on dusty or unpaved roads regularly? Tow a trailer or boat?
Live somewhere with brutal summers or freezing winters? Any single one of these can push your driving into severe-use territory, and if you’re following the standard schedule instead, your oil, filters, and other components are wearing out faster than the maintenance plan accounts for.
That mismatch is exactly where expensive problems start brewing quietly under the hood. Engine oil breaks down faster than expected, transmission fluid degrades ahead of schedule, and components that should have gotten fresh fluid or a new filter keep grinding along past their intended service point.
By the time something actually breaks, you’re looking at a repair bill that dwarfs what a properly timed service interval would have cost. The fix costs nothing beyond a few minutes flipping through your manual.
Find the maintenance section, locate the severe-service definitions, and compare them honestly against how you actually drive. If your habits match, switch to that tighter schedule. It’s a free adjustment that protects thousands of dollars in engine and drivetrain components down the road.
2. The Correct Fuel Octane
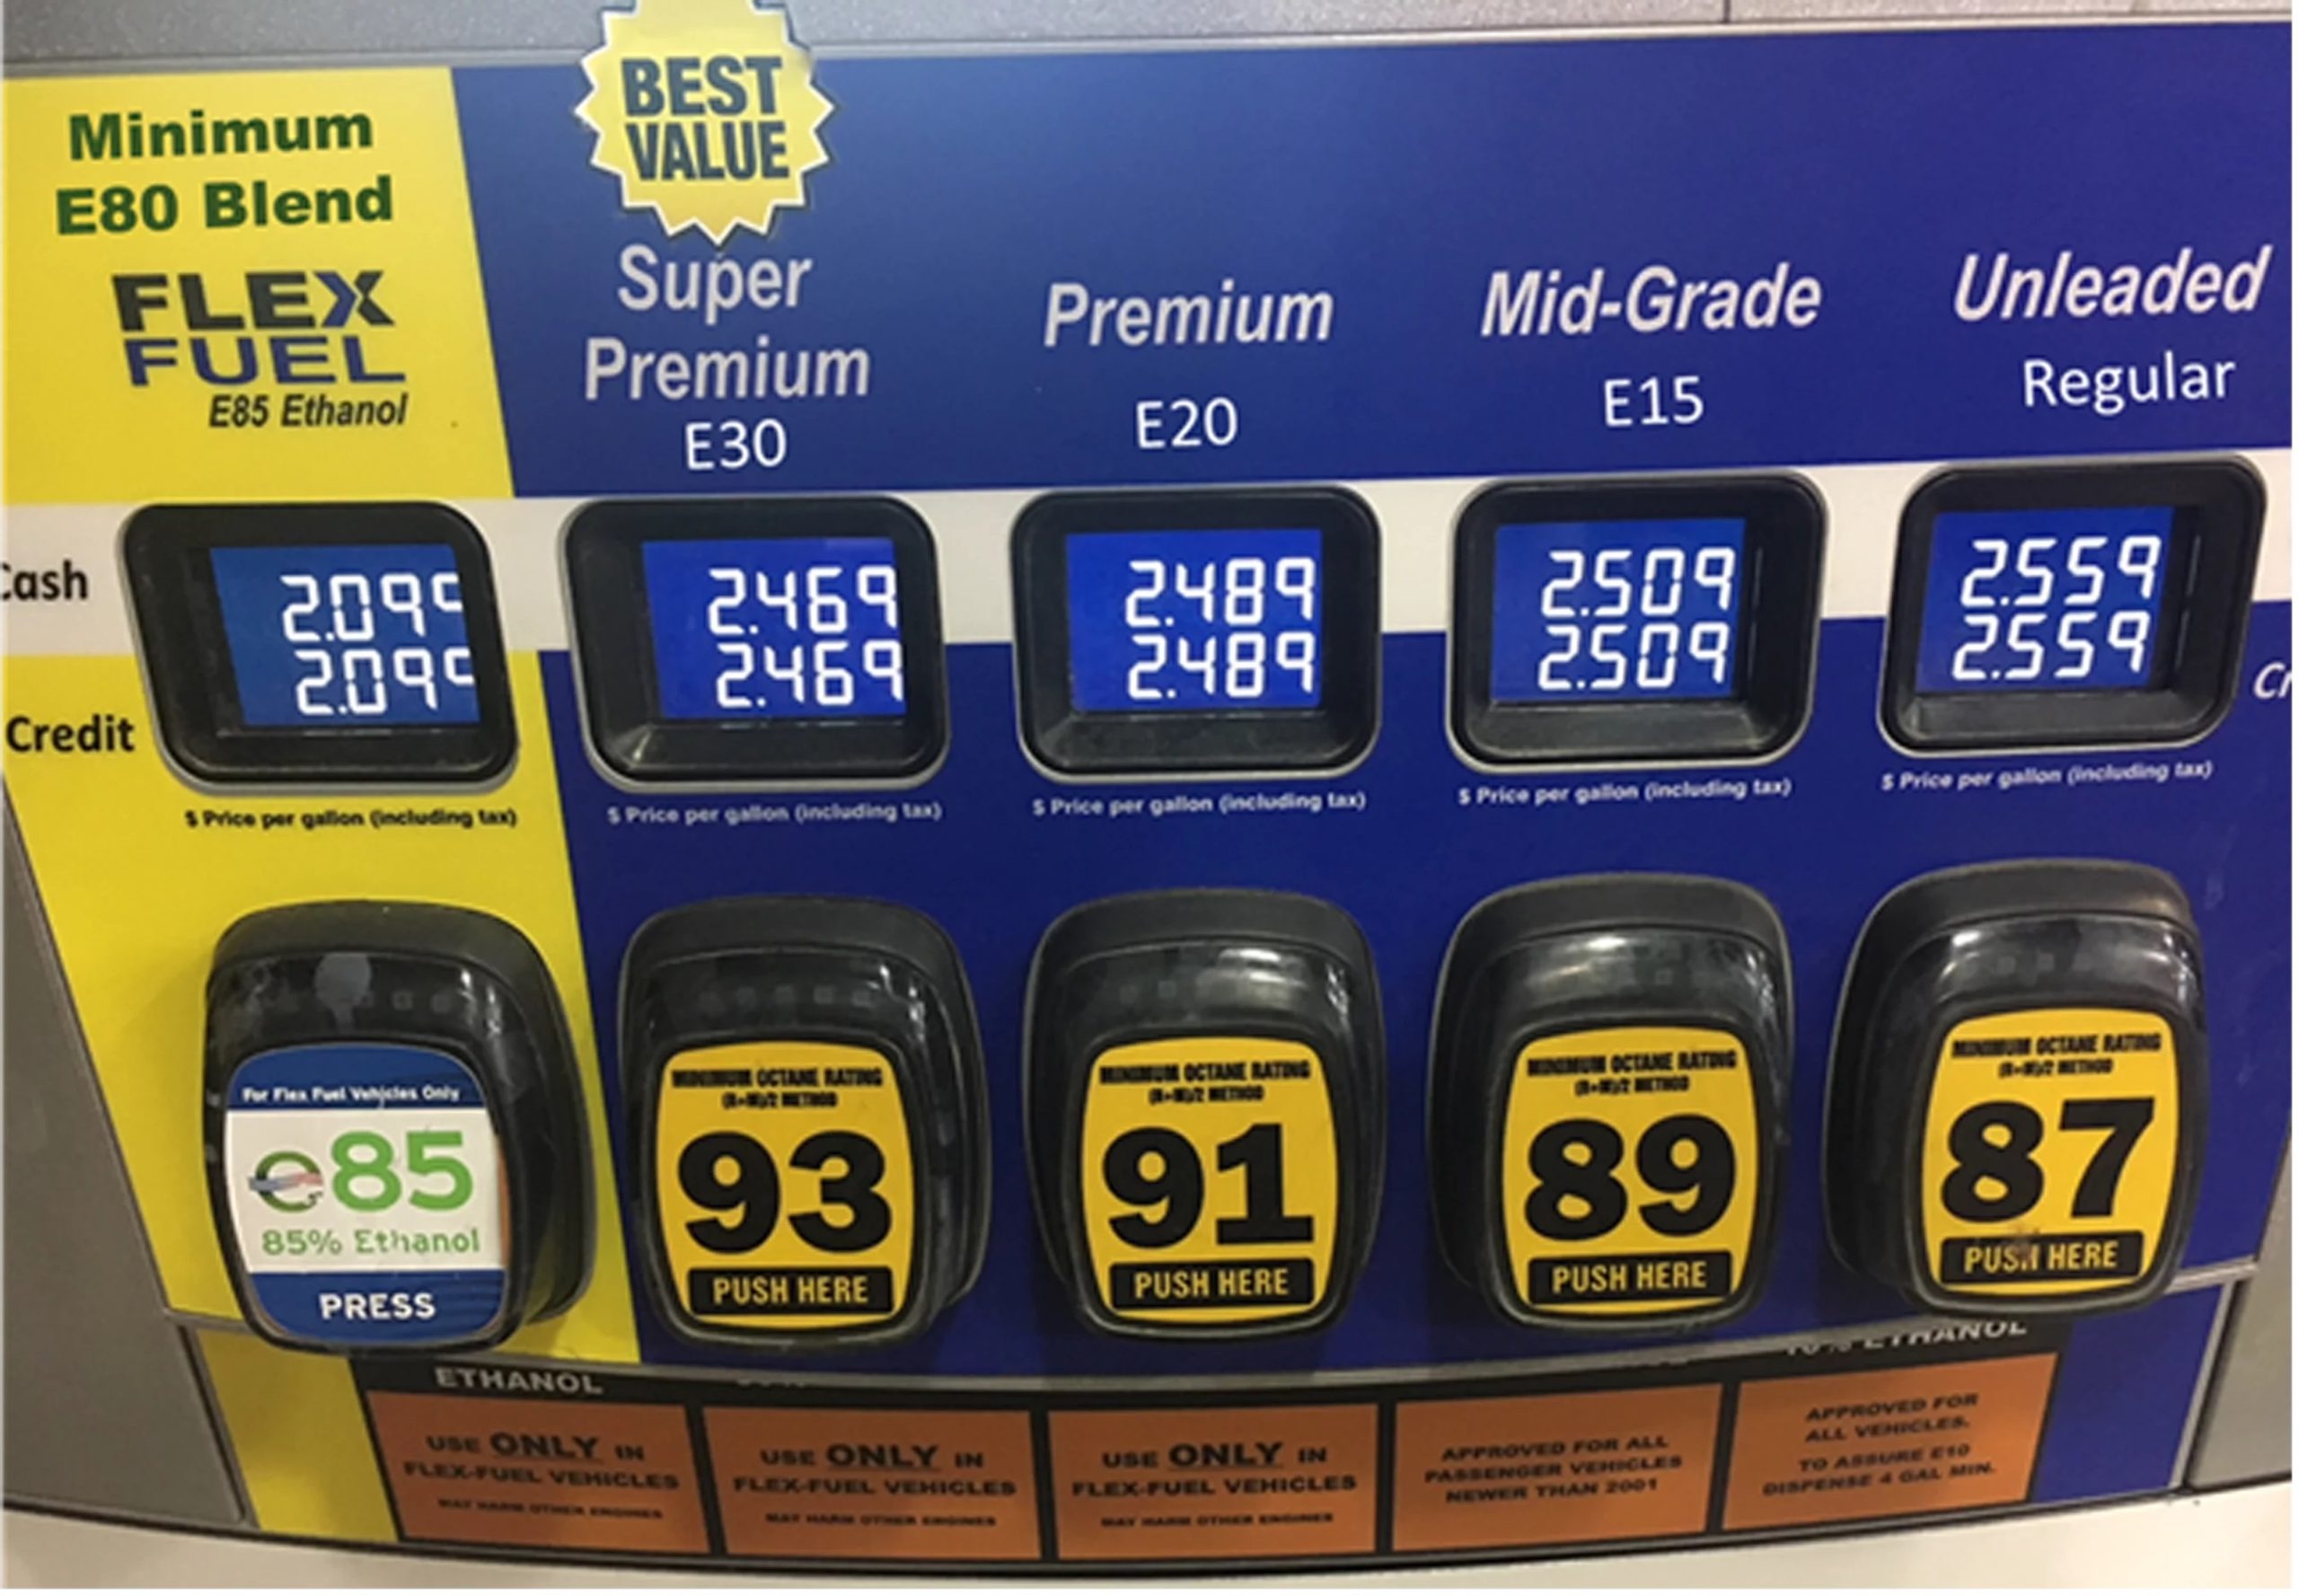
Many drivers assume premium gasoline is automatically better for their cars, but that is not always true. The fuel requirement listed in your owner’s manual tells you exactly what your engine needs. For many vehicles, regular 87 octane gasoline is perfectly suitable.
If the manufacturer does not require or recommend premium fuel, spending extra at the pump usually offers little benefit. Some turbocharged and high-performance engines are designed to use higher-octane gasoline due to their compression and tuning.
A standard engine designed for regular fuel does not gain cleaner operation, better mileage, or longer service life simply because you choose premium. The extra cost can become quite noticeable. Premium gasoline often costs 30 to 60 cents more per gallon than regular fuel.
With a 15-gallon tank, that difference can add several dollars to every fill-up. Repeat that purchase throughout the year, and you could spend hundreds of dollars for an advantage your engine does not need.
Take a minute to check your owner’s manual and confirm the recommended octane rating. Once you know the requirement, stick with it. There is no reason to spend extra money on premium gasoline when regular fuel already meets your vehicle’s needs.
3. Maintenance-Reminder Reset Instructions
A service reminder on the dashboard may look harmless, but some repair shops charge drivers simply to clear it after an oil change. Paying for something that can take less than a minute can feel unnecessary, especially when many vehicles allow owners to do it themselves.
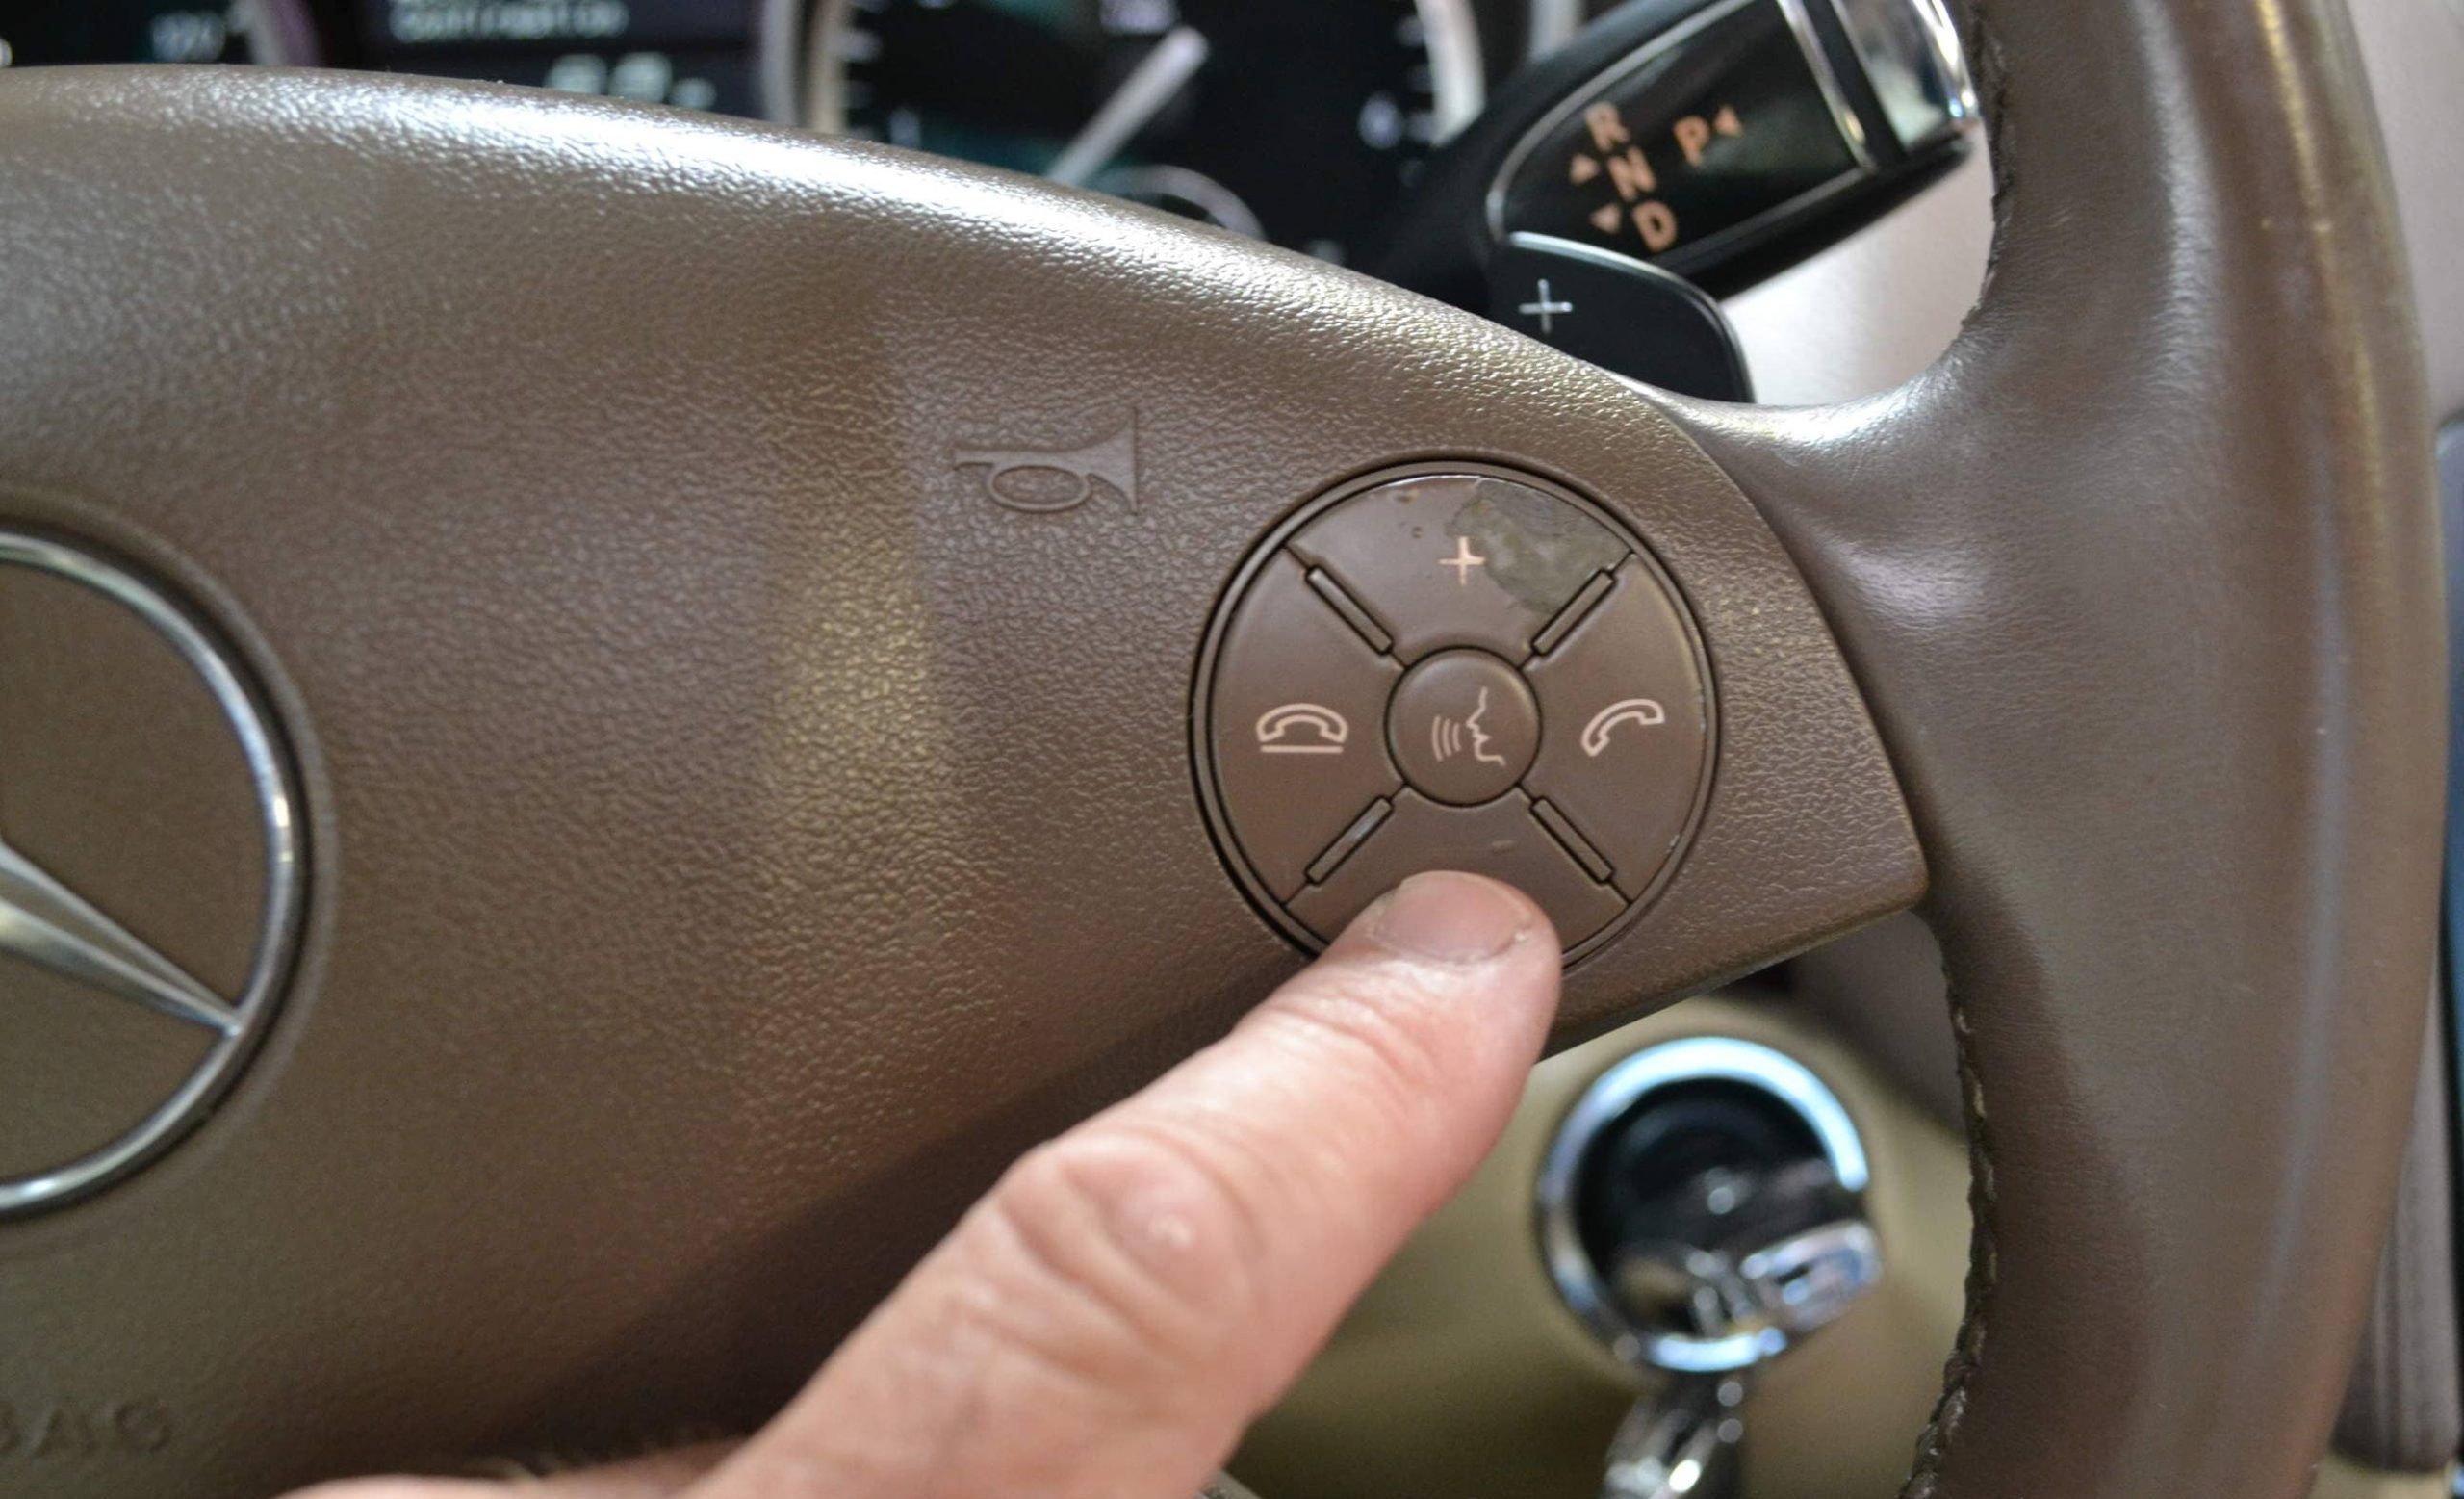
Modern cars often have a built-in reset procedure that does not require a scanner or special equipment. Depending on the model, you may need to hold the trip button while switching on the ignition, or use the steering wheel controls to reach the maintenance menu.
The exact method varies by manufacturer, so checking the owner’s manual is much safer than trying random button combinations. The maintenance section usually provides clear instructions for resetting the reminder. In many cases, the process takes only a few steps and can be completed while the vehicle is parked.
You may only save around $10 to $20 each time, depending on the shop. That might not seem like much, but the savings can add up through years of ownership. Once you learn the correct procedure for your vehicle, there is little reason to pay a shop just to clear a service reminder after routine maintenance work.
4. Air-Filter Replacement Instructions
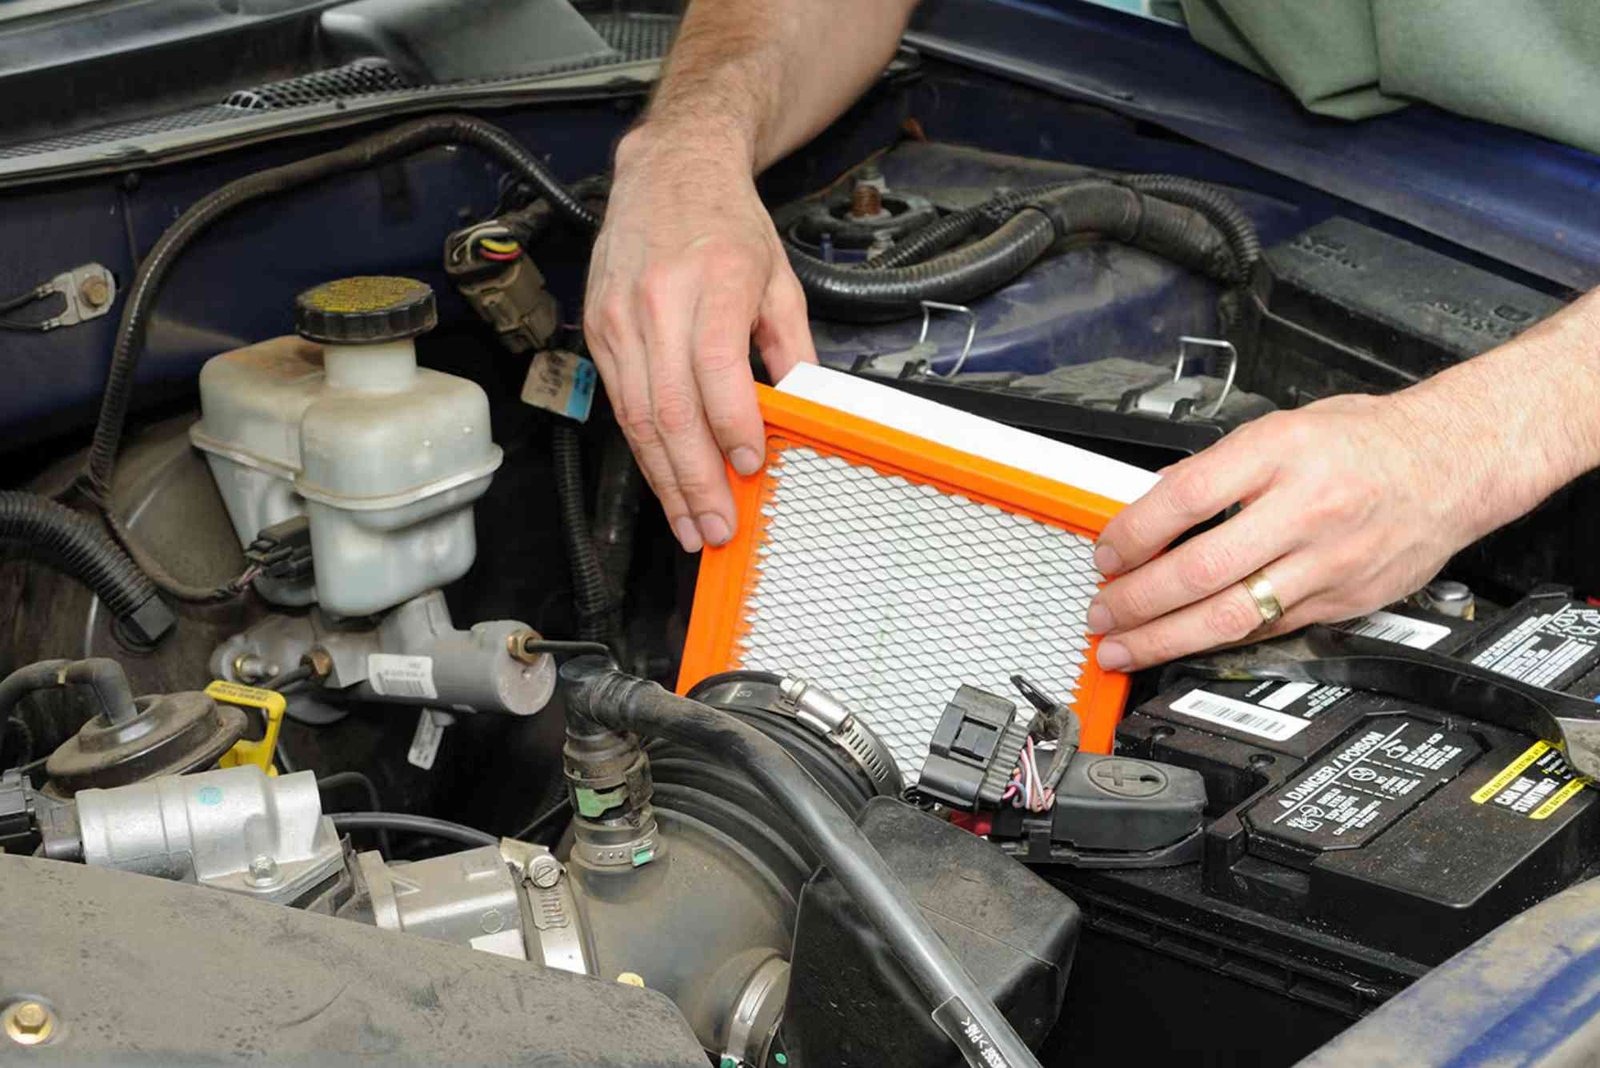
Changing an air filter is one of the easiest maintenance jobs you can handle on your car, yet many drivers still pay a mechanic to do it. Your vehicle manual usually explains when the engine air filter and cabin air filter should be checked or replaced.
These two filters serve different purposes. The engine air filter prevents dust and dirt from entering the engine, while the cabin filter cleans the air coming through the vents into the passenger area. Both are normally located behind covers or clips, so you may not need special tools.
The manual should show where each filter is located and explain how to remove and install it. However, it may not provide the exact part number for the replacement. You may need to check with a spare parts dealer or online store using your car’s year, make and model to get the correct one.
Once you have the filter, replacing it takes five to ten minutes. Paying a workshop for such a simple job can add unnecessary labour costs. Learning to replace these filters yourself can save money and help you become more familiar with your vehicle. Just follow the manual and avoid forcing clips or covers.
5. Correct Fluid Specifications
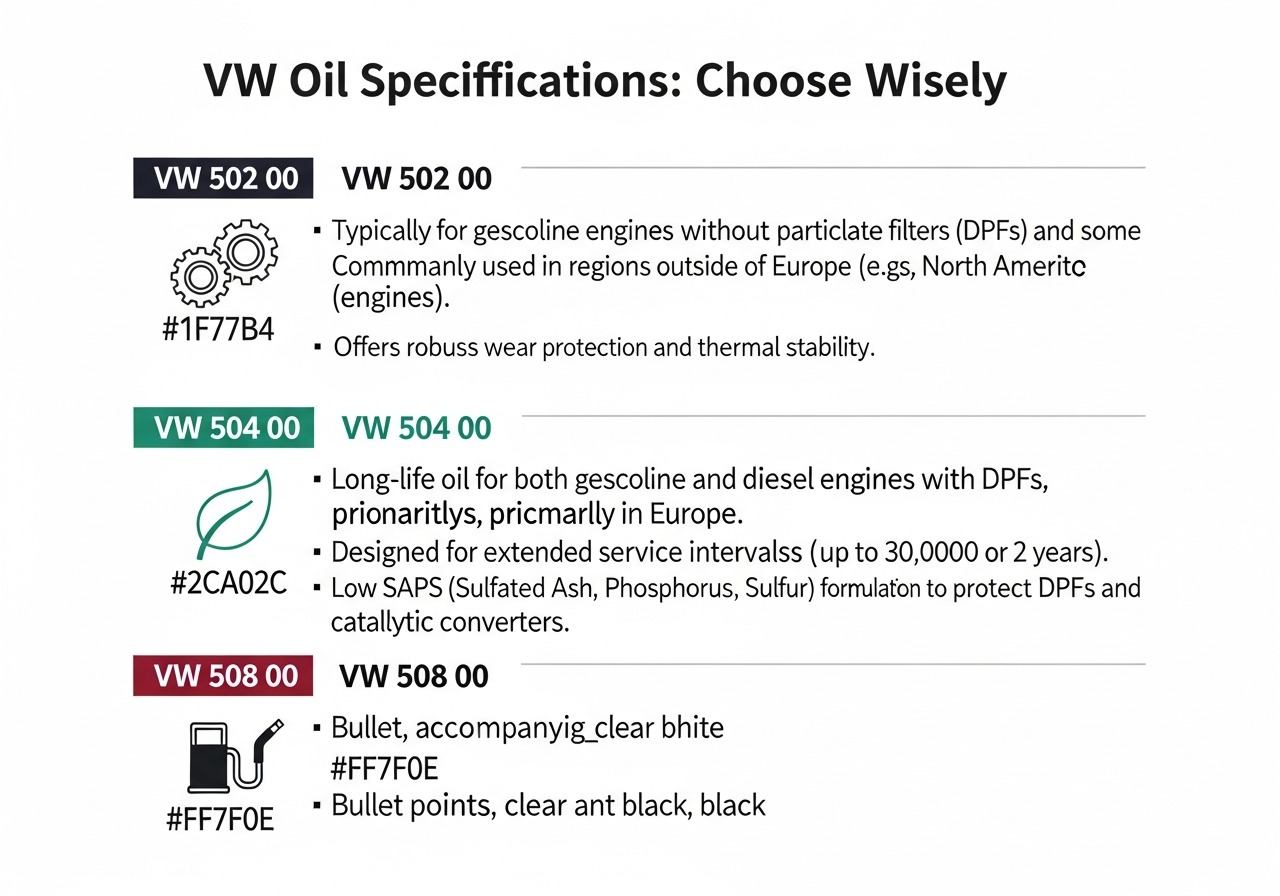
Buying vehicle fluids without checking the exact specifications can lead to costly mistakes. Auto parts stores have many types of engine oil, transmission fluid, coolant, and brake fluid, so choosing a familiar product or accepting a general recommendation may not be the right choice for your car.
Your owner’s manual takes the guesswork out of the process. It lists the required engine oil viscosity and performance rating, transmission fluid type, coolant specification, brake fluid classification, and, on some vehicles, requirements for power steering or differential fluids.
These specifications are based on how the engine, transmission, and other components were designed to operate. Using the wrong fluid may not cause an immediate problem, which can make the mistake easy to overlook.
Incorrect oil may provide poor protection in certain temperatures. The wrong transmission fluid can affect gear changes or cause internal wear. An unsuitable coolant may also provide inadequate protection against corrosion.
Before purchasing any fluid, check the owner’s manual and confirm the exact specification listed for your vehicle. If necessary, write it down or take a photo of the relevant page before visiting the store.
Spending a few minutes checking the correct requirements can prevent expensive repairs and help your vehicle’s major components last longer.
6. Proper Towing and Recovery Instructions
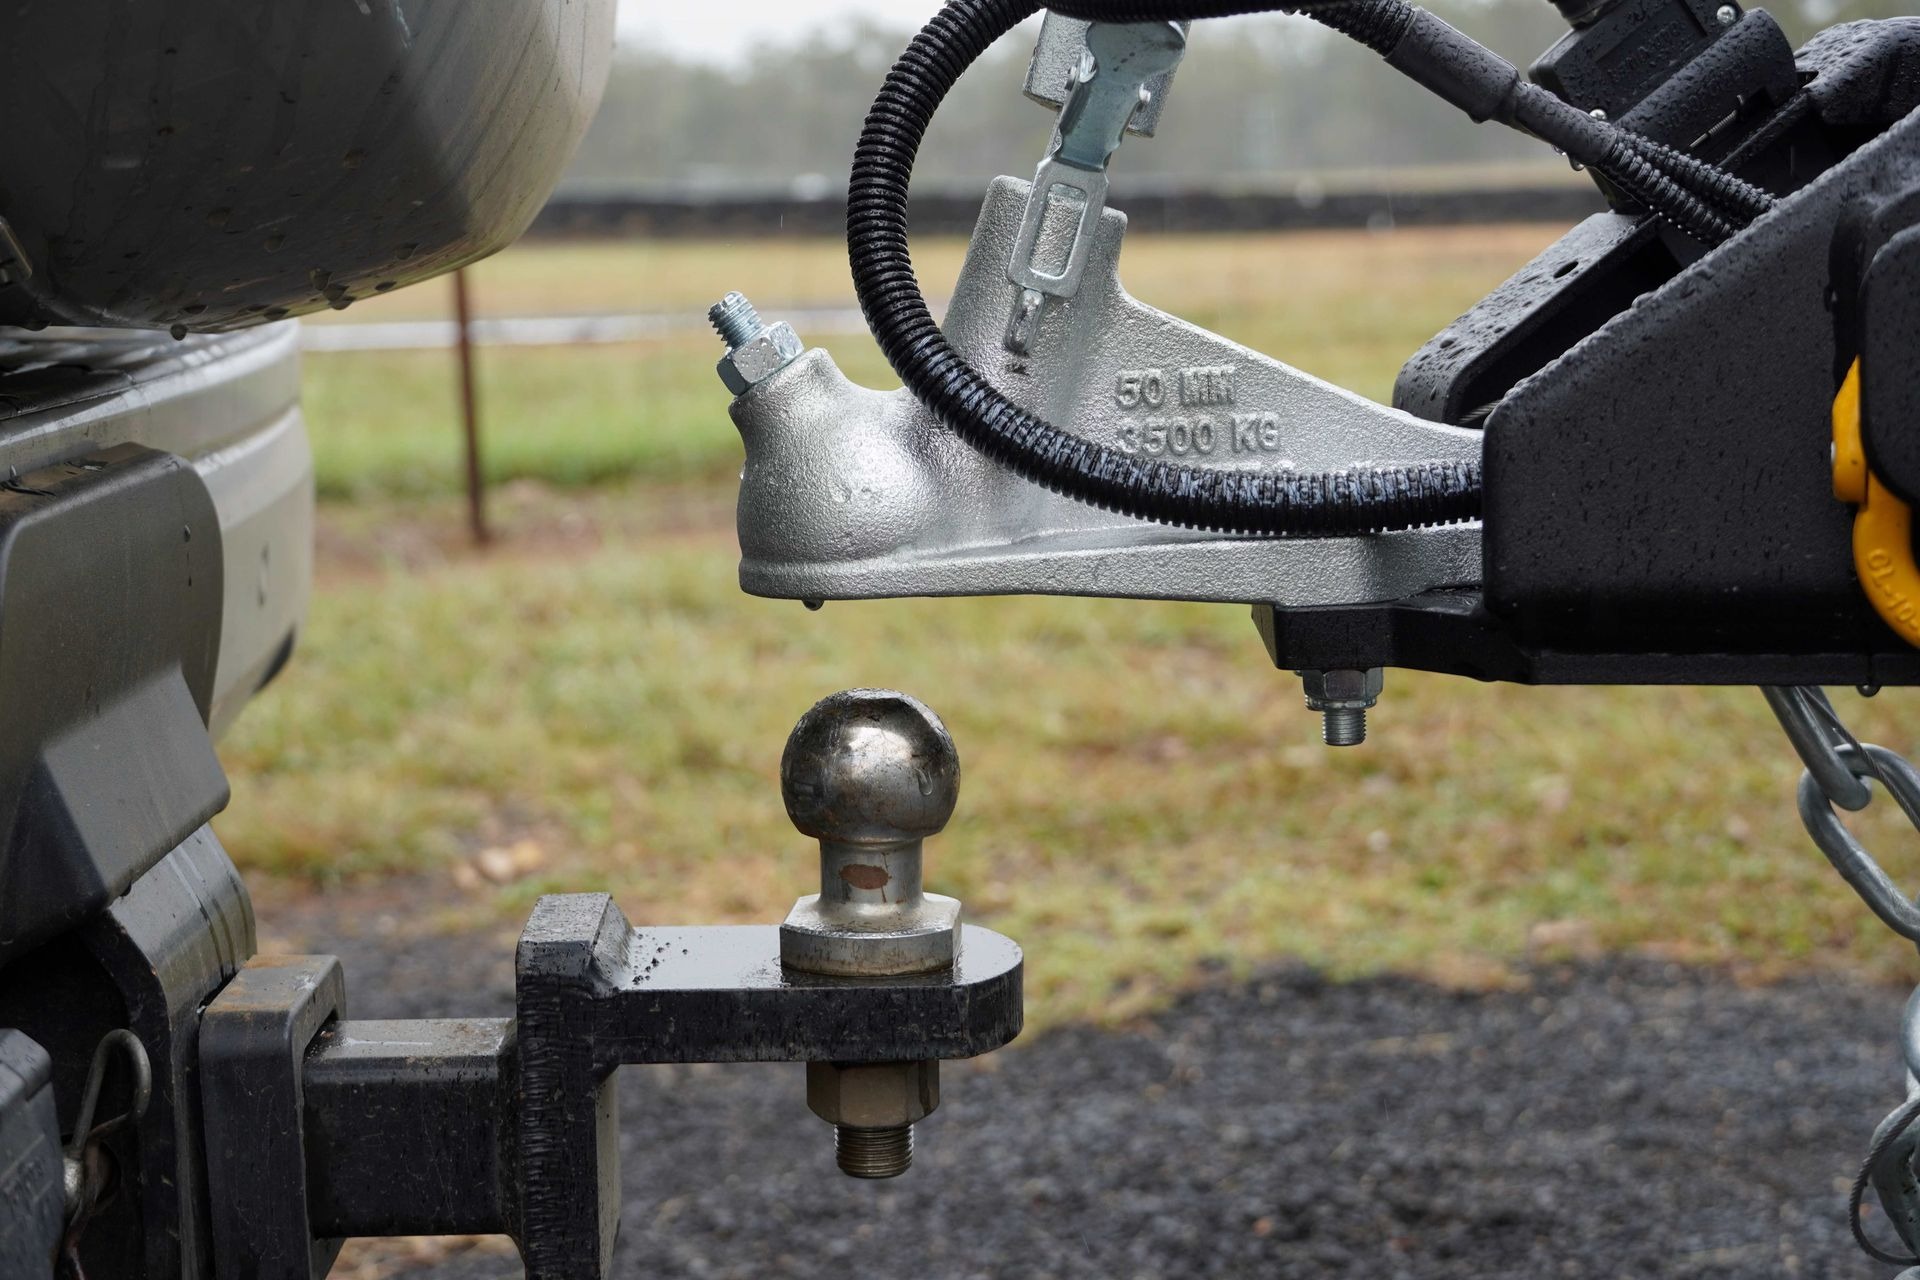
Towing your own vehicle behind an RV, using it to tow a trailer, or needing it recovered after getting stuck somewhere are all situations where guessing wrong gets expensive fast. Your manual lays out approved towing methods specific to your vehicle, along with the exact attachment points engineered to handle that kind of stress safely.
Not every vehicle can simply be towed with all four wheels on the ground, and assuming otherwise can cause real drivetrain damage. Some vehicles require specific transmission settings, disconnected driveshafts, or dolly systems depending on their drivetrain layout.
Front-wheel drive, rear-wheel drive, all-wheel drive, and various hybrid systems all have different requirements, and your manual identifies exactly what your particular vehicle needs before it ever gets towed.
Weight limits matter just as much as attachment points. Every vehicle has a maximum towing capacity, and exceeding it puts serious strain on your transmission, cooling system, brakes, and frame, sometimes causing damage that doesn’t show up until much later.
Your manual specifies these limits clearly, along with any additional equipment needed, like transmission coolers or weight-distribution hitches, for towing safely within those limits.
Recovery situations deserve equal caution. Using the wrong point to pull a stuck vehicle out of mud or snow, rather than a designated recovery hook or approved attachment point, can bend a bumper, damage body panels, or worse, damage structural components hidden behind cosmetic trim.
Checking your manual before any towing or recovery situation, rather than during a stressful roadside moment, prevents damage that can easily run into thousands of dollars.
7. Correct Jacking and Lifting Points
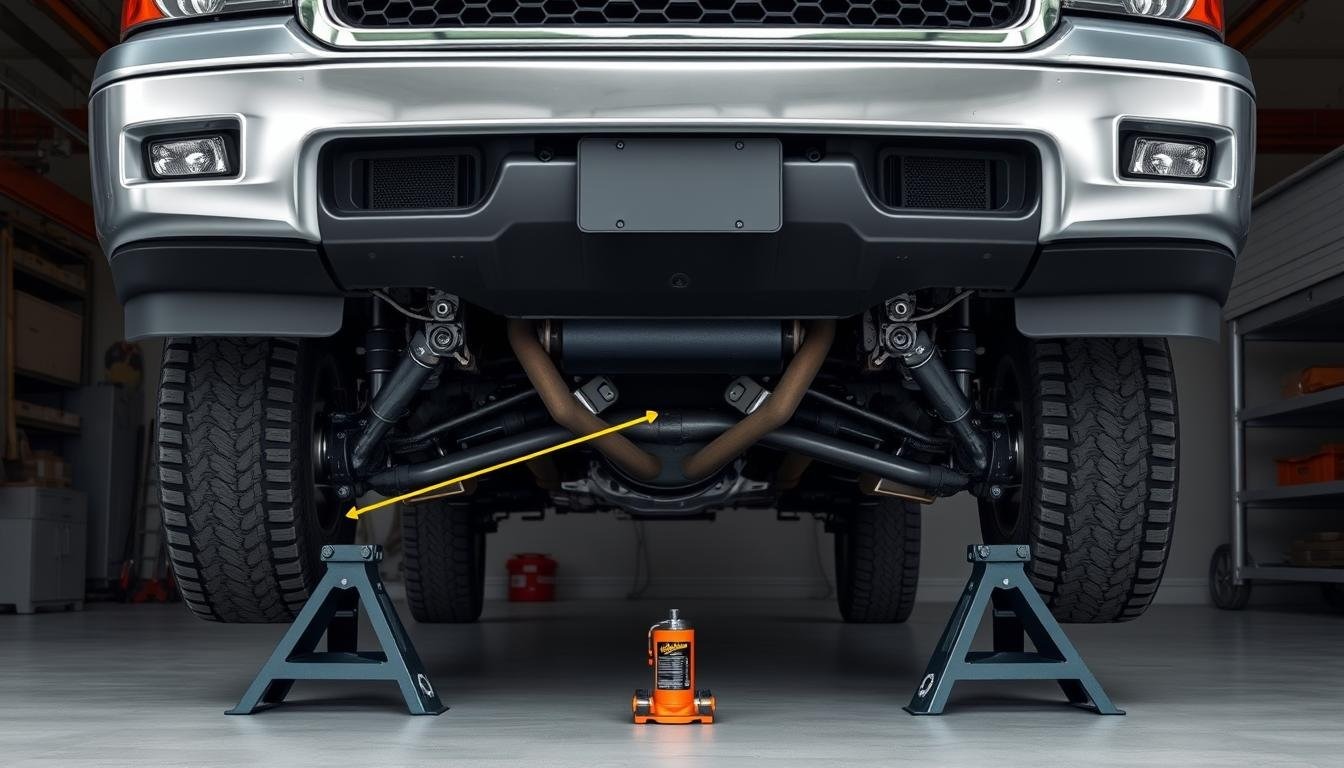
Changing a flat tyre may look easy, but placing the jack in the wrong position can cause serious damage to your car. Every vehicle has specific lifting points designed to carry the weight safely, and your owner’s manual will show you exactly where they are located.
Parts such as body panels, rocker sills and some underbody covers are not strong enough to support the vehicle during lifting. If you place the jack against the wrong area, you could bend the metal, crack plastic covers or damage important components underneath the car.
Newer vehicles with aluminium construction or complicated underbody panels can be particularly sensitive to incorrect jack placement. Most vehicle manuals provide a clear diagram, and sometimes pictures, showing the correct jacking points.
These areas may also have small marks or notches underneath the vehicle to make identification easier. It is better to know their locations before you have a flat tyre than to start guessing by the roadside.
Using the correct jacking points also improves safety. A poorly positioned jack can slip or become unstable, especially when you are trying to change the tyre. Take some time to check your manual and locate these points now.
That small preparation can save you from expensive damage and unnecessary stress when you eventually need to change a tyre.
8. Key-Fob Battery Replacement
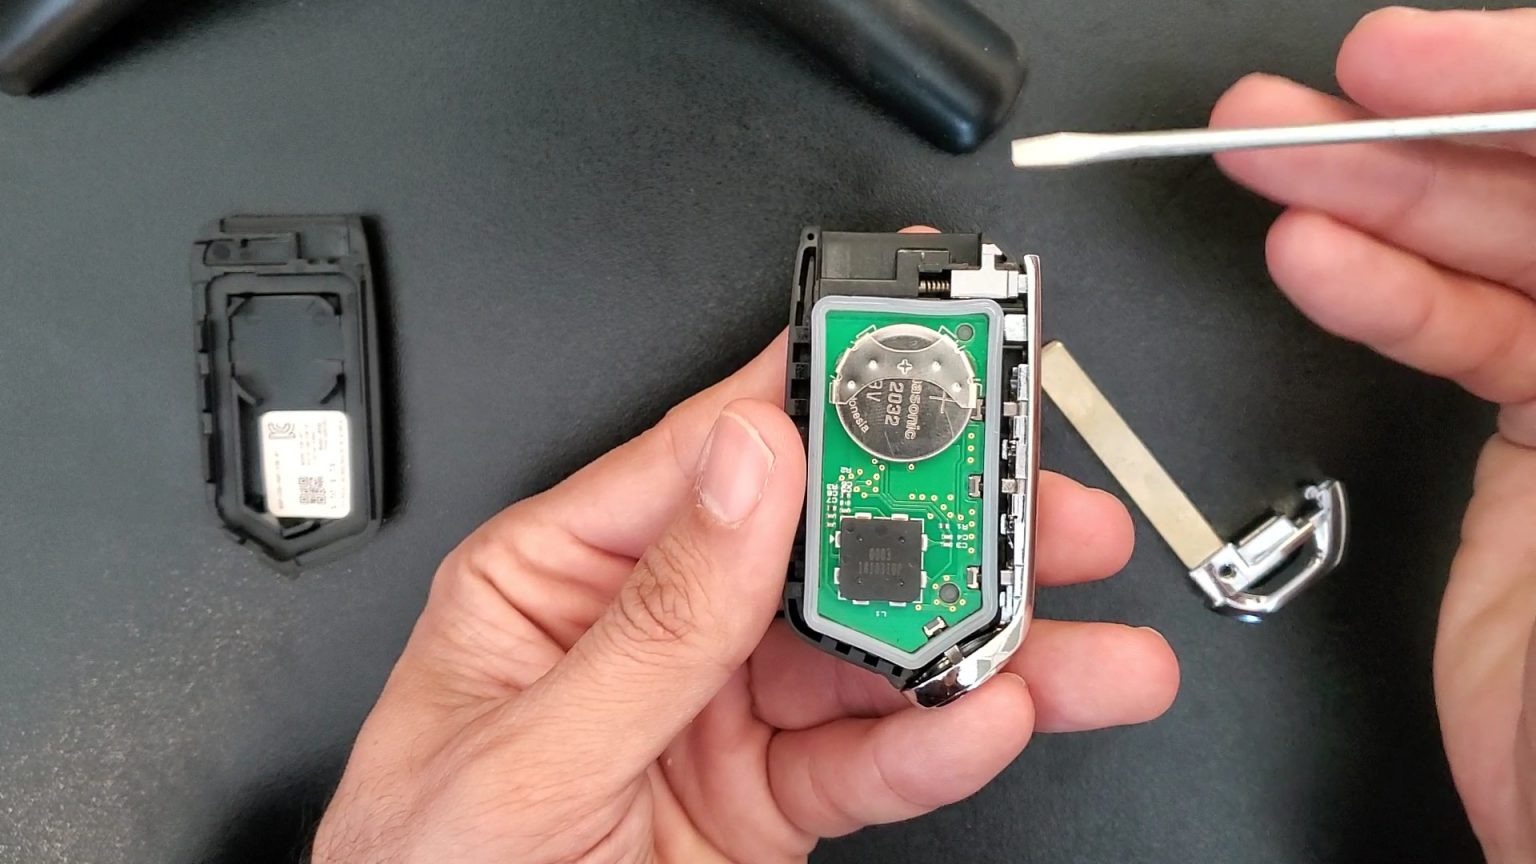
A dying key fob has a way of feeling like a bigger emergency than it actually is, and shops know that panic translates into billable visits for something that’s often a two-minute fix.
Your manual typically walks through exactly how to open your specific fob, identifies the correct replacement battery type, usually a small coin-cell battery, and explains how to reassemble everything correctly afterward.
Fob designs vary quite a bit between manufacturers, and even between different models from the same brand. Some fobs use a small slot or release button that pops the case open cleanly, while others require a thin tool to gently pry the housing apart along a seam.
Getting this wrong through guesswork can crack plastic housing or damage internal components, so having your manual’s specific instructions genuinely helps avoid an unnecessary repeat trip for a replacement fob entirely.
Battery types matter here too. Most fobs use a specific coin-cell size, commonly something like a CR2032, but assuming that size without checking can mean an incompatible battery that doesn’t sit correctly or make proper contact. Your manual identifies the exact specification needed, removing that guesswork before you head to the store.
One honest caveat deserves mention here. If your fob ever needs full reprogramming, whether from complete failure, a lost fob requiring a replacement, or syncing an additional fob to your vehicle, that process usually requires dealership equipment and isn’t something your manual will walk you through.
For a simple dying battery, though, this is a genuinely easy fix worth handling yourself rather than paying a shop’s service fee.
9. Recommended Tire Pressure
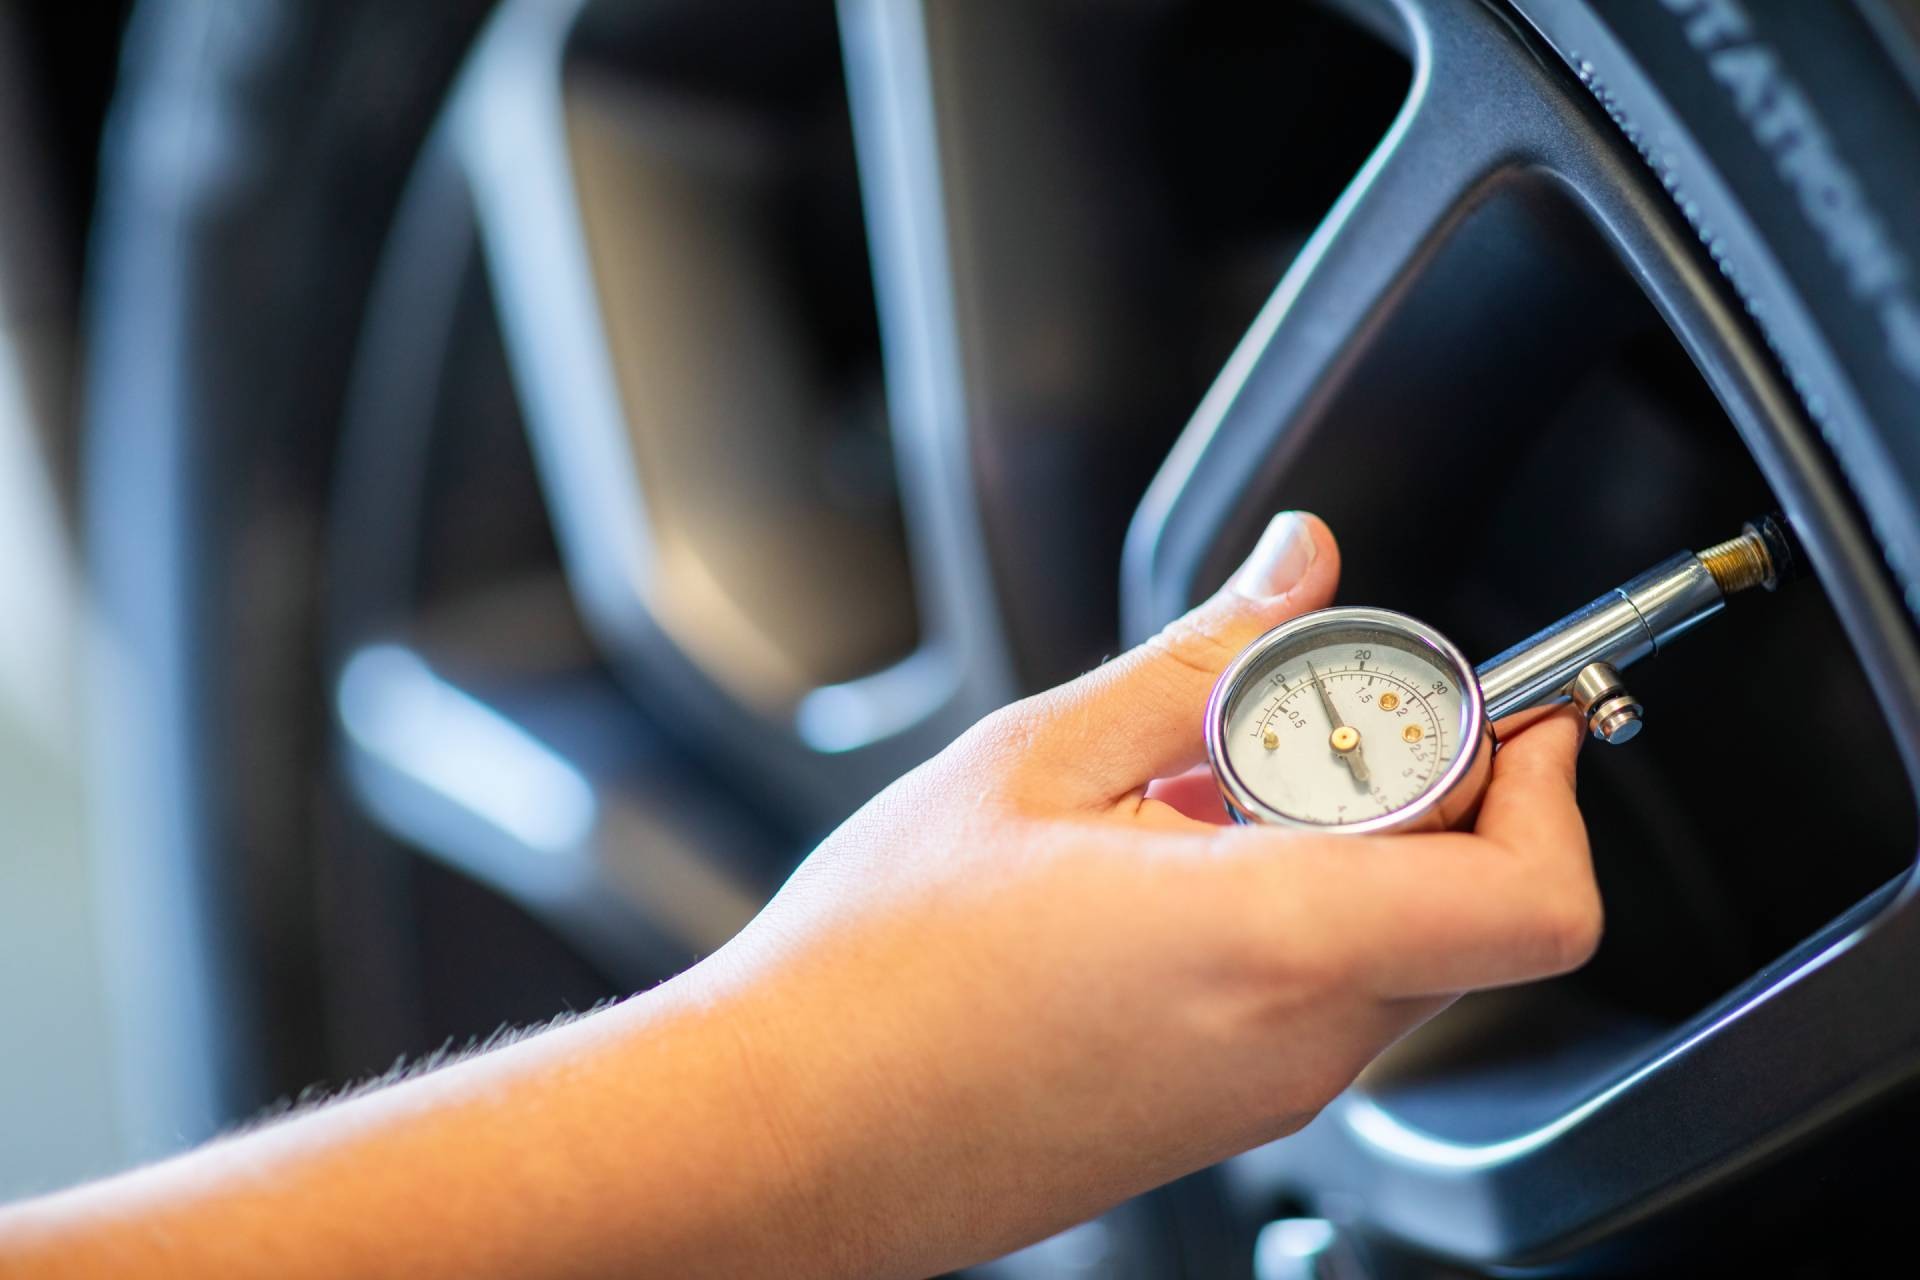
A small yellow or white sticker on the driver’s door frame contains an important number that many drivers overlook. It lists the vehicle manufacturer’s recommended cold tire pressure.
That number, not the maximum pressure printed directly on your tire’s sidewall, is the figure you should actually be filling to. This distinction trips up a lot of people, understandably so, since the sidewall number is right there staring at you every time you check your tires.
That printed figure represents the maximum pressure the tire itself can safely handle, not the pressure your specific vehicle was engineered around for optimal handling, ride comfort, and even tread wear patterns.
Following the sidewall number instead of your door placard can lead to a harsher ride, uneven wear across the tread, and reduced grip in wet conditions. Getting this number right pays off in ways that genuinely add up.
Properly inflated tires wear more evenly, meaning you’ll likely get more usable miles out of every set before needing replacement. Correct inflation also improves fuel economy, since underinflated tires create additional rolling resistance that forces your engine to work harder and burn more fuel just maintaining the same speed.
Always check pressure when your tires are cold, meaning before you’ve driven anywhere that morning, since driving heats tires and temporarily raises the reading.
A cheap tire gauge, checked monthly against your door placard’s number, is one of the smallest investments that protects both your tire budget and your monthly fuel costs at the same time.
10. Brake and New-Part Break-In Instructions
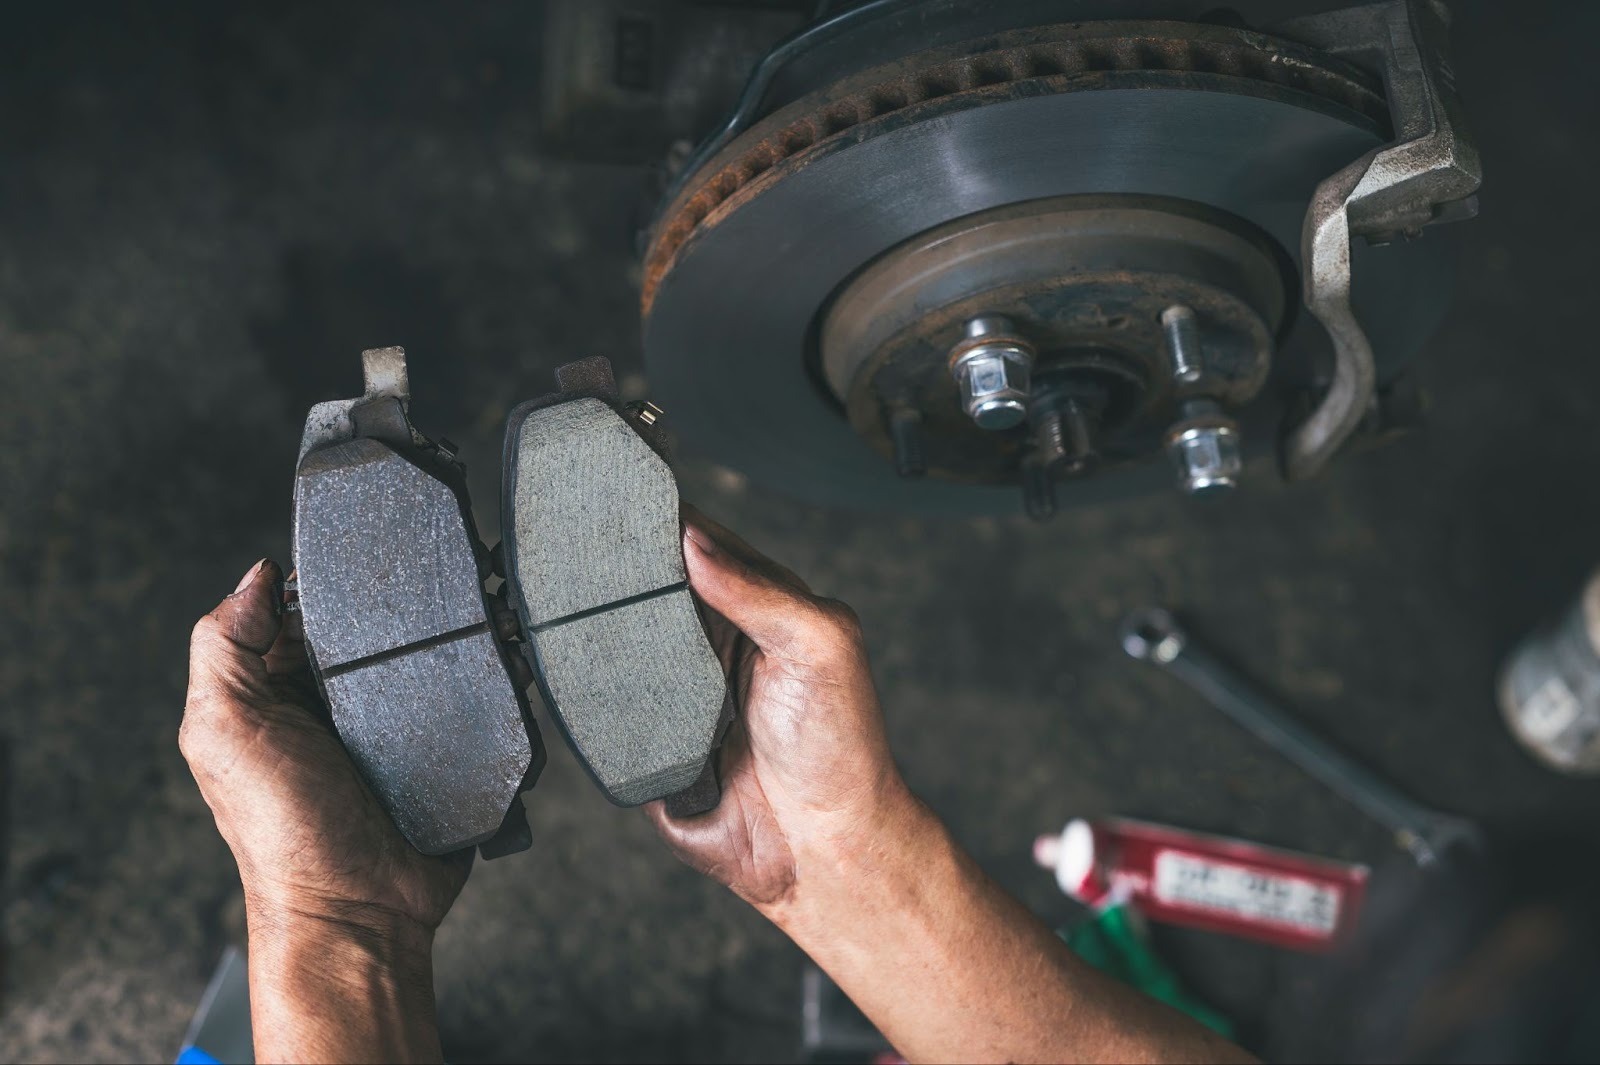
Fresh brake pads can make your car feel much better, but there is one important step many drivers overlook. Some manufacturers provide specific instructions for breaking in new brake pads and rotors, commonly known as bedding-in.
Following the correct procedure can help prevent brake noise, vibration, and other problems later. The process usually involves making several controlled stops from moderate speed.
The idea is to gradually build heat on the new pads and rotors without bringing the car to a complete stop during the process. Afterward, the brakes should be allowed to cool without heavy braking.
This helps create an even layer of pad material on the rotor, allowing both surfaces to work smoothly together. Ignoring the procedure or braking heavily and repeatedly immediately after installation can cause uneven material transfer.
This may result in brake pulsation, persistent squealing, or a sensation that the rotors are warped. If the problem becomes serious, you may have to replace the rotors again, adding an unnecessary expense.
However, manufacturers do not all recommend the same process. Some may not require special bedding-in at all. Therefore, check your vehicle’s manual after replacing the brakes. Following the correct instructions for a few extra minutes can help protect your new brake components and prevent another repair.