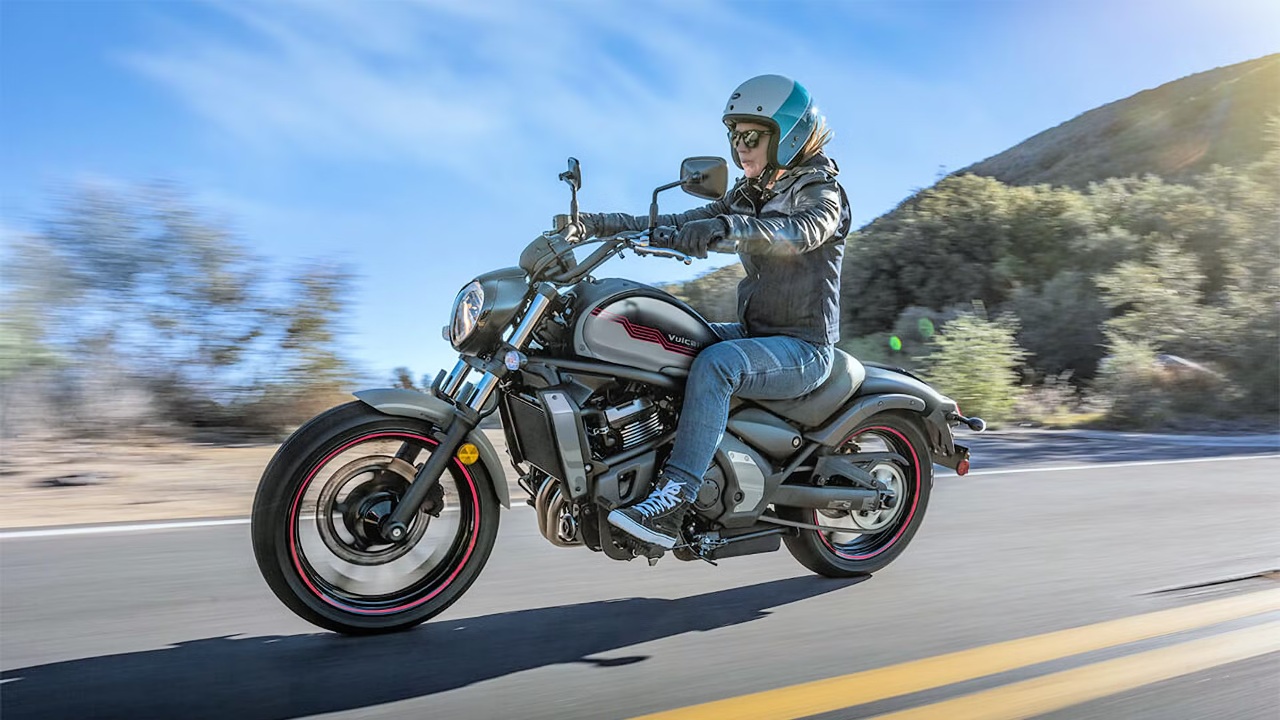
A motorcycle can feel perfectly normal and still have a problem that matters once it is moving. A slow tire leak, loose control, weak brake, failed light, or fluid leak may be difficult to notice from the saddle.
That is why the Motorcycle Safety Foundation recommends a pre-ride inspection before every ride through its T-CLOCS system, covering tires, controls, lights, oil and other fluids, chassis, and stands.
NHTSA similarly advises riders to check tire pressure, brakes, lights, signals, fluid levels, and leaks before riding. These checks take only a few minutes, but they can catch problems before they become roadside emergencies.
1. Check Tire Pressure and Tire Condition
Tires deserve attention before the engine is even started because they are the motorcycle’s only direct contact with the road. A tire can lose pressure overnight, develop a slow puncture, or suffer damage that is not immediately obvious.
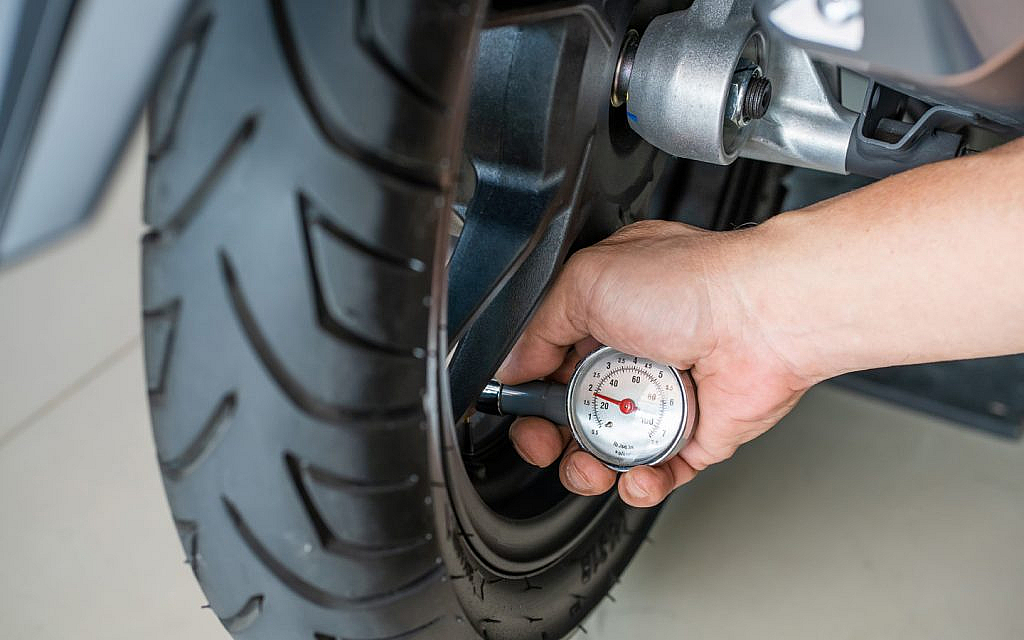
The Motorcycle Safety Foundation specifically recommends checking inflation pressure when the tires are cold and comparing it with the pressure specified for the motorcycle and its load.
Do not judge pressure simply by squeezing the tire with your hand. Use an accurate pressure gauge, preferably before riding because heat generated during operation changes the pressure reading. The correct figure should come from the motorcycle manufacturer’s specifications rather than the maximum pressure molded into the tire sidewall.
While checking pressure, inspect the tread and sidewalls. Look for nails, screws, cuts, cracks, bulges, uneven wear, and objects lodged in the tread. MSF also recommends checking that tires are properly seated and that wheels do not show damage or excessive play.
NHTSA specifically includes both tire pressure and tread depth in its recommended pre-ride inspection. If a tire is visibly damaged or excessively worn, riding on it is not a problem to postpone until later.
This check is especially important when carrying a passenger or luggage. NHTSA advises adjusting tire pressure and suspension settings for additional weight according to the motorcycle manufacturer’s recommendations.
A tire check takes little time, yet it can reveal one of the most important problems on the motorcycle before the ride begins.
2. Test Both Brakes Before Leaving
A motorcycle’s braking system should never be treated as something to test for the first time when traffic suddenly stops ahead. Before pulling onto the road, apply the front and rear brakes separately and pay attention to how each control feels.
The Motorcycle Safety Foundation says each brake should feel firm and should hold the motorcycle when fully applied.
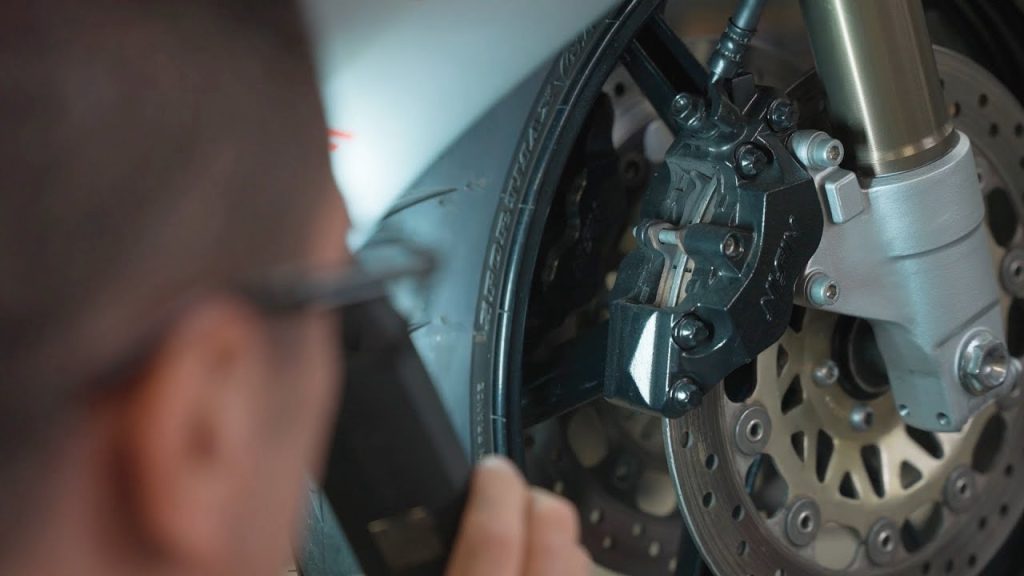
The inspection should begin with the controls. Check that the front brake lever and rear brake pedal move normally and do not feel unusually soft, loose, or damaged. A sudden change in lever feel can indicate a problem that needs attention. MSF also recommends inspecting brake pads and discs for wear as part of its T-CLOCS procedure.
Look at the brake components themselves when possible. The discs should not show obvious damage, while pads should have adequate material remaining. Also check for fluid leaks around hydraulic components and hoses. A leak or damaged hose is not something to ignore simply because the brakes still seem to work.
There is another simple check that requires almost no equipment. Confirm that the brake lights illuminate when either brake is applied. The Motorcycle Safety Foundation includes this check in its pre-ride inspection. A motorcycle may stop properly, but if its brake lights fail to alert traffic behind it, the problem still creates a safety risk.
If the brakes feel significantly different from the previous ride, stop the inspection and determine why before riding. Familiarity is useful here. A rider who regularly tests the controls is much more likely to notice a gradual change than someone who only checks them when a serious problem develops.
3. Inspect the Throttle and Control Cables
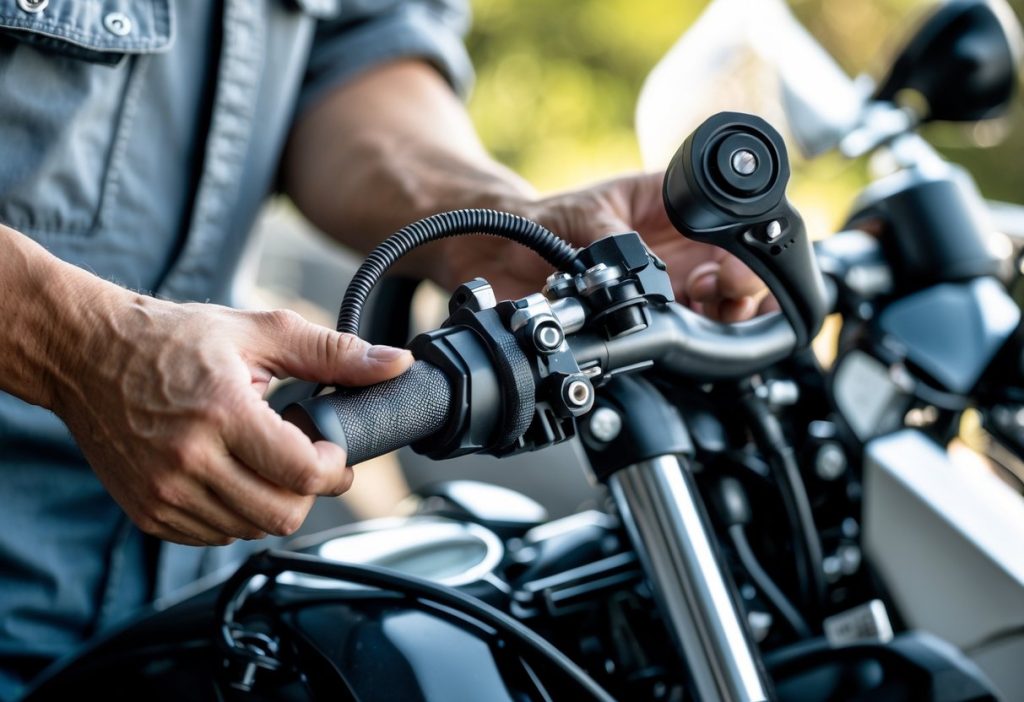
A motorcycle’s throttle may seem too simple to deserve a dedicated inspection, but it is one of the controls that should respond predictably every time. Before riding, twist the throttle and make sure it moves smoothly through its range without sticking, binding, or feeling unusually heavy.
The Motorcycle Safety Foundation’s T-CLOCS inspection specifically calls for checking the throttle for smooth operation and verifying that it returns to its closed position when released.
The return test is particularly important. With the engine off, rotate the throttle and release it. It should snap back to its normal closed position without hesitation. If it stays open or returns slowly, something may be interfering with the throttle mechanism, cable routing, or related components.
A throttle that does not return correctly can create a serious control problem once the motorcycle is moving.
The inspection should not stop at the grip. On motorcycles that use throttle cables, look at the cables and their routing. Check for obvious fraying, kinks, crushing, loose sections, or interference with other components.
Turn the handlebars from one side to the other while checking the throttle. The motorcycle manufacturer’s service information should be followed for the appropriate amount of free play.
Handlebar movement matters because cable tension can change when the steering is turned. A throttle that works normally with the bars centered but becomes tight at full lock deserves attention before riding.
Also operate the clutch lever and other hand controls. MSF recommends checking that control levers are secure and operate smoothly. NHTSA’s motorcycle safety guidance likewise encourages riders to inspect controls before setting off.
This check takes seconds, but it gives the rider confidence that one of the motorcycle’s most important controls will behave consistently when traffic, corners, or unexpected obstacles demand precise throttle control.
4. Turn On Every Light and Signal
Lights are not merely accessories that make a motorcycle easier to see at night. They communicate the rider’s intentions to other road users, which makes a failed bulb, damaged housing, or malfunctioning switch worth catching before every ride.
The Motorcycle Safety Foundation includes all lights and reflectors in its T-CLOCS inspection, including the headlight, taillight, brake light, turn signals, and indicators.
Start with the ignition switched on and verify that the headlight operates as expected. Check both the high and low beams if the motorcycle has separate settings. Then activate the left and right turn signals individually. Their indicators on the instrument panel should correspond with the actual signals at the front and rear of the motorcycle.
The brake-light check deserves particular attention. Apply the front brake and confirm that the rear brake light illuminates. Then repeat the test using the rear brake. Both switches should activate the brake light. A motorcycle may have perfectly functioning brakes while its brake-light switch has developed a fault, so testing both controls matters.
Walk around the motorcycle and inspect the lenses and housings at the same time. Look for cracks, loose components, water intrusion, or obvious damage. Make sure the license plate light works where required by the motorcycle’s equipment and local law.
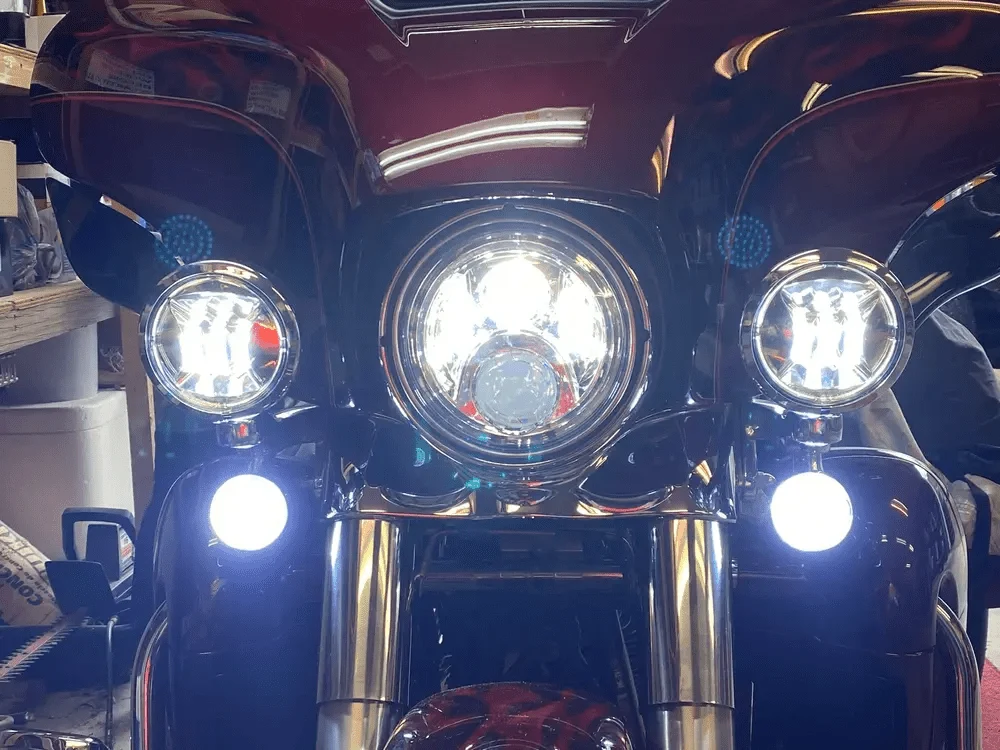
NHTSA recommends checking headlights, tail lights, and turn signals before riding because visibility and communication with other drivers are fundamental parts of motorcycle safety.
A useful habit is to perform this inspection while the motorcycle is stationary in the driveway. It is much easier to discover a failed signal there than after entering a busy intersection. The entire process takes less than a minute on many motorcycles, yet it confirms that other road users can see both the motorcycle and the rider’s intentions.
5. Check the Engine Oil and Other Fluid Levels
Fluid checks can reveal problems that are almost impossible to spot once a motorcycle is moving. Before starting a ride, inspect the engine oil and any other fluids that the motorcycle requires, following the procedure specified in its owner’s manual.
The Motorcycle Safety Foundation includes oil and other fluid levels in its T-CLOCS inspection and recommends checking for signs of leaks around the motorcycle.
Engine oil deserves particular attention because motorcycles can use different methods for checking the level. Some require the motorcycle to be held upright, while others specify checking through a sight glass or using a dipstick. The correct procedure matters because checking at the wrong angle can produce a misleading reading.
Do not simply look for enough oil. Examine the area around the engine for fresh oil or other fluid. A small spot underneath the motorcycle can indicate a developing leak, while wetness around a hose, gasket, drain plug, or engine component deserves investigation.
Depending on the motorcycle, additional fluids may include coolant and hydraulic brake or clutch fluid. Check their levels against the manufacturer’s specified ranges and inspect the reservoirs and hoses for damage or leakage. Never open a hot cooling system because pressurized coolant can cause severe burns.
The frequency of these checks becomes even more important on older motorcycles or machines that have recently undergone maintenance. A loose drain plug, improperly seated filter, damaged hose, or aging seal can create a problem between scheduled service intervals.
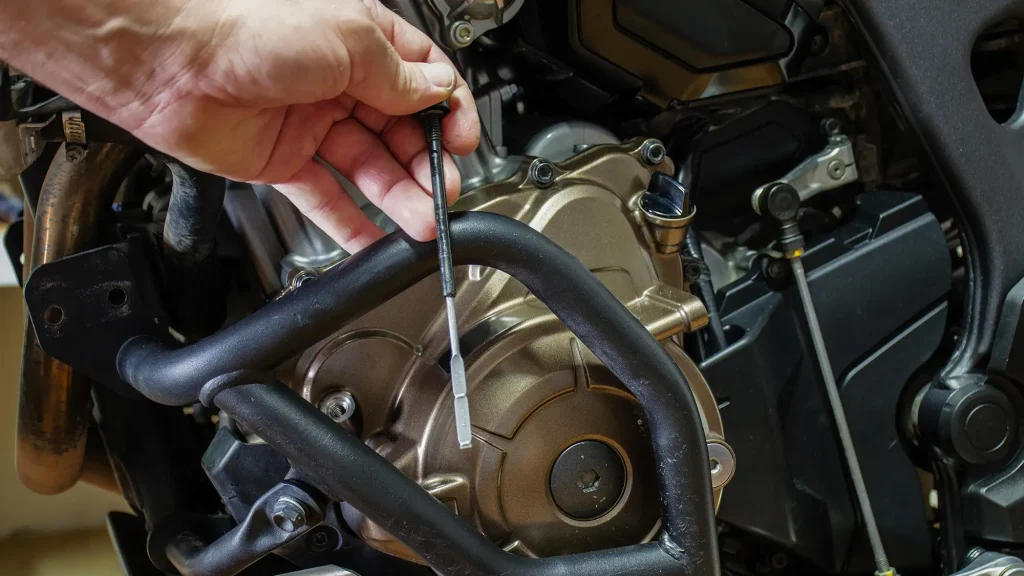
The American Motorcyclist Association also emphasizes regular motorcycle maintenance as part of responsible riding. Maintenance schedules differ considerably between motorcycles, so the owner’s manual should determine service intervals and fluid specifications.
A pre-ride inspection is not intended to replace scheduled maintenance. Its purpose is to catch changes that have occurred since the last inspection. Taking a minute to check the fluids and look underneath the motorcycle can reveal a problem before low fluid levels or a developing leak turns into an expensive mechanical failure.
6. Look Over the Chain, Belt, or Shaft Drive
The motorcycle’s final-drive system deserves a quick inspection because it transfers engine power to the rear wheel.
Depending on the motorcycle, that system may use a chain, belt, or shaft. The Motorcycle Safety Foundation’s T-CLOCS procedure specifically includes the drive system and calls for checking chain or belt condition, lubrication where applicable, and proper tension.
Chain-driven motorcycles need the most frequent visual attention. Look for excessive slack, damaged or missing links, rust, unusual wear, and teeth that appear excessively worn on the sprockets.
A chain should also have the amount of slack specified by the motorcycle manufacturer. The correct measurement varies considerably between motorcycles, so there is no universal number that applies to every machine.
Lubrication matters as well. A chain that is visibly dry may need maintenance, but the correct lubricant and application procedure should come from the motorcycle or chain manufacturer’s recommendations. Avoid allowing lubricant to contaminate the tires or brake components.
Belt-drive motorcycles require a different inspection. Look for cracks, missing teeth, fraying, or foreign objects lodged around the belt. Do not attempt to apply chain lubricant to a belt drive.
Shaft-drive motorcycles require less frequent visual maintenance, but that does not mean the system should be ignored. Check for obvious leaks, damaged components, or anything unusual around the final-drive housing.
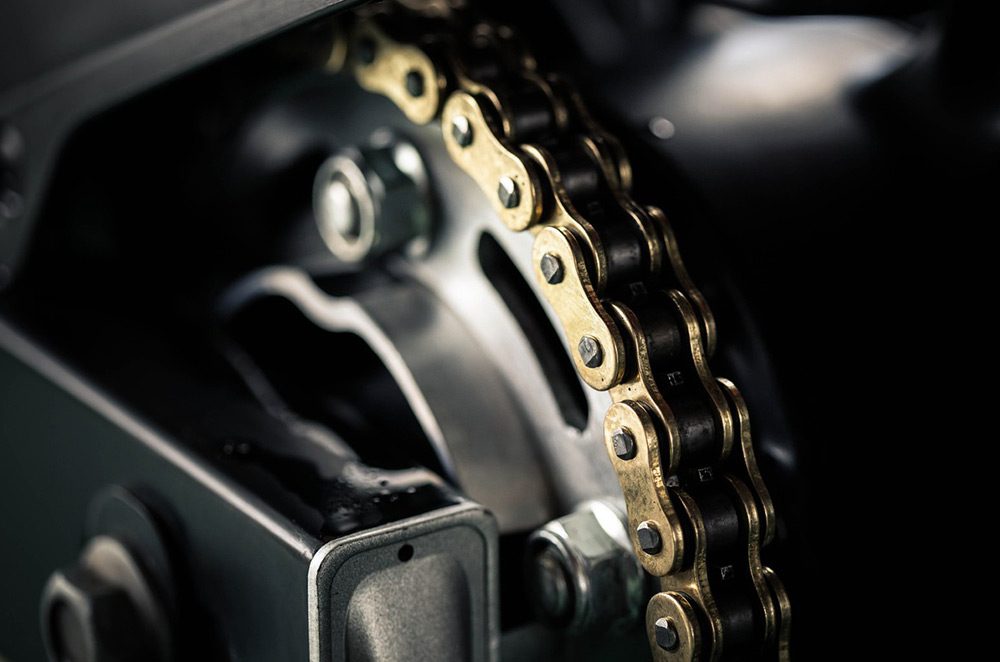
This check is particularly valuable before a long trip because final-drive problems can leave a motorcycle immobile far from home. A chain or belt may appear acceptable at first glance but show signs of abnormal wear when examined closely.
A good approach is to know which type of final drive your motorcycle uses and follow the manufacturer’s inspection requirements. A quick visual check should also become part of your routine before every ride.
7. Check the Horn and Handlebar Controls
A horn may rarely be used during an ordinary ride, but when a rider needs it, it needs to work immediately. Before setting off, press the horn briefly and confirm that it produces a clear sound. The Motorcycle Safety Foundation includes the horn among the motorcycle controls that should be checked during a pre-ride inspection.
While doing that test, inspect the other handlebar-mounted controls. Check the turn-signal switch, headlight controls, engine stop switch, and any other controls fitted to the motorcycle. Each should operate normally without excessive resistance or signs of damage.
The handlebar itself deserves attention too. Hold it firmly and check for anything that feels loose or unusual. MSF’s T-CLOCS system calls for inspecting the handlebars and steering components for damage, looseness, or anything that could affect control.
A useful part of this check is turning the handlebars smoothly from left to right while the motorcycle is stationary. There should be no obvious binding or interference. Pay attention to cables, wiring, and hoses as the handlebars move. They should not become stretched, pinched, or pulled tight at either steering lock.
The engine stop switch is particularly easy to overlook. Riders sometimes assume it works because they rarely use it, but testing it periodically confirms that the switch responds as expected. After testing, return the control to the correct position before starting the motorcycle.
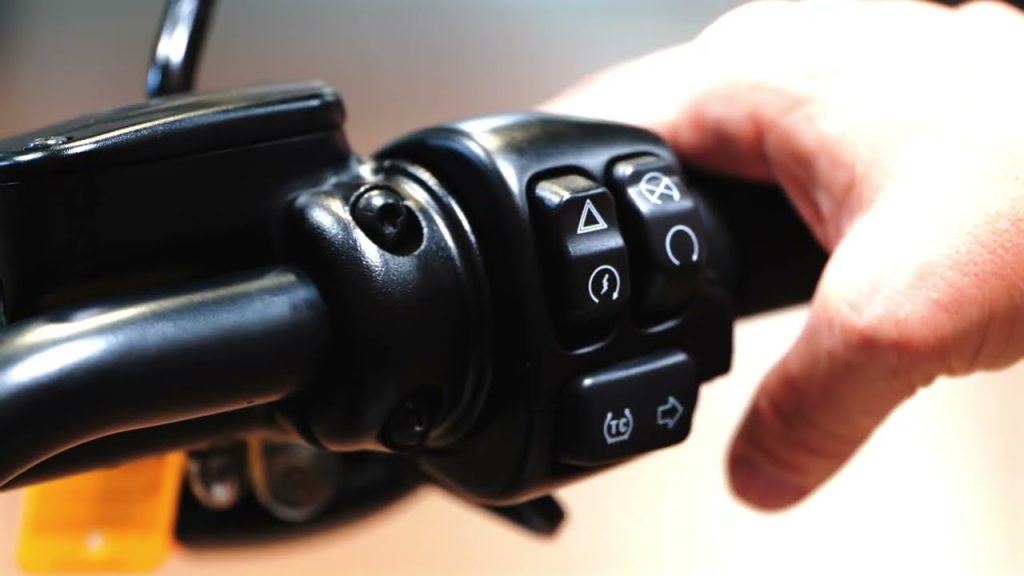
Also make sure accessories mounted around the handlebars have not interfered with the controls. Phone mounts, heated grips, auxiliary switches, cameras, and other equipment can sometimes change how cables and wiring are routed.
This entire inspection can be completed while the motorcycle is still parked. It is worth developing the habit because controls that feel normal during a quick visual glance may reveal a problem when physically operated. A few deliberate movements before departure can therefore identify an issue while the motorcycle is still safely stationary.
8. Inspect the Wheels, Spokes, and Steering
The wheels deserve more than a glance at the tires. They are critical structural components, and a problem with a wheel, axle, bearing, or steering assembly can affect the motorcycle’s stability. The Motorcycle Safety Foundation’s T-CLOCS inspection specifically includes wheels, rims, spokes, axles, and steering components.
Start by looking closely at both wheels. Check for obvious cracks, bends, or other damage to the rims. On a spoke wheel, inspect the spokes for missing, broken, or visibly loose components. Cast and forged wheels should also be examined for impact damage, particularly after hitting a large pothole or curb.
Next, look at the wheel area for anything unusual around the axle and brake components. The axle and related hardware should appear properly secured. If the motorcycle has been serviced recently, paying attention to these areas is especially worthwhile.
Steering requires a separate check. With the motorcycle stationary, turn the handlebars smoothly from one side to the other. The movement should be controlled and free of obvious binding. The Motorcycle Safety Foundation recommends checking steering-head bearings and looking for excessive play as part of its pre-ride inspection.
A rider can also notice changes while moving slowly in a safe location. Unusual knocking, resistance, or instability should not be dismissed as normal motorcycle behavior.
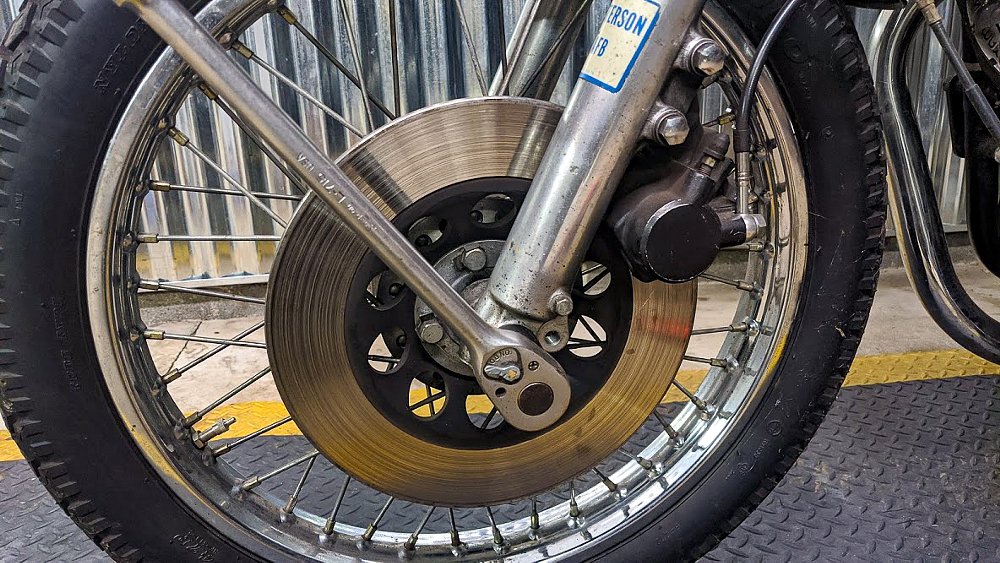
Wheel bearings are another component worth remembering. They are not normally something a rider needs to disassemble before every ride, but unusual play, noise, or roughness can indicate a problem requiring professional inspection.
The point of this check is not to perform a workshop-level examination every morning. It is to identify visible damage and unusual movement before the motorcycle reaches road speed. If something looks bent, loose, or damaged, stopping the inspection and having it assessed is far safer than discovering the problem during a corner or emergency maneuver.
9. Make Sure the Mirrors Are Secure and Properly Adjusted
Mirrors can seem like a minor part of a motorcycle, but they are essential for understanding what is happening behind you. Before every ride, check both mirrors for cracks, looseness, or movement. The Motorcycle Safety Foundation includes mirrors in its T-CLOCS pre-ride inspection and recommends ensuring they are clean, secure, and properly adjusted.
Sit in your normal riding position before making any adjustments. Moving the mirrors while standing beside the motorcycle can produce an angle that becomes less useful once you are seated. Aim for a broad view of the lanes behind you while minimizing the amount of your own body visible in the glass.
A mirror that moves easily when touched may gradually shift because of engine vibration, bumps, or wind. Tighten it according to the manufacturer’s instructions rather than forcing the mounting hardware.
The glass should also be clean. Dust, rain, road spray, and insects can reduce visibility, especially when headlights are approaching at night.
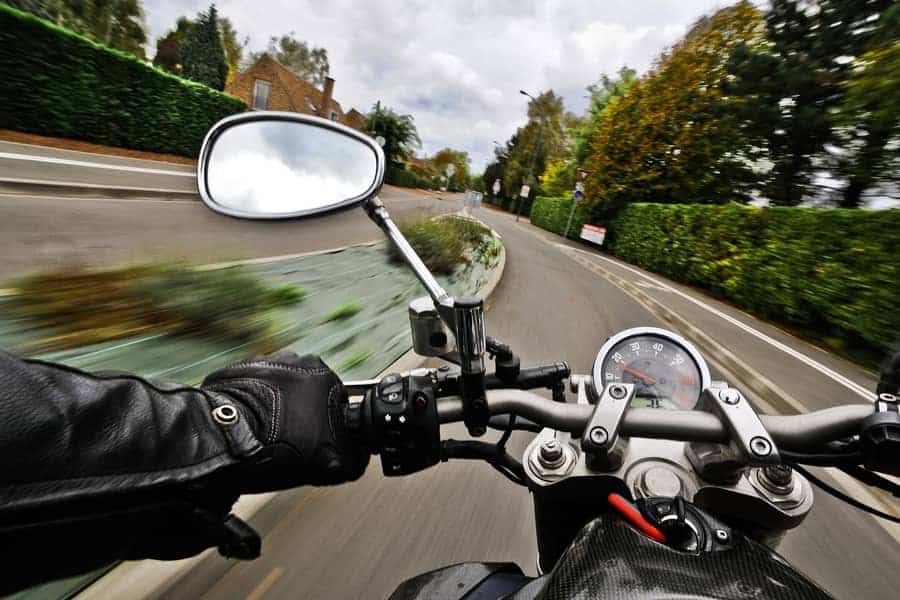
Remember that mirrors cannot eliminate every blind spot. Riders should still perform appropriate head checks before changing lanes or moving across traffic.
This inspection becomes particularly important after transporting the motorcycle, servicing the handlebars, or discovering that the bike has been knocked while parked. A few seconds spent checking both mirrors ensures they are ready before you enter traffic.
10. Check the Side Stand and Center Stand
The stands rarely attract attention when everything is functioning normally, yet they support the motorcycle whenever it is parked. The Motorcycle Safety Foundation includes the side stand and center stand in its T-CLOCS inspection because damage or improper operation can create problems before or during a ride.
Start with the side stand. Extend and retract it and make sure the movement feels smooth. Look for obvious bending, damage, or loose mounting hardware. The spring should also appear properly positioned and strong enough to return the stand securely.
If the motorcycle has a center stand, inspect that mechanism as well. Make sure it moves normally and returns completely to its intended position.
Many motorcycles are equipped with a side-stand safety switch. Its purpose and operation vary between models, so follow the procedure in the owner’s manual when checking it. Do not assume that every motorcycle uses the same system.
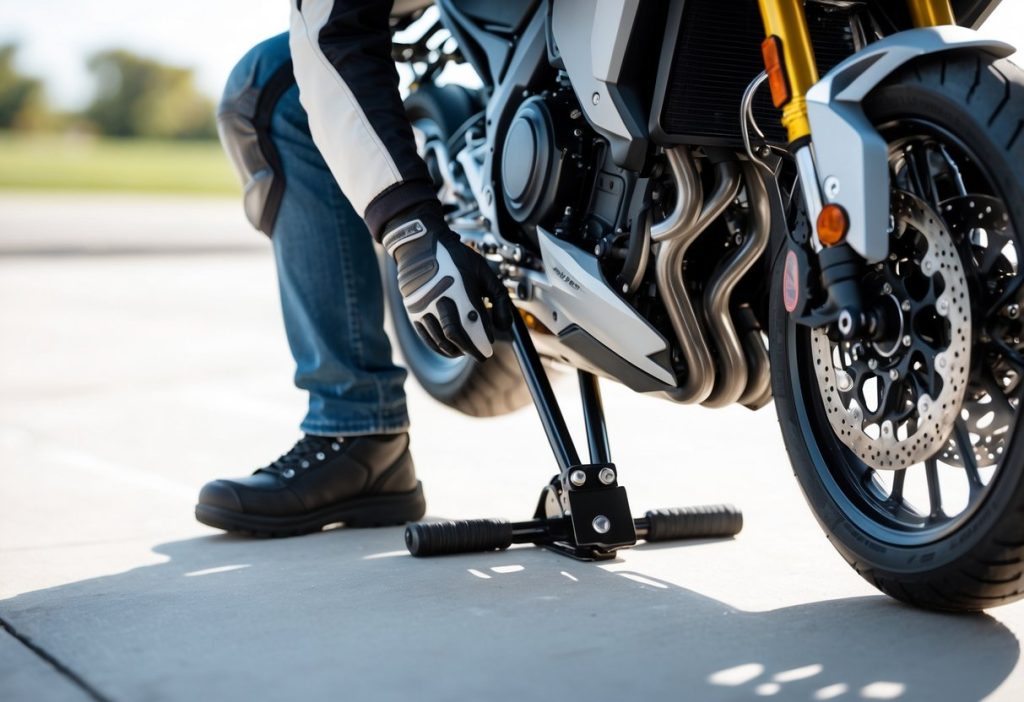
Also look around the stand for dirt, gravel, or other debris that could interfere with movement. This can become particularly relevant after riding on unpaved or muddy surfaces.
Before pulling away, make one final visual check that the side stand is fully retracted. A partially deployed stand can interfere with the motorcycle during a turn.
This is a simple final step, but it completes the pre-ride inspection. Spending a few minutes checking the motorcycle before departure can identify visible problems while the bike is still safely parked.