
For many U.S. drivers, the biggest surprise on a repair bill is not always the price of the part. Labor can turn a relatively simple maintenance job into a much larger expense. That is one reason do-it-yourself work remains attractive, particularly for owners who have the tools, time, and confidence to follow the manufacturer’s procedures.
The Auto Care Association says cost savings are the primary reason consumers choose DIY maintenance, while lack of knowledge and repair complexity remain the biggest obstacles. The U.S. automotive aftermarket reached $414 billion in 2024, showing just how much Americans spend keeping vehicles running.
1. Changing the Engine Air Filter
An engine air filter is one of the easiest maintenance items to replace on many vehicles, yet drivers frequently pay a shop to perform the job.
The filter prevents dirt and debris from entering the engine’s intake system, and manufacturers specify replacement intervals based on mileage, operating conditions, and vehicle design.
Because accessibility varies considerably, the first step should always be checking the owner’s manual rather than replacing it on a fixed schedule.
The potential saving comes almost entirely from avoiding labor. A technician may need only a few minutes to access the filter housing, release its clips or fasteners, remove the old filter, and install the replacement.
On vehicles with an easily accessible housing, an owner can perform essentially the same procedure with basic tools or sometimes without tools at all.
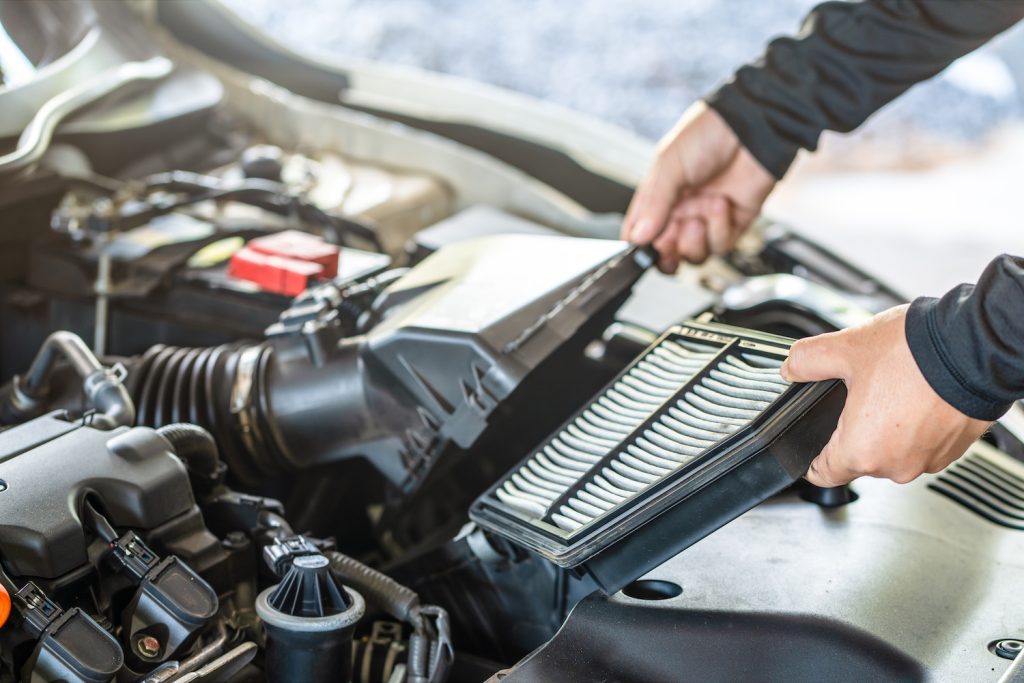
The actual dollar saving depends heavily on the vehicle and filter. Parts prices also vary according to engine size, filter design, and whether the owner chooses an original-equipment or aftermarket component. That makes it misleading to promise one universal DIY saving.
The job becomes less attractive when the filter is buried beneath other components or requires extensive disassembly. In those cases, the labor charge may reflect genuine access difficulty. For straightforward housing, however, this is one of the clearest maintenance tasks for a confident owner to handle personally.
2. Replacing the Cabin Air Filter
The cabin air filter has a different job from the engine air filter. It cleans air entering the passenger compartment and can become clogged with dust, pollen, and other debris. Many vehicles place the filter behind the glove box, beneath the dashboard, or in another relatively accessible location.
That makes replacement a particularly interesting DIY opportunity because the mechanical complexity is generally low. The challenge is finding the filter location and understanding how the housing opens. Some vehicles require the glove box to be lowered or removed, while others provide direct access.
The financial benefit comes from eliminating technician labor. A repair shop may charge for inspection, removal, and installation even though the physical replacement can be completed relatively quickly on vehicles designed for easy service. The exact savings vary by location, vehicle, and labor rate, so there is no reliable single national figure that applies to every car.
That is especially relevant to cabin filters because installation direction matters. Many filters have an airflow arrow, and installing one backward can compromise its intended function.
Owners should also resist the temptation to choose a filter solely because it is cheaper. Correct dimensions, airflow characteristics, and the manufacturer’s specifications matter.
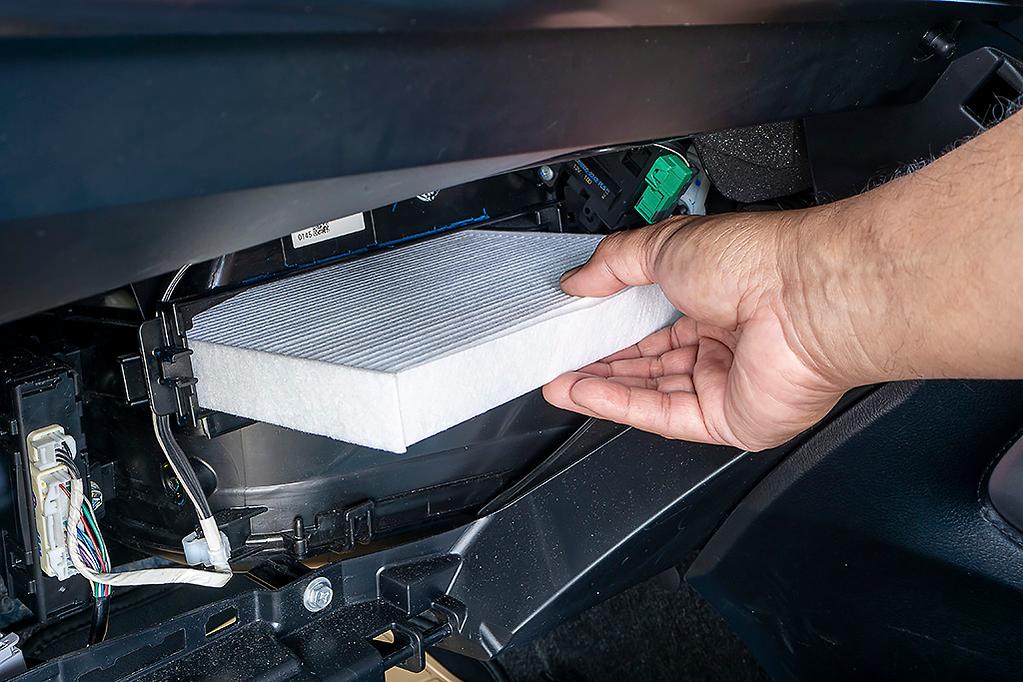
This is a good example of where DIY does not require advanced mechanical knowledge. The key is preparation. Find the correct filter, read the vehicle-specific procedure, and make sure every clip or panel is properly reinstalled.
Done correctly, the owner keeps the labor portion of the bill in their pocket while performing a legitimate routine maintenance task.
3. Replacing Windshield Wipers
Windshield wipers are among the most accessible components on a vehicle, and replacing them usually requires little mechanical knowledge. Yet many drivers still have a shop install them, turning a simple parts purchase into a service transaction.
The important point is that wiper blades are not universal. Correct length, attachment style, and design must match the vehicle. The owner’s manual or a reputable parts catalog should be used to identify the correct application.
Installation itself can be straightforward. The old blade is released from the wiper arm, the replacement is attached using the correct adapter, and the connection is checked before lowering the arm onto the glass. Drivers should handle the metal arm carefully because an unsupported arm can snap against the windshield if it is accidentally released.
The potential savings are primarily the labor charge. Unlike jobs involving fluids, brake components, or electrical systems, wiper replacement generally does not require specialized diagnostic equipment.
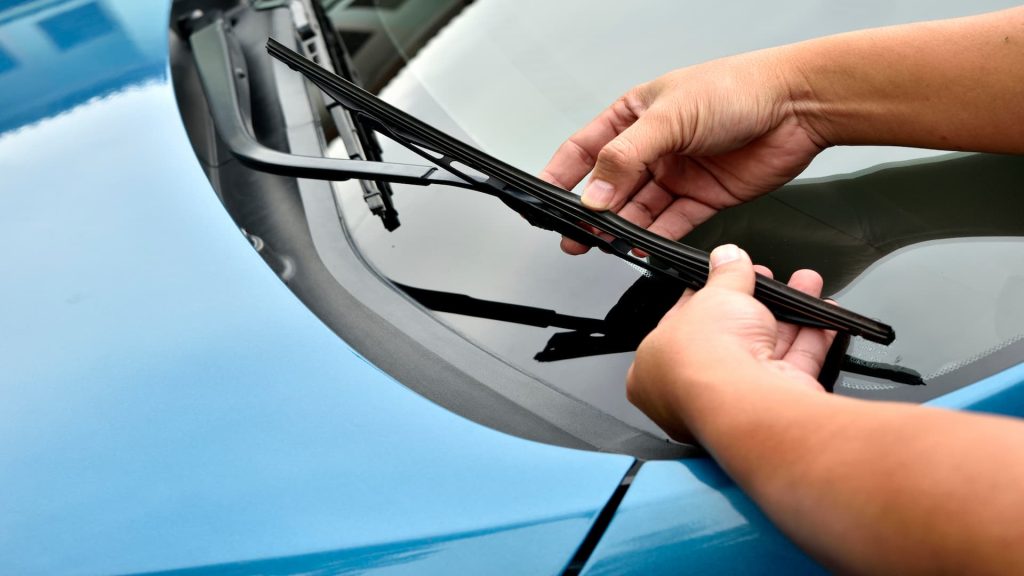
There is also a practical reason not to delay replacement. Worn blades can leave streaks, chatter across the windshield, or reduce visibility during rain. A DIY owner can inspect the rubber element periodically and replace it when performance deteriorates rather than waiting for a scheduled service visit.
This job illustrates why DIY maintenance does not always mean tackling complicated repairs. Sometimes the financial benefit comes from handling very small tasks yourself.
4. Replacing a 12-Volt Battery
A conventional 12-volt battery replacement can be another worthwhile DIY job, although modern vehicles have made the procedure more complicated in some cases. RepairPal’s September 2026 estimate puts the average battery replacement at $456 to $493, including estimated labor of $61 to $90 and parts of $394 to $403.
That means the labor portion alone represents a potential DIY saving of roughly $61 to $90 using RepairPal’s current national estimate. Actual prices vary by vehicle and location.
RepairPal notes that many battery replacements are relatively quick and straightforward. However, battery placement differs. Some vehicles locate the battery in the engine compartment, while others place it in the trunk, wheel well, or beneath a seat. Those designs can significantly change the difficulty.
The order of cable removal and installation also matters. RepairPal recommends removing the negative cable before the positive cable and connecting the positive cable before the negative cable during installation.
Another consideration is diagnosis. A vehicle that refuses to start does not automatically need a new battery. A weak battery can be caused by age, but charging-system problems, wiring issues, and other electrical faults can produce similar symptoms. RepairPal specifically recommends testing the starting and charging system before replacing the battery.
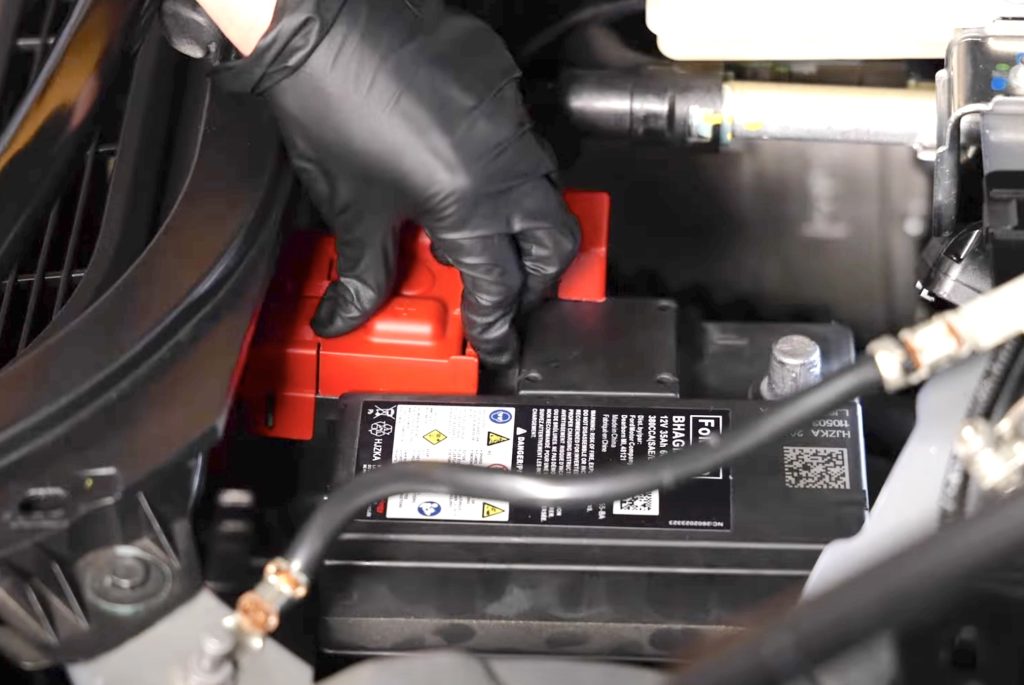
Modern vehicles may also require battery registration or related electronic procedures after replacement. The exact requirement depends on the vehicle.
When those conditions are met, avoiding a $61 to $90 labor charge can make battery replacement substantially more economical.
5. Replacing Spark Plugs
Spark plugs represent a classic maintenance job that can save meaningful labor money when access is good. They ignite the air-fuel mixture in gasoline engines, and worn or incorrectly functioning plugs can contribute to misfires, poor performance, and starting problems.
RepairPal’s September 2026 national estimate puts spark plug replacement at $288 to $399, with labor accounting for approximately $184 to $270 and parts for $104 to $129.
That makes this one of the more labor-heavy routine jobs on the list. A capable DIY owner could potentially avoid a substantial portion of the bill, although the actual savings depend on the vehicle.
The catch is accessibility. RepairPal notes that newer vehicles can require removal of an engine cover, ignition coil harnesses, and ignition coils before the plugs can be reached. Some engines provide easy access, while others turn a simple plug replacement into a time-consuming project.
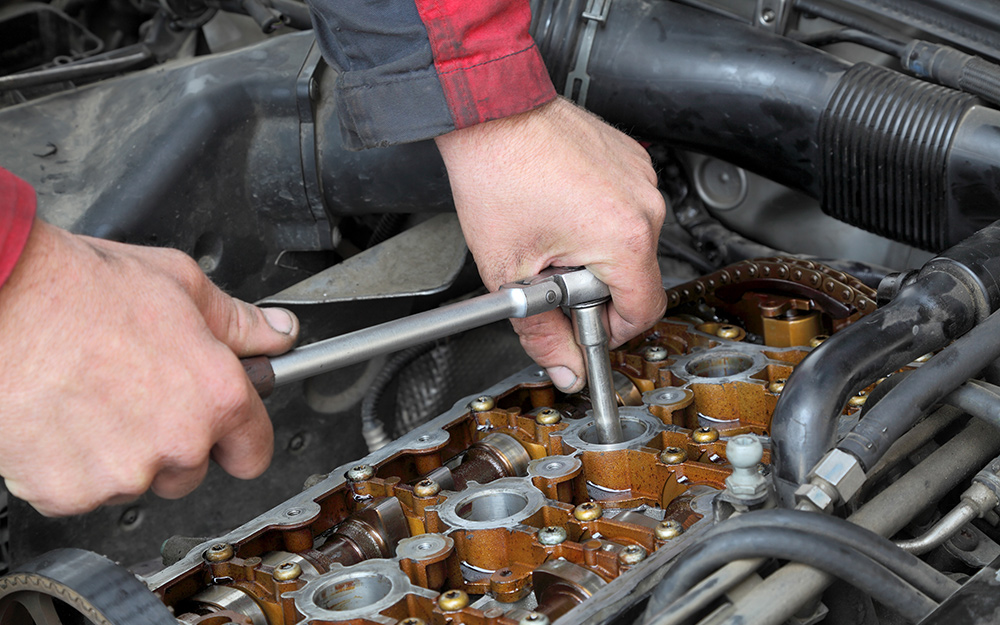
Correct installation is critical. Spark plug threads can be damaged if a plug is installed incorrectly, and the specified gap and tightening torque need to be followed. RepairPal also recommends using the proper plug and following the manufacturer’s specifications.
The financial calculation therefore depends on skill as much as parts pricing. If a driver can perform the job correctly, the labor component can represent a substantial saving. If access is difficult or the owner lacks experience, a professional may be the smarter choice.
6. Replacing Brake Pads
Brake pads are a more serious DIY proposition because they are directly connected to vehicle safety. RepairPal’s current national estimate places average brake-pad replacement at $335 to $394, with labor estimated at $122 to $179 and parts at $213 to $215.
Those labor figures show why some experienced owners choose to perform the work themselves. A successful DIY replacement can eliminate approximately $122 to $179 in labor before taxes and fees.
But brake work is not the place for guesswork. RepairPal itself says brake-pad replacement can be performed at home, while strongly recommending a certified repair shop because brakes are essential safety equipment.
The procedure normally involves safely lifting the vehicle, removing the wheels, accessing the brake caliper, removing the old pads, inspecting associated components, and installing the new pads correctly. Proper wheel installation and torque are also important.
Another issue is that worn brake pads can expose problems elsewhere. Rotors may have wear patterns or damage that require replacement rather than simply fitting new pads. RepairPal notes that contamination of a brake rotor with grease or automotive fluid can also require pad replacement.
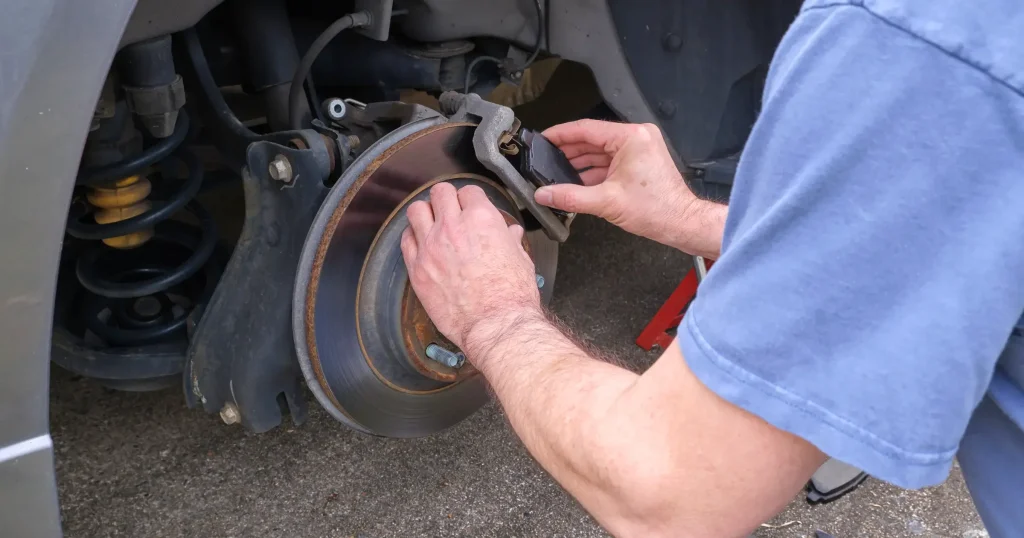
Therefore, the headline saving is not the whole story. A DIYer needs suitable lifting equipment, safe working practices, and enough mechanical knowledge to recognize when additional brake components require attention.
For experienced owners, this can be one of the more valuable maintenance jobs financially. For someone attempting brake work for the first time, the potential labor saving should never outweigh safety.
7. Changing Engine Oil and the Oil Filter
Oil changes are among the most familiar DIY maintenance jobs, and they demonstrate how labor savings can accumulate over time. The owner supplies the correct oil and filter, drains the used oil, installs the new filter, refills the engine, and verifies the level.
The procedure sounds simple, but vehicle-specific requirements matter. Oil viscosity, quantity, filter specification, and service intervals should come directly from the owner’s manual or manufacturer guidance.
There is also an environmental responsibility. Used engine oil must not be poured onto the ground, into drains, or into household waste. It should be collected in an appropriate container and taken to an approved recycling or collection location.
The economic advantage comes from avoiding the labor and service markup associated with a shop visit. The exact savings vary substantially because oil capacity, oil specification, and local labor prices differ.
DIY oil changes also require equipment that a driver may not already own. Safe lifting and supporting the vehicle is essential if the drain plug cannot be accessed from ground level. A proper drain pan, suitable tools, and a method of transporting used oil are necessary.
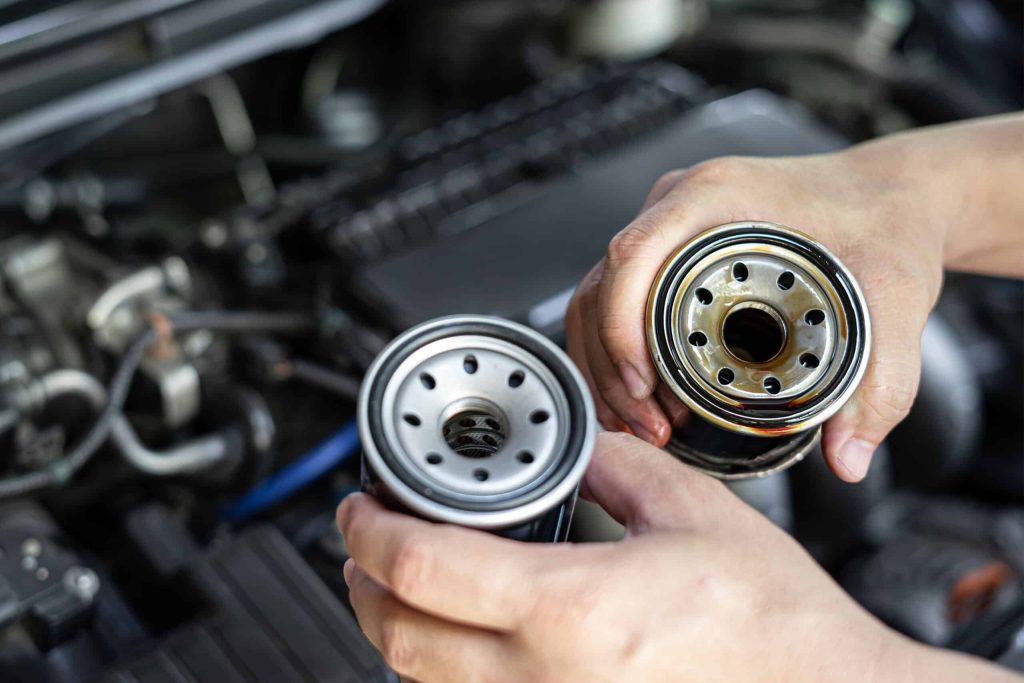
For that reason, an oil change can be inexpensive to perform but still demands discipline. The benefit becomes particularly noticeable for owners who keep their vehicles for many years and perform every scheduled oil service.
Instead of treating one oil change as a major financial victory, think of the savings as something that can accumulate repeatedly throughout ownership.
8. Replacing the Engine Air Intake Hose
An intake hose may look like a simple piece of rubber or plastic, but a cracked or disconnected hose can create drivability problems by allowing air into the intake system where it does not belong. Replacement can be relatively straightforward on vehicles where the hose is accessible.
The financial opportunity comes from the difference between parts and labor. A technician may need to diagnose the leak, identify the damaged hose, remove clamps or connectors, and install the replacement. An owner who has already confirmed the failed component can sometimes handle the physical replacement without paying the labor portion.
This is a case where diagnosis matters more than the actual installation. A poor-running engine can have many possible causes, and replacing a hose without confirming the fault can waste money.
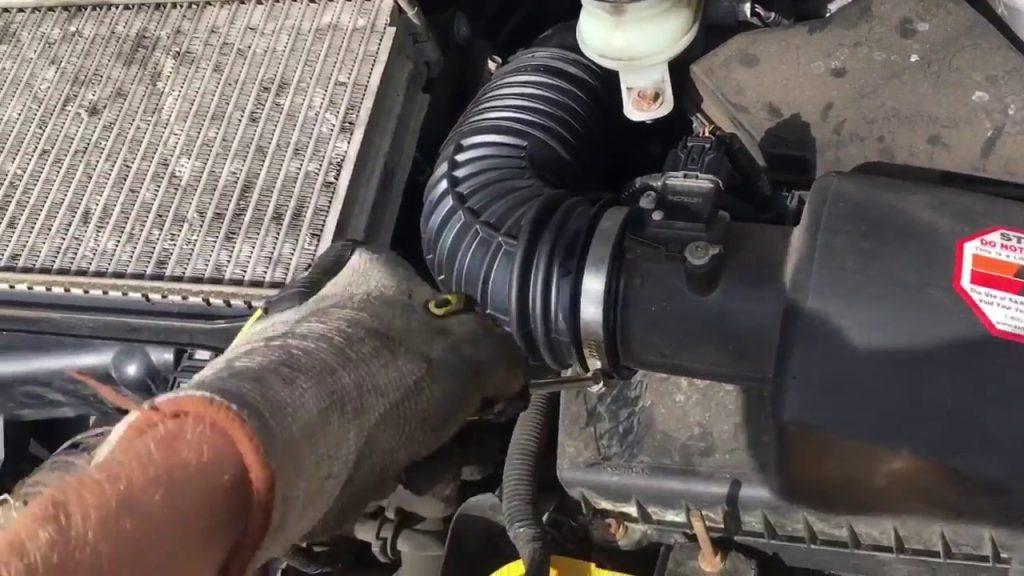
A proper inspection should look for obvious cracks, loose connections and damaged clamps. Vehicle-specific procedures should then be followed because modern intake systems can include sensors, resonators, and other components that must remain correctly connected.
For an experienced owner, replacing a damaged intake hose can be a manageable way to eliminate labor charges. For a driver who is unsure whether the hose is actually the cause of a problem, paying for diagnosis may prevent a much more expensive mistake.
9. Replacing Fuses
A blown fuse is one of the smallest failures that can disable a surprisingly important vehicle function. Headlights, accessory outlets, interior electronics, and other circuits can depend on fuses, and replacement is often simple once the correct fuse has been identified.
The critical word is “correct.” A fuse must be replaced with one matching the specified rating. Installing a fuse with an incorrect rating can create serious electrical problems and should never be used as a shortcut.
This is therefore a low-cost job with an unusually high emphasis on diagnosis. A fuse normally blows because excessive current passes through the circuit. Replacing it without understanding why it failed may result in another blown fuse or mask an electrical fault.
The owner’s manual typically identifies fuse locations and ratings. The vehicle may have more than one fuse box, so identifying the correct location is the first step.
There is little reason to pay significant labor for a straightforward fuse replacement when the owner has correctly identified the failed component. The potential shop charge is therefore avoided primarily through convenience and labor savings rather than a large parts discount.
However, repeated fuse failures are different. If the same fuse blows again, the vehicle may have an underlying electrical problem that requires diagnosis.
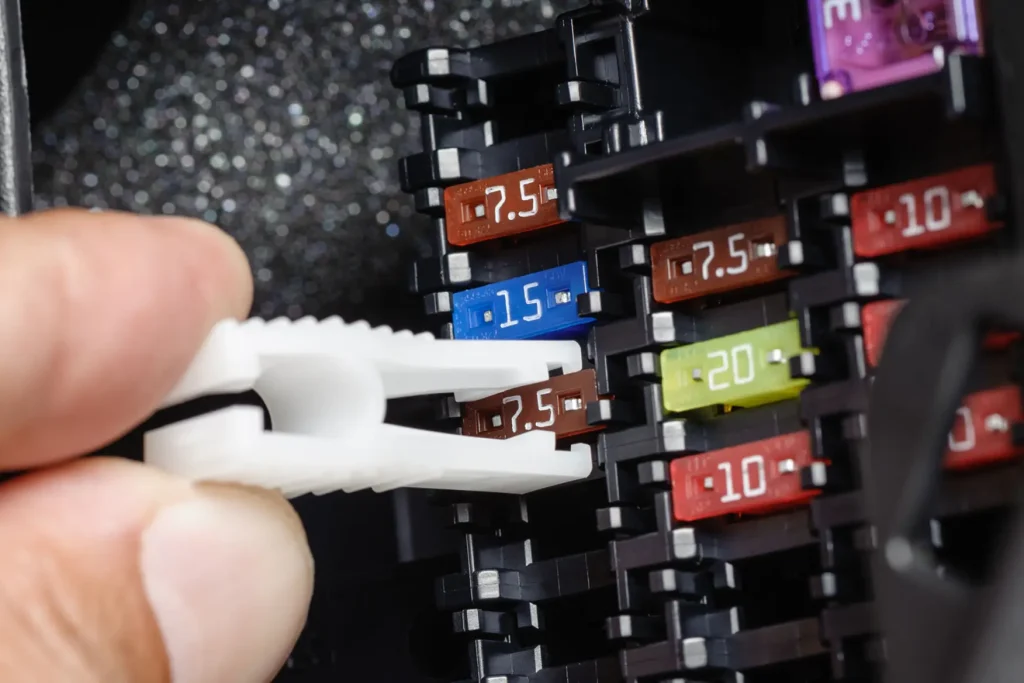
This illustrates a broader DIY principle. A simple physical repair does not necessarily mean the problem itself is simple.
For a single failed fuse, replacing it according to the manufacturer’s specification can be sensible. For a recurring electrical fault, professional diagnosis is usually the better investment.
10. Replacing a Serpentine Belt
The serpentine belt drives accessories such as the alternator and, depending on the vehicle, other components. When it becomes damaged or excessively worn, replacement can prevent a failure that could leave the vehicle stranded.
This is more complicated than changing a filter because belt routing and tension matter. Some vehicles use an automatic tensioner, while others have different arrangements. The correct belt length and routing pattern must match the specific engine.
The DIY financial opportunity comes from avoiding labor. A shop may charge for inspection, belt removal, and installation even though an experienced owner can perform the physical replacement with the appropriate tools.
However, access can vary significantly from one engine to another. Some layouts make the belt easy to reach, while others position it behind covers or in confined areas. Before starting the job, the driver should examine the belt routing and understand how the tensioner works.
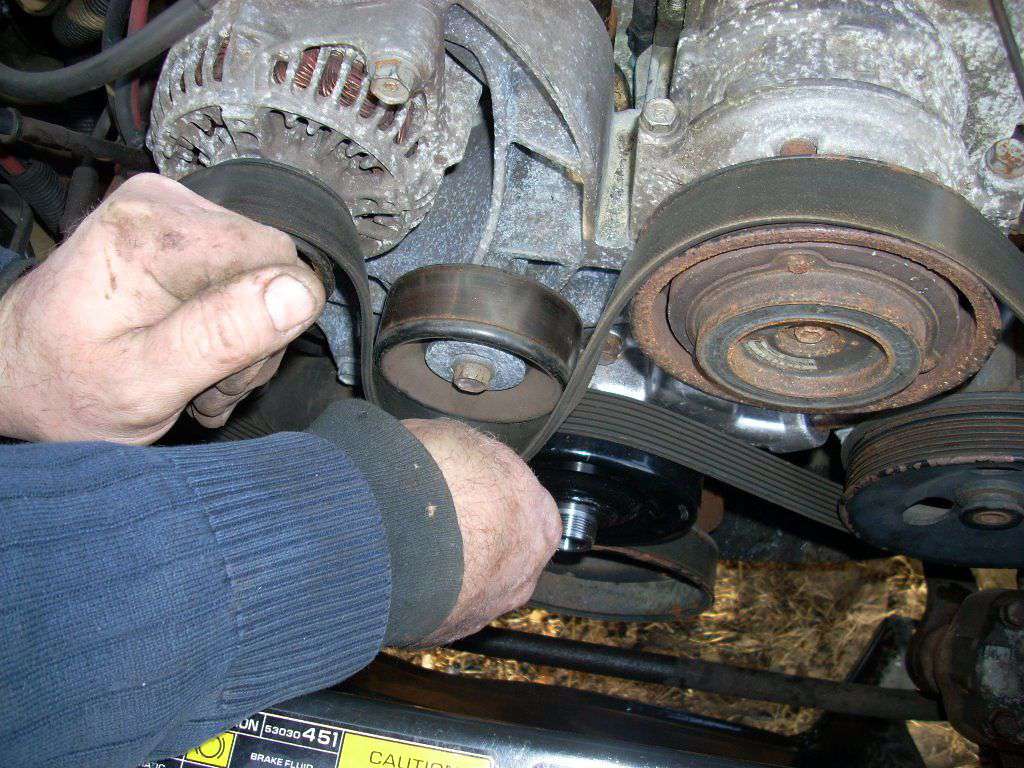
It is also important to determine why a belt failed. A worn belt may simply be reaching the end of its service life. But damaged pulleys, tensioners, or accessories can also contribute to belt problems. Installing a new belt without addressing the underlying issue may result in another failure.
Because of that, this job rewards mechanical experience more than simple confidence. For a knowledgeable DIYer, a serpentine-belt replacement can eliminate labor and extend reliable operation. For an inexperienced owner, however, incorrect routing can create immediate problems.
11. Replacing a Headlight Bulb
A failed headlight bulb is another repair that can sometimes be completed without professional assistance, although the procedure differs dramatically between vehicles.
Older and simpler vehicles may provide direct access behind the headlamp assembly. Other designs require removal of covers, air-intake components, or other surrounding parts. Some newer vehicles use LED assemblies rather than conventional replaceable bulbs, meaning the entire lighting unit or a specific module may need to be serviced instead.
That distinction should be checked before purchasing anything. For vehicles using replaceable bulbs, the owner needs to match the exact bulb type specified for the vehicle. Handling requirements also matter. Certain bulbs should not be touched directly on the glass because oils from skin can affect their operating temperature and lifespan.
The potential saving comes from avoiding labor for a relatively small installation. Parts prices vary by bulb type and quality, while shop labor depends on accessibility and local rates.
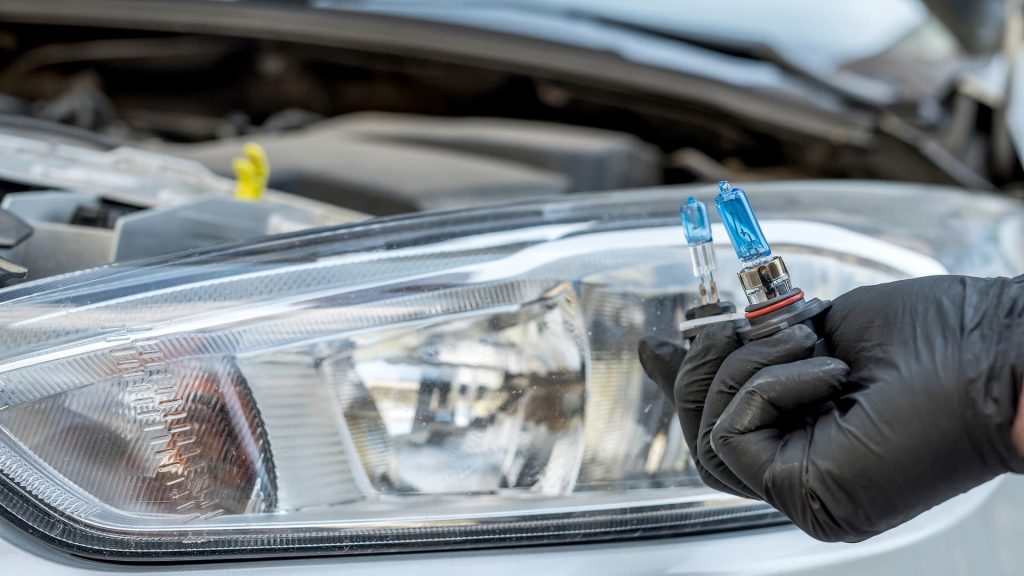
A headlight also represents a safety issue. After installation, the light should function correctly, and the beam should remain properly aimed. Simply making the bulb illuminate is not necessarily the end of the job. The same principle applies to taillight and turn-signal bulbs where replaceable units are used.
If the owner’s manual shows straightforward access, this can be a sensible DIY repair. If the lighting assembly requires extensive disassembly, professional service may save time and reduce the risk of damaging surrounding components.
12. Replacing a Worn Thermostat or Simple Cooling-System Component
Cooling-system repairs require more caution than most of the maintenance jobs above because they involve hot coolant, pressure, and the possibility of engine damage. Still, some experienced DIY owners can handle certain straightforward components when the vehicle-specific procedure permits it.
A thermostat is a good example of a component that can be relatively inexpensive compared with the labor required to access and replace it. The thermostat regulates coolant flow as the engine reaches operating temperature. If it fails, the engine may run too cold, overheat, or exhibit unusual temperature behavior.
However, this is not a job to attempt based solely on symptoms. An overheating engine can have many causes, including coolant leaks, cooling fans, water-pump problems, radiator restrictions, or other failures. Replacing the thermostat without diagnosing the problem can waste money and leave the actual fault unresolved.
Safety is equally important. Cooling systems can remain pressurized when hot. The system should be allowed to cool completely before opening it, and the correct coolant specification must be used.
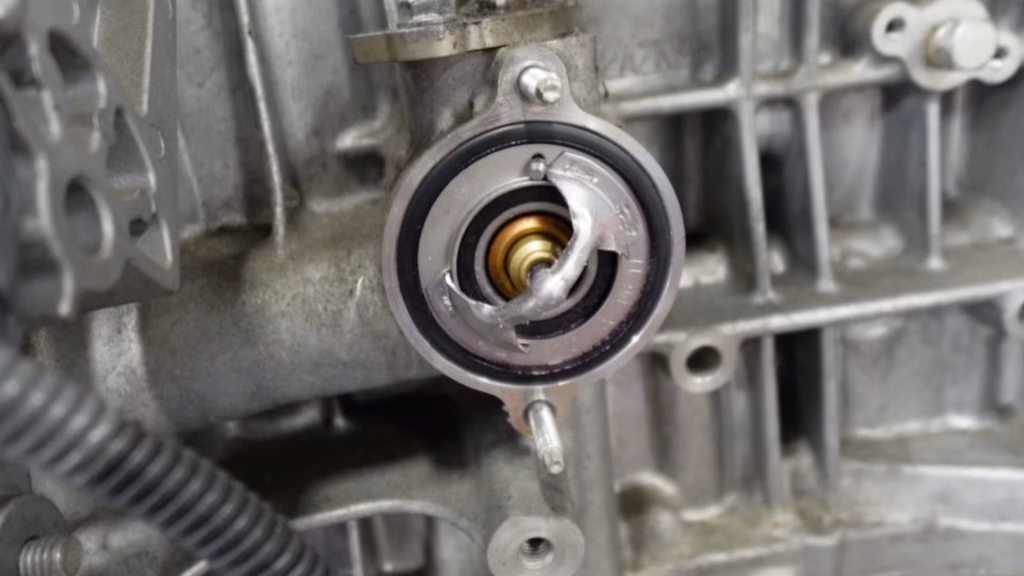
This is where the economics of DIY become less straightforward. Saving a labor charge is valuable, but an incorrect cooling-system repair can produce engine damage far more expensive than the original service.
For experienced owners with the proper tools and vehicle-specific instructions, certain cooling-system jobs can be worthwhile. For everyone else, this is an area where professional diagnosis can be the cheaper decision in the long run.
The biggest lesson from DIY maintenance is therefore not that every repair should be done at home. It is that owners can selectively handle simple, well-understood jobs while recognizing when a repair crosses into safety, diagnostic, or technical territory.