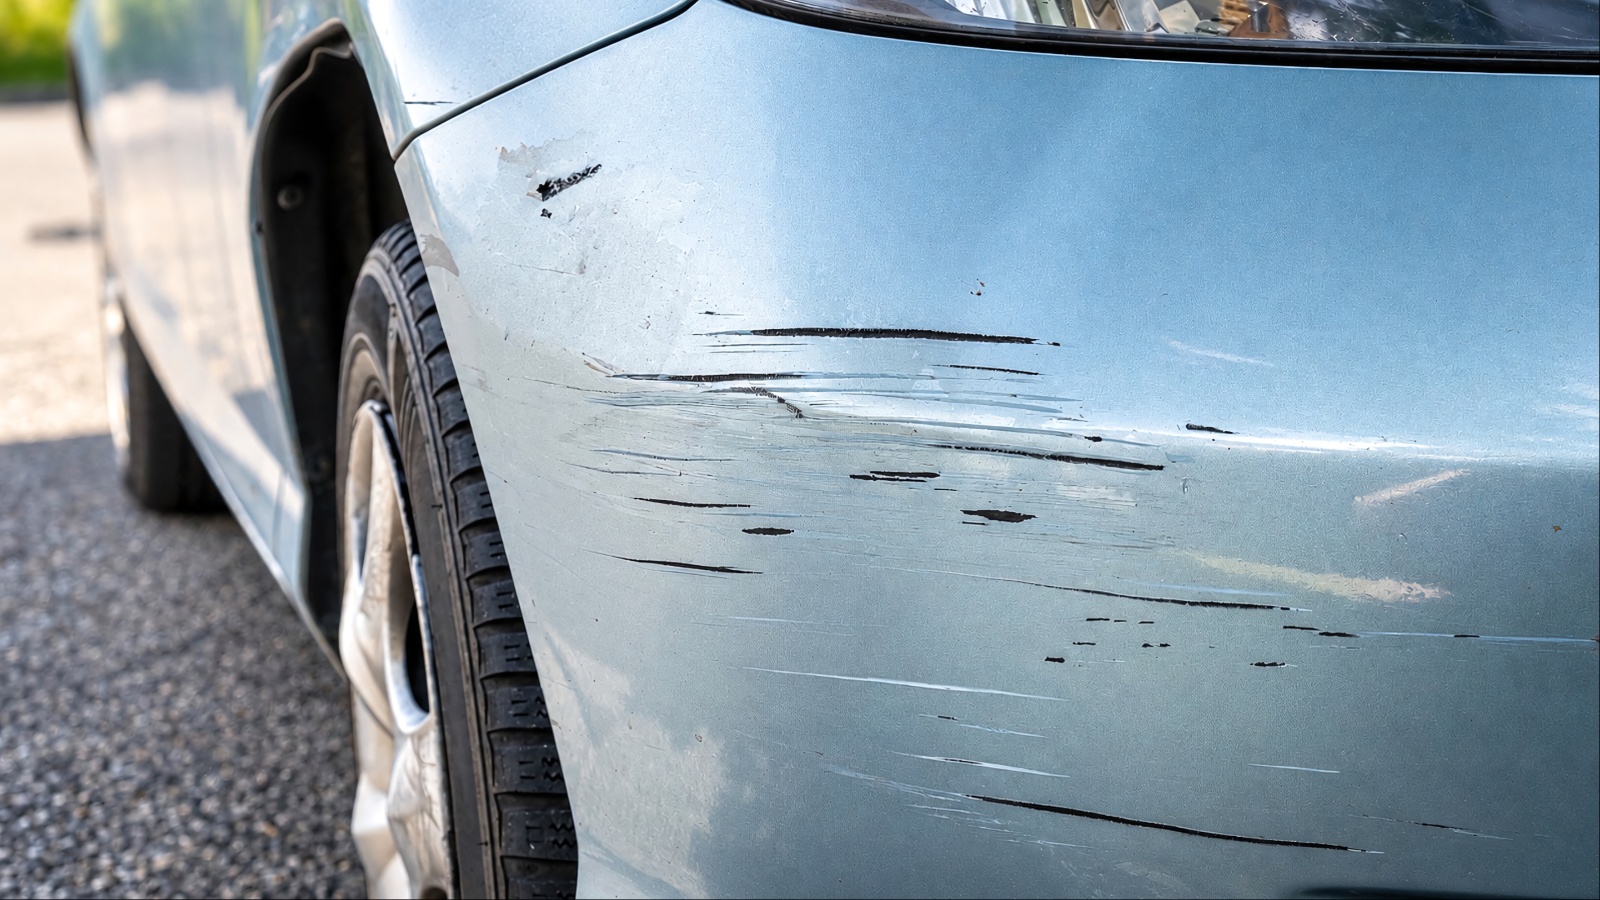
A bumper scuff can make a clean car look neglected, but you don’t always need a paint can. Many marks sit only on the surface and can be reduced or removed with simple household supplies, gentle abrasives, heat, or plastic-care products. The trick is figuring out how serious the damage really is before choosing a method.
A little transferred paint may disappear with soap and a microfiber cloth, while a stubborn mark may need polishing, controlled heat, or careful wet sanding. Before trying anything, wash the area and inspect it in good light. Start with the gentlest method and increase the level of treatment only when needed. That approach can help protect the bumper while keeping your repair inexpensive.
1. Soap, Water & Microfiber Cleaning
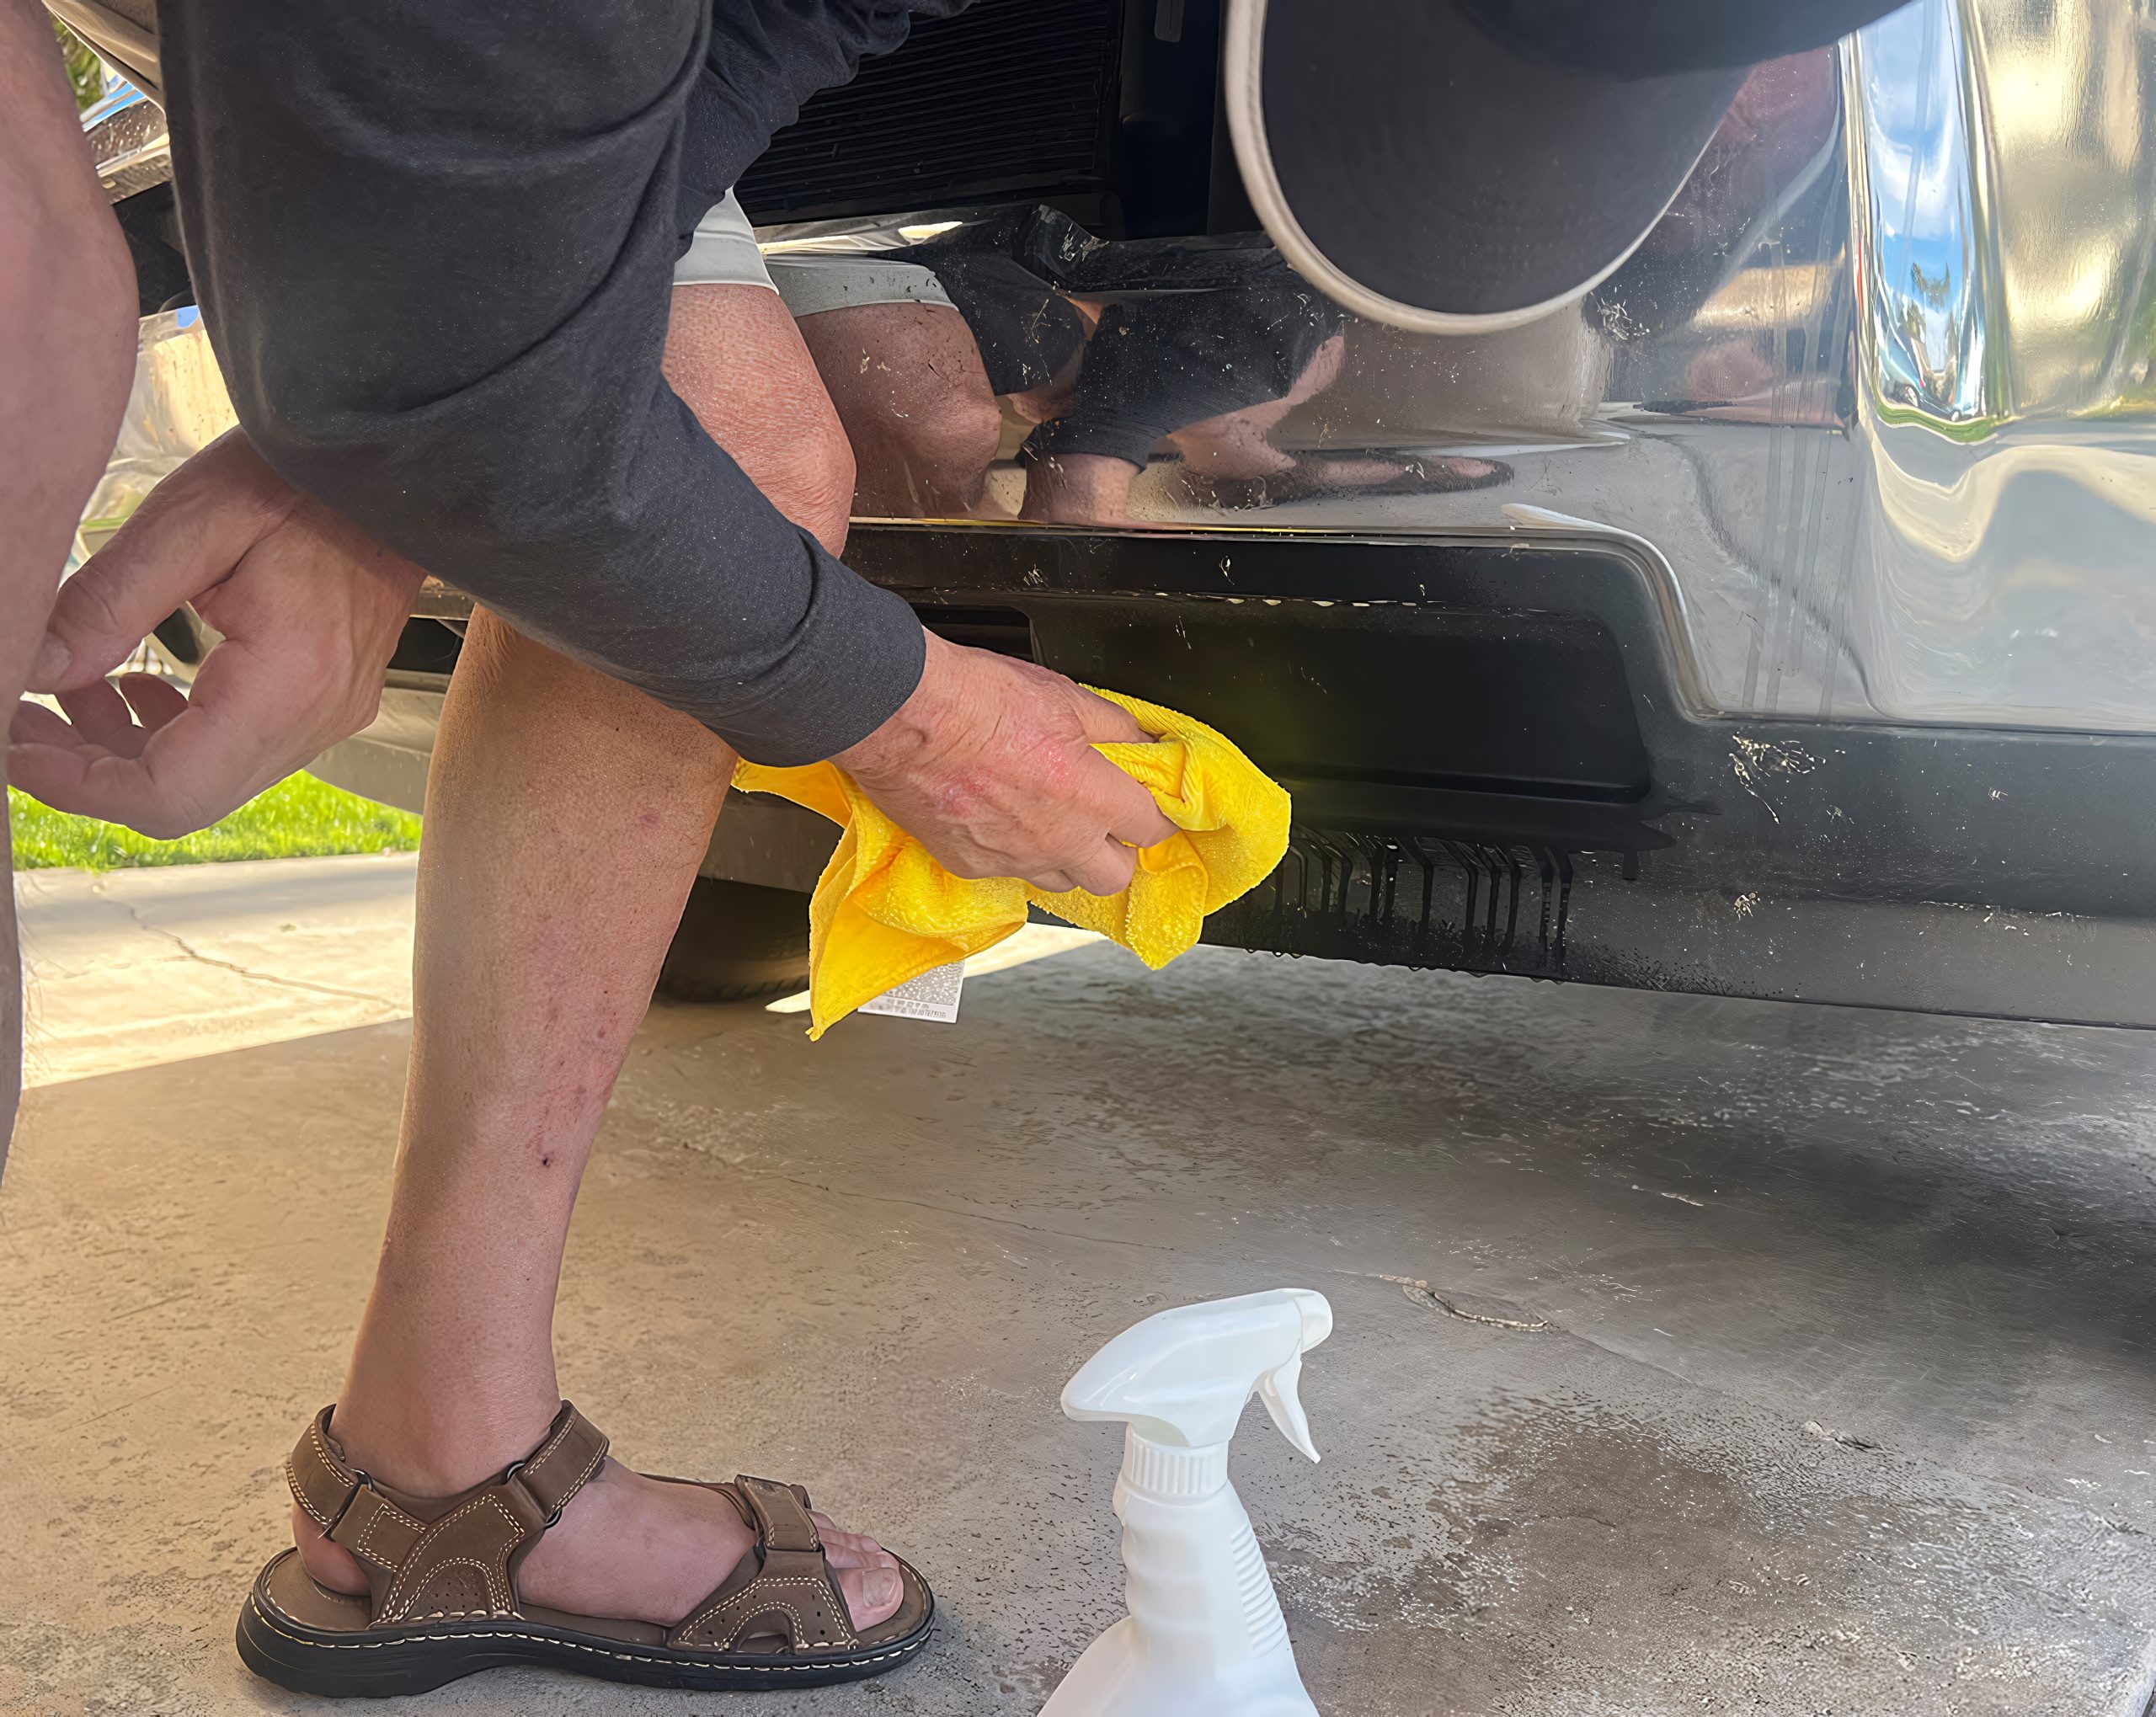
It is easy to mistake dirt or transferred material for actual damage. A bumper can pick up rubber, road grime, paint residue, and other material during a minor scrape. Before using any abrasive product, give the surface a proper wash.
Mix car shampoo with water according to the product directions. Rinse away loose dirt first, because rubbing grit across plastic can create fresh scratches. Then wash the affected section with a clean microfiber cloth or wash mitt.
Once the area is clean, dry it with another microfiber towel. Take a close look. You may find that the mark has already disappeared or become much less visible.
If something remains, rub the area gently with a clean microfiber cloth. Use steady pressure rather than aggressive scrubbing. Microfiber can lift surface residue without being harsh on the bumper.
This method works especially well for light gray or white marks that sit on top of the plastic. It can also reveal whether you are dealing with transferred material or a genuine scratch.
There is little risk and almost no expense when you already have car shampoo and microfiber towels. More importantly, cleaning gives you a clean starting point for any treatment that follows.
Do not skip this first step. A five-minute wash can save you from using a stronger product when you never needed one.
2. Magic Eraser (Melamine Sponge)
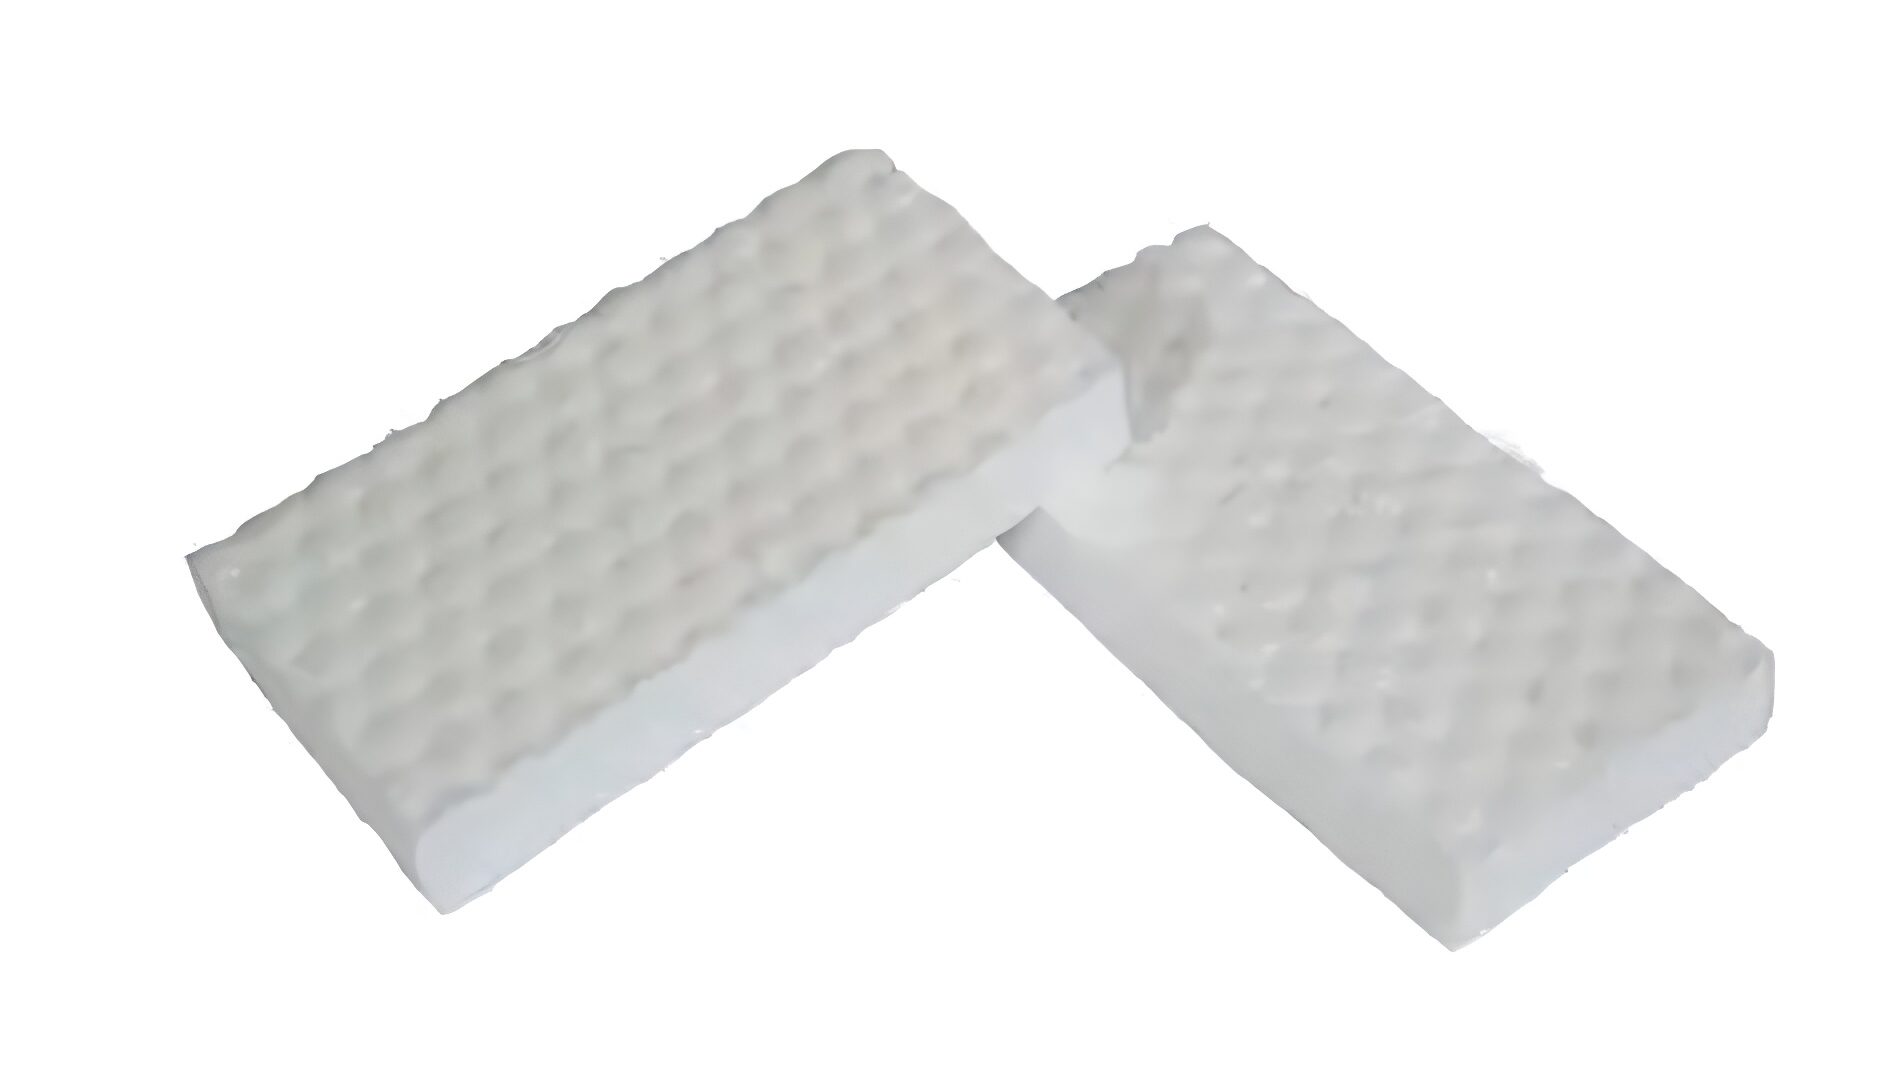
A melamine sponge can be useful when ordinary washing leaves a faint mark behind. Its fine abrasive structure can remove surface residue, but that same quality means you need a light touch.
Start by wetting the sponge with clean water and squeezing out the excess. You do not need to soak the bumper. Choose a small, inconspicuous section first and rub gently.
Use short, controlled movements rather than pressing hard. After several passes, wipe the area with a damp microfiber cloth and inspect it under good lighting.
This method can work nicely on light-colored transfer marks, chalky residue, and similar surface contamination. It may also reduce the appearance of a dull scuff on certain plastic surfaces.
There is a catch: melamine foam is abrasive. Too much pressure can change the sheen of the plastic, especially on glossy or textured surfaces. If the treated spot begins looking duller than the surrounding bumper, stop immediately.
A Magic Eraser is inexpensive, and you may already have one at home. Still, cheap does not mean risk-free. Think of it as a mild abrasive rather than a magical chemical treatment.
That is why patience is more effective than using excessive force. Several gentle passes may gradually remove the problem, while aggressive scrubbing can damage the surface and turn a minor cosmetic issue into a more serious one.
3. Heat Gun or Hair Dryer
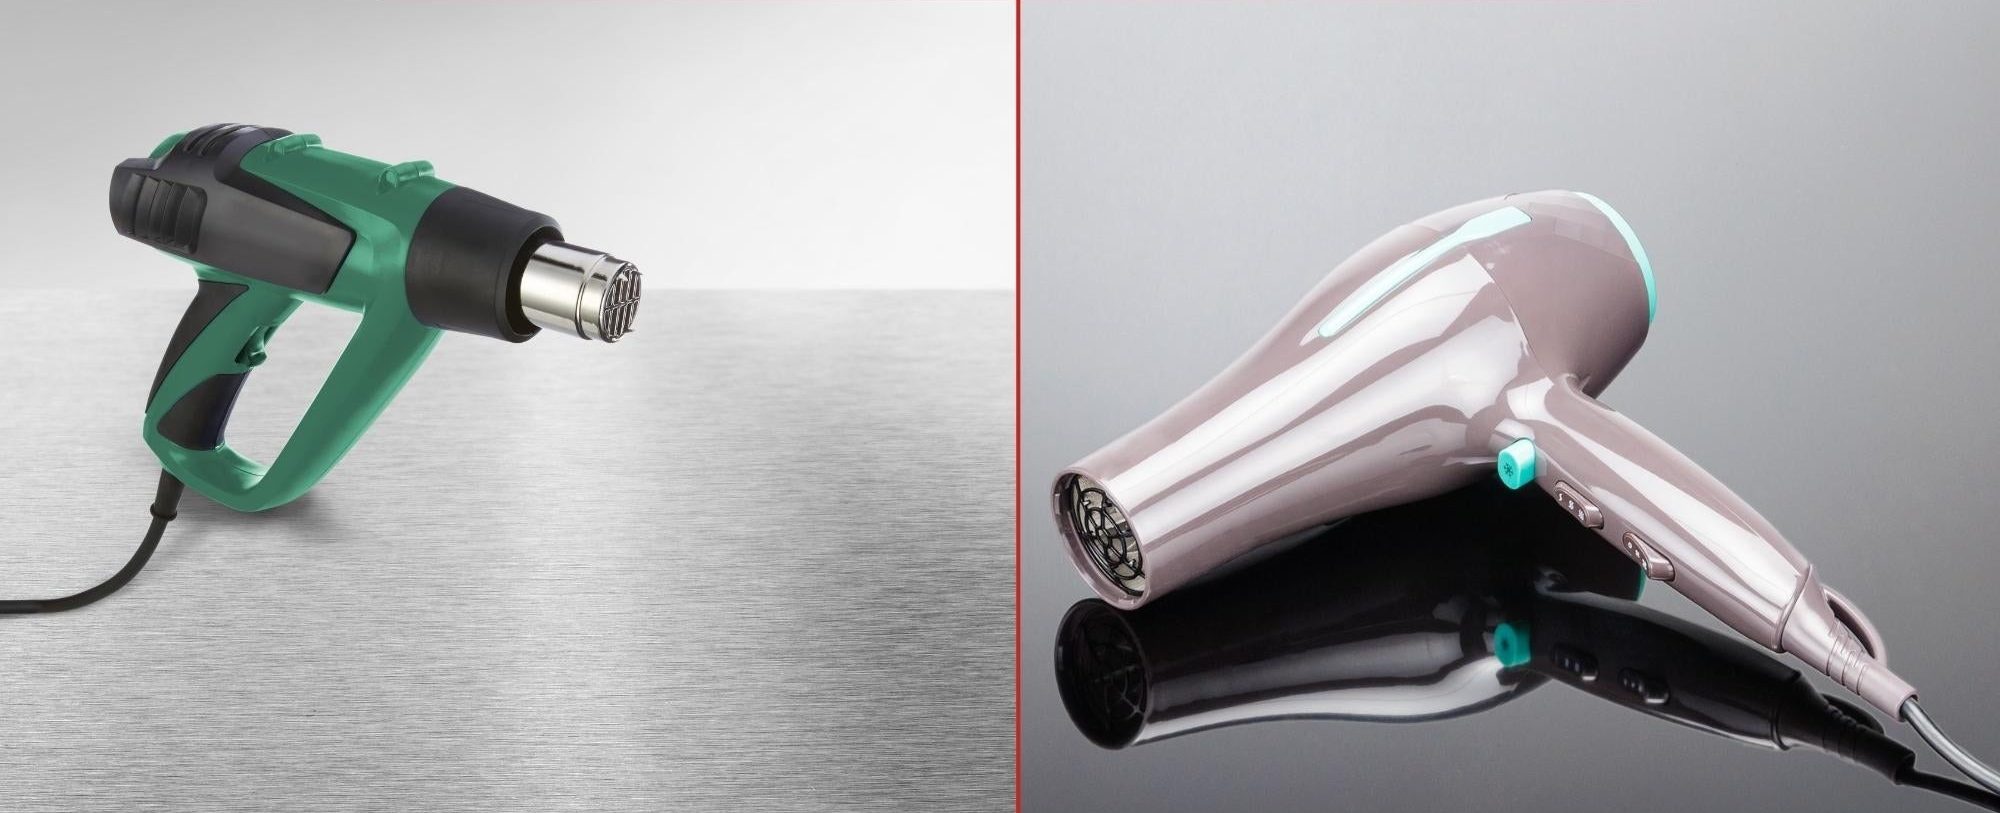
Heat can be useful when a scuff has affected textured or unpainted plastic. Certain plastic bumpers can respond to controlled warmth, which may help the surface regain a more uniform appearance.
A hair dryer is the safer starting point because it produces less concentrated heat than many heat guns. Keep the dryer moving across the affected area instead of holding it in one place.
Watch the plastic closely. You are looking for gentle warming, not melting. Once the surface becomes warm, use a clean microfiber cloth to lightly massage the area and check whether the appearance improves.
A heat gun requires much greater care. If you use one, select a low setting and maintain plenty of movement. Concentrated heat can warp plastic, create shiny spots, or permanently change the texture.
This approach is most suitable for black or dark unpainted plastic where a surface scuff has changed the appearance without cutting deeply into the material.
Do not use heat on a painted bumper without understanding how the paint and clear coat may respond. Paint can soften, blister, or become damaged when exposed to excessive heat.
Set realistic expectations and focus on improving the bumper’s appearance rather than trying to completely reshape it.
If the plastic becomes excessively hot, stop and allow it to cool naturally. Rushing this method can cause far more trouble than the original scuff.
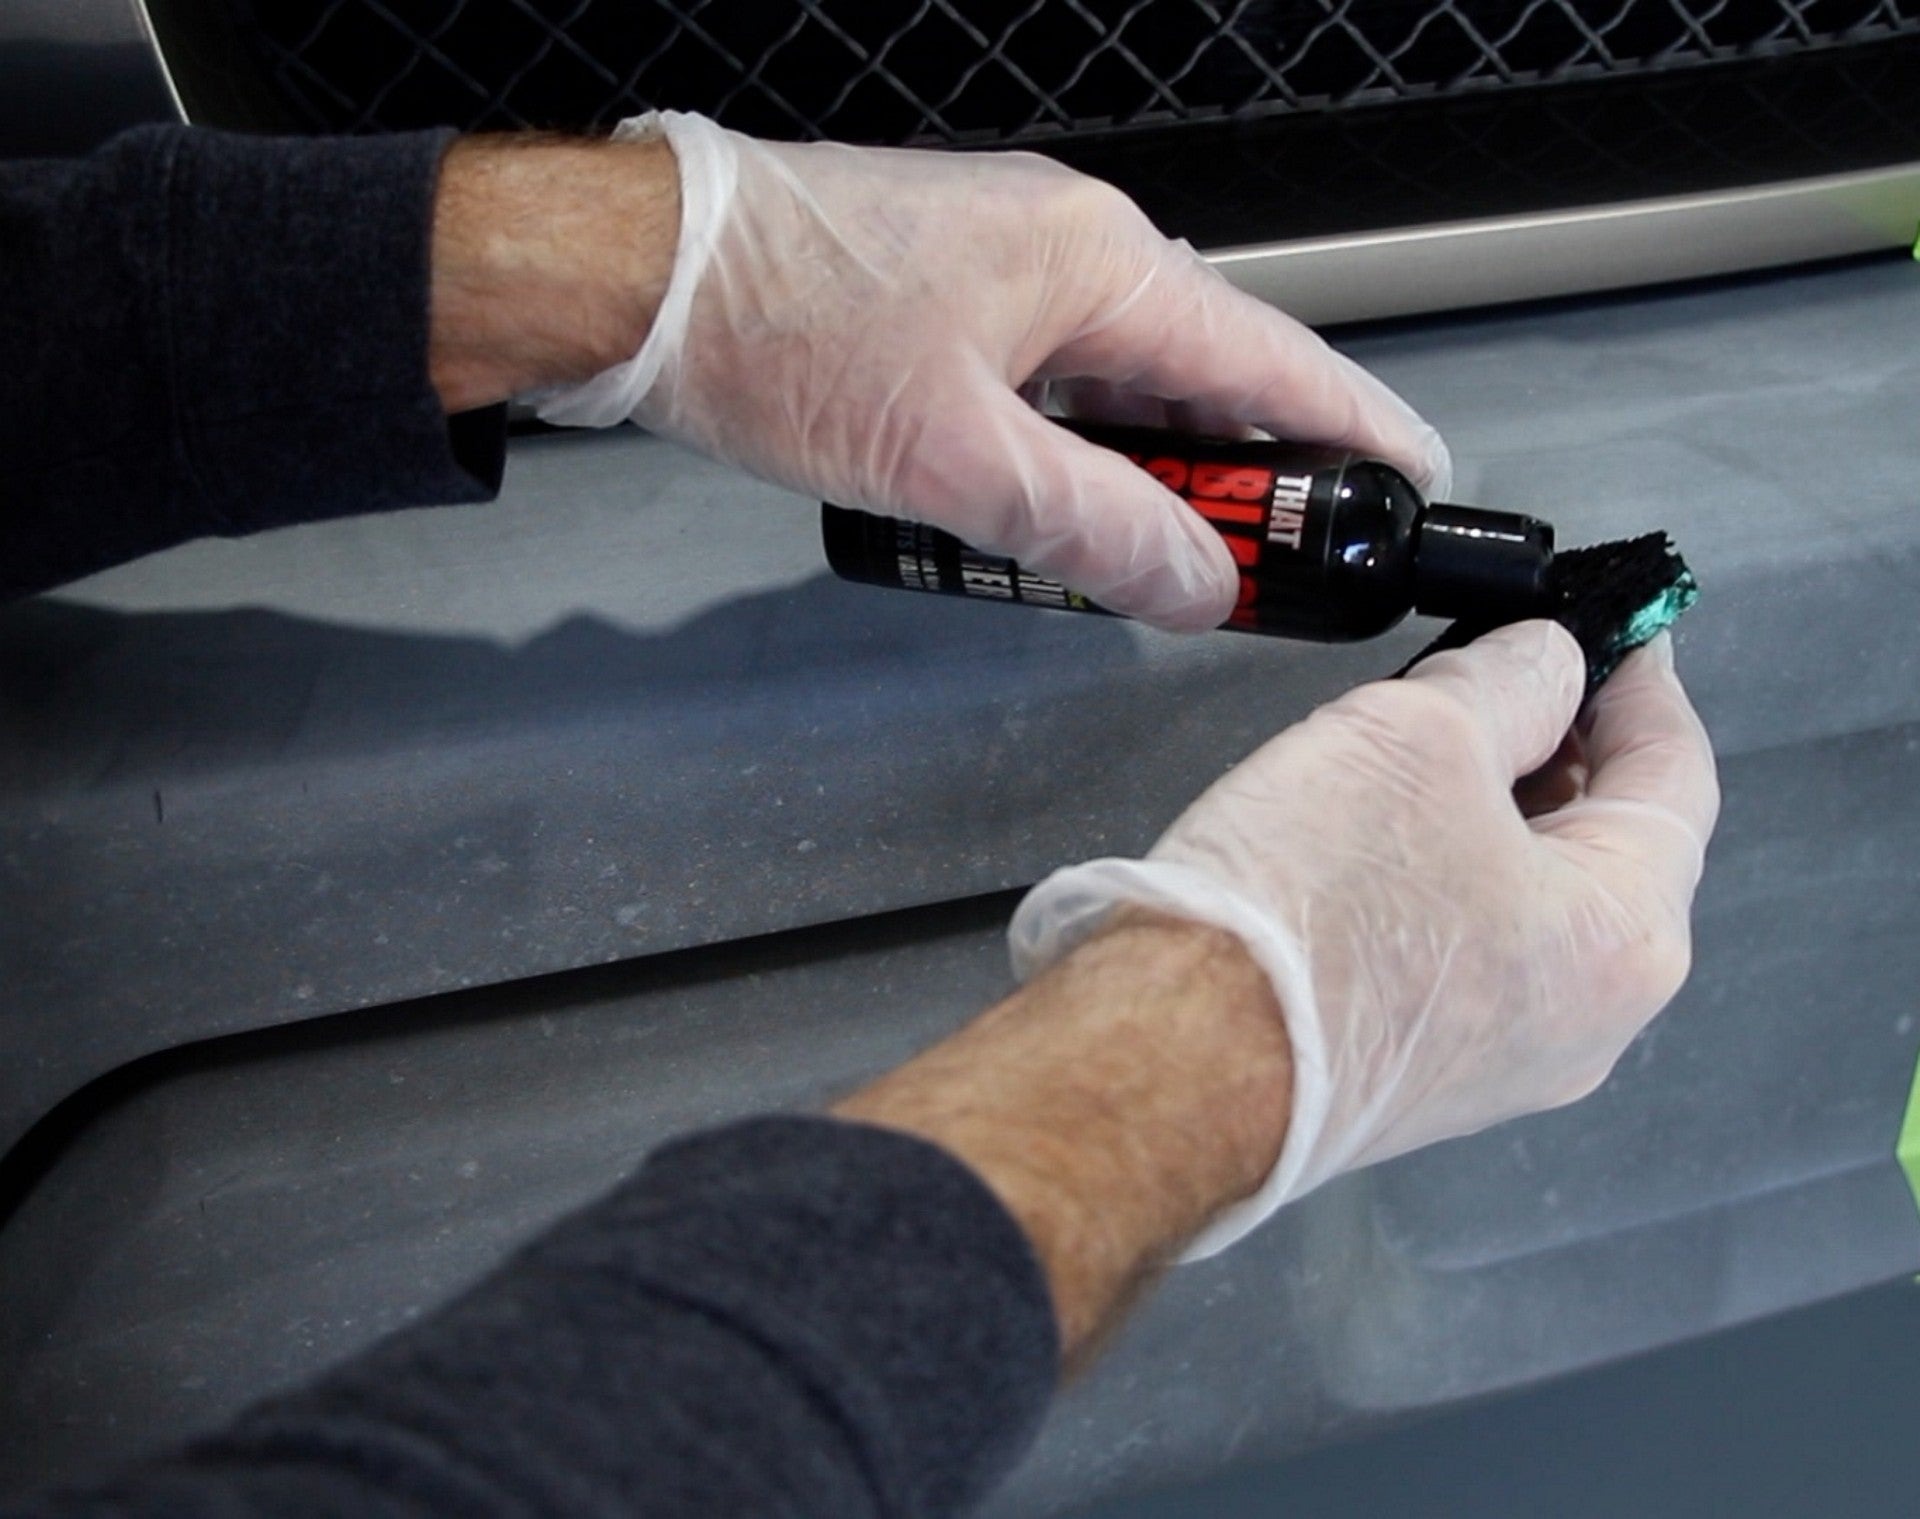
4. Plastic Trim Restorer
Sometimes a bumper doesn’t need repair. It needs a little love. Trim restorers darken and rejuvenate plastic, making scuffs far less visible.
Think of it as moisturizer for a dry, sun-tired surface. Over the years, UV light and weather pull the color out of black plastic, leaving it gray and chalky.
Scuffs stand out dramatically against that faded backdrop. Bring the color back, and those marks often slip into the background. Start by washing and drying the bumper completely.
Product won’t bond well to a dirty or damp surface. Next, apply the restorer with a foam applicator, using thin, even strokes. A little goes a long way, so resist the urge to slather it on.
Let it soak in for the time listed on the label, usually a few minutes. Then buff the area with a clean microfiber towel to remove excess and leave a uniform, rich finish.
This option works well for oxidized or faded bumpers, and it pairs nicely with other methods on this list. Heat a scuff first, then seal the result with restorer, and you may end up with a bumper that looks better than it did last year.
Wear gloves when applying these products because many can stain your skin. It is also important to keep them away from painted surfaces, as they can leave streaks or marks that may be difficult to remove.
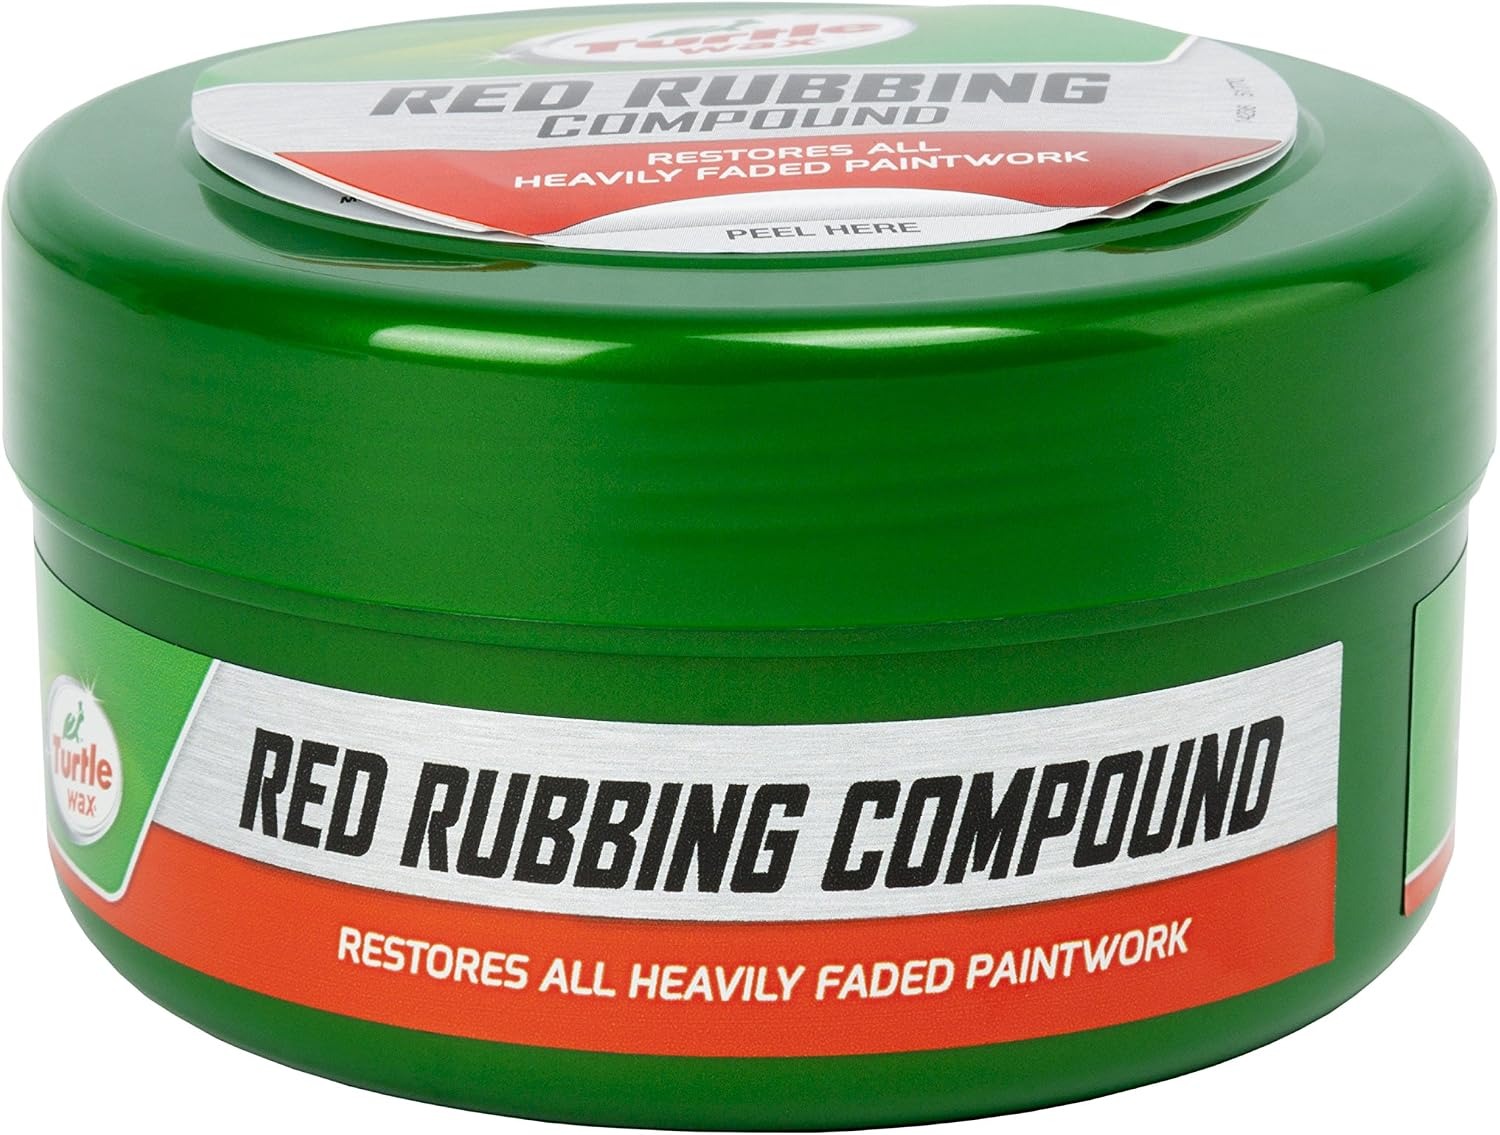
5. Rubbing Compound
When a scuff has affected a painted bumper but has not cut deeply into the paint, rubbing compound may provide a useful next step. The product contains fine abrasives that remove a tiny amount of the upper surface.
Start with a clean, dry bumper. Put a small amount of compound onto a microfiber cloth or applicator pad. Working on a small section, rub the product with moderate, controlled pressure.
After several passes, wipe the area clean and inspect it. Do not keep rubbing simply because the mark is still visible. If the scuff has penetrated the paint or clear coat, additional compound cannot restore missing material.
The amount of pressure matters. Heavy rubbing can create haze or remove more finish than necessary. It is better to make several light attempts than one aggressive pass.
Rubbing compound is most appropriate for shallow marks, transfer residue, and minor surface imperfections on painted bumpers. The product should be compatible with automotive paint, and the label should be followed carefully.
After the scuff has improved, the surrounding area may benefit from a suitable polish or protective product. This can help restore a more even appearance.
Work in a shaded area where the bumper is cool. Direct sunlight can make products dry too quickly and make it harder to judge your progress.
If you can catch a fingernail in a scratch, that is a warning that the damage may be more serious than a rubbing compound can fix.
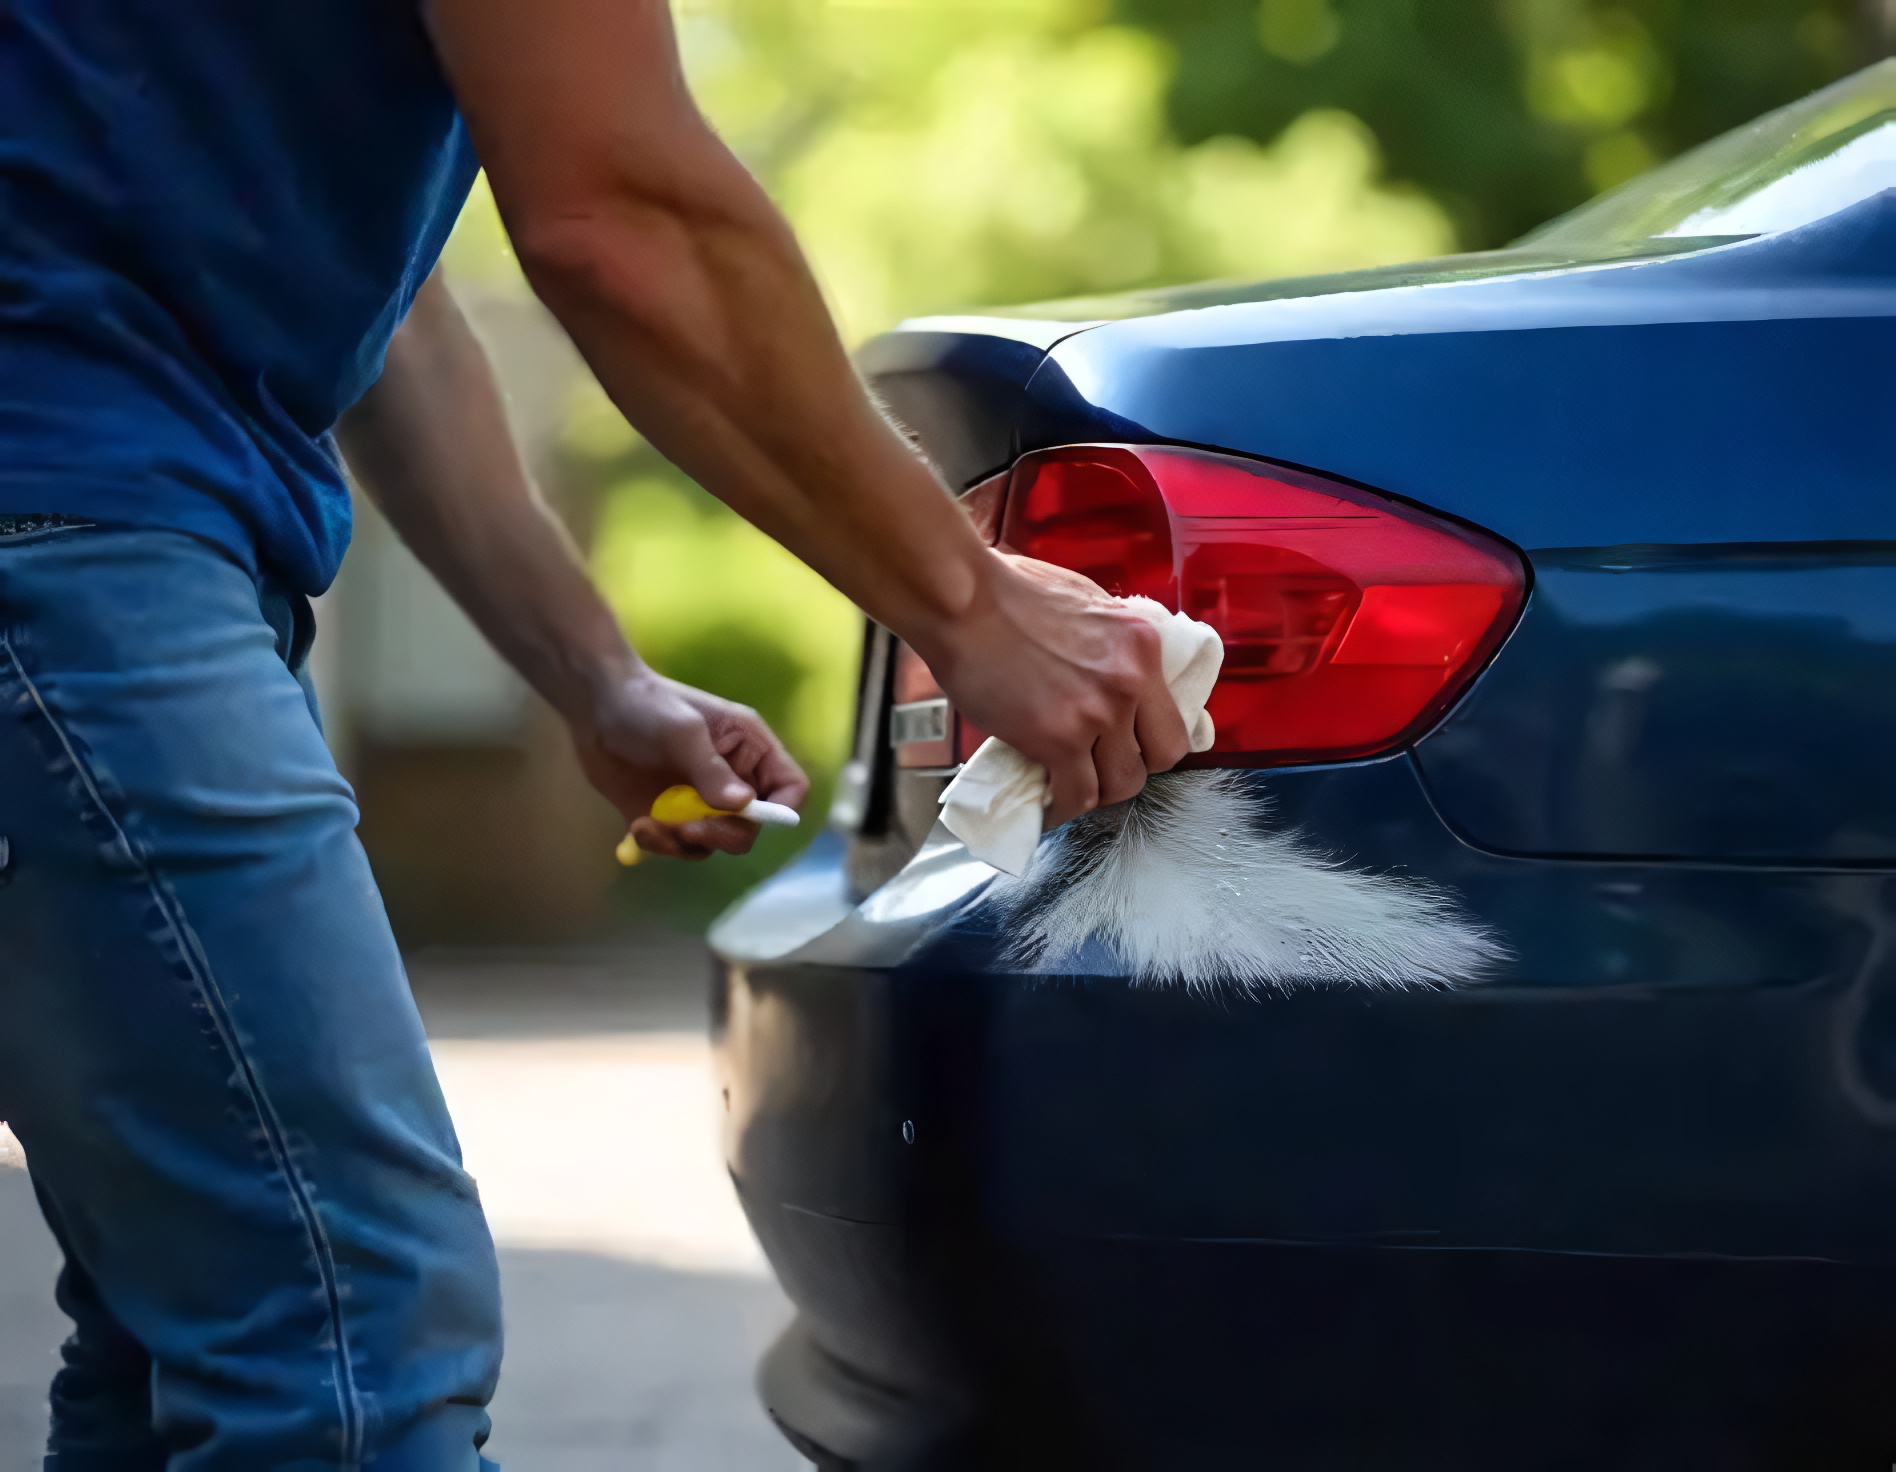
6. Toothpaste (Mild Abrasive)
Toothpaste is one of those household remedies that can work for very light surface marks, provided you keep expectations realistic. Its mild abrasive ingredients can provide a small polishing effect.
For this method, use a basic non-gel whitening toothpaste rather than a heavily colored or specialized formula. Put a small amount on a clean microfiber cloth and work on a limited area.
Rub gently for roughly one to two minutes. Keep the pressure light and use small circular movements. Then wipe the area with a damp cloth and check the result.
If the mark has become less visible, you can repeat the process once rather than immediately increasing pressure. The goal is controlled polishing, not aggressive material removal.
Toothpaste is best suited to extremely light scuffs on suitable surfaces. It will not repair deep scratches, gouges, exposed plastic, or missing paint.
Testing the product first is also important because automotive finishes can vary significantly. A treatment that works well on one bumper may produce a noticeably different result on another type of surface.
Always try a hidden or less visible spot before treating the entire affected area. Stop if the finish becomes cloudy, dull, or otherwise different from the surrounding surface.
Once finished, remove every trace of toothpaste and dry the area thoroughly. Leaving residue around trim or seams can create its own cleanup problem.
It is an inexpensive experiment, but professional automotive polish is usually a more predictable choice when the bumper has a delicate finish.
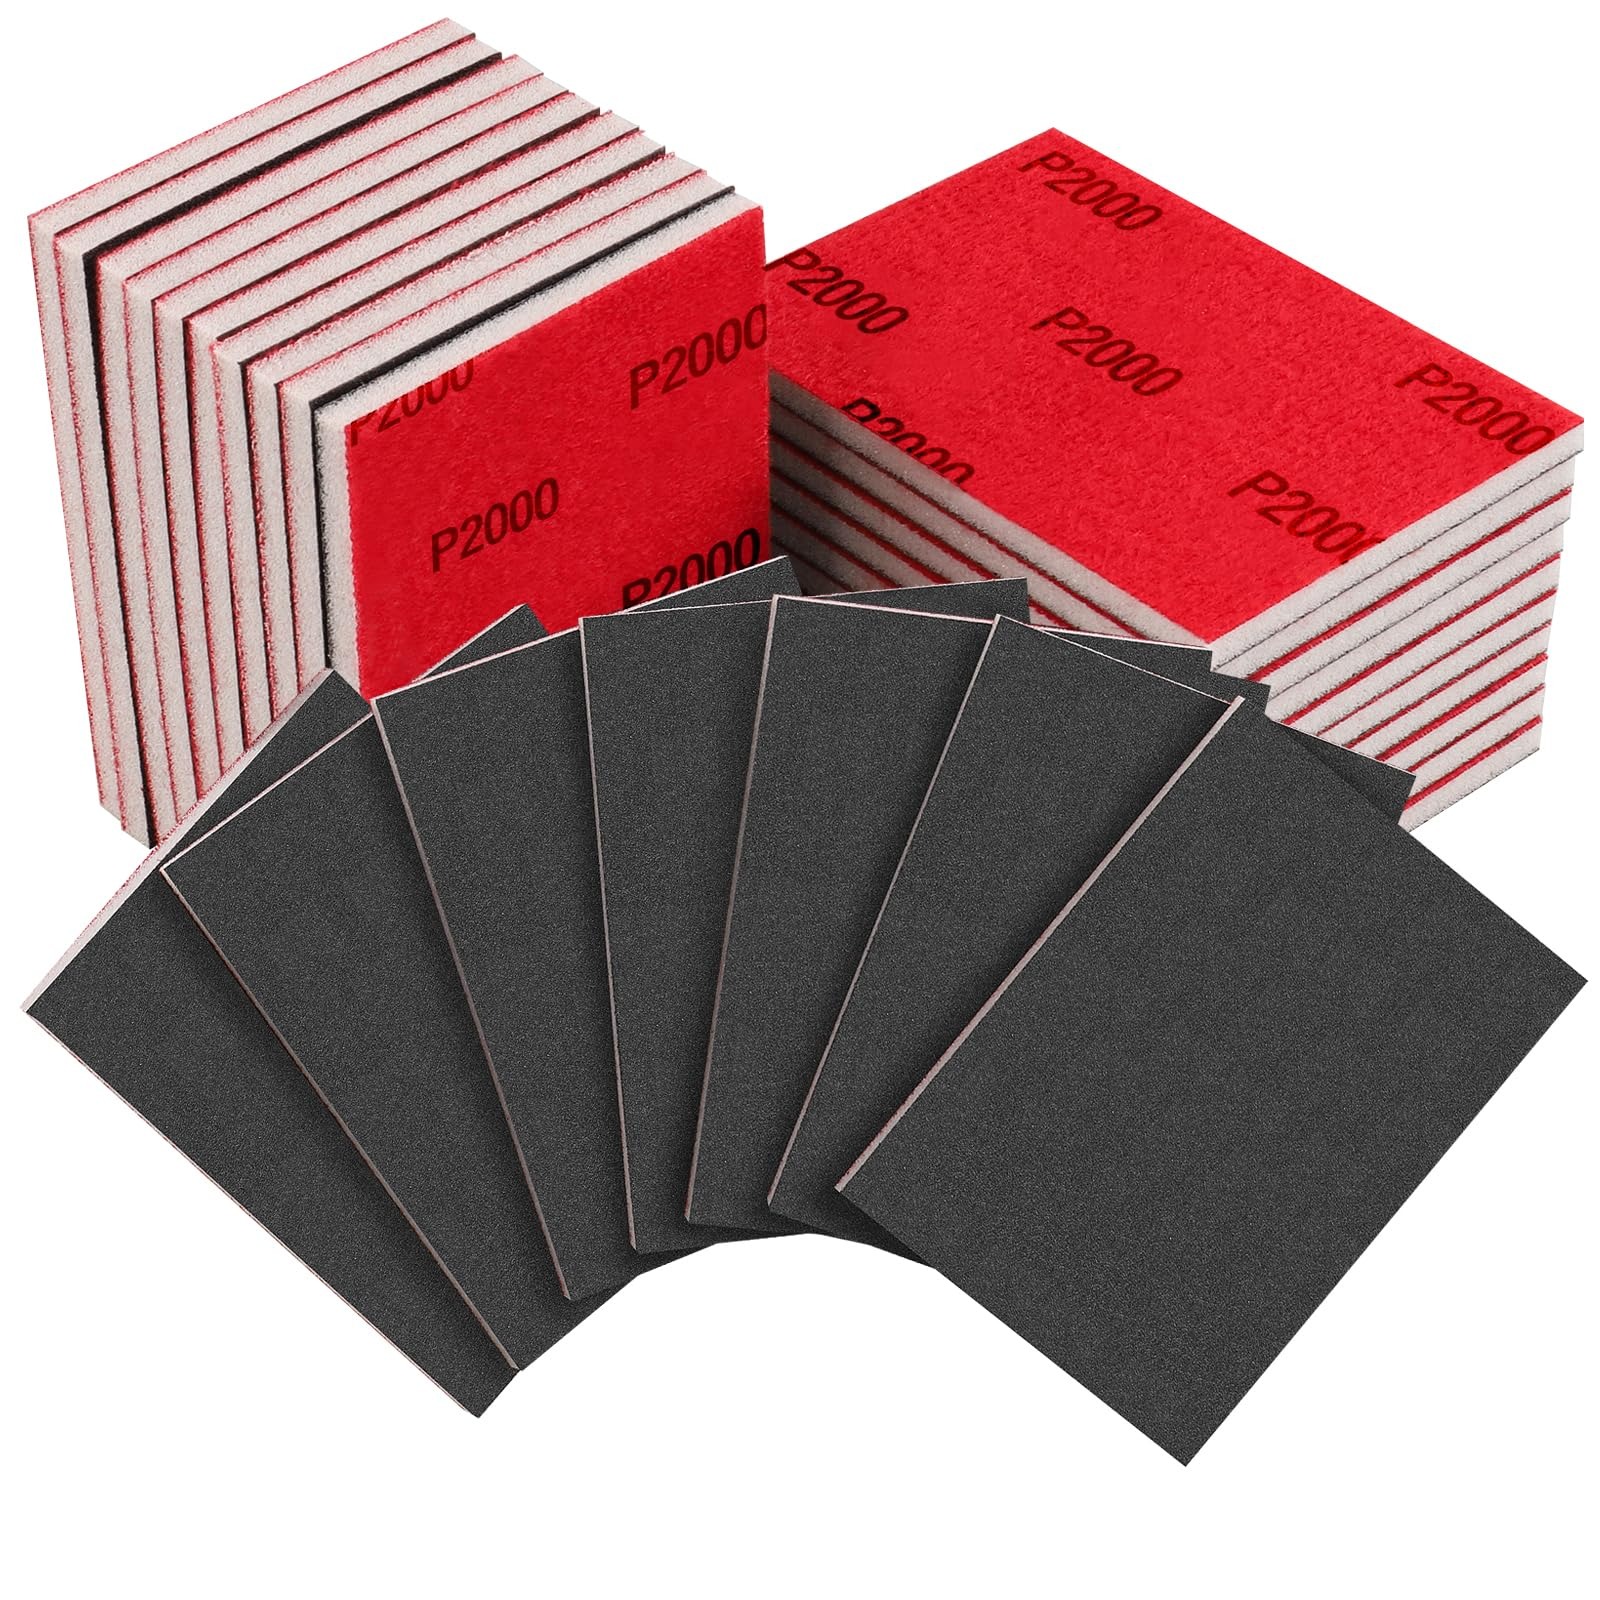
7. Wet Sanding (2000-3000 Grit)
Now we’re getting serious. For deeper scuffs that haven’t penetrated the paint, wet sanding can level the surface and bring back a smooth finish.
Don’t let the word “sanding” scare you. At 2000 to 3000 grit, the paper is finer than anything found in a typical workshop. It feels almost like cloth, and it removes only a hair of material at a time.
Soak the sandpaper in a bowl of water for about ten minutes. Wet both the sandpaper and the bumper, then sand lightly in one direction, using a flat, steady hand. Keep the surface slippery with water, rinsing often so grit doesn’t scratch the panel.
After the scuff fades, the area will look dull and cloudy. That’s normal. Follow with polishing compound to restore the shine, working from a small amount and building gradually.
Sanding requires a careful approach because too much can wear through the clear coat. Once that protective layer is removed, the underlying paint is left exposed and may require professional repair, defeating the purpose of a simple DIY fix.
So go slowly. Check every few passes by wiping the area dry. Stop at the first sign that the scuff is gone, and never sand over sharp body lines or edges.
Beginners may want to practice on a scrap panel or an inconspicuous spot first. Confidence comes quickly, and so do great results.
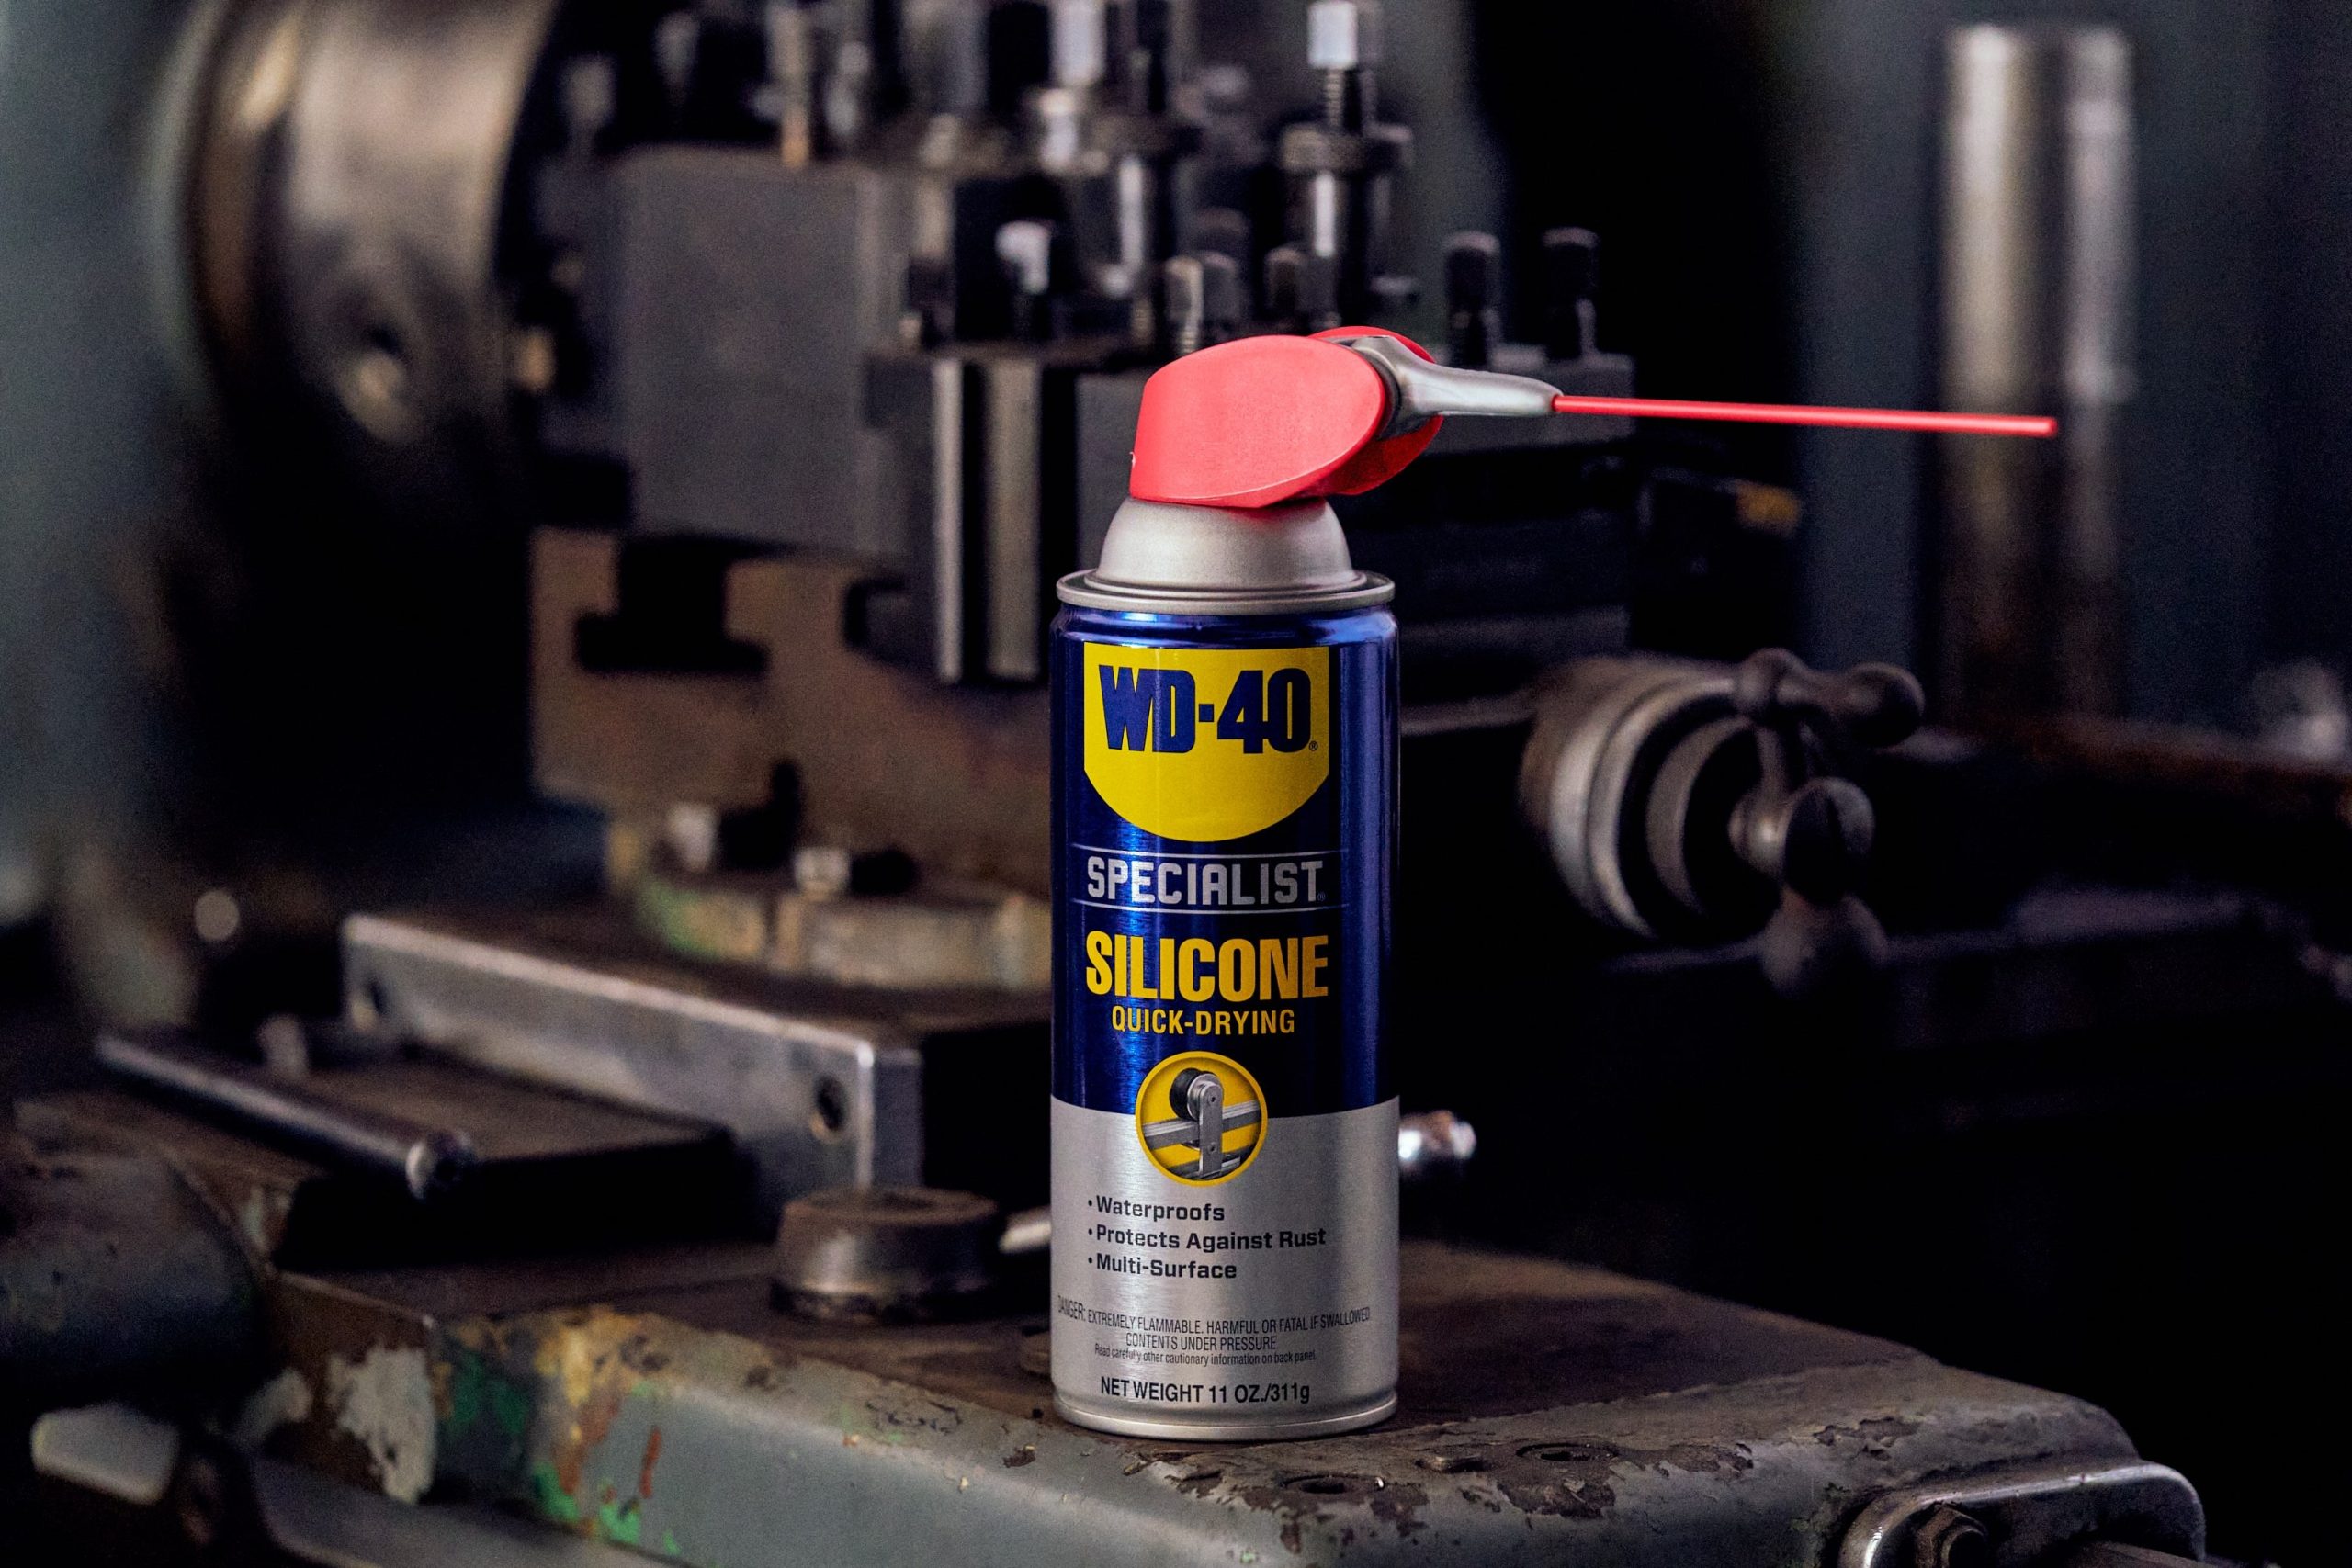
8. WD-40 or Silicone Spray
Another simple option is a spray product you may already have in the garage. These treatments can help blend scuffs with the surrounding plastic, leaving the bumper with a cleaner and more uniform appearance.
How do they work? They fill in the fine texture of a scuffed surface with a thin, slick film. That film darkens the plastic slightly and reflects light more evenly, so the mark seems to vanish.
Spray lightly on the scuffed area, then wipe with a microfiber cloth. One quick pass may be enough. If the mark lingers, add a second light coat and buff again.
Works best on black plastic bumpers. On painted surfaces, results vary, and you may see a greasy sheen instead of a clean blend. Think of this as a cosmetic fix rather than a true repair.
The scuff isn’t gone. It’s disguised, and the effect fades after rain or a wash. That’s fine for a quick touch-up before selling a car or meeting friends, but don’t expect it to last for months.
Keep overspray off your brake components, tires, and windows. Spray onto the cloth rather than the car when you can, and wipe the surrounding area so no slick residue remains.
Pick a method that matches your scuff, start gently, and give yourself a little time. A clean, smooth bumper is closer than you think.