Headlight bulb replacement can be either a simple under-hood maintenance job or a surprisingly involved repair. On some older vehicles, the bulb sits directly behind the headlamp and can be removed with little more than a connector release and a twist of the socket.
On others, the headlamp is physically trapped behind the bumper, forcing the technician to remove bodywork before reaching it. RepairPal estimates show large differences in labor costs between vehicles, while service and owner’s manuals reveal the actual access procedure.
The examples below compare cars with straightforward bulb access against vehicles where removing the front bumper or bumper fascia is part of reaching the headlamp assembly.
5 Cars Where a Headlight Bulb Change Takes Ten Minutes
1. Toyota Corolla
The 2015 Toyota Corolla is a good example of an uncomplicated headlight bulb arrangement. Toyota’s owner’s manual places the bulb replacement procedure under do-it-yourself maintenance and explains that the high-beam bulb can be removed by turning the bulb base counterclockwise and pulling it out while pressing the connector’s lock release.
The replacement bulb is then installed and secured by reversing the procedure. There is no instruction in that procedure requiring the front bumper to come off or the entire headlamp housing to be removed.
That is the key reason the Corolla belongs on this side of the comparison. The technician is working at the rear of the lamp rather than dismantling the front end.
RepairPal’s 2015 Corolla estimate reinforces the relatively modest nature of the job. The service is estimated at $49 to $72 in labor, with the total replacement estimate listed at $77 to $100.
For a routine bulb failure, the work is therefore concentrated in a few simple movements. The electrical connection must be released, the bulb removed, the replacement positioned correctly, and the connection restored. The lamp housing itself stays installed.

The Corolla also demonstrates why the exact bulb position matters. The manual’s high-beam procedure is especially direct, while other lighting elements can have different access requirements. A driver should therefore identify whether the failed component is the high beam or low beam before assuming that every bulb uses precisely the same process.
For the specified accessible bulb, however, the Corolla avoids the bodywork complications that make some headlight repairs expensive.
2. Honda Civic
The 2014 Honda Civic provides another straightforward example, with Honda’s owner’s manual giving a direct procedure for replacing its halogen headlight bulbs. The manual identifies separate high- and low-beam bulb types and describes releasing the connector or rotating the bulb depending on which light is being serviced.
The low-beam procedure does involve moving a small amount of surrounding hardware on certain configurations, including clips and the upper section of the air-intake duct on specified versions. Even so, the procedure remains an under-hood operation rather than a bumper-removal job.
RepairPal’s 2014 Civic estimate puts labor at $37 to $54, with the total replacement estimate at $61 to $82. That is a useful indicator of how different the job is from a headlamp repair that requires removing the front fascia first.
The Civic’s design also gives owners a practical advantage because the bulb remains a serviceable component. The lamp does not have to be removed simply to reach the bulb, and the manual gives the owner enough information to identify the correct procedure.
A technician can concentrate on the connector, retaining mechanism, and bulb itself rather than spending time removing bumper fasteners, clips, and lamp mounting bolts. That is exactly the type of arrangement that makes a headlight bulb change feel like routine maintenance.

The important qualification is that Civic configurations can vary. A halogen bulb and an LED assembly should not be treated as interchangeable repair procedures. The manual specifies which bulb types apply to the vehicle.
For the halogen setup covered by the manual, however, access remains comparatively uncomplicated.
3. Honda Pilot
The 2015 Honda Pilot may look like a more intimidating candidate because it is a large SUV, yet its headlight bulb procedure remains remarkably simple. Honda’s owner’s manual identifies the low beam as an H11 bulb and the high beam as an HB3.
For the specified procedure, the technician removes a few clips and moves the upper portion of the air-intake duct where necessary before disconnecting and turning the bulb.
That is a significant distinction from vehicles where the entire front bumper must be removed. The pilot’s body dimensions do not automatically translate into difficult lamp service. What matters is the space provided behind the headlight.
RepairPal estimates labor for the 2015 Pilot at $37 to $54, with the complete bulb replacement estimated between $61 and $82. Those numbers place it among the lower-cost bulb replacement jobs in the database.
The procedure also shows why a large vehicle can still have a driver-friendly maintenance design. Once the necessary intake duct section is moved, the bulb connector is accessible. The old bulb twists out, and the replacement follows the reverse sequence.
For an experienced technician, that can be a short job. A first-time owner may need more time because the retaining clips and connector can be unfamiliar, but there is no major bodywork operation involved.

Another useful detail is Honda’s warning about handling halogen bulbs. Oil from fingers can create hot spots on the glass, so the replacement should be handled by its base. That precaution takes only seconds but helps prevent premature bulb failure.
The pilot therefore demonstrates that quick bulb replacement is possible even in a three-row SUV when the lamp is designed for direct rear access.
4. Toyota Tacoma
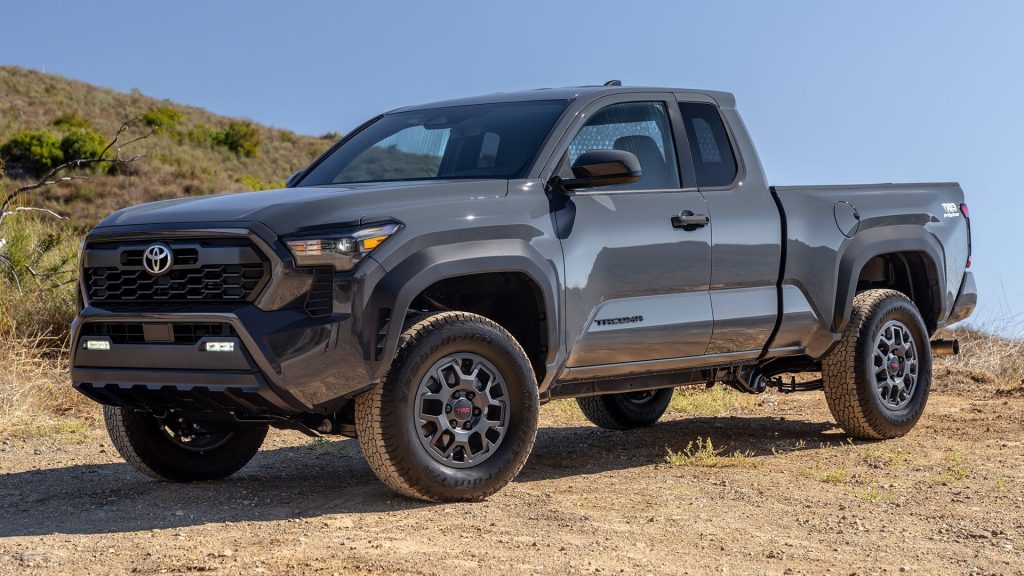
The 2015 Toyota Tacoma is one of the strongest examples for this category because RepairPal lists only $24 to $36 in labor for headlight bulb replacement, with the total estimate between $60 and $71.
RepairPal outlines a straightforward procedure that involves reaching the rear of the headlamp, removing the cover if necessary, disconnecting the wiring, releasing the bulb retainer, and taking out the faulty bulb. The Tacoma’s low estimated labor cost suggests that the replacement process is relatively simple.
That makes the Tacoma an interesting contrast with cars where the headlight is buried behind the bumper. Pickup trucks often have larger engine compartments and substantial front-end structures, but those characteristics do not necessarily make bulb access difficult.
The practical advantage is obvious. A failed halogen bulb can be addressed without removing the grille or front fascia. The technician can remain at the rear of the lamp and perform the repair from the engine compartment.
The Tacoma also illustrates why labor estimates can be more useful than total repair prices when comparing accessibility. The replacement bulb itself represents part of the cost, while the labor figure gives a better indication of how much physical work is required.
A $24 to $36 labor estimate does not guarantee that every technician will complete the job in ten minutes. Shop rates, vehicle condition, and the particular side being serviced can change the time. Nevertheless, the figure is consistent with a repair that does not demand extensive disassembly.
For owners who routinely drive in areas where headlight bulbs are subjected to vibration, dust, and temperature changes, that serviceability can be valuable. A failed lamp does not have to turn into a major front-end repair.
5. Nissan Frontier
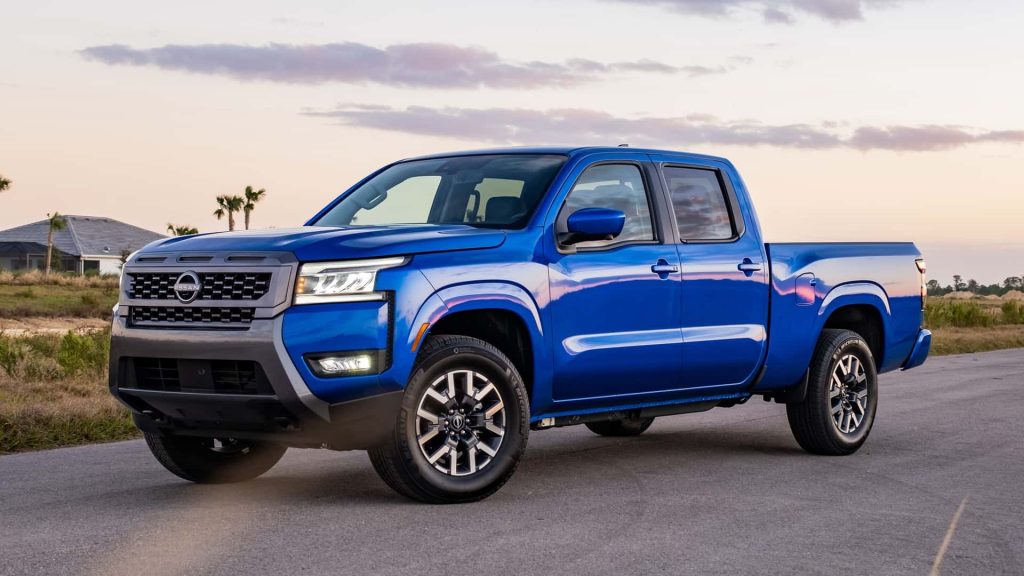
The 2015 Nissan Frontier offers one of the clearest manufacturer-documented examples of direct bulb access.
Nissan’s owner’s manual instructs the owner to open the hood, disconnect the negative battery cable, disconnect the electrical connector from the rear of the bulb, rotate the retaining ring counterclockwise, and remove the bulb. The replacement procedure reverses those steps.
There is no front bumper removal in the headlight bulb procedure. The lamp remains mounted while the technician works from behind it.
RepairPal estimates labor for the Frontier at $37 to $54, with the total replacement estimate around $71 to $88 for the 2014 model year. The low labor component supports the idea that this is a relatively accessible maintenance operation.
Nissan’s manual also provides a useful warning that applies to many halogen systems. The bulb should not be touched with bare hands because contamination on the glass can shorten its service life. The replacement should be held by the appropriate base or protected from skin contact.
The Frontier’s procedure is particularly straightforward because the retaining ring itself performs the main mechanical task. Once the connector is disconnected, the ring is rotated, and the bulb can be withdrawn.
That design avoids the frustrating situation in which a technician has to remove a complete headlamp assembly simply to reach a component designed to be replaceable.
The Frontier therefore represents the kind of older-style serviceability that can be easy to overlook when shopping for a used vehicle. Its headlight technology may be less elaborate than some newer systems, but the physical accessibility of the bulb can make routine maintenance substantially simpler.
5. That Need Bumper Removal
1. Nissan Rogue
The Nissan Rogue provides a clear example of a headlight assembly that requires front-end disassembly before removal. The service manual procedure for the halogen headlamp begins with removal of the front bumper fascia. Only after that step can the technician remove the headlamp mounting bolts and pull the combination lamp forward.
Once the headlamp assembly is out, the technician can work on the bulb. The manual describes removing the appropriate cover, disconnecting the bulb, and releasing its retaining mechanism.
The important point is that the bulb procedure cannot be considered in isolation because access to the assembly itself requires the bumper to be removed.
RepairPal’s general Rogue headlight bulb estimate is substantially higher than the inexpensive bulb-access examples listed earlier. The current database places the Rogue’s typical replacement estimate in the roughly $117 to $136 range, although exact costs vary by model year and configuration.
The additional labor is easy to understand from the service sequence. The technician must protect the bumper, release its fasteners, move the fascia, remove the lamp and then reverse the entire process.
The manual also calls for headlamp aiming adjustment after the assembly is reinstalled. That adds another reason not to treat the operation as a simple bulb swap.

For a professional shop, the procedure is manageable because technicians have the appropriate tools and experience with the clips and fasteners. For a vehicle owner expecting a ten-minute bulb replacement, however, the Rogue can be a rude surprise.
The bulb itself is not necessarily complicated. The access path is what makes the repair substantially more involved.
2. Kia Soul
The 2010 Kia Soul shows how a relatively small vehicle can still require major front-end access for a headlight bulb. Its service manual instructs the technician to disconnect the negative battery terminal, remove the front bumper, loosen the headlamp mounting bolts and remove the headlamp assembly before reaching the bulbs.
Once the assembly is out, the actual bulb replacement is straightforward. The manual describes removing the bulb caps, releasing the spring lock and taking the bulb out. In other words, the difficult portion is not the bulb mechanism itself. It is everything that has to happen before the technician can reach it.
The Kia Soul is particularly useful in this comparison because its compact dimensions might lead an owner to expect simple service access. The service manual demonstrates why exterior size is not a reliable indicator. Packaging decisions under the hood and around the front fascia matter much more.
The technician also has to take care not to damage the retaining clips while removing the assembly. Once the bumper is removed, the headlamp can be separated from the vehicle, allowing access to the bulb covers.
That means the labor involved in a bulb replacement includes a bodywork operation that has nothing to do with the bulb itself.

The design can make a routine lighting failure feel disproportionate to the actual component being replaced. A bulb that might require only a few seconds to remove after the lamp is on the bench becomes part of a larger repair process.
For a used-car buyer, this is exactly the kind of maintenance detail that can be missed when focusing only on reliability ratings. The vehicle may have an inexpensive bulb but a more labor-intensive replacement procedure.
3. Infiniti G35
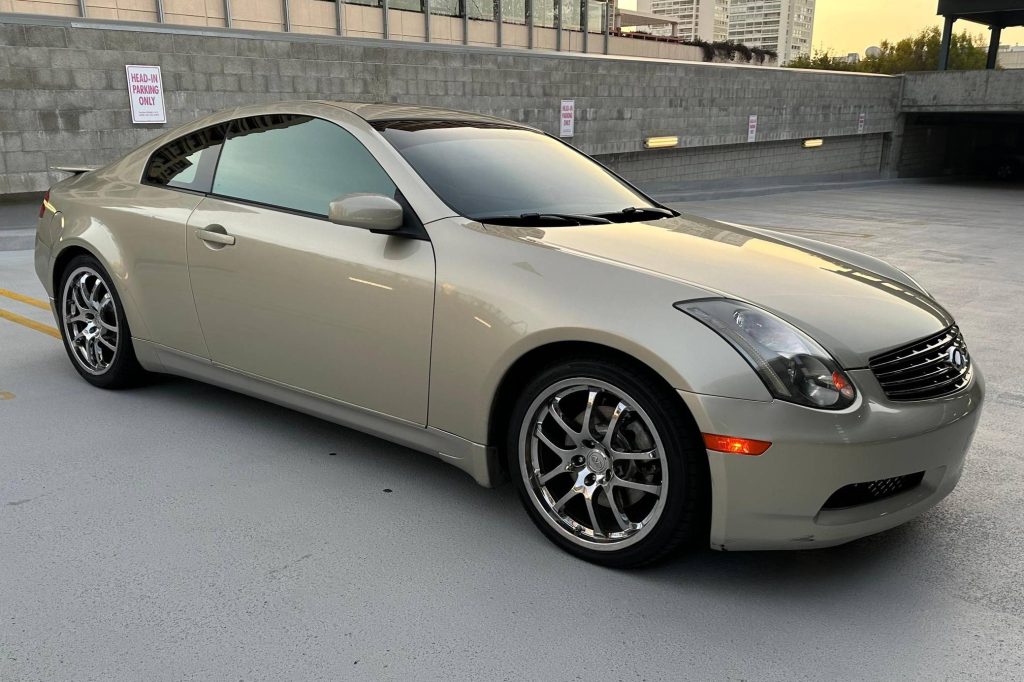
The 2008 Infiniti G35 demonstrates another bumper-dependent headlamp design. Its service information specifically directs the technician to remove the front bumper fascia before removing the headlamp mounting bolts. The assembly is then pulled forward and disconnected from the wiring harness.
The bulb itself is serviced only after the headlamp has been separated from the vehicle. The manual describes removing the fender protector where necessary, rotating the resin cap, releasing the bulb socket and unlocking the retaining spring.
That sequence explains why a seemingly small lighting repair can require substantially more workshop time. The technician is performing a complete lamp removal operation before reaching the replaceable bulb.
The Infiniti’s service instructions also call for headlamp aiming adjustment after installation. That final step matters because removing and reinstalling the entire headlamp can change its positioning if the mounting points are not returned precisely.
The G35 is therefore an excellent example of how a vehicle can be mechanically serviceable but labor-intensive. Once the lamp is removed, the bulb is not difficult. The challenge lies in the route required to get there.
For owners, this distinction matters when deciding whether a headlight problem is suitable for home repair. Removing a bumper fascia requires more room, more tools and more care than opening a hood and twisting out a bulb.
The age of the G35 does not automatically make the job simpler either. Older vehicles can develop brittle plastic clips, corroded fasteners and other issues that increase the time required for front-end disassembly.
The service manual’s sequence is therefore more informative than the bulb’s price. The physical path to the component determines much of the labor.
4. Acura TL
The 2010 Acura TL provides an even more direct example of bumper-dependent headlamp access. Acura’s service manual states that the front bumper and bulkhead cover must be removed before the headlight can be pulled forward. After the mounting bolts are removed, the wiring connections are disconnected, and the headlamp assembly comes out.
The bumper procedure itself involves multiple bolts, screws and clips. Acura’s service information also recommends having an assistant help with bumper removal and warns against scratching the bumper or body.
That is a long way from the simple bulb procedures described in the first half of this article. The headlight bulb is still a relatively small component, but the vehicle’s packaging places it behind a much larger assembly.
The reason for this arrangement is largely related to the way the headlamp is mounted within the front-end structure. The technician needs physical access to the lamp mounting points before the assembly can be removed.
The TL also requires headlight adjustment after replacement. That is logical because the entire headlamp assembly has been disturbed rather than just the bulb.
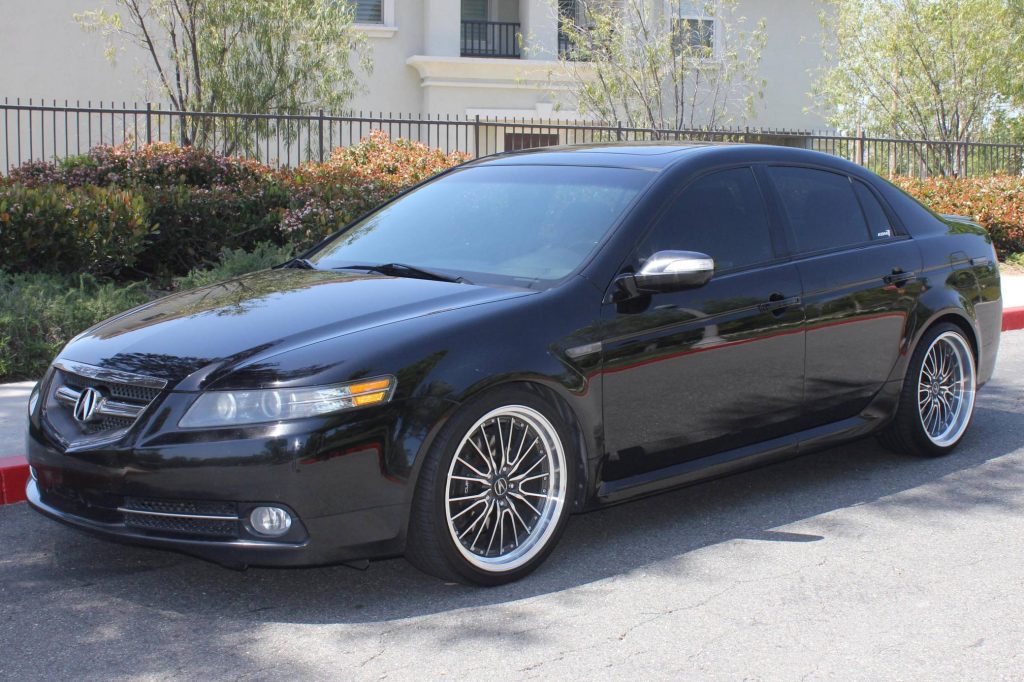
For a professional technician, this is a known procedure. For a DIY owner, it introduces several opportunities for frustration. Bumper clips can break, connectors can be difficult to release, and the fascia can be scratched if it is placed directly on the ground.
The TL demonstrates why service-manual research is essential before buying a used luxury car. A vehicle can use a replaceable bulb while still imposing a much larger labor burden than a basic economy car. The component may be inexpensive. The access strategy is what changes the economics.
5. Volvo S80
The 2005 Volvo S80 represents another design where the bumper casing must be removed before the headlamp assembly can come out. Volvo’s service information directs the technician to remove the bumper casing, then remove the four headlamp screws and electrical connectors before taking the lamp out.
The procedure continues with headlamp installation followed by checking and adjusting the light pattern. That final step is important because the entire lamp has been removed rather than simply replacing a bulb through an access opening.
Volvo’s service documentation therefore makes the labor sequence unmistakable. The bumper casing is not optional preparation. It is part of the route to the headlamp.
The design can create a large difference between the cost of the bulb and the cost of installing it. A replacement halogen bulb might be inexpensive, yet the technician has to spend time removing and reinstalling exterior bodywork.
The S80 also illustrates how older luxury cars can combine sophisticated packaging with more demanding maintenance. Engineers may have prioritized styling, lamp integration and structural packaging without making every consumable component directly accessible.
Once the headlamp is removed, the bulb itself is no longer especially complicated. The major workload has already happened.
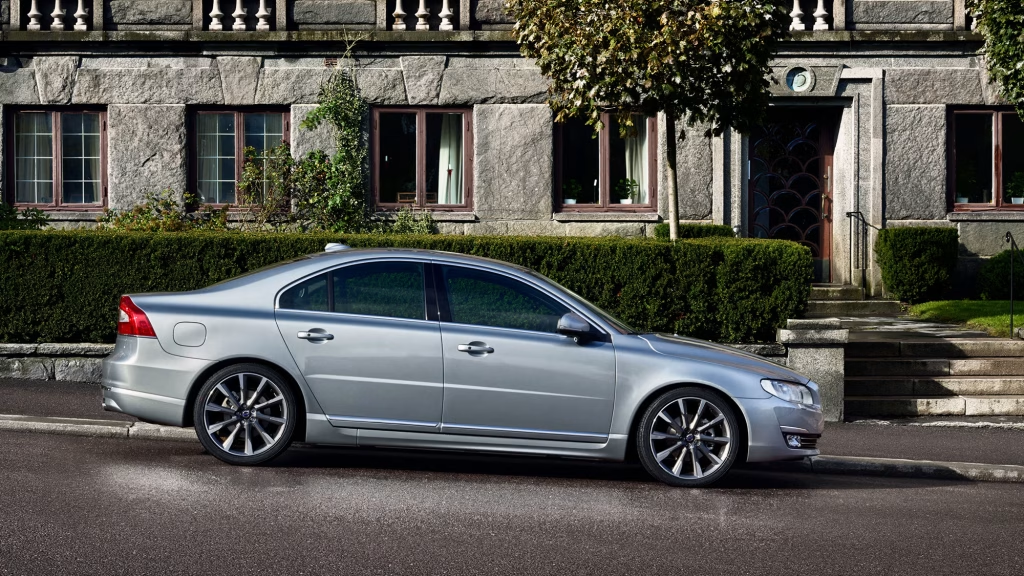
This is why labor estimates and service procedures should be considered together. A price estimate tells the owner that labor contributes meaningfully to the repair, while the manual explains why. Without the service procedure, it is difficult to understand why a simple bulb can produce a comparatively large bill.
The Volvo’s procedure is therefore a strong example of a repair that looks easy from the parts counter but becomes significantly more involved once the technician begins accessing the lamp.