A squeaking car door is one of those small annoyances that can quietly wear down your patience. Every time you climb in or out, that high-pitched protest announces your arrival to the entire parking lot, and it can make even a well-kept vehicle feel older than it really is. The good news is that the noise is rarely a sign of anything serious. In most cases, it comes from dry metal rubbing against metal or rubber that has lost its flexibility.
Fixing it usually takes less than an hour and a few inexpensive supplies. This guide walks through ten practical methods, from finding the exact source of the noise to lubricating hinges, latches, and weatherstripping, tightening hardware, and building a simple maintenance routine. Work through them in order, and you will likely silence that squeak for good. Each fix is explained in plain language, so even first-time DIYers can follow along.
1. Pinpoint the Source of the Squeak
Before you spray anything, take a few minutes to find out where the noise is actually coming from. Many people assume the hinges are guilty and douse them with lubricant, only to find the squeak is still there because the real culprit was the door check, the latch, or a strip of weatherstripping. Guessing wastes time and product, and excess lubricant can attract dirt that creates new problems later.
Start by opening and closing the door slowly while listening closely. Ask a helper to move the door while you stand near the hinges, then repeat the test near the latch and the door frame. If you hear the sound at the top or bottom of the door’s swing, the hinges are likely responsible.
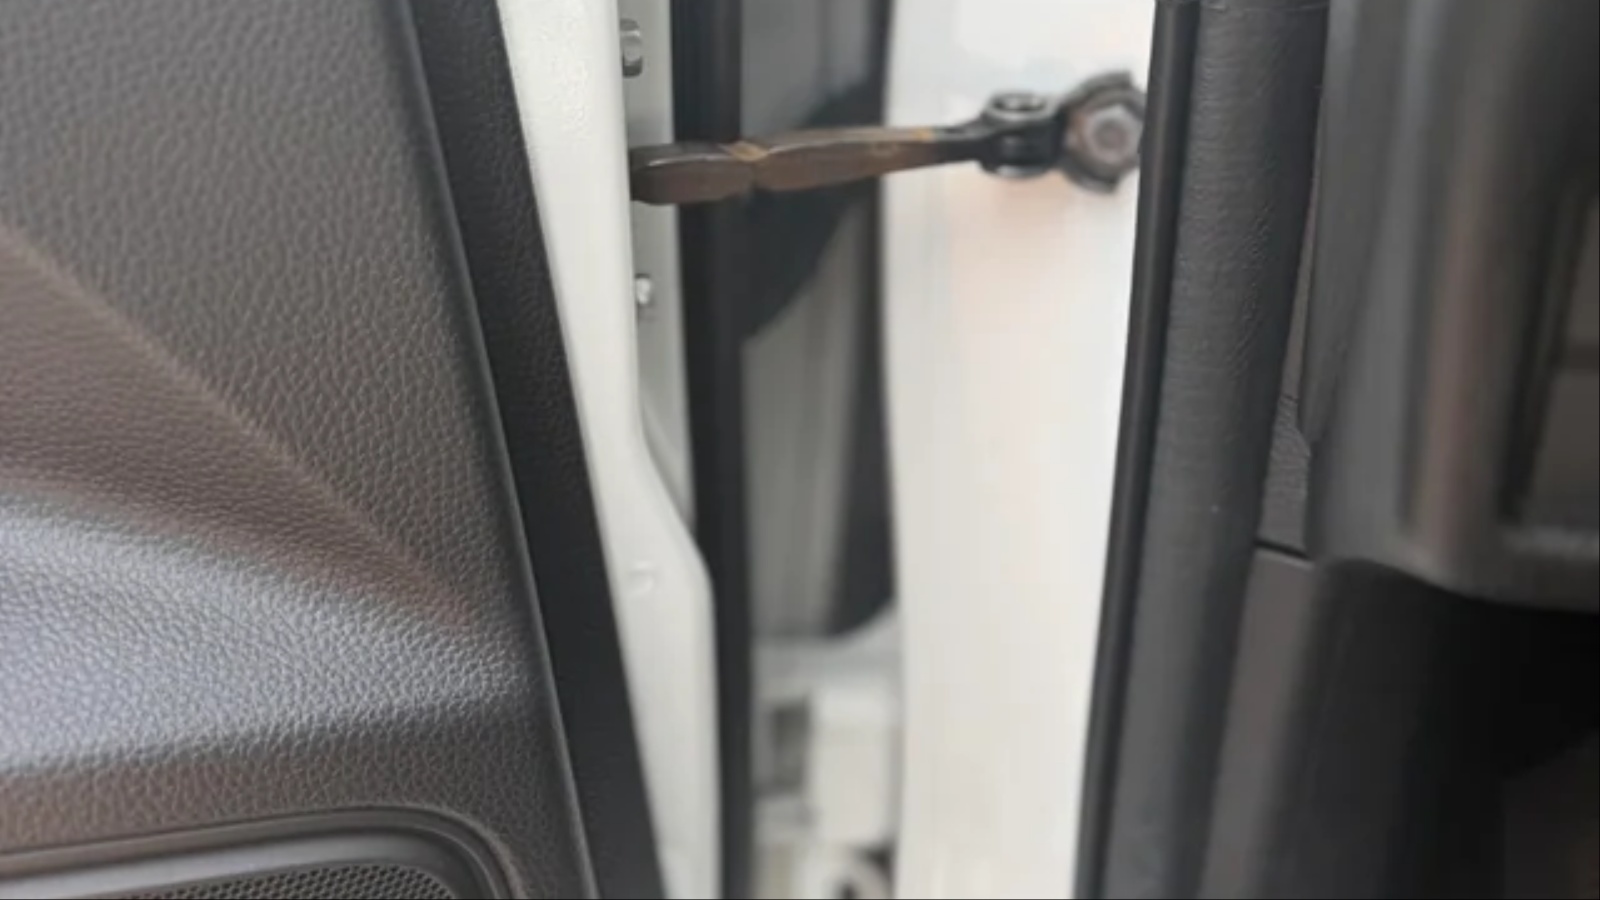
If it happens near the midpoint where the door stops, suspect the door check, which is the arm that holds the door open at set positions. A creak when you close the door or lean against it often points to the latch, the striker plate, or rubbing rubber seals.
You can also press your fingertips lightly against each component while the door moves, since vibration is easy to feel even when sound is hard to locate. A cardboard tube or a length of rubber hose held to your ear works like a stethoscope for finding the noise. Once you know the exact location, every remaining step in this guide becomes faster, cleaner, and far more likely to work the first time you try it.
2. Clean the Hinges Before Lubricating
Applying fresh lubricant over old dirt is one of the most common mistakes people make. Door hinges collect road grime, dust, moisture, and the hardened remains of earlier grease, and that gritty paste acts like sandpaper every time the door moves. If you simply spray over it, you trap the abrasive material inside the joint, and the squeak may return within days, sometimes louder than before.
Begin by opening the door fully and wiping each hinge with a clean, dry rag to remove loose debris. Next, spray a small amount of brake cleaner or a dedicated degreaser onto the hinge, taking care to keep it away from paint, rubber, and plastic trim.
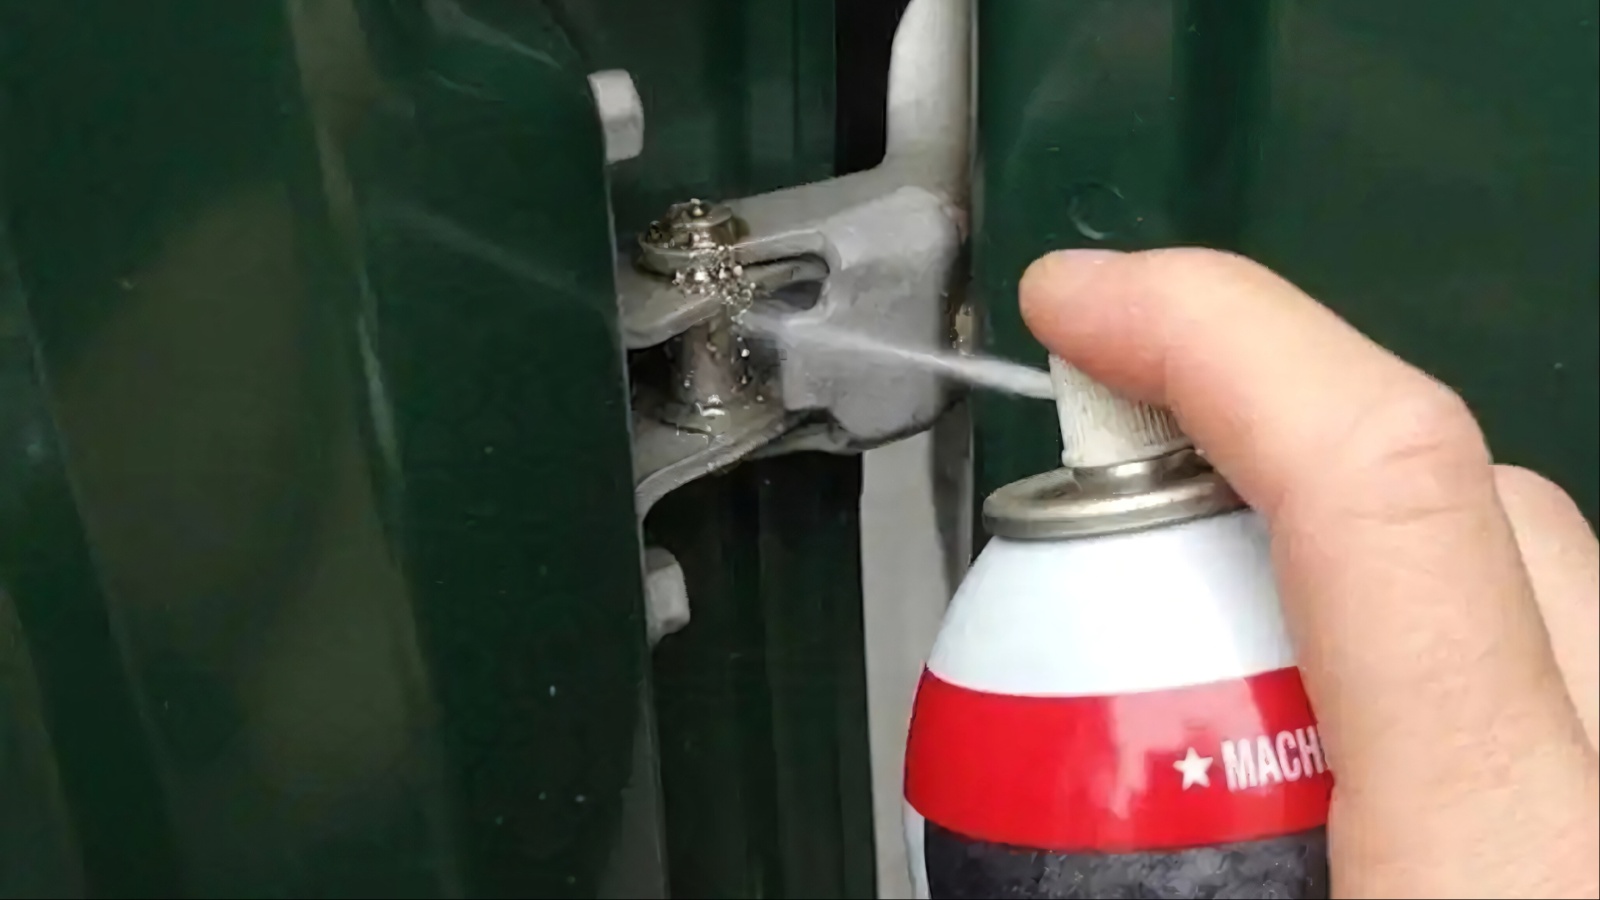
Use an old toothbrush or a small nylon brush to scrub into the pivot points and the gaps around the hinge pin. Work the door back and forth a few times so the cleaner reaches the interior of the joint, then wipe away the dissolved gunk with a fresh rag.
Allow the hinge to dry for several minutes before moving on. Cover nearby paint with painter’s tape if you are worried about overspray, and wear gloves and eye protection because degreasers can irritate skin.
If the hinge is especially grimy, repeat the process until the rag comes away clean. This simple preparation step takes only a few minutes, yet it dramatically improves how long your lubricant lasts and how smoothly the door swings afterward. Doing this first lets the fresh lubricant reach bare metal where it matters.
3. Lubricate Hinges With White Lithium Grease
Once the hinges are clean and dry, lubrication is the single most effective fix for a squeaking door. White lithium grease is a favorite among mechanics because it clings to metal, resists water, and lasts far longer than thin oils. It comes in spray cans with a thin straw applicator, which makes it easy to reach the tight spaces around the hinge pin without making a mess on the door panel.
Open the door wide and apply a short burst of grease directly onto the upper and lower hinge pivot points. Aim for the top of the pin where it enters the hinge barrel, as gravity will help the grease travel downward into the joint. Swing the door slowly back and forth ten or fifteen times to distribute the lubricant evenly through the moving parts. You should notice the movement feel smoother almost immediately.
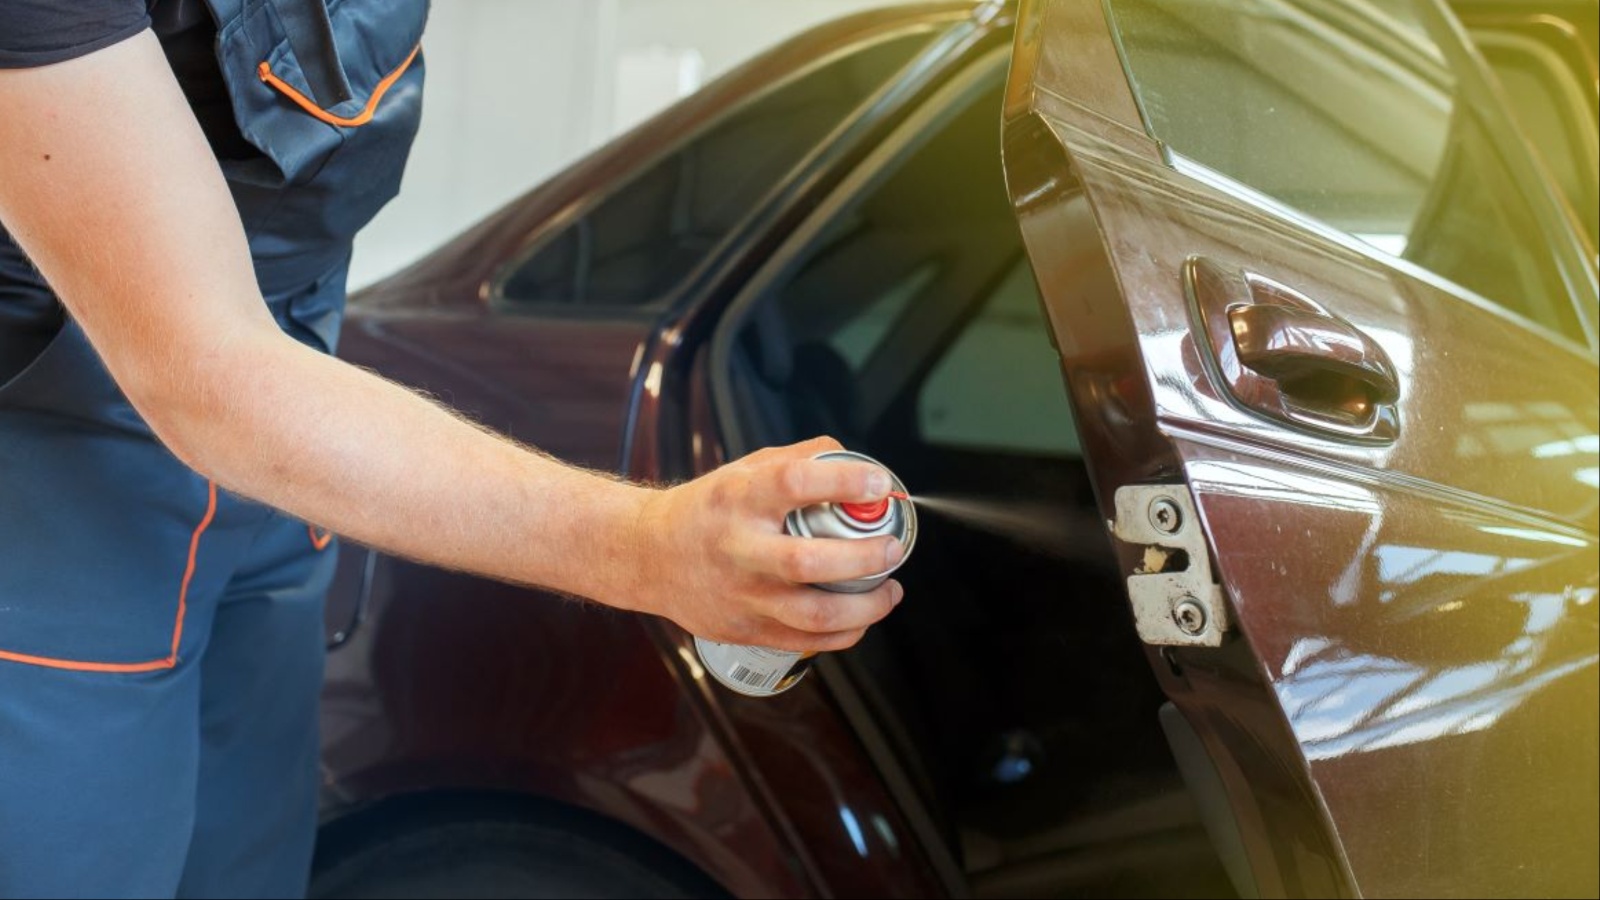
Wipe away any excess with a clean rag, because leftover grease can drip onto paint or attract dust and sand. Avoid general-purpose penetrating sprays as a long-term solution, since they tend to evaporate and can leave the squeak returning within a few weeks.
If your car is exposed to heavy rain or road salt, choose a grease labeled as water-resistant. Repeat the process on every door that makes noise, and remember that rear doors and the trunk lid often have hinges that need attention too, even when they seem quiet. Many manufacturers recommend checking hinges at every oil change, so it costs little to include them.
4. Service the Door Check Arm
The door check, sometimes called the door stop or door limiter, is the small arm that lets your door hold steady at specific open positions. Inside it sits a spring-loaded mechanism and a roller that glide along a steel strap. Over time, the lubricant inside dries out, and the result is a groaning, clicking, or squealing noise that appears whenever you open or close the door partway.
To service it, open the door and locate the check arm near the lower front edge of the door opening, where the metal strap enters the door. Wipe the visible portion of the strap clean, then inspect it for rust, scoring, or dried grease.
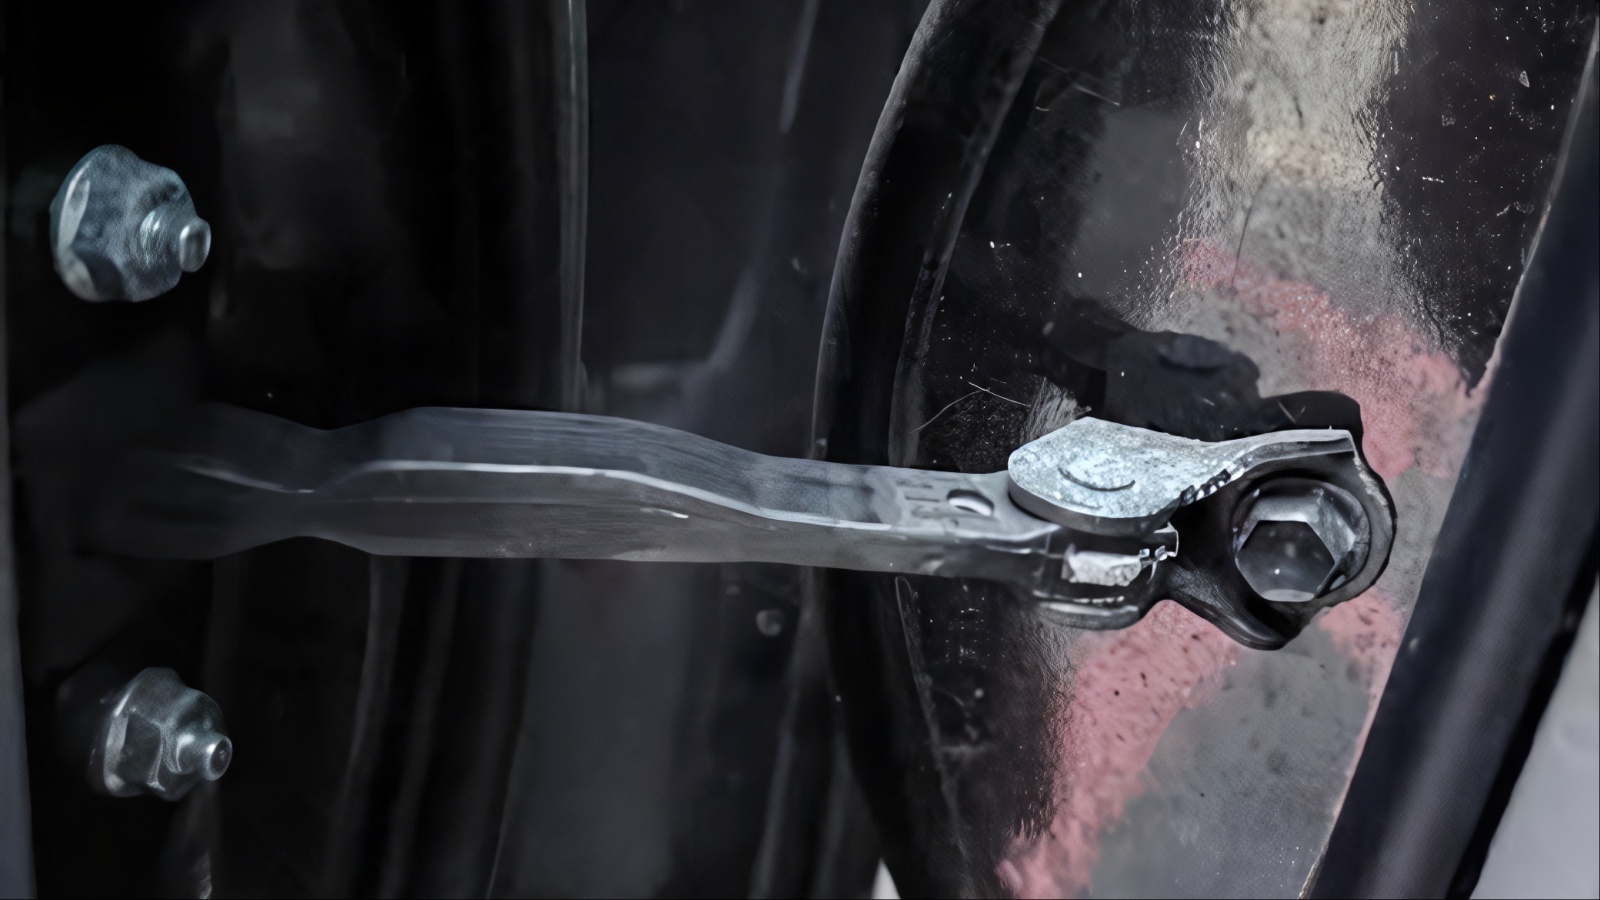
Apply a thin layer of white lithium grease along the full length of the strap, concentrating on the areas where the roller makes contact. If you can see the pivot pin at either end of the arm, add a small drop of grease there as well.
Work the door through its full range several times so the lubricant spreads into the internal roller. Many drivers overlook this part entirely and keep treating the hinges, which explains why the noise never goes away. If the check arm feels rough, notchy, or loose even after lubrication, it may be worn and need replacement.
Fortunately, the part is usually inexpensive and can often be swapped with basic hand tools, though some designs are riveted and better left to a professional. A quick spray of grease now can save you a repair bill later.
5. Lubricate the Latch and Striker Plate
The latch mechanism inside the door and the striker plate on the body pillar take a beating every time you close the door. Metal slams against metal thousands of times a year, and without lubrication, the surfaces develop friction that produces creaks, clacks, and sharp squeaks. A dry latch can also make the door harder to close and may eventually wear out earlier than it should.
Start by wiping the striker plate clean with a rag, then apply a thin coating of white lithium grease to the contact surface where the latch grabs it. Next, look at the edge of the door, where the latch assembly is exposed.
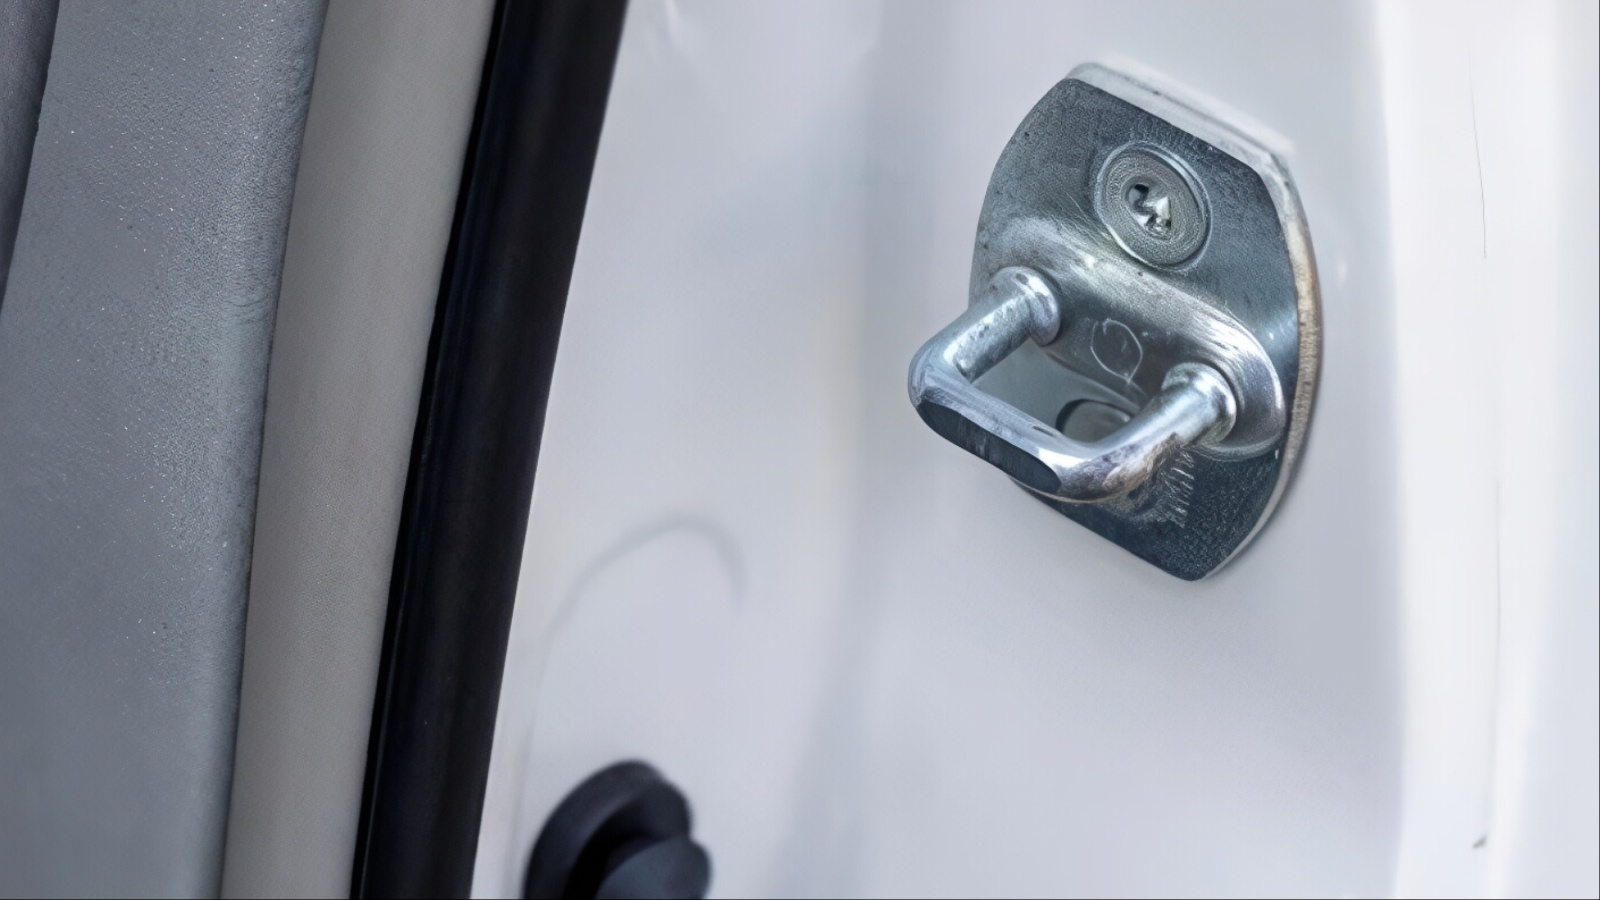
Spray a short burst of lubricant into the moving parts, or use a lubricant designed for locks and latches if your car has a particularly intricate mechanism. Open and close the door repeatedly, and operate the interior and exterior handles to work the grease into every pivot.
Be careful not to oversaturate the area, because excess lubricant can drip onto the door seal or seat upholstery. Wipe away anything that squeezes out with a clean cloth. If your latch uses a power-lock actuator, avoid heavy greases inside it and stick to light lubricant applied only to exposed metal surfaces.
After treatment, the door should close with a quieter, more solid thud, and the grating sensation you may have noticed during closing should disappear. Treat the latch gently as you work, and avoid forcing any part that resists, since small springs can pop out easily.
6. Condition the Weatherstripping
Not every squeak comes from metal. The rubber seals around your door frame, known as weatherstripping, can also produce squeaks and creaks when they become dry, hardened, or slightly misaligned. As the door flexes slightly while driving or when you shut it, dry rubber rubs against painted metal and makes a sound that is easily mistaken for a hinge problem.
Clean the weatherstripping first using a damp cloth and mild soap to remove dust and residue, then let it dry. Next, apply a silicone-based rubber conditioner or silicone spray to a clean cloth and wipe it along the entire seal. Applying it to the cloth first prevents overspray on glass and paint. Avoid petroleum-based products such as petroleum jelly or oil, because they can slowly degrade rubber and make it swell or crack over time.

Pay special attention to the areas where the door seal meets the body, since that is where friction usually occurs. A light coating of silicone also helps protect the rubber from sun damage and keeps it flexible through hot summers and cool nights. Treat the seal on the door frame as well as the one on the door itself.
This inexpensive step often cures a stubborn noise that lubricating metal parts never touched, and it has the added benefit of reducing wind noise and helping doors resist freezing shut in cold climates. Repeat this treatment each season, ideally before winter and again before summer, so the rubber stays supple and quiet all year long.
7. Tighten Loose Bolts and Screws
Sometimes the cause of a squeak is not a lack of lubrication but a lack of tightness. Hinge bolts, striker plate screws, and door panel fasteners can work loose over years of driving, vibration, and repeated slamming. A slightly loose component shifts and rubs against its neighbor, producing creaking and squeaking sounds that no amount of grease will cure.
Start with the hinge bolts, which are usually found on the edge of the door and on the body pillar. Support the weight of the door with one hand or a block of wood, then check each bolt with an appropriate socket wrench. Tighten them gradually and evenly, being careful not to overtighten, as stripping the threads can turn a small problem into a costly repair. If your owner’s manual lists torque specifications, follow them closely.
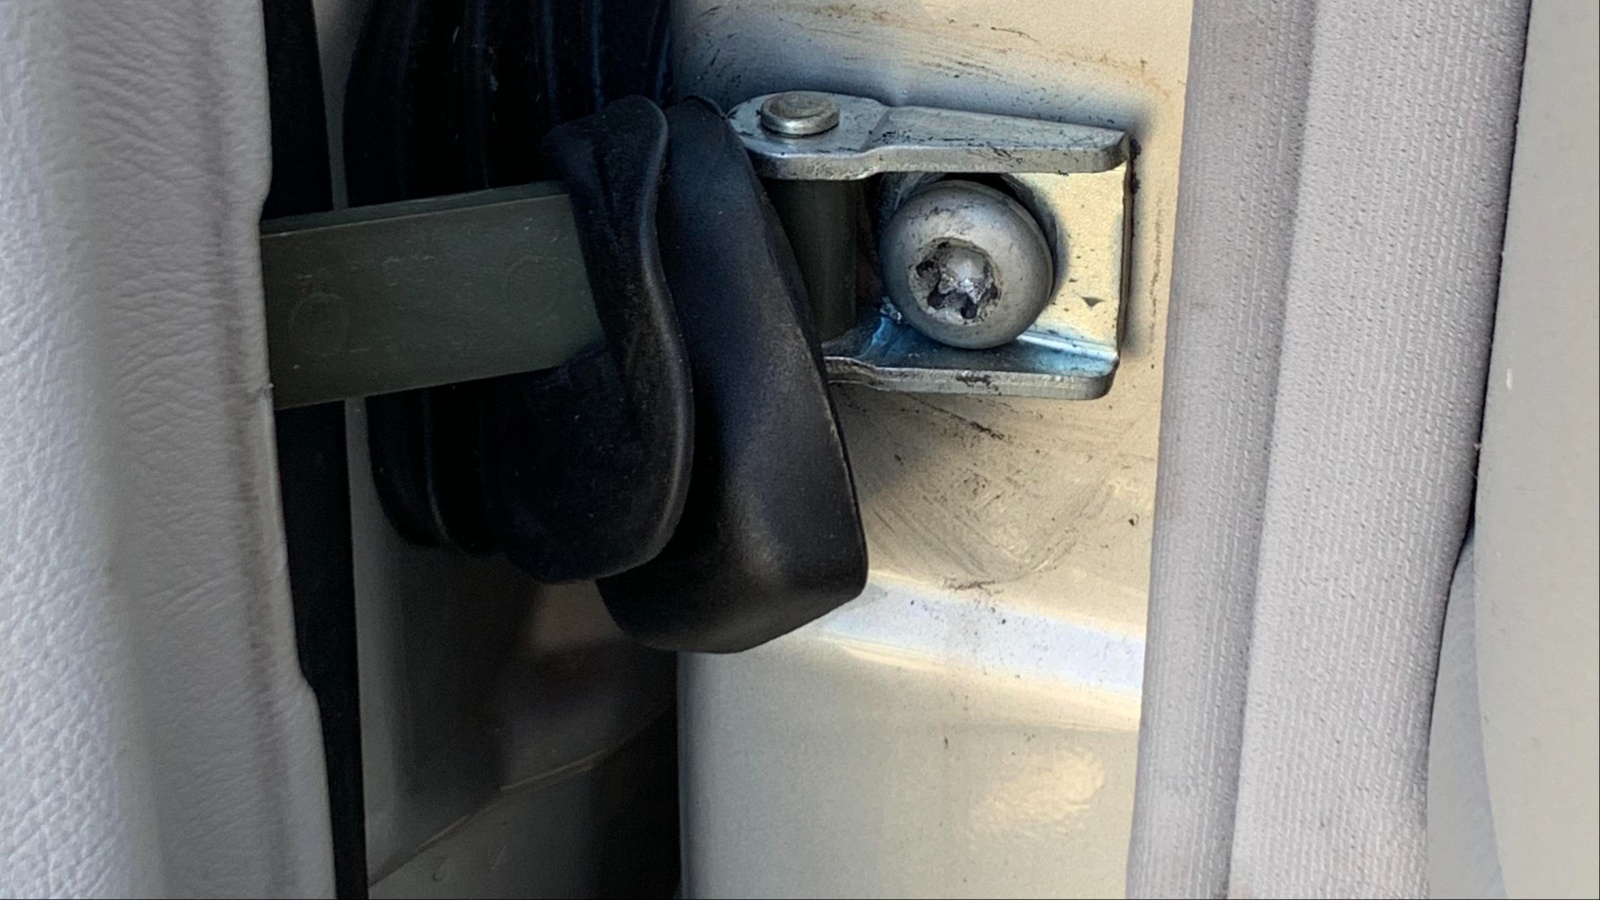
Next, check the striker plate, which is held by two or three screws that can loosen with use. If the heads are worn or rounded, replace them with fresh hardware of the same size. Finally, press on the interior door panel and listen for rattling or squeaking. Tighten any exposed screws, and consider adding small felt pads or foam tape behind plastic trim that rubs against metal.
Marking bolts with a dab of paint after tightening is a clever trick, because you can later see at a glance whether anything has begun to turn and loosen again. A few minutes with a wrench is cheap insurance, and it often reveals other hardware that was quietly working itself loose.
8. Replace Worn Hinge Pins and Bushings
If cleaning and lubrication only quiet the door for a short time, the hinges themselves may be worn. Hinge pins and the bushings that surround them are designed to wear slowly, but years of use and neglect can create slack in the joint. A worn pin allows the door to wobble and rub, causing persistent squeaks, uneven gaps, and a door that sags when opened.
To test for wear, open the door and lift gently on the far edge. If you feel movement, clunking, or play in the hinges, replacement is likely needed. Hinge pin and bushing kits are inexpensive and available for many popular models.
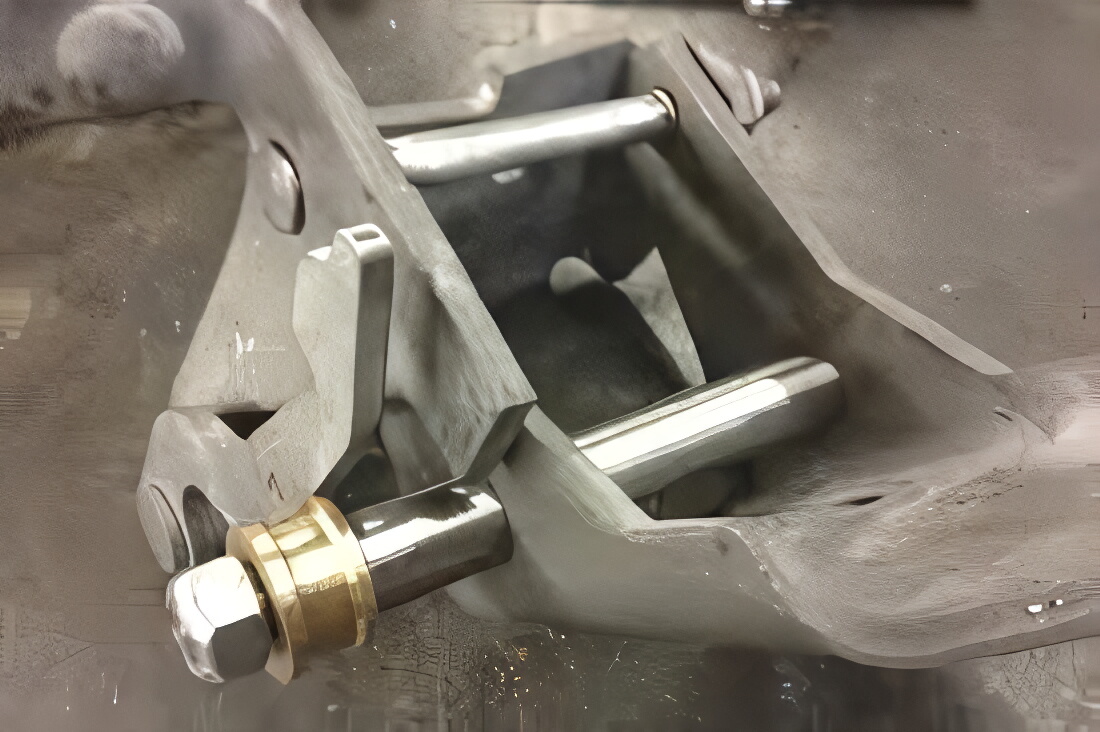
You will need a hammer, a punch, and a helper to support the door while you drive out the old pins. Remove one hinge at a time so the door remains aligned, and press the new bushings into place before inserting the new pin.
Always lubricate the replacement parts lightly with grease before final assembly. Take your time driving the pin into position, tapping evenly so it seats correctly without bending. Once installed, the door should swing smoothly and sit snugly without any lift or wobble.
If your hinges are welded or bolted in a way that makes this job difficult, a body shop can perform the repair quickly. Even though this step requires more effort than the earlier ones, it often provides a permanent solution and restores the door’s original feel. The result is a quieter, tighter door that feels almost new.
9. Realign the Door
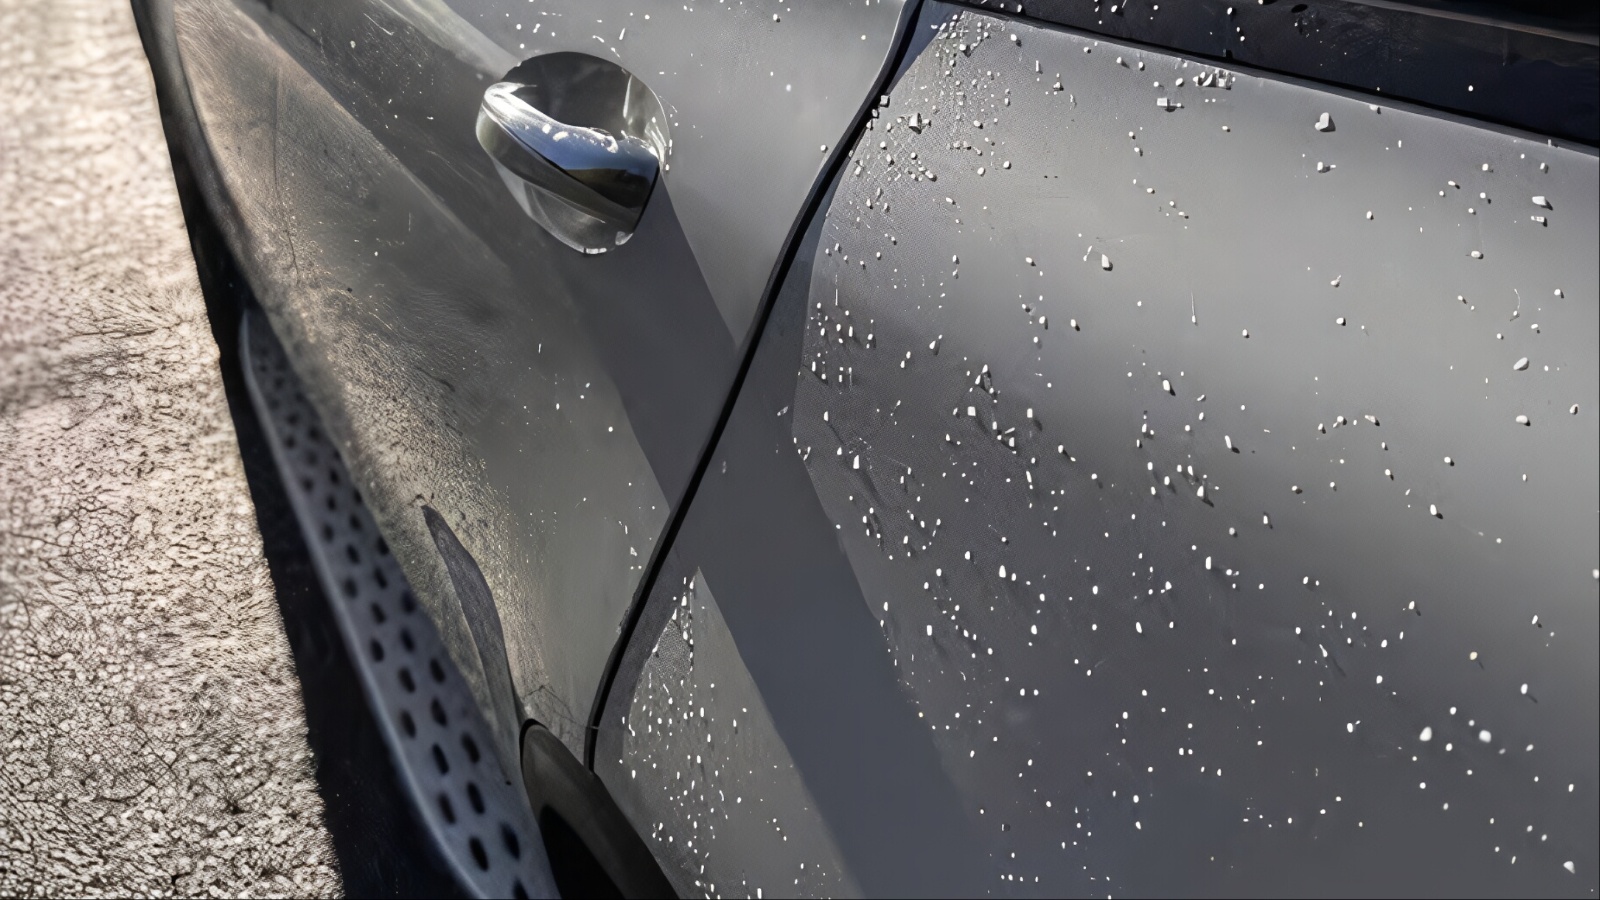
A door that sits slightly out of alignment can rub against the body, the striker plate, or its own weatherstripping, creating squeaks that seem impossible to track down. Sagging hinges, minor collisions, and years of slamming can all push a door out of position by just a few millimeters, which is enough to cause friction and annoying noise.
To check alignment, close the door and examine the gaps around its edges. They should be consistent and even all the way around, and the door should sit flush with the neighboring panels. Look for paint rubbed away along the edge or a shiny worn spot on the seal, as these indicate where contact is happening. If the door appears to sag, lift it gently while closing and notice whether the squeak disappears.
Adjusting alignment usually involves loosening the hinge bolts slightly, repositioning the door, and retightening. Have a helper hold the door in place and make tiny adjustments, closing the door after each one to check the fit. You can also move the striker plate up, down, or sideways by loosening its screws, which often fixes a latch that rubs or binds. Mark the original position with a pencil so you can return to it if needed.
Door alignment can be tricky, so if the gaps are drastically uneven or the door was damaged in an accident, a professional body shop is the safer choice. Patience matters here, because small, careful adjustments almost always work better than one large correction.
10. Build a Simple Maintenance Routine
Once your door is finally quiet, the best way to keep it that way is to treat lubrication as routine maintenance rather than an emergency repair. Most squeaks return because the grease eventually dries out, collects dirt, or washes away. A few minutes of attention every few months prevents the noise from creeping back and extends the life of every moving part in the door.
Create a simple schedule that fits your driving conditions. In dry climates, checking the hinges, check arms, and latches twice a year is usually enough. If you live somewhere humid, dusty, coastal, or snowy where roads are salted, plan on inspecting them every three months. Pair the task with something you already do, such as an oil change or a seasonal car wash, so it becomes a habit you remember.

During each check, wipe away old grease, add fresh lubricant, condition the weatherstripping, and look over the bolts for looseness. Keep a small kit in your garage with white lithium grease, silicone spray, clean rags, and a basic socket set so the job takes only minutes. Washing your car regularly also helps, because it removes grit before it can work into the hinges.
Consistent care keeps doors operating quietly, protects your investment, and spares you the irritation of that familiar squeal ever returning. Finally, jot the date of each service in your phone or glovebox notebook, which makes it simple to see when the next one is due. A little consistency now prevents far bigger frustrations down the road.