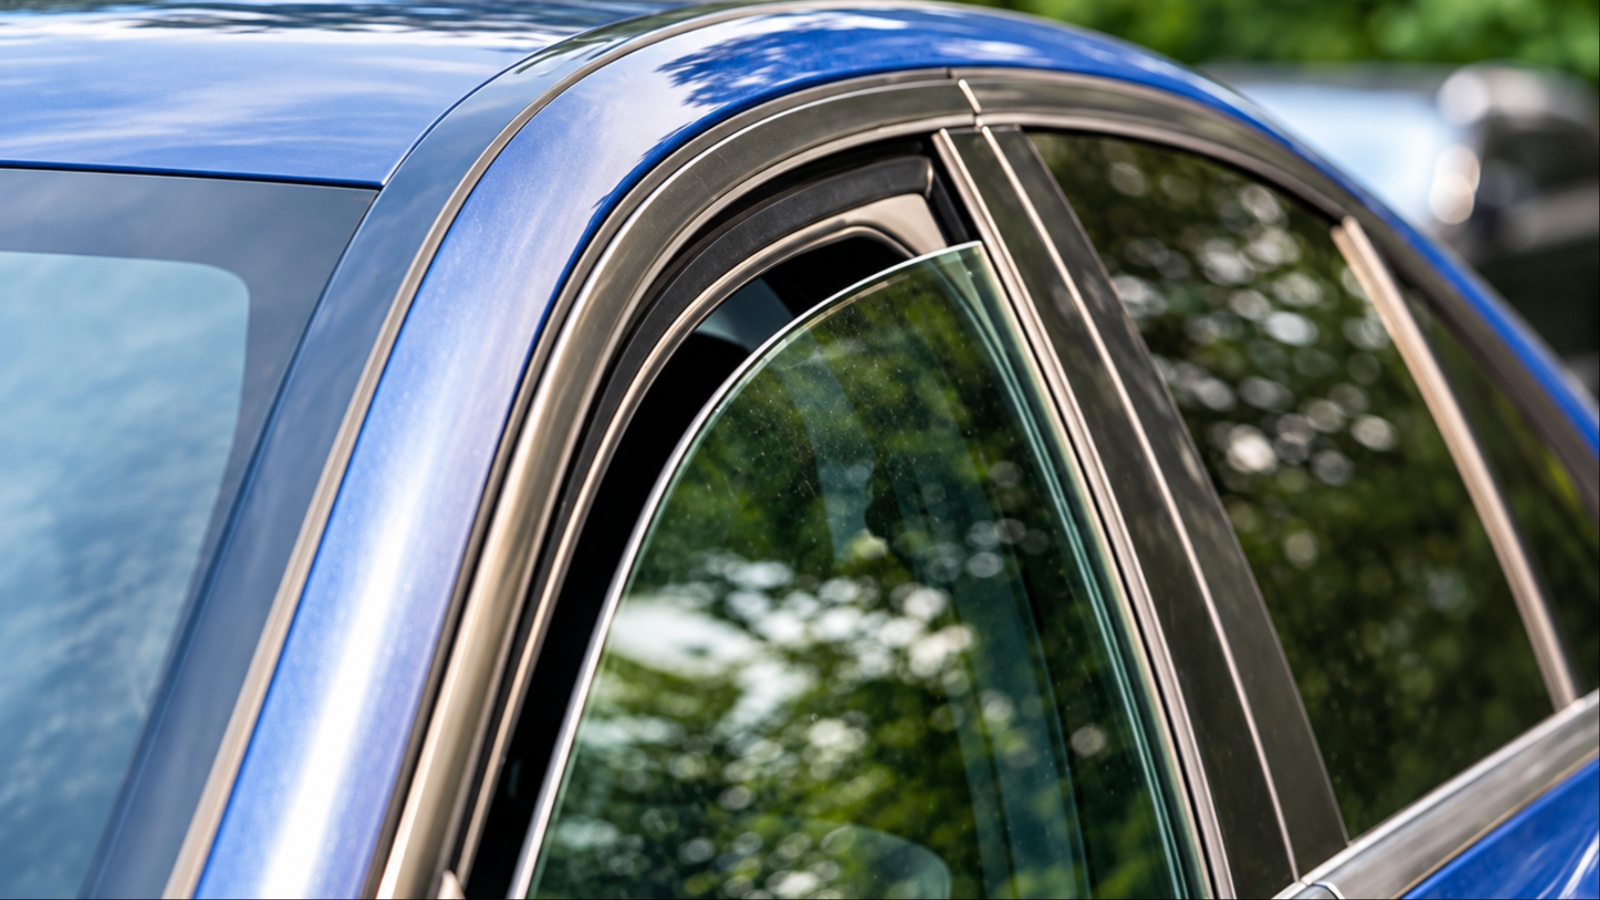
Few things spoil a drive faster than a persistent whistle, hiss, or low rumble coming from around a car window. At highway speeds, air rushing past the vehicle finds every tiny gap in the glass, rubber seals, and door frame. Even a gap thinner than a credit card can produce an irritating sound that follows you for miles. Over time, that noise leads to fatigue, makes conversation harder, and drowns out your music.
The good news is that wind noise around car windows is often easy to fix without visiting a repair shop. Common causes include worn weatherstripping, dirt buildup, misaligned glass, and accessories that disrupt airflow. This guide covers ten practical ways to reduce wind noise, starting with the simplest and least expensive solutions before moving on to more involved repairs. With the right approach, you can enjoy a quieter cabin and a more comfortable drive.
1. Find the Leak First
Before buying replacement parts, identify exactly where the wind noise is coming from. Guesswork can waste both time and money, and repairing the wrong area will not solve the problem. Start by noting when the noise becomes loudest during a drive and which side of the car it seems to come from. Pay attention to whether the sound is near the front of the window, along the top edge, or around the rear corner.
A passenger can help by running a hand slowly along the window frame to feel for moving air, though never do this while the driver is distracted. A safer method is to park the car and have a helper play a leaf blower or garden hose gently along the seals while you listen inside. Water that seeps in or air that whistles through shows the problem area.

Another trick is the paper test. Close a thin strip of paper in the door against the seal at various points. If it slides out without resistance, the seal isn’t pressing tightly enough there. You can also use painter’s tape to temporarily cover suspected gaps and take a short test drive. If the noise drops or disappears, you’ve found the culprit.
Mark each suspect spot with a piece of tape or a note so you don’t lose track. Many cars have more than one leak, so check every door and window, not just the loudest one. Taking ten minutes to diagnose properly makes every fix below faster, cheaper, and far more likely to work the first time.
2. Clean the Window Seals and Channels
Dirt is one of the most overlooked causes of wind noise. Over months and years, grit, dust, tree sap, and road grime build up along the rubber seals and inside the window channels. This debris stops the glass from seating firmly against the rubber, leaving tiny gaps that whistle at speed.
Start by lowering the window completely and wiping the exposed channel with a damp microfiber cloth. Use a soft brush or an old toothbrush to loosen packed dirt from corners and crevices. For sticky residue like sap or old adhesive, a mild rubber-safe cleaner or diluted isopropyl alcohol on a cloth works well. Avoid harsh solvents or petroleum-based products, which can dry out and crack the rubber.
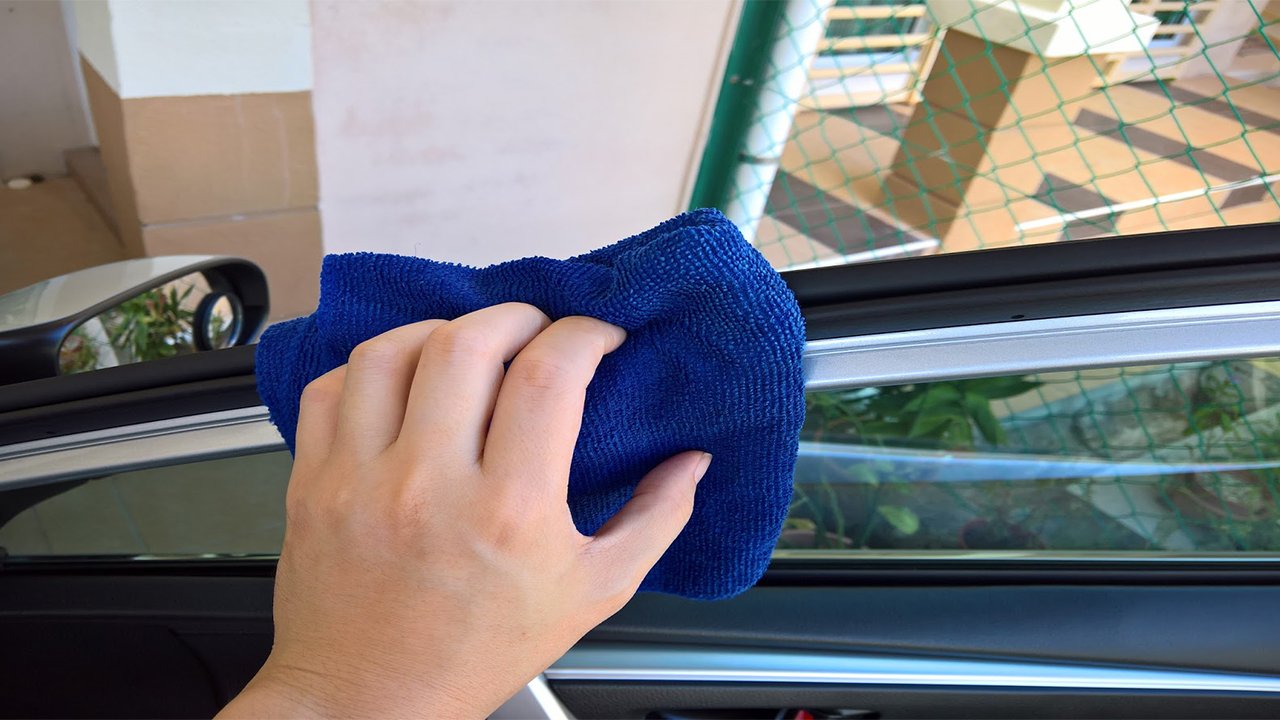
Clean the glass edges too. Raise the window and wipe the top and sides where they meet the seal. A thin film of dirt on the glass can keep it from forming a perfect contact. Don’t forget the door frame’s seal surface, which collects dust each time you open the door.
Once everything is clean, let it dry fully, then test the window. Cleaning often restores some of the seal’s original flexibility and contact, and it costs almost nothing. Make this a routine part of washing your car every few months, because preventing buildup is far easier than curing a noisy window later. Even if cleaning doesn’t solve the problem completely, it prepares the surfaces for any further repairs.
3. Lubricate and Condition Rubber Seals
Rubber hardens, shrinks, and cracks as it ages, especially under sun and heat. A stiff seal can’t conform to the glass or the door frame, which opens up small channels for air. Conditioning the rubber restores flexibility and often reduces wind noise noticeably.
Choose a silicone-based rubber conditioner or a dedicated weatherstrip lubricant. Avoid petroleum jelly and oil-based products, which can degrade rubber over time and attract dirt.
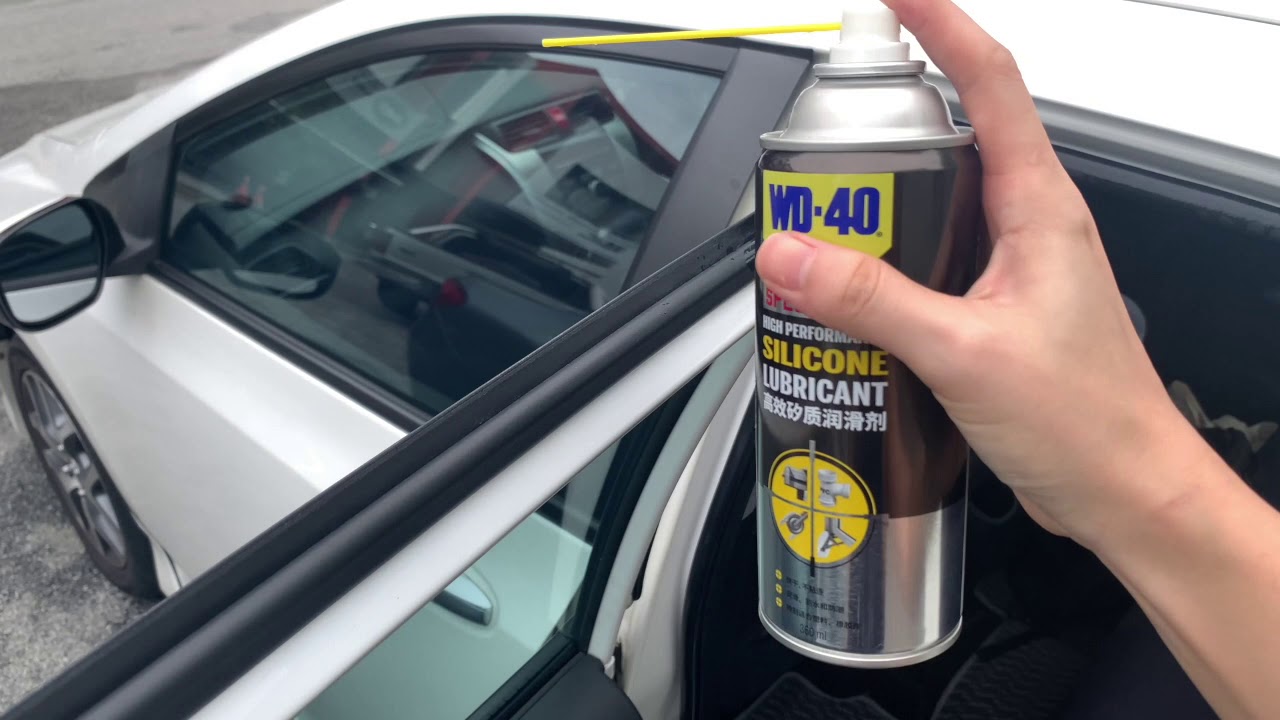
Apply a small amount to a clean cloth or applicator pad and wipe it evenly along the seal, working around the entire door frame and the window channel. Work the product in so the rubber looks supple rather than greasy, and wipe off any excess so it doesn’t smear onto clothing or the glass.
Silicone spray is also helpful inside the window channel. A light coat lets the glass slide smoothly and seat properly, and it keeps the rubber from sticking or tearing. Be careful not to overspray onto the windshield or other glass, since silicone residue can cause streaking and smearing.
Repeat the treatment every three to six months, particularly if you park in direct sun or live in a hot or cold climate. Conditioning won’t fix a badly cracked or flattened seal, but for rubber that’s merely dry and stiff, it can bring back enough sealing power to quiet a whistle. It’s quick, inexpensive, and also extends the life of the seals, which delays costly replacements.
4. Replace Worn Weatherstripping
When rubber is cracked, flattened, torn, or pulling away from the frame, conditioning won’t be enough. Replacing the weatherstripping is the most reliable permanent fix for wind noise and is within reach of most DIYers.
Start by identifying the correct part. Check your owner’s manual or search by make, model, and year to find the seal for your specific door. Buying an OEM or high-quality aftermarket seal ensures the right profile and fit. Cheap universal strips may not match the shape of your door and can leave gaps.
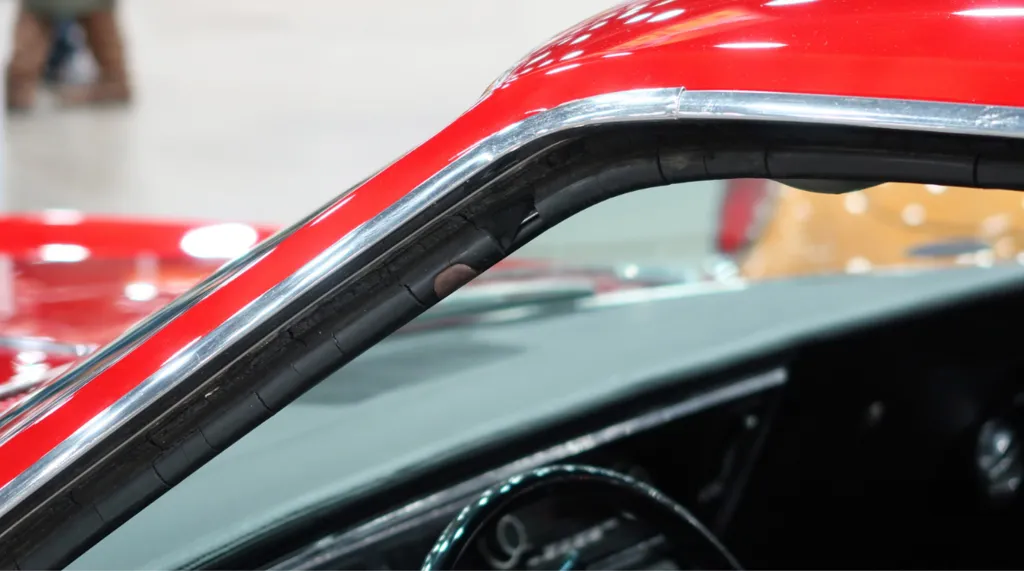
To remove the old seal, simply pull it from its channel or release the clips that hold it. Some seals are glued on, so take your time and gently peel away the adhesive. Clean the channel thoroughly with a rubber-safe cleaner and remove all old glue residue, since the new seal needs a clean surface to seat properly.
Press the new seal into place, starting at one end and working steadily around the frame. Make sure the joints and corners line up, and use adhesive only where the manufacturer recommends. Close the door gently to check how it feels. It should close with a solid, muted thud rather than a rattle.
Take a test drive afterward. A fresh seal often makes an immediate difference, not only in wind noise but also in road noise and water leaks. It is a modest investment that pays off in comfort and longevity.
5. Adjust the Window Glass Alignment
Sometimes the seals are fine, but the glass itself sits slightly out of position. If the window doesn’t press evenly against the top and front seals, air gets through at the loose points. Misalignment commonly develops after years of use, after a window regulator repair, or following minor accident damage.
Signs of misalignment include a window that leans away from the frame at the top, uneven gaps between the glass and the seal, or a window that rattles when you close the door. Wind noise from misaligned glass is often loudest near the upper corner.
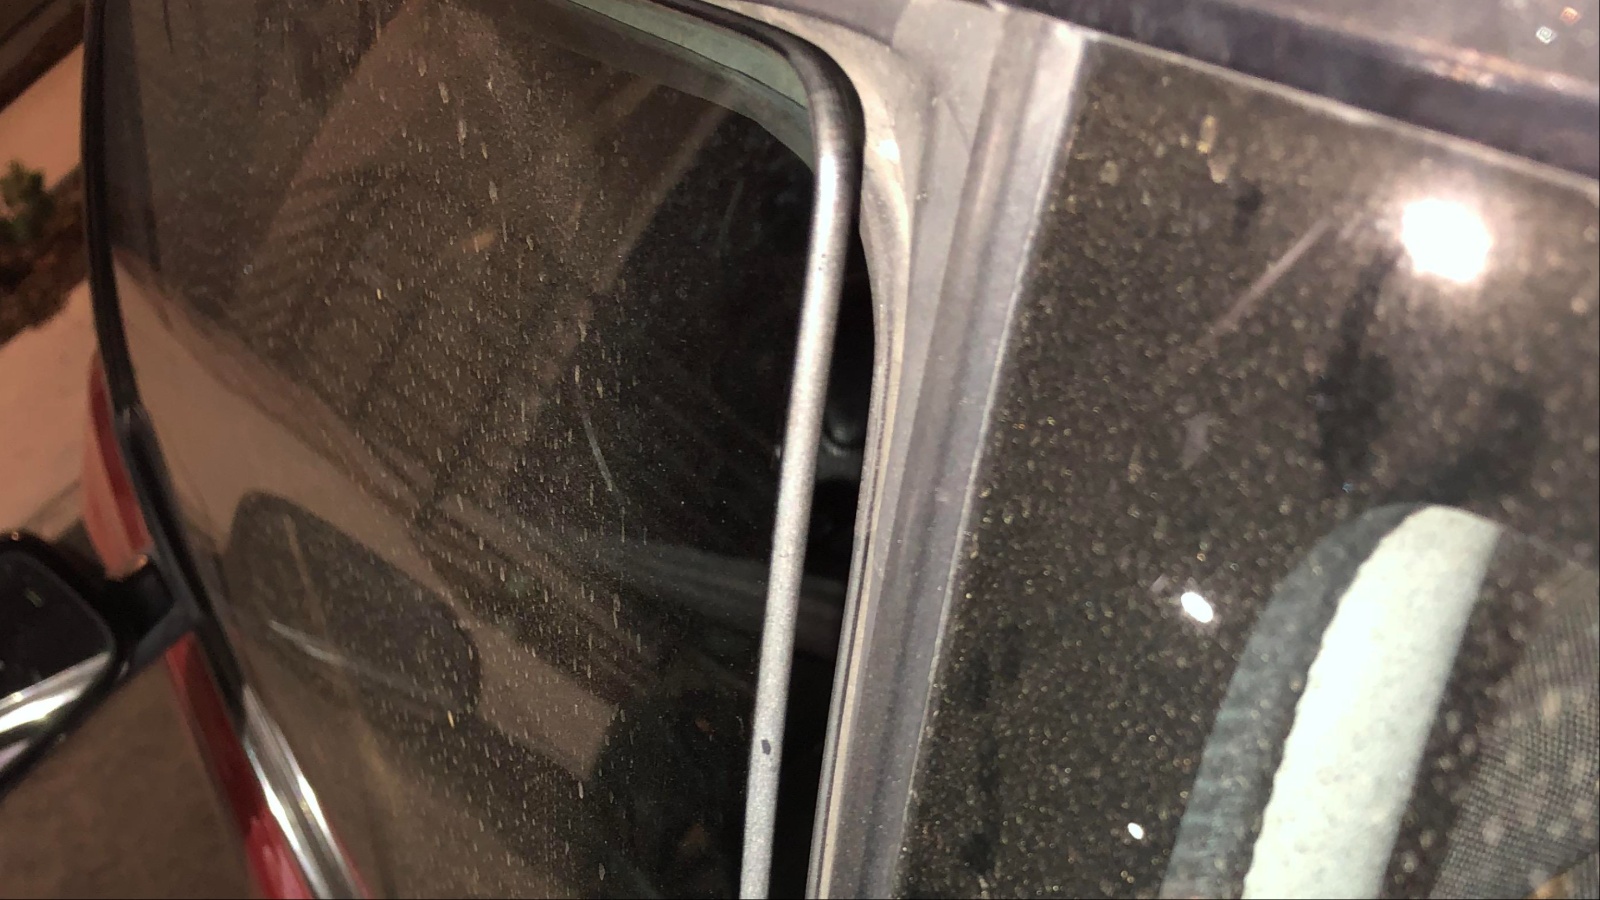
Most cars allow adjustment through bolts or screws on the window regulator or track, accessible after removing the interior door panel. Loosening these slightly lets you shift the glass inward, outward, forward, or backward, then retighten once it sits properly against the seal. Make small changes and test the window each time. Raise it fully and check that it contacts the seal evenly all the way around.
Be careful when removing door panels, as clips can break and wiring for windows and speakers must be disconnected gently. Consult a repair manual or a video guide specific to your vehicle before starting.
If the window still doesn’t align after adjustment, the regulator or glass guides may be worn and need replacing. Because this job requires some skill, consider a professional if you’re not comfortable working inside the door. Correct alignment benefits more than noise. It also improves how smoothly the window operates and protects the glass.
6. Check the Door Alignment and Latch
A door that doesn’t close tightly against the body leaves a gap along the entire seal, and wind noise often follows. Door alignment can shift over time because of worn hinges, repeated slamming, or minor impacts. Even a fraction of a millimeter can reduce the pressure on the seal enough to let air whistle through.
To check, close the door and look at the gap between the door and the body panels. It should look even from top to bottom and match the gaps on the other doors. Open and close the door and notice whether it lifts or drops as you do. Sagging usually points to worn hinge pins or bushings.
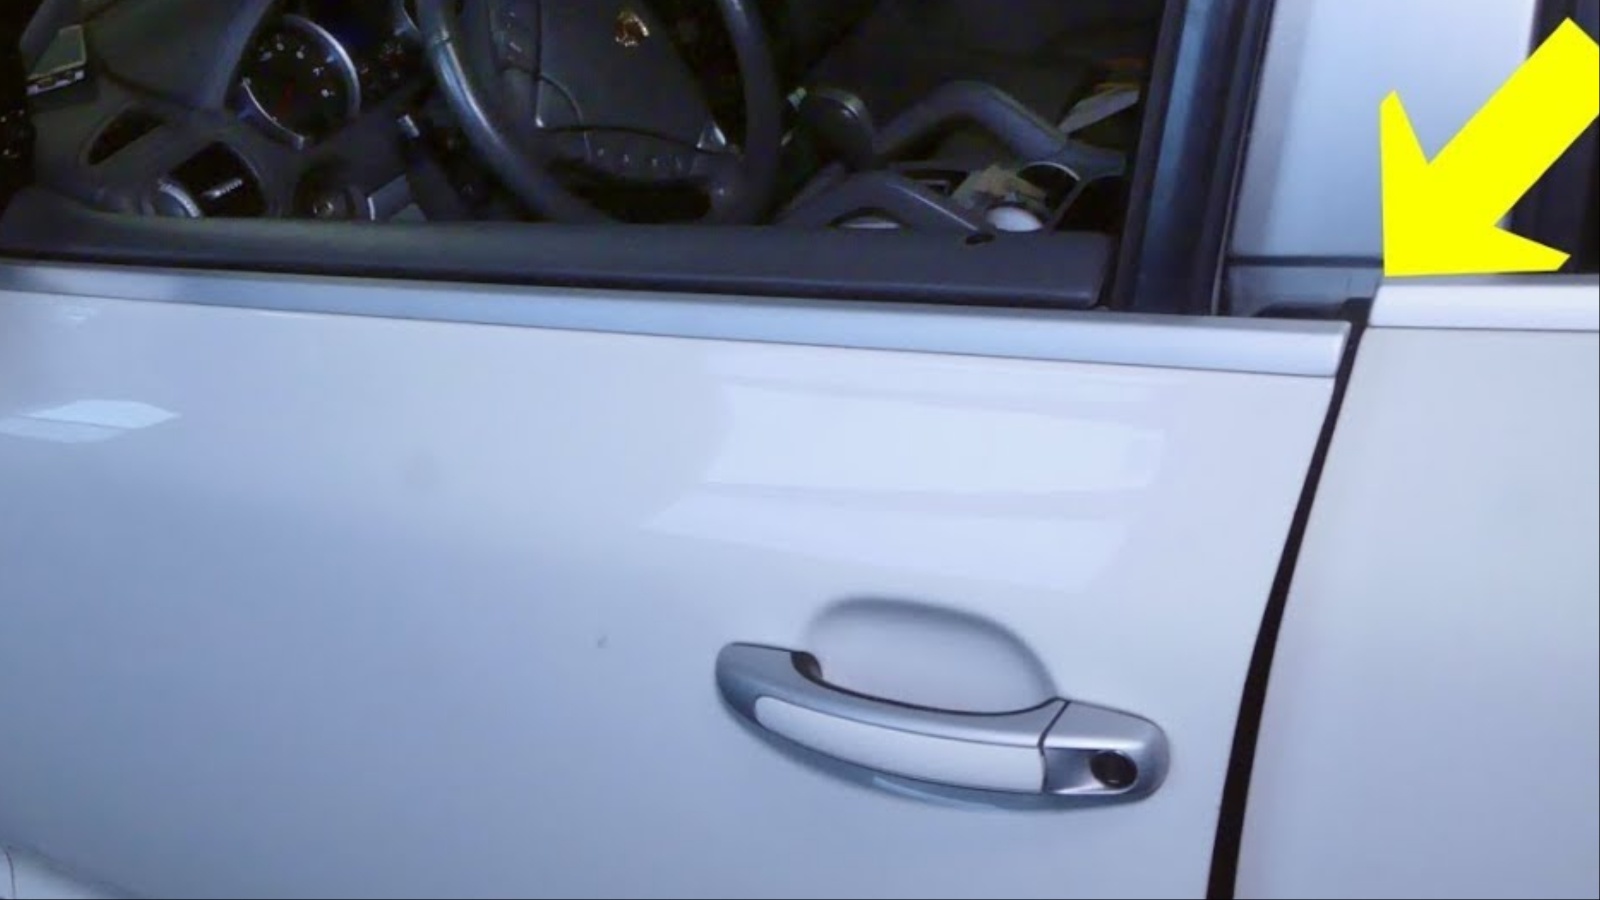
Another common culprit is the door striker, the metal catch on the body that the latch grabs. If it sits too far out, the door won’t pull in snugly. Many strikers can be adjusted by loosening the bolt, moving the striker slightly inward, and retightening. Make small adjustments of a millimeter or two, and test the door each time. The door should close firmly without needing to be slammed.
You can also tighten hinge bolts or replace worn hinge pins, which restores proper door position. Mark the original position of hinges with a pencil before loosening, so adjustments remain controlled.
If the door seems badly out of line, or the body is damaged from an accident, a body shop can realign it correctly. Fixing the door fit improves sealing around the whole opening, not just the window.
7. Install Window Wind Deflectors
Wind deflectors, also called rain guards or visors, attach to the top of the door frame and redirect airflow around the window. They can reduce wind buffeting and noise, particularly when the window is partially open, though they aren’t always effective against leaks around a closed window.
There are two main types. In-channel deflectors slide into the window channel and are held in place by tension, while stick-on deflectors attach to the outside of the door frame with automotive adhesive tape. In-channel versions give a cleaner look but can sometimes press on the glass and affect sealing if poorly fitted. Stick-on types avoid that problem but need careful installation.
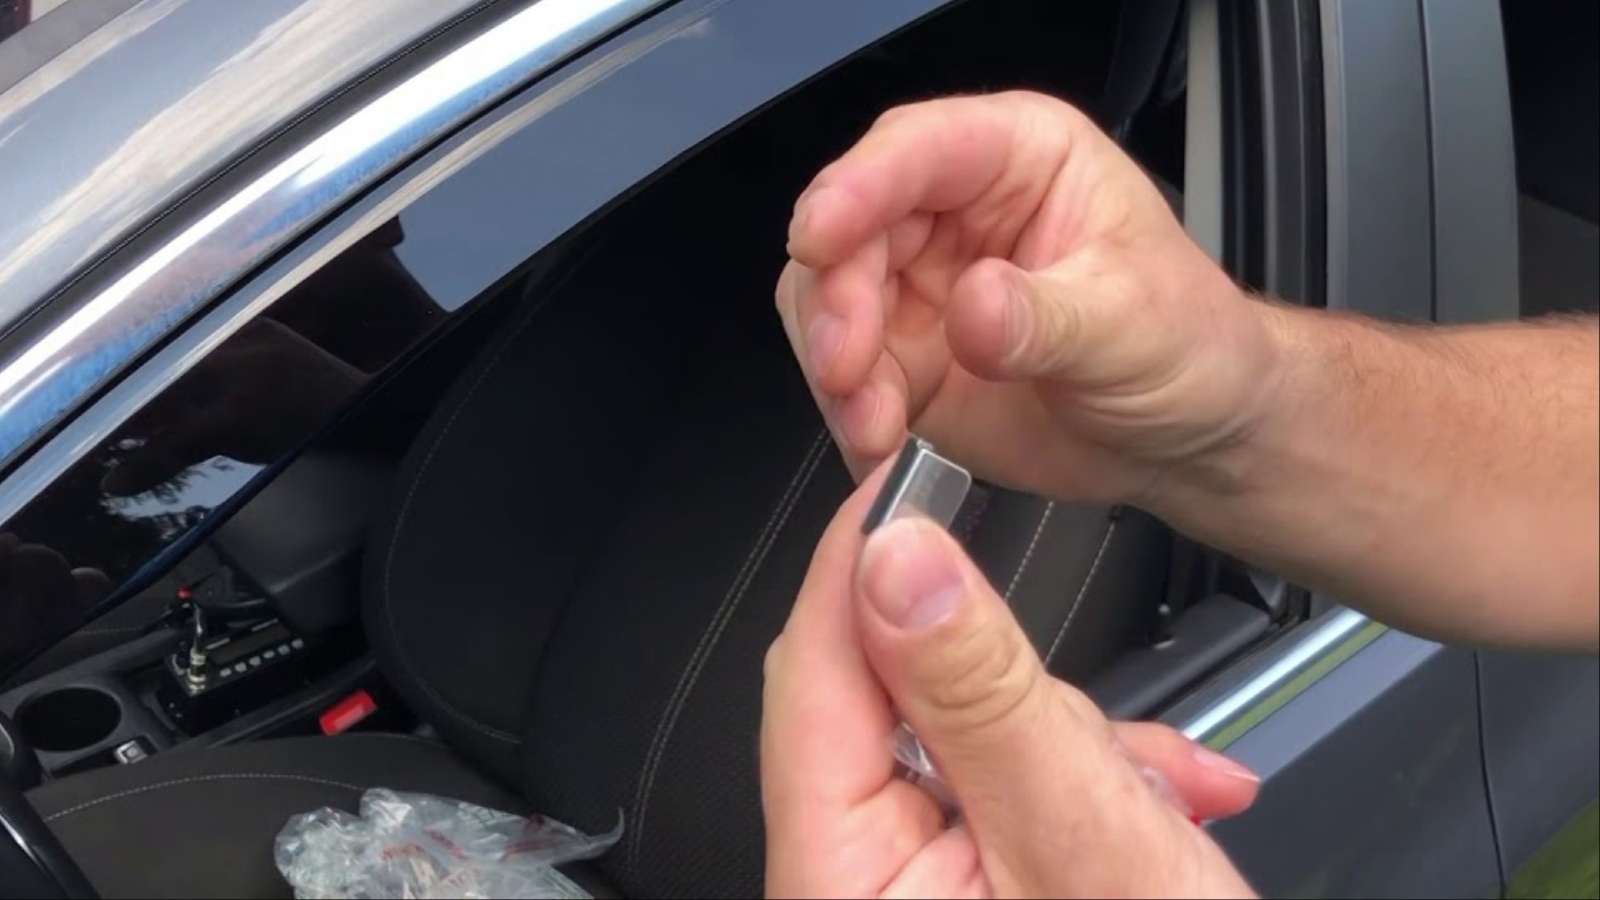
Buy deflectors designed for your exact vehicle. A precise fit matters, because ill-fitting ones can create new turbulence or even cause additional noise. Look for quality materials such as durable, impact-resistant acrylic that resists warping and fading.
Before installing stick-on types, clean the surface thoroughly with isopropyl alcohol and make sure the temperature is suitable for the tape, typically above 60°F. Press firmly along the whole length and give the adhesive time to cure before driving or washing the car.
Keep in mind that deflectors alone won’t fix a worn seal. If your noise comes with the window fully closed, address the seal or alignment first. Deflectors work best as an extra measure for people who often drive with windows slightly open, to cut down on that deep thrumming and keep fresh air flowing comfortably.
8. Add Supplemental Door Edge or Seal Strips
When the factory seal is intact but still leaves a small gap, adding a supplemental seal can close it. Self-adhesive rubber or foam strips, along with D-shaped or P-shaped weatherstripping, are inexpensive and easy to add around doors and window frames.
First, identify where a gap remains using the paper test or the tape method described earlier. Then choose a strip with a profile suited to the gap. A hollow D-shaped seal compresses well in medium gaps, while thin foam tape works for tiny ones. Avoid anything too thick, since an overly bulky seal can stop the door from closing properly or put strain on the latch.
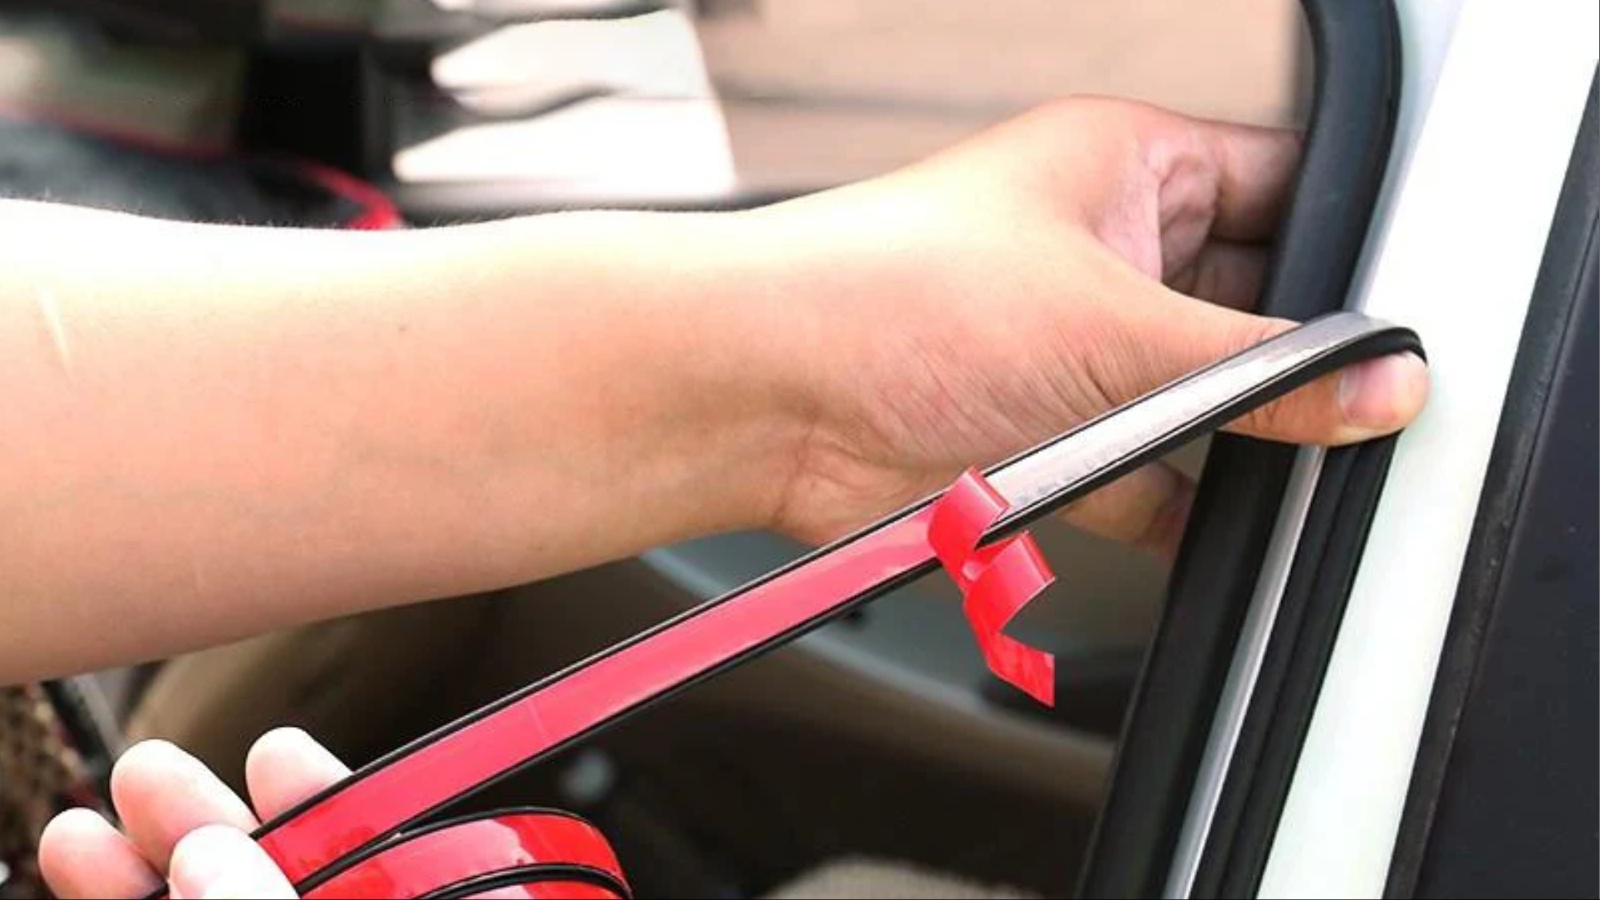
Clean the surface thoroughly with alcohol and let it dry. Peel back the adhesive backing gradually and press the strip into place, working along the length without stretching it. Stretched rubber will shrink back over time and leave gaps at the ends. Trim it cleanly at the joints so the ends meet neatly.
Many people place the extra seal along the door frame on the body side, where it works with the existing weatherstripping. Another option is a thin edge seal along the top of the window frame, where whistling often starts.
Test the door afterward. It should still close easily with a firm click. If it takes extra force, the strip is too thick and should be swapped for a thinner one. Supplemental seals are a budget-friendly choice that can noticeably quiet persistent leaks, though they work best alongside a good base seal.
9. Address Mirrors and Exterior Accessories
Not all wind noise comes from the window seal. Side mirrors, roof racks, antennas, and other exterior additions can disturb airflow and generate whistling or buzzing that seems to come from the window area. Because the mirror mounts right beside the front window, it is a frequent source of confusion.
Check the mirror first. A loose mirror housing or a worn base gasket can vibrate and create noise. Gently wiggle the mirror to see if it moves. Tightening the mounting bolts or replacing a deteriorated foam or rubber gasket under the mirror base can help. Cracked or ill-fitting mirror covers can also whistle, so inspect them for gaps.
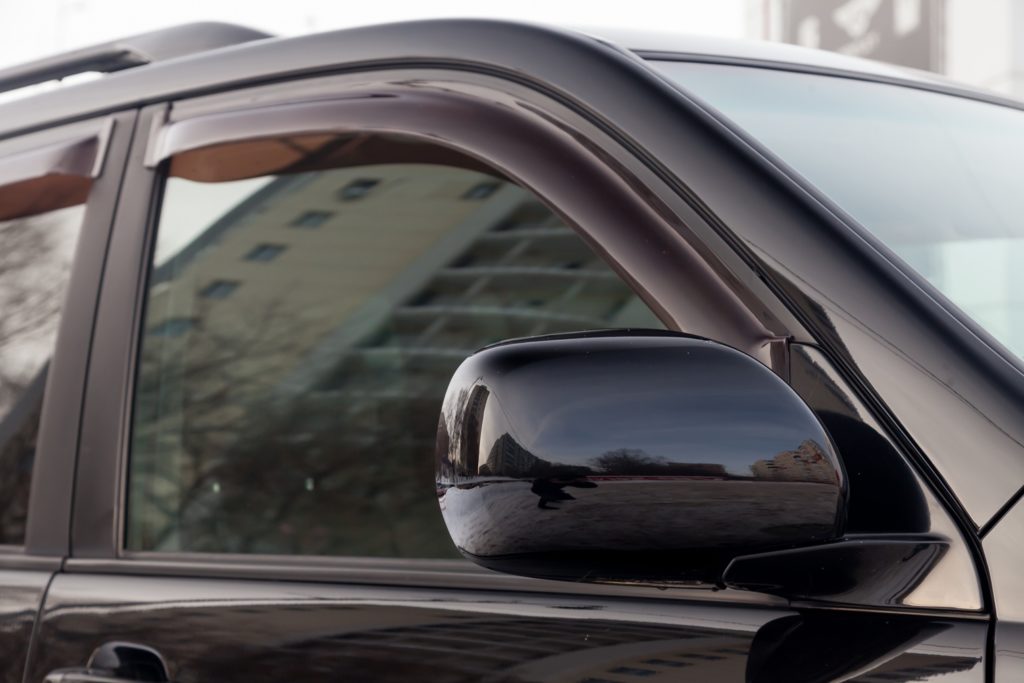
Next, look at roof accessories. Empty roof racks and crossbars are notorious for wind noise, especially aerodynamic bars that hum at certain speeds. Removing them when not in use is the simplest remedy. If you need to keep them, many manufacturers sell fairings or wind deflectors that reduce the noise. Aftermarket accessories like light bars or visors can have a similar effect.
Also inspect door trim, window molding, and any decorative strips. Loose or lifting trim can flutter in the wind, so reattach it with automotive adhesive or replace damaged pieces.
To confirm an accessory is responsible, remove it temporarily and test drive again. If the noise changes, you’ve found the source. Fixing these external contributors often solves what seemed like a window problem, and costs far less than replacing seals or regulators.
10. Add Sound Deadening Inside the Door
If you’ve sealed the leaks and the car still feels loud, sound-deadening material inside the door can reduce the noise that remains. While it won’t stop actual air leaks, it dampens vibration and blocks some of the sound that travels through the door panel and into the cabin.
Start by removing the interior door panel, which usually involves unscrewing a few fasteners and popping off clips. Take photos as you go so reassembly is easier. Behind the panel, you’ll typically find a plastic moisture barrier and bare metal. Clean the inner metal skin with isopropyl alcohol so adhesive sticks well.
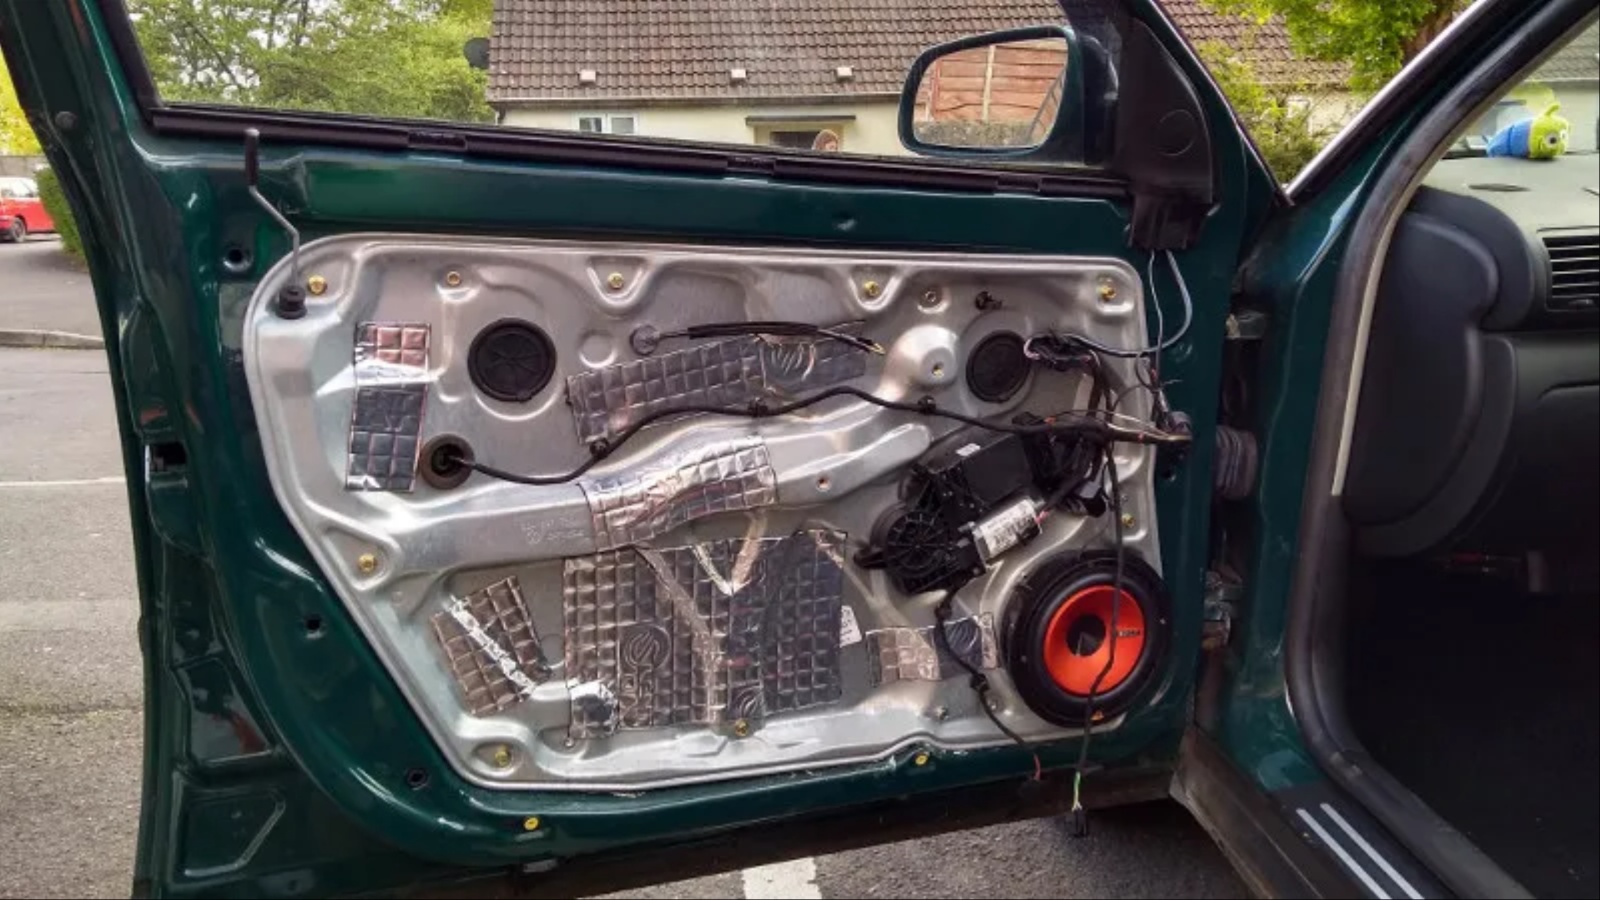
Apply butyl-based sound-deadening mats to the large flat areas of the outer door skin, pressing them down firmly with a roller to remove air pockets. Covering about 25 to 50 percent of the panel is usually enough to reduce resonance. Adding a layer of closed-cell foam or mass-loaded vinyl over the inner door skin can further block sound transmission.
Be sure not to block the window mechanism, speaker mounting areas, drain holes, or wiring. Reattach the moisture barrier carefully, since a damaged or missing barrier can let water into the door and cause rust or electrical problems.
Results vary by vehicle, but many owners report a more solid door sound and a quieter, more premium-feeling cabin. This is the most labor-intensive option here, so tackle it last, after you’ve addressed seals, alignment, and accessories. Together, these measures can turn a noisy commute into a peaceful drive.