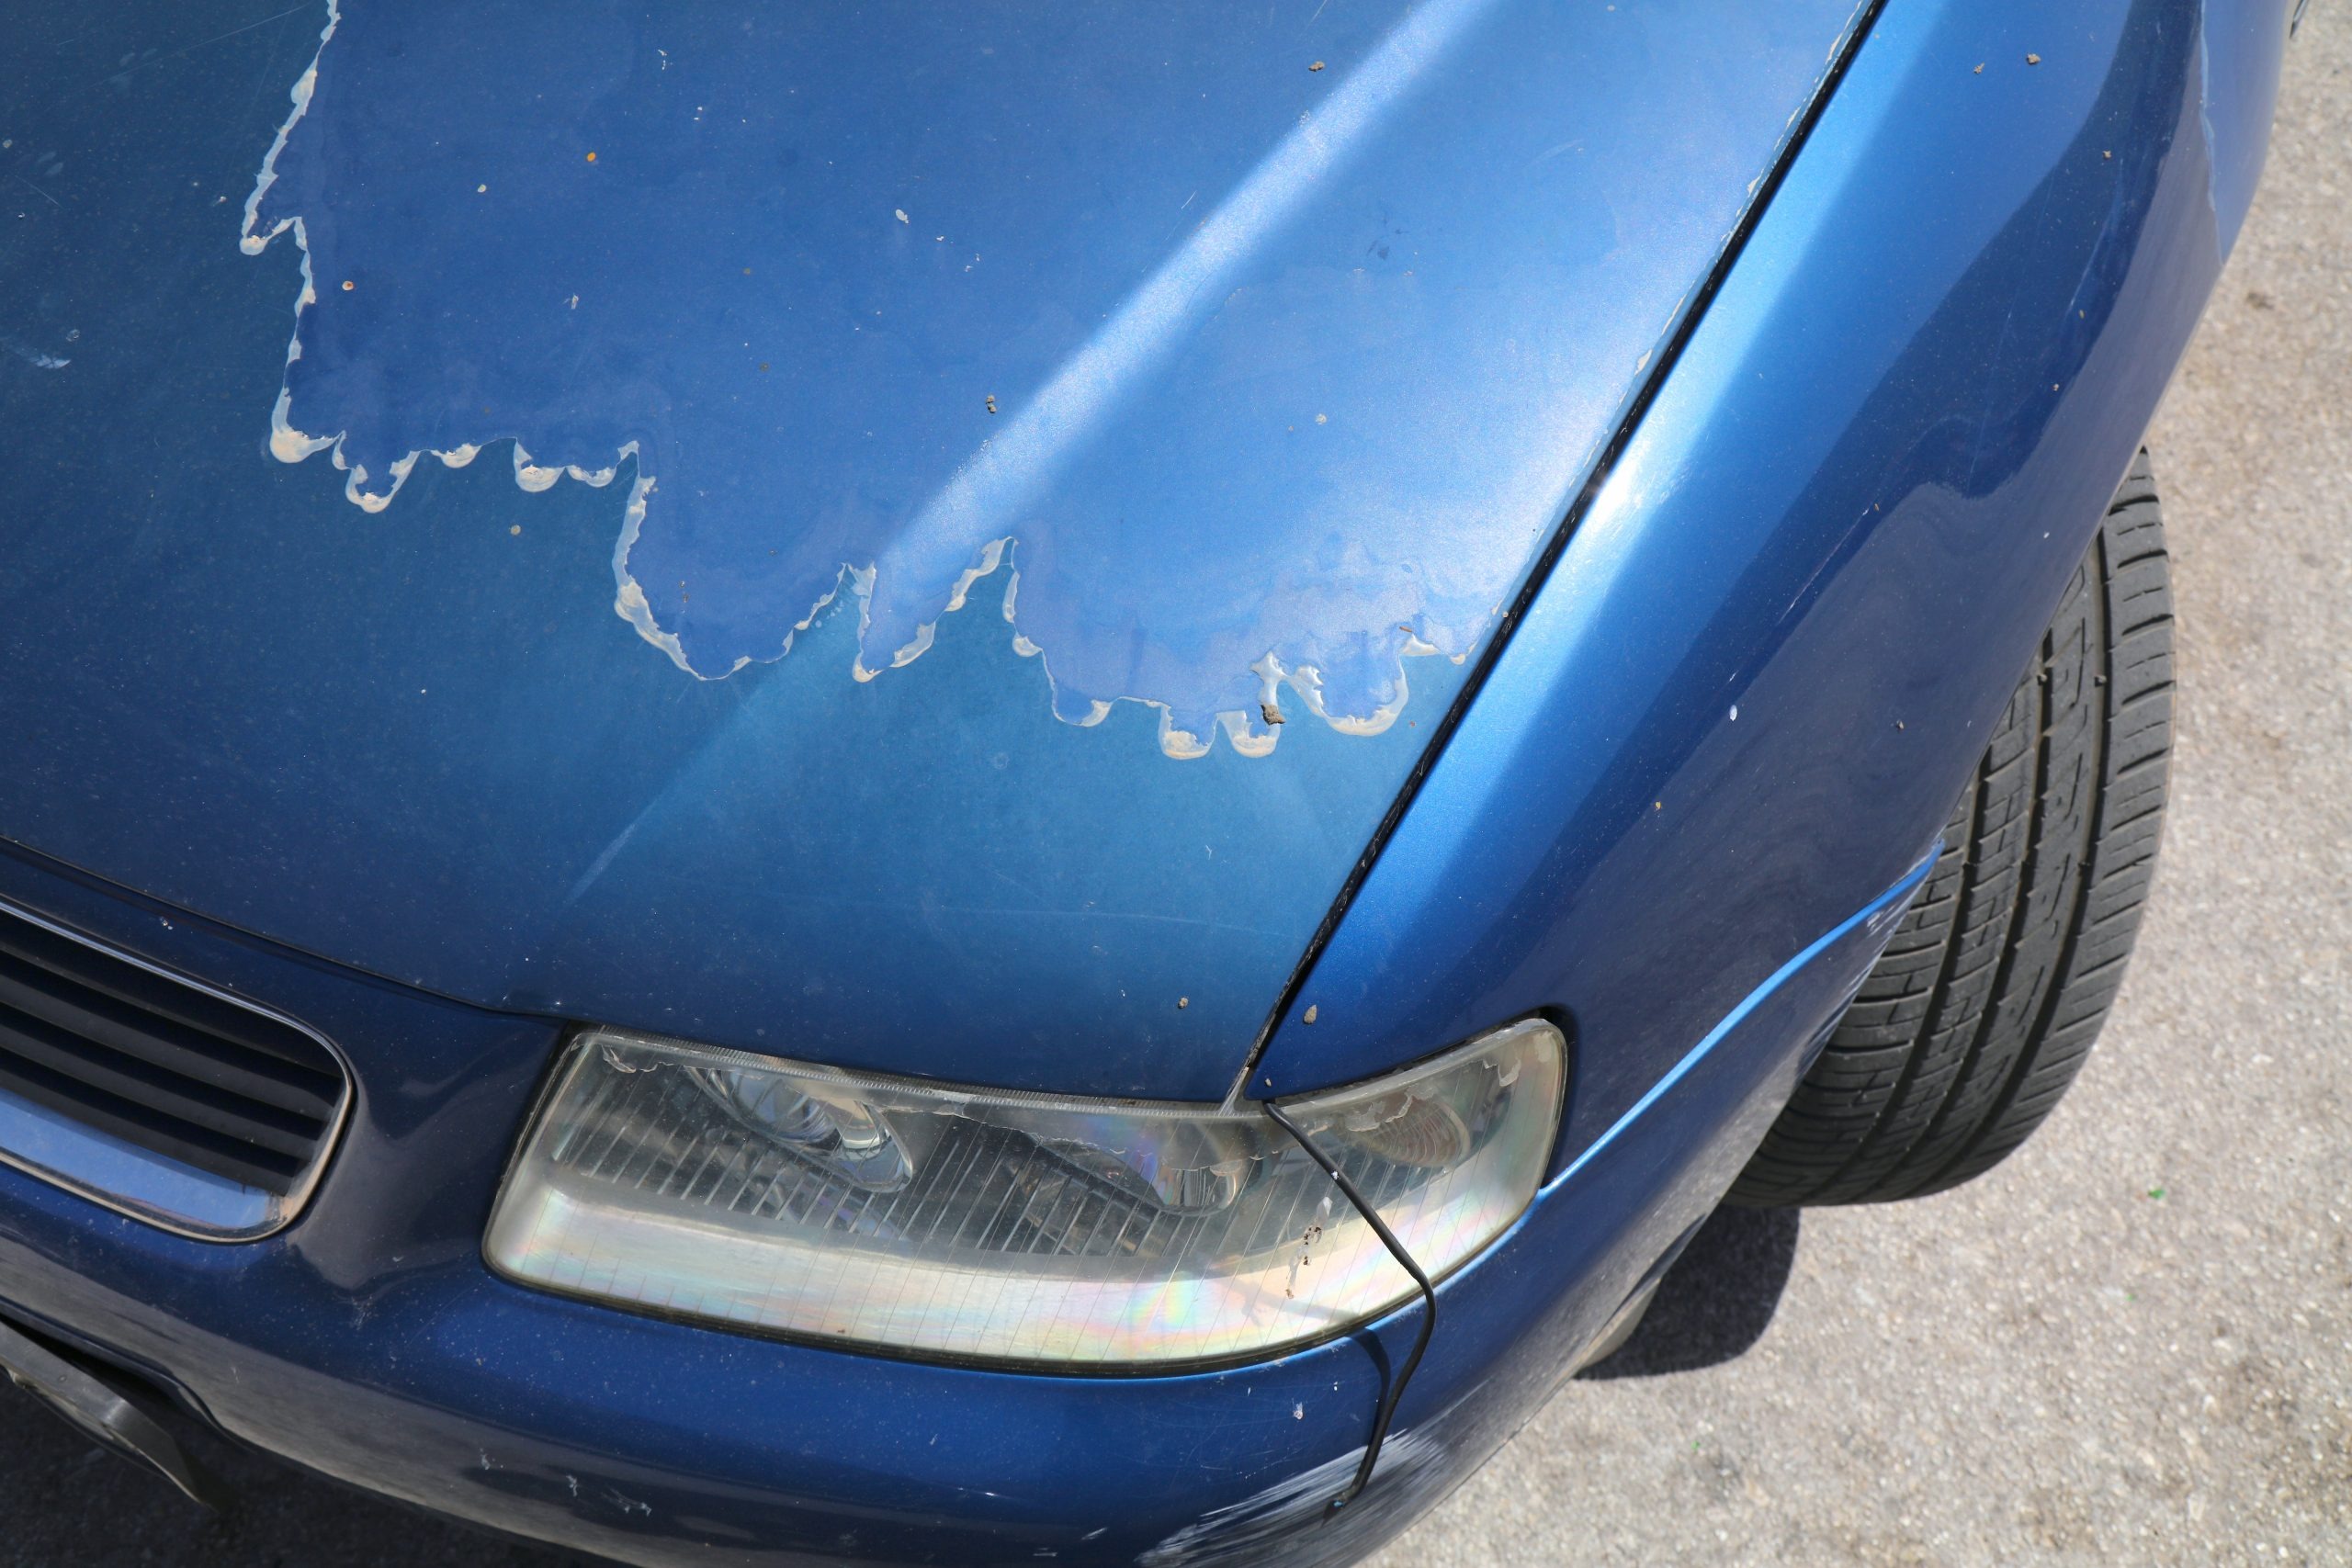
Has your car lost its shine, leaving the paint dull, faded, or chalky? Before spending hundreds of dollars on professional detailing, consider affordable DIY solutions. With the right products and a little effort, you can improve your car’s appearance for under $40 without purchasing expensive equipment. Sunlight, dirt, oxidation, and improper washing can gradually damage your car’s finish.
Fortunately, mild fading can often be improved with simple cleaning, polishing, and protective treatments. This guide shares 10 budget-friendly ways to refresh faded paint, complete with practical tips and estimated costs. Remember that peeling or missing clear coat usually requires professional refinishing, while intact paint with surface dullness is often suitable for careful DIY restoration.
1. pH-Neutral Shampoo & Two-Bucket Wash ($5-$8)
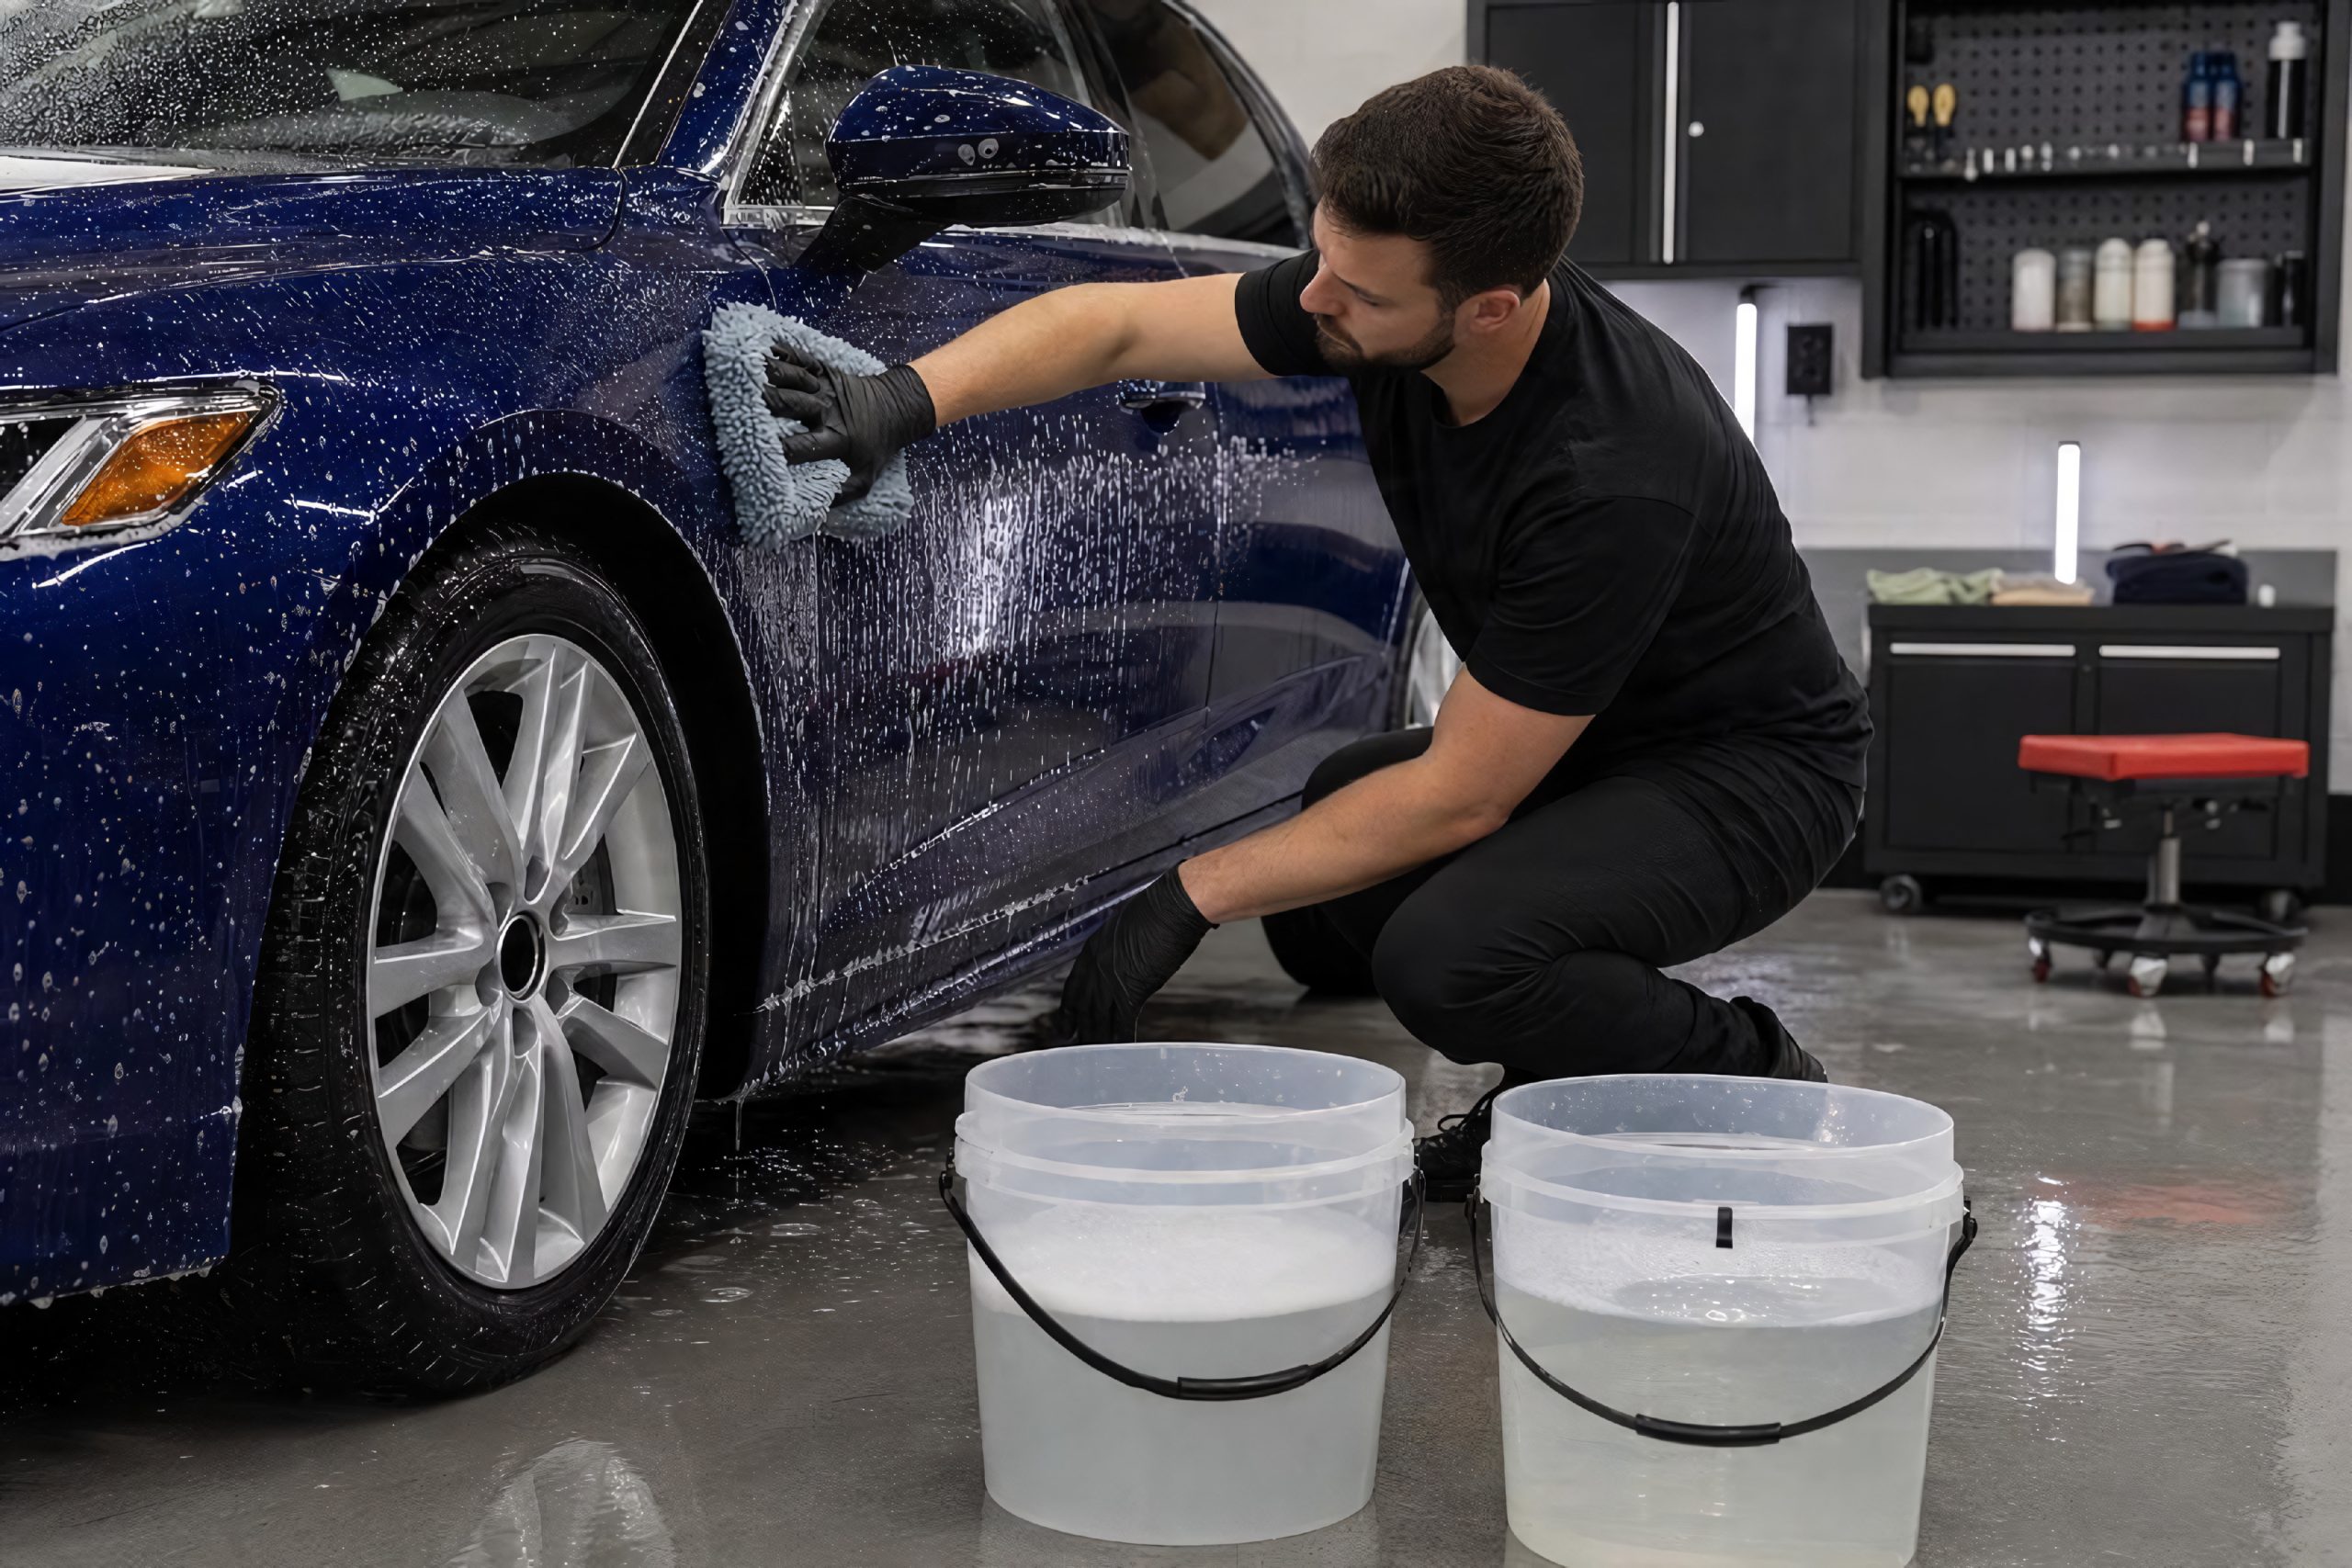
A dull-looking car does not always need expensive polishing or repainting. Sometimes, dirt, road grime, bird droppings, and environmental residue accumulate on the paint, hiding its natural shine.
Giving your vehicle a thorough wash is an affordable first step toward improving its appearance. It also helps you determine whether the fading comes from surface contamination or more serious paint damage.
Start by gathering a pH-neutral automotive shampoo, a soft wash mitt, two buckets, and clean microfiber drying towels. Fill one bucket with water and shampoo, then fill the second with clean water for rinsing your mitt.
Before washing, rinse the vehicle thoroughly to remove loose dirt and grit that could scratch the surface.
Next, wash the car one section at a time, using gentle movements and rinsing the mitt frequently in the clean-water bucket. Avoid scrubbing aggressively, especially on areas with visible scratches or delicate paint.
Once you finish washing, rinse away all remaining shampoo and dry the vehicle with a clean microfiber towel to minimize water spots.
Avoid household dishwashing liquids, stiff brushes, and dirty sponges because they may remove protective products or introduce scratches. Always wash your vehicle in a shaded area when the bodywork is cool to prevent soap from drying too quickly.
Although washing cannot reverse oxidation or repair peeling clear coat, it removes contaminants that make paint appear dull. A clean surface also prepares the vehicle for polishing, waxing, or applying a protective sealant.
Estimated cost is $5 to $8 for basic automotive shampoo and supplies, assuming you already own buckets and drying towels.
2. Detailing Clay Bar / Clay Mitt ($10-$15)
Even after washing, your car’s paint may feel rough rather than smooth. Tiny particles from industrial fallout, tree sap, and other environmental contaminants can cling to the surface, making the finish appear dull.
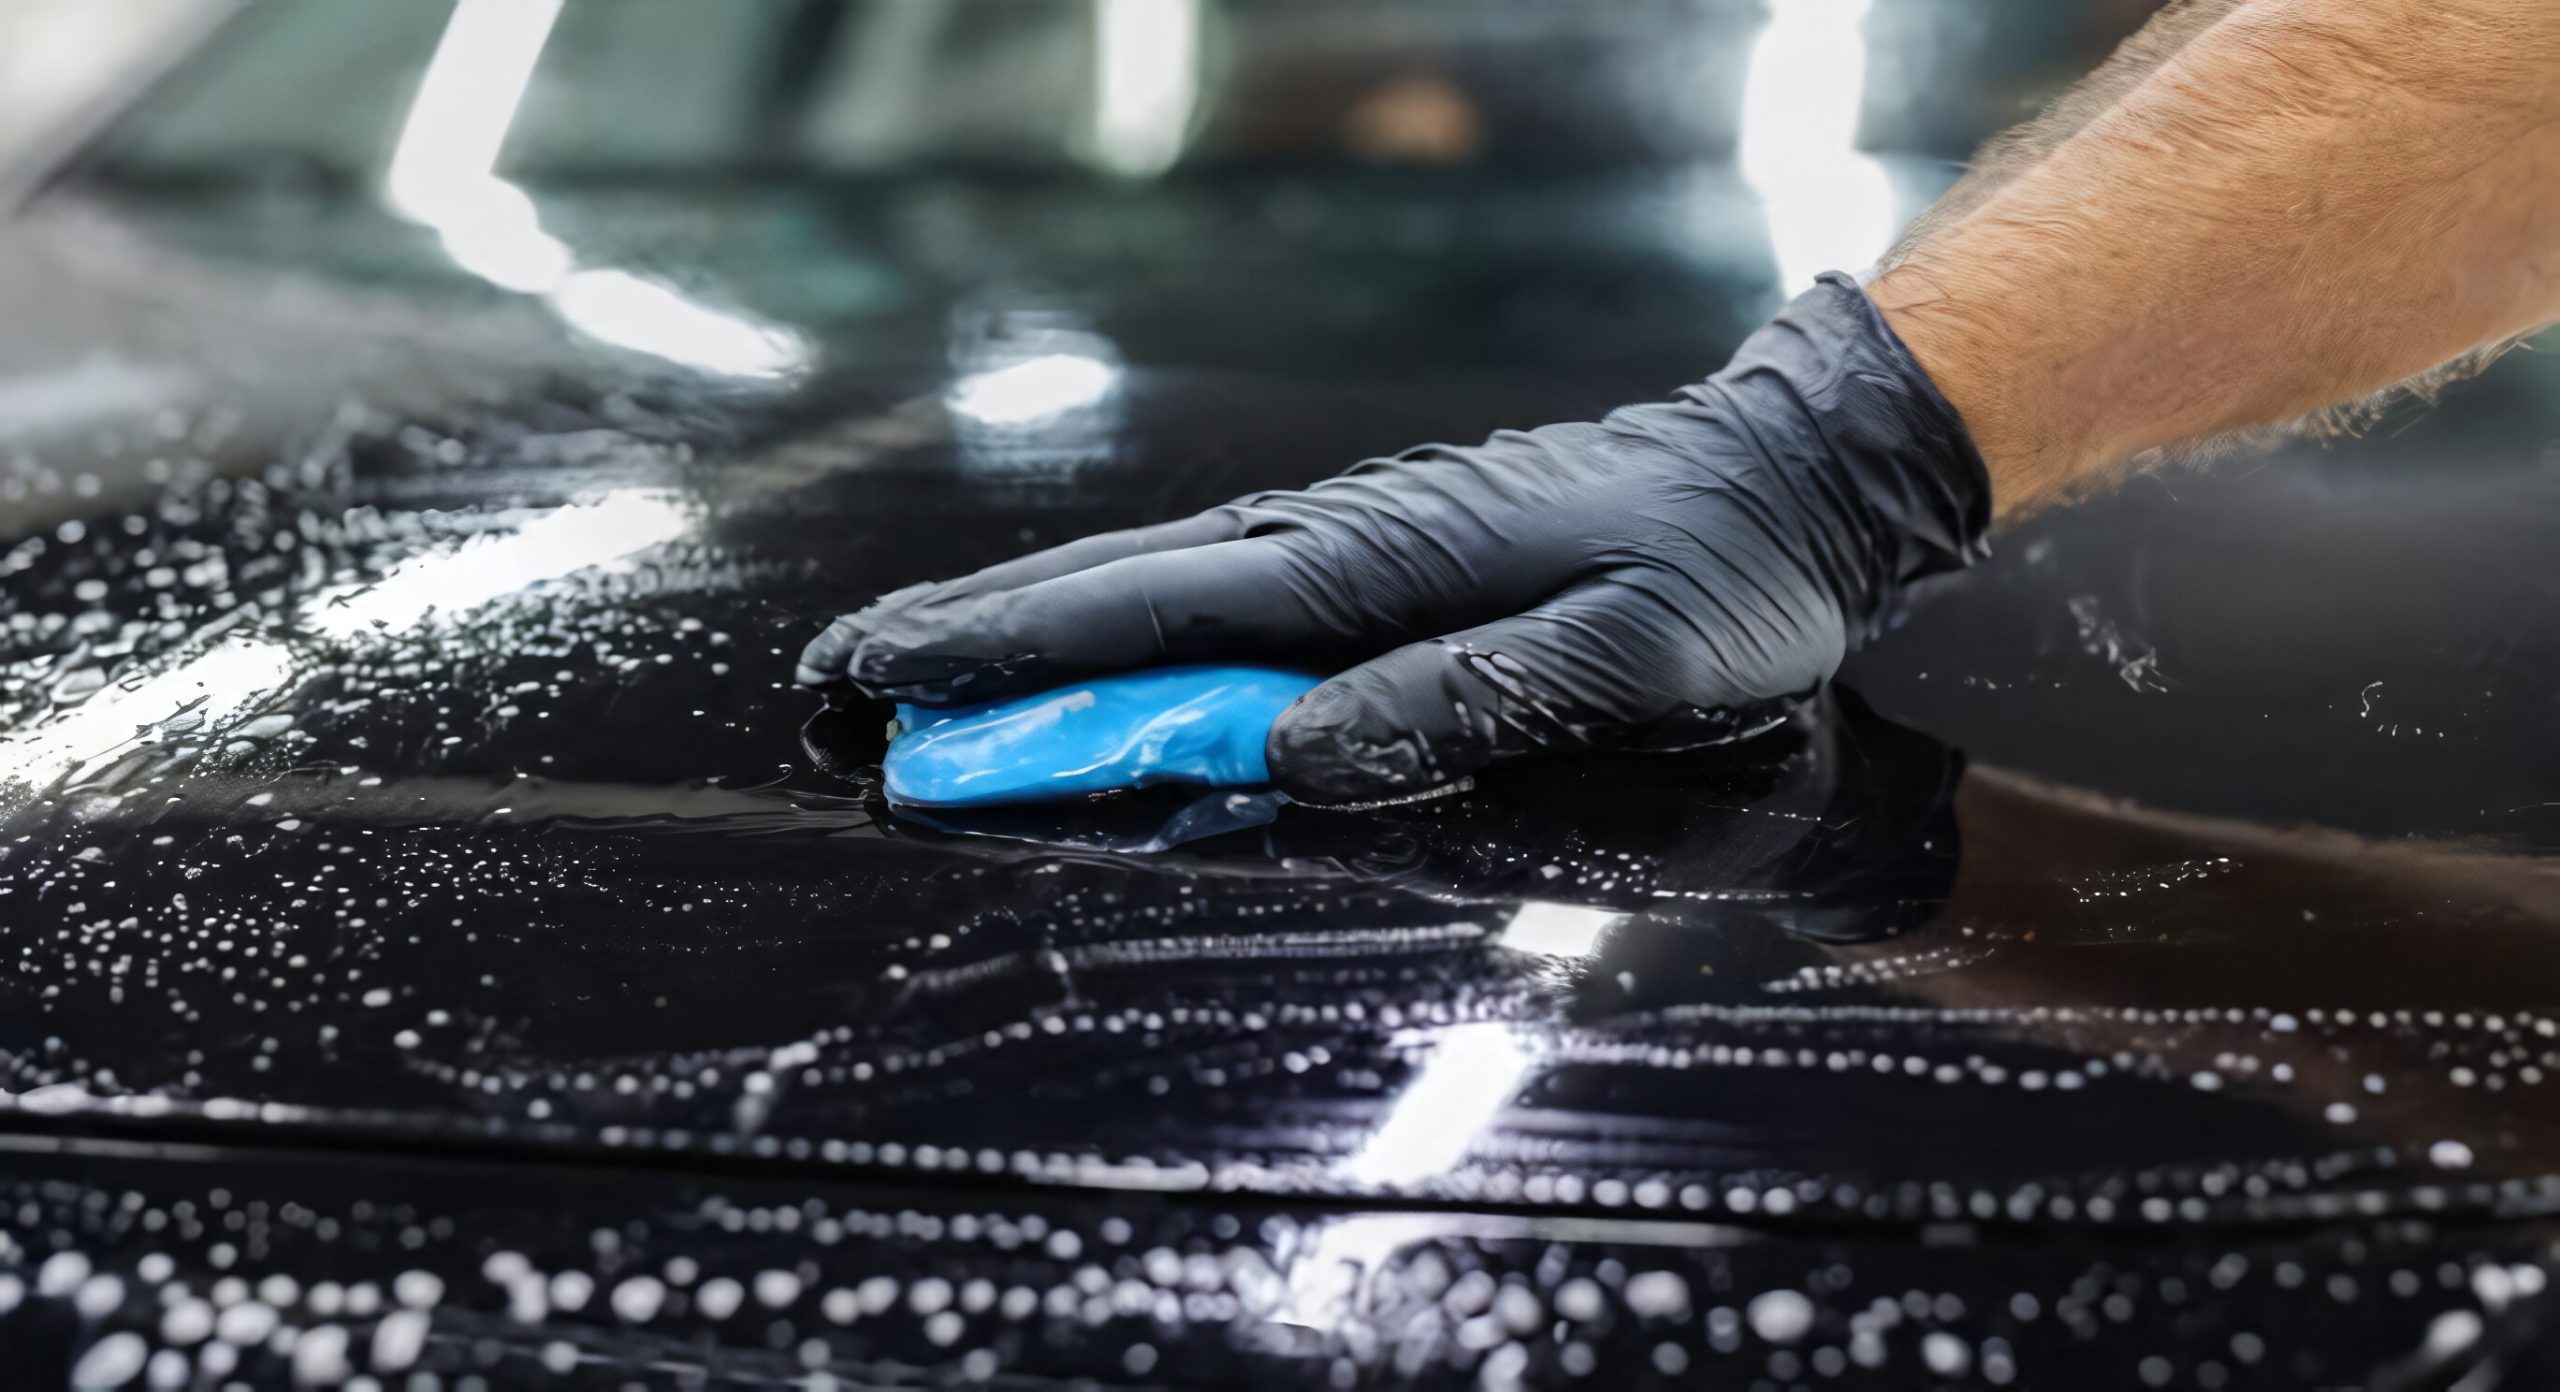
A detailing clay bar or clay mitt helps remove these bonded contaminants. Unlike ordinary washing, claying targets residue that remains attached after the initial cleaning.
First, wash and rinse the vehicle thoroughly. Work on a small section at a time, spraying the surface generously with a clay lubricant approved for the product. Glide the clay gently across the paint without pressing hard. Keep the surface lubricated throughout the process.
If using a clay bar, fold and reshape it as directed when the working surface becomes dirty. Discard it if it becomes contaminated with grit that could scratch the paint. Rinse the treated area and dry it with a clean microfiber towel.
What should you expect? The paint may feel smoother, and polishing products can work more consistently on a properly prepared surface. However, clay does not remove deep oxidation or repair damaged clear coat.
Use gentle pressure and avoid claying a dry surface, as friction can cause scratches. Some clay products may also leave light marring that requires polishing.
Estimated cost: $10 to $15 for a basic clay bar or mitt and suitable lubricant.
3. Baking Soda & Water Paste ($2-$3)
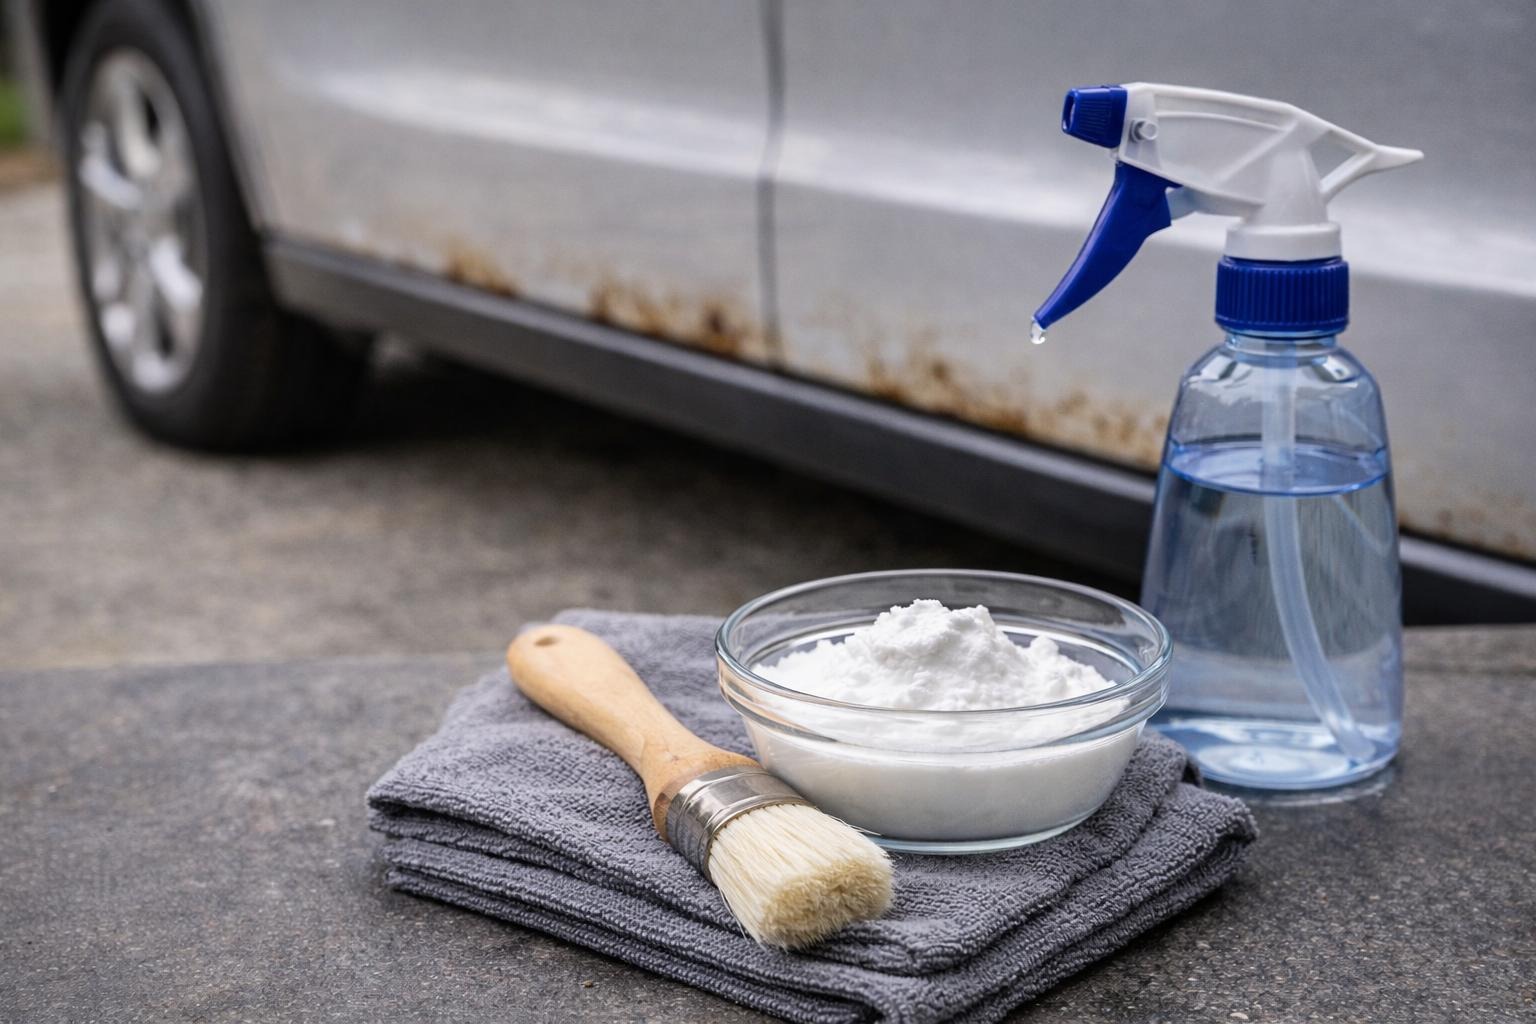
Baking soda is inexpensive, widely available, and often suggested as a home remedy for dull car paint. However, it is not a reliable substitute for automotive polishing products, and its abrasive particles may scratch modern clear coats.
If your goal is to remove light residue, start with automotive shampoo and a soft microfiber cloth instead. These are generally safer choices for cleaning painted surfaces.
Baking soda paste may be useful for certain household cleaning tasks, but applying it to automotive paint carries a risk of uneven abrasion, visible scratches, and damage to the finish. The results can vary according to the paint condition, particle distribution, and pressure applied.
If you are considering any abrasive treatment, test a product specifically labeled as safe for automotive paint on a small, inconspicuous area first. Follow the manufacturer’s instructions and inspect the surface in bright, indirect light.
Avoid vigorous rubbing, rough pads, or homemade mixtures that have not been tested for automotive finishes. A low purchase price does not guarantee a safe repair.
For light oxidation, a dedicated automotive compound is a better option because it is formulated for paint correction. It provides more predictable results when used correctly.
Estimated cost: $2 to $3 for baking soda, although a purpose-made automotive cleaner or polish is the safer choice for painted surfaces.
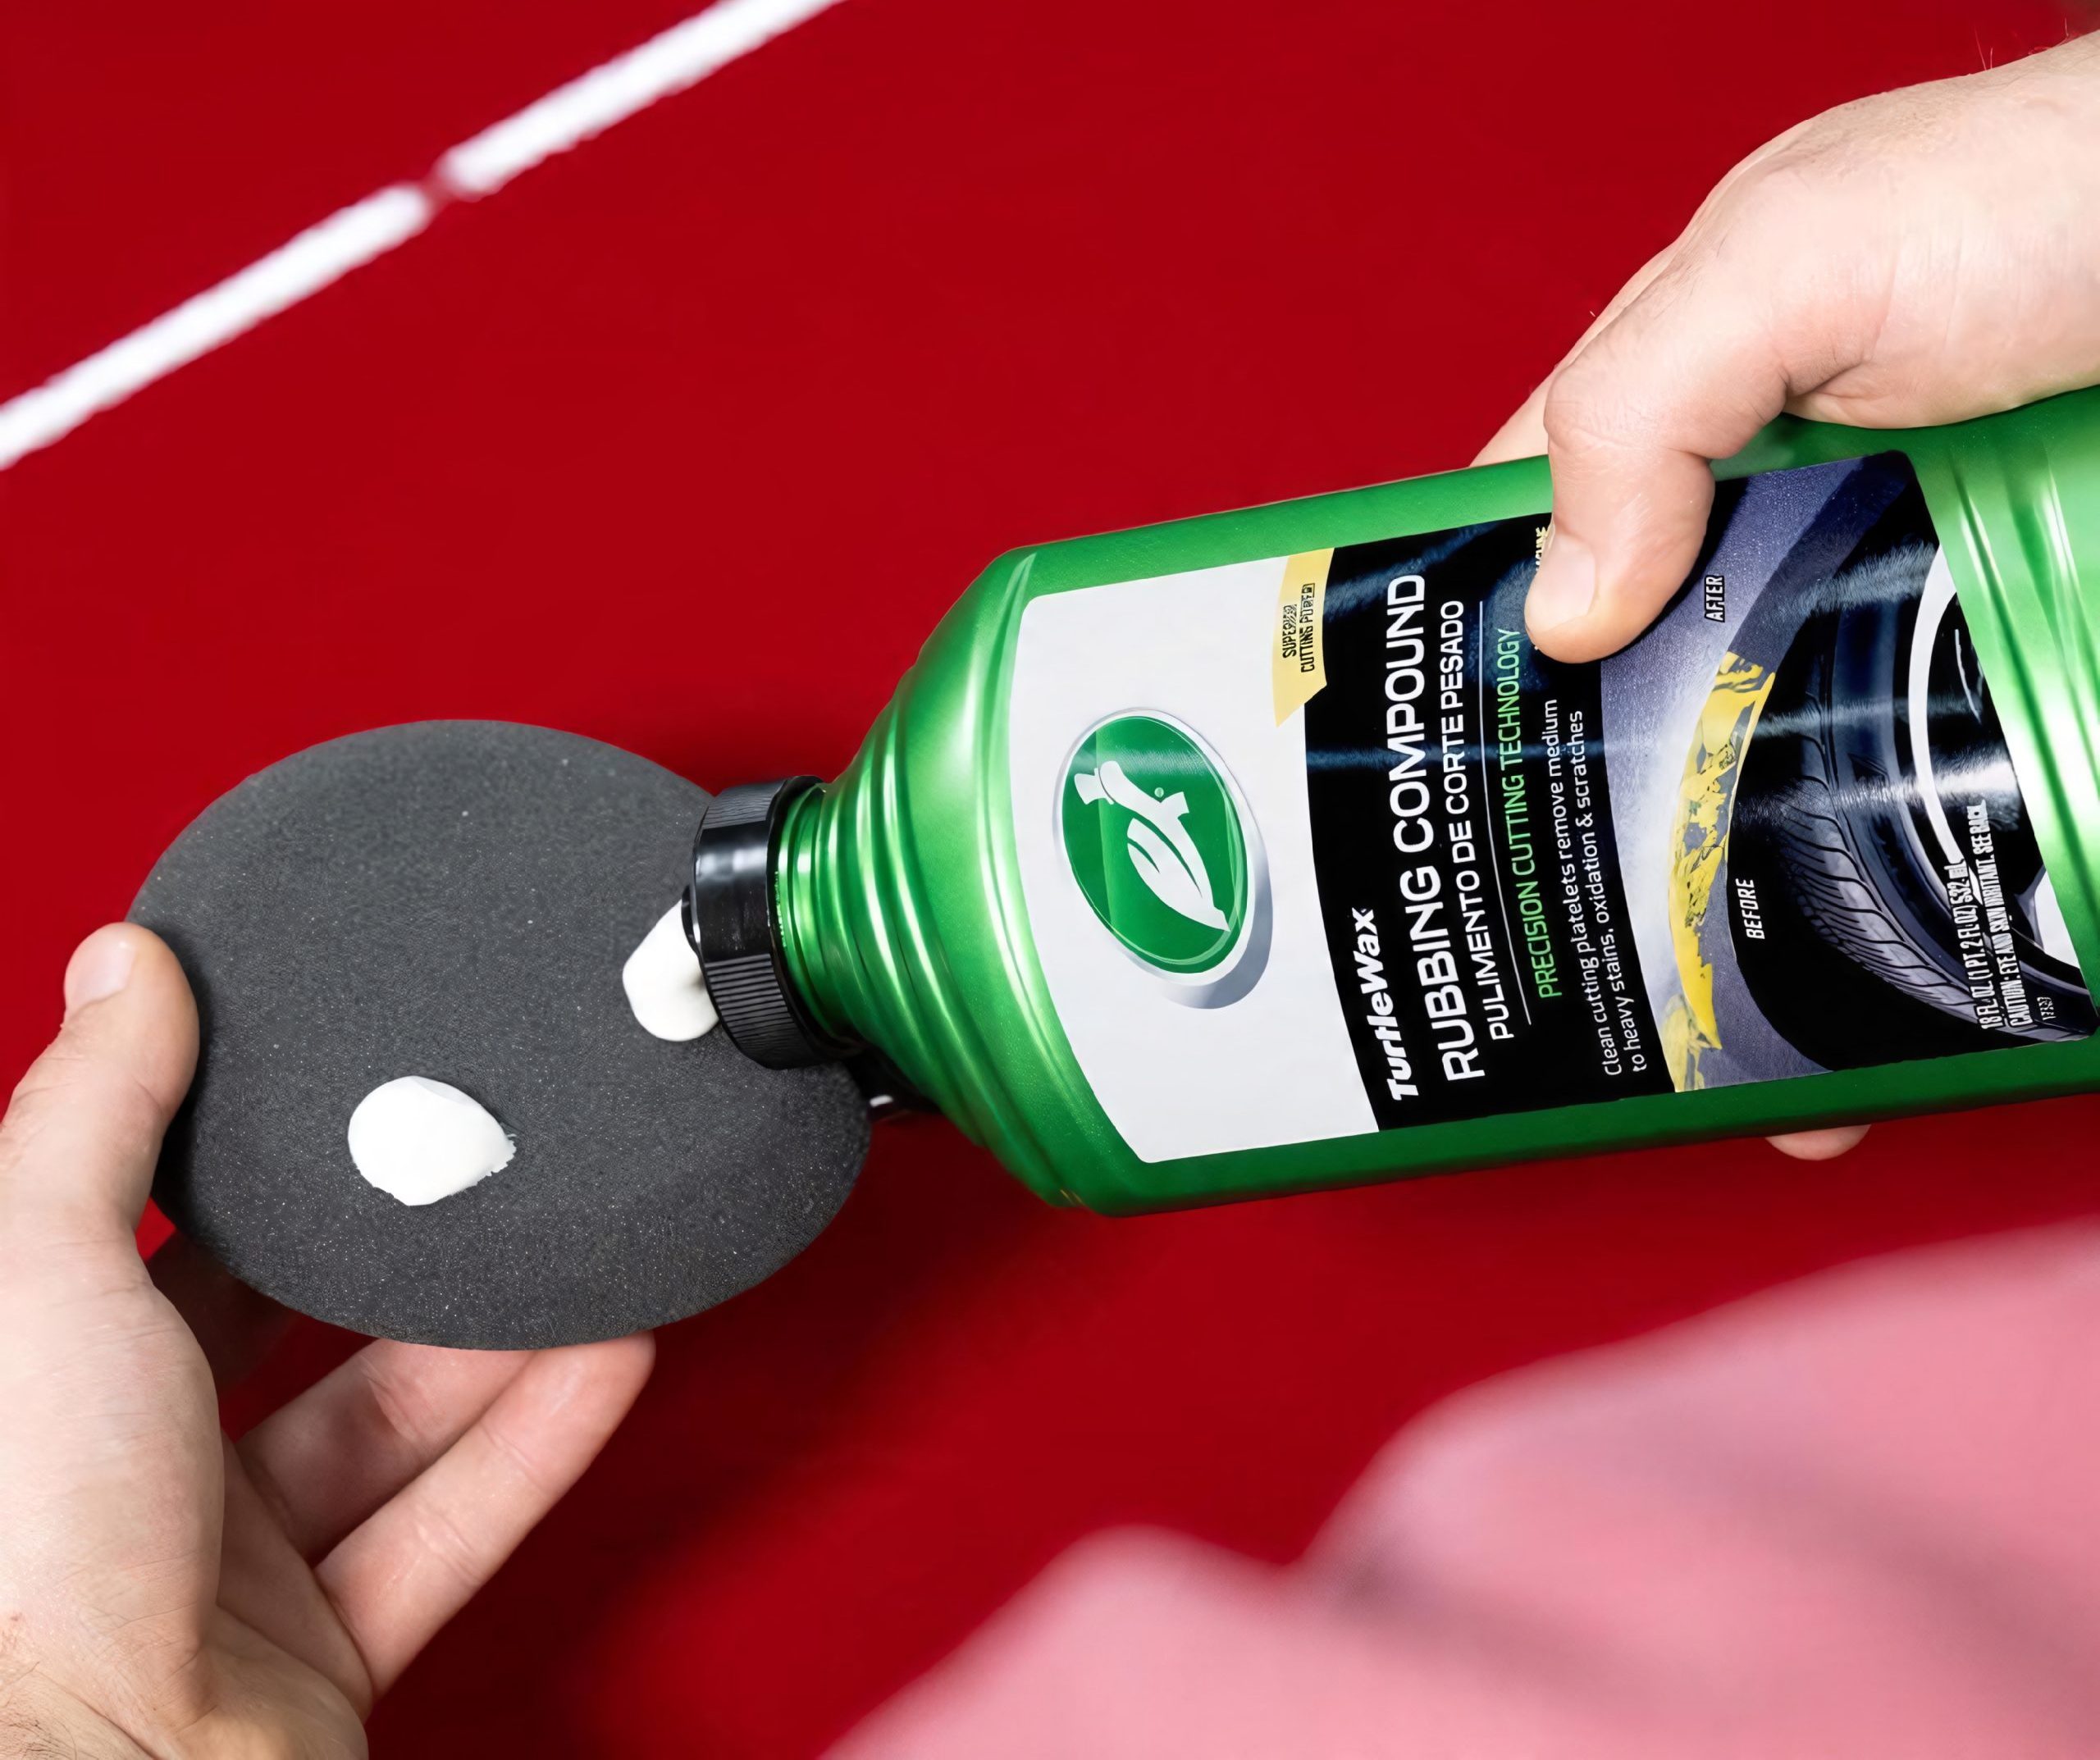
4. Meguiar’s Ultimate Compound ($8-$10)
When regular washing fails to bring back your car’s shine, a rubbing compound may help improve the paint’s appearance. Meguiar’s Ultimate Compound is a popular automotive product designed to address light oxidation, fine scratches, and surface dullness. It can be a practical option for car owners who want to refresh their vehicle’s finish without spending a fortune on professional detailing.
Rubbing compounds contain fine abrasives that remove a small amount of the paint’s surface to reduce minor imperfections. Since this process removes material, careful application is essential. Using too much pressure or repeating the treatment unnecessarily can damage the finish, particularly if the clear coat is already thin.
Before starting, wash and dry the vehicle thoroughly, then park it in a shaded area. Apply a small amount of compound to a clean foam applicator and work on a section measuring approximately two feet by two feet. Use gentle, overlapping movements and follow the manufacturer’s instructions for application and removal.
After working the product into the paint, wipe away the residue with a clean microfiber towel. Inspect the treated area under good lighting to determine whether the dullness has improved. If necessary, a suitable finishing polish may help refine the surface and produce a clearer shine.
Avoid using rubbing compound on peeling clear coat, exposed primer, or severely damaged paint. These conditions generally require professional assessment rather than additional polishing.
For localized fading, a small bottle may provide enough product to treat the affected panels without exceeding your budget.
The estimated cost is $8 to $10 for a small container, depending on the retailer and bottle size.
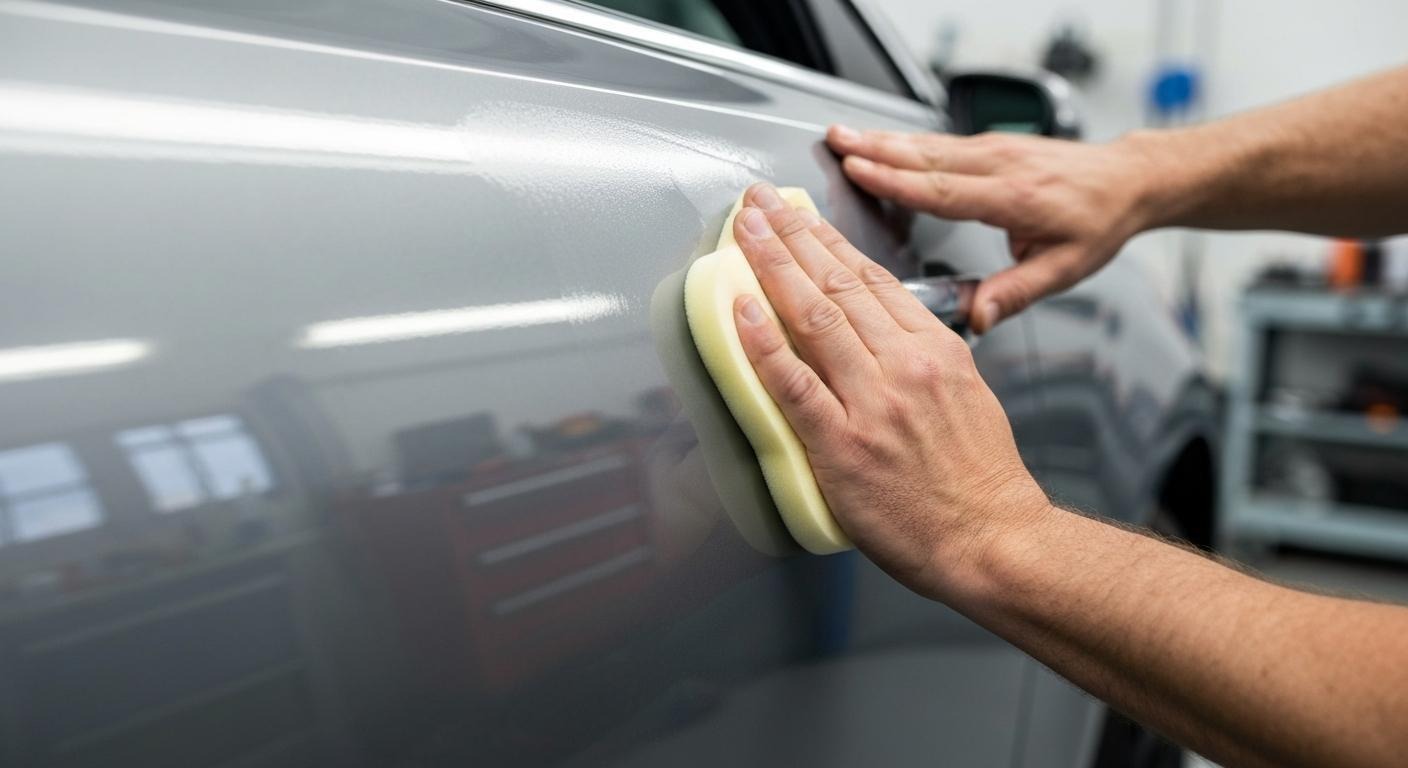
5. Hand Polishing with Foam Pads ($5-$10)
No machine polisher? No problem. Hand polishing can improve mild paint dullness without requiring expensive equipment. It takes more effort than machine polishing, but it gives beginners greater control over the amount of pressure applied.
Purchase a soft foam applicator pad and a polish formulated for automotive paint. After washing and drying the car, choose a small test area and apply a modest amount of product to the pad.
Work the polish into the paint using controlled, overlapping movements. Circular motions can work, but consistent pressure and thorough coverage matter more than following a particular pattern. Avoid letting the product dry on the panel unless the instructions specifically allow it.
Wipe away the residue with a clean microfiber towel and inspect the finish. If the paint looks clearer, continue with adjacent sections, using fresh applicator surfaces as needed.
A useful technique: Work on cool paint in the shade. Direct sunlight can cause products to dry too quickly, making them harder to remove and increasing the risk of streaks.
Hand polishing is most effective on mild oxidation, fine haze, and light surface imperfections. It may not remove deeper scratches or severe weather damage, and it cannot repair missing clear coat.
For a small area, a basic foam pad can be reused after proper cleaning. Avoid abrasive household pads, which may leave scratches.
Estimated cost: $5 to $10 for basic foam applicators, excluding polish if you already have it.
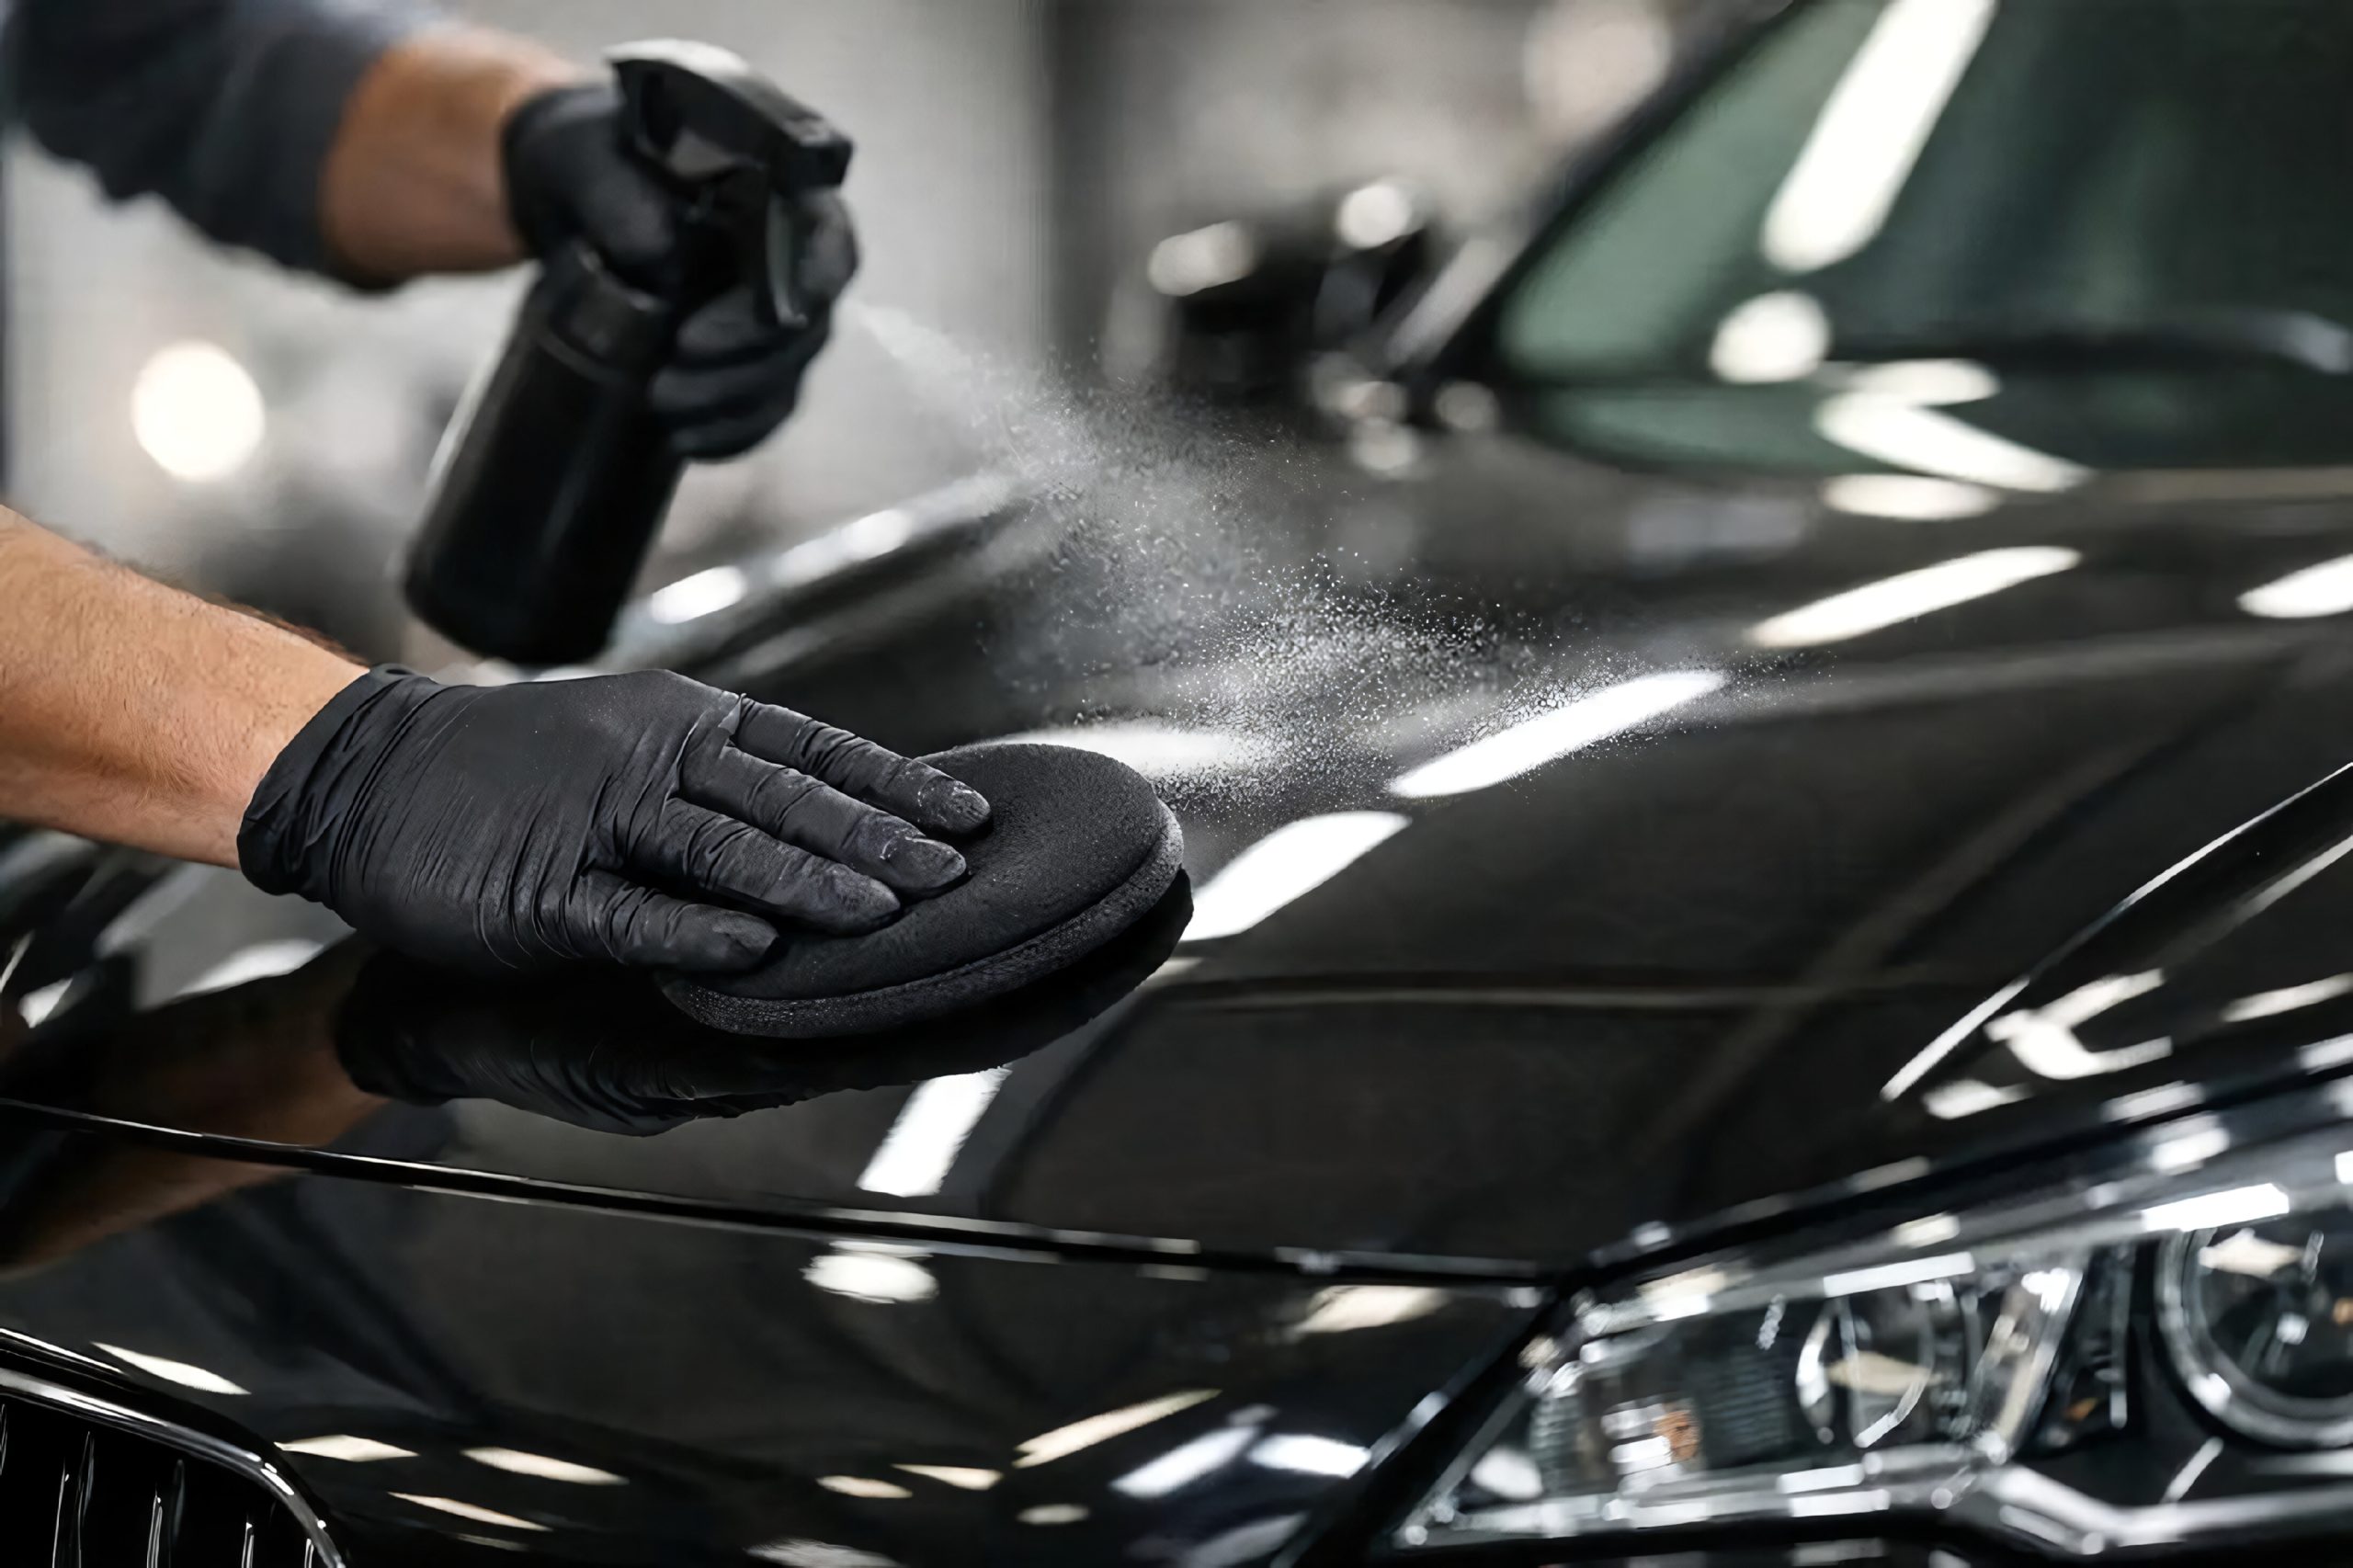
6. Finishing Polish ($8-$12)
After using a rubbing compound, you may notice that the paint looks better but still lacks the crisp reflection you expected. A finishing polish can help refine the surface by reducing fine haze or light marks left by the correction process.
Unlike stronger compounds, finishing polishes are generally designed for lighter refinement. Their cutting ability varies by formulation, so choose one that matches your paint condition and the manufacturer’s recommendations.
Apply a small amount to a clean foam applicator and work it over a limited section of cool, clean paint. Use light, even pressure and follow the product instructions for working time and removal.
Wipe away the residue with a fresh microfiber towel. Examine the surface from several angles under suitable lighting to check for streaks or remaining haze.
There is no need to polish every panel aggressively. If the paint already looks clear and glossy after compounding, additional polishing may provide little benefit. Each abrasive correction removes some surface material, so unnecessary passes should be avoided.
Finishing polish is especially useful when you want a more refined appearance before applying a paint sealant or wax.
Remember that polish does not replace a protective coating. Once you are satisfied with the finish, use a compatible protection product to help reduce exposure to moisture, dirt, and sunlight.
Estimated cost: $8 to $12 for a small bottle.
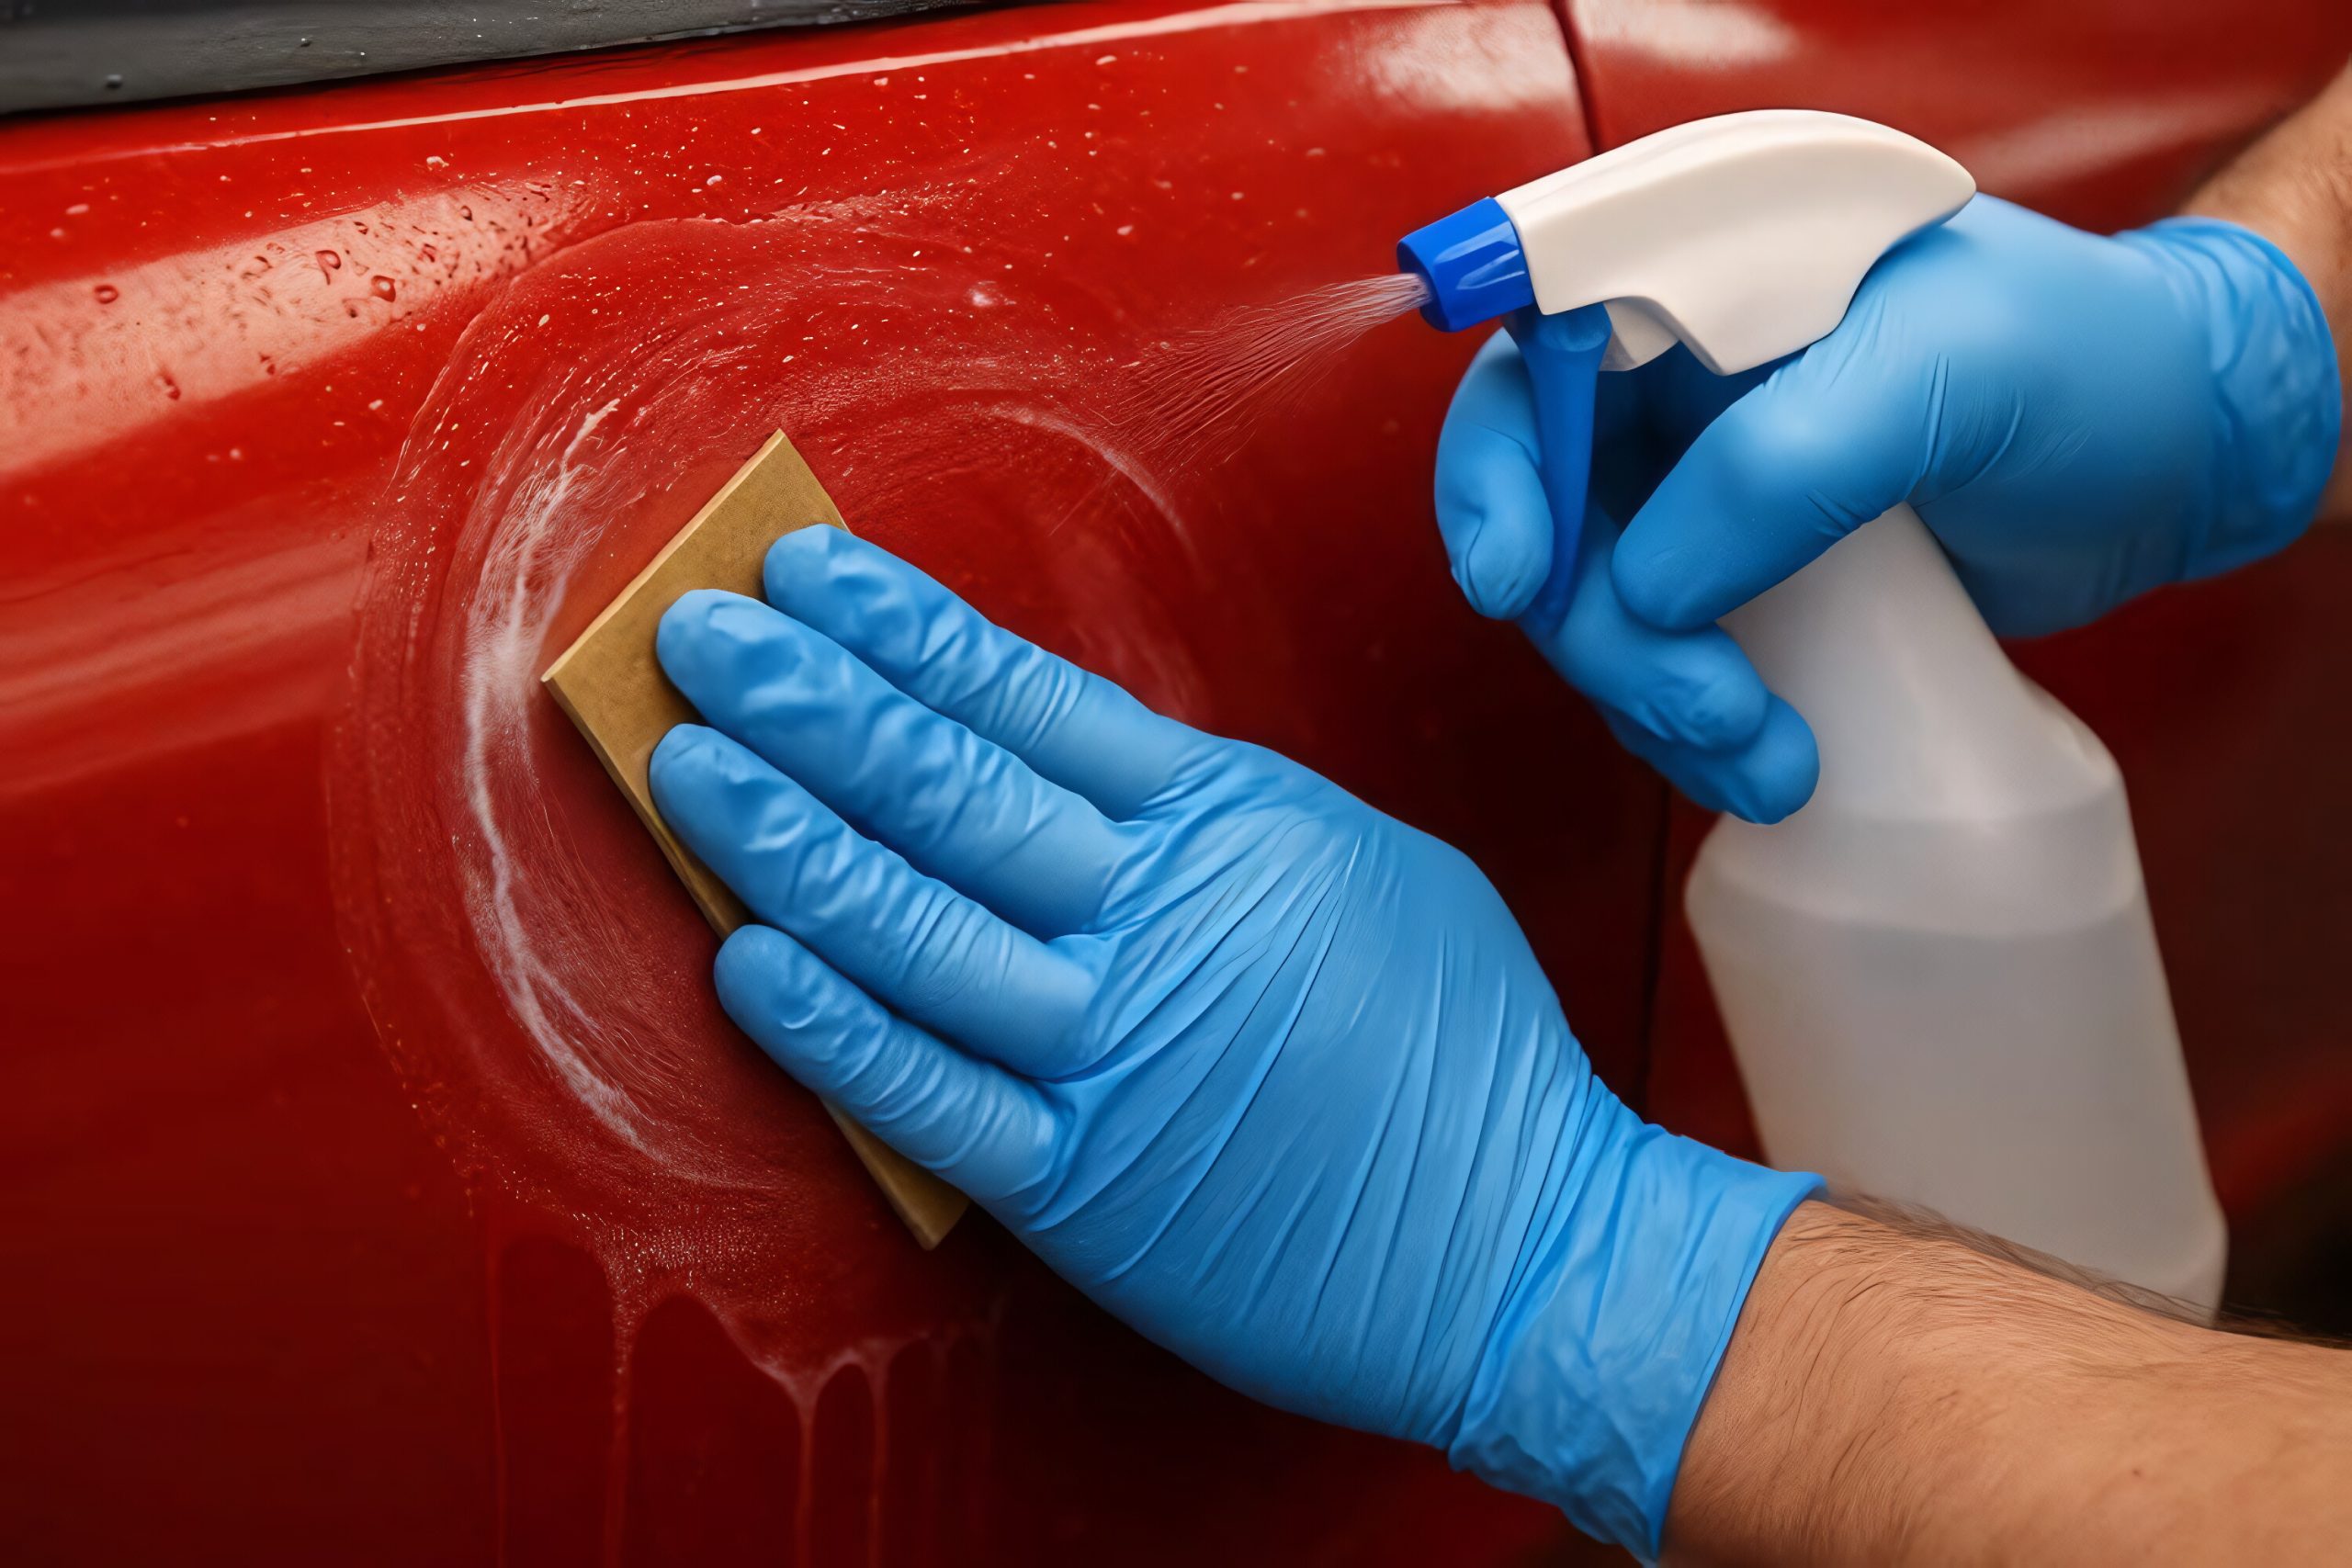
7. Budget Wet Sanding (4000 to 5000 grit) ($5-$10)
Wet sanding is sometimes used to correct severe surface defects, but it is one of the riskiest methods for a DIY paint restoration project. Even very fine abrasive paper can remove too much clear coat if used incorrectly.
For that reason, wet sanding should not be the first choice for faded paint. A suitable polishing compound is generally safer for mild oxidation and surface haze.
Sanding may be appropriate in carefully controlled paint correction work when the finish has sufficient thickness and the operator understands the material being removed. The condition and thickness of the paint must be assessed before proceeding.
Using 4000- to 5000-grit paper with water does not guarantee a safe result. The clear coat may already be thin, especially on older vehicles or panels that have been polished repeatedly. Sanding through it can leave permanent damage that requires repainting.
If the paint is peeling, flaking, or showing primer, do not attempt to sand the damage away. Seek advice from an experienced automotive paint professional.
For most budget-conscious car owners, the better plan is to clean the surface, test a mild polish, and apply protection if the finish remains intact.
Estimated cost: $5 to $10 for fine abrasive supplies, but professional assessment may be the wiser investment when the paint condition is uncertain.
8. Synthetic Paint Sealant ($10-$15)
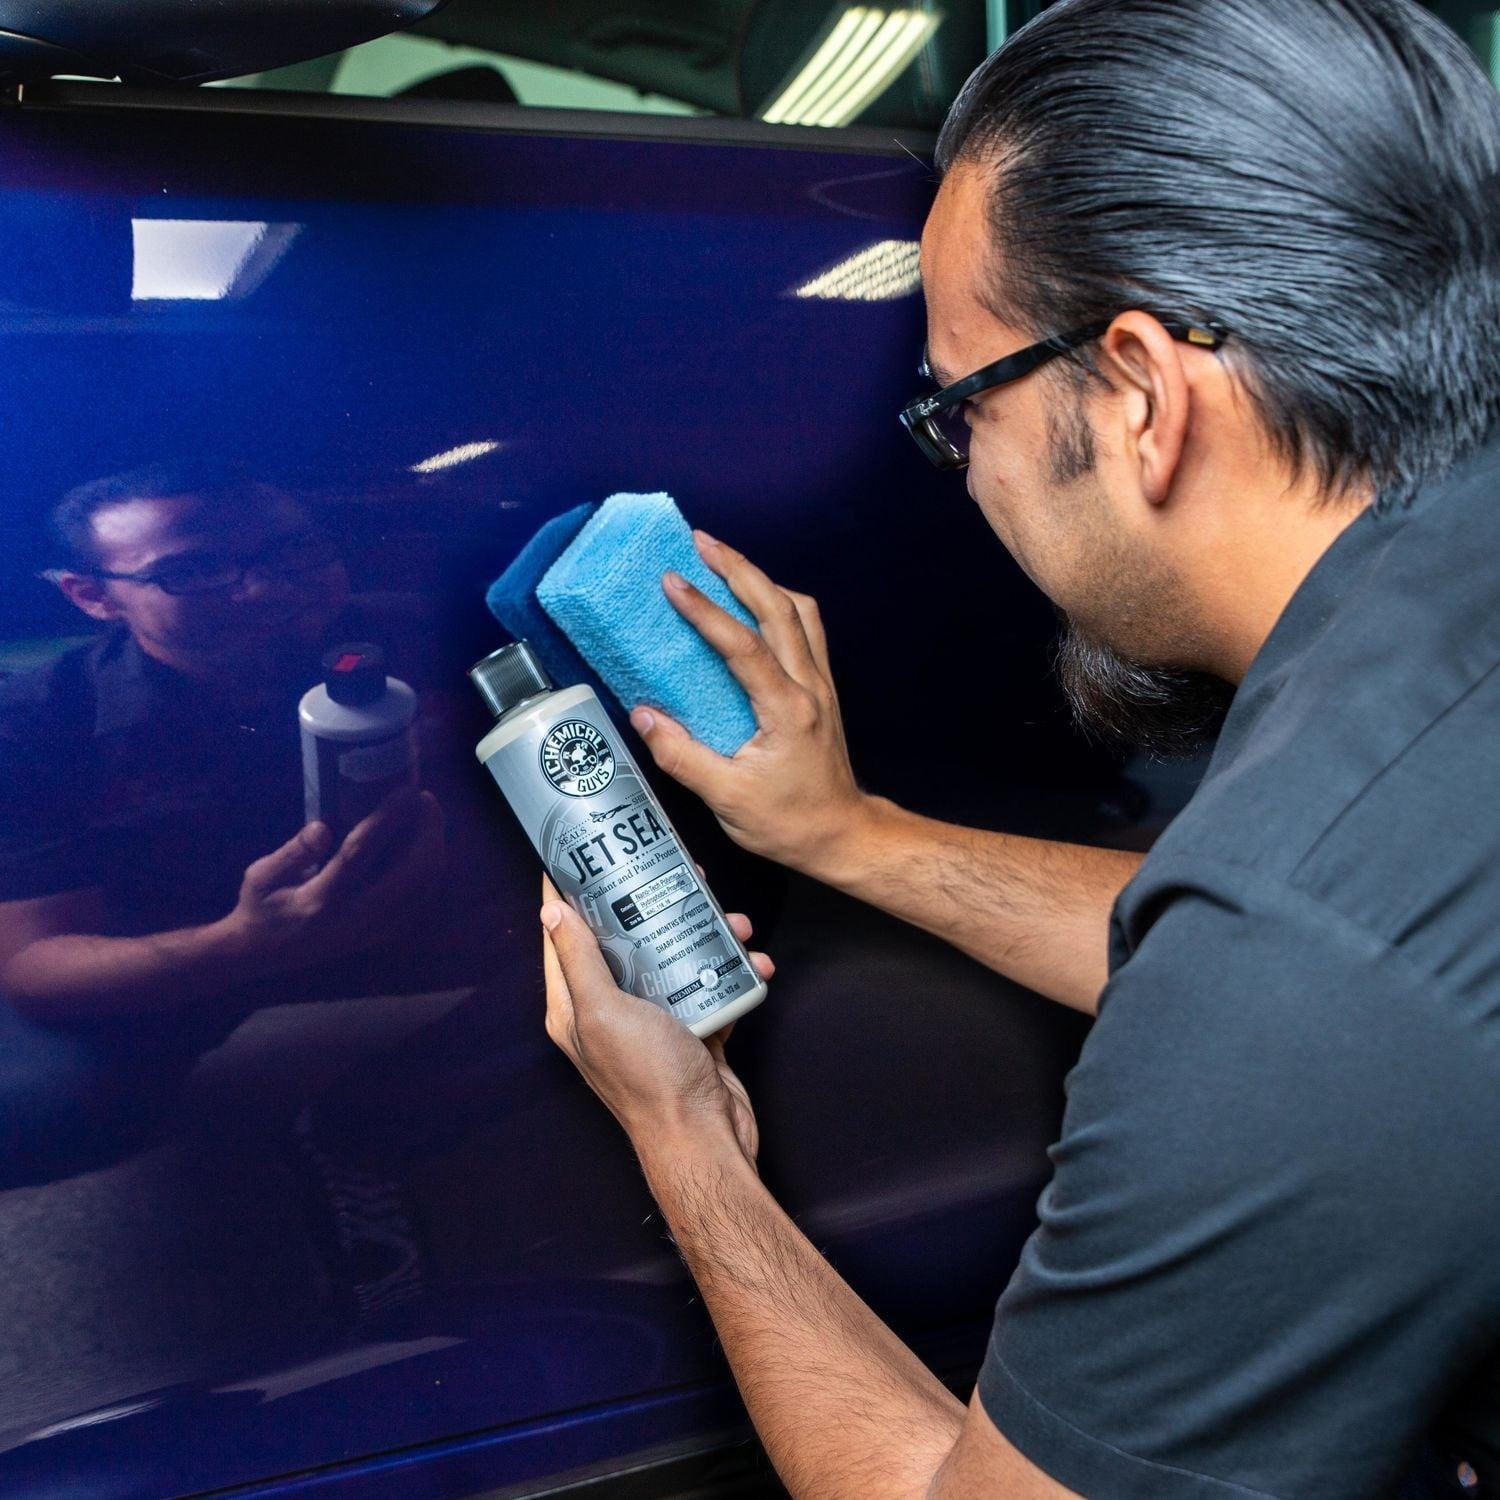
After restoring some of your car’s shine, protect the finish so it stays cleaner and remains easier to maintain. A synthetic paint sealant is a practical option that creates a protective layer over compatible automotive paint.
Many sealants use synthetic polymers to provide water repellency and help limit the direct contact of dirt and moisture with the surface. Some also offer a degree of resistance to sunlight, although their performance depends on the formulation and application.
Before applying a sealant, wash the car and remove any polish residue as directed by the product manufacturer. Apply a thin, even layer using the recommended applicator, then allow it to cure or haze for the specified period.
Buff away any remaining residue with a clean microfiber towel if instructed. Avoid applying too much product, since heavy layers can be harder to remove and may leave streaks.
A sealant is particularly useful after polishing because it helps preserve the improved appearance. However, it cannot restore missing clear coat or prevent every form of paint damage.
Check the label for durability, application conditions, and compatibility with wax or other coatings. Some products require a dry surface, while others have specific curing requirements.
Estimated cost: $10 to $15 for an entry-level product. A single bottle may last through several applications.
9. Carnauba Wax Layer ($6-$10)
For a traditional finish with a rich shine, carnauba wax is another affordable option. Available in paste and liquid forms, it can add gloss and create a water-repellent layer on properly prepared automotive paint.
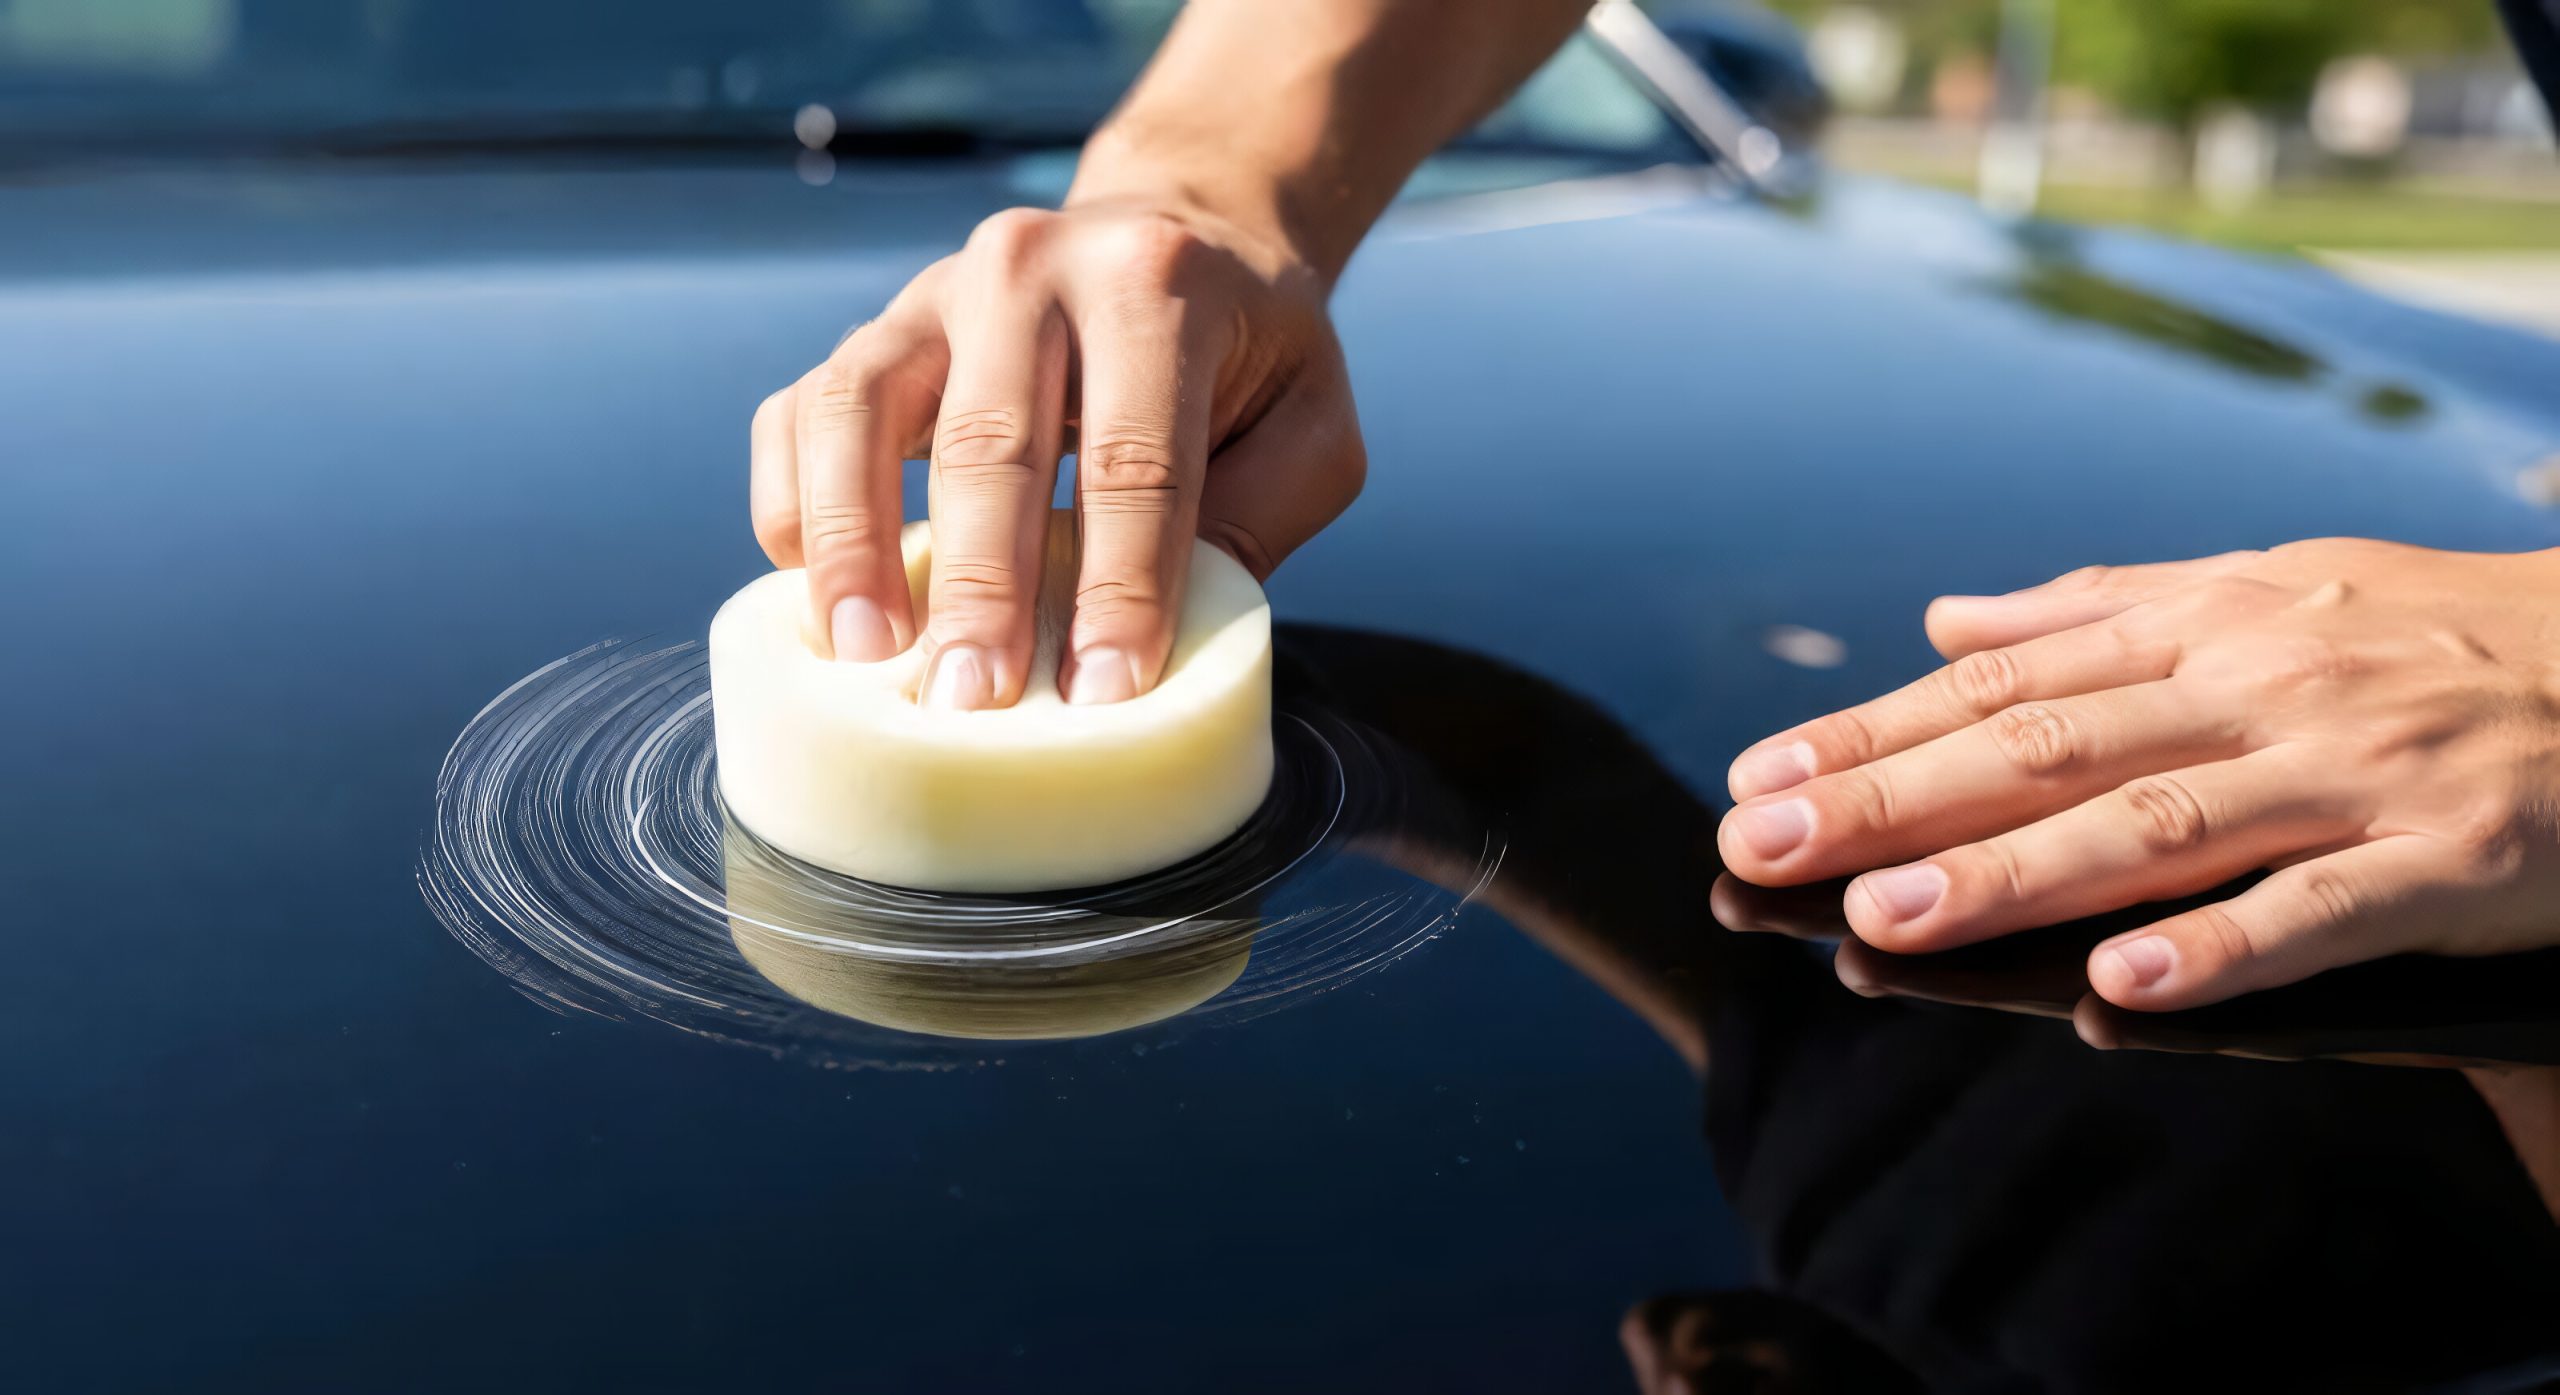
Begin with a clean, dry surface. Using a foam applicator, spread a thin coat of wax across one section at a time. Follow the label instructions for how long the product should remain on the paint before buffing.
Remove the residue with a soft microfiber towel, turning the towel frequently to avoid spreading leftover product. A thin, even application is usually easier to buff than a thick layer.
Carnauba wax can make polished paint look richer and encourage water to bead on the surface. Its protective performance and lifespan vary with the formulation, weather, washing routine, and how the vehicle is stored.
Keep in mind that wax does not remove oxidation by itself. If the paint remains dull after washing, a suitable polish may be needed before waxing.
You can use wax alone or combine it with another protection product when the manufacturers confirm compatibility. Applying several products without checking their instructions may produce uneven results.
Estimated cost: $6 to $10 for a basic container.
10. UV-Protective Quick Detailer Spray ($7-$12)
Once your car’s paint looks better, regular maintenance helps keep it that way. A quick detailer spray can remove light dust and fresh fingerprints between washes while refreshing the appearance of a protected surface.
Choose a product specifically designed for automotive paint. If sunlight protection is important, check the label for stated UV-related benefits rather than assuming every quick detailer offers them.
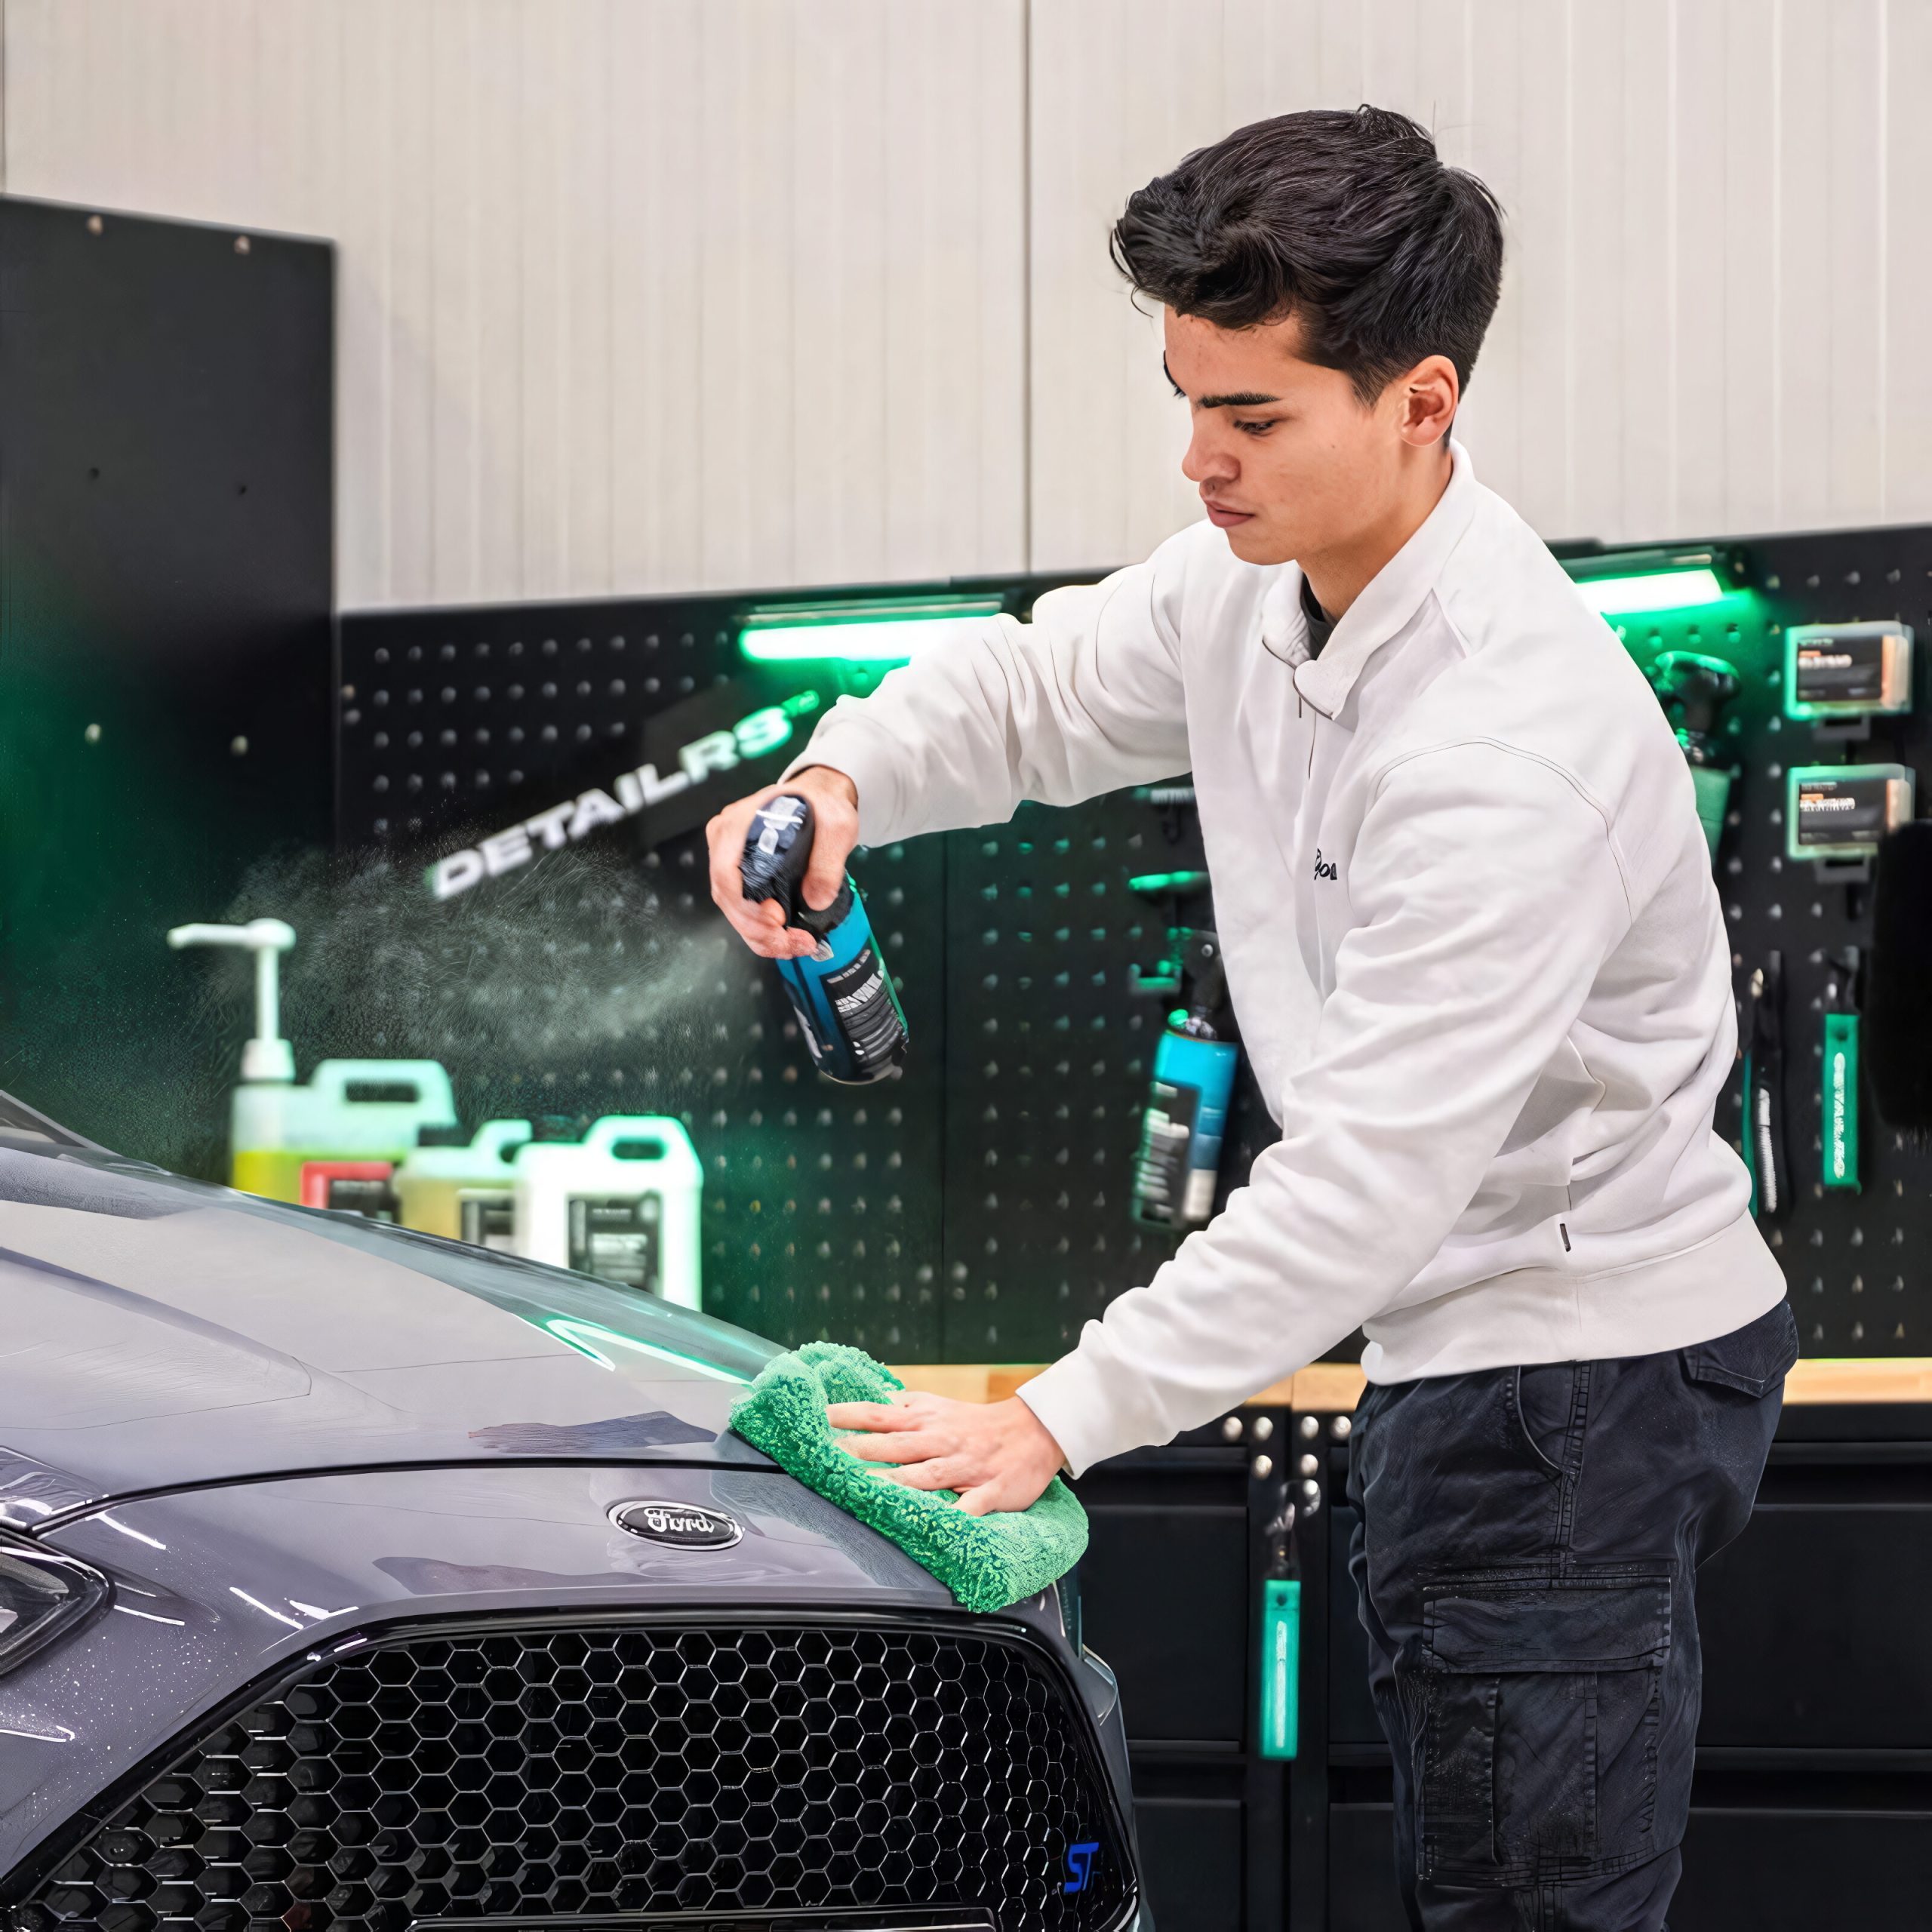
To use the spray, make sure the surface is cool and free of heavy grit. Apply the recommended amount to a small section, then wipe gently with a clean microfiber towel. Use a second towel to buff the area if the instructions call for it.
Never use a quick detailer to wipe away heavy mud or gritty road dirt. Doing so can drag abrasive particles across the paint and leave fine scratches. Wash the car properly when it is heavily soiled.
Quick detailers are convenient because they require little equipment and can help maintain a clean, glossy appearance between regular washes. However, they do not replace a dedicated paint sealant or repair oxidation and clear-coat damage.
For vehicles parked outdoors, regular washing, suitable paint protection, and shaded parking when available can help reduce exposure to harsh conditions.
Estimated cost: $7 to $12 for a bottle that may last through multiple maintenance sessions.