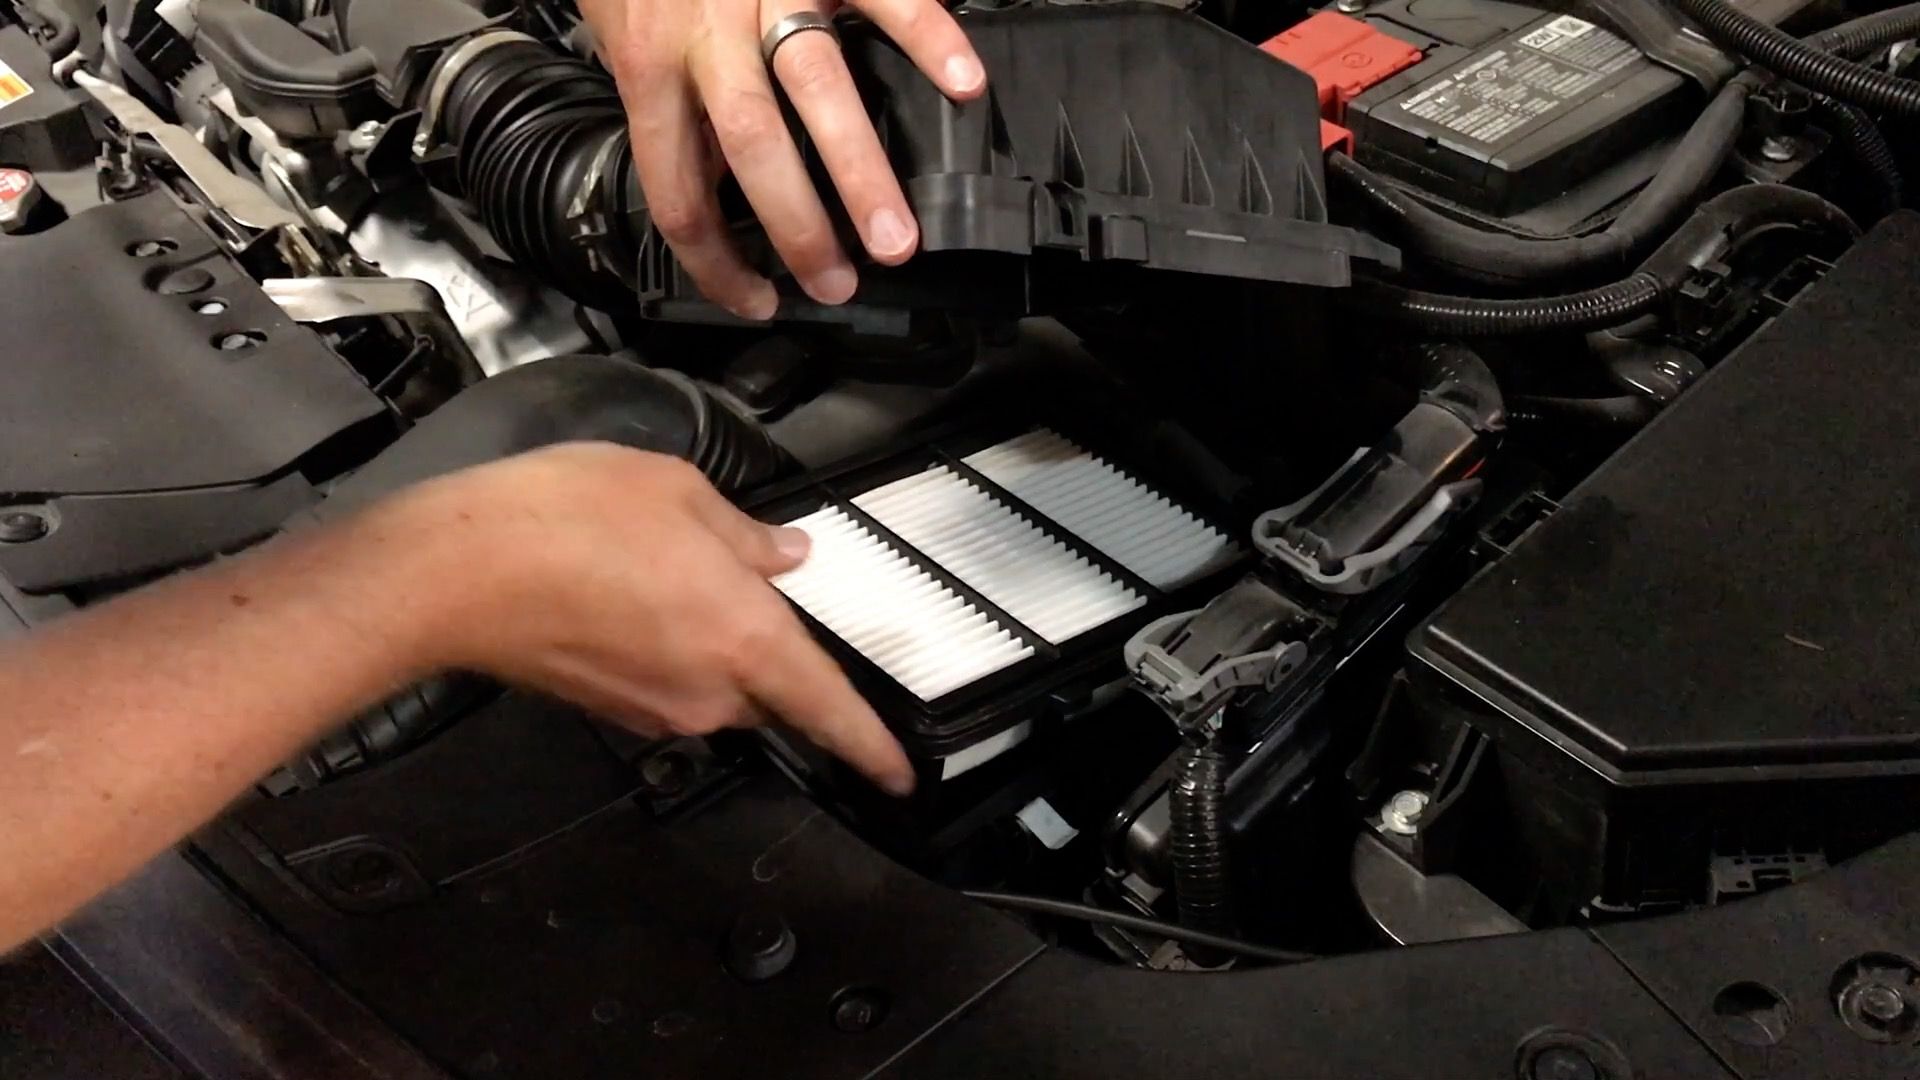
Not every visit to an auto repair shop needs to result in a service bill. Several common vehicle maintenance tasks can be handled at home with basic tools, a little patience, and the instructions in your owner’s manual.
From replacing windshield wiper blades to changing a damaged fuse, some straightforward jobs take around 15 minutes or less once you know what to do.
These small repairs can save labor expenses while helping you become more familiar with your vehicle. However, not every task is suitable for every model, so understanding the correct procedure and safety precautions is essential.
1. Replace a Dirty Cabin Air Filter
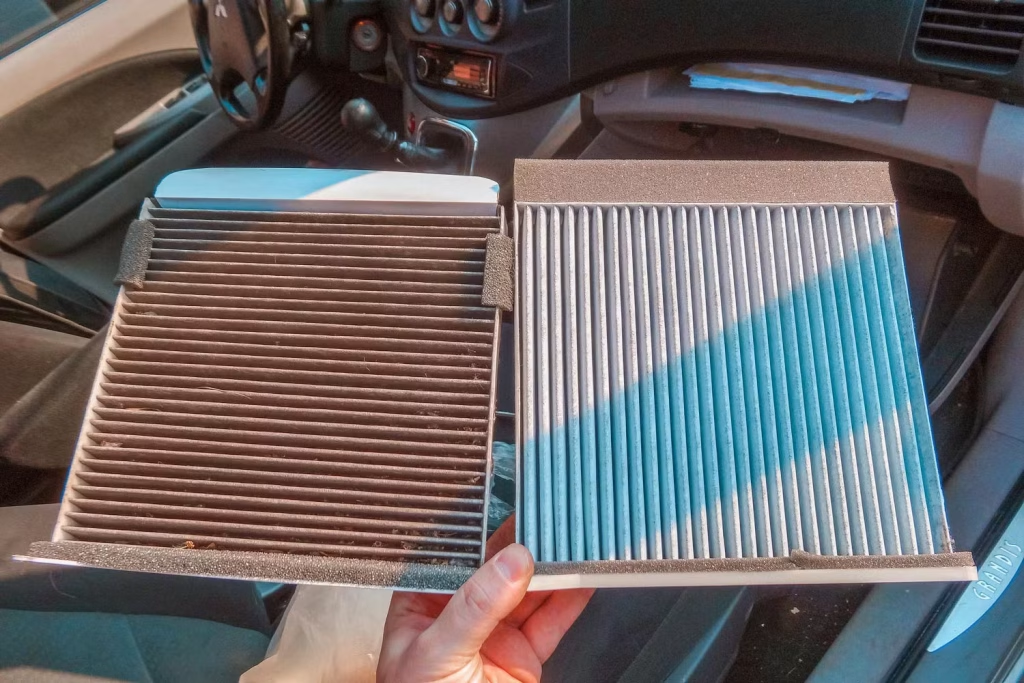
If your car’s air conditioning has started delivering weaker airflow or unpleasant smells, a clogged cabin air filter could be responsible. Fortunately, replacing this component is one of the more accessible maintenance jobs for vehicle owners, and many models allow the entire process to be completed in approximately 10 to 15 minutes without specialized tools.
The cabin air filter captures dust, pollen, and other airborne particles before air enters the passenger compartment. Over time, accumulated debris restricts airflow and can make the heating and cooling system less effective.
AAA explains that a restricted filter can also contribute to window fogging and persistent unpleasant odors.
On many vehicles, the filter sits behind the glove compartment. Begin by switching off the vehicle and consulting the owner’s manual for its exact location. Open the glove box, release its retaining tabs or support mechanism, and locate the filter cover.
Remove the cover, slide out the old filter, and compare its dimensions and airflow-direction markings with the replacement. Install the new filter in the correct orientation before securing the cover and returning the glove box to its original position.
Do not assume every vehicle uses the same arrangement. Some models place the filter beneath the dashboard or near the windshield, while others require removing additional trim pieces. If access involves complicated disassembly, professional assistance may be preferable.
Check the manufacturer’s recommended replacement interval rather than changing the filter unnecessarily.
Dusty roads, pollen, and heavy urban pollution can justify more frequent inspections. A correctly fitted replacement restores proper filtration and can improve ventilation without requiring an expensive workshop appointment.
2. Replace Worn Windshield Wiper Blades
Poor windshield visibility is not something drivers should tolerate, particularly during heavy rain or snowfall. If your wipers leave streaks, skip across the glass, produce irritating noises, or fail to clear water effectively, replacing the blades is a straightforward job that many motorists can complete in around 10 to 15 minutes.
Start by purchasing blades that match your vehicle’s required sizes and attachment types. Do not assume the driver-side and passenger-side blades are identical.
AAA specifically recommends checking the existing blade measurements and confirming the correct replacement before installation. Your owner’s manual or an automotive parts supplier can help identify compatible options.
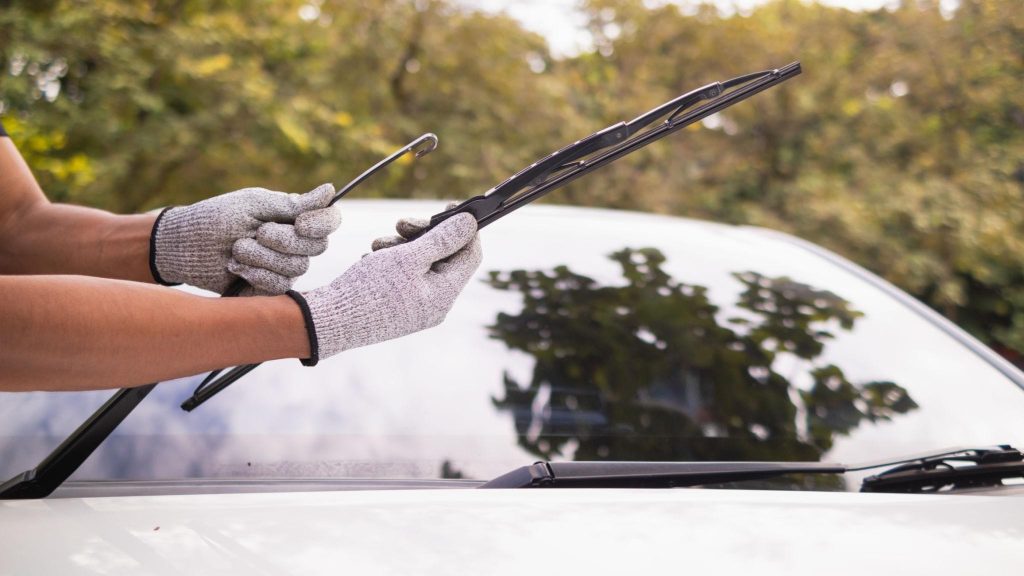
Park on level ground, switch off the ignition, and carefully lift the wiper arms into their service position. Some vehicles require a special wiper-service setting before the arms can be raised. Place a folded towel over the windshield beneath each arm. This precaution matters because a bare metal wiper arm can strike the glass if accidentally released.
Locate the small retaining tab or locking mechanism on the existing blade. Release it according to the manufacturer’s instructions, slide the old blade off, and attach the replacement until its connection locks securely. Gently lower the arm onto the windshield and repeat the process on the other side.
Once installed, test the wipers using washer fluid to confirm they move correctly and clear the glass without leaving significant streaks. If the wiper motor struggles, the arms are damaged, or the mechanism does not operate properly, a blade replacement will not solve the underlying problem.
AAA identifies streaking, skipping, and cracked rubber as signs that replacement is needed. Keeping functional blades installed is a relatively inexpensive way to maintain visibility without paying a technician for a simple installation.
3. Replace the Engine Air Filter
A dirty engine air filter is another maintenance item that can often be handled without visiting a repair shop. On many vehicles, the filter sits inside an easily accessible plastic housing beneath the hood. If the housing uses simple clips or accessible screws, replacing the filter can take approximately 10 to 15 minutes.
The engine air filter prevents dust, dirt, and other airborne particles from entering the engine’s intake system. A damaged or excessively restricted filter can interfere with proper airflow. Keeping it in good condition helps protect internal engine components and supports normal engine operation.
AAA recommends inspecting engine air filters regularly and following the replacement interval specified in the owner’s manual. Many vehicles have suggested intervals around 15,000 to 30,000 miles, although the correct figure varies by model and driving conditions. Vehicles frequently driven on dusty roads may require more frequent inspections.
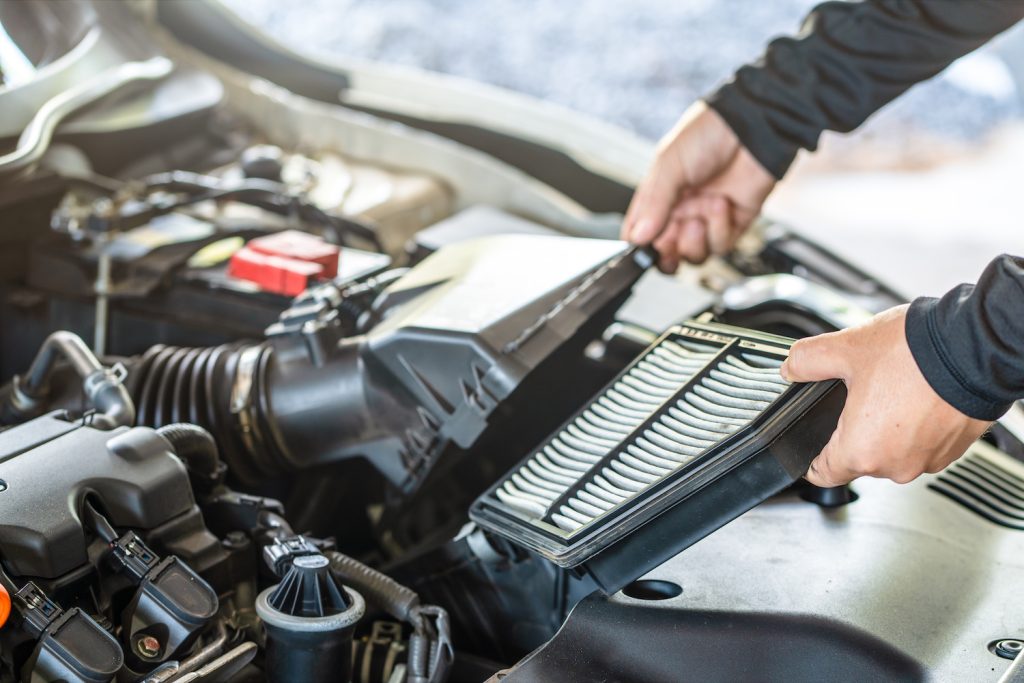
To replace yours, switch off the engine, open the hood, and locate the air filter housing. Release the retaining clips or remove the necessary fasteners. Lift the cover carefully, noting how the existing filter sits inside.
Remove the old component, check the housing for accumulated debris, and install the correctly sized replacement in the same orientation. Make sure its edges sit properly before closing and securing the housing.
One important detail is choosing the correct filter. Different engine configurations can require different dimensions and designs, even within the same vehicle lineup. Check the part number before purchasing.
Do not attempt to clean and reuse an ordinary disposable paper filter with compressed air or water. AAA’s automotive guidance explains that cleaning can damage the filter material and compromise its protective function. Replace it when necessary rather than risking inadequate engine filtration.
4. Refill the Windshield Washer Fluid Reservoir
Running out of windshield washer fluid is an inconvenience that can become a visibility problem when road spray, dust, insects, or mud cover the windshield.
Fortunately, replenishing the reservoir is among the simplest vehicle maintenance tasks. Most drivers can complete it in approximately five minutes, provided they can identify the correct filler location.
Begin by parking on level ground, switching off the engine, and opening the hood. Look for a reservoir cap marked with a windshield and spraying-water symbol. Its location varies between vehicles, so consult the owner’s manual if you are unsure. Do not confuse it with the coolant reservoir, which serves a completely different purpose.
Open the washer-fluid cap and pour in a suitable automotive washer solution until the level reaches the recommended fill point. Using a funnel can help prevent spills. Replace the cap securely and close the hood before testing the windshield spray system.
The type of fluid matters, particularly for American drivers who experience freezing winter temperatures. Winter-formulated washer solutions contain ingredients designed to resist freezing, while summer products can be formulated to remove insects and road grime. All-season products offer a practical option for changing weather conditions.
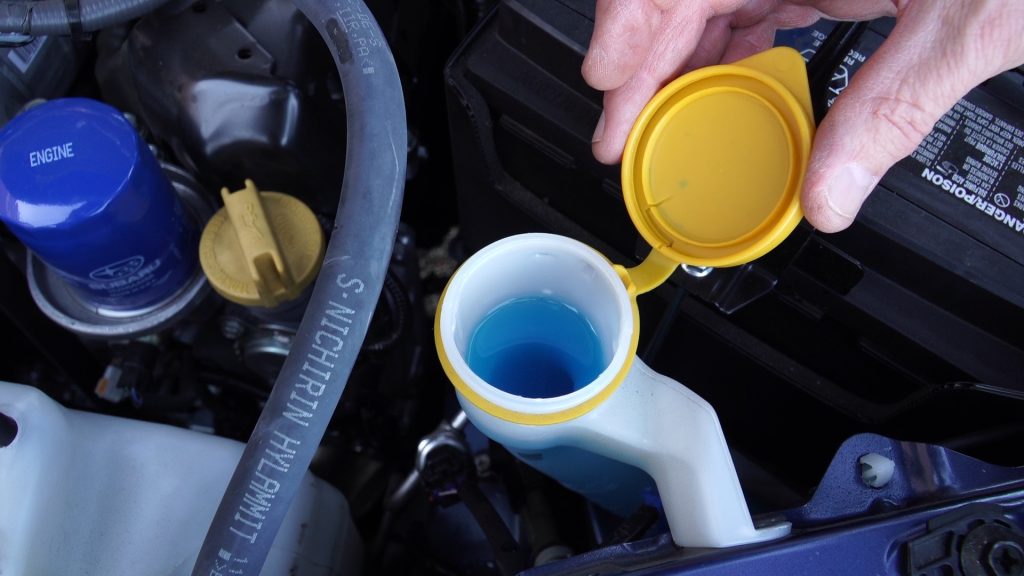
AAA specifically advises against using ordinary tap water as a substitute. Water can contribute to mineral deposits, algae growth, clogged spray nozzles, and freezing problems in cold climates. Using an appropriate washer solution helps avoid these issues.
If the reservoir is repeatedly emptying, inspect for visible leaks or damaged hoses rather than simply refilling it each time. Likewise, if the pump runs but no fluid reaches the windshield, a blocked nozzle or electrical fault may require further attention. This is a quick maintenance task, but it should never be confused with repairing a damaged washer system.
5. Replace a Blown Automotive Fuse
When a vehicle’s power windows, interior lights, radio, or another electrical accessory suddenly stops working, a blown fuse could be the reason.
Instead of immediately paying a repair facility to investigate a minor electrical issue, you can check the relevant fuse yourself. On many vehicles, identifying and replacing an accessible blown fuse takes around 10 to 15 minutes.
Automotive fuses protect electrical circuits against excessive current. When a circuit experiences an electrical overload, the fuse is designed to break the connection and prevent damage to wiring and other components. A blown fuse may therefore be the reason an individual electrical feature stops operating.
Your owner’s manual identifies the fuse-box locations and provides a diagram showing which fuse controls each system. Depending on the vehicle, fuse boxes may be located beneath the dashboard, inside the engine compartment, or in another designated area.
Before starting, switch off the ignition and electrical accessories. Locate the appropriate fuse using the manual or fuse-box diagram. Remove it using the supplied fuse puller, if available, and inspect the metal element inside.
A broken element or visibly damaged fuse generally indicates failure. Replace it only with another fuse carrying exactly the same amperage rating.
Never install a higher-rated fuse to prevent it from blowing again. Doing so can allow excessive current to damage wiring and potentially create a fire hazard. AAA specifically emphasizes using the correct amperage when replacing automotive fuses.
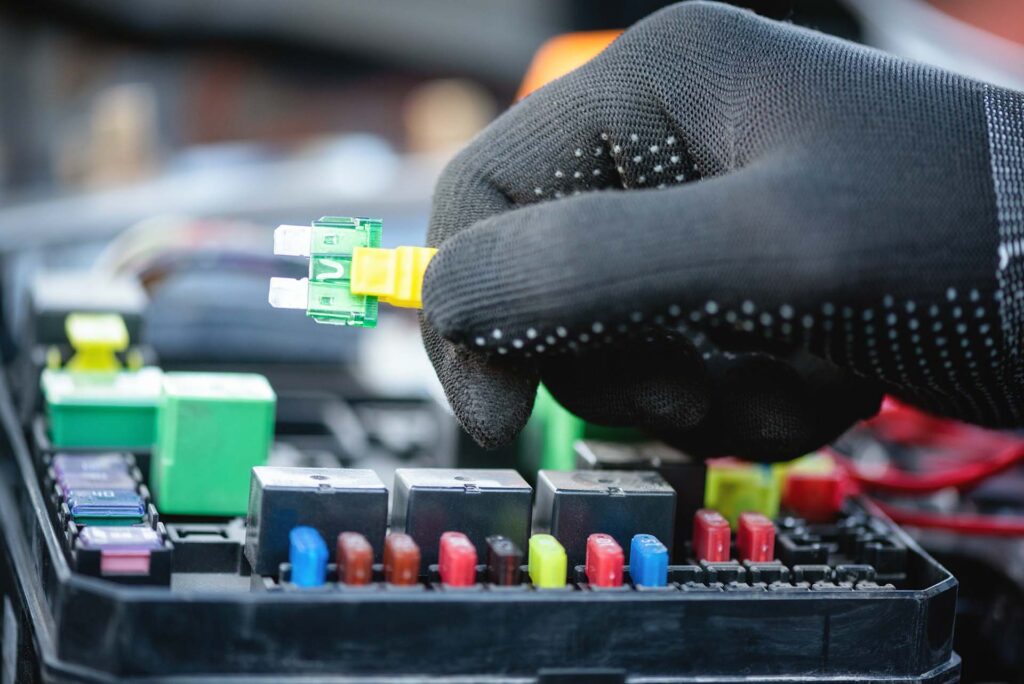
Replacing a blown fuse may not always address the actual cause of the electrical issue. If the replacement fuse blows right away or continues to fail, avoid installing another one and have the system inspected by a qualified technician. The problem could be caused by a short circuit or a defective electrical component.
For an accessible fuse, this can be an inexpensive repair. However, high-current circuits, damaged wiring, and complicated electrical faults should be left to qualified technicians.
6. Correct Your Tire Pressure With a Portable Air Compressor
You do not always need a tire shop appointment to correct slightly underinflated tires. Checking and adjusting tire pressure is a simple task that many drivers can complete in approximately 10 to 15 minutes using a reliable pressure gauge and portable air compressor. It is particularly useful before a long highway journey.
Start by checking the recommended pressure listed on the driver’s-side doorjamb or in the owner’s manual.
Do not use the maximum pressure printed on the tire sidewall as your target. That number represents the tire’s maximum permitted inflation pressure under specified conditions, not necessarily the pressure recommended by the vehicle manufacturer.
For an accurate reading, measure pressure when the tires are cold. NHTSA recommends checking them after the vehicle has been parked for at least three hours.
Remove the valve-stem cap, press the gauge firmly against the valve, and note the reading. Add air in short bursts if the pressure is below the recommended PSI, checking again until you reach the correct figure.
If you accidentally add too much air, release a small amount and measure again. Repeat the process for all four tires, including the spare if it is accessible and serviceable. Replace the valve caps once finished.
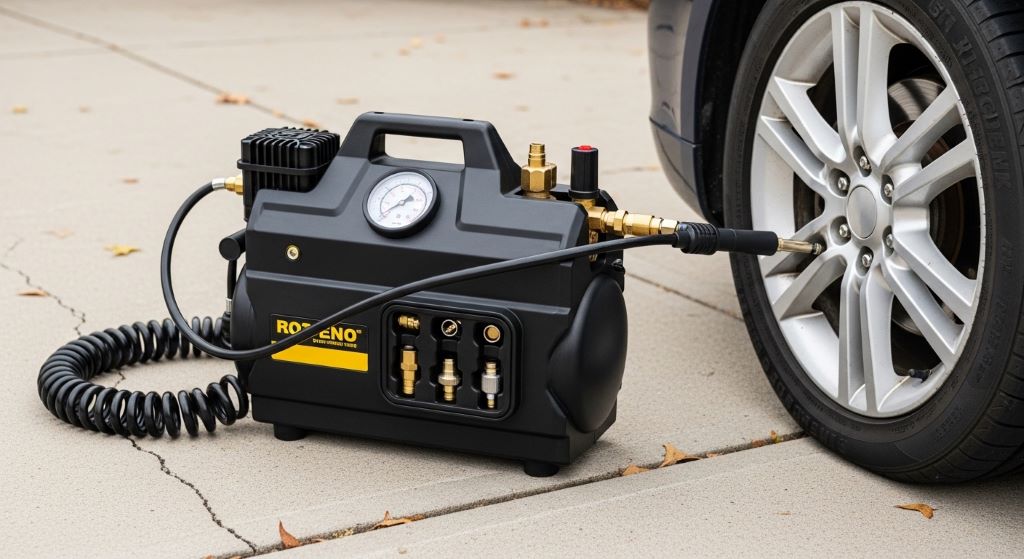
NHTSA identifies underinflation as a major tire-safety concern because it can contribute to overheating and tire failure. Maintaining the correct pressure also helps prevent unnecessary tread wear and supports proper handling.
However, repeatedly losing pressure is not a problem that an air compressor can permanently fix. A puncture, damaged valve stem, or leaking wheel may require professional attention. If a tire has a visible bulge, sidewall damage, or severe pressure loss, do not rely on simply adding air.
7. Replace an Accessible Exterior Light Bulb
A failed turn signal, brake light, or parking light can create a safety problem and may also attract unwanted attention from law enforcement.
Fortunately, some exterior bulb replacements are simple enough to complete at home in approximately 10 to 15 minutes. The actual difficulty depends on your vehicle’s design and how easily the bulb housing can be accessed.
Start by identifying which light has stopped working. Ask someone to operate the brake pedal, turn signals, and parking lights while you inspect the vehicle from outside. Once you identify the faulty light, consult the owner’s manual for the correct replacement bulb specification and installation procedure.
On vehicles with accessible rear lamp assemblies, the process may involve opening the trunk, removing an interior access cover, and disconnecting the bulb socket. Depending on the design, the socket may twist out of the housing. Remove the old bulb carefully, install the correct replacement, and secure the socket before testing the light.
Do not purchase a bulb simply because it looks similar to the failed one. Different vehicles can use different bulb sizes, wattages, connectors, and lighting technologies. Some modern vehicles also use integrated LED assemblies rather than individually replaceable bulbs. These units may require professional diagnosis or complete assembly replacement.
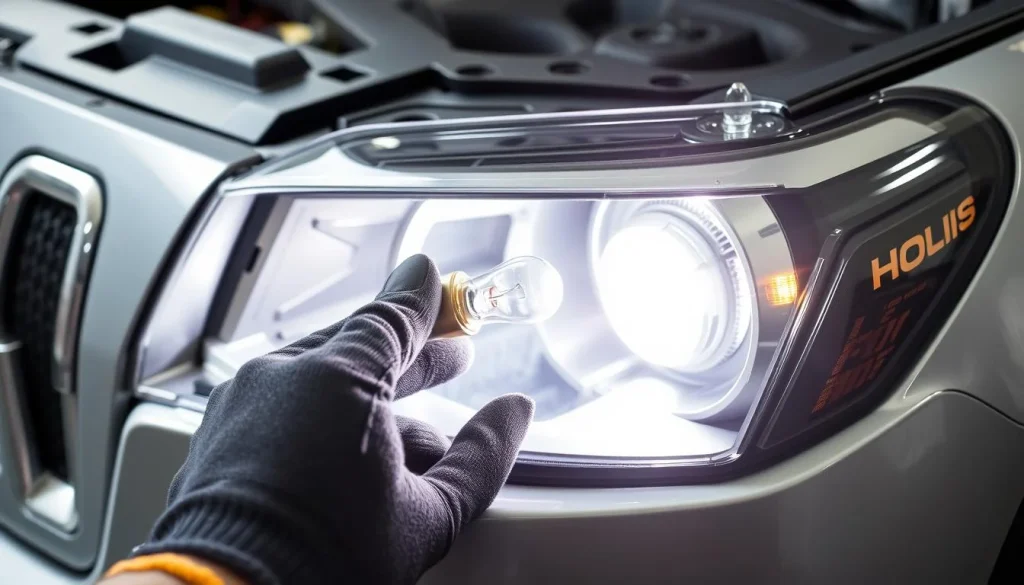
NHTSA recommends routinely checking headlights, brake lights, turn signals, and other exterior lighting to ensure proper operation. Working lights help communicate your intentions to other road users, particularly during darkness and poor weather.
One important precaution concerns halogen bulbs. Avoid touching their glass surfaces with bare fingers because skin oils can create hot spots and potentially shorten bulb life. Also, do not attempt to handle high-voltage HID or LED components unless the manufacturer specifically provides a safe replacement procedure.
If the housing is damaged, wiring is corroded, or a replacement bulb fails to illuminate, seek professional assistance rather than forcing components into place.