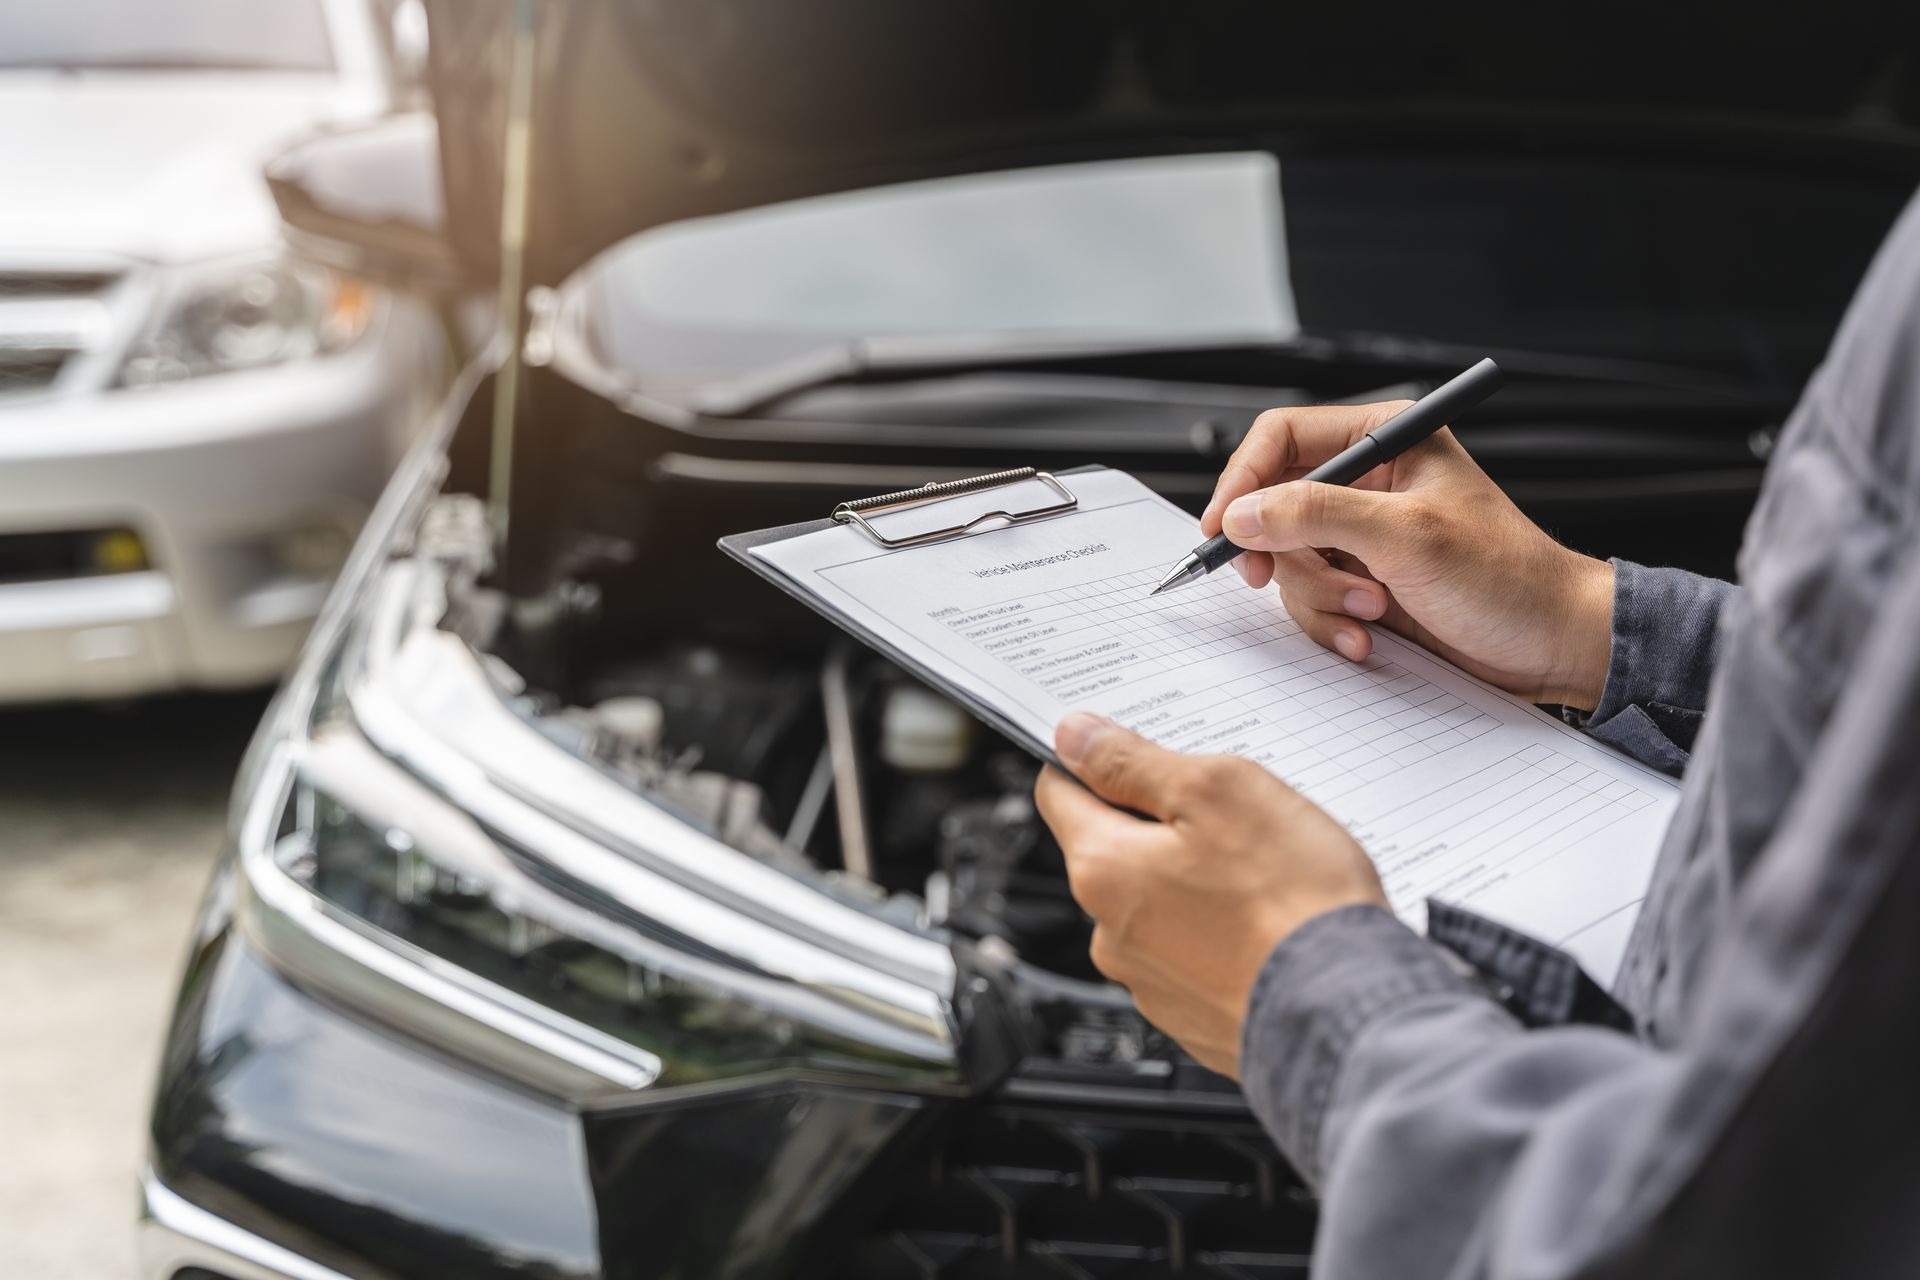
Winter can be tough on your vehicle, even if it starts every morning and seems to run just fine. Cold temperatures, icy roads, potholes, and road salt can wear down important parts without showing obvious warning signs. As warmer weather arrives, taking time to inspect your car can help prevent unexpected repairs, improve driving comfort, and keep your vehicle dependable.
A few simple checks can reveal problems that developed during the colder months and give you a chance to address them before they become expensive. From checking your tires to inspecting the suspension, these seven post-winter car checks will help you prepare your vehicle for the months ahead.
1. Inspect Tires and Wheel Alignment
Your tires took the worst of winter, so start there. Cold air makes pressure drop, and potholes hidden under snow can hit hard enough to damage rubber and rims.
Begin with a pressure gauge and compare each reading with the number printed on the sticker inside your driver’s door. Next, check tread depth.
A simple trick is to slide a coin into the groove, and if you can see the top of the head, the tread is getting thin. Run your hand carefully along each sidewall and look for cracks, cuts, or bulges, since those bubbles signal internal damage and can lead to a sudden blowout.
Any tire with a bulge should be replaced right away, not someday. Now think about how the car feels on the road. Does the steering wheel vibrate at highway speeds?
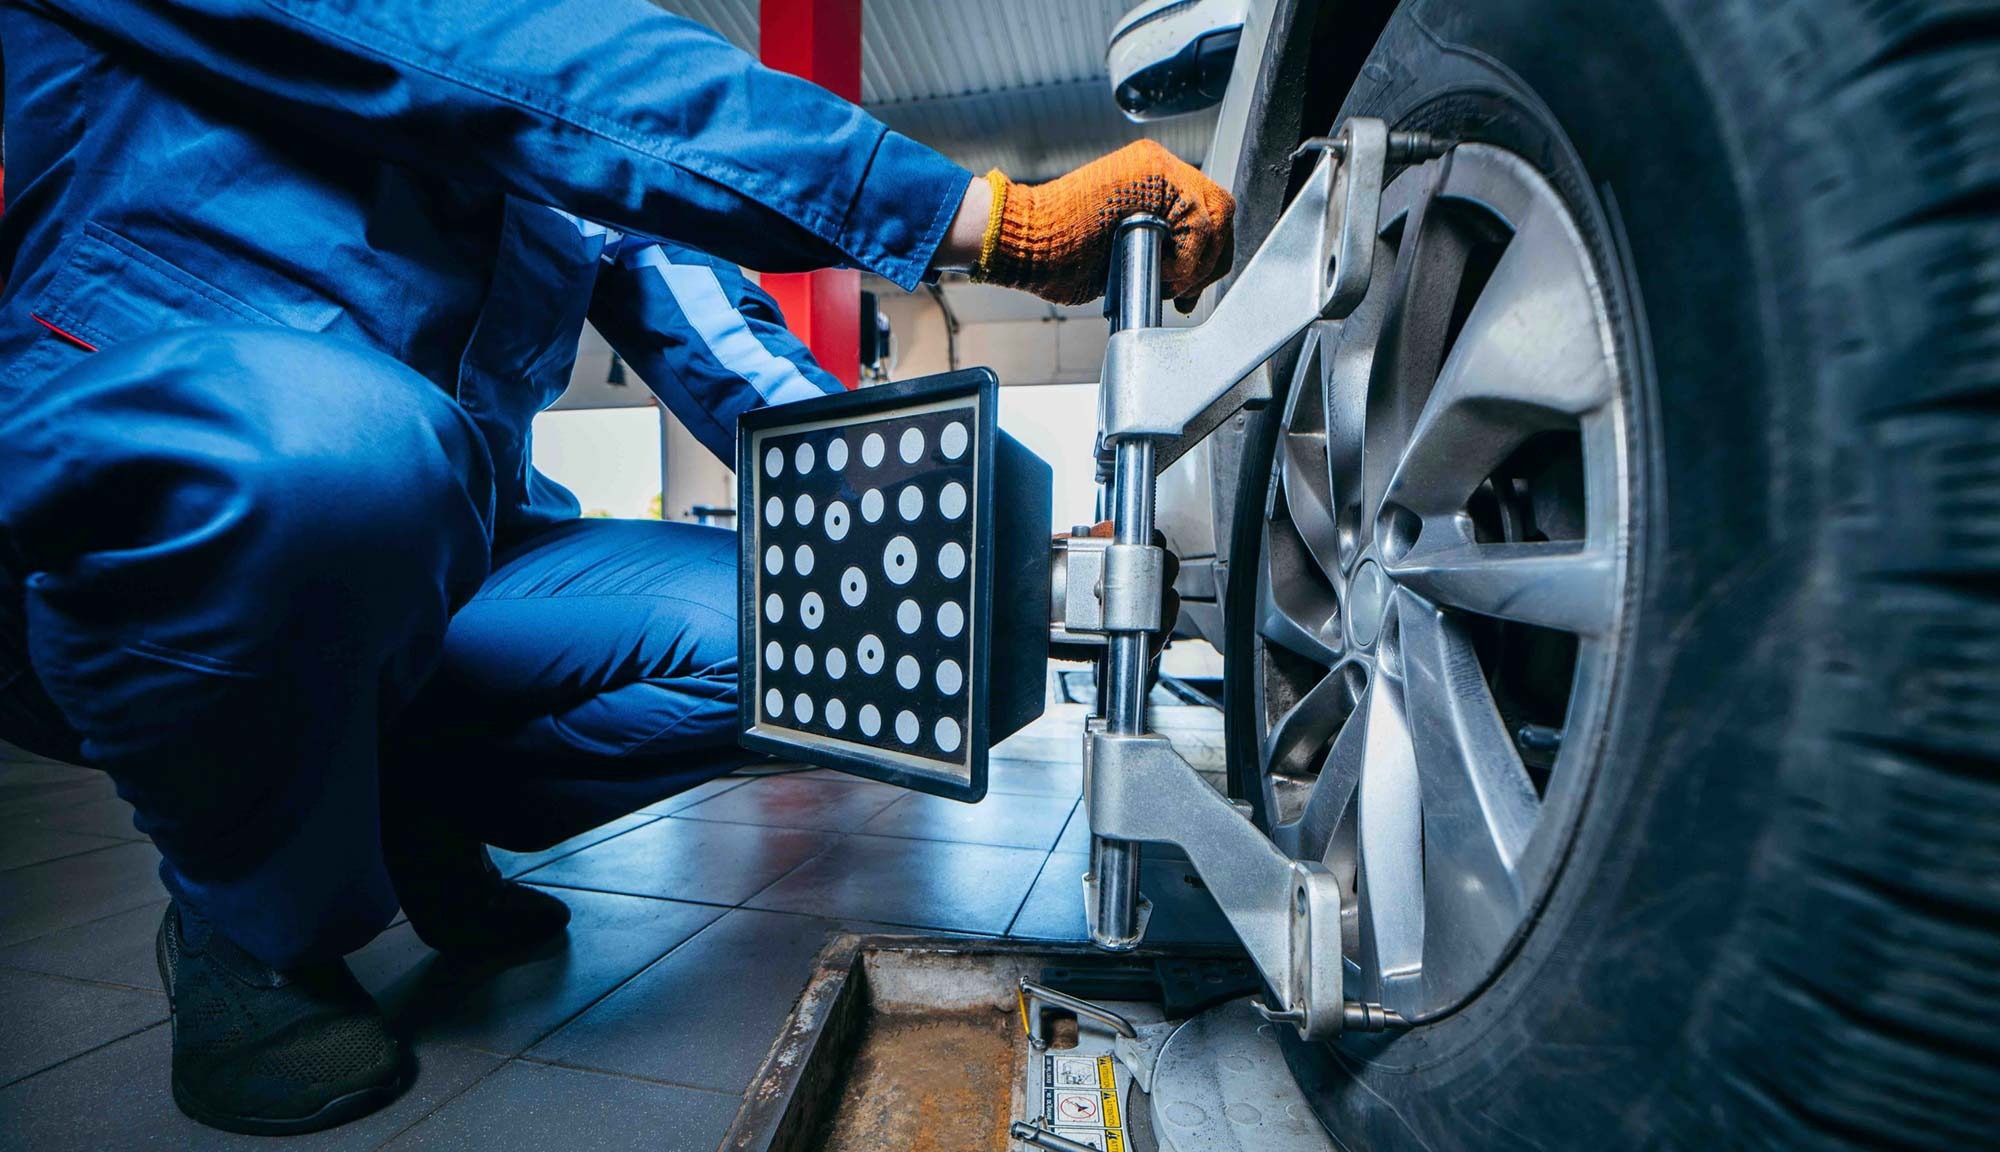
Does the vehicle drift toward one side when you loosen your grip slightly? Both are classic signs that your alignment was knocked out of place by a rough winter.
Ignoring it wears tires unevenly, burns extra fuel, and shortens their lifespan. Book an alignment and a tire rotation at a trusted shop, and ask them to inspect the wheels for bends while the car is on the lift.
It is a small investment that protects your safety, your wallet, and your ride quality for the miles ahead. Finally, if you swapped to winter tires, this is the perfect moment to schedule the changeover and store them somewhere cool, dry, and out of direct sunlight.
2. Test the Brakes
Brakes are not something to gamble on. Winter moisture and road salt can quietly eat away at rotors, calipers, and brake lines, and the damage often hides until the day you need to stop in a hurry.
So listen closely. Grinding means metal is scraping against metal, and that is a red flag. Squealing usually points to worn pads or rust buildup on the rotors. Either way, do not wait.
Pay attention to the pedal too. A soft, spongy, or unusually low pedal can mean air or moisture has crept into the brake fluid, or that something in the system is leaking.
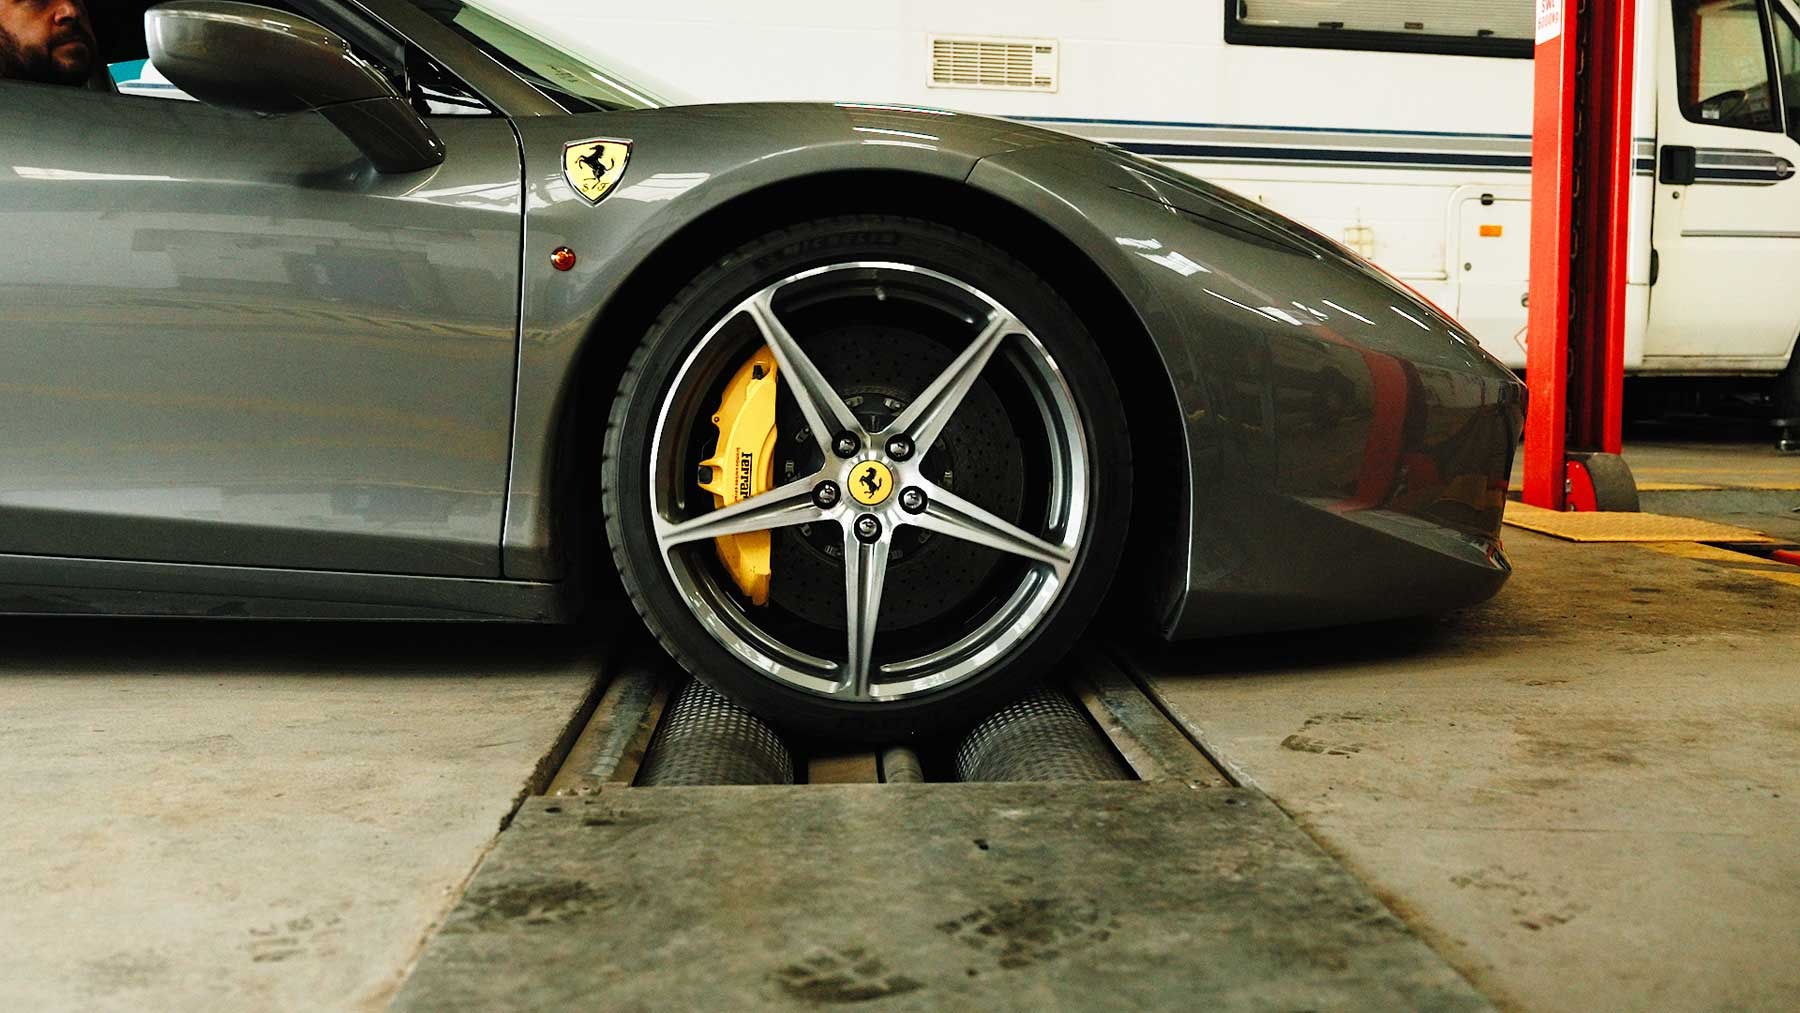
Either of those problems reduces your stopping power. Find a quiet, empty road and test the brakes at low speed. Notice whether the car pulls left or right, whether the steering wheel shudders when you slow down, or whether the pedal pulsates under your foot.
Those symptoms often mean warped rotors or a sticking caliper. If you can, glance through the wheel spokes at the brake pads. You want to see at least a quarter inch of pad material left. Also look for deep grooves or a rusty ring on the rotor edge.
Surface rust that clears after a few stops is normal, but heavy flaking or pitting is not. When anything seems off, have a professional inspect the system before you drive much farther.
Brake repairs cost far less than collision repairs, and they might save a life. Stay safe out there, seriously.
3. Check the Battery and Terminals
Ever started your car on a cold morning and heard nothing but a sad click? That is your battery waving a little white flag. Cold temperatures slow the chemical reactions inside a battery, which cuts its power output just when the engine needs the most juice to turn over.
Even if your car started fine all season, winter may have weakened the battery more than you realize. Here is a quick routine you can handle yourself.
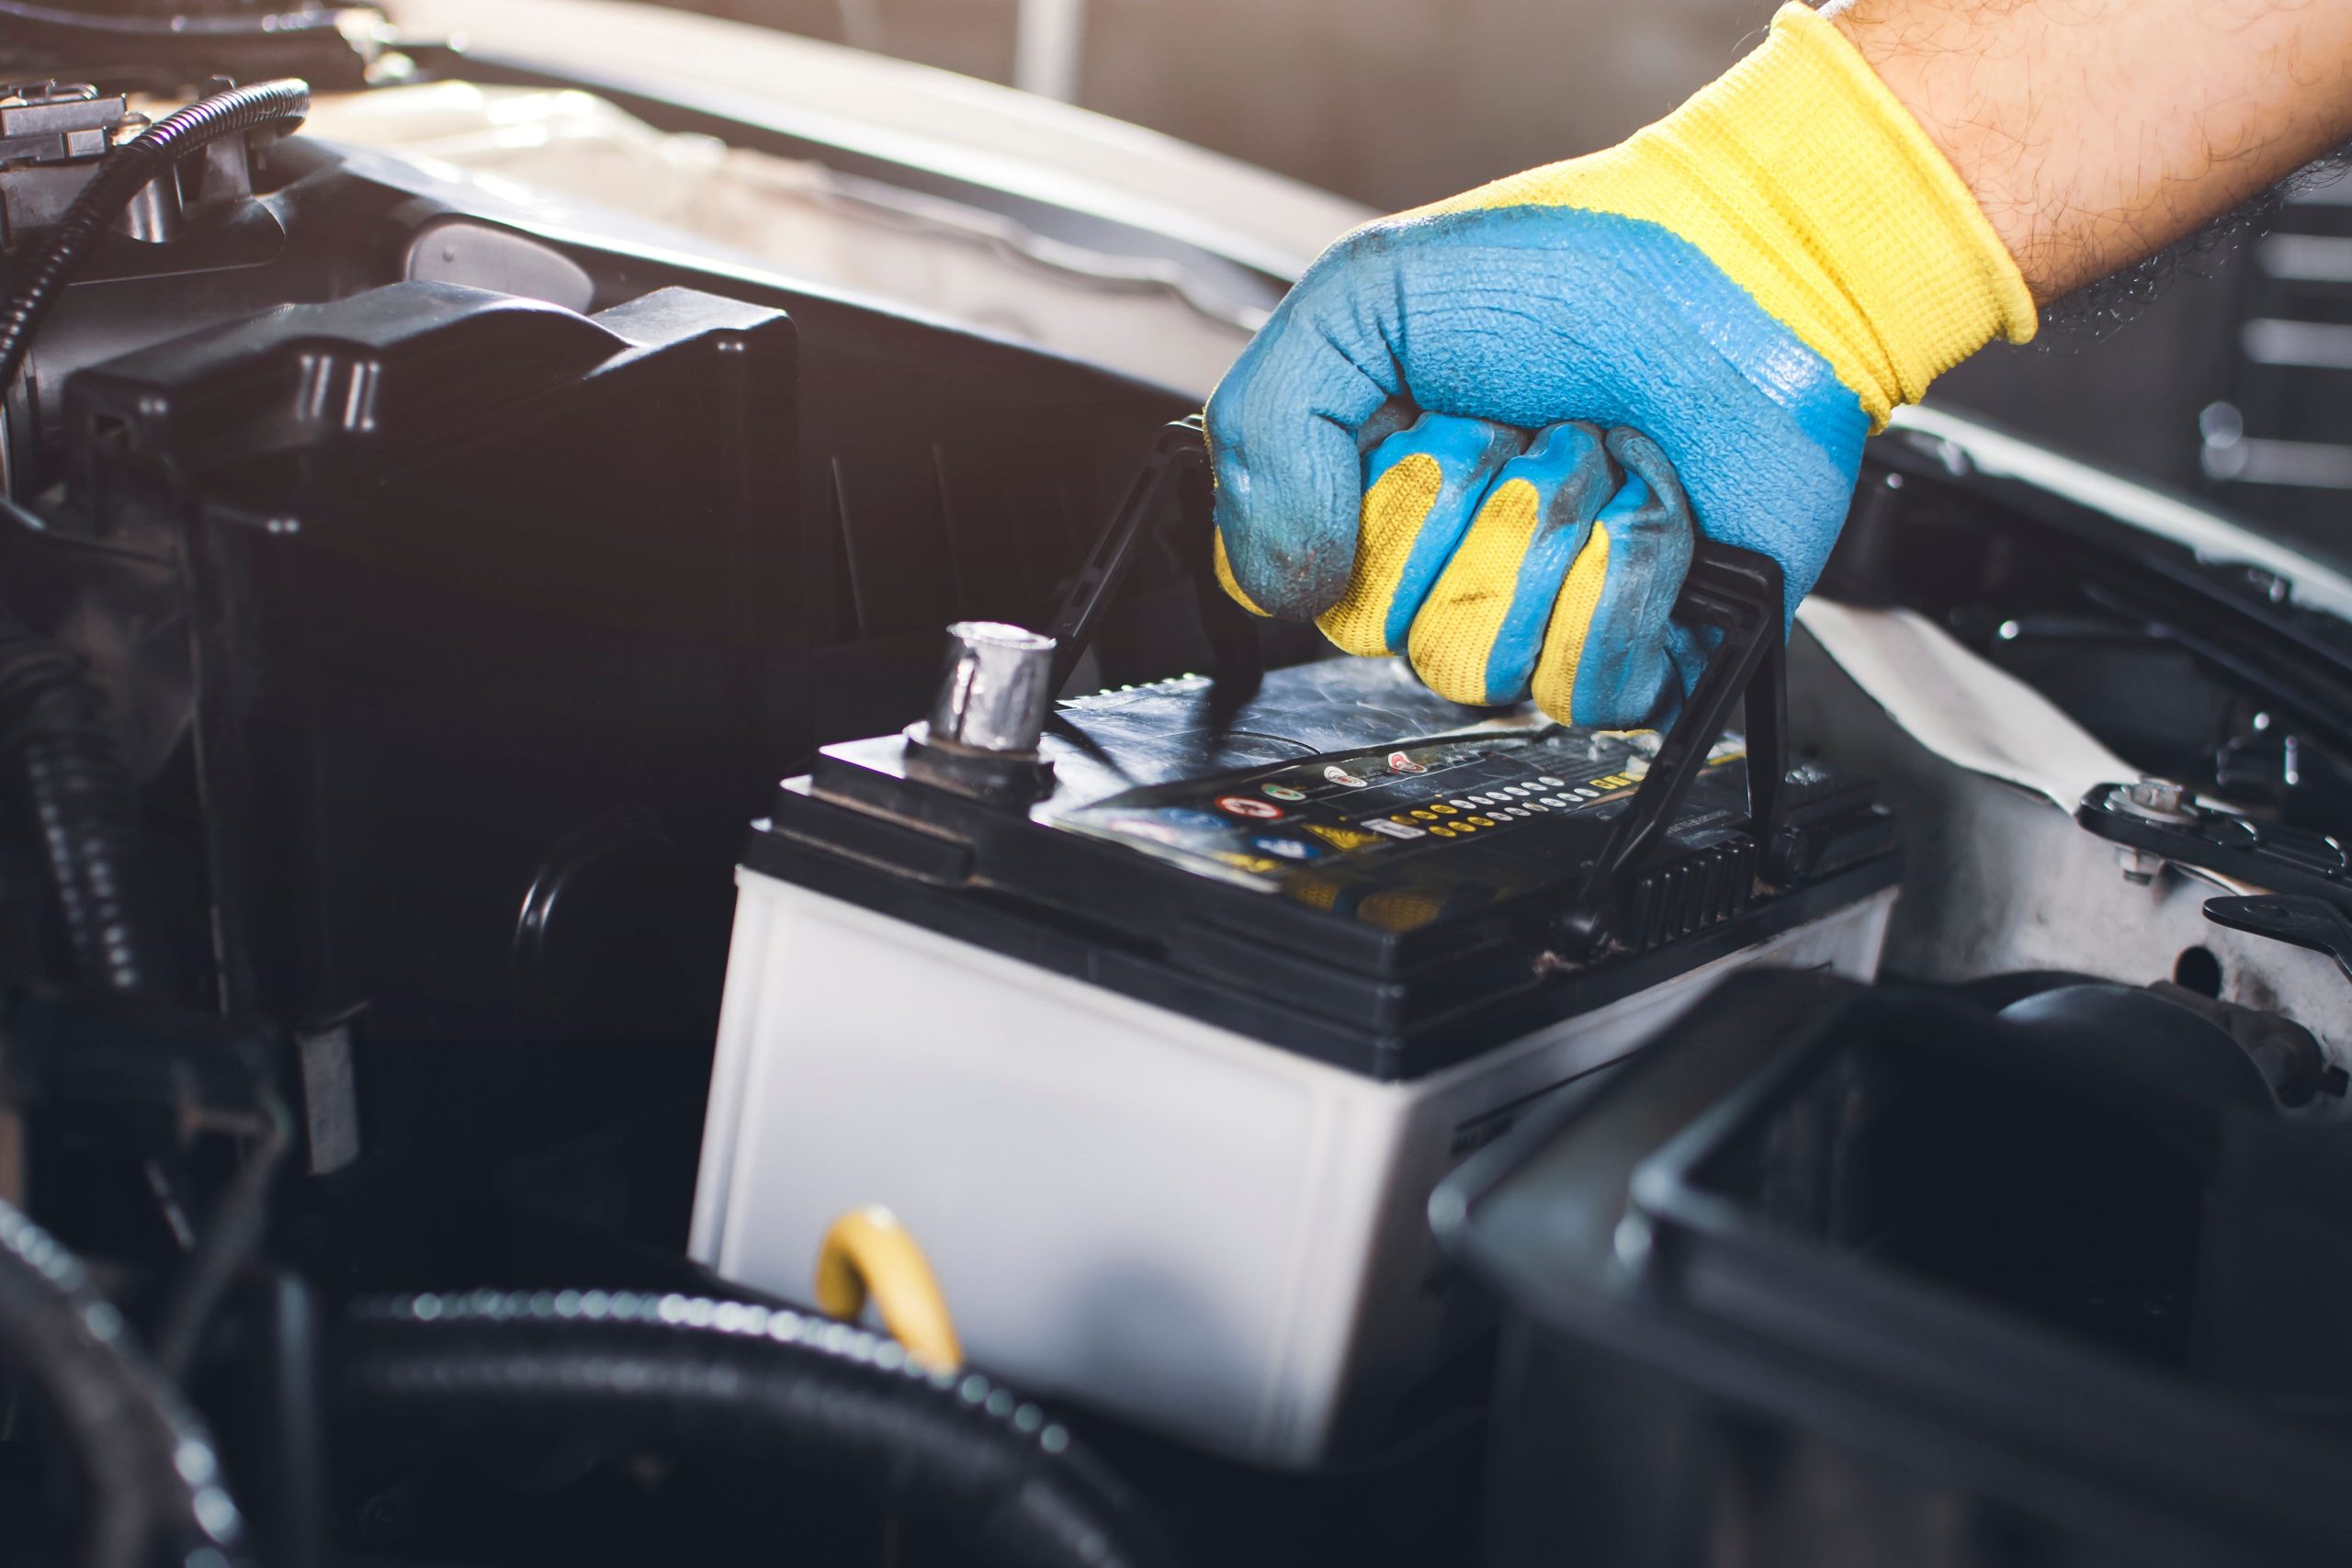
Pop the hood and look at the terminals, which are the metal posts where the cables connect. If you spot a white or bluish crust that looks like chalky powder, that is corrosion, and it blocks the flow of electricity.
Disconnect the negative cable first, then scrub the posts with a mixture of baking soda and water and an old toothbrush. Rinse lightly, dry everything, and reconnect the negative cable last.
Wear gloves and eye protection, because battery acid is nasty stuff. Next, grab a multimeter if you own one. A healthy battery should read around 12.6 volts when the car is off. Anything below 12.4 deserves attention, and a reading near 12 means it is only about half charged.
No multimeter? Most auto parts stores will test your battery for free in just a few minutes. Also pay attention to the age, since most batteries last three to five years.
If yours is getting close to that range and cranks slowly, replacing it now beats getting stranded later in a parking lot.
4. Top Off and Inspect Essential Fluids
Fluids help your vehicle perform essential tasks, from cooling the engine to lubricating moving parts and supporting safe braking. Cold weather can expose leaks, affect fluid performance, and make neglected maintenance problems harder to ignore.
A post-winter fluid inspection gives you an opportunity to catch these issues before they interfere with daily driving.
Start with the engine oil. Park on level ground, switch off the engine, and follow the owner’s manual instructions for checking the dipstick. The oil should fall within the recommended range. If the level is low, add the correct grade.
Examine its appearance, too. Milky or unusually cloudy oil may indicate coolant contamination and should be investigated by a mechanic.
Next, inspect the coolant reservoir when the engine is completely cool. The fluid should sit between the minimum and maximum markings.
Never remove a hot radiator cap because pressurized coolant can cause serious burns. Check the brake fluid reservoir and power steering fluid, if your vehicle uses hydraulic power steering, following the manufacturer’s instructions.
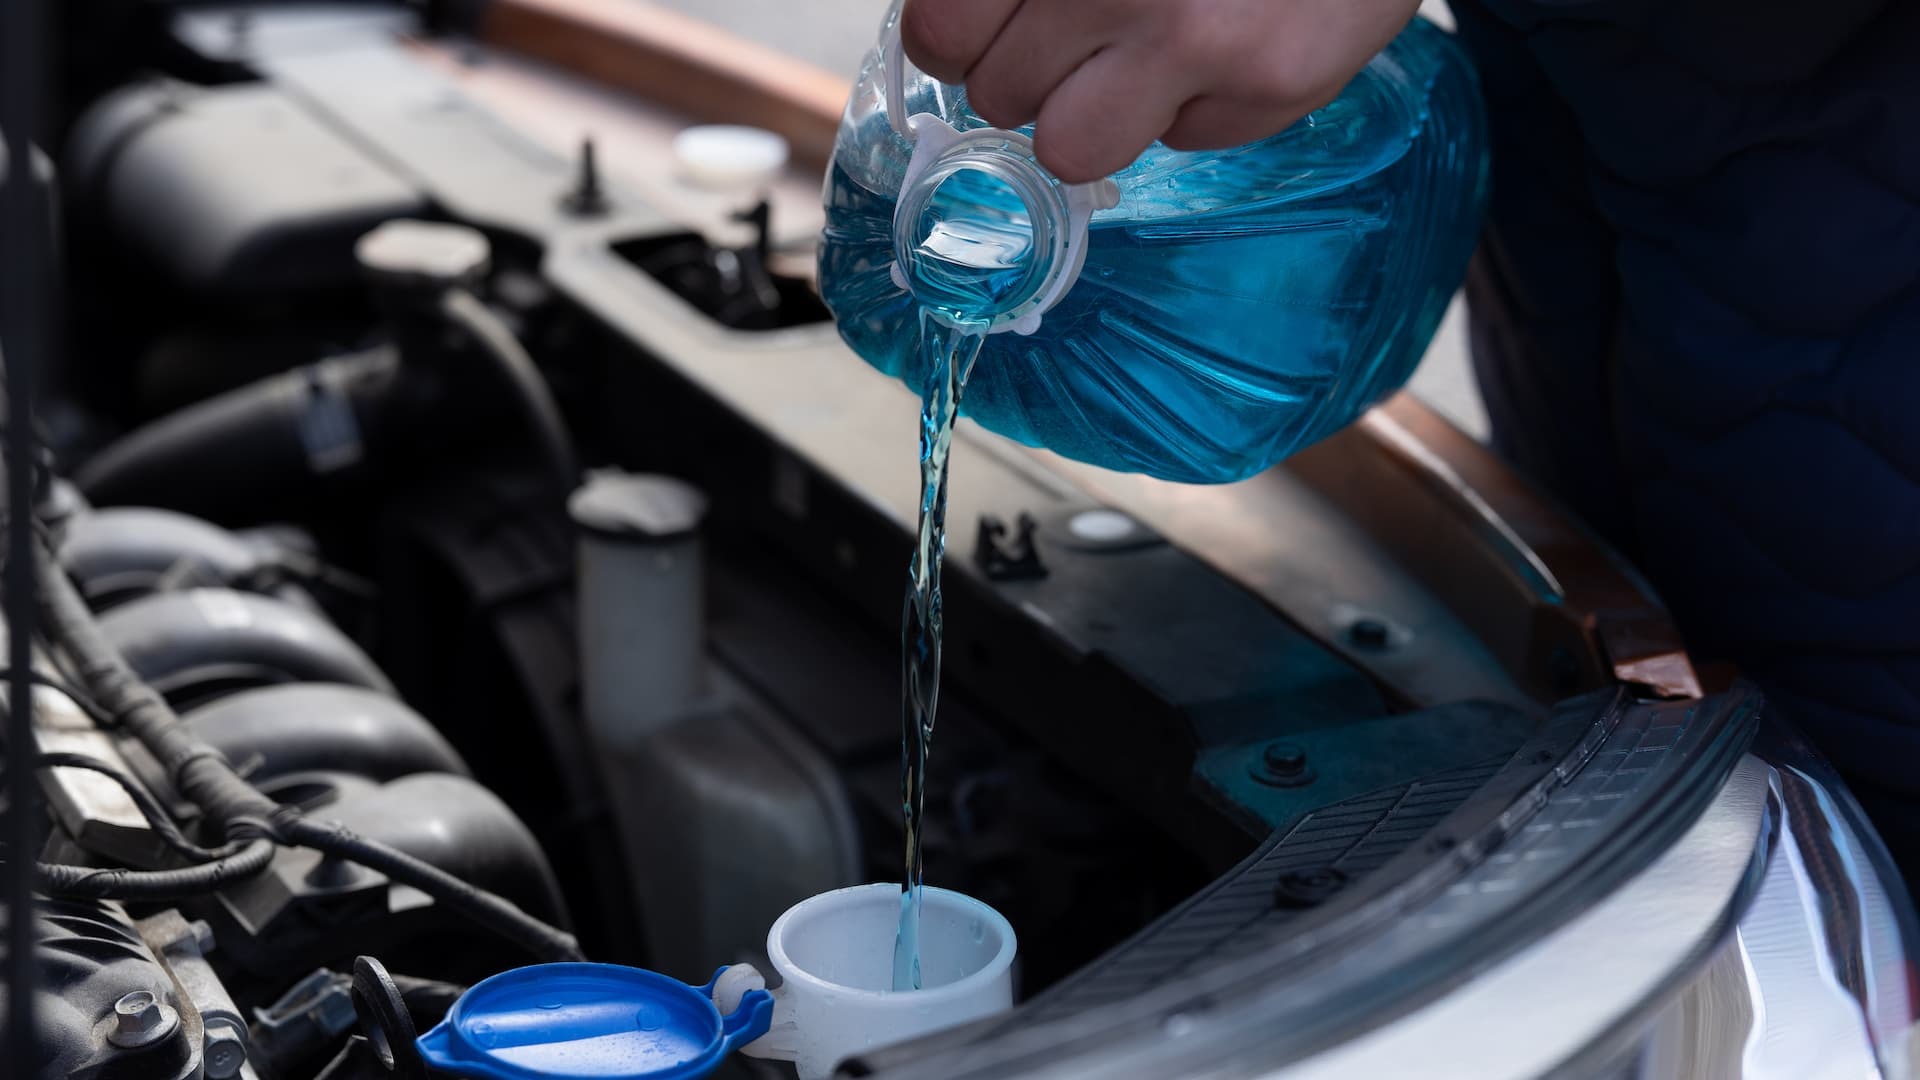
Windshield washer fluid also deserves attention. Winter grime can leave stubborn marks on the glass, so refill the reservoir with a suitable cleaning solution.
Do not simply top off every fluid without checking why its level has dropped. Low brake fluid, for example, may indicate worn components or a leak.
Use only manufacturer-approved fluids, and arrange professional assistance whenever you notice contamination, unexplained fluid loss, or visible leaks beneath the vehicle.
5. Wash Away Road Salt and Grime (Underside & Body)
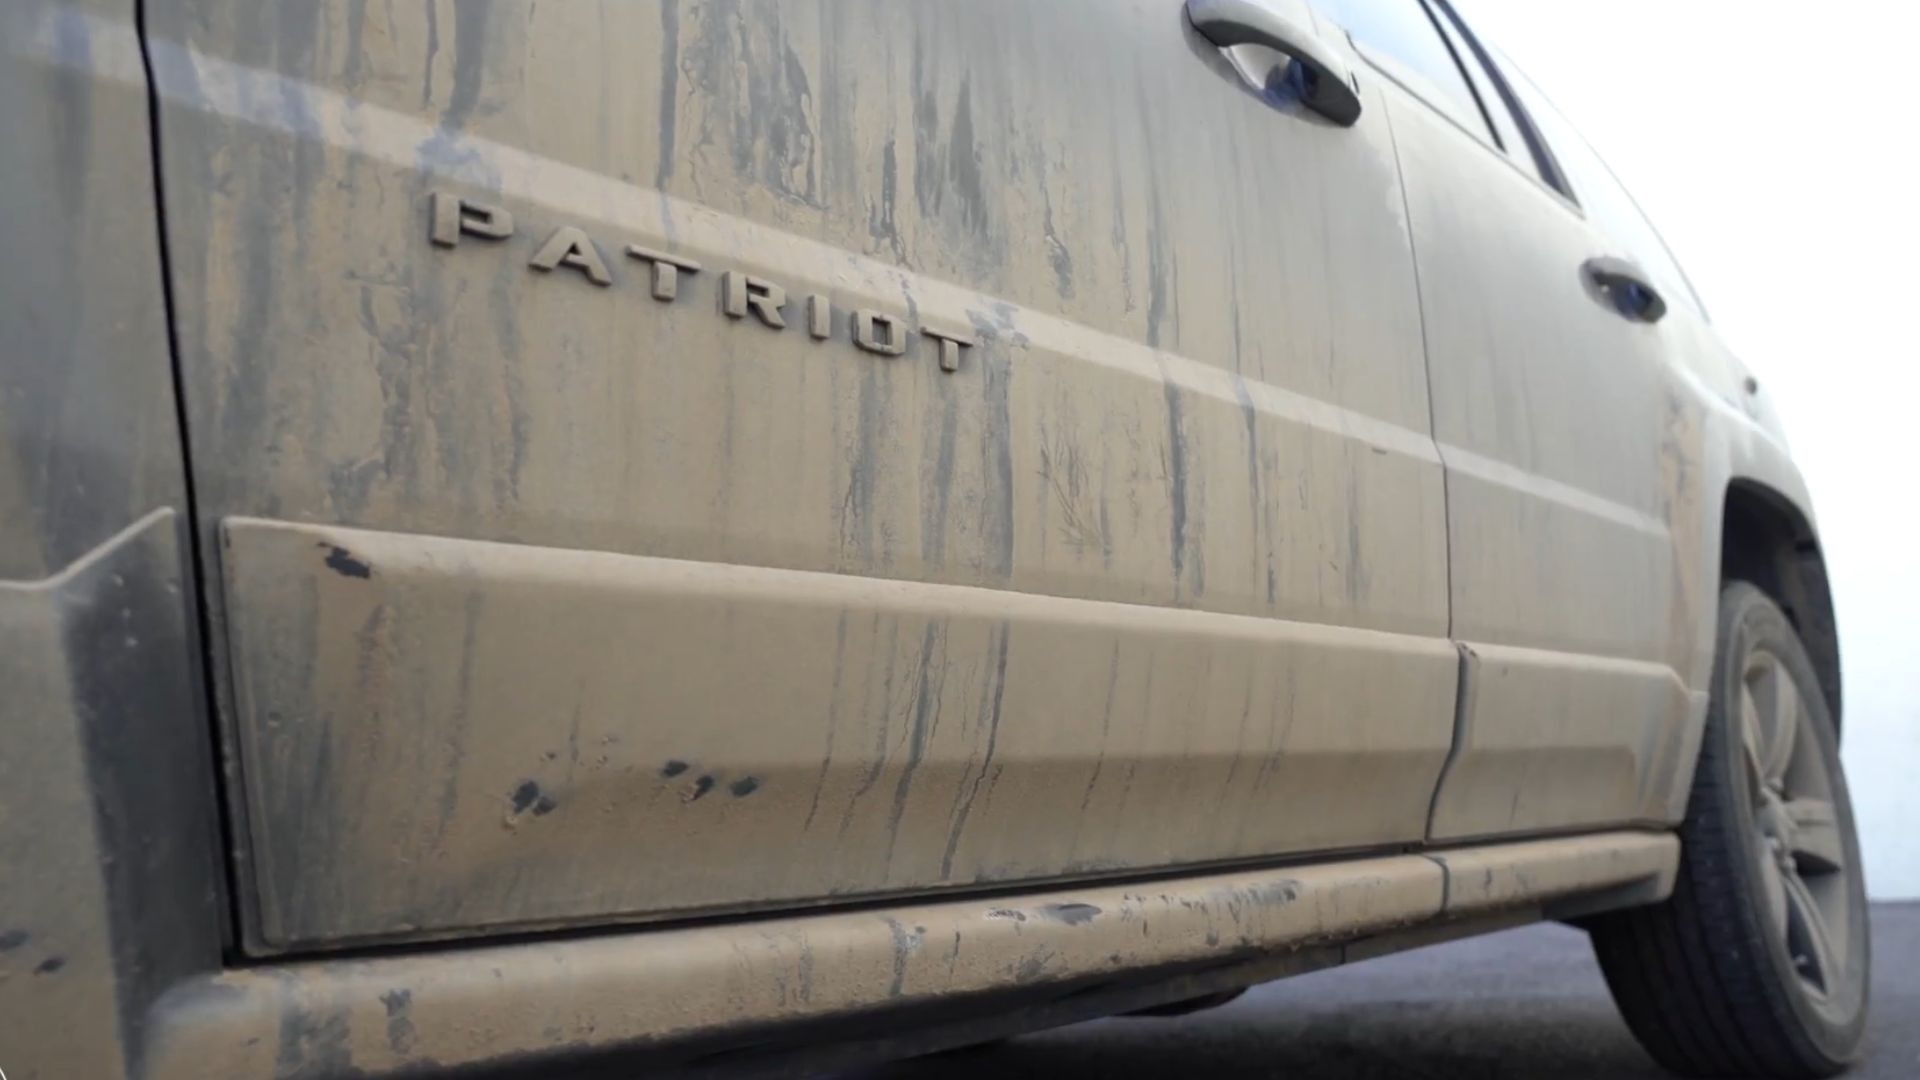
Road salt is a sneaky thief. It clings to metal, soaks into crevices, and quietly turns your car into a rust project. Sand and ice-melting chemicals join the party, and together they attack the exhaust, suspension, and brake parts hiding beneath your car.
A thorough wash is the cheapest rust insurance you can buy. Start with the undercarriage. Many car washes offer an underbody spray, and it is worth paying extra for.
At home, a hose with a good nozzle or an undercarriage sprayer works too. Aim upward into the wheel wells, behind the bumpers, and along the frame rails, where salty slush loves to hide.
Once the bottom is clean, move to the body panels. Use a gentle car shampoo and a soft mitt, work from top to bottom, and pay special attention to door edges, lower panels, and around the trim.
A coat of wax afterward adds a protective layer for the months ahead. Now step inside. Wet floor mats, damp carpets, and melted snow tracked in on boots can leave a musty smell that lingers for weeks.
Pull the mats out, scrub them, and let them dry completely in the sun. Vacuum the carpets, press a dry towel against any damp spots, and park with the windows cracked on a breezy day to air things out.
Trapped moisture breeds mold and can even rust the floor pan. A fresh, dry cabin feels wonderful and protects your car’s value. Your future self will appreciate it.
6. Inspect Wipers and Lighting Systems
Two basic questions are worth considering. Can you see the road clearly, and are other drivers able to see your vehicle? During winter, poor weather and reduced visibility can make both more difficult.
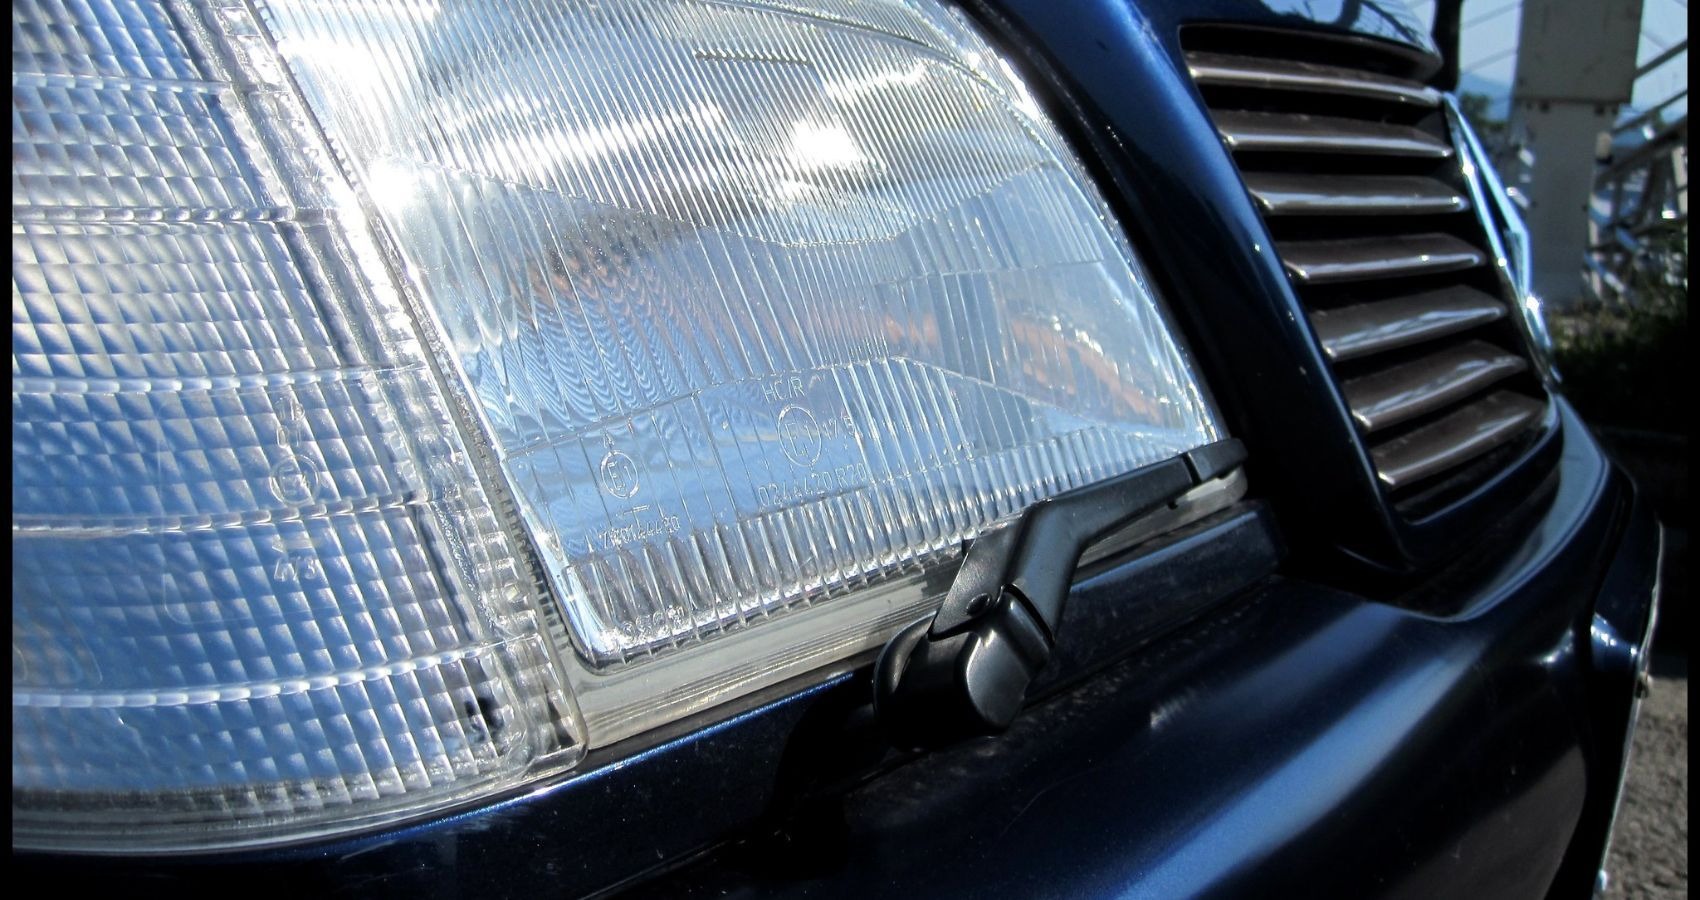
Wiper blades spend months battling ice, snow, and the occasional scrape from an ice scraper, and their rubber edges often end up cracked, chipped, or hardened. Run them with washer fluid and watch closely.
Streaks, skips, squeaks, or leftover smears mean it is time for new blades. They are inexpensive, easy to swap, and your auto parts store can usually match the right size in seconds.
Do not forget to lift each wiper arm and check the spring tension too. Now for the lights. Park facing a garage door or wall in the evening and switch on your low beams, then your high beams, and compare how each side looks.
Uneven brightness or a dim glow can point to a failing bulb or foggy lens covers. Then test the brake lights, turn signals, reverse lights, and hazard flashers.
A helper can stand behind the car while you press the pedal, or you can back up near a reflective storefront and look for the glow. Replace any burned-out bulbs right away, since a dead brake light can earn you a ticket and invite a rear-end crash.
If the lenses look yellow or cloudy, a headlight restoration kit can bring back the clarity for a modest price. Clear vision keeps you safe, and bright lights keep you seen. Simple as that.
7. Check Suspension, Belts, and Hoses
Your vehicle’s suspension, belts, and hoses can all experience wear during winter. Potholes, rough roads, temperature fluctuations, and exposure to moisture can affect these components.
A careful inspection after the cold season helps identify problems that might otherwise develop into costly repairs.
Begin with the suspension. Pay attention to how the vehicle behaves when driving over bumps or uneven road surfaces. Clunking, knocking, excessive bouncing, or unusual vibration may indicate worn shock absorbers, struts, ball joints, or other suspension components.
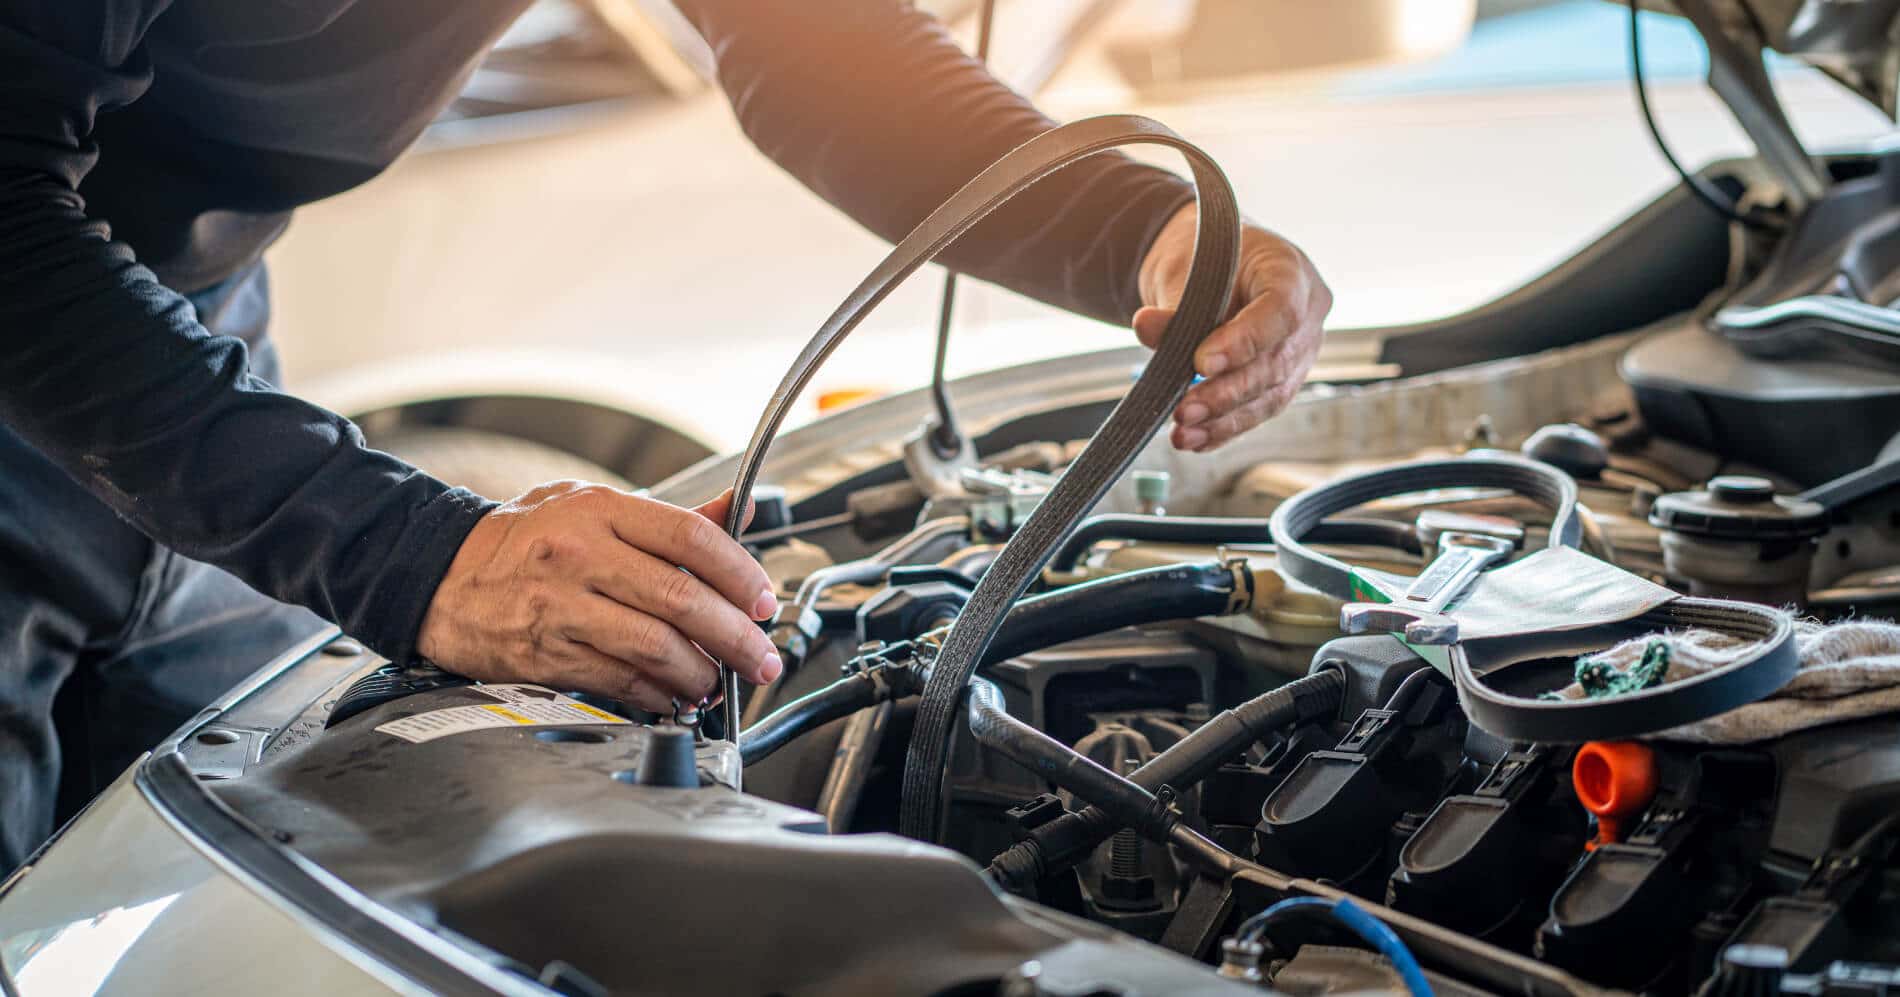
A vehicle that sits unevenly or feels less stable during turns also deserves professional attention. Look beneath the hood for visible signs of damage. Examine the rubber belts for cracks, fraying, glazing, or loose sections.
These belts help operate essential systems, including the alternator and, in many vehicles, the air conditioning compressor. A damaged belt may produce squealing noises or cause important equipment to stop working.
Inspect accessible hoses for cracks, bulges, leaks, and brittle surfaces. Coolant hoses deserve particular attention because they carry fluid that helps regulate engine temperature.
A damaged hose can leak coolant and contribute to engine overheating. Check the connections for damp spots or dried residue that could indicate a slow leak.
Never inspect moving belts while the engine is running. If you discover damage or hear unusual noises, arrange an inspection with a qualified mechanic.
Replacing worn components before they fail can help prevent roadside breakdowns and keep your vehicle running reliably.