Antifreeze is more than just a winter essential for preventing freeze-ups; it plays a critical role in safeguarding your engine from corrosion caused by electrolysis. Electrolysis occurs when two dissimilar metals within the engine exchange electrons, which over time leads to internal corrosion. Antifreeze contains additives to prevent this electron swapping and protect metals like aluminum, copper, steel, and magnesium alloys from damage. However, these additives degrade as the coolant ages, making it essential to test the coolant regularly.
What Is Coolant and What Does It Do?
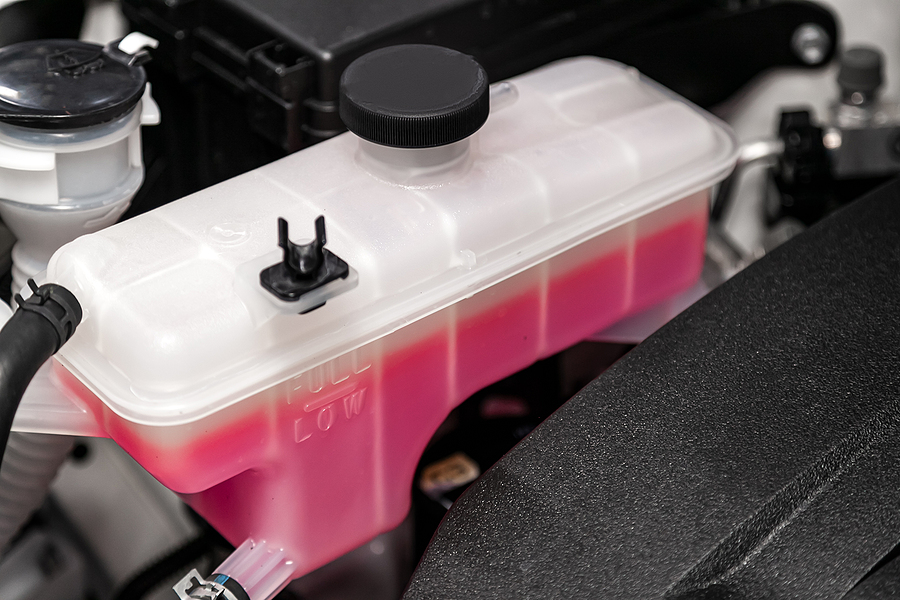
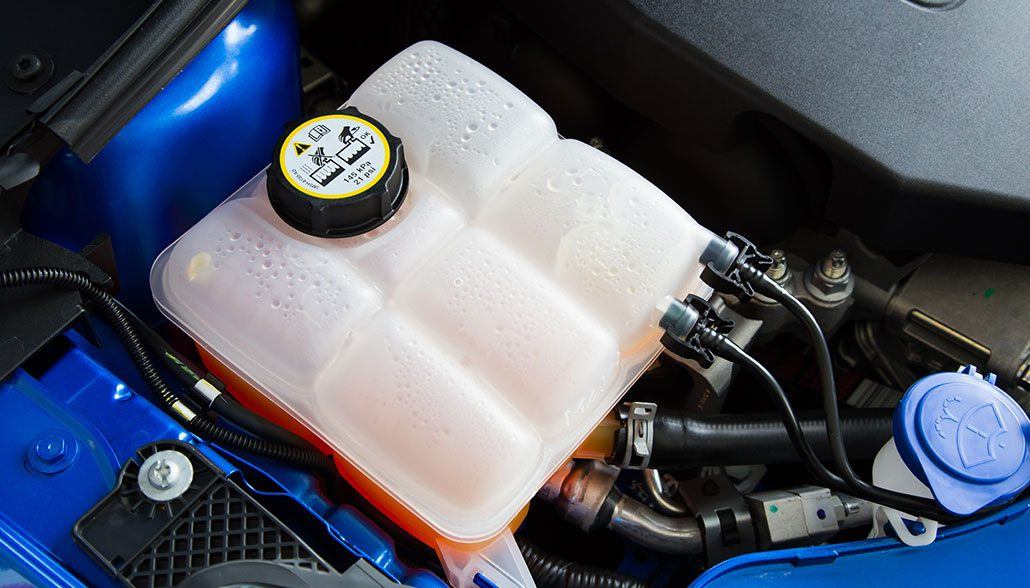
Coolant is the liquid circulating through the engine to remove heat generated by internal combustion. It carries this heat to the radiator, where it is dissipated. Coolant prevents the engine from overheating, ensuring efficient operation. This liquid is essential for regulating the engine’s temperature and preventing it from reaching harmful levels.
Coolant vs. Antifreeze: What’s the Difference?
While the terms “coolant” and “antifreeze” are often used interchangeably, they are technically not the same. Coolant is the fluid that helps regulate engine temperature, often made of water mixed with antifreeze. Antifreeze, typically ethylene glycol or propylene glycol, is added to water to lower its freezing point and raise its boiling point. This mixture, referred to as coolant or antifreeze, is necessary for effective engine temperature management.

The Importance of Testing Coolant
Over time, the additives in antifreeze lose their effectiveness, and the coolant becomes a good electrical conductor. This can speed up the internal electrolysis process and damage engine components. To avoid this, it’s important to regularly test the coolant for its conductivity. This can help detect when the antifreeze has lost its anti-corrosive properties and prevent costly engine damage in the long run.
Using a Multimeter for Coolant Testing
A digital multimeter is a handy tool for testing the conductivity of your coolant. As the antifreeze deteriorates, it allows more electrolysis to occur, which leads to a buildup of metal particles in the coolant. The multimeter can measure this change in conductivity by detecting voltage. If the coolant’s conductivity is high, it’s time for a flush.
Setting Up the Multimeter
When using a multimeter for coolant testing, it’s essential to select the correct setting. Most multimeters offer multiple ranges for voltage measurements. To test the coolant, set the multimeter to DC voltage in the 20-volt or lower range. This ensures the most accurate reading of the coolant’s conductivity, helping you determine whether it needs to be replaced.
Step-by-Step Guide to Testing Coolant
Step 1: Prepare the Vehicle
Open the vehicle’s hood and locate a safe spot to set the multimeter. Ensure the coolant reservoir or radiator cap is accessible. If the coolant levels are low, top off the system and run the engine to operating temperature. After the engine cools, repeat the test.
Step 2: Test the Coolant
Set the multimeter to DC volts (below 20 volts). Attach the black lead to the chassis ground or negative battery terminal, and place the red lead into the coolant. If the reading is below 0.4 volts, the coolant is in good condition. The readings above indicate that the antifreeze’s anti-corrosion properties have failed, and a coolant flush is needed.
Frequently Asked Questions
There are other methods for testing coolant, such as using test strips to measure the pH and glycol levels. These strips are easy to use and provide quick results. For more precise measurements of the boiling or freezing points of your coolant, you can use an antifreeze coolant tester. Radiator flushes typically cost between $150 and $400 at a shop, depending on the vehicle and location.

