Here’s a comprehensive guide to checking your car’s lights and bulbs. Keeping your car’s lights in proper working condition is essential for safe driving.
Fully functional headlights, taillights, brake lights, and indicators are crucial for visibility and communication on the road.
Regular inspections can prevent accidents, avoid fines, and ensure better driving conditions.
1. Gather the Necessary Tools
Before starting, ensure you have these tools:
- A friend or family member (to help check the brake lights)
- A clean cloth (to wipe bulbs if needed)
- Replacement bulbs (for any that need changing)
- A flashlight (for improved visibility in dim lighting)
2. Check the Headlights
Headlights are vital for night driving and poor weather. Follow these steps:
- Turn on the headlights: Start the engine and switch on the headlights.
- Test high and low beams: Alternate between high and low beams to confirm both are operational.
- Look for dimness or flickering: If a light is dim or flickers, it may need replacement.
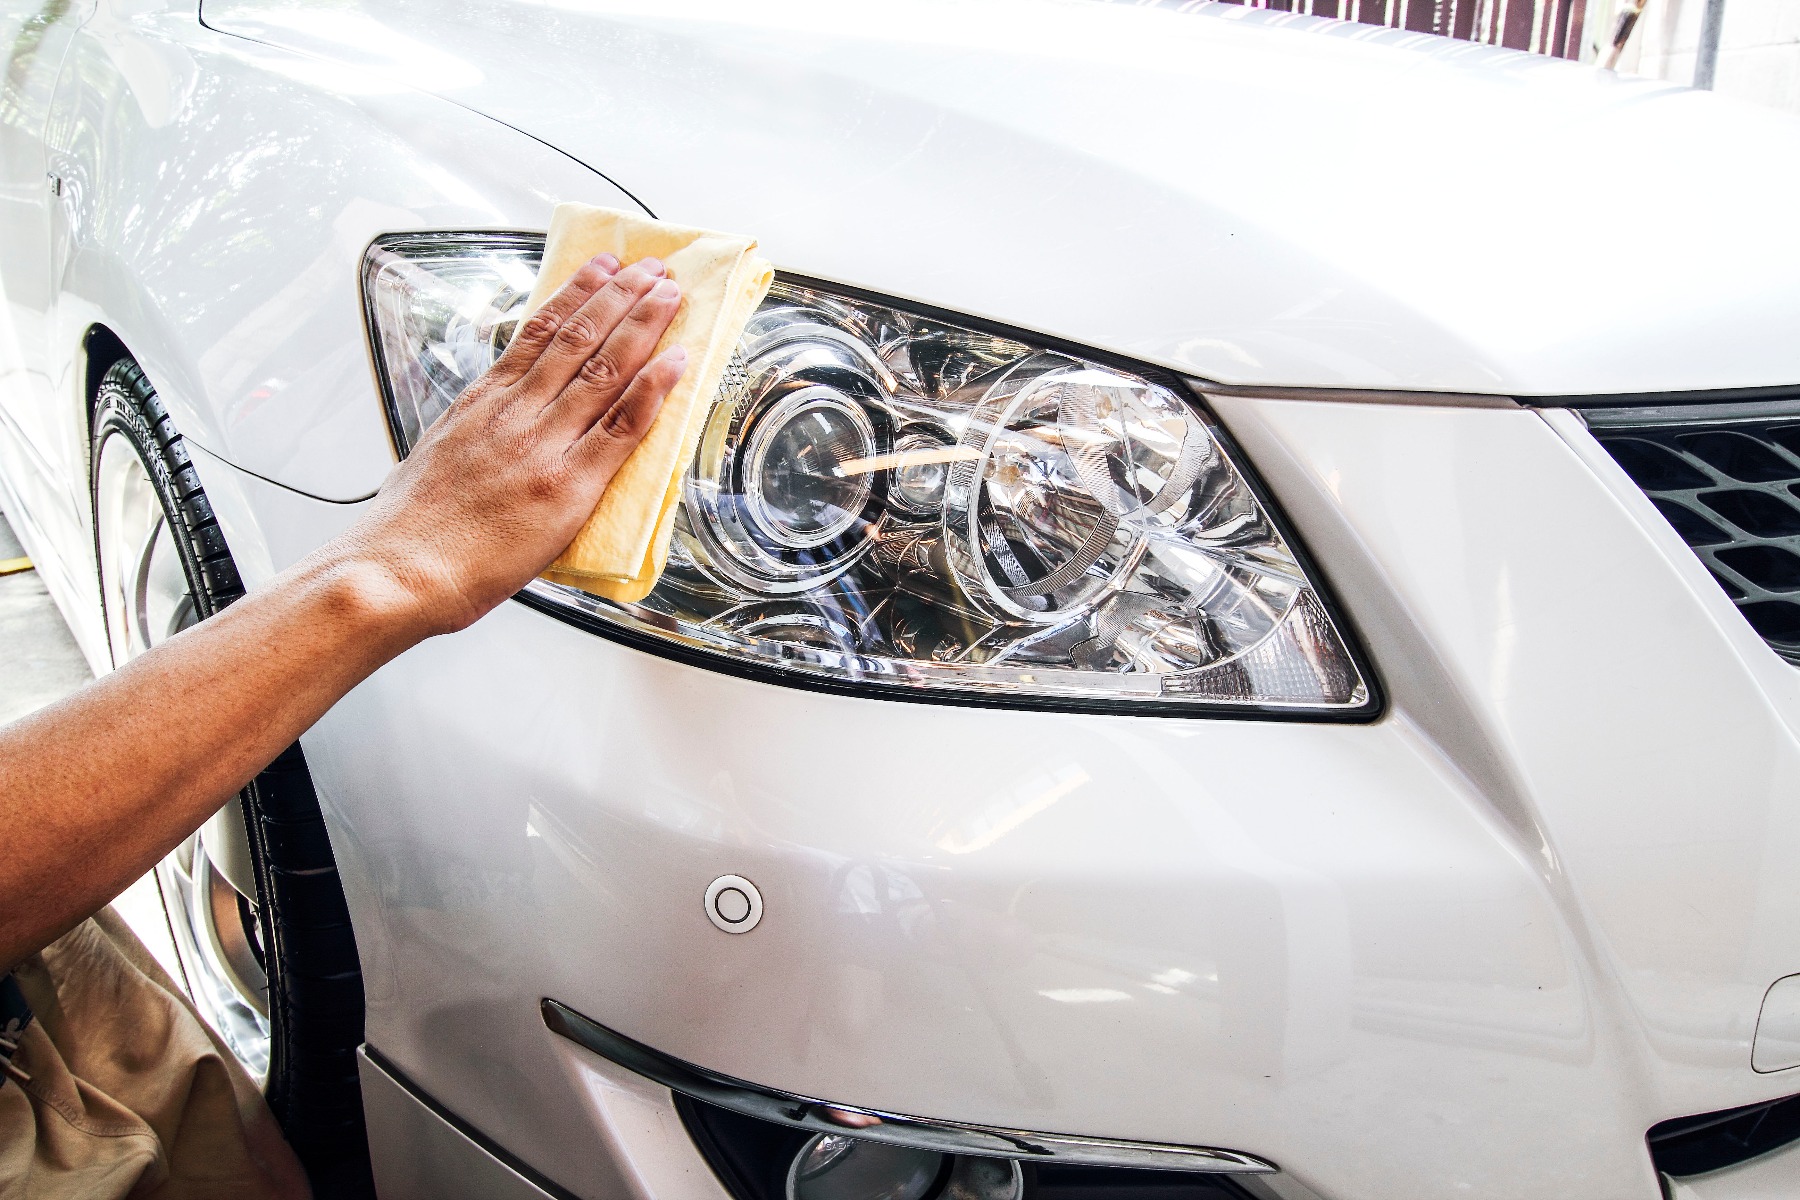
- Inspect the lenses: Ensure the lenses are clean and free of fogging or grime, which can reduce brightness.
3. Inspect the Taillights
Taillights make your vehicle visible in low light. Here’s how to check them:
- Activate the taillights: Start the car and turn on the headlight switch to light the taillights.
- Walk to the rear: Verify that both taillights are equally bright.
- Check for damage: Inspect the covers for cracks or moisture, which can harm the bulbs.
4. Test the Brake Lights
Brake lights signal your stopping intentions to drivers behind you. Here’s what to do:
- Get assistance: Ask someone to press the brake pedal while you observe the lights from the back of the car.
- Check all brake lights: Ensure all brake lights, including the third (center) brake light, illuminate.
- Watch for delays or uneven brightness: Replace bulbs that are slow to light or dimmer than the others.

5. Check the Turn Signals
Turn signals are critical for indicating direction changes. Check them as follows:
- Activate the signals: Test the left and right turn signals individually.
- Inspect for proper flashing: Walk around the car and confirm the signals flash at the correct pace.
- Listen for clicking sounds: A rapid clicking noise usually indicates a burned-out bulb needing replacement.
6. Inspect the Reverse Lights
Reverse lights enhance visibility and signal others when you’re backing up. Here’s how:
- Shift to reverse: With the engine on and parking brake engaged, put the car in reverse.
- Examine the rear lights: Both reverse lights should light up. Replace bulbs if one or both fail to illuminate.
7. Check the Fog Lights
Fog lights improve visibility in misty or foggy conditions. Here’s the process:
- Switch on the fog lights: Use the designated control, typically found on the dashboard or light control stalk.
- Confirm illumination: Ensure both front fog lights and, if applicable, rear fog lights, are functioning.
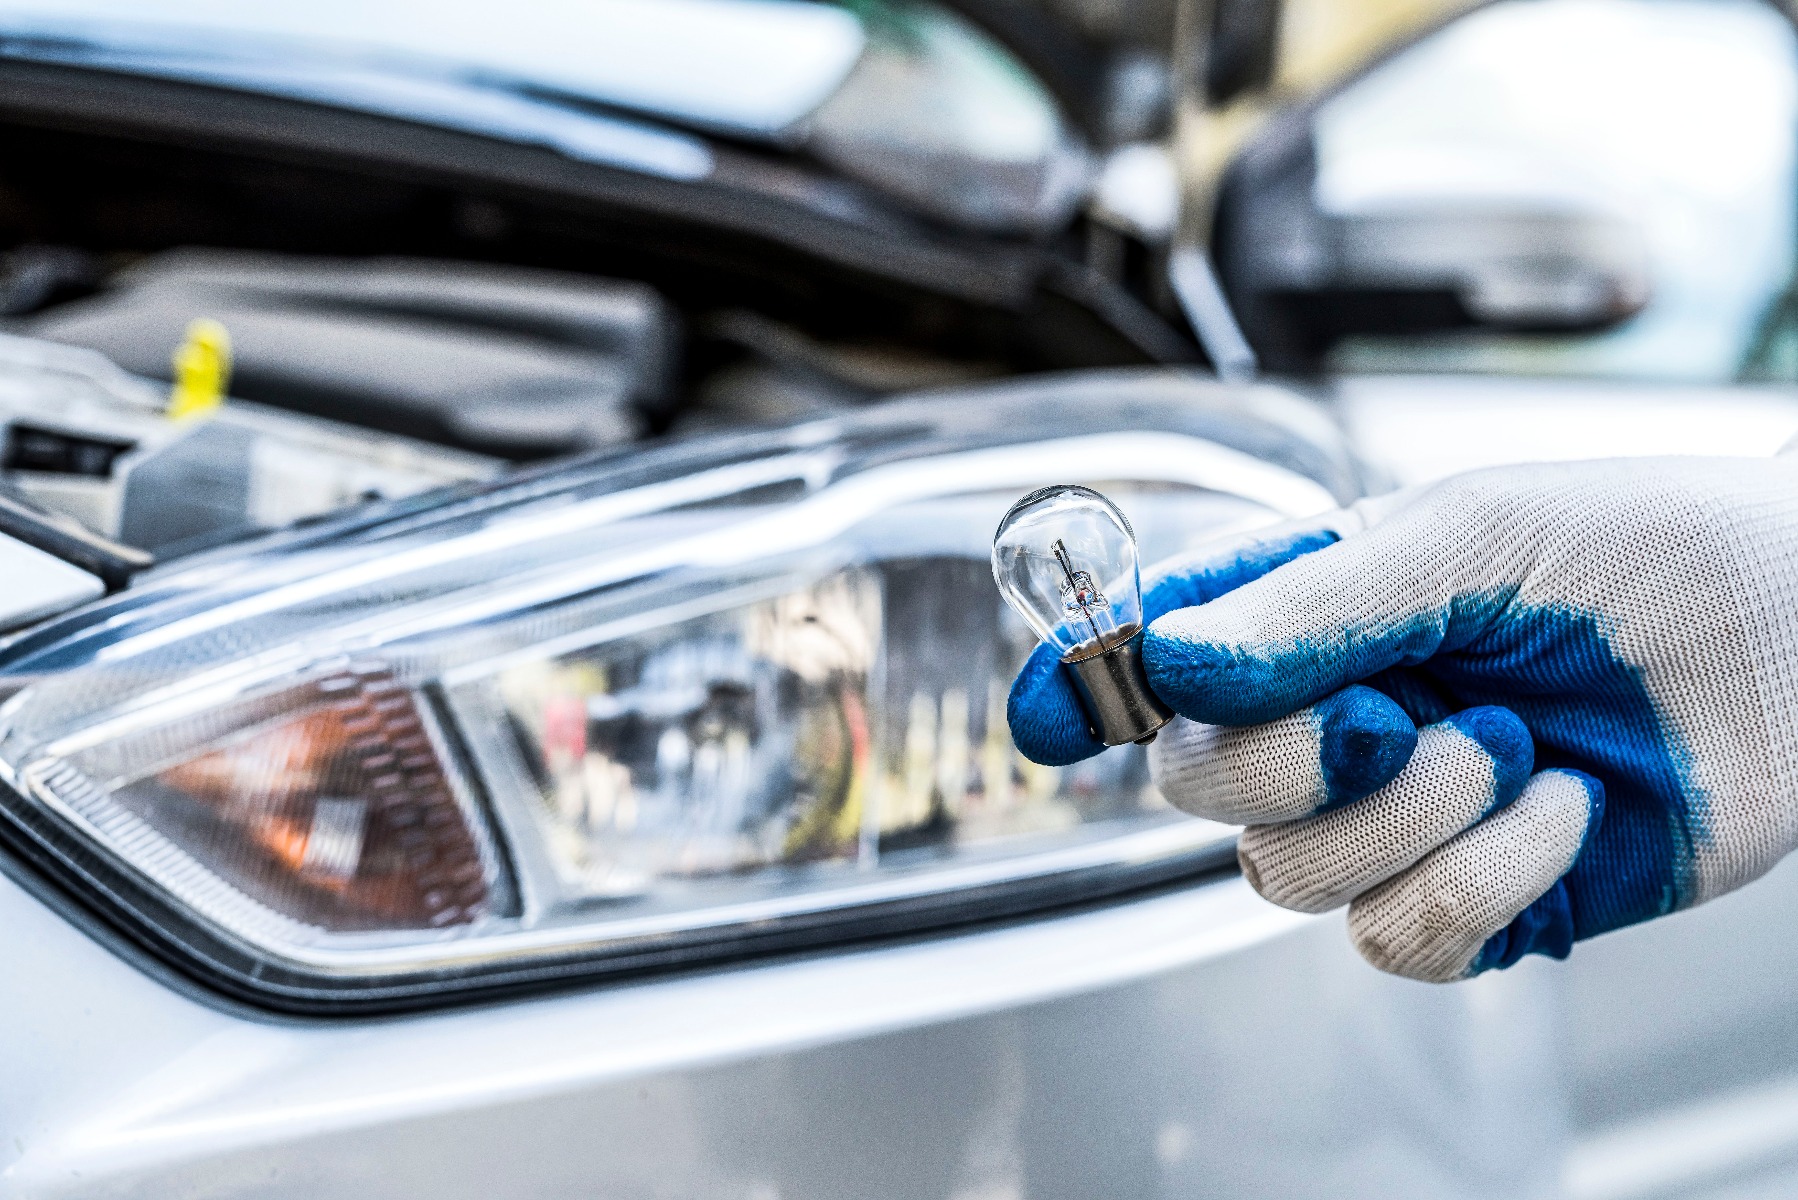
8. Replace Any Faulty Bulbs
When bulbs are not working, replace them promptly:
- Consult the owner’s manual: Locate the correct bulb type and replacement instructions.
- Turn off the car and lights: Ensure all lights are off before beginning.
- Remove the faulty bulb: Follow the manual’s guidance to take out the old bulb.
- Install the new bulb: Securely insert the new bulb into place.
- Test the bulb: Turn the lights back on to confirm it works properly.
9. Maintain Regular Inspections
Make light checks a regular part of your car maintenance routine. Regularly cleaning the lenses and inspecting for wear will help prolong the life of your lights and keep you safe on the road.

