As you back out of your driveway, you notice an ominous dark spot that wasn’t there before. It’s a telltale sign—your car is leaking oil. Oil leaks not only pose a threat to your engine’s performance but also leave unsightly stains on your pavement. While you could take your car to a repair shop and brace for an expensive bill, many oil leaks can be tackled at home with some know-how and a few tools. Learning how to fix an oil leak yourself is a practical and cost-effective solution.
Understanding the Causes of Oil Leaks
Before starting repairs, it’s important to understand what might be causing the leak. Over time, different parts of your car’s engine can wear out, allowing oil to escape from its designated path. Common causes include degraded engine gaskets, worn oil seals, damaged oil pans, and loose or faulty connections within the oil system. These problems often arise from prolonged exposure to heat, pressure, and the natural wear and tear that occurs with regular vehicle use.
Inspecting for Degraded Gaskets and Seals
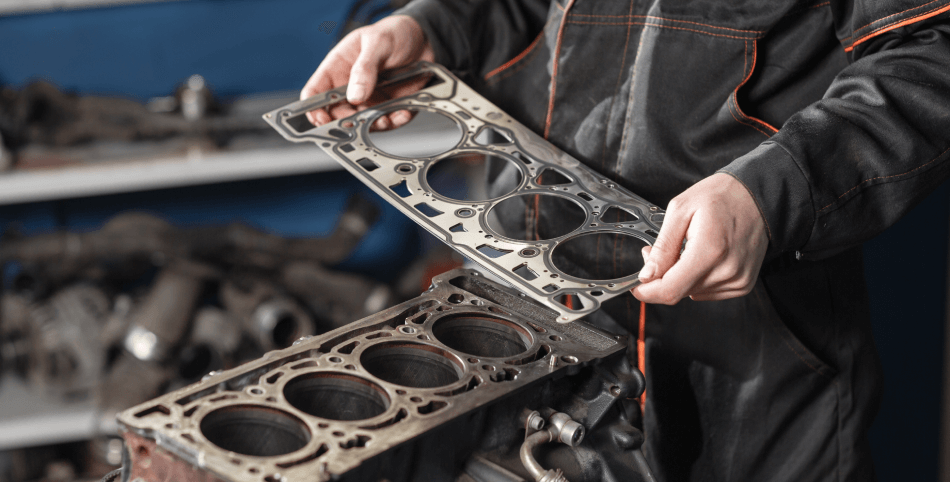
Engine gaskets and seals are frequent offenders when it comes to oil leaks. Gaskets act as barriers between engine components, preventing oil from seeping out. With time, they can crack, shrink, or harden, especially under constant exposure to heat and pressure. Similarly, seals around rotating parts like the crankshaft or camshaft can deteriorate, leading to leaks. A careful inspection of these components can help pinpoint whether they are the source of the problem.

Checking the Oil Pan and Plug
Another common source of leaks is the oil pan located beneath your engine. This metal container stores the oil, but its gasket can wear out, or the pan itself may sustain damage from road debris or rough terrain. Additionally, the oil pan plug, which is used to drain oil during an oil change, can loosen or its washer may degrade over time. Examining the pan and plug for oil drips or damage is a critical step in diagnosing the problem.
Diagnosing Faulty Connections and Caps
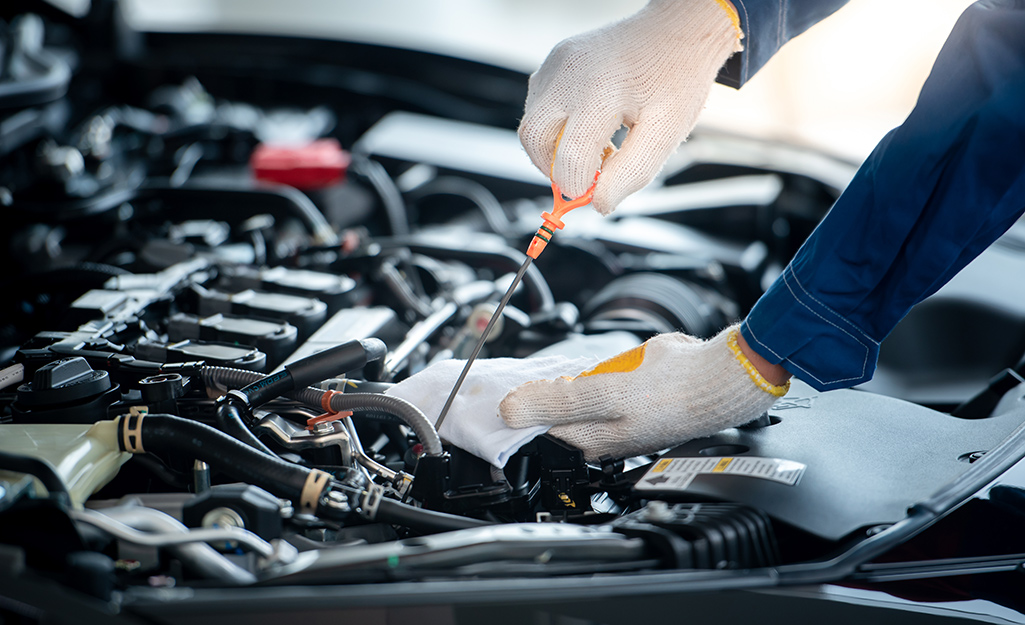
Sometimes, oil leaks originate from loose connections or components. These include areas where oil flows, such as the oil filter, cooler lines, and valve covers. If these fittings are not properly tightened or have corroded, they can allow oil to escape. Even something as simple as a poorly seated or cracked oil cap can result in a noticeable oil loss. By tightening connections and ensuring all components are in good condition, you can address some of the more straightforward causes of leaks.
Using Additives for Quick Fixes
For minor leaks caused by worn gaskets or seals, using a stop-leak additive can be a quick and cost-effective solution. These products work by softening and conditioning the rubber components, helping them regain their sealing properties. Simply add the product to your engine oil, and drive the car as instructed to allow the additive to circulate. While not a permanent fix for major leaks, this approach can buy you time or help manage small issues in older vehicles.
Making Manual Repairs for Lasting Solutions
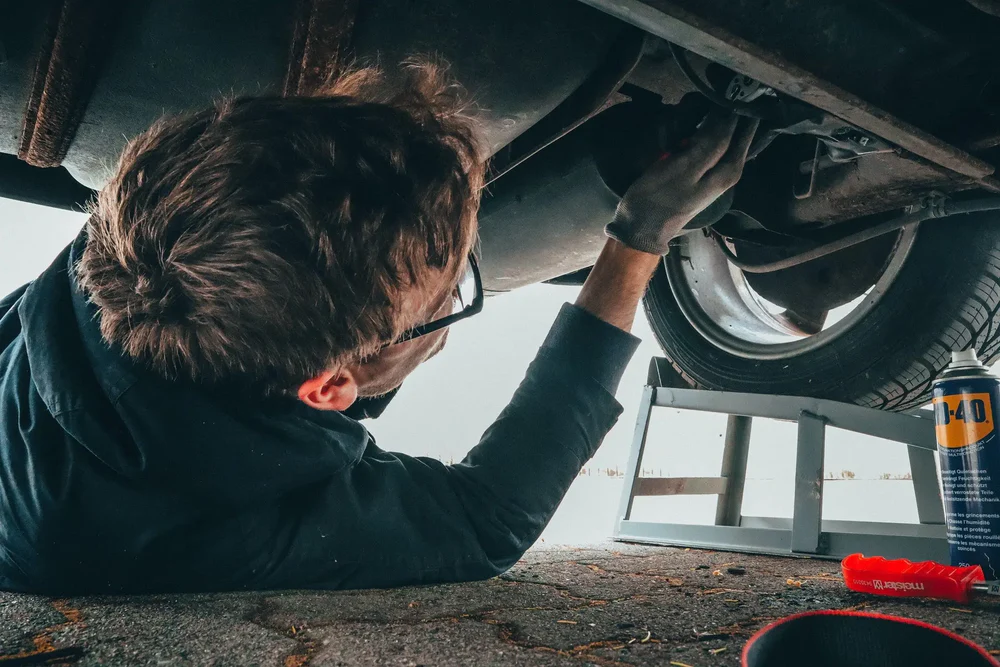
When leaks are more severe or additives fail to resolve the issue, hands-on repairs are necessary. Replacing damaged gaskets, seals, or even the oil pan itself may be required. Begin by jacking up your car securely, removing the affected components, and replacing them with new parts following the manufacturer’s guidelines. Ensure bolts are tightened to the correct torque specifications to prevent further damage or leaks. This method requires basic tools like a torque wrench, jack stands, and a ratchet set but it can be accomplished in a home garage with patience and attention to detail.

Testing Your Repairs
After completing repairs, it’s essential to confirm that the leak has been resolved. Start the engine and let it idle for about 10-15 minutes while checking for any signs of oil escaping from the repaired area. Move the car to a clean spot and inspect the ground for fresh drips. For added assurance, take the car for a short drive and recheck for leaks. If the problem persists, revisit the affected components to ensure proper installation and secure fittings.
Preventive Measures and Safety Tips
Safety should always come first when working on your vehicle. Wear gloves and safety goggles to protect yourself from harmful chemicals. Always ensure the car is securely supported by jack stands before getting underneath. To prevent future leaks, conduct regular maintenance such as checking oil levels, replacing worn parts promptly, and ensuring bolts and fittings remain properly tightened. Routine inspections can help catch potential issues before they become major problems.
Oil leaks can be a source of frustration, but they are often manageable with the right approach. By identifying the cause, performing a thorough inspection, and choosing the appropriate repair method, you can address leaks efficiently and effectively. Whether it’s a simple additive solution or a more involved gasket replacement, taking the time to fix an oil leak can save you money and keep your car running smoothly for years to come.

