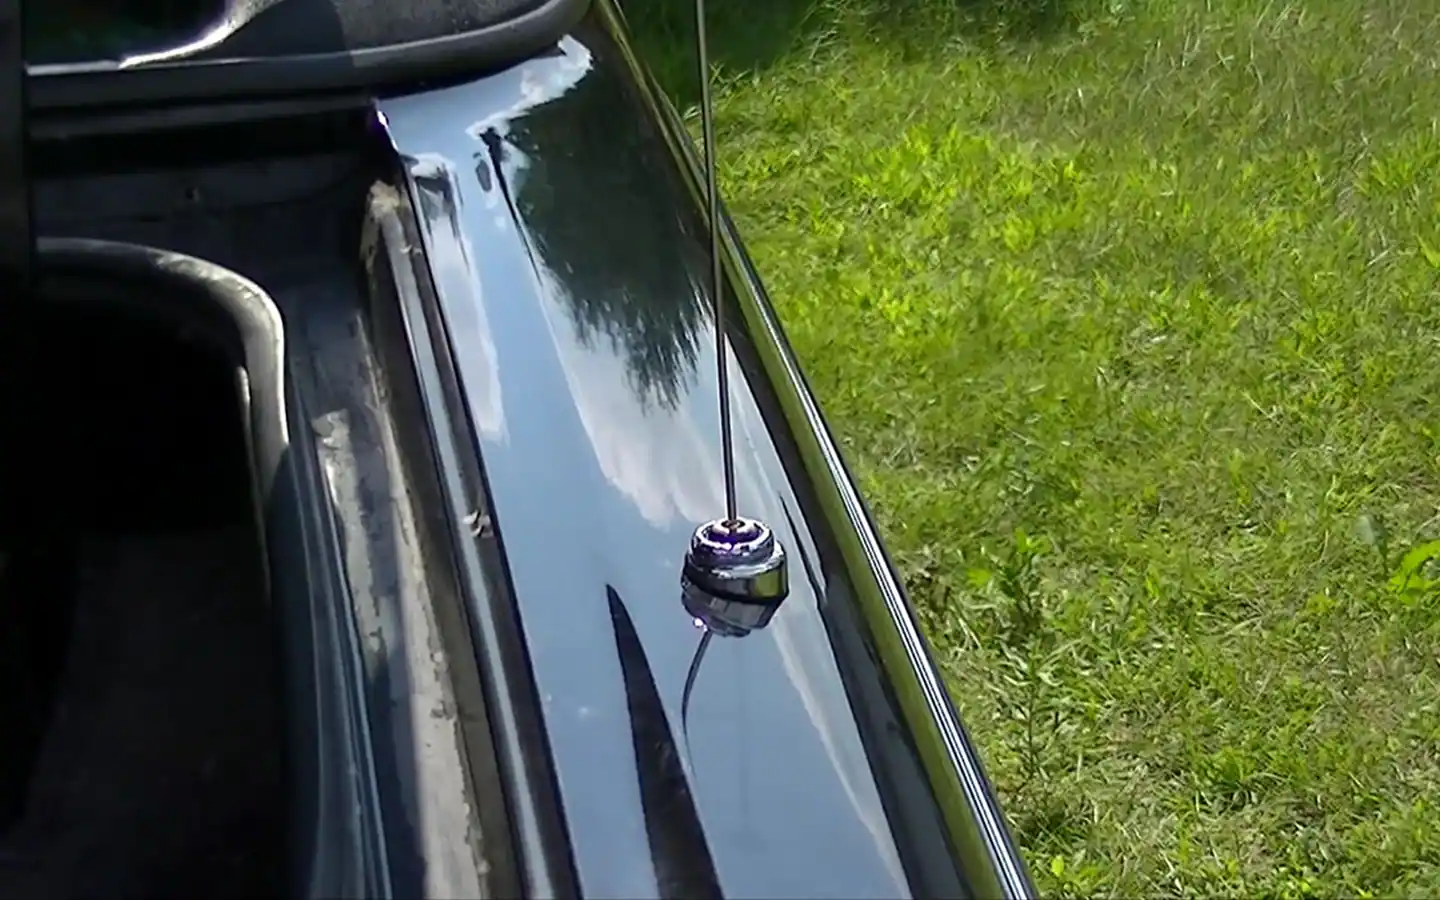
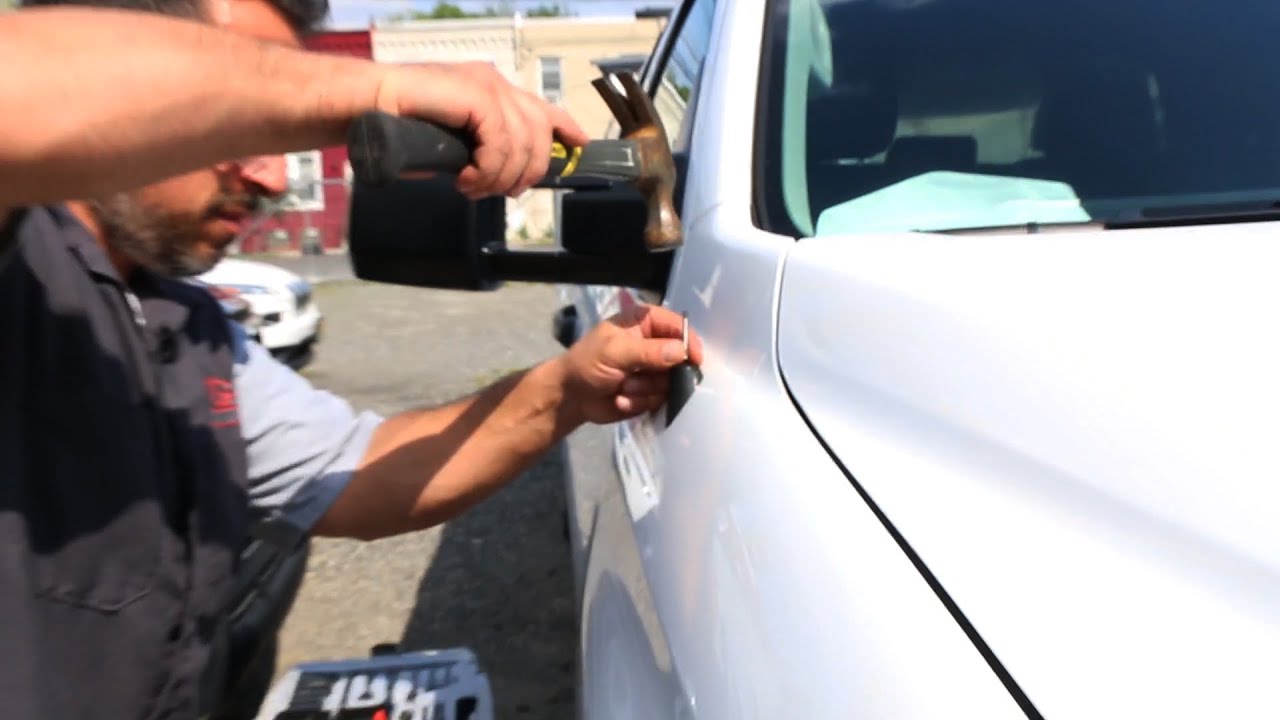
My car had an unfortunate encounter with a mailbox, which resulted in the antenna snapping off. They thoughtfully designed the antenna mount with a shear bolt, but neglected to make both ends of the bolt removable.
A replacement antenna base costs approximately $50. However, if you have the right tools, you can complete this repair for less than $2.
In this guide, I’ll demonstrate how to replace the antenna without needing to replace the entire base.
Step 1: Prepare the Base
Start by preparing the antenna base. Begin by drilling a hole into the base.
Choose a drill bit that matches the size of the tap and bolt you plan to use. Work slowly and ensure you wear safety glasses to avoid injury—metal shavings in your eyes are no joke.
Step 2: Prepare the Bolt
Next, you’ll need to prepare the bolt. Follow these steps:
- Thread two nuts onto a long bolt, then screw the bolt into the hole you just drilled in the antenna base.
- Hand-tighten the first nut down against the antenna base.
- Tighten the second nut against the first one. Ensure they’re firmly locked together by turning them tightly against each other.
- Remove the bolt from the base and add two more nuts onto the bolt. Repeat the tightening process. Make sure the second set of nuts is securely locked together, but do not overtighten them against the first set of nuts—hand-tight is sufficient.
Once the second set of nuts is tightly secured, loosen and move the first set out of the way.
Step 3: Measure and Cut the Bolt
To ensure the bolt fits perfectly:
- Use a piece of wire or another bolt to measure the depth of the bolt socket after removing the remains of the shear bolt.
- Mark the first bolt by adding the socket depth to its length.
- Cut the bolt to the appropriate length using the marked measurement as your guide.
Following these steps will allow you to replace the antenna effectively without spending on a new base.

Step 3: Solder the Bolt Into the Antenna
To attach the bolt securely to the antenna, follow these steps:
- Secure the antenna in a vice, positioning it upside down and level.
- Wrap the bolt with a generous amount of solder and insert it into the end of the antenna.
- Heat the bottom of the antenna rather than the solder itself. This method ensures the solder melts and flows into the bolt socket of the antenna.
During this process, I made an additional adjustment not shown in the images: while the antenna was still extremely hot, I fed a 2-foot-long piece of solder into the socket.
The solder melted completely, filling the socket to the top. Then, I applied more heat and pushed the bolt firmly into the antenna.
Allow the antenna to cool thoroughly before handling it further. I gave it plenty of time to cool by stepping away for dinner. Once it’s cool, remove the nuts from the base.
At this point, you’ll have a fully repaired antenna that can screw into the base.
Step 4: Mount It!
The final step is to mount the antenna. Simply screw it into the base and tighten it securely. Once mounted, take your vehicle out for a test ride. This solution worked perfectly for me!

