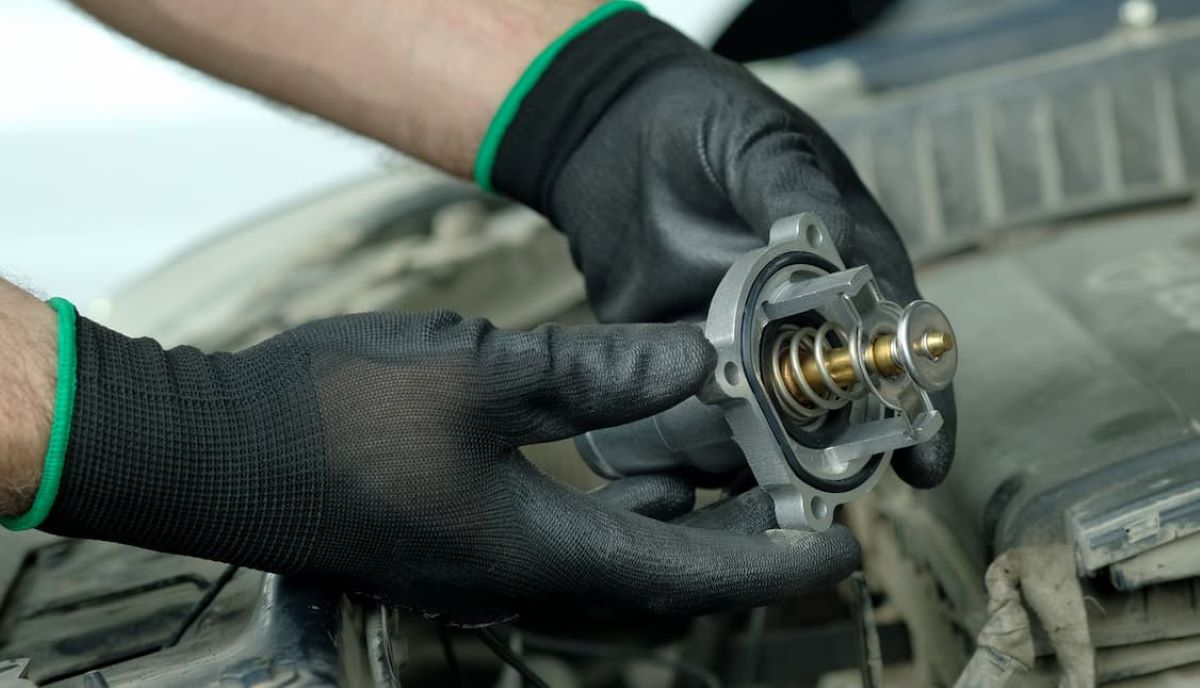
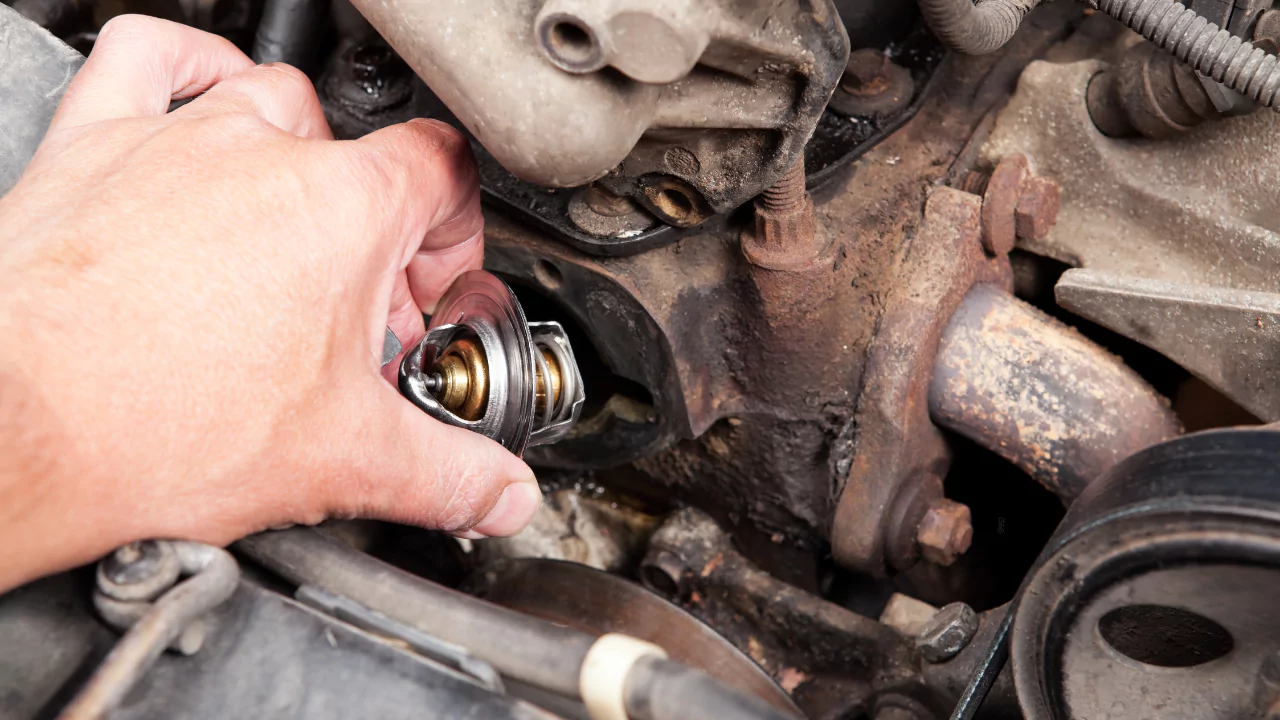
A thermostat serves as the primary controller for the engine cooling system, regulating the engine’s temperature. During the warm-up cycle, the thermostat remains closed, preventing the coolant from circulating through the radiator.
This helps the engine reach its optimal temperature more quickly. Once the engine and coolant achieve a specific temperature, the thermostat opens, allowing the coolant to flow through the radiator.
The radiator cools the heated coolant, and this cooled liquid is then pumped back through the engine to lower its temperature.
Tools/Supplies Needed:
- New thermostat
- Coolant
- Seal
- Tools
- Infrared thermometer
Step 1:
A malfunctioning thermostat can get stuck in the open, closed, or partially open positions, resulting in temperature fluctuations.
If the thermostat is stuck open, the engine will take much longer to warm up, especially noticeable in colder climates this is the issue with the vehicle in question.
On the other hand, a thermostat stuck closed will cause the engine to overheat, which can lead to severe damage if left unaddressed.
If the thermostat is stuck partially open, the engine will struggle to maintain a stable temperature, alternating between running too hot or too cold.
In the example shown in the video, the vehicle was running approximately 15 minutes earlier on a typical winter day. After being driven for about an hour, it failed to reach its normal operating temperature.
When the vehicle was started again, the temperature gauge displayed a certain reading but soon dropped slightly.
This behavior is caused by a thermostat stuck open: cooler coolant from the radiator circulates through the engine, passing the temperature sensor and reducing both the gauge reading and the engine temperature.
Once the vehicle is stationary and no excessive airflow passes through the radiator, the temperature begins to rise again.
Step 2:
An infrared thermometer can be used to measure surface temperatures before and after the thermostat.
In this case, the thermostat housing is not easily accessible, so readings are taken from the upper and lower radiator hoses instead. It is essential to use similar types of surfaces for accurate readings.
The upper radiator hose carries heated coolant from the engine, while the lower hose returns cooled coolant to the engine.At the top radiator hose, the surface temperature reads approximately 55°C (131°F).
For the lower radiator hose, the reading is slightly lower, around 51°C (124°F). Since the lower hose is harder to access on camera, the thermometer measures over a larger area, leading to a slightly reduced reading.
Additionally, the coolant cools further as it passes through the radiator. If the vehicle has an electric fan, it should activate based on the temperature sensor.
However, mechanical fans may also contribute to air movement when the engine is running.
If you measure the temperature consistently as the engine warms from a cold start, you’ll observe that the readings from both hoses remain close in value.
This consistency indicates that coolant is continuously circulating through the radiator.
In contrast, if the thermostat were stuck closed, the engine would overheat, resulting in an extremely high temperature reading at the thermostat.
Meanwhile, the lower radiator hose would show a very low temperature because no coolant would circulate through the radiator.
Radiators come in two flow designs: downflow and crossflow. Both designs work similarly, with hot coolant entering at the top and cooler coolant exiting at the bottom to return to the engine.

Step 3:
For the replacement process, you’ll need to drain a few liters of coolant, although the exact amount depends on the location of the thermostat within the engine’s cooling system.
If you’re already draining the coolant, it’s often a good idea to replace all of it as a preventative maintenance measure.
Ensure the new coolant matches your vehicle’s specifications and is appropriate for your climate conditions.
Most radiators are equipped with a drain plug for removing the coolant. If your radiator lacks one, you can remove the lower radiator hose instead.
The replacement procedure will vary depending on the vehicle, but in this case, the upper radiator hose connected to the thermostat housing must first be removed.
Then, the thermostat housing itself is removed to access the thermostat. You’ll need to purchase a new thermostat and a compatible seal.
Once the new thermostat is installed, refill the cooling system with coolant and bleed the system to remove any trapped air. Bleeding procedures differ between vehicles, but this step is crucial as air in the cooling system can lead to operational issues.
Step 4:
A properly functioning thermostat will open at its specified temperature, typically between 175°F (80°C) and 200°F (93°C), with only a few degrees of variance.
As a demonstration after replacing the thermostat, the vehicle is now able to warm up properly and maintain a consistent temperature even in cold climates.
Using the infrared thermometer again, we observe the vehicle’s temperature as it gradually rises. Initially, the upper and lower radiator hoses remain at cooler temperatures.
You might notice a slight temperature increase in the upper radiator hose near the thermostat due to a small bypass that allows minimal coolant circulation.
At this stage, the upper radiator hose reads approximately 32°C (90°F), while the lower hose is around 28°C (82°F).
Once the thermostat reaches its specified opening temperature, you’ll notice a significant temperature change. The upper radiator hose’s temperature increases as the coolant begins flowing through the radiator.
The radiator cools the coolant, leading to a noticeably lower temperature at the lower hose. In this example, the upper hose registers 43°C (109°F), and the lower hose remains steady at 28°C (82°F).

