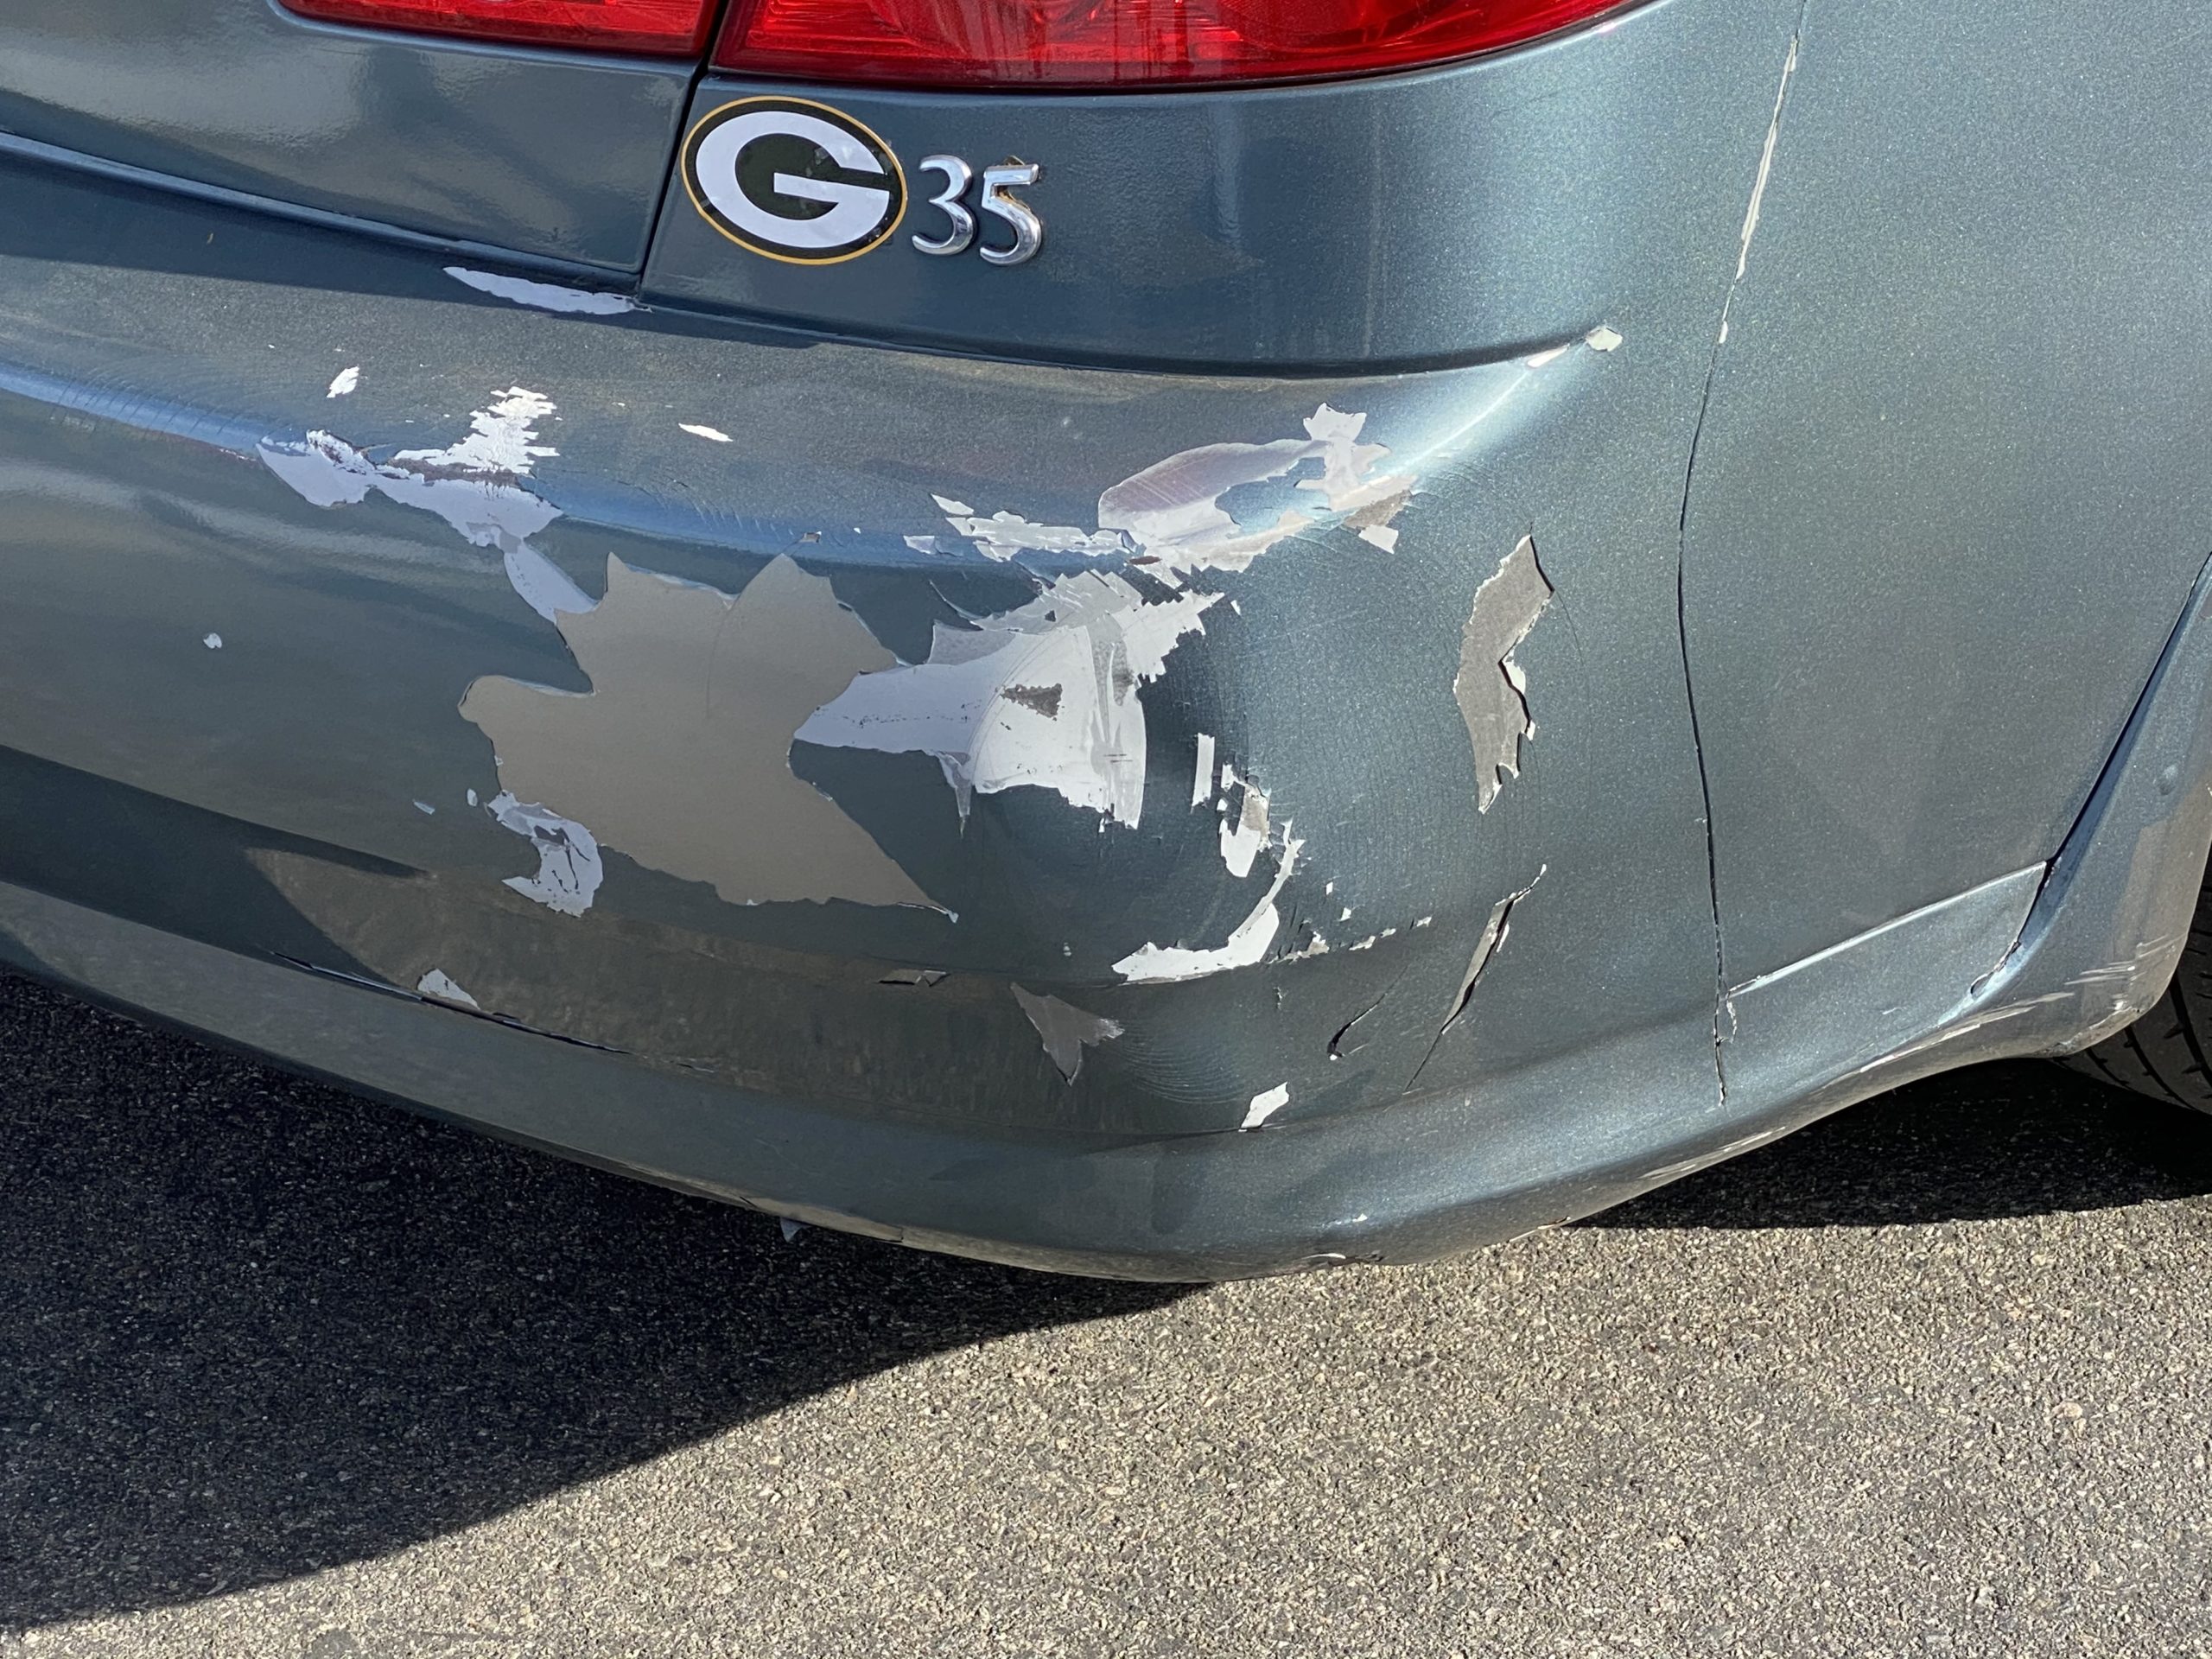
Paint chips are a common problem caused by flying road debris, harsh weather conditions, and environmental factors. These small blemishes on a car’s paint may seem insignificant at first but can lead to more significant issues if left unattended. As an experienced auto technician, I’ve witnessed the damage a tiny chip can cause over time, ranging from rust to extensive paint deterioration. Timely intervention is crucial to maintaining your car’s appearance and preventing further damage.
Quick action can make all the difference in managing paint chips. Addressing them early often requires a simple touch-up, saving time and money. Ignoring paint chips allows rust to develop, causing the surrounding paint to peel and fade. This leads to a more expensive and labor-intensive repair down the road. For this reason, I always keep a bottle of matching touch-up paint in my garage for quick fixes.

Essential Tools and Materials
Having the right tools and materials is vital for a successful repair. You’ll need fine artist’s brushes, touch-up paint, primer, and wax remover or denatured alcohol. Additional items such as microfiber towels, polishing compounds, and car wax will ensure a polished finish. For enhanced protection, consider using a ceramic paint coating. Preparing all materials ahead of time ensures a smooth and efficient repair process.
Assessing Paint Chips for Repair
Not all paint chips are equal, and determining which ones you can fix is essential. Chips about 1/8 to 1/4 inch in size can typically be repaired at home. However, chips with visible rust or accompanying dents may require professional assistance. Identifying the severity of the damage ensures that you use the appropriate techniques and tools for effective results.
Cleaning and Preparing the Surface
Thorough cleaning is the foundation of a successful paint chip repair. Start by washing the affected area with a solution of Dawn detergent and warm water to remove dirt and grime. Dry the area with a microfiber towel and polish lightly using an automotive compound to smooth out ragged edges. This preparation step ensures that the paint adheres properly and provides a seamless finish.
Applying Primer to the Chip
Primer is essential for creating a strong base for the paint. Shake the primer can for at least three minutes, then apply it using a fine artist’s brush. Focus on covering the chip and its edges without extending beyond the damaged area. Allow the primer to dry for at least 30 minutes before proceeding. Proper priming not only improves the paint’s adhesion but also prevents rust from forming.
Painting the Chip
Once the primer has dried, it’s time to apply paint. Test the color on a piece of white paper to ensure a perfect match and to gauge how much paint to use. Use a fine artist’s brush to apply a thin, even layer of paint over the primer. Let the paint dry completely before adding a second coat. After the final coat has cured for a few days, gently polish the area to blend the repair with the surrounding paint.
Protecting the Repaired Surface
To enhance the durability of your repair, apply quality car wax to the area. Wax protects the paint from environmental factors and adds a glossy finish. For added protection, consider using a ceramic coating, which provides superior resistance to damage. These steps not only improve the appearance of the repair but also extend the life of your car’s paint job.
Why Paint Chips Rust Quickly
Rust is a common consequence of untreated paint chips. When the metal beneath the paint is exposed to moisture, it begins to oxidize. This process is accelerated in areas with high humidity, road salt, or acid rain. Rust not only weakens the car’s structure but also spreads, causing more extensive damage over time. Addressing chips promptly prevents rust and preserves your car’s value.
Preventing Future Paint Chips
Prevention is always better than repair. Consider applying a vinyl wrap or paint protection film to vulnerable areas of your car, especially if you do a lot of highway driving. Ceramic coatings are another effective option for enhancing paint durability and reducing the risk of chips. These protective measures help maintain your car’s appearance and reduce the frequency of repairs.
Common Mistakes to Avoid
To ensure a successful repair, avoid common mistakes such as skipping surface preparation or applying paint to a dirty or waxed surface. Always allow primer and paint to dry fully before applying additional layers. Using too much paint can lead to uneven results, while insufficient cleaning can cause the repair to fail. Taking the time to follow each step carefully ensures a neat and lasting finish.
Repairing paint chips may seem daunting, but with the right tools and techniques, it’s a straightforward process that can save your car from costly damage. Address chips promptly to prevent rust and maintain your car’s appearance. With proper preparation and attention to detail, you can achieve professional-quality results and protect your vehicle for years to come.

