In any combustion engine, the cylinder head and engine block must be sealed together to ensure proper operation and prevent fluid leakage. The component responsible for this seal is the cylinder head gasket, often just called the head gasket. When this seal fails, it can cause a range of issues that require immediate attention and proper repair.
Replacing a head gasket is a labor-intensive task that can be costly if done at a mechanic’s shop. However, if you choose to tackle the job yourself, you could save a significant amount of money. It is vital, though, that you perform the replacement correctly. Below is an overview of the head gasket’s function, common symptoms of failure, and a guide to replacing it.
What is a Head Gasket?
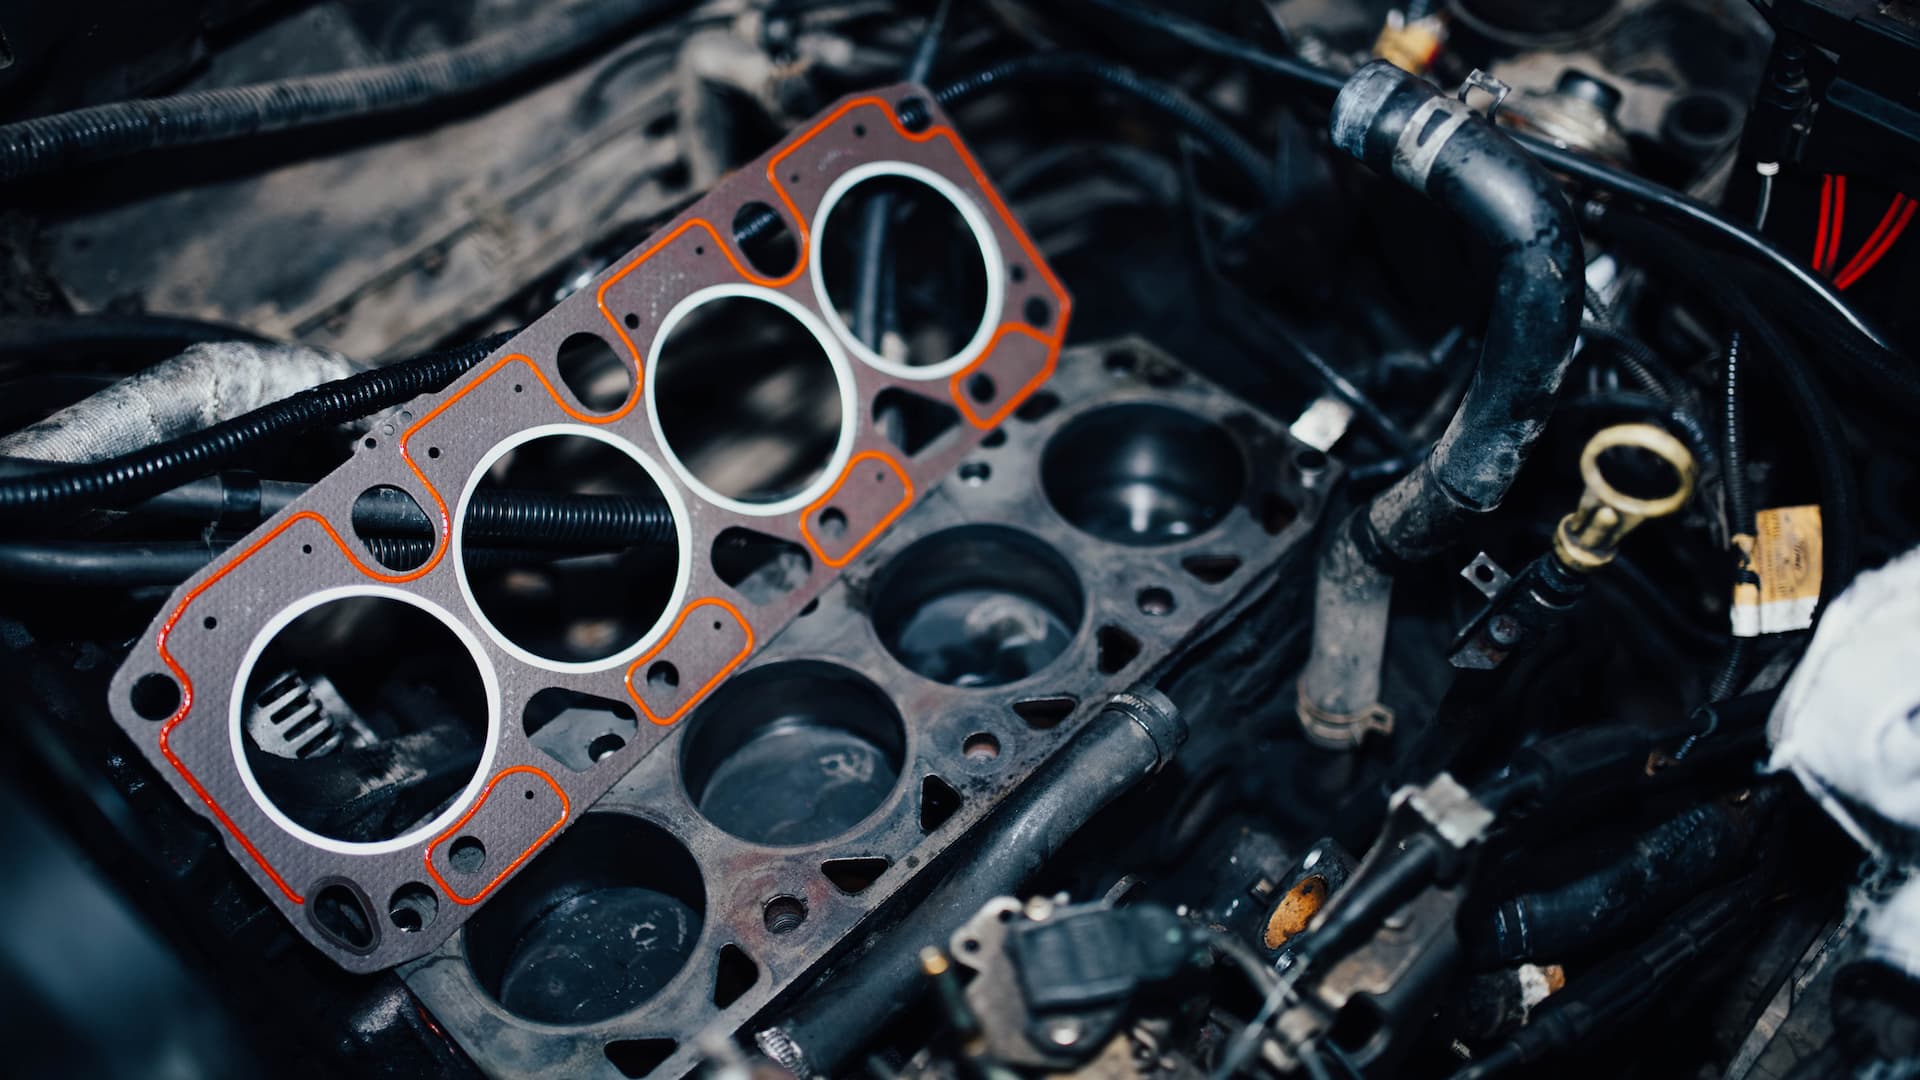
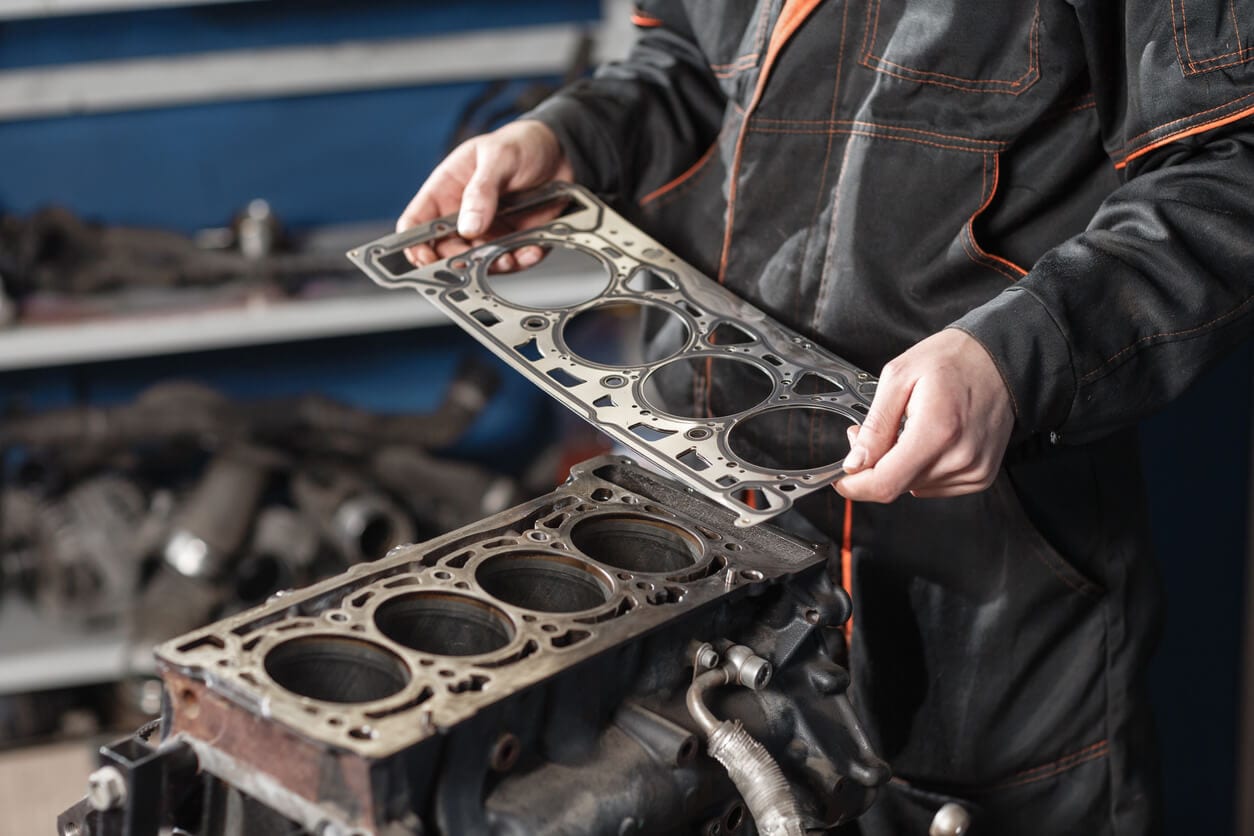
A head gasket is a vital part of any engine, acting as the seal between the engine block and the cylinder head. It ensures that the combustion process stays contained within the cylinders and allows the flow of coolant and oil throughout the engine without mixing.
The typical head gasket is made from multi-layered steel, which is composed of two to five thin layers sandwiched between the upper and lower surfaces. Other head gaskets can be made from fiber or copper-coated materials. In addition to sealing around the cylinders, the gasket also seals the oil and coolant passages, often using silicone or similar substances. Though durable, head gaskets can eventually fail.

How to Spot a Faulty Head Gasket
When a head gasket fails, specific symptoms can arise, which may include:
- Engine overheating
- White smoke from the exhaust
- Loss of coolant with no visible leaks
- Milky oil
- Air bubbles in the radiator
If you notice one or more of these signs, it’s crucial to inspect the head gasket and determine what parts or processes are needed for replacement.
Preparing for Head Gasket Replacement
Replacing a head gasket is no simple task; it requires careful cleaning, proper tools, and precise reassembly. You will need several tools and materials to complete the job, including:
- Wrench set
- Torque wrench
- Screwdrivers
- Pliers
- Gasket scraper
- Industrial cleaners
- New head gasket and bolts
- Engine oil and coolant
- Straightedge for surface checking
Before you begin, ensure you are working in a well-ventilated area and wear safety gloves and glasses. Always disconnect the battery, and if you need to lift the vehicle, use jack stands to ensure it’s secure.

Steps to Remove the Old Head Gasket
The first step in the process is disassembly. As you remove parts and fasteners, mark each one so you can easily reassemble them later.
Drain the coolant: Place a pan under the radiator and open the drain valve to let the coolant flow out.
Drain the oil: Position a second drain pan under the oil pan and remove the plug to let the oil drain.
Remove manifolds: Using the wrench set, remove the intake and exhaust manifolds.
Remove the valve cover and camshaft: Carefully remove these parts, if necessary.
Remove the cylinder head bolts: Loosen these bolts following the proper sequence as outlined in your manual. Once loosened, remove the cylinder head.
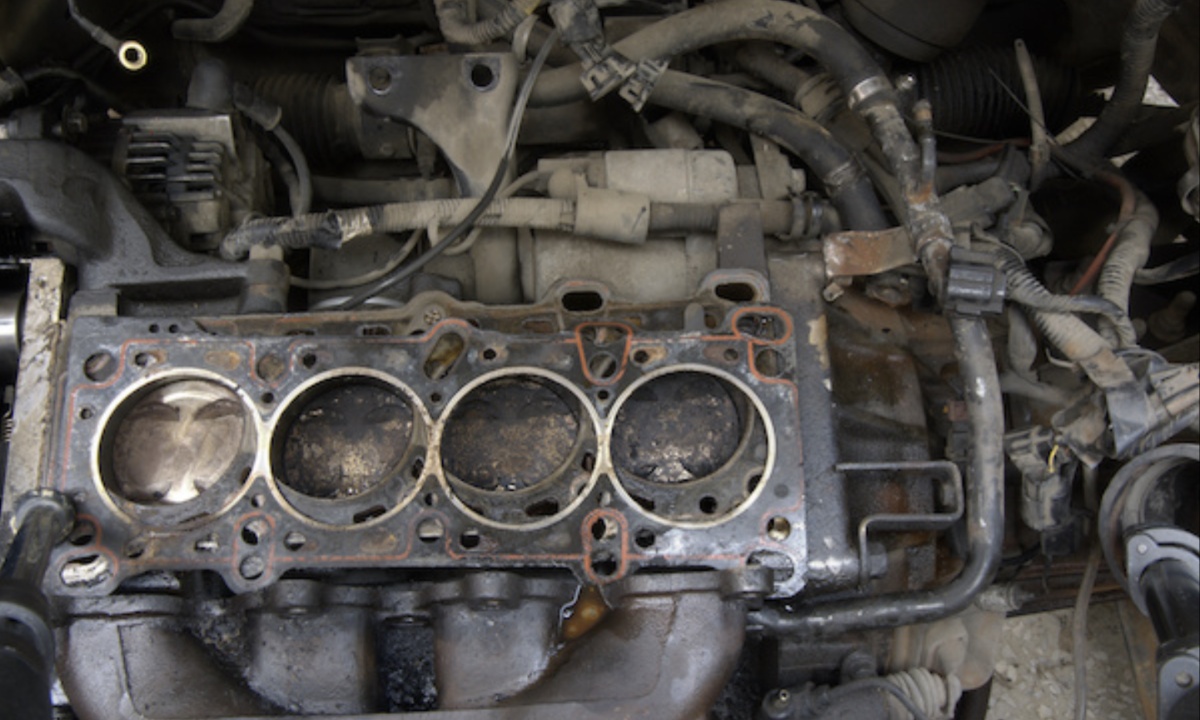
Remove the old gasket: Carefully peel the gasket from both the engine block and cylinder head, looking for any damage or failure points.
Installing the New Head Gasket
A clean, smooth surface is essential for the proper installation of a new gasket. Here’s how to ensure the surfaces are ready:
Clean the surfaces: Use a gasket scraper and cleaning products like brake cleaner to remove any residue or debris from the cylinder head and engine block.
Check for flatness: Use a straightedge to check the surfaces for unevenness. If you see any gaps between the straightedge and the surfaces, it might be necessary to machine the cylinder head before proceeding.
Position the new gasket: Carefully align the new head gasket with the cylinder bore and press it into place. Follow the manufacturer’s instructions regarding sealants for bolts and surfaces.
Reinstall the cylinder head: Place the head back onto the engine block, aligning it with the dowels and ensuring it sits properly.
Install new head bolts: Tighten the new bolts in the correct sequence using a torque wrench to the specifications provided in your vehicle’s manual.
Final Steps: Checking and Testing
Once the gasket is installed, it’s time to reassemble the engine:
- Reinstall other components: Attach the intake and exhaust manifolds and other parts you removed during disassembly.
- Refill fluids: Add fresh oil and coolant to the engine.
- Start the engine: Let the engine run for a few minutes, checking for leaks around the gasket area.
- Test the vehicle: Take the car for a short test drive to ensure it operates smoothly. Watch for any warning lights or abnormal behavior.
Be sure to follow all steps meticulously, prioritize safety, and consult your vehicle’s service manual for additional instructions.
Replacing a head gasket is an involved process that can save you a lot of money if you do it yourself. With the right tools, patience, and careful attention to detail, you can complete the job successfully and get your vehicle back on the road. Be sure to follow the manufacturer’s specifications and consider consulting a service manual for guidance.

