Are you tired of taking your car to the mechanic every time a problem arises? The good news is that many common car issues are easier to fix than you might think. By learning a few basic skills and having the right tools at your disposal, you can save both time and money by addressing these problems yourself.
From warning lights to minor mechanical issues, this guide covers the top ten car problems you can fix at home. With step-by-step instructions and tips for preventative care, you’ll gain the confidence to handle these challenges and keep your vehicle running smoothly.
1. Understanding and Fixing Oil Warnings
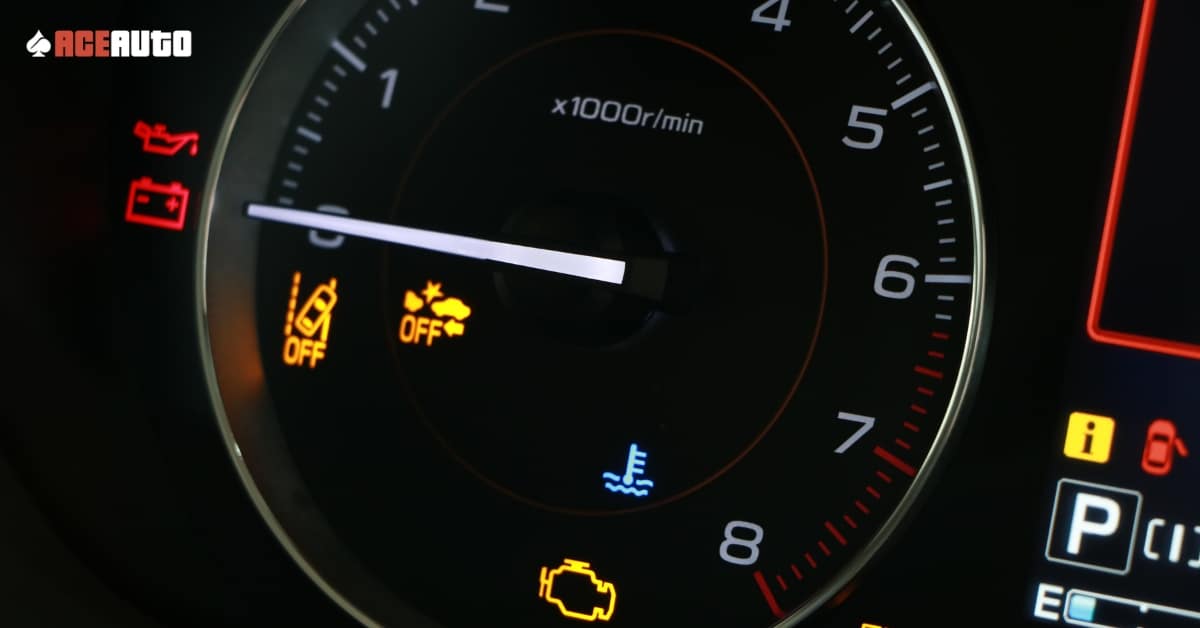
When the oil warning light illuminates on your dashboard, it’s a sign that your car’s engine may not have adequate lubrication, a potentially serious problem. Start by pulling over to a safe location and checking the oil level using the dipstick. If the level is below the “ADD” mark, your engine needs more oil. Neglecting this light can lead to severe engine damage.
Add the recommended type of oil for your vehicle, found in the owner’s manual or on the oil cap. Pour it gradually, checking the dipstick until the level reaches “FULL,” ensuring you don’t overfill. Restart your car to verify that the light turns off. If the warning persists, deeper issues like a faulty sensor or oil pump might be at play, requiring professional help.
Performing regular oil checks and changes can help avoid such situations altogether. Keeping a spare quart of oil in your car can also be a lifesaver in emergencies, ensuring you’re prepared whenever the warning light appears.
2. Tackling the Check Engine Light
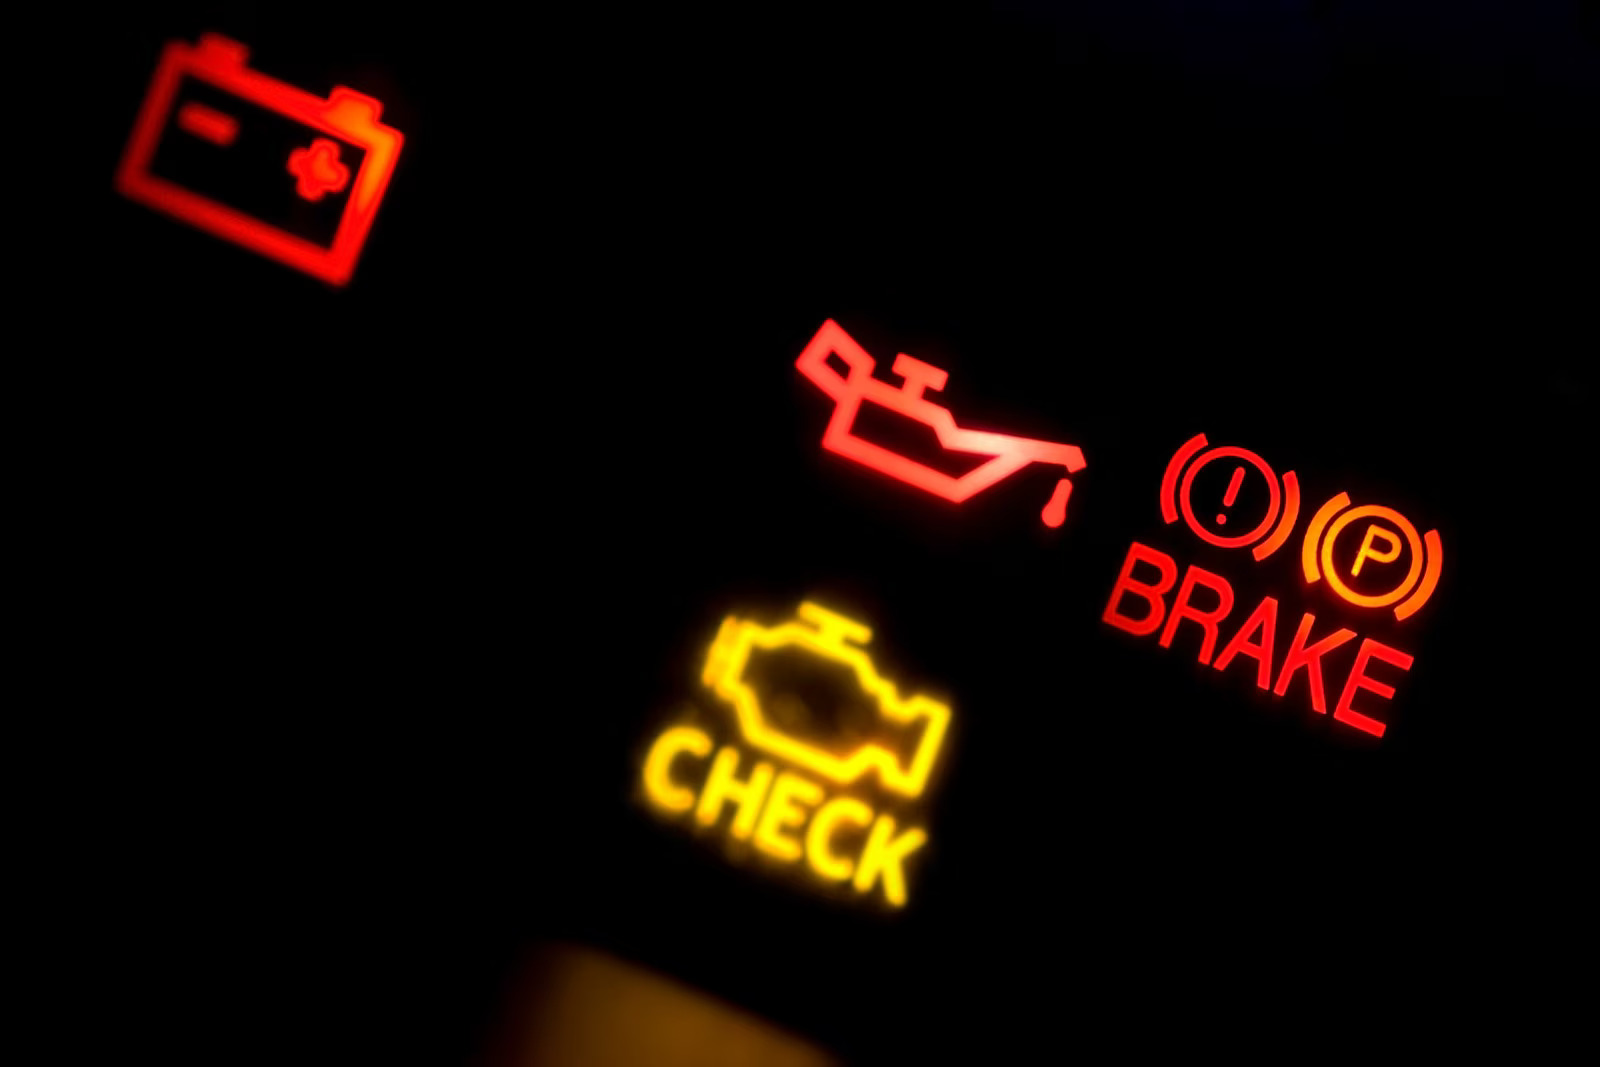
A lit check engine light can feel intimidating, but it often points to manageable issues. Use a code reader or visit an auto parts store to retrieve the error code from your car’s computer. This code acts as a roadmap to the problem, whether it’s a failing oxygen sensor, a loose gas cap, or another issue.
Research the trouble code online, focusing on your car’s make and model for targeted solutions. Many fixes, such as replacing a sensor or tightening a component, can be done with basic tools and guides available online. Ensure that the steps are followed methodically, as errors during DIY repairs can worsen the problem.
If the issue is beyond your skill or confidence level, consult a mechanic. Procrastinating on addressing the check engine light can lead to reduced performance and more significant problems down the line. Early detection and timely intervention ensure the longevity of your vehicle.
3. Restoring Dim Headlights
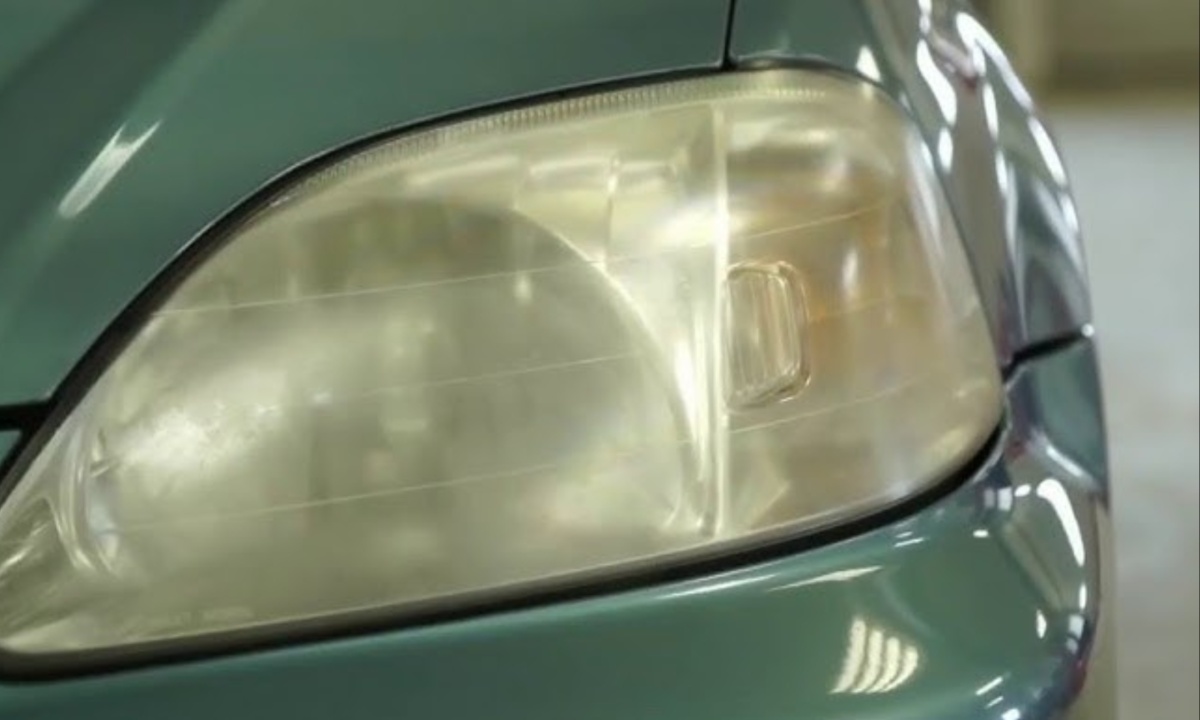
Dim headlights are often caused by electrical connection issues, particularly corrosion. Begin by inspecting the connector that attaches to the headlight. Signs of rust or melted plastic often point to a problem. Clean the connector and the headlight terminal using an electrical contact cleaner and a small wire brush. If this doesn’t solve the issue, consider replacing the bulb itself, as aging bulbs tend to dim over time.
If the connector shows excessive damage, replace it with a new one from an auto parts store. Follow the headlight’s ground wire to its attachment point on the vehicle’s frame and clean this area as well. Rust or debris here can disrupt the electrical flow, so ensure it’s thoroughly cleaned and coated with dielectric grease before reassembly.
Ensuring your headlights are functioning optimally isn’t just about visibility—it’s a crucial safety measure. Regularly inspect your headlights, particularly before long trips or during seasons with reduced daylight, to avoid potential hazards.
4. Fixing Slow Power Windows
A sluggish power window is often due to friction in the channels guiding the glass. Purchase a dry Teflon spray, which provides lubrication without attracting dirt. Insert the spray nozzle into the window channels and apply an even coat while moving the window up and down to distribute the lubricant evenly.

Inspect the window’s mechanism for signs of wear or obstruction. Dirt or debris in the channel can strain the motor and regulator, leading to costly repairs if left unaddressed. Cleaning the tracks with a soft brush or compressed air can help keep them free from buildup.
Regularly maintaining the window channels and mechanisms can save you from the inconvenience of a stuck or non-functioning window. These simple steps ensure smooth operation and prolong the lifespan of your car’s power window system.
5. Silencing a Squealing Belt
A squealing belt under the hood is a common annoyance and often indicates wear, loose tension, or contamination. Use a belt-wear gauge to check its condition. If it’s cracked, frayed, or glazed, replacement is necessary. Properly functioning belts ensure that critical systems like the alternator and air conditioning compressor operate without issues.
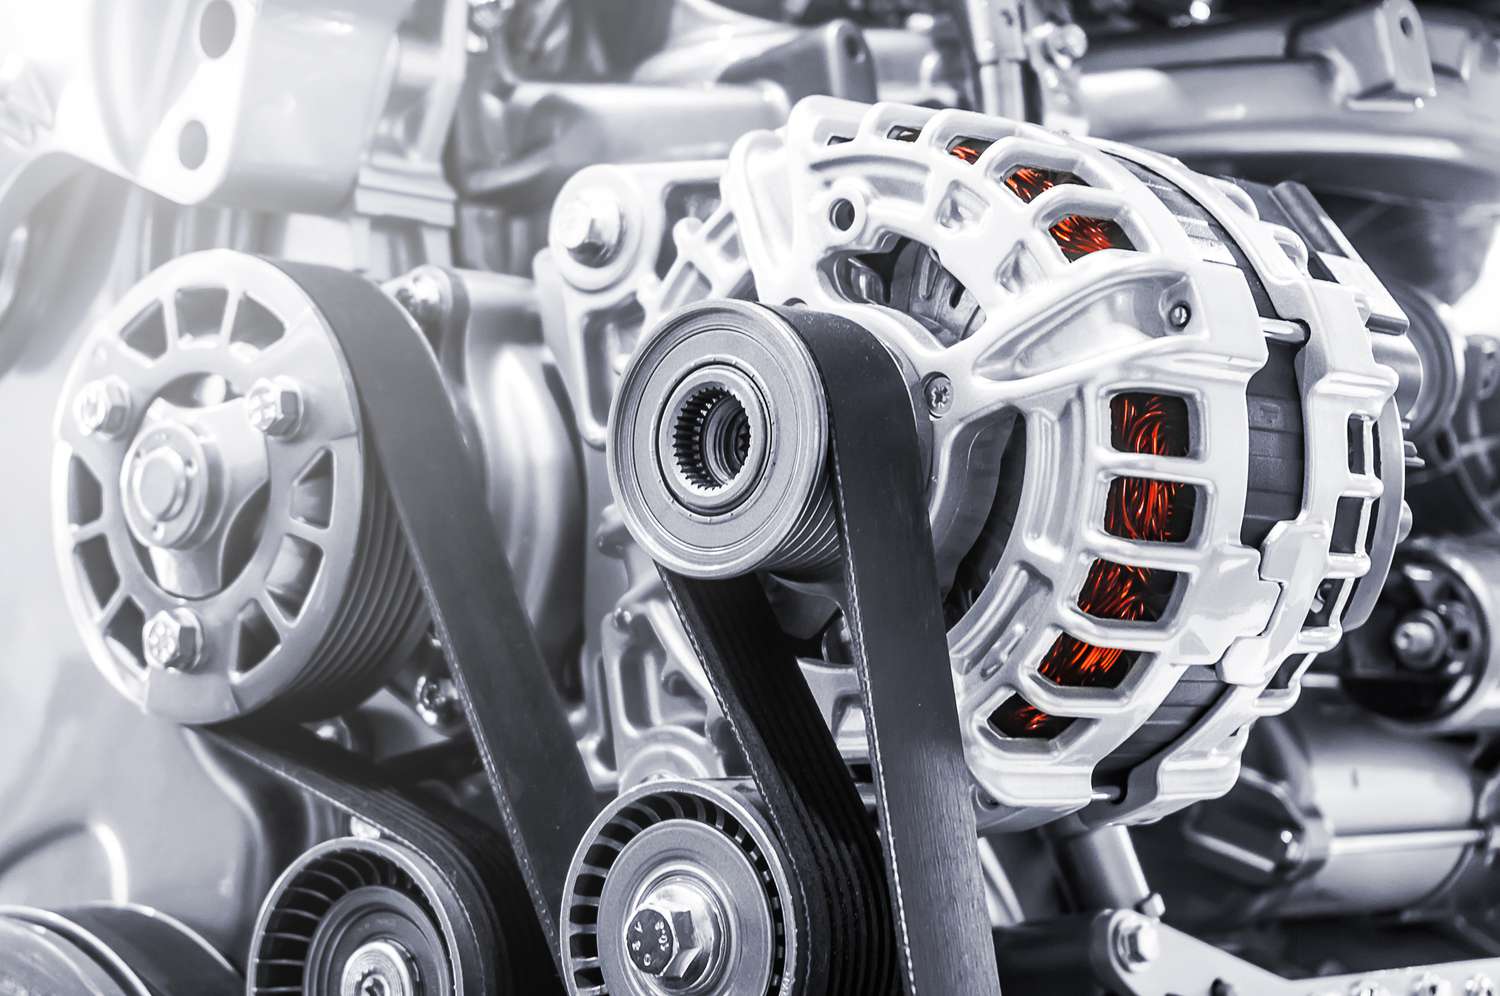
If the belt squeals due to misalignment, replicating the conditions—such as a cold start or activating the air conditioning—can help identify the problem. Spraying water on the belt while the engine runs can provide a temporary quiet, confirming that tension or alignment is the culprit. Automatic tensioners should be replaced if faulty, and alignment issues might require a professional mechanic.
Routine inspection of belts during oil changes or service intervals can help you catch signs of wear early, avoiding sudden failure and potential damage to other engine components.
6. Jumpstarting a Car That Won’t Start
A car that refuses to start can often be traced to the battery. Check for corrosion on the terminals and clean them with a wire brush if necessary. Ensure that the cables are securely connected and free from damage. In colder climates, warming the battery by holding the key in the “START” position for a few seconds can help.
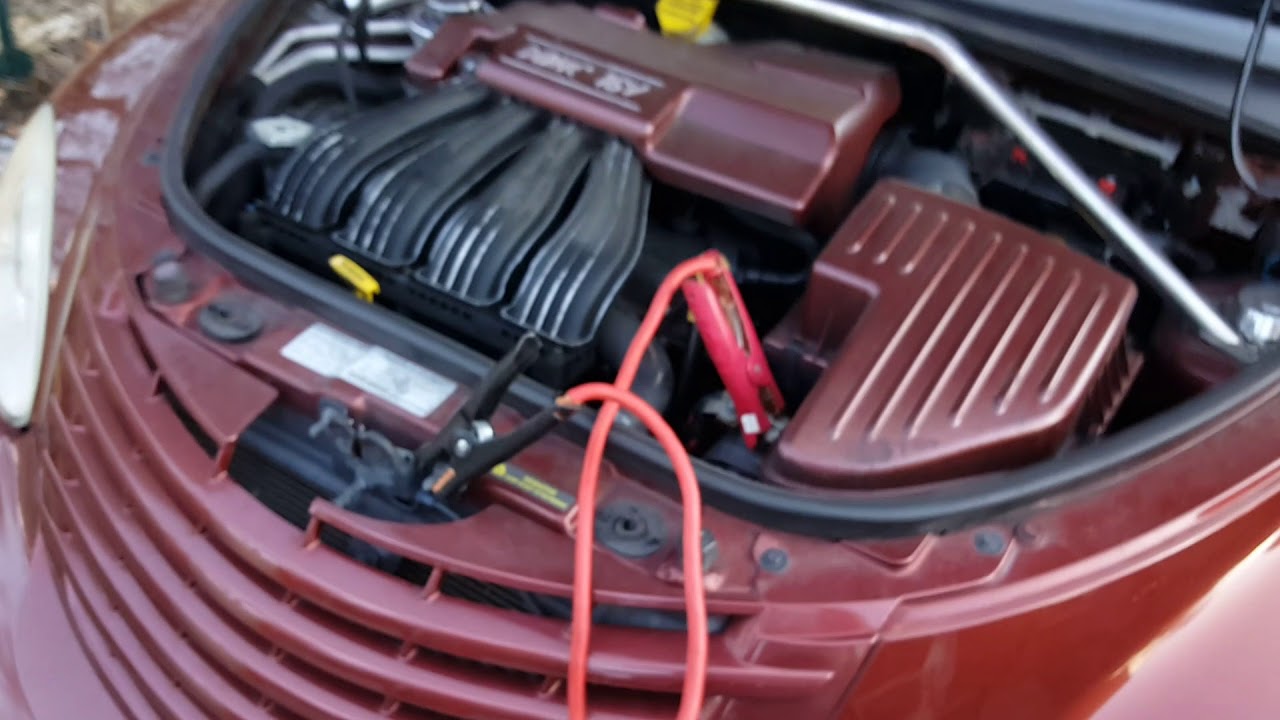
If these steps don’t resolve the issue, jumper cables, and a working vehicle can provide the boost needed to get your car running. Connect the cables correctly, ensuring the positive terminal matches the red clamp and the negative terminal connects to a grounded metal surface. Once started, have your battery and alternator checked to ensure they’re charging properly.
Regularly cleaning and inspecting the battery can prevent starting problems in the future. If your car repeatedly struggles to start, it may indicate that the battery is nearing the end of its life or the alternator isn’t functioning correctly. Addressing these underlying issues promptly ensures reliability and avoids unnecessary stress.
7. Resolving Poor Car Acceleration
When your car struggles to accelerate, it can be both frustrating and unsafe. One common cause of this issue is a dirty Mass Airflow Sensor (MAF), which can lead to incorrect air-fuel mixture calculations. This sensor measures the volume and temperature of the air entering the engine, and if contaminated, it disrupts the car’s engine performance, often resulting in sluggish acceleration.
To address this problem, cleaning the MAF sensor is a straightforward solution. You’ll need to purchase a special MAF sensor cleaner and carefully follow the steps to remove the sensor from the air duct. Once the sensor is detached, spray the cleaner onto the sensitive parts, allowing it to dry before reinstalling it. After cleaning, test the car’s acceleration to see if the issue has been resolved. If performance improves, the dirty sensor is likely the cause.
In cases where cleaning the MAF doesn’t solve the problem, further investigation is needed. Issues with the fuel system, spark plugs, or engine timing could also be to blame. If the problem persists, seeking professional help is recommended. Regular maintenance, like changing the air filter, can prevent MAF sensor problems, ensuring your car runs smoothly in the long term.
8. Fixing the Tyre Pressure Sensor Warning Light
A tyre pressure sensor warning light on your dashboard can be alarming, signaling that one or more of your tyres may be underinflated. Low tyre pressure can affect your vehicle’s fuel efficiency, handling, and safety, but sometimes the light stays on even after the tyres are properly inflated. Understanding how to troubleshoot and resolve this issue is crucial for your car’s performance.
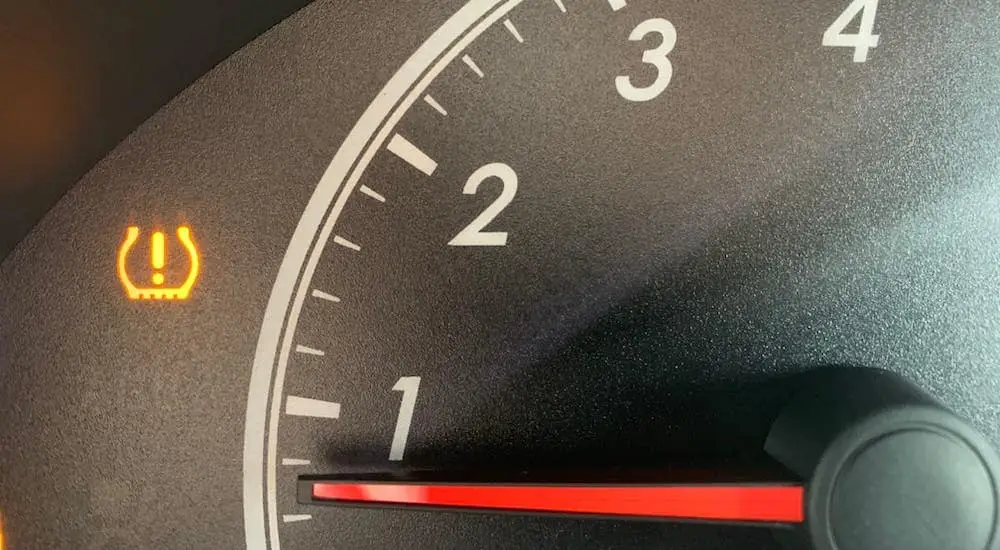
To begin, drive your car for about 10 miles to allow the TPMS (Tyre Pressure Monitoring System) sensors to recalibrate. If the warning light persists, check the pressure in your spare tyre as well.
Many drivers overlook this tyre, but its pressure is just as important. If the light stays on despite the correct tyre pressure, there could be a fault with the sensor itself, which may require a professional mechanic to inspect and replace it.
Preventing future issues with the TPMS involves regular checks on all tyres, including the spare. Use a reliable tyre pressure gauge and refer to your vehicle’s manual for the correct tyre pressure specifications.
Regular maintenance of your tyres and monitoring the TPMS system ensures that your vehicle remains in top condition, reducing the chances of encountering pressure-related problems.
9. How to Stop Smearing Wiper Blades
Smearing or streaking wiper blades can be a serious visibility issue, especially in rainy or snowy weather. Fortunately, cleaning or replacing the wiper blades is an easy fix to restore clear visibility while driving. The first step is to clean the blades themselves, as dirt and debris can cause them to leave streaks behind.
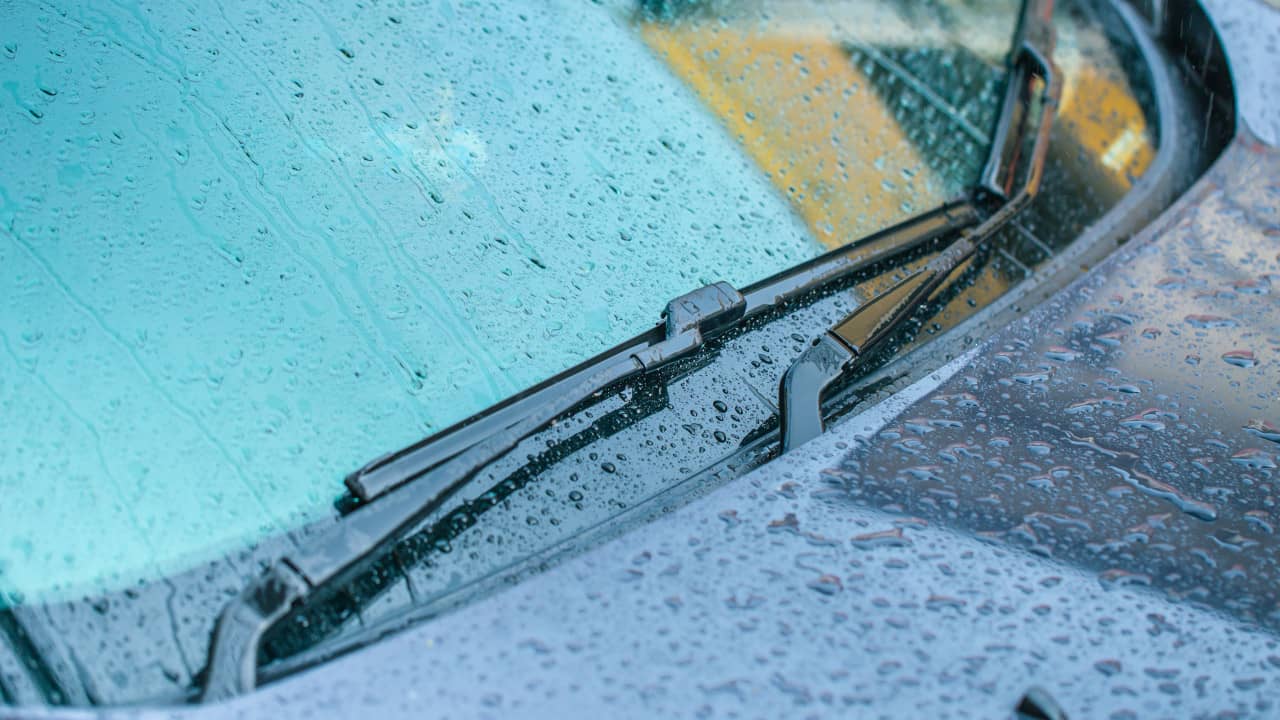
Lift the wiper blades from the windshield and wipe them down with a clean cloth soaked in windshield washer fluid or rubbing alcohol. If this doesn’t fix the problem, use a magic eraser sponge to tackle any stubborn debris.
When cleaning no longer solves the issue, it’s time to replace the wiper blades. This simple process involves removing the old blades, purchasing new ones, and installing them securely, ensuring that your windshield is properly cleared during adverse weather conditions.
Replacing wiper blades regularly—at least once a year or when streaking becomes noticeable—is important for maintaining good visibility and driving safety.
Keeping your blades in top condition, along with regular cleaning, ensures your wipers perform effectively, helping you stay safe on the road, especially in rainy or snowy conditions.
10. Unclogging a Windscreen Washer Jet
A clogged windscreen washer jet can be incredibly frustrating, especially if the fluid only comes out of one jet or doesn’t spray at all.
Instead of using a pin or needle to clear the blockage, which often doesn’t work, it’s better to use compressed air to dislodge debris from the nozzle. This method is easy to perform and can restore full functionality to your windshield washer system.
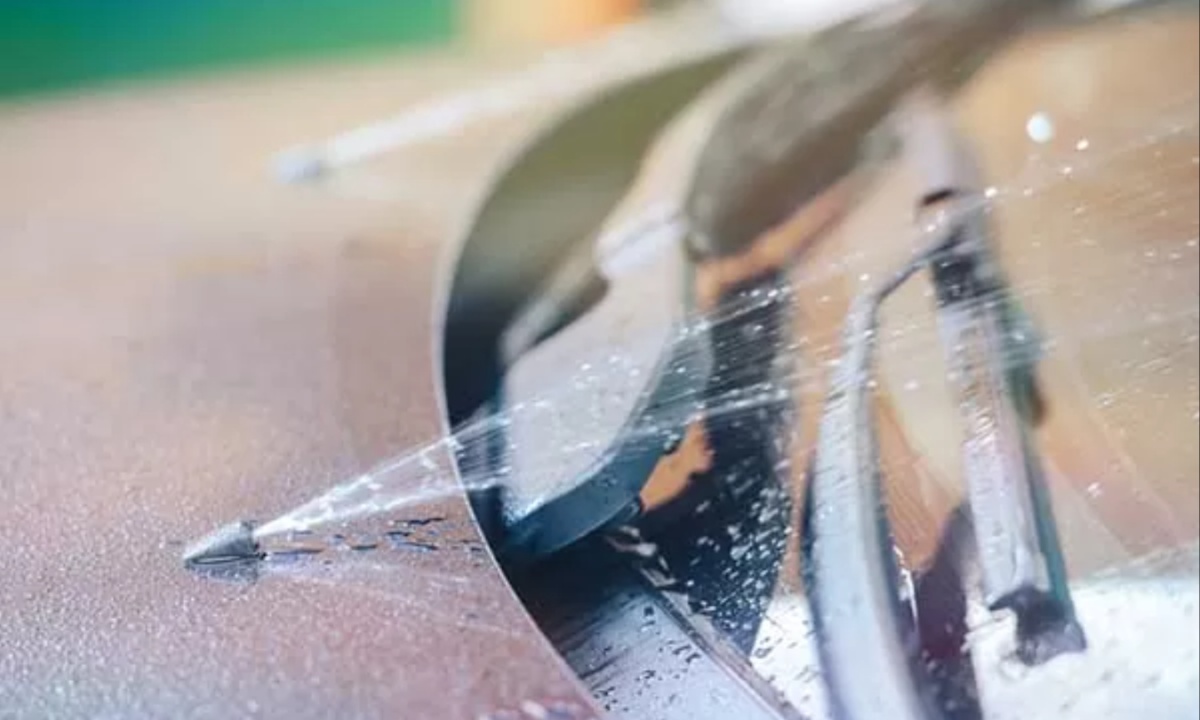
Start by opening the bonnet and locating the rubber tube that connects to the affected washer jet. Detach the tube, then use compressed air to force debris out of the nozzle.
Afterward, reconnect the tube and test the washer system to ensure both jets are dispensing fluid correctly. If the issue persists, the problem may lie with the washer pump, which requires further inspection or replacement.
In case fluid isn’t coming out of either jet, check the washer fluid reservoir and listen for the washer pump when you activate the system. If the pump doesn’t sound like it’s working, it may need replacement.
By following these troubleshooting steps, you can easily resolve most washer jet issues, ensuring clear visibility when driving in bad weather.
11. Repairing a Paint Chip and Preventing Rust
Paint chips on your car can be more than just an aesthetic concern; they can lead to rust and corrosion if not addressed.
When a chip exposes the metal beneath the paint, moisture can cause it to rust, potentially spreading to larger areas and compromising the structural integrity of your vehicle. Addressing these chips quickly can save you money on extensive repairs down the line.
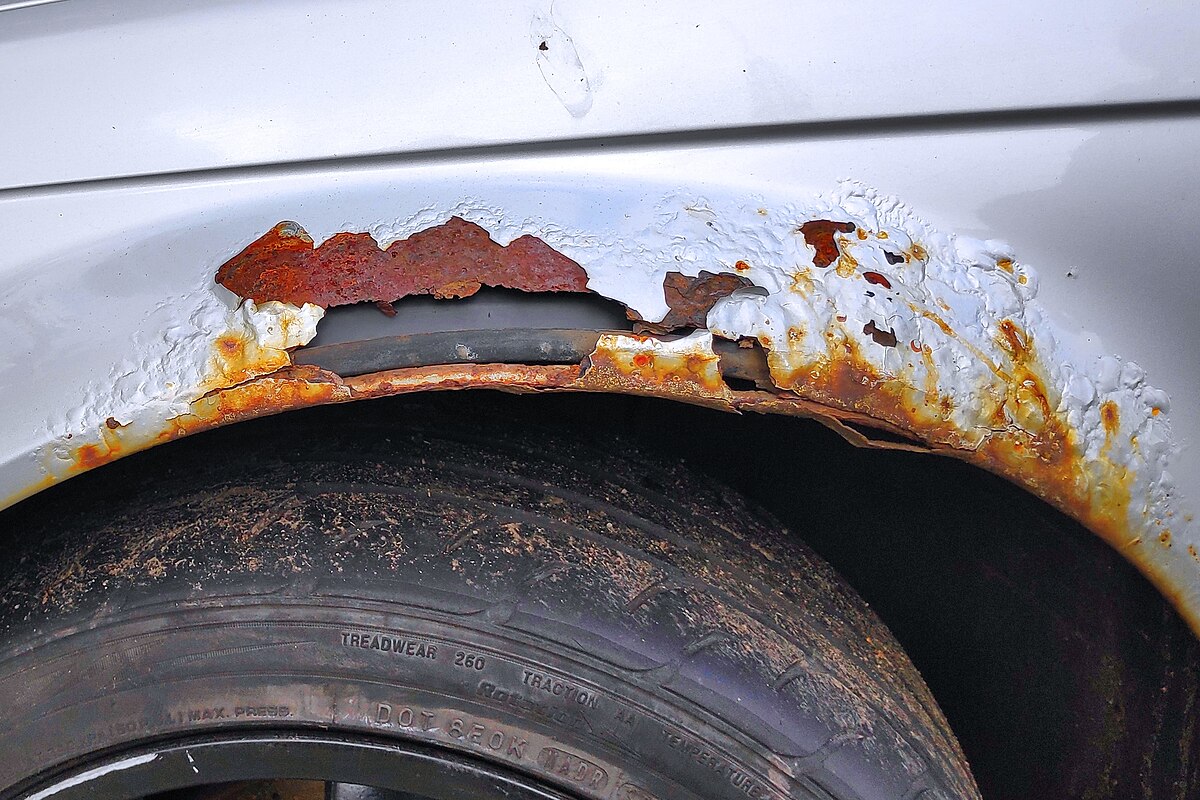
To fix a paint chip, start by cleaning the damaged area using a wax and grease remover. Once cleaned, apply a thin layer of touch-up paint to cover the chip.
Be sure to follow the recommended drying time before applying a second coat. After the paint has fully cured, usually within 30 days, wax the area to protect the new paint and blend it with the surrounding surface.
Preventing paint chips can be tricky, but there are steps you can take to reduce the risk. Avoid following other vehicles too closely, stay away from gravel roads, and consider applying protective coatings to your car.
Regular maintenance, such as parking in covered areas and addressing chips early, will help preserve your car’s appearance and protect it from rust damage.

