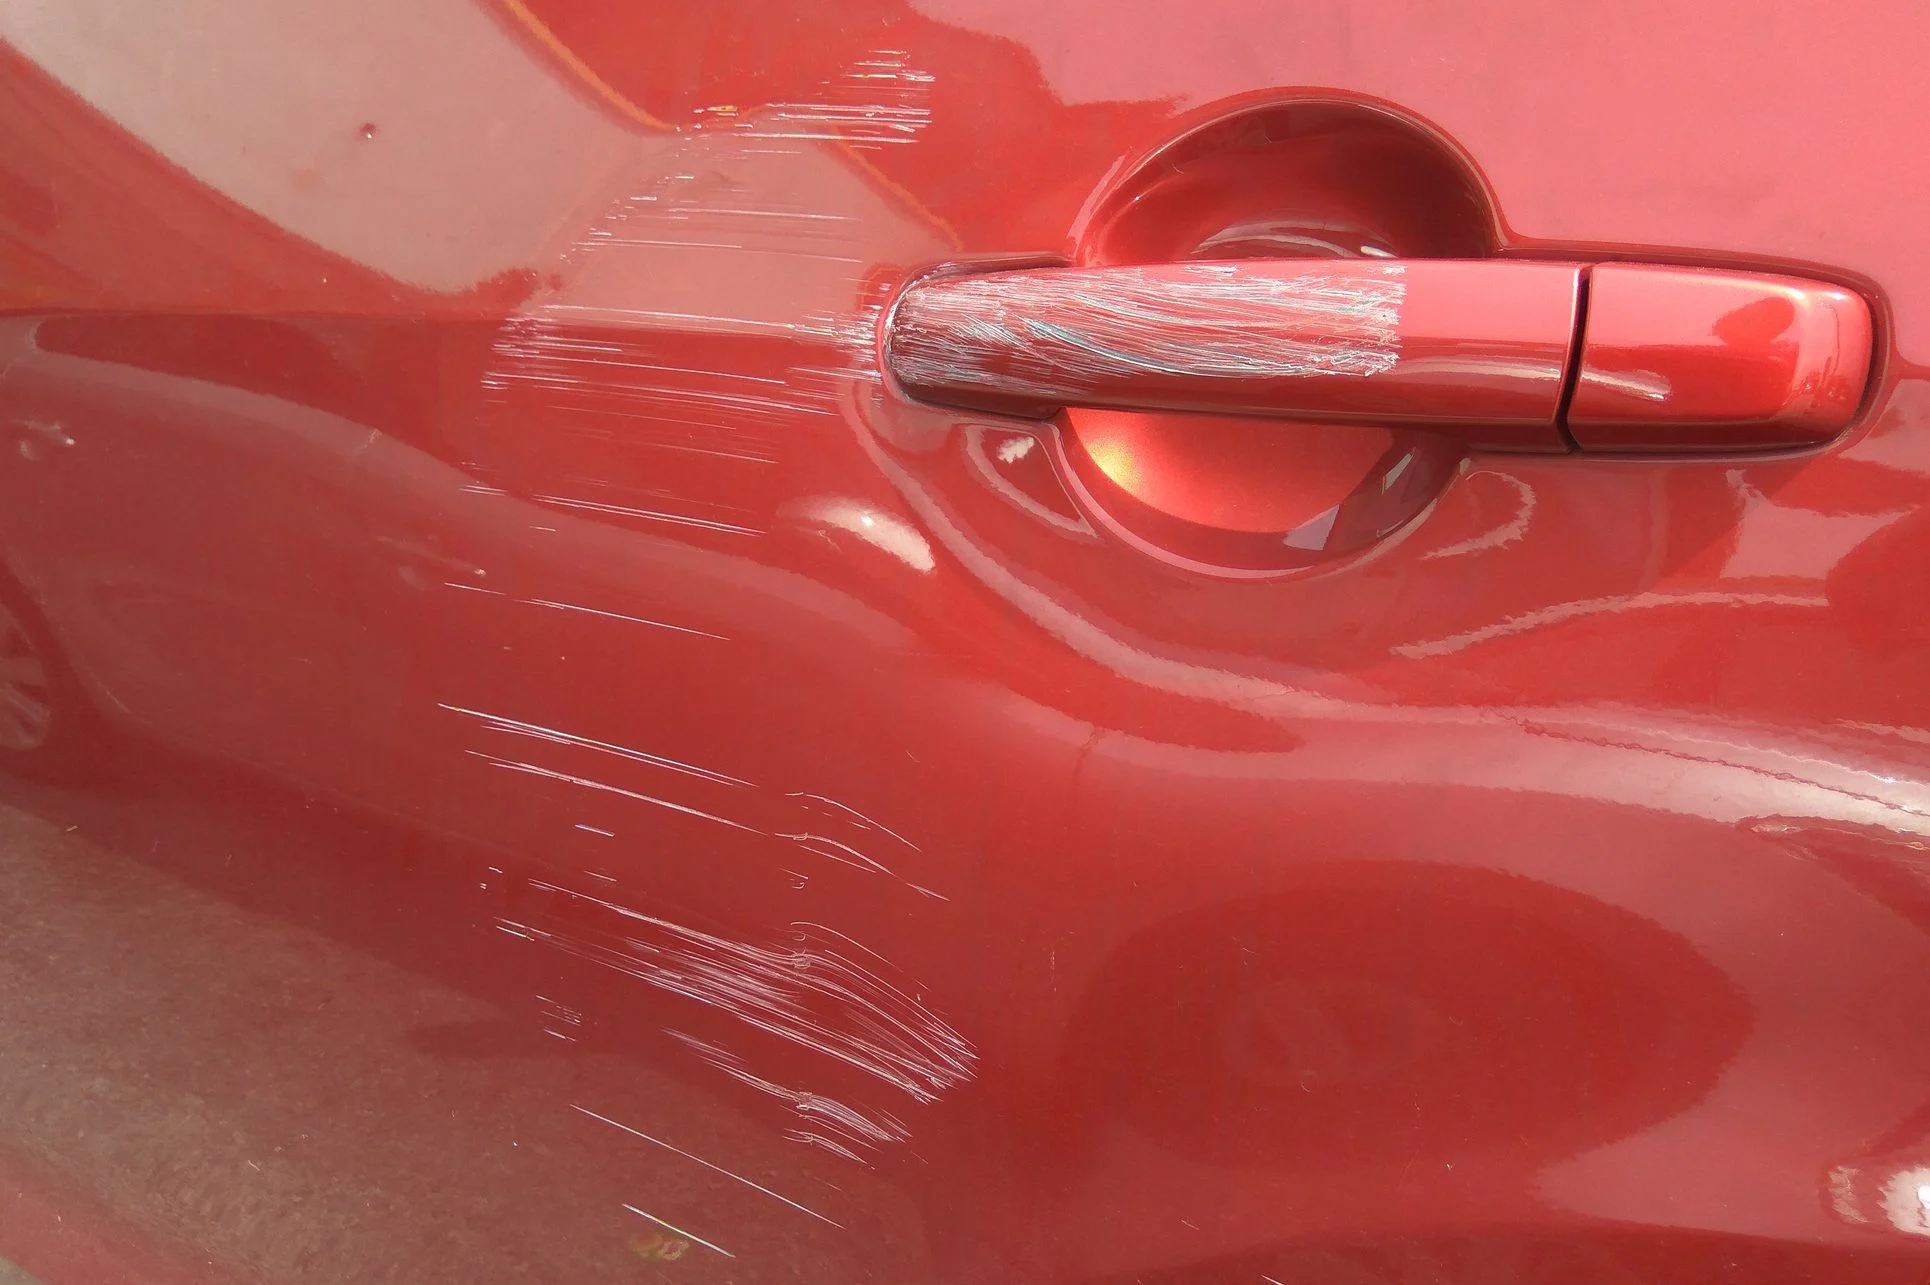
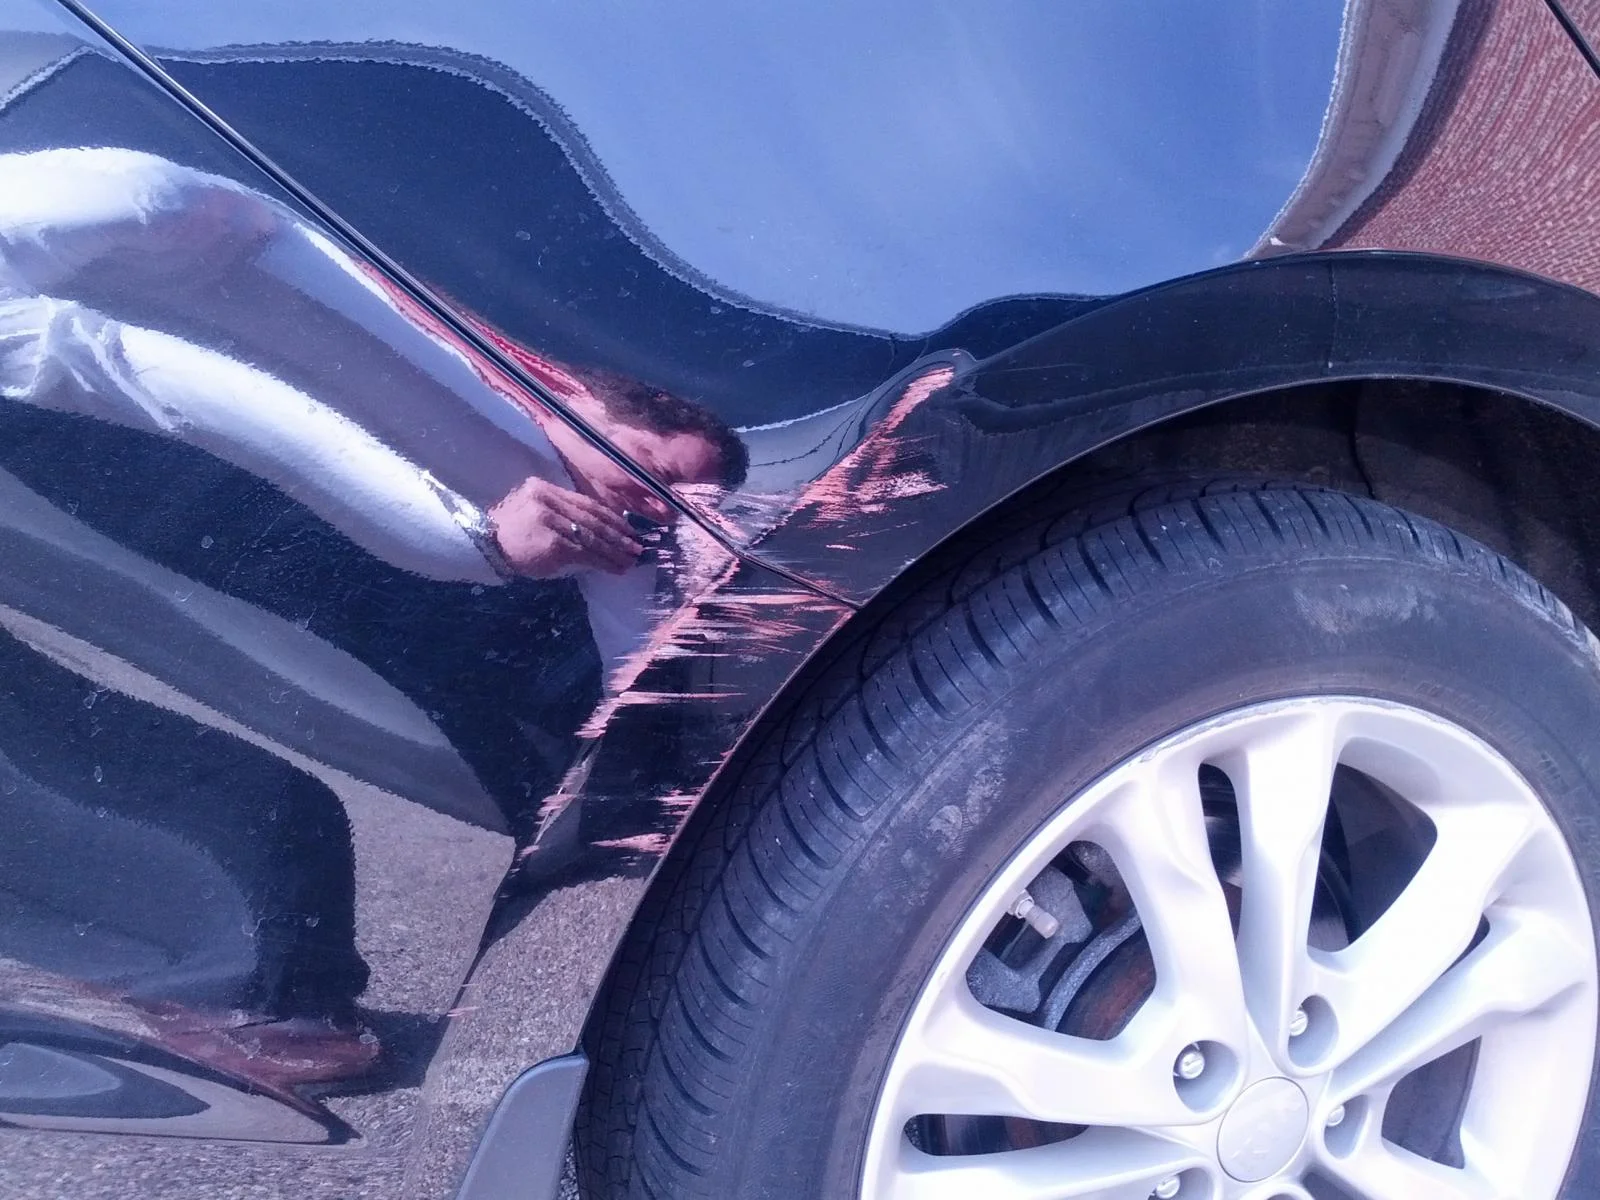
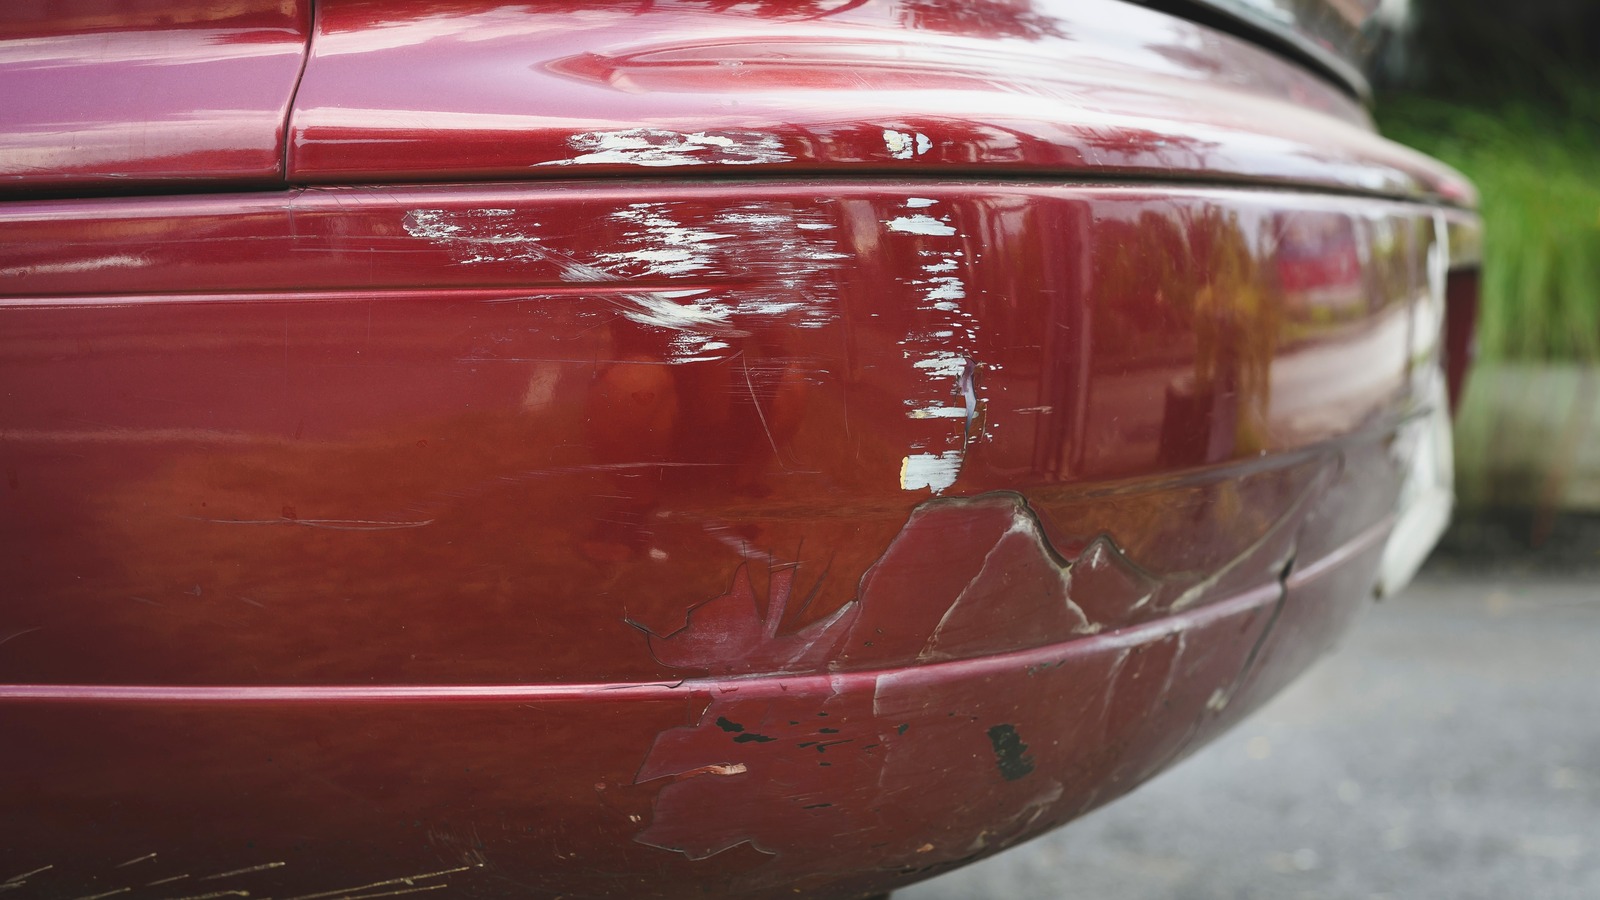
Discovering a scratch on your car can be frustrating, but it’s not the end of the world. Depending on the depth of the scratch, you can address it with simple DIY techniques or professional assistance. Below, we’ll explore how to identify and fix scratches on your car, the tools and materials you’ll need, and step-by-step instructions for each type of scratch repair.
Scratches on a car can range from superficial marks to deep gouges exposing the metal. Gareth Boyd, an automotive expert, emphasizes that addressing scratches promptly is crucial not only for aesthetics but also to prevent rust caused by exposure to air and moisture.
To determine the depth of a scratch, run your fingernail over it:
Shallow scratches: If your nail doesn’t snag, these can often be fixed easily with household items or basic tools.
Moderate scratches: If your nail catches but you can’t see the metal underneath, you’ll need specific compounds and a bit of effort.
Deep scratches: When the scratch exposes the metal, the repair process is more involved and may require repainting.

Fixing Barely-There Scratches
For superficial scratches, the repair process is simple and requires minimal tools. These scratches don’t penetrate the clear coat and can be treated with light abrasives.
Tools and Materials
- 3000-grit sandpaper or toothpaste
- Microfiber towel
- Polishing and rubbing compound
- Polishing pad or cordless drill (optional)
Step-by-Step Instructions
1. Sand the Scratch
Start by dampening the area and lightly sanding the scratch with 3000-grit sandpaper. Alternatively, toothpaste can serve as a mild abrasive. Sand until the scratch fades, then clean the area with a microfiber towel.
2. Apply Rubbing Compound
Use a rubbing compound on a polishing pad or drill attachment. Work it into the scratch at around 1,200 rpm. When the area appears hazy, stop and wipe clean.
3. Polish for Shine
Finish with a polishing compound to restore the car’s glossy appearance. Use a cordless buffer for even application, keeping the tool moving to avoid damaging the paint.
What We Recommend: Small Scratch Fixer
Fixing Small Scratches
Small scratches that catch your fingernail but don’t expose metal require slightly more effort. Clean the car thoroughly before starting the repair.
Materials Needed
- Rubbing compound
- Microfiber towel
- Scrubbing pad
Step-by-Step Instructions
1. Apply Rubbing Compound
Put a quarter-sized amount of rubbing compound on a scrubbing pad. Work it into the scratch using firm, circular motions.
2. Wipe Away Residue
Once the area is covered, clean off the excess compound with a microfiber towel.
3. Repeat as Needed
Repeat the process 2–3 times until the scratch becomes less visible. Be cautious, as excessive rubbing can thin the paint and lead to long-term issues.
What We Recommend: Small Scratch Fixer

Fixing Deep Scratches
Deep scratches, which expose the metal, require a more complex approach involving sanding, priming, and repainting. Consult an expert if you’re unsure about tackling these repairs yourself.
Tools and Materials
- Sandpaper (various grits)
- Masking tape
- Automotive primer and paint
- Polishing compound
- Car wax
- Microfiber towel
- Buffer or polishing pad
Step-by-Step Instructions
1. Prepare the Area
Clean the scratched area thoroughly. Use masking tape and paper to protect surrounding areas from sanding dust and paint overspray.
2. Sand Down the Scratch
Sand the scratch until you reach the bare metal. For deep gouges, wet sanding with fine-grit sandpaper helps achieve a smoother finish. Dip the sandpaper in water periodically to prevent additional scratches.
3. Apply Primer and Paint
Spray automotive primer onto the sanded area and let it dry completely. Once dry, apply the paint in thin, even layers. Allow each layer to dry before adding the next.
4. Polish and Blend
After the paint has dried, polish the repaired area to blend it seamlessly with the rest of the car’s surface. Use a buffer with a polishing compound for a smooth, professional finish.
5. Protect with Wax
Apply a layer of car wax to protect the repaired area from future scratches and environmental damage.
What We Recommend: Deep Scratch Fixer
Additional Tips
Test Products First: Always test compounds and paints on a small, inconspicuous area of your car to ensure compatibility.
Work in a Controlled Environment: Perform repairs in a clean, shaded space to prevent dust from interfering with the process.
Use High-Quality Tools: Invest in good-quality sandpaper, compounds, and polishing pads to achieve better results.
By understanding the severity of the scratch and using the appropriate methods and tools, you can restore your car’s appearance and protect it from further damage. Whether it’s a barely-there scratch or a deep gouge, following these steps ensures your car stays looking its best.

