
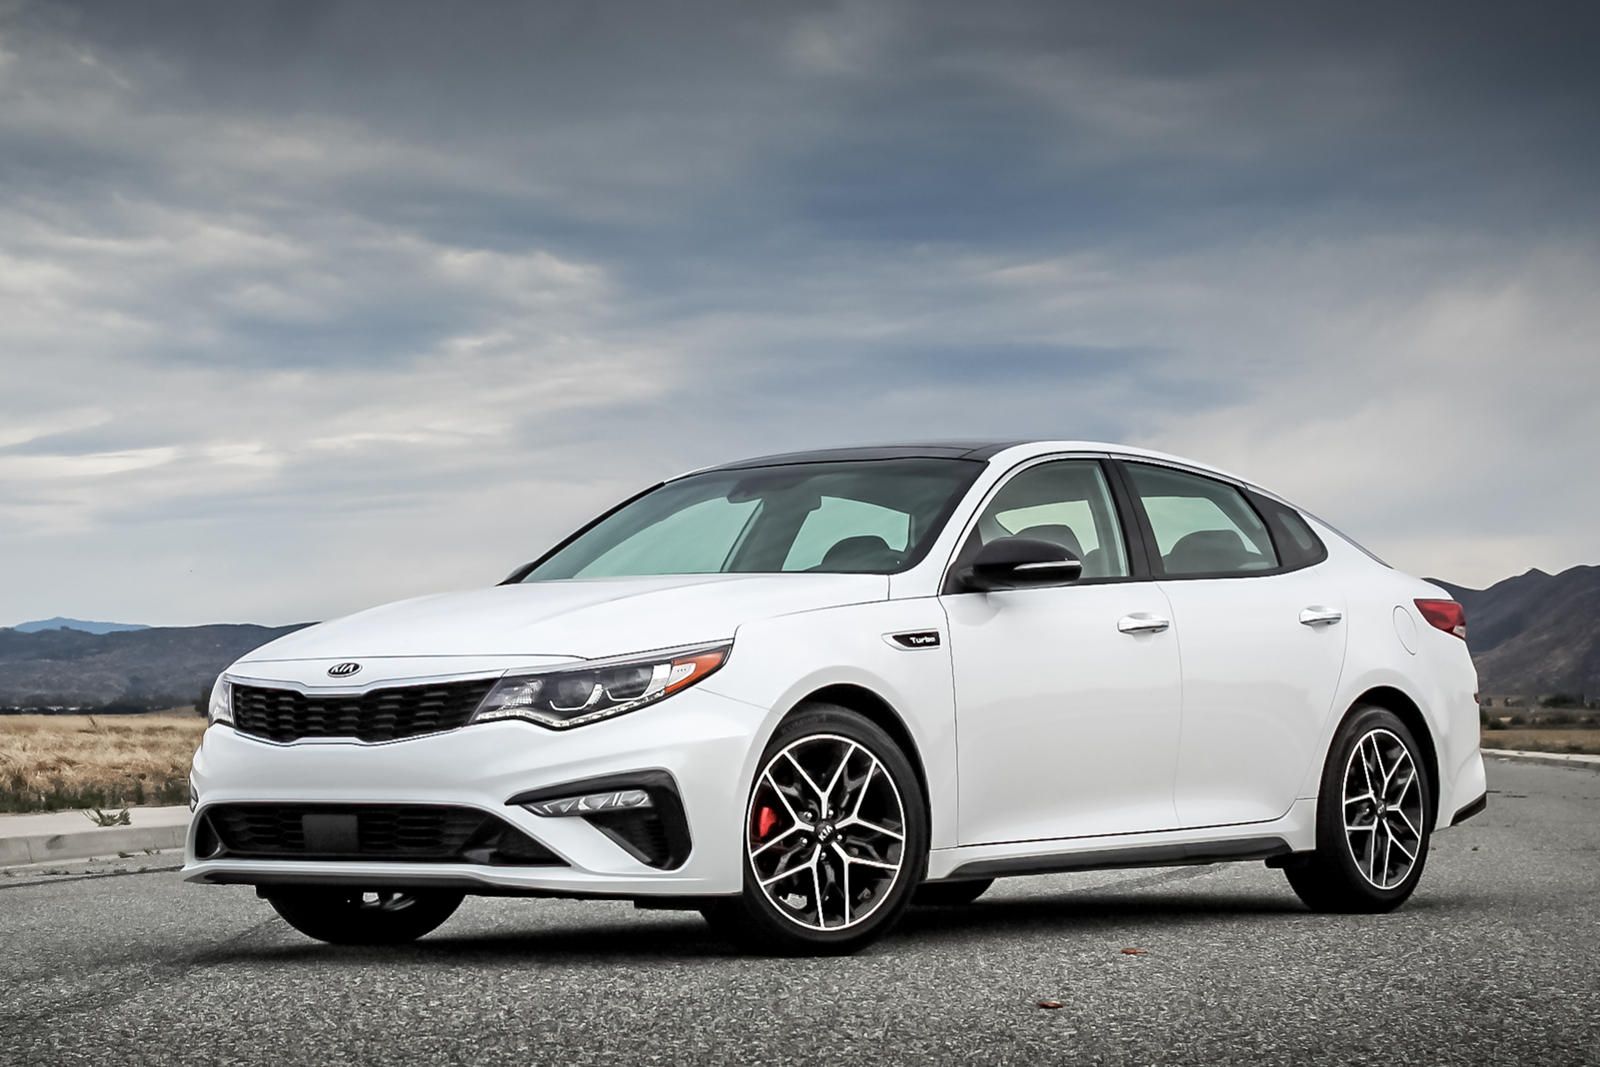
The Kia Optima has long been recognized as a stylish, reliable, and affordable midsize sedan, appealing to drivers who want comfort and performance without breaking the bank.
While Kia has made impressive strides in quality over the years, reaching the 200,000-mile mark on any vehicle still requires conscious care and smart maintenance.
For many Optima owners, the goal isn’t just short-term convenience, it’s long-term value. By following specific strategies, you can ensure your Kia Optima not only survives but thrives well past 200,000 miles, keeping repair costs manageable and preserving resale value.
Here’s a detailed look at ten essential moves that will help your Optima go the distance.
1. Stick to Regular Oil Changes
Oil is the lifeblood of any engine, and the Optima is no exception. Using the correct grade of synthetic oil and adhering to the recommended change intervals is crucial.
While some newer models suggest oil changes every 7,500 to 10,000 miles, many Optima owners find that changing the oil every 5,000 miles helps maintain engine longevity, particularly if you drive frequently in stop-and-go traffic or harsh weather conditions.
Clean oil reduces engine friction, prevents sludge buildup, and ensures all moving parts remain well-lubricated, ultimately extending engine life.
2. Monitor and Replace Timing Components
The timing chain (or belt in older models) is another critical component in keeping your Optima running smoothly. A worn or broken timing chain can cause catastrophic engine damage, sometimes beyond repair.
Kia recommends inspecting timing components regularly and replacing belts according to the maintenance schedule.
For older Optimas with timing belts, replacement around 90,000 to 100,000 miles is often necessary, while timing chains generally require less frequent attention but should still be inspected for wear and tension.
Engine timing components are essential parts of an internal combustion system that ensure cylinders open and close in perfect synchronization. This coordination allows the air/fuel mixture to move through the pistons consistently, enabling efficient combustion and reliable power generation for vehicles. Without proper timing, engines will not operate as efficiently or safely.
The primary types of engine timing components include camshafts, crankshafts, valves, rocker arms, and either belts or chains (depending on the vehicle’s age), along with tensioners and guides where applicable. These components work together to precisely regulate the amount of fuel entering each cylinder so that ignition occurs at the correct moment during the engine cycle.
A properly tuned valve train ensures that your car’s engine performs optimally and enjoys a longer lifespan. Neglecting maintenance—such as incorrect timing, improper spring tension, or worn parts- can reduce power output due to decreased airflow, or in the worst cases, lead to complete engine failure caused by misalignment. Preventive measures like regular inspections are crucial to catch early signs of wear and tear before major problems arise.
Tuning your car’s valve train primarily involves adjusting the camshaft position, setting spring tensions correctly, and replacing any worn parts like rocker arms if necessary.
The first step is to remove the upper half covers to expose the full assembly. From there, follow the manufacturer’s detailed guidelines, including the proper tools needed to make accurate adjustments without damaging surrounding components. After reassembling everything, double-check your settings before starting the engine, as incorrect adjustments can lead to recurring issues.
Maintaining a healthy valve train requires regular inspections, especially for drivers who cover long distances or drive at high speeds frequently. During checks, listen for unusual noises, look for oil leaks beneath covers, and ensure all connections are secure.
Keep the valve train clean and properly lubricated using manufacturer-recommended oils to prevent grime buildup that could obstruct pathways and cause damage. Regular professional tune-ups are also essential, as experienced mechanics can identify and address potential issues before they become serious.
Timing components are crucial to an engine’s operation, and they must be replaced once they show signs of wear. Replacing worn components ensures smooth and efficient engine performance, so it’s important to have the correct replacement parts ready before beginning work.
Timing belts or chains should be inspected every few years, depending on the vehicle’s age and usage. Any visible damage or cracking requires immediate replacement, as failure can result in catastrophic engine damage. Timing belts and chains are widely available at auto parts stores and online retailers.
Properly functioning engine timing components are critical to vehicle performance and longevity. When replacement becomes necessary, there are numerous options available, from online stores to local auto parts suppliers.
Quality is the first consideration when purchasing timing components. Opt for products tested and trusted by reputable manufacturers to ensure durability and resistance to wear. Price is another factor to weigh, but remember that cheaper alternatives may compromise quality. Shop wisely, balancing cost with long-term reliability.
3. Maintain the Cooling System
Overheating is a common culprit in premature engine failure. The Optima’s cooling system, including the radiator, hoses, thermostat, and coolant, requires regular inspection.
Flushing and replacing coolant every 50,000 to 60,000 miles can prevent corrosion and maintain proper engine temperature. Regularly checking hoses and clamps for leaks and replacing a worn water pump are small investments that can save thousands in engine repairs.
4. Keep the Transmission Healthy
Whether your Optima has an automatic or manual transmission, it’s essential to follow maintenance recommendations closely.
Transmission fluid degrades over time, leading to slipping, overheating, or complete failure. Changing the fluid and filter every 30,000 to 60,000 miles, depending on driving conditions, can significantly extend the life of your transmission.
Avoid aggressive driving, like rapid acceleration and sudden stops, as these habits put additional stress on transmission components.

5. Pay Attention to Brake Care
Brakes aren’t just a safety feature, they’re also a key to preventing long-term damage to your Optima. Regularly inspecting brake pads, rotors, and brake fluid is essential.
Replacing worn pads before they damage the rotors and flushing brake fluid every two years helps maintain braking performance and prevents corrosion in the brake lines. Smooth, steady braking habits not only protect your brakes but also reduce wear on suspension components.
Brakes are among the most vital components of your vehicle. Keeping your car’s brakes properly maintained not only ensures your safety but also helps extend the lifespan of the braking system, saving you money on costly repairs. Regular brake maintenance is essential for staying safe on the road.
Your vehicle’s brakes are responsible for stopping your car efficiently, and neglecting maintenance can lead to dangerous situations, including reduced stopping power, brake failure, and higher repair costs. Proper brake care is crucial for several reasons. From a safety perspective, faulty brakes increase the risk of accidents, especially during emergency stops.
From a financial standpoint, regular maintenance can prevent expensive repairs or even complete brake system replacements. Performance is another factor: well-maintained brakes provide a smooth and responsive driving experience. Finally, taking care of your brakes helps extend the lifespan of brake components, making your investment last longer.
Recognizing early warning signs of brake issues can prevent more severe problems. High-pitched squealing or grinding when braking can indicate worn brake pads, while vibrations in the brake pedal or steering wheel often point to warped rotors. Longer stopping distances may signal that the brake pads or brake fluid need attention, and a soft or spongy brake pedal could indicate air in the brake lines or a fluid leak.
Overheated brakes sometimes produce a strong, burning odor, and if the brake warning light on your dashboard illuminates, it’s time to inspect your brakes immediately. By paying attention to these signs and performing regular maintenance, you can ensure your brakes remain reliable, safe, and long-lasting.
6. Rotate Tires and Maintain Proper Alignment
Tires are the only part of your vehicle in direct contact with the road, and maintaining them properly contributes to longevity and safety.
Regular tire rotations every 5,000 to 7,500 miles help even out wear, while wheel alignments ensure the vehicle tracks correctly, reducing uneven tire wear and stress on suspension parts.
Maintaining proper tire pressure also improves fuel efficiency and handling, which benefits long-term vehicle performance.
7. Inspect Suspension and Steering Components
The Optima’s suspension system plays a vital role in both comfort and vehicle stability. Worn shocks, struts, or bushings can affect handling, cause uneven tire wear, and place extra strain on other mechanical parts.
Regular inspections, especially after 100,000 miles, can identify issues early. Replacing worn suspension components promptly keeps the vehicle driving safely and smoothly while preventing further costly repairs.
Inspecting steering and suspension components is typically prompted by either a wear issue or a handling problem. When performing an inspection, it is essential to verify the customer’s complaint on the repair order and determine whether the stated problem aligns with what you observe on the vehicle. Some shops may opt to replace steering and suspension parts in pairs regardless of the actual failure, but the inspector’s role is to identify what has truly failed and how it failed.
Excessive wear occurs when a component exceeds the manufacturer’s specifications for allowable movement. Each manufacturer provides diagnostic procedures to verify play in steering and suspension components, so it is important to follow the correct procedure for the vehicle being inspected. Shops should be able to demonstrate failures, often using a dial indicator to provide measurable readings that can be compared to manufacturer specifications.
If the shop lacks proper equipment or declines to demonstrate the failures, it should be noted in your report that a demonstration was requested but not provided. When assessing steering and suspension parts for play, it is sometimes possible to provide an estimated amount of play if it appears excessive; however, any such estimates must clearly be marked as approximations rather than actual measurements.
Understanding the difference between worn-out parts and failed parts is important. A realistic expected life of the component must be considered; for example, it is not reasonable to classify a tie rod end as a material failure after 200,000 miles. A good way to determine wear versus failure is to assess whether components are worn in pairs or if only a single item is affected.
If both outer tie rod ends show excessive play, the parts are considered worn out; if only one has excessive play while the other is still functional, it is a failure. If a component has both noise and excessive play, it should be reported as failed, clearly noting both conditions. Inspect the condition of dust boots on all steering and suspension parts.
Check for grease fittings and verify whether components have been properly lubricated. Torn boots can cause grease to leak and allow dirt ingress, leading to component failure due to a lack of proper lubrication. All findings should be documented thoroughly in written and verbal reports, supported by clear photographs.
Steering and suspension components can also be damaged by impacts, such as hitting road debris or parking curbs. Any bent components must be documented as physically damaged, and impact marks should be photographed clearly.
When evaluating impact damage, also inspect the wheels and tires, as hard impacts can bend steering or suspension parts. Tire wear can also indicate excessive play in steering or suspension components, so it should always be inspected, documented, and photographed.
Steering inspections must also include the hydraulic portion of the power steering system. Verify fluid levels and assess fluid condition. If the pump is noisy, check for leaks or aeration in the fluid. Document and photograph all leaks, noting whether they originate from hoses with clamps or crimp fittings, as different service contracts may interpret these differently.
Check for leaks from the rack and pinion or steering gear, including fluid accumulation in the dust boot of the inner tie rod. To confirm a leak from the end seal, the boot may be punctured; if fluid emerges, the seal is leaking. Moisture alone may originate from another component.
Observe road grime buildup to determine the duration of the leak. Prolonged leaks from the rack and pinion can starve the pump of fluid, causing pump damage. Document the severity and duration of all leaks, and if the power steering pump is damaged due to driving with a leaking rack and pinion, clearly note that the failure resulted from continued operation with insufficient lubrication.
8. Protect Against Rust and Corrosion
While modern Optimas are designed with rust-resistant coatings, exposure to road salt, water, and harsh winter conditions can still cause corrosion over time.
Washing your vehicle regularly, especially the undercarriage, and applying rust inhibitors can prevent structural damage. Simple preventative steps, like parking in covered areas and addressing paint chips promptly, go a long way in protecting the vehicle’s body and frame.
When it comes to preserving both the longevity and aesthetics of your vehicle, few threats are as damaging as rust and corrosion. These destructive forces can compromise your car’s body, undercarriage, and even its structural integrity.
Fortunately, with the right knowledge and preventive measures, you can protect your vehicle from the relentless effects of rust and corrosion. Understanding the causes, recognizing early warning signs, and taking proactive steps are essential for keeping your car in top condition.
The primary culprits behind rust and corrosion are moisture and environmental contaminants. Water acts as a catalyst, initiating chemical reactions that break down metal surfaces, while road salt, commonly used in colder climates, accelerates the oxidation process. Dirt, mud, and other debris can trap moisture against metal components, creating ideal conditions for rust to develop.
To combat these effects, it is crucial to limit your car’s exposure to moisture. Regular washing, waxing, and thorough undercarriage cleaning remove corrosive substances and prevent buildup. Additionally, investing in rust-resistant materials and protective coatings can provide an extra layer of defense against these damaging elements.
Spotting rust and corrosion early is key to effective prevention. Common signs of rust include small, reddish-brown spots, bubbling or blistering paint, and a rough texture on the vehicle’s surface.
Corrosion may appear as discolored or pitted metal, particularly around the undercarriage or wheel wells. Regular inspections are essential, check hidden areas such as fender wells and chassis components, as early detection can save you from costly repairs down the line.
Using corrosion-resistant materials is another proactive approach. Components made from galvanized steel, aluminum, or stainless steel are excellent choices for areas prone to rust, such as fenders, exhaust systems, and wheel wells.
Although these materials may have a higher initial cost, they offer long-term protection and cost savings. Modern vehicles also feature advanced rust-resistant coatings and paints, so when purchasing a new car, inquire about the manufacturer’s corrosion protection measures, which can significantly extend the lifespan of your vehicle.
Regular washing and waxing form the foundation of a preventive maintenance routine. Washing removes dirt, road salt, and other corrosive substances, while waxing creates a protective barrier against moisture
9. Maintain the Battery and Electrical System
Electrical issues can creep up on any vehicle, especially as mileage increases. Ensuring your Optima’s battery, alternator, and starter are in good condition helps avoid unexpected breakdowns.
Checking battery terminals for corrosion, testing voltage periodically, and replacing the battery every four to five years or sooner if needed keeps the electrical system reliable. Clean and secure connections prevent unnecessary strain on the alternator, which prolongs overall system life.
Maintaining your car’s electrical system begins with safely disconnecting the battery, always starting with the negative cable to minimize the risk of sparks. Once disconnected, clean the battery posts and cable ends using a specialized battery cleaner or a baking soda solution, and scrub them with a wire brush to remove any corrosion. After cleaning, rinse the components with distilled water to eliminate any residue, which is essential for preventing further corrosion.
Once the posts and cables are completely dry, reconnect the battery, attaching the positive cable first, followed by the negative. Regular inspections and maintenance of your battery and electrical connections not only enhance reliability but also help prevent costly repairs, ensuring your vehicle’s electrical system continues to perform optimally.
Properly removing the battery cables is a critical first step in electrical system maintenance. Start by ensuring the vehicle is turned off and parked on a level surface, and wear safety goggles and gloves to protect against corrosive materials.
Loosen the bolt on the negative cable and carefully lift it from the post, ensuring it does not touch any metal surfaces. Repeat the process for the positive cable, handling both cables carefully to avoid damaging the connectors. This procedure prevents electrical surges and sets the stage for safe maintenance, helping to preserve the longevity of your vehicle’s electrical components.
Cleaning the battery posts and cable ends is essential for maintaining solid electrical connections. Apply a specialized battery cleaner or a baking soda solution to neutralize any acid buildup, then scrub thoroughly with a wire brush to remove corrosion and debris.
Inspect the posts and cables for cracks or excessive wear, replacing any damaged components to maintain the integrity of the electrical system. A clean, well-maintained connection allows electricity to flow freely, reducing the risk of poor performance or costly repairs and ensuring the battery and overall electrical system remain reliable.
Rinsing the battery cables and posts with distilled water is a key step after cleaning. This removes any leftover cleaning residue and helps prevent future corrosion, guaranteeing a secure and effective connection.
Allow the components to dry completely before reinstallation. Skipping this step can lead to poor battery performance, starting failures, or other electrical problems. Even electric vehicles require regular maintenance of battery terminals to maintain electrical integrity, as issues like dimming lights or starting problems often trace back to dirty or corroded connections.
10. Follow a Preventive Maintenance Schedule
Finally, the most important move in extending your Optima’s lifespan is consistent preventive maintenance. This goes beyond oil changes and brake inspections; it includes regular air filter replacement, fuel system cleaning, cabin filter swaps, and spark plug changes.
Following Kia’s recommended service schedule ensures that small problems don’t turn into major repairs. Documenting all maintenance also helps retain resale value and proves the vehicle has been cared for meticulously.

A Kia Optima can be much more than a dependable daily driver it can be a long-term investment if treated with care and attention.
By adopting these ten strategies, owners can dramatically increase the likelihood of their Optima surpassing the 200,000-mile mark while maintaining reliability, comfort, and safety.
Regular maintenance, careful driving habits, and proactive inspections aren’t just about preserving a vehicle; they’re about protecting the time, money, and memories associated with it.
With a commitment to these practices, your Kia Optima can remain a trusted companion on the road for decades to come.