
Taking your car to the shop for every single maintenance item is an expensive habit that adds up faster than most people realize. Labor rates at dealerships and independent shops routinely run between $100 and $180 per hour, and a surprising number of routine maintenance tasks that get billed at half an hour or more of labor time are genuinely straightforward jobs that any reasonably capable person can complete at home with tools that cost less than a single shop visit.
This is not about attempting engine rebuilds or suspension overhauls in your driveway. It is about recognizing that a meaningful portion of what mechanics charge for is time spent on simple, repeatable tasks that require basic mechanical knowledge, a few common tools, and the willingness to get your hands slightly dirty.
Air filter replacement, battery service, cabin filter changes, spark plug swaps on accessible engines, and several other routine tasks fall squarely into the category of jobs that a home mechanic with a basic tool set can complete confidently and correctly.
Building even a modest home maintenance capability does more than save money on individual jobs. It develops a working familiarity with your vehicle that makes you a better-informed car owner. When you have replaced your own air filter, you know exactly what condition it was in and when it was changed.
When you have changed your own battery, you understand what corrosion looks like and how to address it before it causes problems. That kind of hands-on knowledge changes how you interact with mechanics, how you evaluate service recommendations, and how confidently you manage your vehicle’s health.
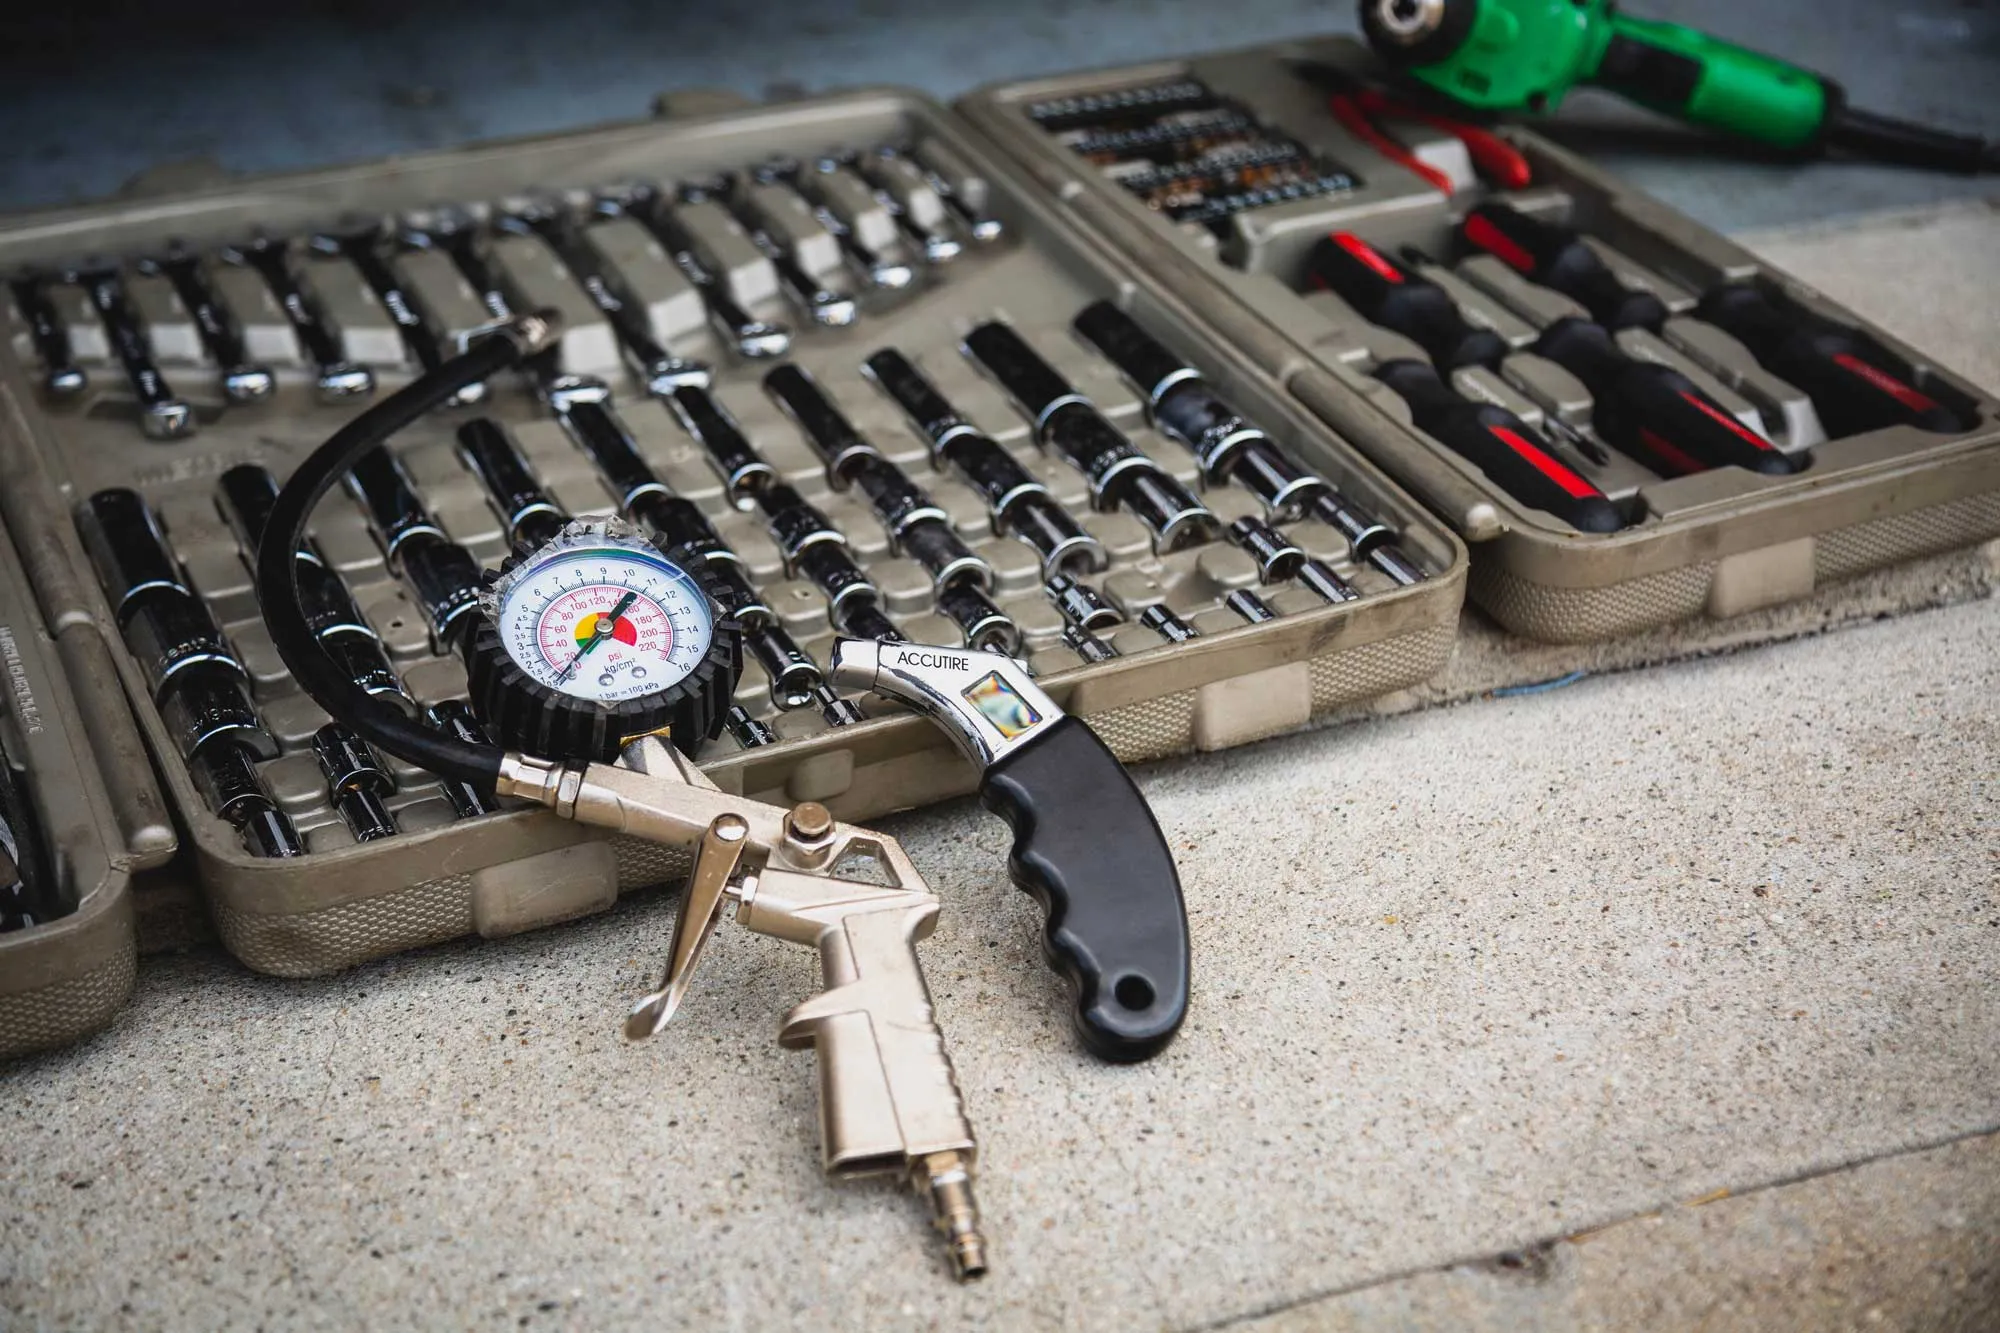
This page covers eight maintenance tasks that are genuinely achievable with basic hand tools, explained clearly enough that you can approach each one with confidence regardless of your starting experience level. A set of combination wrenches, a few screwdrivers, a socket set, and a torque wrench will cover most of what you need. Read through all eight before deciding where to start.

1. Air Filter Replacement: One of the Easiest, Most Overcharged Shop Tasks You Can Own
Engine air filter replacement sits at the very top of the list of maintenance tasks that mechanics regularly charge disproportionate labor time for relative to the actual difficulty involved.
On most vehicles, accessing and replacing the engine air filter takes between five and fifteen minutes, requires no tools beyond a screwdriver or a pair of clips to unlatch, and involves no technical skill beyond identifying the correct filter for your vehicle and installing it with the airbox cover secured correctly.
Yet service interval reminders and shop upsells for this item are a consistent source of unnecessary expense for drivers who do not realize how straightforward it is. Engine air filters are housed in an airbox, a plastic housing connected to the intake ducting that routes filtered air to the engine.
On most modern passenger vehicles, locating the airbox is straightforward because it is connected to a large air intake duct that is typically one of the most visually prominent components in the engine bay. Airbox covers are secured by a combination of spring clips, thumb screws, or standard screws that release without any specialized tools.
Before purchasing a replacement filter, note your vehicle’s year, make, model, and engine size, and use this information either at an auto parts store counter or through an online parts lookup to identify the correct filter. Filters are vehicle-specific in their dimensions and mounting configuration, and installing the wrong filter creates gaps that allow unfiltered air into the engine.
Buying the correct filter first avoids the frustration of discovering a fitment issue mid-job. With the airbox cover removed, lift the old filter straight out and compare it visually with the new one to confirm matching dimensions before discarding the old filter.
Tap the old filter gently against a hard surface over a trash can to dislodge loose dirt, and inspect the airbox interior for any accumulated debris that should be wiped out with a clean cloth before the new filter goes in. Seat the new filter carefully, ensuring that all edges are fully within the airbox sealing surface, then reattach the cover and secure all clips or screws to their original positions.
A vehicle like the 2024 Honda Pilot TrailSport AWD (fourth generation) has an engine air filter that is accessible in under five minutes with no tools at all, secured by spring clips that require only finger pressure to release.
Paying dealer labor rates for this task on a vehicle with this level of accessibility represents one of the most avoidable maintenance expenses any Pilot owner faces. Completing it at home takes less time than driving to the service center and costs only the price of the filter itself.

2. Battery Terminal Cleaning and Replacement: Protecting the Electrical System You Depend On Daily
Battery terminal corrosion is one of those problems that develops gradually and invisibly until it causes a symptom that gets your attention at exactly the wrong moment.
A white or blue-green powdery buildup on battery terminals increases electrical resistance at the connection between the battery and the vehicle’s electrical system, potentially causing hard starting, electrical system instability, and, in advanced cases, a no-start condition that leaves you stranded.
Cleaning corroded terminals and replacing a failing battery are both tasks that basic hand tools handle completely. Identifying terminal corrosion requires opening the hood and visually inspecting both battery terminals. White, powdery deposits concentrated around the terminal connection points indicate lead sulfate corrosion from normal battery gassing.
Blue-green deposits indicate copper sulfate formation from electrolyte contact with the copper in the terminal clamp hardware. Both types of corrosion are electrically problematic, and both respond to the same cleaning approach.
Gather the following items before starting: a 10mm wrench or socket for most domestic and Asian vehicles (some European vehicles use 13mm), a stiff-bristled cleaning brush or dedicated battery terminal brush, a solution of baking soda mixed with water, and petroleum jelly or dedicated battery terminal protector spray for post-cleaning protection.
Safety glasses are advisable because battery cleaning can produce minor splatter. Disconnect the negative terminal first by loosening the clamp bolt and wiggling the clamp free from the post. Disconnecting the negative first prevents accidental short circuits during the process. Disconnect the positive terminal second using the same procedure.
With both terminals disconnected, apply the baking soda solution to the corroded areas and scrub with the terminal brush to break down and remove corrosion deposits. Rinse the cleaned areas with a small amount of clean water and dry with a cloth. Inspect the battery case for cracks or swelling that indicate a battery requiring replacement.
If the battery needs replacement, note the group size printed on the battery label and purchase a replacement with the same group size and a cold cranking amp rating equal to or greater than the original. Install the new battery, connect positive first, then negative, and apply a thin coat of petroleum jelly to both terminal connections after tightening to inhibit future corrosion formation.
For a vehicle like the 2023 Ford F-150 Lightning Standard Range AWD (P702A platform), whose 12-volt auxiliary battery supports critical vehicle electronics, clean terminal connections are a practical reliability requirement rather than a cosmetic concern.
Keeping those terminals clean and corrosion-free with basic hand tools is a twenty-minute task that prevents electrical problems that are far more time-consuming and expensive to diagnose and repair after they develop.
Also Read: 12 Tips to Keep Your Engine Running Like New for Over 500,000 Miles

3. Cabin Air Filter Replacement: Fresh Air Inside Your Vehicle Costs Almost Nothing to Restore
Cabin air filters clean the air that enters the passenger compartment through the vehicle’s HVAC system, capturing dust, pollen, mold spores, and other airborne particles before they reach the interior. A clogged cabin filter reduces HVAC airflow, forces the blower motor to work harder, allows more contaminants into the cabin, and can contribute to odors from mold growth in the filter medium itself.
Replacing it is one of the most accessible and most consistently overcharged shop tasks available, because on most vehicles it requires nothing more than a Phillips screwdriver and about ten minutes. Cabin filter location varies more between vehicle models than engine air filter location, but two positions cover the majority of vehicles on the road. Behind the glove box is the most common location, where the filter slides into a housing that becomes accessible when the glove box is removed or folded down past its normal stop position.
Under the dashboard on the passenger side is the second most common position, where the filter housing is accessible from below, with the filter sliding out horizontally or vertically, depending on the vehicle’s design. A small number of vehicles locate the cabin filter under the hood near the base of the windshield in the fresh air intake plenum.
Look up your specific vehicle’s cabin filter location before starting, using either the owner’s manual or a quick online search with your year, make, and model. Video tutorials for specific vehicles are widely available and can make the process even more straightforward by showing exactly what the housing looks like and how the filter slides out.
Glove box removal on vehicles with behind-the-box filter locations typically involves opening the glove box fully, pressing the sides inward to clear the stop tabs that prevent the box from swinging fully open, and allowing the box to drop down past its normal range to reveal the filter housing behind it. Some vehicles require removing two to four screws to drop the lower dashboard panel before the filter housing is accessible, which is where the screwdriver earns its place in the process.
Note the orientation of the old filter before removing it, as cabin filters have a specific airflow direction marked with an arrow that must be installed correctly for proper function. Insert the new filter in the correct orientation, replace the housing cover, and reassemble the glove box or dashboard panel.
A vehicle like the 2022 Chevrolet Equinox RS FWD (third generation) has a cabin filter located directly behind the glove box that pops out in under eight minutes once you know the process. Dealers routinely charge between $40 and $80 for this service, while the filter itself costs $15 to $25 from an auto parts store. A home replacement pays for itself in the very first service interval.

4. Spark Plug Replacement on Accessible Engines: A Tune-Up You Can Handle at Home
Spark plug replacement carries an intimidating reputation that is not entirely warranted, particularly on vehicles whose engine layout places the spark plugs in accessible positions that do not require removing intake manifolds, coil packs buried under multiple layers of components, or other obstacles that genuinely belong in a shop environment.
On four-cylinder engines mounted transversely in most front-wheel-drive vehicles, and on many inline-six and V8 engines with conventional coil-on-plug or distributor-style ignition, spark plug replacement with a basic socket set and a torque wrench is a realistic home maintenance task.
Spark plugs require replacement at intervals specified in the vehicle owner’s manual, typically ranging from 30,000 miles for standard copper plugs to 60,000 miles for platinum plugs and 100,000 miles for iridium plugs.
Worn spark plugs cause reduced fuel efficiency, rough idle, hesitation during acceleration, and, in some cases, check engine light illumination for misfire codes. Replacing them on schedule maintains combustion efficiency and prevents the secondary problems that misfiring causes for catalytic converters and oxygen sensors.
Tools required for spark plug replacement include a ratchet handle, an extension bar of appropriate length to reach the plug depth in the engine head, a spark plug socket specifically designed with a rubber insert to grip and protect the plug during removal and installation, a torque wrench to tighten new plugs to the manufacturer’s specification, and dielectric grease for the boot connections on coil-on-plug ignition systems.
Anti-seize compound for plug threads is optional on aluminum-head engines but recommended by many technicians to prevent galling during future removal. Allow the engine to cool completely before starting.
Hot aluminum engine heads can cause spark plug threads to gall during removal, and working near a hot engine presents burn risk. With the engine cold, remove coil-on-plug connectors and coils from each cylinder, keeping track of their positions.
Remove plugs one at a time using the spark plug socket, inspect each old plug for the condition information it provides about combustion, and install new plugs of the manufacturer-specified type and gap setting. Tighten each plug to the torque specification listed in the service manual rather than relying on feel alone.
A 2023 Toyota Corolla XSE CVT (E210 platform) with its 2.0-liter M20A-FKS four-cylinder engine has spark plugs that are directly accessible from the top of the engine with coil packs that lift straight out after removing a single bolt each.
Replacing the spark plugs on this vehicle at home saves the $150 to $200 that dealers typically charge for this service interval, and the job takes approximately 45 minutes for a first-time home mechanic working carefully.

5. Windshield Wiper Blade Replacement: A Two-Minute Job That Shops Somehow Charge for
Few maintenance tasks reveal the gap between actual difficulty and shop labor charges as clearly as windshield wiper blade replacement. Replacing wiper blades on virtually every passenger vehicle requires zero tools, takes between two and five minutes for both blades, and demands no mechanical knowledge beyond understanding how the blade attachment hook releases from the wiper arm.
Yet service centers routinely charge labor time on top of the blade cost for this task, and quick-lube shops treat it as an add-on service worth several minutes of billed time. Wiper blades are available in two main types: conventional bracket-style blades and beam blades.
Conventional blades use a metal framework with multiple pressure points that contact the blade rubber along its length. Beam blades use a single curved piece of material without a bracket that distributes contact pressure through the blade’s curved profile.
Beam blades generally perform better in winter conditions because they lack the bracket where ice and snow accumulate, but they are more expensive than conventional blades. Both types use the same basic attachment hook system that connects to the wiper arm.
Before purchasing replacement blades, measure both the driver and passenger wiper blades because they are frequently different lengths, and check the wiper arm attachment style to ensure compatibility with the replacement blade you select. Most modern vehicles use a J-hook attachment, but pinch tab, pin, and bayonet attachment styles exist on some vehicle models.
Auto parts store parts lookup systems identify both blade lengths and attachment style compatibility when you enter your vehicle information. To remove a conventional wiper blade, lift the wiper arm away from the windshield until it locks in the upright position, locate the tab or button on the blade where it connects to the arm hook, press or slide the release mechanism as directed for your specific blade style, and slide the blade off the arm hook.
Installation reverses this process: position the blade on the arm, slide it onto the hook, and push until the locking mechanism clicks into position. Gently lower the arm back onto the windshield without dropping it, as a bare metal wiper arm dropped onto glass can crack the windshield.

6. Positive Crankcase Ventilation Valve Replacement: A Small Part With a Big Impact on Engine Health
Positive crankcase ventilation valves, universally abbreviated as PCV valves, are small spring-loaded valves that manage the flow of combustion blowby gases from the crankcase back into the intake system for reburning rather than venting them directly to the atmosphere.
A functioning PCV valve is essential for proper crankcase pressure management, oil consumption control, and prevention of sludge formation in the engine oil. A stuck or failed PCV valve can cause oil leaks from pressurized crankcase conditions, accelerated oil contamination, and rough idle symptoms that look like more expensive problems until the actual cause is identified.
PCV valves are among the most affordable parts in an engine’s maintenance inventory, typically costing between $5 and $25 depending on the vehicle, and they are among the most accessible components on most inline four-cylinder and six-cylinder engines.
Replacement requires a single tool in most cases: a pair of pliers or a wrench to grip and unscrew or pull the valve from its housing, plus a clean cloth to wipe the port before installing the new valve. Locating the PCV valve on your specific engine requires consulting the owner’s manual or an online search for your year, make, and engine, because the valve’s position varies considerably between engine designs.
On many four-cylinder engines, the PCV valve is located in a rubber grommet in the valve cover and connects via a hose to the intake manifold or throttle body. Before removing the old PCV valve, note how the connecting hose attaches so that reinstallation is straightforward.
Slide the hose off the old valve’s nipple, remove the valve from its grommet or threaded port, and inspect the hose interior for oil residue accumulation that may indicate the valve has been stuck for some time. Install the new valve into the grommet or thread it into the port to the manufacturer’s specified torque if it is a threaded type, reattach the hose, and confirm that the hose clamp or push-fit connection is secure.

7. Serpentine Belt Inspection and Replacement: Avoiding a Breakdown With a Wrench and Some Observation
Serpentine belt failure is one of the most avoidable roadside breakdowns a driver can experience, because the belt provides visible warning signs of approaching failure well before it actually breaks. Inspection requires nothing more than visual examination and basic familiarity with what a healthy belt looks like compared to one that needs replacement.
Replacement on most modern engines with automatic belt tensioners requires a single wrench or breaker bar to release the tensioner, making this a task that basic tool ownership fully supports. A serpentine belt drives multiple engine accessories simultaneously from a single continuous loop, typically powering the alternator, power steering pump, air conditioning compressor, and water pump from the engine’s crankshaft pulley.
When a serpentine belt breaks or slips off its pulleys, all of these accessories lose their drive simultaneously, resulting in battery discharge from alternator loss, power steering failure, air conditioning shutdown, and, in many vehicles, water pump failure that leads to rapid engine overheating.
Visual inspection of a serpentine belt takes less than two minutes. With the engine off and cool, locate the belt’s path around the engine’s accessory pulleys and examine the belt surface visible from above and from the side of the engine bay.
Look for cracking across the belt ribs on the ribbed inner surface, fraying or unraveling at the belt edges, glazing on the inner rib surface that indicates belt slippage, and missing chunks or chunks in the rubber material. Any of these conditions indicates a belt that should be replaced before it fails in service.
Belt tensioner condition is assessed simultaneously by observing the tensioner pulley while the engine runs briefly. A belt tensioner that oscillates visibly, allowing the belt to flutter and bounce rather than running smoothly, indicates that the tensioner’s internal damping mechanism has worn and that both the tensioner and belt should be replaced together.
For replacement, take a photograph of the belt’s routing path around all pulleys before removing it, because the routing diagram may not be clearly labeled under the hood, and reinstalling the belt on the wrong path defeats the entire purpose of the replacement.
Using the appropriate socket or wrench on the tensioner pulley bolt, rotate the tensioner against its spring tension to release belt pressure, slide the belt off one pulley to release all tension, and remove the belt from the remaining pulleys. Install the new belt following your routing photograph, tension it by rotating the tensioner again while sliding the belt onto the final pulley, and release the tensioner onto the new belt.
For a vehicle like the 2023 Kia Sorento SX V6 AWD (MQ4 generation), whose 3.5-liter V6 engine drives its accessory belt in a conventionally accessible layout, inspecting and replacing the serpentine belt at home with a single breaker bar and a routing photograph is a realistic task that prevents the roadside breakdown scenario that belt neglect produces.
Replacement every 60,000 to 100,000 miles as a scheduled item, rather than waiting for failure, is a reliability investment that basic tool ownership makes accessible to any motivated car owner.
Also Read: 15 Best EV Charging Tips for Longer Battery Life

8. Exterior Lighting Replacement: Restoring Full Visibility With Nothing More Than a Screwdriver
Burnt exterior bulbs represent one of the most routine issues encountered during vehicle ownership, and their replacement usually sits well within the capability of any owner willing to handle simple tasks. Turn signals, brake lights, reverse lamps, and parking lights on most vehicles are designed for straightforward access.
In many cases, removal involves nothing more than loosening a few retaining screws with a basic screwdriver or reaching an access point provided inside the trunk or cargo area. These design choices exist to allow quick servicing without specialised equipment.
Headlight bulb replacement presents a wider variation depending on bulb type and vehicle layout. Conventional halogen headlights are commonly accessed from behind the headlamp housing within the engine bay. The process typically involves twisting the bulb socket to release it, withdrawing the bulb, and installing a replacement.
Care must be taken to avoid touching the glass surface of a halogen bulb directly, as oils from the skin create hot spots that shorten bulb lifespan. Using a clean cloth or the bulb’s packaging during installation prevents this issue. LED and HID headlight systems demand closer attention.
Some vehicles permit simple access similar to halogen designs, while others require partial removal of the headlamp assembly. HID systems also include high-voltage components that increase risk for inexperienced hands. Confirming the exact replacement procedure for a specific vehicle before attempting the task helps determine whether professional assistance is advisable.
Rear lighting access remains among the simplest maintenance tasks. Panels behind trunk liners or cargo area trim expose bulb sockets that bend out easily. For a 2024 Toyota RAV4 XLE Premium AWD, a failed brake or turn signal bulb can be replaced in minutes without tools. Replacement bulbs cost little, making paid labour unnecessary for such a straightforward task.