
Driving on rough roads can turn any pleasant journey into a frustrating nightmare. The constant squeaks and rattles from your vehicle can be both annoying and alarming. These sounds are not just irritating they often signal underlying mechanical issues that need immediate attention.
Every vehicle, regardless of its age or brand, is susceptible to developing these unwanted noises. Old cars develop them through wear and tear. New cars can develop them through loose factory fittings and vibration over time.
Squeaks and rattles originate from many different parts of your vehicle. They can come from the suspension, dashboard, doors, exhaust system, or even loose interior trim. Identifying the exact source is the first and most critical step toward solving the problem.
Ignoring these noises can be costly. A small squeak today can turn into a major mechanical failure tomorrow. Addressing them early saves you time, money, and unnecessary stress on the road.
This guide covers 12 proven, practical methods to eliminate those annoying squeaks and rattles. Each method is straightforward and actionable. Whether you are a DIY enthusiast or a regular car owner, these solutions will help you restore the quiet, smooth ride your vehicle deserves.
1. Inspect and Lubricate Suspension Components
The suspension system is one of the most common sources of squeaks and rattles on rough roads. It absorbs shocks and keeps your vehicle stable. When its components wear out or dry up, they begin making noise with every bump.
Your suspension consists of several key parts. These include ball joints, control arms, tie rods, sway bar links, and bushings. Any one of these can start squeaking when they lose their lubrication or become worn.
Start with a visual inspection. Park your vehicle on a flat surface and look underneath. Check for any visible cracks, tears, or worn rubber bushings in the suspension area.
Bounce each corner of the car. Press down firmly on the hood or trunk corners and release. If you hear a squeak or creak, the suspension on that side likely needs attention.

Ball joints are a primary culprit. They connect the steering knuckle to the control arm. When they run dry of grease, they produce a distinct creaking noise on bumpy terrain.
Apply grease to ball joints through grease fittings. Use a grease gun with high-quality lithium or moly-based grease. Some older vehicles have sealed ball joints that cannot be greased and must be replaced entirely.
Sway bar bushings are another frequent offender. These rubber bushings hold the sway bar in place. When they dry out or crack, they create a clunking or squeaking sound over rough patches.
Remove the sway bar bushings and apply rubber lubricant. Silicone-based lubricants work best on rubber components. Avoid petroleum-based products as they can degrade rubber over time.
Control arm bushings also wear out with age and mileage. They dampen vibrations between the control arm and vehicle frame. Worn bushings allow excessive movement, producing loud clunks and rattles.
Inspect the bushings for cracking or deformation. If they look cracked or collapsed, replacement is necessary. New polyurethane bushings often last longer than stock rubber ones.
Tie rod ends connect the steering rack to the wheels. Worn tie rod ends cause both noise and imprecise steering. A loose tie rod end is a safety hazard that needs immediate replacement.
Check tie rod ends by grabbing the wheel at 9 and 3 o’clock positions. Try to wiggle it side to side. Excessive play indicates a worn tie rod end that must be replaced promptly.
Regular lubrication of all suspension grease points every 6,000 to 10,000 miles prevents premature wear. It also keeps your suspension quiet and performing at its best. A well-lubricated suspension transforms the driving experience on rough roads significantly.
2. Tighten Loose Exhaust System Components
The exhaust system runs the entire length of your vehicle. It is constantly exposed to heat, vibration, and road debris. Over time, its mounting hardware loosens and its hangers deteriorate, causing loud rattles.
Exhaust rattles are often mistaken for suspension or engine noise. They tend to be louder during acceleration and deceleration. The noise typically resonates through the floor of the vehicle, making it feel like a whole-body vibration.
Inspect the exhaust hangers first. These rubber loops hold the exhaust pipes and muffler in place. When they crack or break, the exhaust system sags and vibrates against the vehicle’s undercarriage.
Replace any cracked or broken hangers immediately. New rubber hangers are inexpensive and widely available. This simple fix can eliminate a significant portion of exhaust-related rattling.

Heat shields are thin metal covers surrounding the catalytic converter and exhaust pipes. They protect surrounding components from extreme heat. Over time, they loosen and vibrate violently against the exhaust pipes.
Check heat shields by gently shaking the exhaust system by hand. If you hear a tin-like rattling sound, the heat shield is likely the culprit. Loose heat shields can often be tightened with new bolts or secured with exhaust-specific clamps.
Exhaust pipe flanges connect different sections of the exhaust system together. The bolts and gaskets at these connections loosen over time. A blown exhaust gasket also causes a ticking or hissing sound that worsens under load.
Tighten all exhaust flange bolts with the appropriate torque. Replace any damaged or compressed gaskets at the same time. Use anti-seize compound on the threads to prevent future corrosion and ease future disassembly.
The muffler itself can develop internal rattles as its internal baffles break down. This creates a deep, hollow rattling sound during engine operation. A rattling muffler typically needs complete replacement rather than repair.
Listen carefully to isolate whether the rattle comes from inside the muffler. Have an assistant rev the engine while you walk along the vehicle. A hollow, resonant rattle from the muffler area confirms internal baffle damage.
Keeping your exhaust system in good condition improves engine performance. It also reduces harmful emissions and keeps your cabin quiet. Annual exhaust inspections are a smart and cost-effective maintenance habit to adopt.
3. Check and Replace Worn Shock Absorbers and Struts
Shock absorbers and struts are essential to a quiet, controlled ride. They dampen the energy from road impacts. When they wear out, every bump becomes a loud, jarring experience inside the cabin.
A worn shock absorber loses its ability to control suspension movement. The spring bounces freely without dampening. This leads to excessive body roll, nose dive, and constant banging over rough terrain.
Perform the bounce test on each corner of your vehicle. Push down hard on each corner and count the bounces after release. More than one or two bounces indicates a worn shock absorber on that corner.
Struts are structural components that combine a shock absorber and spring into one unit. They are found on the front axle of most modern vehicles. A worn strut produces a harsh clunking sound when hitting potholes or bumps.

Inspect struts for oil leakage around the shaft. A wet, oily residue on the strut body means the internal seal has failed. A leaking strut has lost its dampening ability and must be replaced promptly.
Worn shock absorbers also affect tire contact with the road. This creates uneven tire wear patterns. Scalloped or cupped tires are a clear sign that your shocks are no longer functioning properly.
Replace shocks and struts in pairs on the same axle. This ensures balanced handling and a smoother ride. Mixing a new shock with an old one on the same axle causes uneven vehicle behavior.
Top strut mounts and bearing plates also wear out over time. These components sit at the top of the strut assembly. A worn top mount produces a clunking or grinding sound when the steering wheel is turned.
Check the top strut mount for cracking or separation. Replace it alongside the strut for best results. Most mechanics recommend replacing the full strut assembly including mount, bearing, and spring isolator at the same time.
Quality shock absorbers dramatically improve ride comfort and noise reduction. They are a critical safety component that affects braking, handling, and stability. Replacing them at 50,000 to 70,000 miles is a wise preventive maintenance step.
4. Secure Loose Interior Trim Panels and Clips
Interior rattles are among the most frustrating vehicle noises to deal with. They seem to appear from everywhere and nowhere at the same time. Dashboard panels, door cards, and pillar trims are the most frequent offenders.
Interior panels are held in place by plastic retaining clips. These clips become brittle and break over time. Once a clip breaks, the panel sits loosely and vibrates against the surrounding metal or plastic structure.
Press firmly on each interior panel while driving slowly over bumps. If the rattle disappears when you press a panel, that panel is the source. This simple test helps you pinpoint the problem quickly and accurately.
Remove the rattling panel carefully using a trim removal tool. Standard screwdrivers can scratch and damage surrounding trim. Plastic trim removal tools are inexpensive and prevent cosmetic damage during the repair process.

Once the panel is removed, inspect all the retaining clips. Replace any broken or missing clips with new ones from an auto parts store. Most vehicle-specific clips are available cheaply and make a significant difference in panel stability.
Apply felt tape or foam tape to the edges of the panel. This creates a soft buffer between the panel and the surrounding structure. Even a thin layer of foam tape eliminates vibration-induced contact noise effectively.
Door cards are another common rattle source in most vehicles. They are held on by a combination of screws and plastic clips. A loose door card amplifies road noise and creates a drumming sound on rough surfaces.
Check all door card screws and replace any stripped or missing ones. Run your hand behind the door card to feel for loose areas. Foam padding behind door cards can deteriorate and fall away, allowing panels to vibrate freely.
Dashboard panels and center consoles can develop rattles over years of thermal expansion and contraction. Heat causes plastics to warp slightly, loosening panel fits. Placing thin foam strips between touching plastic surfaces eliminates contact rattles permanently.
Use a flashlight to inspect gaps between dashboard panels. Even a 1mm gap between two plastic panels can cause significant rattling. A small piece of adhesive foam strip placed in that gap silences the noise immediately.
Also Read: 10 Vehicles With Air Suspension Systems That Are Financial Nightmares
5. Lubricate Door Hinges, Latches, and Strikers
Door hinges and latches are mechanical components that see constant use. They open and close hundreds of times per year. Without proper lubrication, they develop squeaks that are both annoying and embarrassing.
A squeaky door hinge is one of the most recognizable vehicle sounds. It typically occurs as the door swings open or closed. The squeak is caused by metal-on-metal friction within the hinge barrel.
Open each door fully and apply lubricant directly to the hinge barrels. Use a silicone spray or white lithium grease for best results. Work the door back and forth several times to distribute the lubricant evenly through the hinge.
Door strikers are the metal posts on the door frame that the latch engages. When they fall out of alignment, the door closes unevenly and rattles while driving. A misaligned striker also causes the door to feel loose at highway speeds.
Inspect the door striker for wear marks on the post. Shiny wear marks indicate the latch is contacting the striker in the wrong position. Strikers have slotted mounting holes that allow for vertical and horizontal adjustment.

Loosen the striker bolts slightly and reposition the striker. Close the door slowly to feel where it contacts most naturally. Then tighten the striker bolts firmly and test the door fit again until the rattle disappears completely.
Door check straps are another overlooked component. These metal straps limit how far the door swings open. A worn check strap causes the door to feel floppy and can produce a clunking sound when the door reaches its limit of travel.
Lubricate the check strap with a light machine oil or silicone spray. If the strap feels worn or bent, replacement is the better option. A properly functioning check strap keeps the door stable and prevents hinge stress.
Trunk and hood hinges suffer from the same problems as door hinges. Lack of lubrication causes squeaking during every opening. Boot lid strikers also wear out and allow the trunk lid to rattle while driving over rough terrain.
Apply grease to trunk and hood hinges at least once per year. Check the rubber bump stops on the hood and trunk for wear or collapse. Replacing old bump stops with new ones restores the proper fit and eliminates vibration-induced rattling at the panel gaps.
6. Inspect and Tighten Heat Shields
Heat shields are often overlooked during routine vehicle maintenance. They are thin metal guards protecting sensitive components from exhaust heat. Despite their simplicity, loose heat shields are one of the most common rattle sources in aging vehicles.
Heat shields are attached with bolts and clamps that loosen due to constant thermal cycling. Each time the engine heats up and cools down, the metal expands and contracts. Over thousands of cycles, this movement gradually loosens the fasteners.
Locate all heat shields under your vehicle during a cold inspection. There are typically shields around the catalytic converter, exhaust manifold, and muffler. Each shield should be firmly attached with no visible gaps or loose edges.

Grab each shield by hand and try to wiggle it. A secure heat shield should not move at all. Any detectable movement means the fasteners are loose or the shield has corroded through at its mounting points.
Tighten loose heat shield bolts with the appropriate socket. Use a torque wrench to avoid overtightening thin metal hardware. If the mounting holes have corroded and enlarged, use a large washer to provide better clamping surface for the bolt head.
Sometimes the heat shield has corroded beyond saving. The metal can rust through completely, leaving it held on by only one or two fasteners. In this case, removal or replacement is the correct course of action.
Remove a severely corroded heat shield if it cannot be secured properly. Driving without a heat shield is not ideal, but it is safer than having one rattle loose entirely. Replacement shields are available from dealerships and aftermarket suppliers.
Exhaust manifold heat shields are found on top of the engine. They shield the firewall and nearby wiring from manifold heat. These shields are also prone to developing a ticking rattle that blends confusingly with engine noise.
Inspect the exhaust manifold shield for warping or loose bolts. These are often more difficult to access than underbody shields. A mechanic with proper tools can resecure or replace them during a routine service appointment without excessive labor cost.
7. Address Worn or Loose Brake Components
Brake components are a common and sometimes serious source of vehicle rattling. Worn brake pads, loose caliper hardware, and corroded rotors all produce distinct noises. These sounds should never be ignored as they indicate safety-critical issues.
Brake pad wear indicators are small metal tabs designed to squeal when pads are thin. This high-pitched squeak is intentional and serves as a warning signal. Once you hear it consistently, brake pad replacement is overdue.
Inspect brake pad thickness through the wheel spokes if possible. Most pads should have at least 3mm of friction material remaining. Anything less than that requires immediate replacement to maintain safe stopping distances.
Caliper slide pins allow the brake caliper to move freely during braking. When they seize or corrode, the caliper applies uneven pressure on the rotor. This causes a scraping or grinding noise that is often confused with a suspension rattle.
Remove and lubricate caliper slide pins during every brake service. Use a high-temperature caliper grease rated for brake applications. Avoid using standard grease as it can melt and contaminate the brake pads under heat.

Anti-rattle clips hold the brake pads firmly within the caliper bracket. When these small clips wear out or lose tension, the pads vibrate against the bracket. This produces a metallic rattling sound that is most noticeable on rough roads.
Replace anti-rattle clips every time brake pads are replaced. Most quality brake pad sets include new clips in the package. Installing new clips takes only a few extra minutes but prevents annoying brake rattles for years.
Brake rotors can develop surface rust after sitting overnight or in wet conditions. This causes a scraping sound during the first few stops of the day. The rust clears off quickly with normal braking but indicates the rotors may be due for inspection.
Check rotors for deep grooves, scoring, or excessive rust pitting. Rotors with grooves deeper than 1mm should be replaced rather than resurfaced. Severely corroded rotor edges can also cause vibration that is felt through the brake pedal.
8. Tighten and Inspect Wheel Lug Nuts and Hubcaps
Loose wheel hardware creates dangerous rattling noises that demand immediate attention. Lug nuts can loosen over time due to vibration and thermal cycling. A wheel that is not properly secured is a catastrophic safety risk at any speed.
After any tire rotation or wheel removal, lug nuts must be torqued to the correct specification. Over-tightening and under-tightening are both problems. Always use a torque wrench rather than relying on feel alone.
Check lug nut torque with a torque wrench every 5,000 miles. Most passenger cars require lug nuts torqued between 80 and 120 foot-pounds. Refer to your owner’s manual for the exact specification for your specific vehicle.
Hubcaps and wheel covers are notorious for developing rattles. They are held in place by plastic clips that weaken over time. A loose hubcap vibrates against the wheel rim and creates a continuous clattering sound on rough roads.

Press around the perimeter of each hubcap to check for looseness. A properly seated hubcap should feel solid with no flexing or movement. Loose hubcaps can be removed, and their retaining clips can be carefully bent slightly outward to restore grip.
Wheel center caps are smaller decorative covers in the center of alloy wheels. These can also loosen and rattle against the wheel. They are typically held by a simple snap-fit mechanism that wears over time.
Remove the center cap and inspect the snap tabs for wear or breakage. Replace broken center caps rather than trying to repair them. A new center cap costs very little and eliminates an irritating source of cabin noise immediately.
Wheel weights used for balancing can fall off the rim over time. A missing wheel weight causes vibration that is felt through the steering wheel and floorboards. This vibration is often confused with a rattle but has a rhythmic quality tied to vehicle speed.
Have your wheels rebalanced if you notice speed-related vibration. Most tire shops perform wheel balancing inexpensively and quickly. Proper wheel balance also extends tire life and improves fuel efficiency significantly.
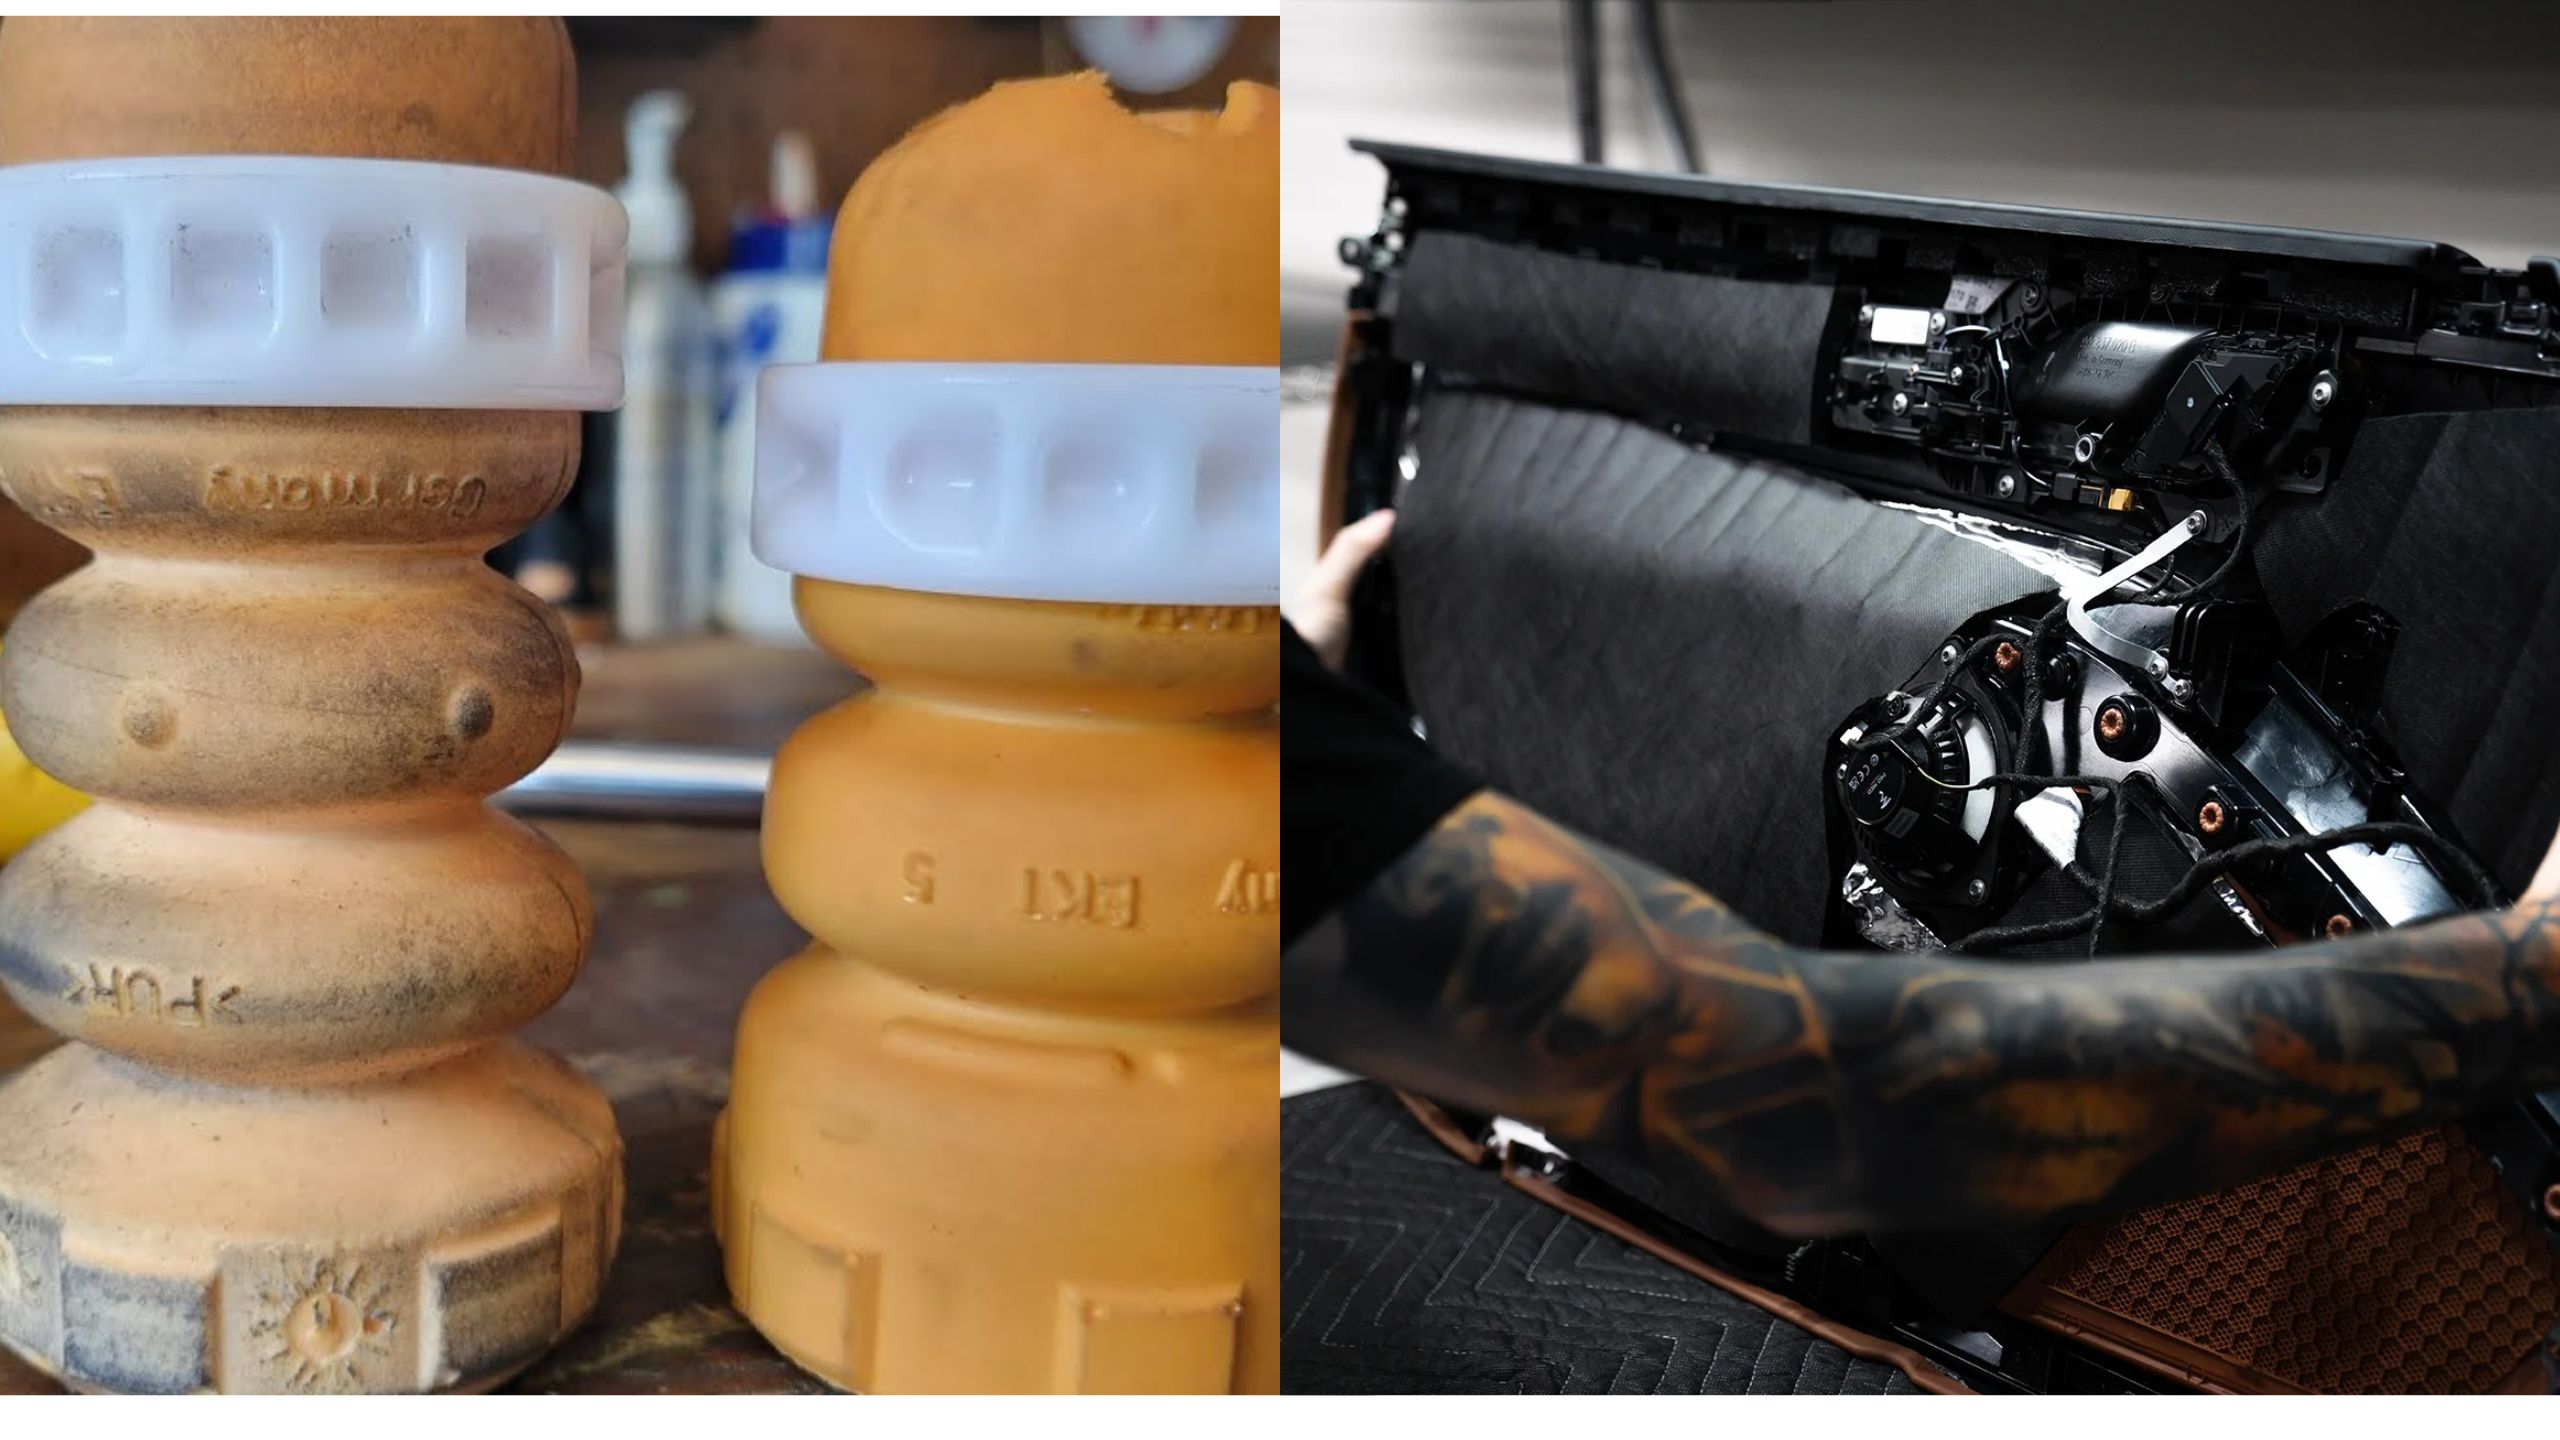
9. Replace Worn Rubber Bump Stops and Jounce Bumpers
Rubber bump stops and jounce bumpers are small but critically important components. They prevent metal-to-metal contact within the suspension system. When they deteriorate, they allow harsh impacts that generate loud banging and clunking noises.
Bump stops are located on the shock absorber or strut body. They compress when the suspension travels to its maximum upward position. Without a functioning bump stop, the suspension slams against the frame or control arm with tremendous force.
Inspect bump stops visually when performing other suspension work. Look for severe compression set, cracking, or complete disintegration. Deteriorated bump stops often crumble into pieces that fall away from the shock absorber body.
Replace any damaged or missing bump stops promptly. New bump stops are inexpensive and usually take only minutes to install. Failing to replace them leads to suspension damage and increasingly loud banging noises on rough roads.

Jounce bumpers are slightly different from standard bump stops. They are larger cushions mounted on the strut housing or frame. They protect the vehicle during extreme suspension compression from large potholes or speed bumps.
Feel for excessive harshness when driving over large bumps. If the vehicle produces a sharp thud rather than a muffled bump, the jounce bumper may be missing or destroyed. This harsh noise transmits directly through the chassis and is felt throughout the cabin.
Steering rack bump stops prevent the steering rack from over-traveling. They sit at the inner end of the steering shaft. Worn rack bump stops allow the steering to bottom out, producing a sharp knocking sound at full steering lock.
Check for knocking when turning the steering wheel to full lock. A knock at full lock indicates the rack is contacting the steering stop without cushioning. Replacement rack bump stops can restore the cushioned feel and eliminate the knocking completely.
Upper control arm bump stops are often forgotten during suspension inspections. They cushion contact between the upper control arm and the frame during full suspension compression. Replacing these along with shocks and struts gives a comprehensive noise reduction result.
10. Fix Rattling Windows and Sunroof Seals
Window and sunroof rattles are extremely common in vehicles with high mileage. The rubber seals that hold glass firmly in place dry out and shrink over time. This allows the glass to vibrate within its frame, generating an annoying buzzing or rattling sound.
Window seal rattles are most noticeable at highway speeds. The aerodynamic pressure at high speed forces air between the seal and glass. This creates both wind noise and a fluttering rattle that is difficult to pinpoint without careful investigation.
Run your fingers along all window seals while the vehicle is parked. Feel for any areas where the seal has pulled away from the glass or door frame. Even a short section of detached seal can allow significant glass movement and noise.
Apply rubber conditioner or silicone spray to all window seals. Dry rubber seals crack and lose their flexibility, reducing their grip on the glass. Conditioning them twice a year keeps them pliable and maintains a tight, rattle-free seal around every window.

Sunroof panels develop their own unique rattles as their seals and mechanisms age. The sunroof glass can develop play within its frame. The sunroof drain tubes can also loosen and tap against the roof structure during driving.
Open and close the sunroof several times while listening for grinding or skipping. Any resistance in the sunroof mechanism indicates the tracks need cleaning and lubrication. Apply sunroof-specific track lubricant to keep the mechanism smooth and rattle-free.
Check the sunroof seal around its entire perimeter for gaps or tears. A damaged sunroof seal allows water intrusion as well as wind and rattle noise. Replacement sunroof seals are available for most vehicles and can be installed without professional tools.
Quarter window seals at the rear of the vehicle also dry out and rattle. These small fixed windows vibrate in their frames at certain engine or road frequencies. Applying rubber seal lubricant or adhesive to reseat them solves the problem quickly and inexpensively.
Press gently on each quarter window glass while a helper drives slowly. If the rattle stops when the glass is held, the seal is the confirmed source. Use a trim adhesive or fresh seal to resecure the glass and eliminate the vibration permanently.
11. Inspect the Steering Column and Linkages
Steering column noises are often confused with dashboard rattles. They share the same general location within the vehicle cabin. However, steering-related rattles typically change or worsen when the steering wheel is moved.
The steering column contains a complex assembly of shafts, joints, and bearings. These components allow the steering wheel to transmit your inputs to the front wheels. When they wear, they produce clicking, clunking, or rattling sounds during driving.
Hold the steering wheel lightly and feel for vibrations or looseness. A properly functioning steering column should feel solid with no play. Excess movement in the steering wheel at rest suggests worn column bearings or a loose universal joint.
The steering intermediate shaft connects the steering column to the steering rack. It uses universal joints at each end to accommodate suspension movement. Worn universal joints in this shaft produce a distinct clunk when transitioning from forward to reverse.
Inspect the intermediate shaft U-joints for play while an assistant rocks the steering wheel. Watch for any visible movement at the joint that does not translate directly to shaft rotation. Even a small amount of play here creates noticeable steering clunk during direction changes.
Apply grease to any greaseable fittings on the intermediate shaft. Some shafts have a slip joint that also requires periodic lubrication. A dry slip joint binds and releases unpredictably, causing a clunking sensation during slow parking maneuvers.
The steering rack mounting bushings absorb vibration between the rack and the subframe. When these bushings wear or harden, road vibrations transmit directly into the steering column. This creates a buzzing or rattling sensation through the steering wheel.
Check steering rack mounting bolts for tightness with a torque wrench. Loose rack mounting bolts allow the entire rack to shift under load. This is both a noise source and a handling safety concern that must be addressed immediately.
Clock spring assemblies inside the steering column can also rattle. The clock spring maintains electrical connections through the rotating steering wheel. A worn clock spring produces a plastic rattle that comes from deep within the steering column housing.
12. Perform a Comprehensive Anti-Rattle Treatment with Sound Deadening Material
Sometimes the source of rattles is not a single component but the vehicle’s structure itself. Thin metal body panels vibrate at certain frequencies, resonating with engine and road noise. Adding sound deadening material is the ultimate solution for persistent, hard-to-locate rattles.
Sound deadening material is a heavy, adhesive-backed butyl rubber product. It adheres directly to metal panels and adds mass to them. The added mass raises the resonant frequency of the panel, effectively eliminating vibration-induced noise.
Start with the floor of the vehicle as the primary treatment area. Remove the carpet and foam underlayment to expose the bare metal floor. Clean the metal thoroughly with isopropyl alcohol to remove oil and grease before application.
Cut the sound deadening sheets to fit each section of the floor pan. Use a roller to press the material firmly onto the metal surface. Proper adhesion is essential for maximum effectiveness air bubbles under the mat reduce its dampening ability significantly.

Door panels benefit enormously from sound deadening treatment. The hollow door cavity acts as a resonator that amplifies road noise. Applying deadening material to the inner door skin dramatically reduces drumming and panel flex noise.
Remove the door card and apply deadening material to the inner door skin. Cover at least 25% to 40% of the metal surface for noticeable improvement. Full coverage of the inner door skin provides the maximum noise reduction possible.
The firewall is another critical area for sound deadening. Engine noise and heat transmit directly through the thin firewall metal into the cabin. Treating the firewall with both sound deadening and thermal insulation creates a much quieter and more comfortable driving experience.
Apply deadening material to the firewall from inside the engine bay if accessible. Some vehicles allow easier application from inside the cabin after removing the dashboard components. Using both mechanical fasteners and adhesive ensures the material stays in place under heat cycling.
Trunk floors and wheel arches also benefit from sound deadening application. Road noise from tires transmits directly through these thin panels into the cabin. Covering them with deadening material significantly reduces tire roar and gravel impact noise.
Apply a spray-on rubberized undercoating to wheel arches for added protection. This coating both deadens sound and protects the metal from rust and stone chips. Combining spray undercoating with sheet deadening material delivers the most comprehensive noise reduction result possible for any vehicle.
Also Read: 10 Used Sedans With Cooling Fans and Radiators That Rarely Fail