Owning a Honda comes with a sense of reliability and ease, but like all vehicles, it occasionally needs a bit of attention. While regular visits to the mechanic are essential for complex issues, there are numerous minor fixes that you, as a Honda owner, can easily tackle yourself.
Mastering these DIY repairs can not only save you time and money but also give you a deeper understanding and appreciation of your vehicle.
Additionally, it can be incredibly satisfying to solve these problems on your own. From simple maintenance tasks to slightly more involved repairs, this guide will walk you through ten essential fixes that every Honda owner should know.
With these skills in your toolkit, you’ll be better prepared to keep your Honda running smoothly and efficiently, ensuring it remains a reliable companion on all your journeys. Let’s look into these practical, easy-to-master DIY fixes!
1. Changing the Engine Oil
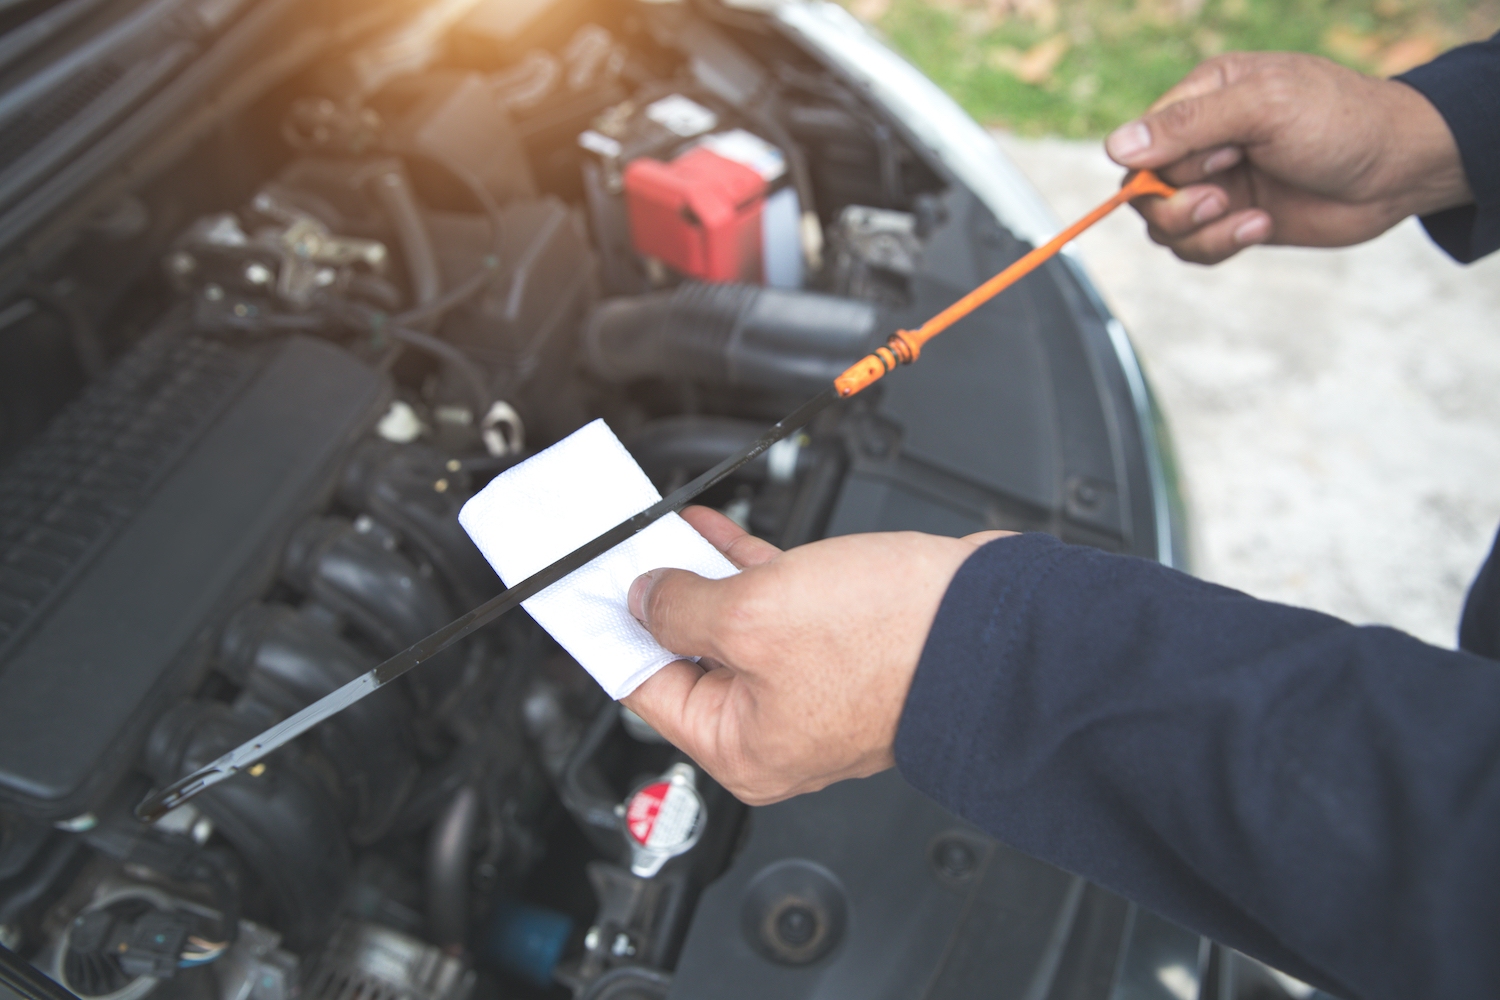
Regularly changing your engine oil is crucial for maintaining your Honda’s performance and longevity. Start by gathering the necessary tools: new oil, an oil filter, a wrench, a funnel, and a drain pan.
First, park your Honda on a level surface and let the engine cool down. Locate the oil drain plug underneath the car and place the drain pan underneath it. Using the wrench, carefully remove the plug and allow the old oil to drain completely.
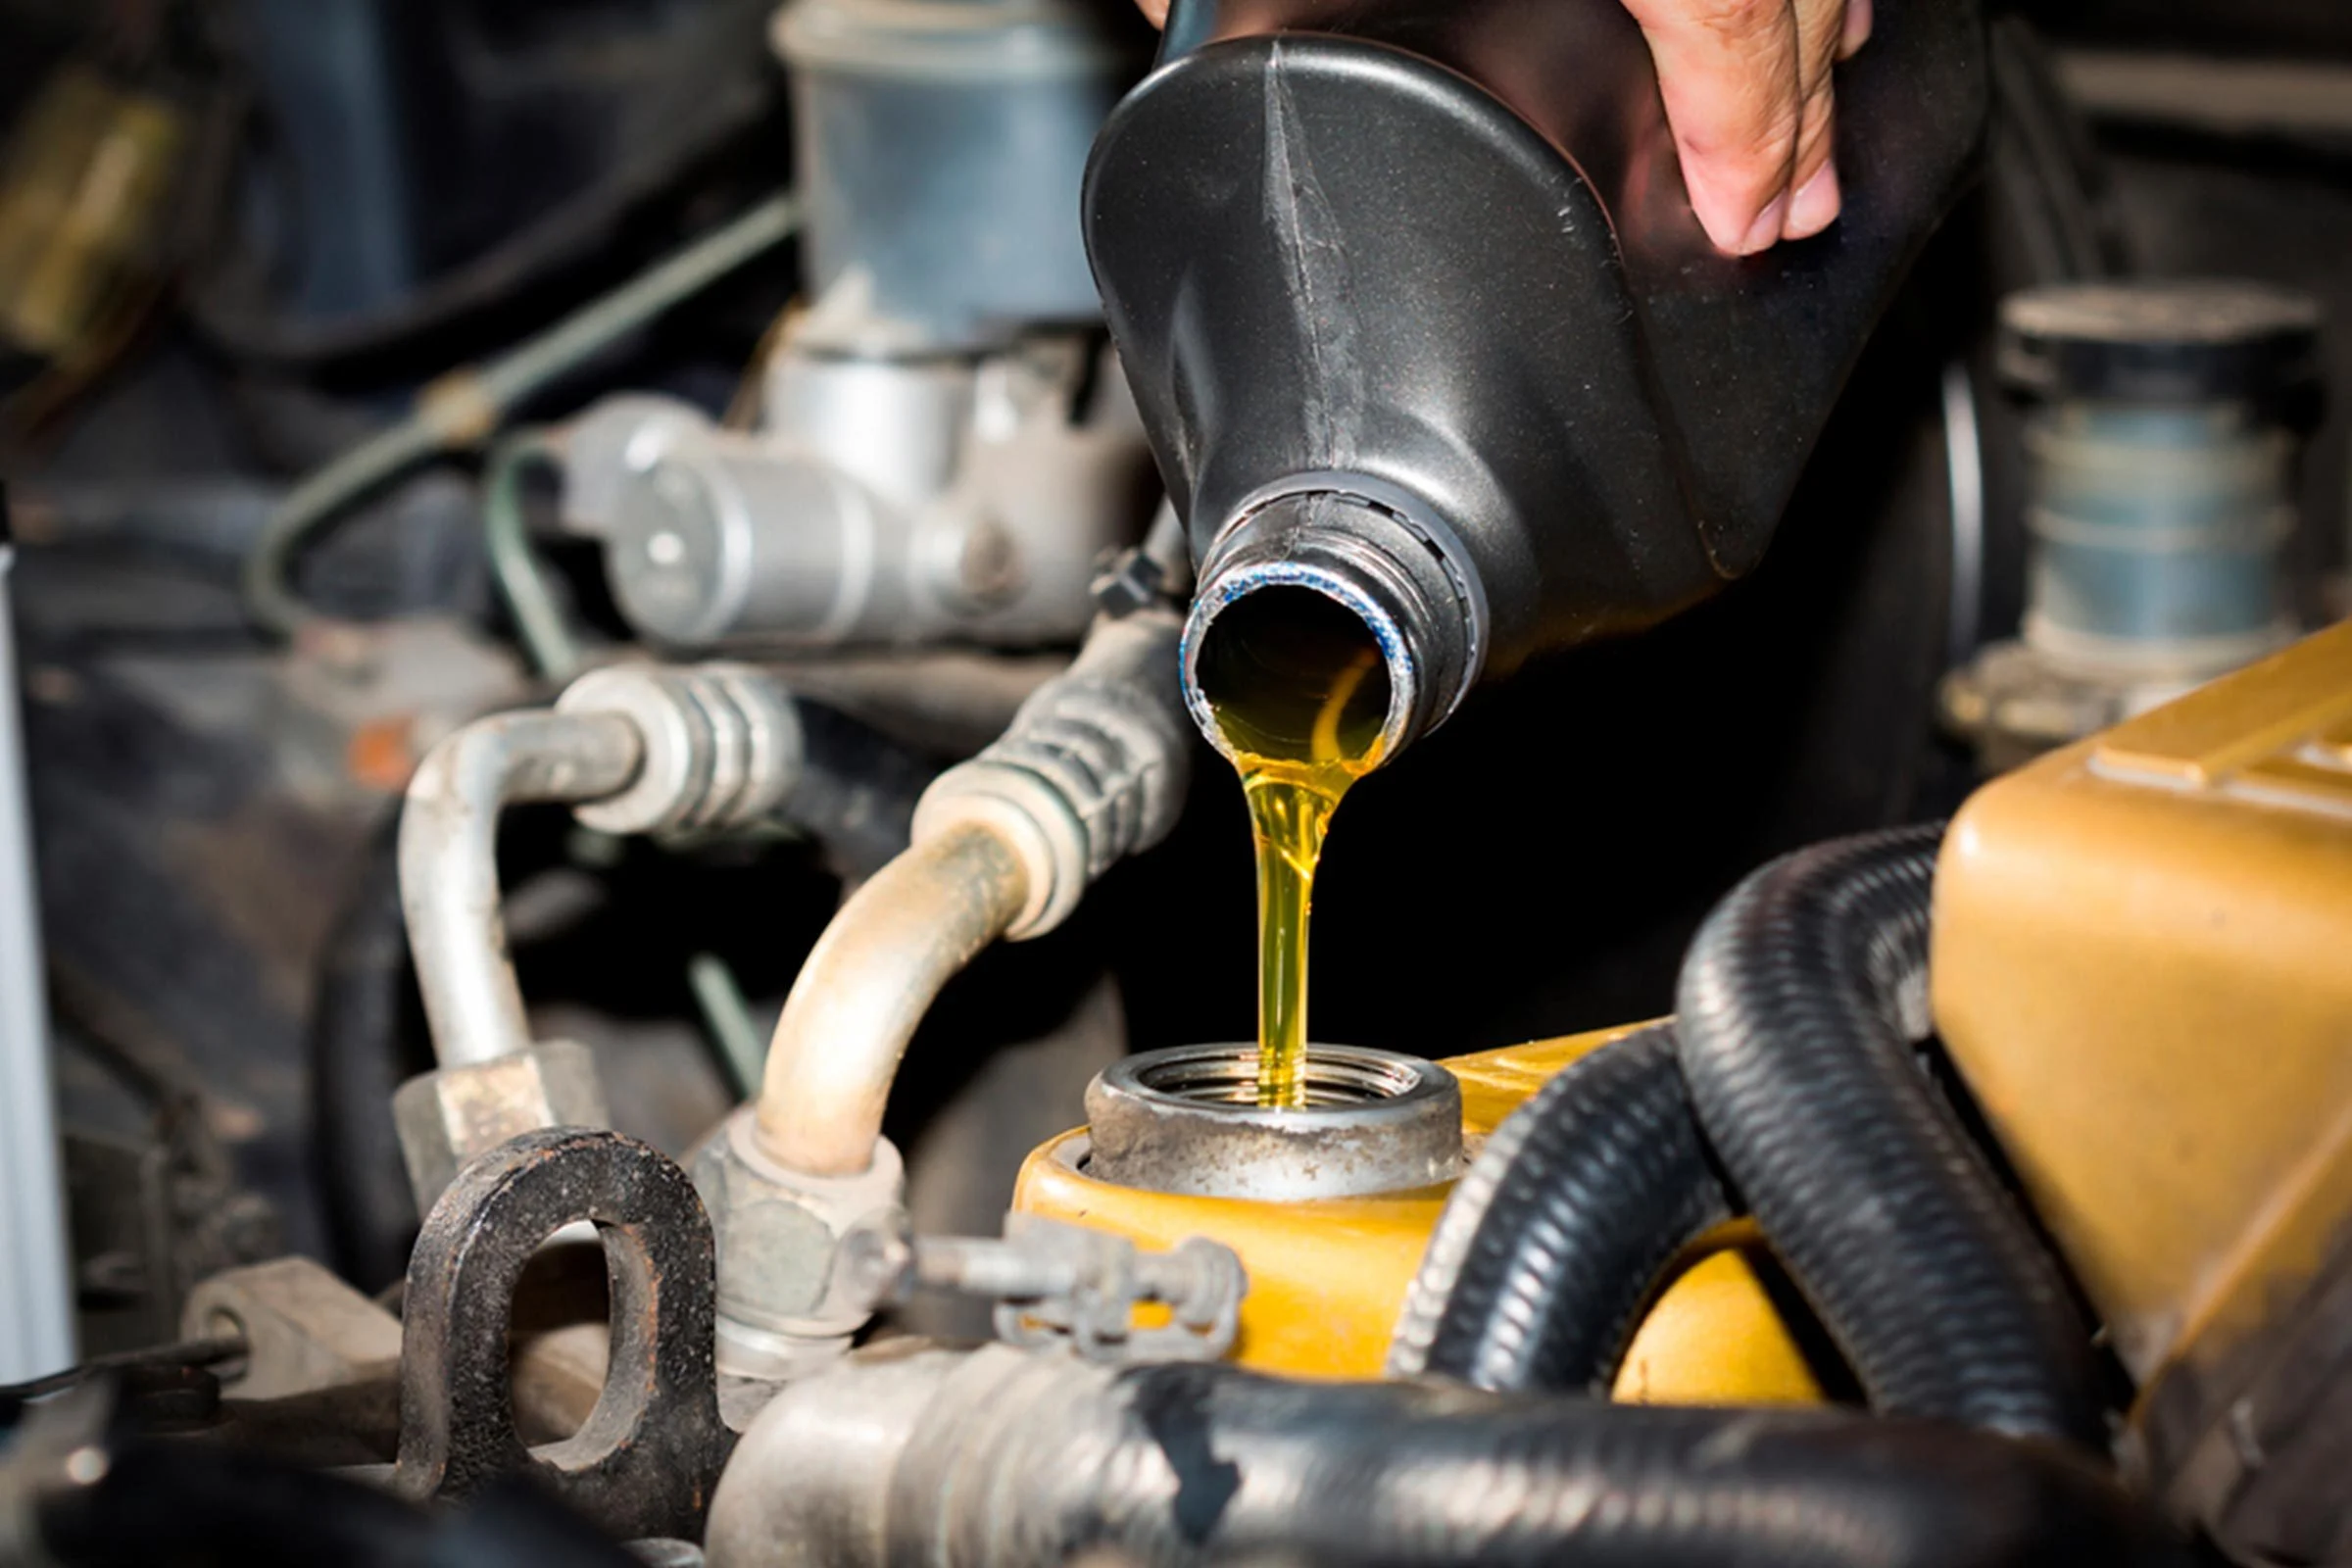
Once drained, replace the plug and move to the engine compartment. Remove the old oil filter using the wrench and install the new one. Pour the new oil into the engine using the funnel, checking your owner’s manual for the correct oil type and amount.
Finally, start the engine and let it run for a few minutes to ensure there are no leaks. Dispose of the old oil and filter properly.
2. Replacing Air Filters
A clean air filter is vital for Honda’s engine health and efficiency. Start by locating the air filter housing, typically near the engine. Open the housing by removing the clips or screws, and carefully take out the old air filter.
Inspect the old filter for dirt and debris, and compare it to the new filter to ensure it’s the correct replacement. Insert the new air filter into the housing, making sure it fits snugly. Close the housing and secure it with the clips or screws you removed earlier.
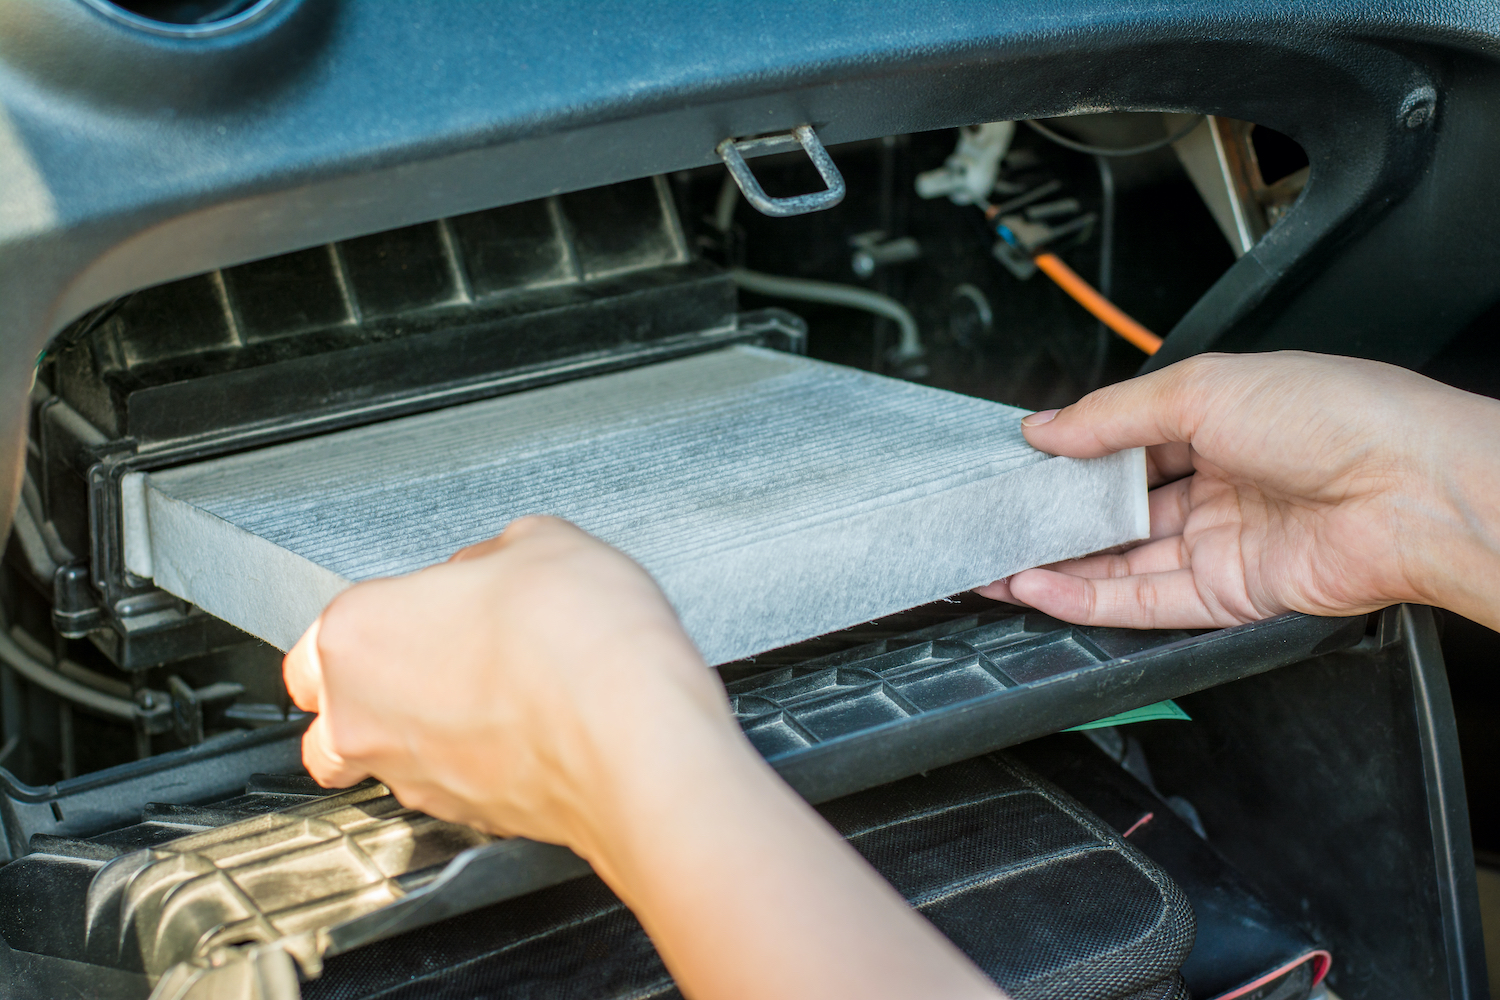
Regularly checking and replacing your air filter ensures optimal airflow to the engine, improving fuel efficiency and performance. Depending on driving conditions, aim to replace the air filter every 12,000 to 15,000 miles or as recommended in your owner’s manual. This simple fix can be done in just a few minutes, but it has a significant impact on your vehicle’s health.
3. Changing Spark Plugs
Spark plugs play a crucial role in your Honda’s ignition system, and changing them regularly ensures smooth engine performance. Begin by locating the spark plug wires or coils, usually found on top of the engine.
Gently remove the wires or coils to access the spark plugs. Using a spark plug socket and ratchet, carefully unscrew and remove the old spark plugs. Inspect them for wear and tear. Before installing the new spark plugs, check the gap using a spark plug gap tool and adjust if necessary according to the specifications in your manual.
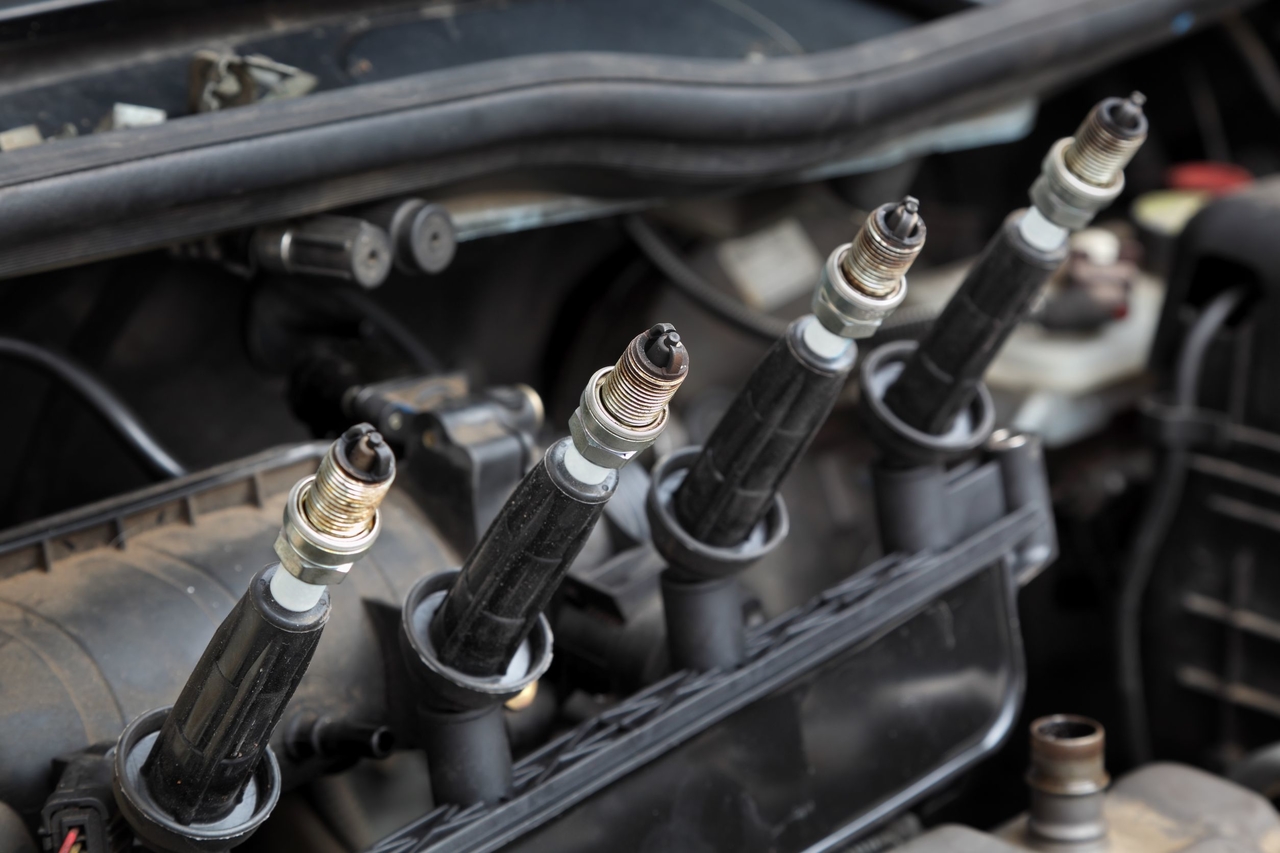
Screw in the new spark plugs by hand, and then tighten them using the socket and ratchet without over-tightening. Reattach the spark plug wires or coils. Regular spark plug replacement, approximately every 30,000 to 50,000 miles, enhances fuel efficiency, reduces emissions, and ensures your engine starts smoothly.
4. Rotating Tires
Regular tire rotation promotes even tire wear, extending the lifespan of your tires and improving vehicle safety. Start by parking your Honda on a level surface and engaging the parking brake.
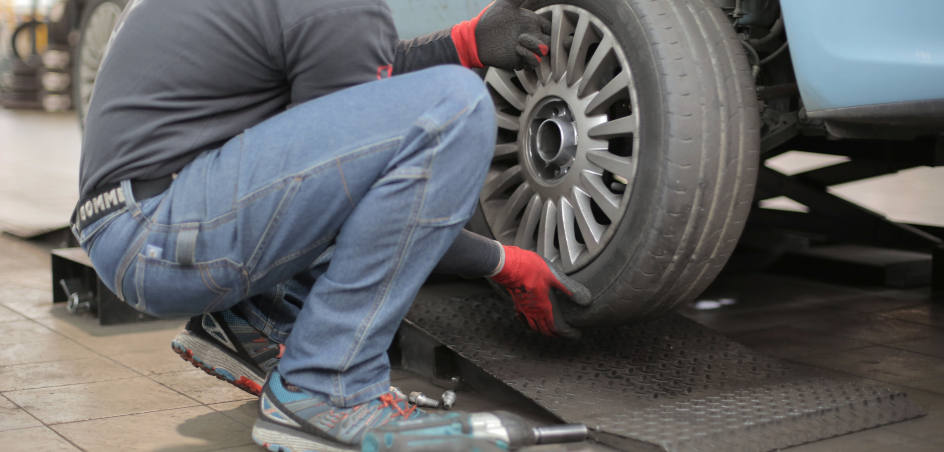
Loosen the lug nuts on all four tires, but do not remove them yet. Using a car jack, lift one corner of the vehicle and place a jack stand under the frame for support. Fully remove the lug nuts and take off the tire.
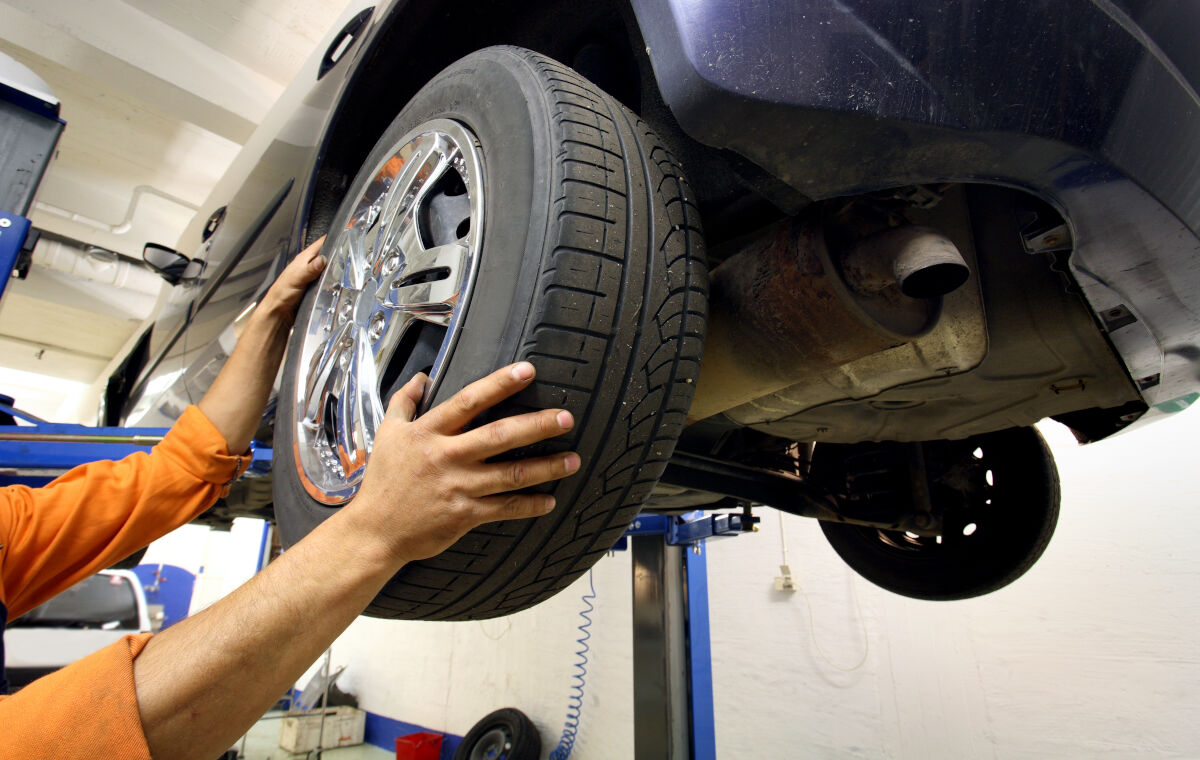
Repeat this process for all four tires. Next, rotate the tires according to your vehicle’s tire rotation pattern, which is typically a front to back or crisscross pattern, depending on whether you have front-wheel, rear-wheel, or all-wheel drive.
Reinstall the tires by hand-tightening the lug nuts. Lower the vehicle and use a torque wrench to tighten the lug nuts to the manufacturer’s specifications. Regular tire rotation ensures even tread wear, enhancing traction and vehicle handling.
5. Checking and Replacing Wiper Blades
Clear visibility is essential for safe driving, especially in adverse weather conditions. Regularly checking and replacing your wiper blades is a simple but critical maintenance task. Start by lifting the wiper arms away from the windshield.
Locate the small tab or button where the wiper blade connects to the wiper arm. Press the tab and slide the old wiper blade off the arm. Take the new wiper blade and slide it onto the arm until it clicks into place. Lower the wiper arm back onto the windshield. Repeat the process for the other wiper blade.
Test the new wiper blades by spraying windshield washer fluid and turning on the wipers to ensure they work smoothly and quietly. Ideally, wiper blades should be replaced every six months to a year, or whenever they show signs of wear such as streaking, skipping, or splitting.
6. Fixing a Flat Tire
Knowing how to fix a flat tire is a valuable skill that can save you from being stranded. Ensure you have a spare tire, a car jack, a lug wrench, and a tire pressure gauge in your Honda. Start by parking on a flat, stable surface and engaging the parking brake.

Place wheel chocks or heavy objects in front of and behind the opposite tire to prevent rolling. Use the lug wrench to loosen, but not remove, the lug nuts on the flat tire. Jack up the car until the flat tire is off the ground.
Fully remove the lug nuts and take off the flat tire. Mount the spare tire onto the wheel studs and hand-tighten the lug nuts.
Lower the car back to the ground and use the lug wrench to securely tighten the lug nuts in a star pattern. Check the spare tire’s pressure and inflate if necessary. Drive to a professional to repair or replace the flat tire.
7. Replacing Brake Pads
Replacing brake pads is essential for maintaining your Honda’s braking performance. Start by safely lifting the vehicle and removing the wheels to access the brake calipers. Use a wrench to remove the caliper bolts and gently slide the caliper off the brake rotor. Take out the old brake pads from the caliper bracket.
Inspect the brake rotor for wear and have it resurfaced or replaced if necessary. Before installing the new brake pads, apply brake grease to the back of the pads to reduce noise. Insert the new pads into the caliper bracket. Use a C-clamp to compress the caliper piston back into the caliper housing, making room for the new pads.
Reinstall the caliper onto the rotor and secure it with the caliper bolts. Repeat the process for the other wheels. Lower the vehicle and pump the brake pedal a few times to ensure the pads are properly seated. Test the brakes to ensure they are working correctly before driving.
8. Flushing the Radiator
Flushing your radiator is essential for maintaining your Honda’s cooling system. Start by ensuring the engine is cool and locating the radiator drain plug underneath the vehicle.
Place a drain pan under the plug and open it to drain the old coolant. Once drained, close the drain plug and remove the radiator cap. Pour a radiator flush solution into the radiator and fill it with distilled water. Replace the radiator cap and start the engine, letting it run for 10-15 minutes.
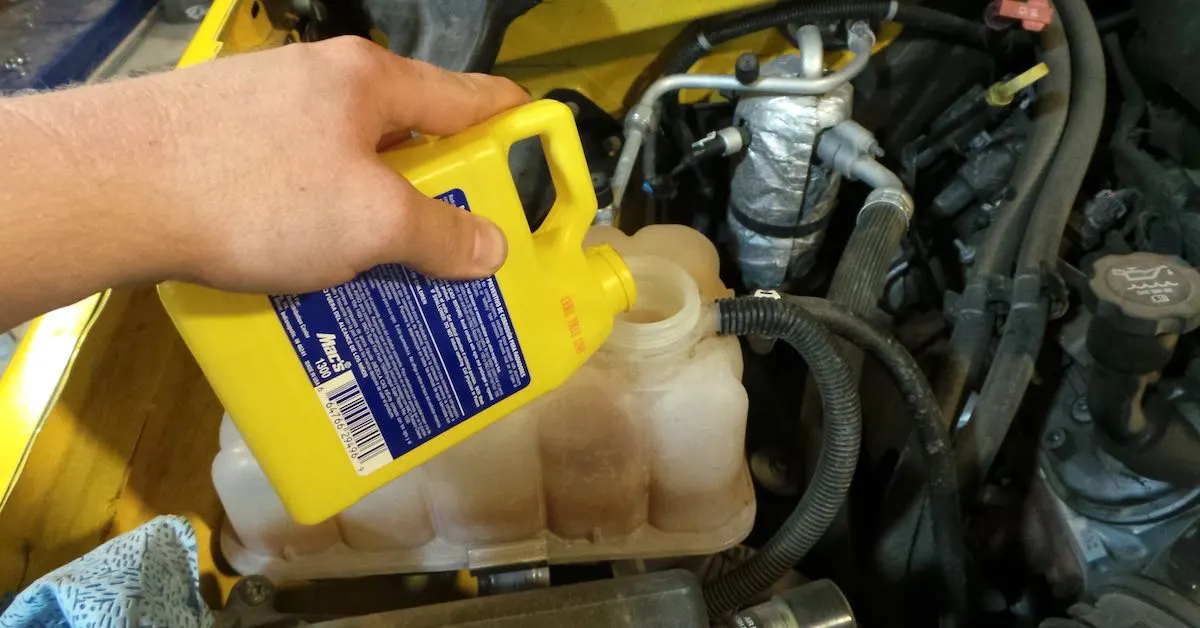
Turn off the engine, allow it to cool, and drain the flush solution and water mixture. Close the drain plug again and refill the radiator with a 50/50 mix of coolant and distilled water.
Replace the radiator cap and start the engine to circulate the new coolant. Check for leaks and dispose of the old coolant properly. Regular radiator flushes, typically every 30,000 miles, prevent overheating and maintain optimal engine temperature.
9. Changing the Battery
A healthy battery is essential for your Honda’s electrical systems. Start by locating the battery in the engine compartment. Use a wrench to loosen the negative terminal clamp and remove it from the battery.
Repeat the process for the positive terminal clamp. Remove any hold-down clamps or brackets securing the battery in place. Carefully lift the old battery out of the vehicle.
Clean the battery tray and terminal clamps with a mixture of baking soda and water to neutralize any acid and remove corrosion. Place the new battery in the tray and secure it with the hold-down clamps.
Attach the positive terminal clamp to the positive battery post and tighten it with a wrench. Repeat the process for the negative terminal clamp. Apply a thin layer of petroleum jelly to the terminals to prevent corrosion. Regularly checking and replacing your battery ensures reliable starts and prevents electrical issues.
10. Fixing Minor Dents and Scratches
Maintaining your Honda’s exterior appearance can boost its resale value and aesthetic appeal. For minor dents, use a hairdryer to heat the area for a few minutes. Quickly apply dry ice or a can of compressed air upside down to the dent. The rapid temperature change should cause the dent to pop out.
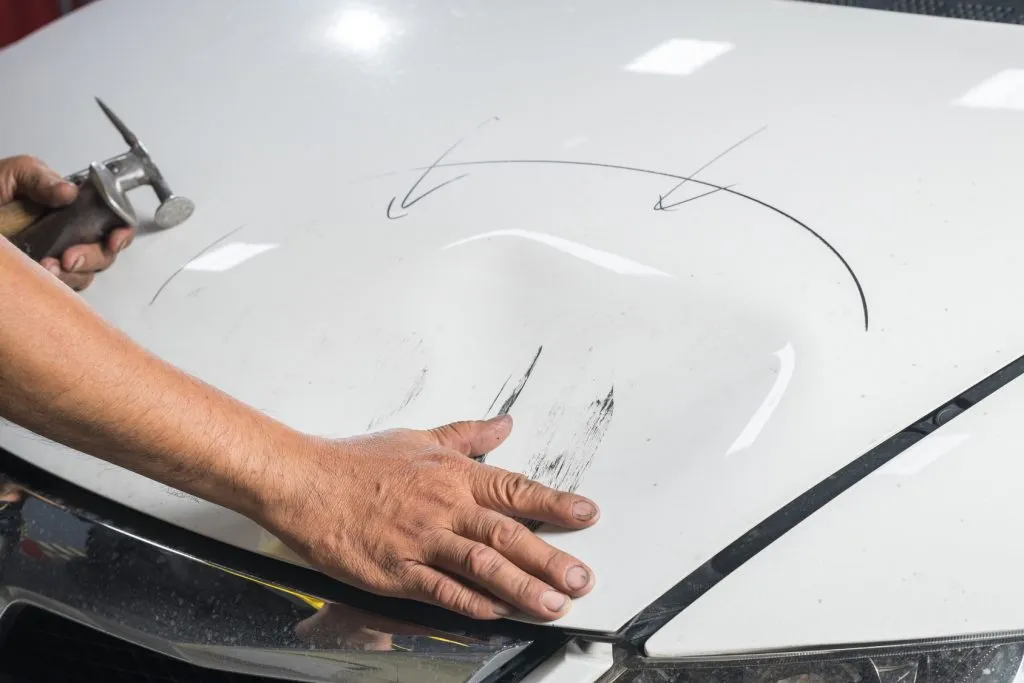
For minor scratches, clean the area with soapy water and dry it thoroughly. Use a touch up paint pen or a small brush to apply the matching paint to the scratch. Allow the paint to dry, then apply a clear coat to protect the paint.
For deeper scratches, you may need to use fine grit sandpaper to smooth the area before applying touch-up paint. Regularly washing and waxing your Honda helps protect the paint from further damage and keeps it looking shiny and new.

