Experiencing a flat tire on the highway can be a stressful and potentially dangerous situation, especially for those who are unprepared. Knowing how to handle this situation safely and efficiently is crucial for your safety and the safety of other drivers.
The key to managing a flat tire on the highway is to stay calm, follow safety protocols, and be well-prepared. This guide will walk you through the steps to handle a flat tire on the highway, ensuring you can address the issue quickly and safely.
From recognizing the signs of a flat tire to safely pulling over, changing the tire, and getting back on the road, these steps will provide you with the knowledge and confidence to handle this common roadside emergency. By following these guidelines, you can minimize the risks associated with a flat tire and ensure your safety on the highway.
1. Recognizing the Signs of a Flat Tire
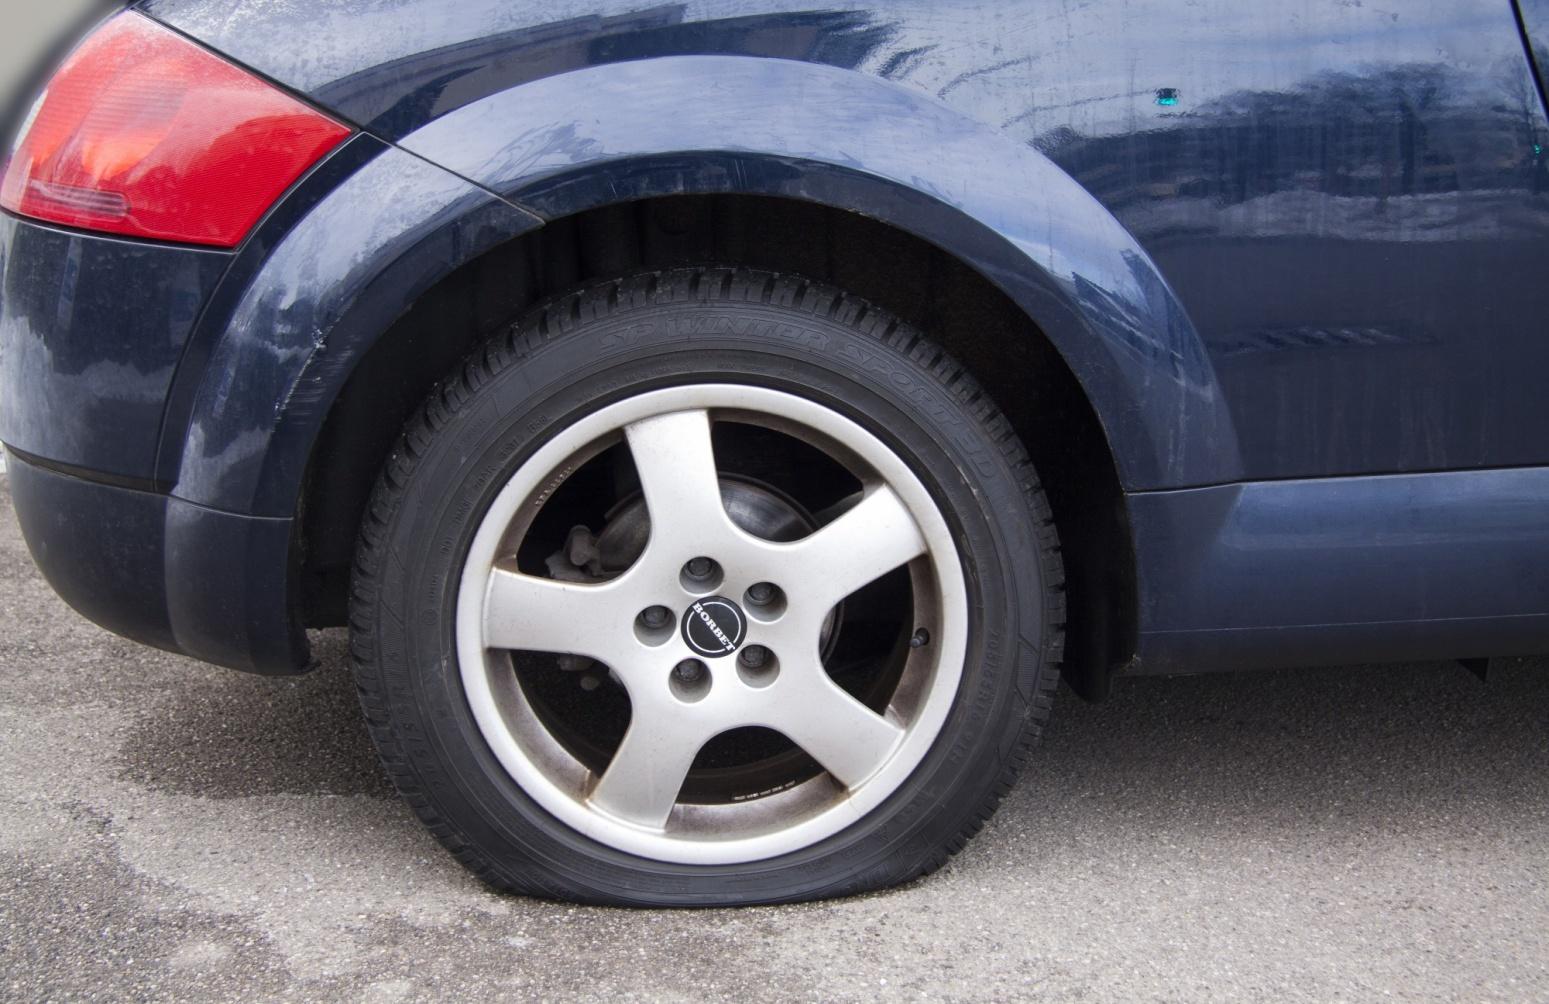
Recognizing the signs of a flat tire is the first step in handling the situation safely. Common indicators include a sudden loss of air pressure, causing your vehicle to pull to one side, a wobbling or vibrating sensation, and unusual noises such as flapping or thumping.

Your vehicle’s TPMS (Tire Pressure Monitoring System) light may also illuminate on the dashboard. If you suspect a flat tire, avoid making sudden movements or braking abruptly. Gradually reduce your speed and maintain control of your vehicle.
Turn on your hazard lights to alert other drivers to your situation, reducing the risk of a collision. Being aware of these signs and responding calmly will help you manage the situation more effectively and ensure your safety and the safety of others on the road.
2. Safely Pulling Over
Once you recognize that you have a flat tire, it’s crucial to find a safe place to pull over. Look for a wide shoulder, emergency lane, or designated pull-off area away from traffic. Avoid stopping on curves, near blind spots, or in areas with poor visibility.
Signal your intentions early by using your turn signals and hazard lights to alert other drivers. Gradually slow down and steer your vehicle to the side of the road. Ensure your vehicle is parked on a flat, stable surface to prevent it from rolling.
If possible, position your vehicle so that the flat tire is on the side away from traffic, providing a safer working environment. This careful approach ensures your safety while dealing with the flat tire.
3. Using Safety Equipment
Safety equipment is essential for managing a flat tire on the highway. Once you’ve pulled over safely, make sure to activate your hazard lights to increase your visibility.
Set up reflective warning triangles or flares behind your vehicle to warn oncoming traffic, especially if you’re changing the tire at night or in low-visibility conditions.

Wearing a high-visibility safety vest can also help you remain visible to other drivers. Before you begin changing the tire, ensure that your vehicle is securely parked and the parking brake is engaged. Using these safety measures will help protect you from potential hazards while working on your vehicle.
4. Removing the Flat Tire
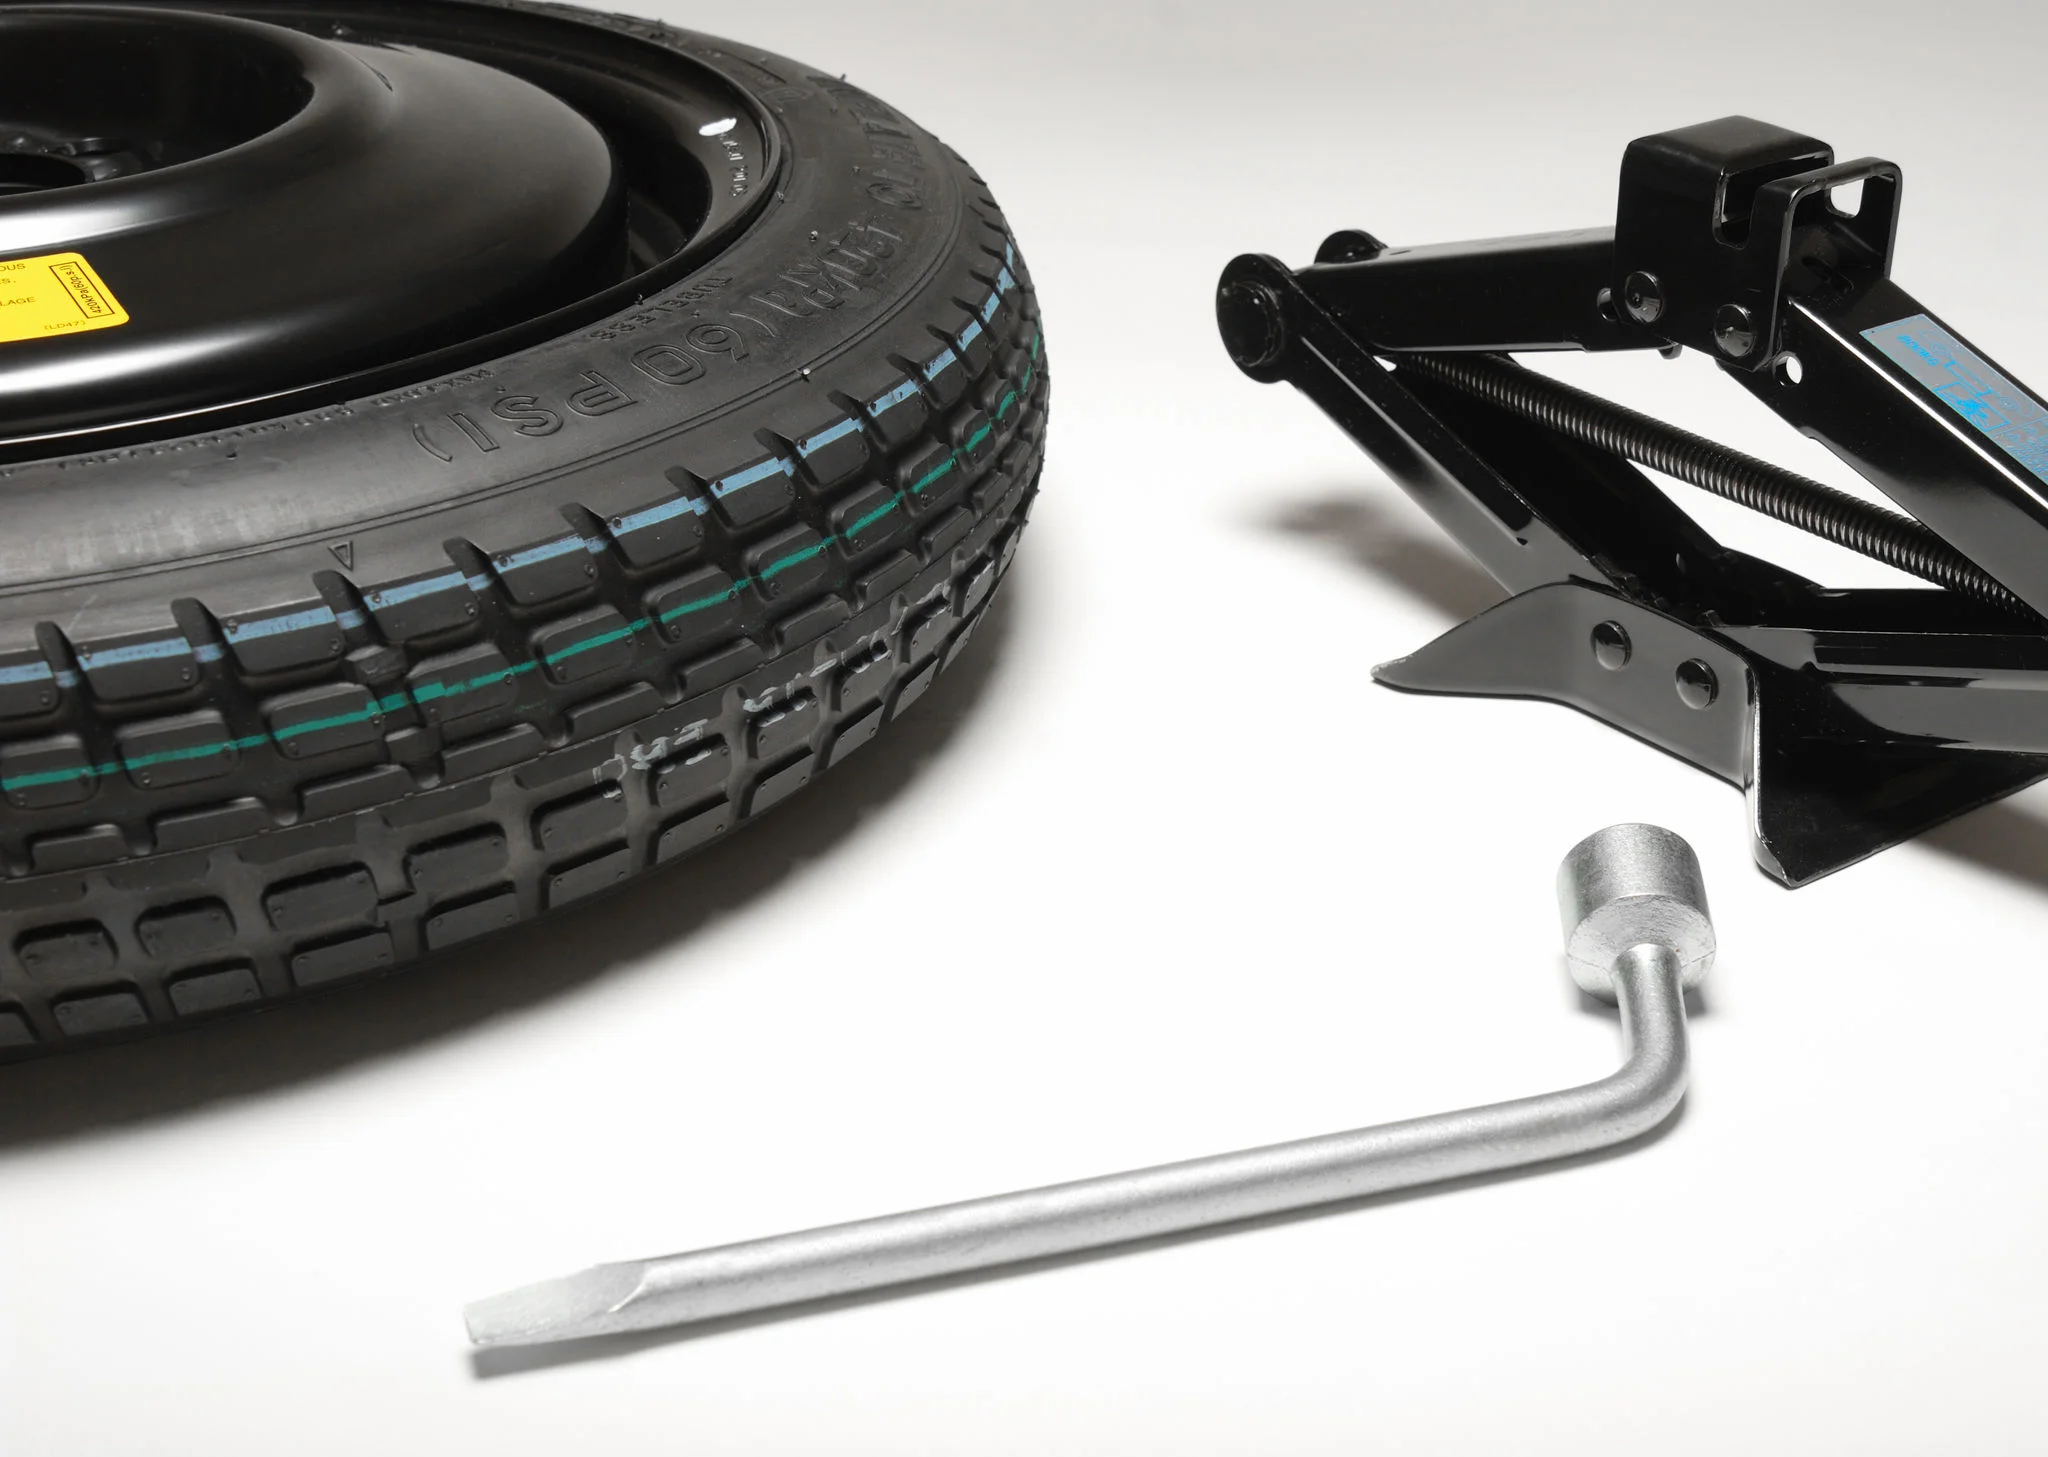
To remove the flat tire, start by retrieving your spare tire, jack, and lug wrench from your vehicle. Refer to your owner’s manual for specific instructions and safety precautions.
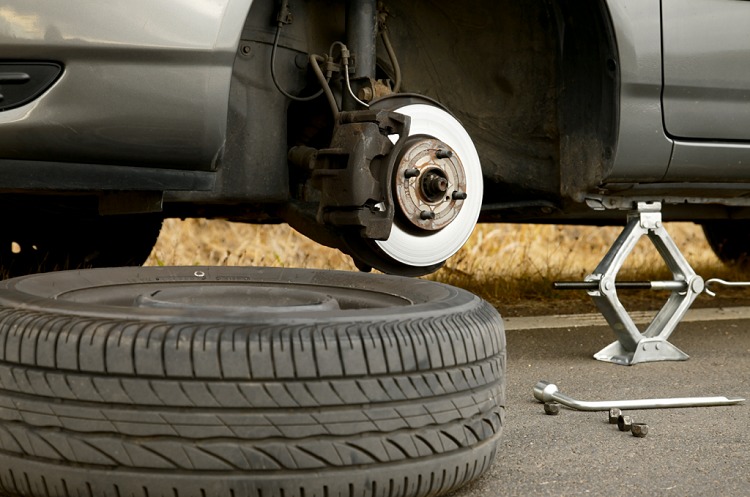
Begin by loosening the lug nuts slightly with the lug wrench, but do not remove them completely. Place the jack under the vehicle’s designated jacking point and raise the vehicle until the flat tire is off the ground.
Once the vehicle is lifted, fully remove the lug nuts and carefully take off the flat tire. Keep the lug nuts in a safe place to avoid losing them. Properly lifting and securing the vehicle is crucial to ensure safety while changing the tire.
5. Installing the Spare Tire
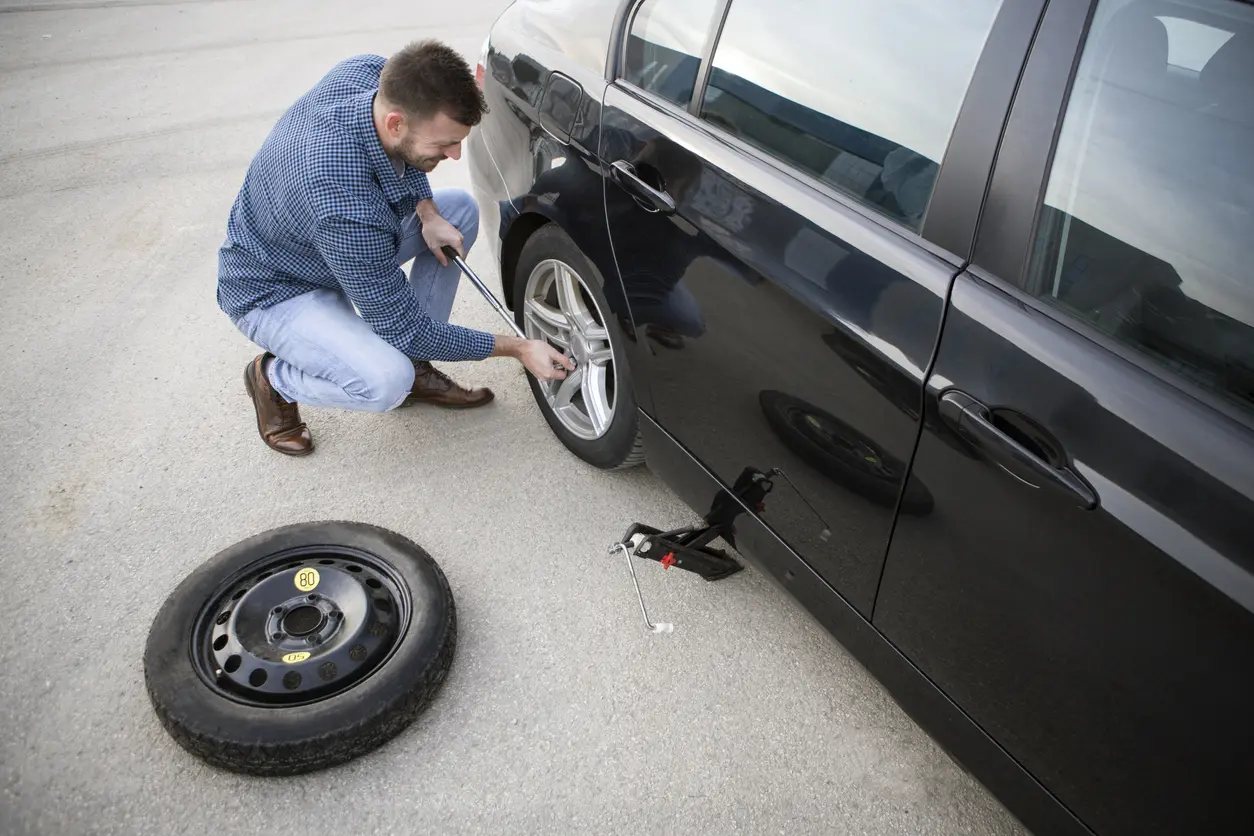
After removing the flat tire, it’s time to install the spare tire. Align the spare tire with the wheel studs and push it onto the hub. Hand-tighten the lug nuts onto the studs, making sure the tire is properly seated.
Once the spare tire is in place, lower the vehicle with the jack until the tire is touching the ground but not fully bearing the vehicle’s weight. Use the lug wrench to tighten the lug nuts in a star pattern to ensure even pressure.

After the lug nuts are secure, fully lower the vehicle and remove the jack. Recheck the lug nuts to make sure they are tight. Properly installing the spare tire is essential for safe driving until you can get a permanent repair or replacement.
6. Getting Back on the Road
Once the spare tire is securely installed, gather all your tools and equipment, and store the flat tire in your vehicle. Before driving away, double-check that the spare tire is properly inflated and securely fastened.
Turn off your hazard lights and carefully merge back into traffic, using your turn signals and checking for oncoming vehicles. Keep in mind that spare tires, especially temporary ones, are not designed for long-distance driving or high speeds.

Drive cautiously and avoid sudden maneuvers. As soon as possible, visit a tire repair shop to have the flat tire repaired or replaced and to ensure the spare tire is properly installed for future use. Taking these final steps ensures your continued safety and the integrity of your vehicle.
By following these steps, you can handle a flat tire on the highway safely and efficiently. Being prepared and knowing how to respond in this situation will help you minimize risks and get back on the road with confidence.

