You don’t need a new car to drive a safer one. Some of the most effective safety improvements cost less than a set of nice sneakers, and most can be fitted in an afternoon. The trick is separating upgrades that genuinely reduce your risk from gadgets that mostly benefit from good marketing.
This list focuses on the former category, covering eight upgrades priced under $200 that address real contributors to crashes, including poor visibility, worn brakes, and distracted driving.
Prices vary by brand and region, and some jobs are easy DIY while others deserve a professional, so each section notes what to expect. Where an upgrade has a downside, such as cheap add-ons that promise more than they deliver, I’ve said so plainly. Think of this as a checklist for making the car you own more forgiving of mistakes, yours and everyone else’s. It’s not exhaustive, but it’s a start.
1. Dash Cam (about $60–$190)
A dash cam won’t prevent a crash by itself, but it changes how disputes end. When something goes wrong, clear footage settles fault quickly, which protects your insurance record and your wallet. Many drivers also find that knowing they’re being recorded nudges them to leave more distance and skip the small aggressive moves that cause trouble.
Look for at least 1080p resolution, a wide-angle lens around 140 degrees, decent night performance, and loop recording that overwrites old footage automatically. A G-sensor that locks files during an impact is essential, so the crucial clip is never overwritten. Parking mode is a useful extra, but it needs a hardwire kit to avoid draining your battery.
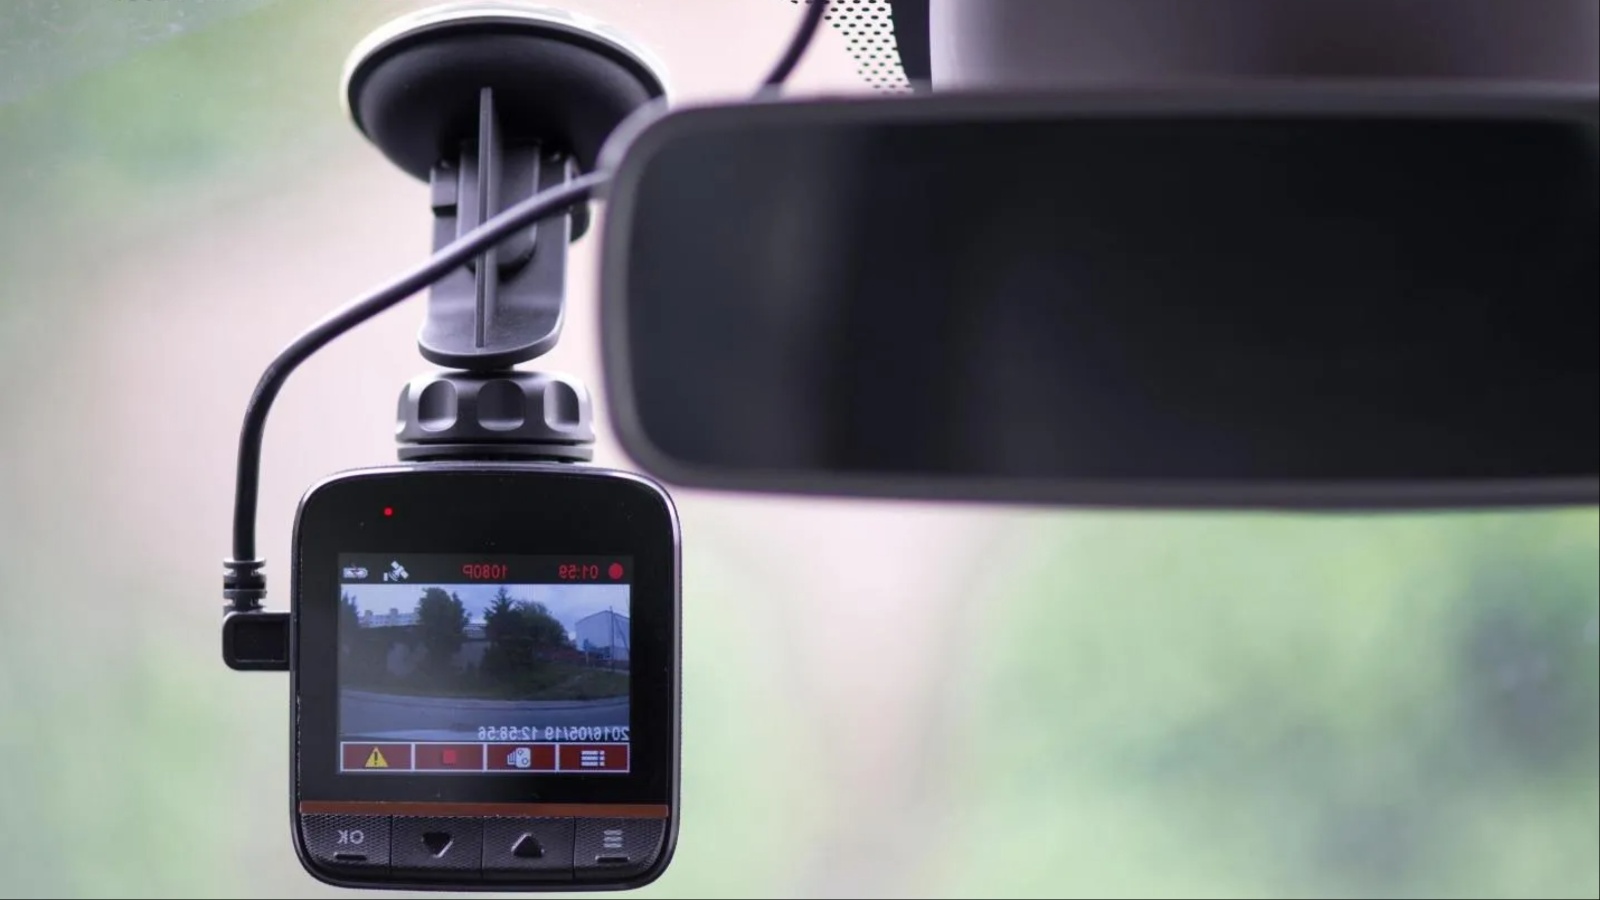
Roughly $60 to $120 buys a reliable front camera from an established brand, while dual-channel models that also film the rear typically land between $120 and $190.
Fitting is easy and takes about fifteen minutes. Mount the camera behind the rear-view mirror so it stays out of your sightline, tuck the cable along the headliner and down the A-pillar, and plug it into a 12V socket. Keep wiring clear of airbag panels, since a deploying airbag could throw loose cable around.
Use a high-endurance microSD card, because ordinary cards fail quickly under constant rewriting, and format it every month or so. Finally, check local rules on windshield mounting and on sharing footage online, since both vary by country. Also confirm the date and time are set correctly, because timestamps matter if the footage is ever used as evidence.
2. Tire Pressure Monitoring System (about $30–$120)
Underinflated tires are a quiet safety problem. They lengthen braking distances, reduce grip in corners, run hotter, and are a common contributor to blowouts. Most cars built in recent years include a factory monitoring system, but older vehicles often don’t, and factory warnings typically trigger only after pressure has dropped substantially.
An aftermarket TPMS solves this for $30 to $120. Cap-style sensors screw onto your valve stems and send readings to a small display or your phone, and they take about five minutes to install. More durable internal sensors sit inside the tire and require a tire shop to fit, but they’re more accurate and tamper-resistant.
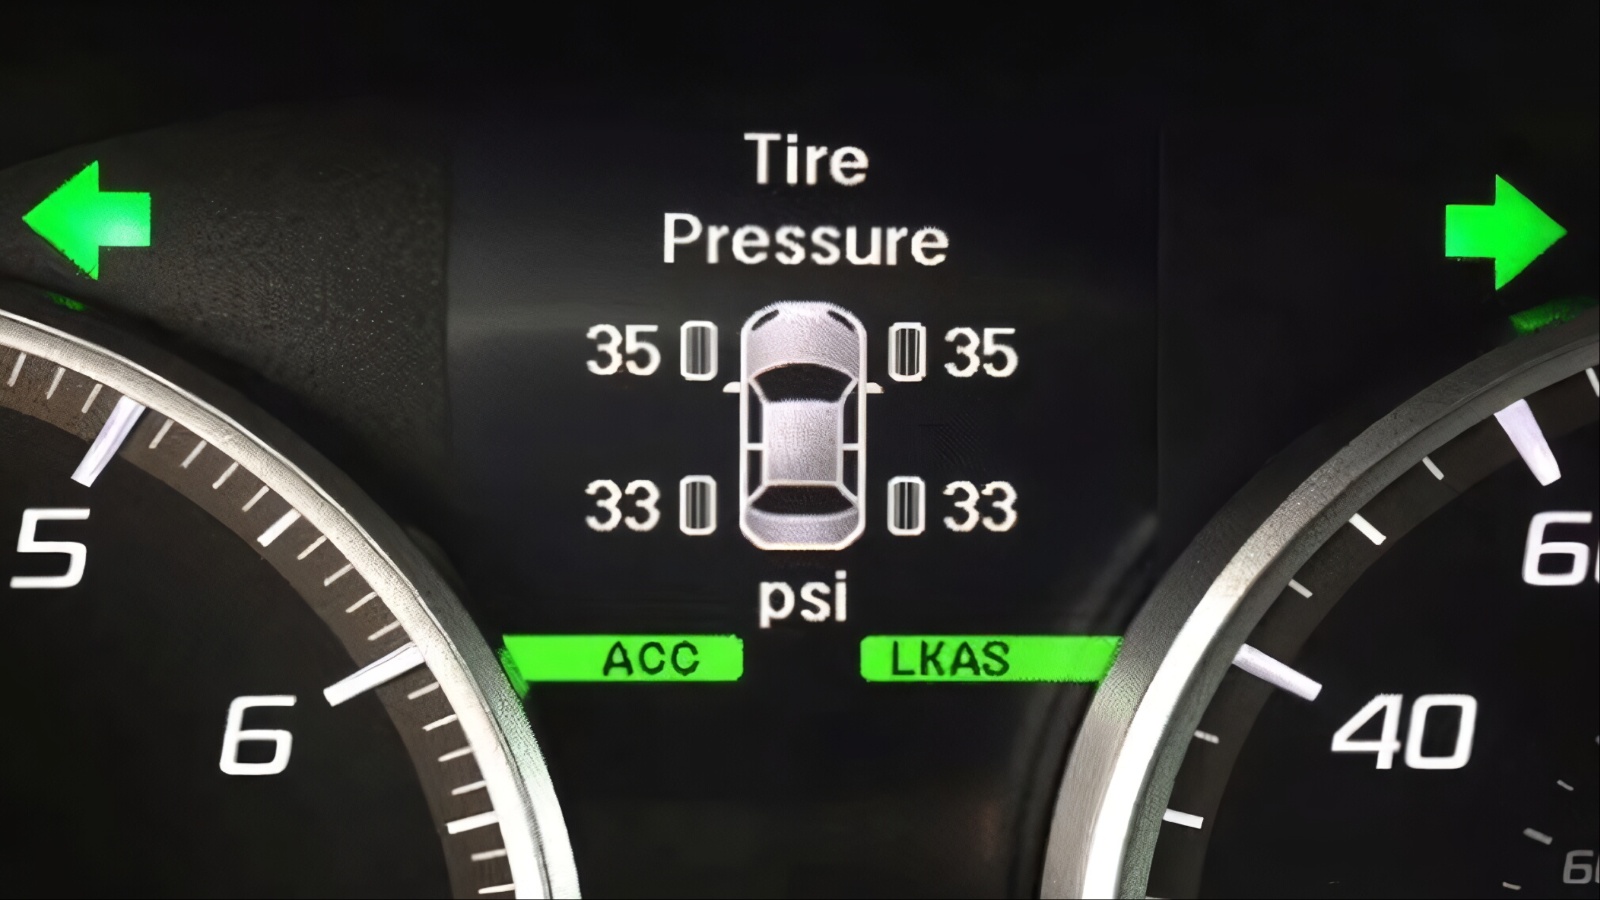
Solar-powered dashboard displays are convenient because there’s nothing to charge. Choose a kit that shows actual pressure and temperature for each tire rather than just a warning light, and check that it supports your tire size and pressure range, especially on trucks and SUVs.
Whatever system you choose, it supplements rather than replaces a manual check. Use a quality pressure gauge monthly, when the tires are cold, and inflate to the figure on the driver’s door jamb placard rather than the number molded into the sidewall. Set the display alarm slightly below your target pressure so you get an early nudge.
Cap sensors should be removed and cleaned occasionally so they don’t seize. Replace the small button batteries in cap sensors when the display warns you. It’s one of the cheapest upgrades on this list and one of the easiest to justify.
3. Better Headlights (about $40–$150)
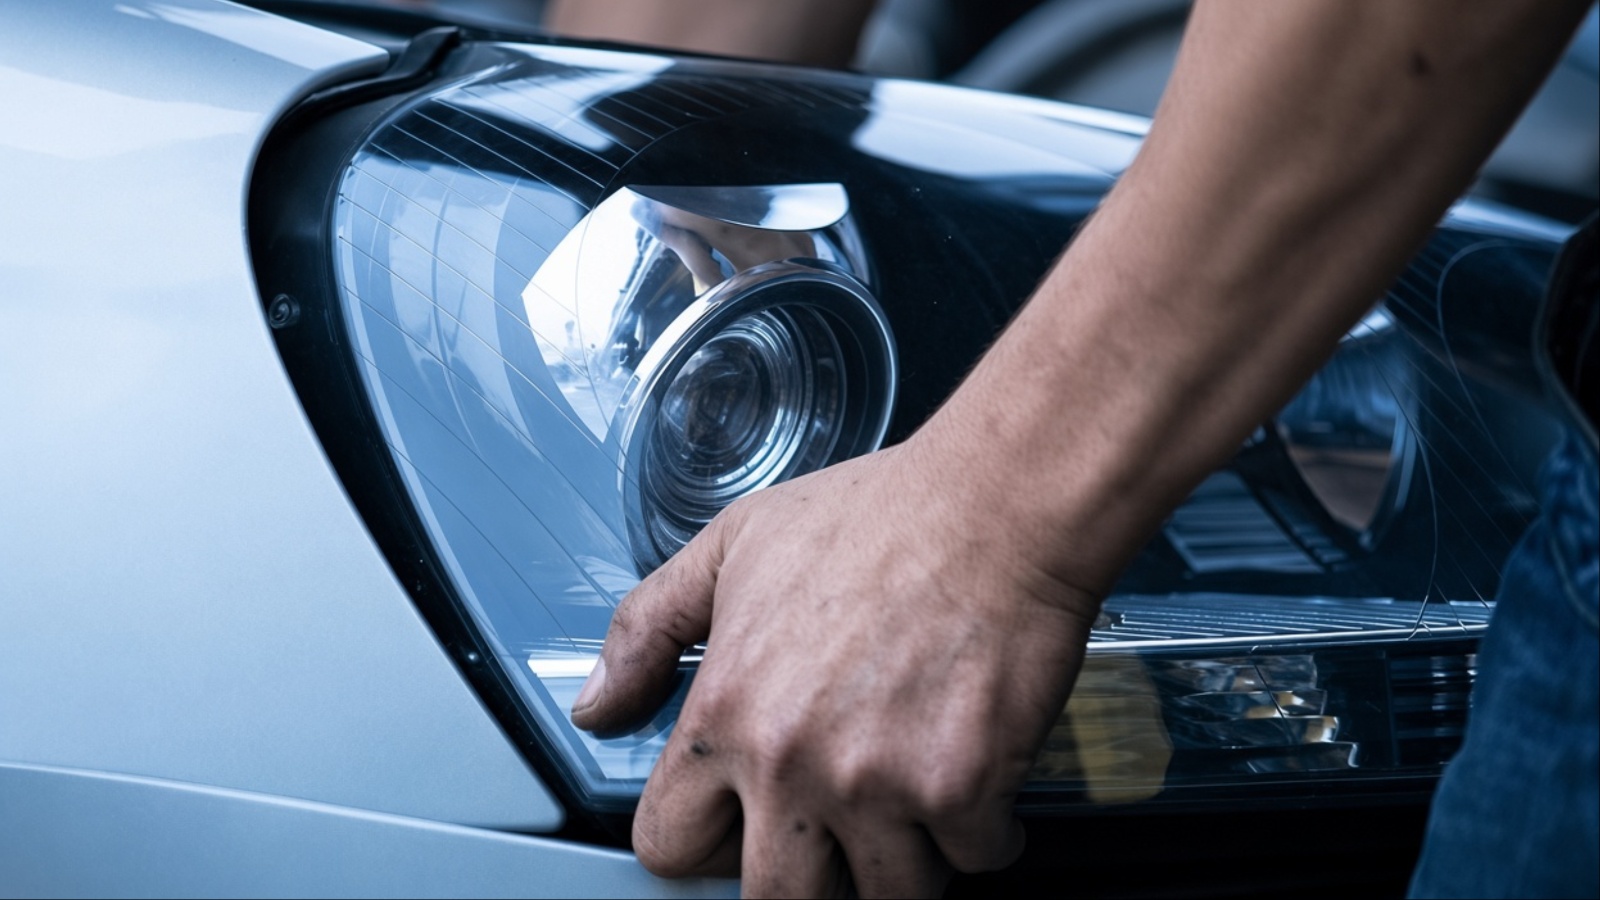
Seeing farther at night gives you more time to react, and tired, yellowed headlights are more common than most drivers realize. Before buying anything, check the lenses. Cloudy, oxidized plastic can cut light output dramatically, and a $20 to $30 restoration kit often delivers a bigger improvement than new bulbs alone. The job takes about an hour.
If the lenses are clear, upgrade the bulbs. Quality halogen replacements from major brands, priced around $30 to $60 a pair, offer noticeably brighter and longer beams while staying compatible with your housings. Be careful with LED and HID conversion kits.
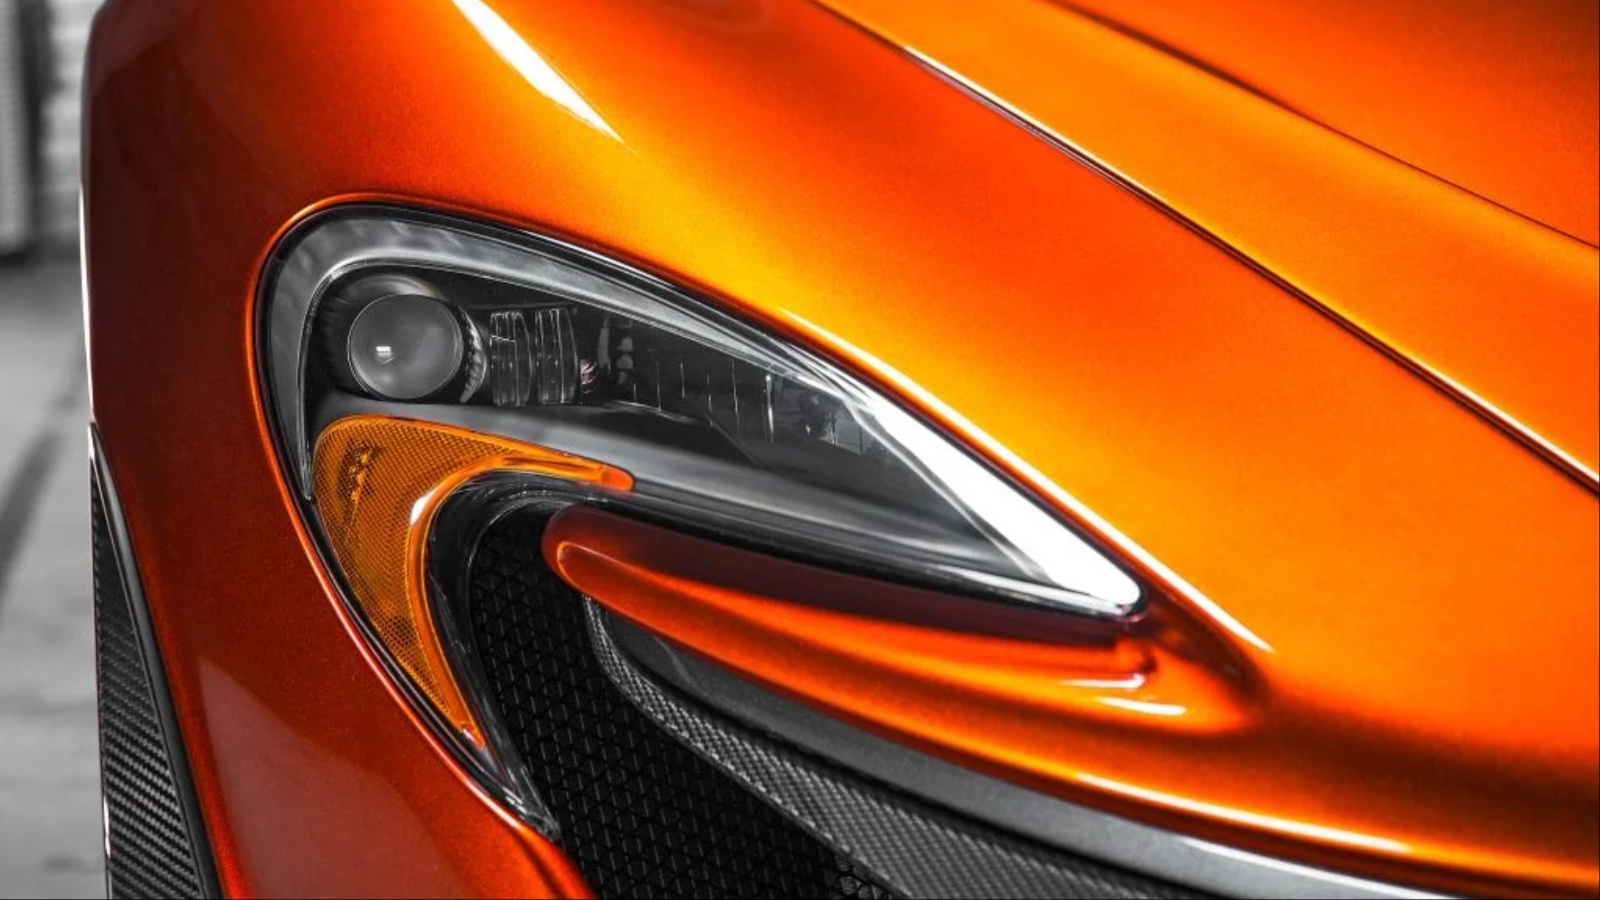
Dropping an LED bulb into a housing designed for halogen often scatters light unpredictably, creating glare for oncoming drivers without improving your own view, and in many places it isn’t street legal. If you want LEDs, choose a kit specifically designed for your vehicle’s housing type, or buy complete replacement headlight assemblies if your budget allows.
Fitting is usually straightforward. On many cars, you can swap bulbs in minutes after opening the hood, but some models require removing the bumper or a wheel-well liner, so check your manual or a video for your exact car first.
Never touch a halogen bulb’s glass with bare fingers, since skin oils cause hot spots and shorten its life. Always replace bulbs in pairs so both sides match in brightness and color. Afterward, check the aim against a garage wall or have a shop adjust it, because misaligned beams reduce your visibility and dazzle everyone else.
4. Blind Spot Solutions (about $10–$200)
Blind spots contribute to plenty of lane-change collisions, and factory monitoring systems were once a pricey option. Today you have two budget routes. The simplest is a pair of small stick-on convex mirrors, which cost $10 to $20 and fit on the outer corners of your side mirrors.
They reveal cars lurking beside you and take minutes to install. Adjusting your regular mirrors outward, so they barely show the side of your own car, also removes much of the blind spot for free.
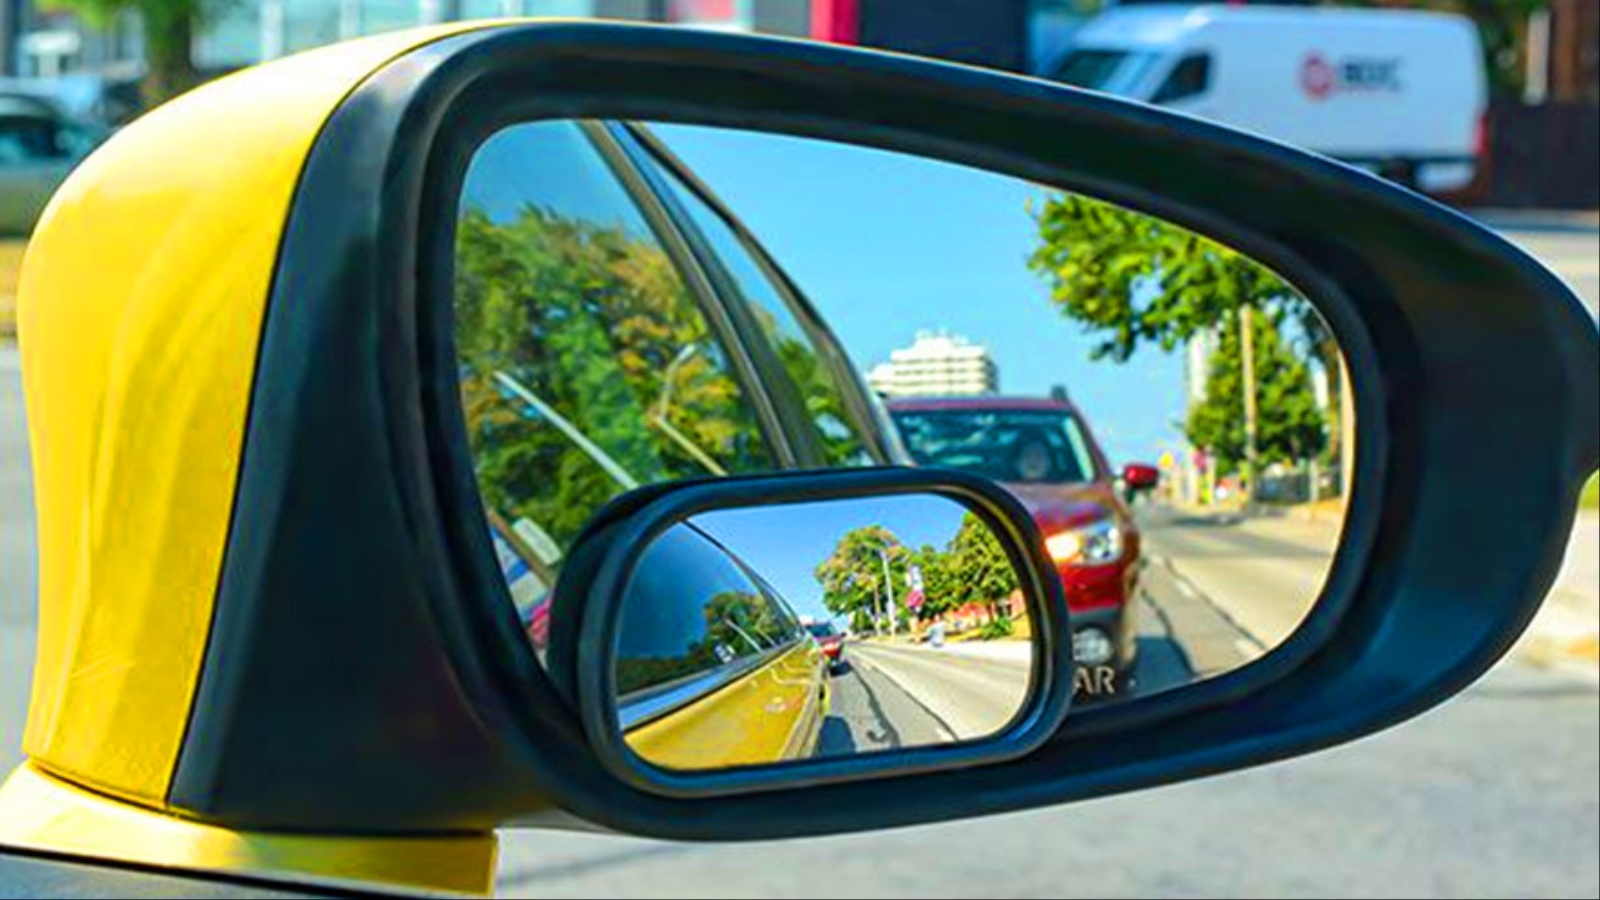
The second route is an aftermarket blind spot detection kit, typically $100 to $200. These use sensors mounted behind or on the rear bumper corners and light up an indicator on the A-pillar or mirror when a vehicle is beside you, often with a beep if you signal.
Quality varies widely, so read verified reviews and buy from sellers with clear return policies. Radar-based systems generally outperform cheap ultrasonic kits, which struggle at highway speeds and in rain.
Installation is the tricky part. Mirror stickers are trivial, but radar kits need bumper removal or careful mounting, and you’ll have to run power from a taillight or fuse box. If you’re not comfortable with basic wiring, pay a shop for an hour of labor.
Whichever route you choose, remember that these tools assist your judgment rather than replace it. Keep shoulder-checking before every lane change, especially for motorcycles and cyclists, which cheaper sensors may miss. Used together, mirrors, correct adjustment, and a habit of checking make lane changes far safer.
5. Higher-Quality Brake Pads (about $50–$150 per axle)
Brakes are your most important safety system, and worn or low-quality pads quietly erode their performance. Fitting higher-quality pads is one of the best-value upgrades available, often costing $50 to $150 per axle for parts. Look for ceramic or premium semi-metallic pads from reputable manufacturers.
Ceramic pads run quietly, produce less dust, and last long in daily driving, while semi-metallic pads offer stronger bite and heat tolerance, which suits heavier vehicles and mountain roads.
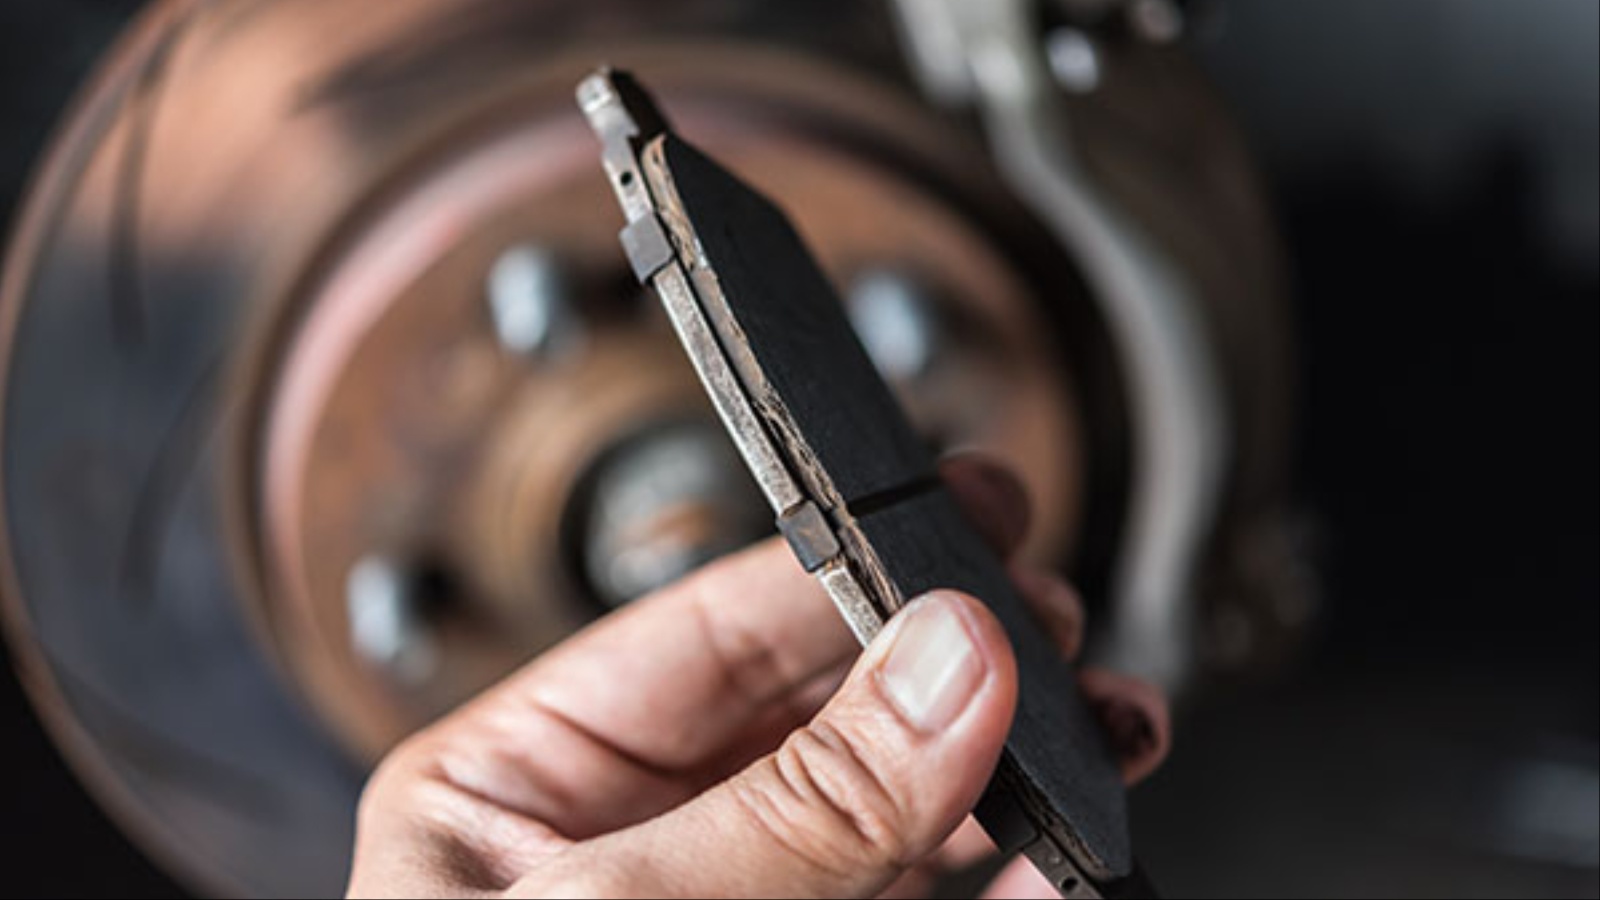
Avoid extreme track-focused compounds for street use, since they can perform poorly when cold and wear rotors quickly. Also avoid the cheapest unbranded pads, which may fade under heat, the exact moment you need them most.
Fresh brake fluid, typically $30 to $80 at a shop, is another worthwhile addition if it hasn’t been changed in two to three years. Old fluid absorbs moisture, lowering its boiling point and causing a soft pedal under hard use. Check that pads, rotors, and fluid all meet your manufacturer’s specifications, and buy pads matched to your exact model and year.
Brakes are a job to take seriously. If you’re experienced with a jack, stands, and a torque wrench, pad swaps are a manageable weekend project, and the savings over shop labor are significant. Otherwise, buy your own quality pads and ask a mechanic to fit them, which often costs under $100 in labor. Always replace pads in axle pairs, bed them in following the manufacturer’s instructions, and test the pedal feel in a quiet area before driving in traffic.
6. Backup Camera or Parking Sensors (about $30–$150)
Reversing accidents happen more often than you’d think, and small children and pets are especially hard to see behind a vehicle. If your car lacks a factory rear camera, an aftermarket kit gives you a clear view of what’s directly behind you.
Prices run from about $30 for basic wired kits to $150 for wireless, high-definition versions with a dedicated monitor or mirror display. Many people find a camera easier to use than parking sensors because it shows exactly what’s there.
Parking sensors are an alternative or complement, costing $25 to $80 for a four-sensor kit. They beep faster as you approach an obstacle, which helps in tight spots and at night. Sensors handle walls and other vehicles well but can miss thin poles or low objects, so they work best paired with a camera.
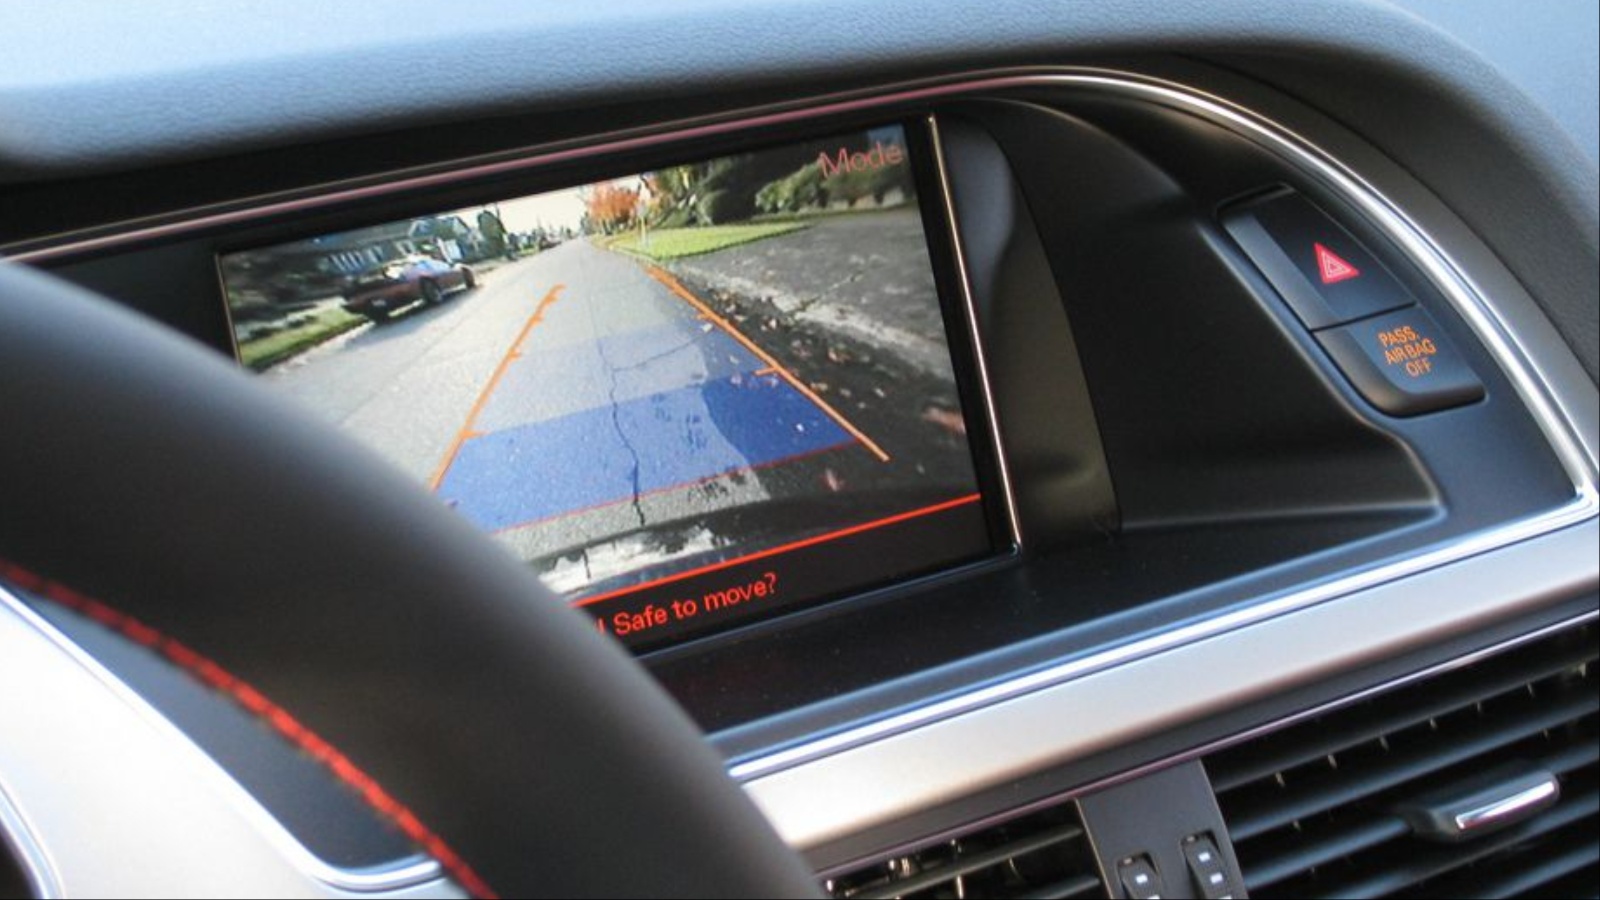
For cameras, look for a wide viewing angle, night vision, and a waterproof rating of at least IP67. Wired systems are more reliable than wireless ones, which can suffer from signal interference and lag, though wireless kits are easier to fit.
Fitting a camera usually means mounting it near the license plate, running a cable through the trunk and cabin, and tapping the reverse-light wire so the display activates automatically when you shift into reverse.
Sensors require drilling holes in the bumper, which many owners prefer to leave to a professional. Budget an hour or two for the job. Whichever you choose, treat it as a second pair of eyes, not a replacement, and still look over your shoulder before reversing.
7. Phone Mount and Hands-Free Setup (about $15–$80)
Distracted driving is a major cause of crashes, and a phone sliding around a cupholder or gripped in your hand is a big part of it. A secure, well-placed phone mount costs $15 to $40 and keeps navigation in your line of sight so you barely need to look down or reach. It’s arguably the cheapest safety upgrade you can make, and it works for every driver in the household.
Choose the mount type carefully. Vent mounts are cheap and easy but can sag with heavy phones and block airflow. Dashboard mounts using adhesive pads offer a stable, central position. Windshield suction mounts are convenient, but check local laws on where they may be placed, as some regions prohibit obstructing the driver’s view.
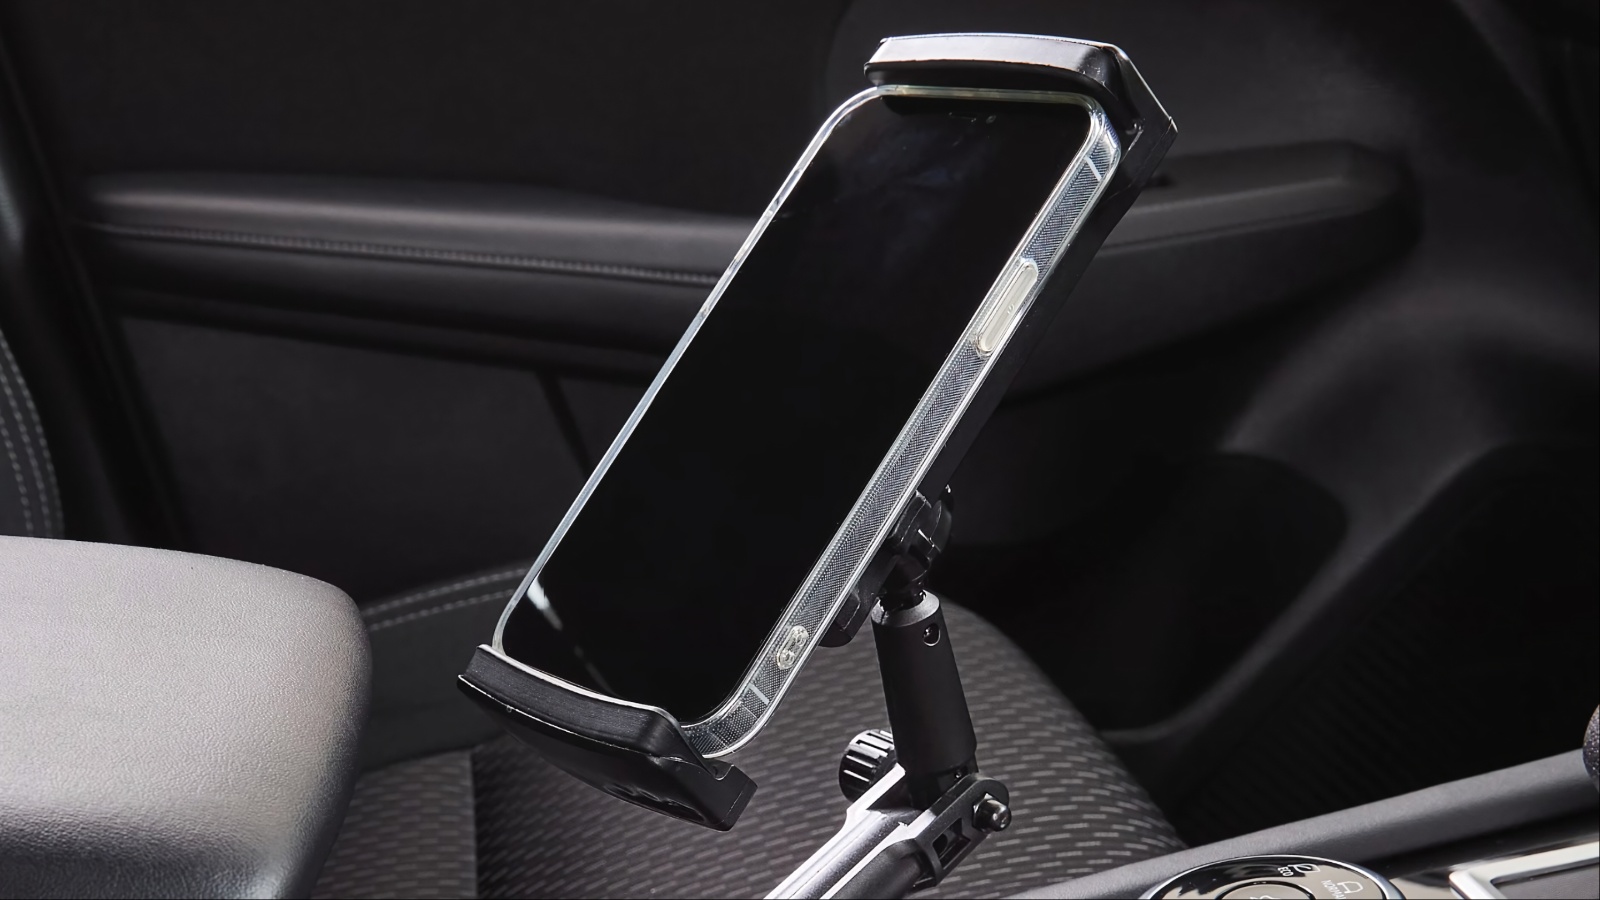
Magnetic mounts are quick to use, but make sure the magnet is strong enough for your phone and case. Whatever the type, position it low and near the edge of your field of view, where a quick glance works, and never block the road ahead or airbag panels.
Pair the mount with hands-free calling. If your car lacks Bluetooth, a plug-in Bluetooth adapter or FM transmitter costs $15 to $40 and lets you take calls through the speakers, while a simple 12V charger keeps the phone powered during long navigation.
Set your route, playlist, and do-not-disturb mode before you start driving so your phone does not demand attention during the trip. The setup only helps if it changes your habits, so make one rule and stick to it. Keep the phone in its mount and do not touch it until you are safely parked.
8. Emergency Kit with Fire Extinguisher (about $60–$150)
The moments after a breakdown or crash are when preparation can make the biggest difference. A well-equipped emergency kit can cost about $60 to $150 and cover the basics, including a reflective warning triangle, first aid kit, flashlight, seatbelt cutter with a window-breaking tool, and compact fire extinguisher.
Most of these items may sit unused for years, but that is exactly the point. They provide protection against rare but serious situations and can be invaluable if you ever become stranded on a dark roadside.
The fire extinguisher deserves particular attention. Choose a 1 kg or 2 lb ABC dry powder unit, rated for common vehicle fires, and mount it in a bracket within reach of the driver rather than rolling loose in the trunk, where it can become a projectile in a crash.
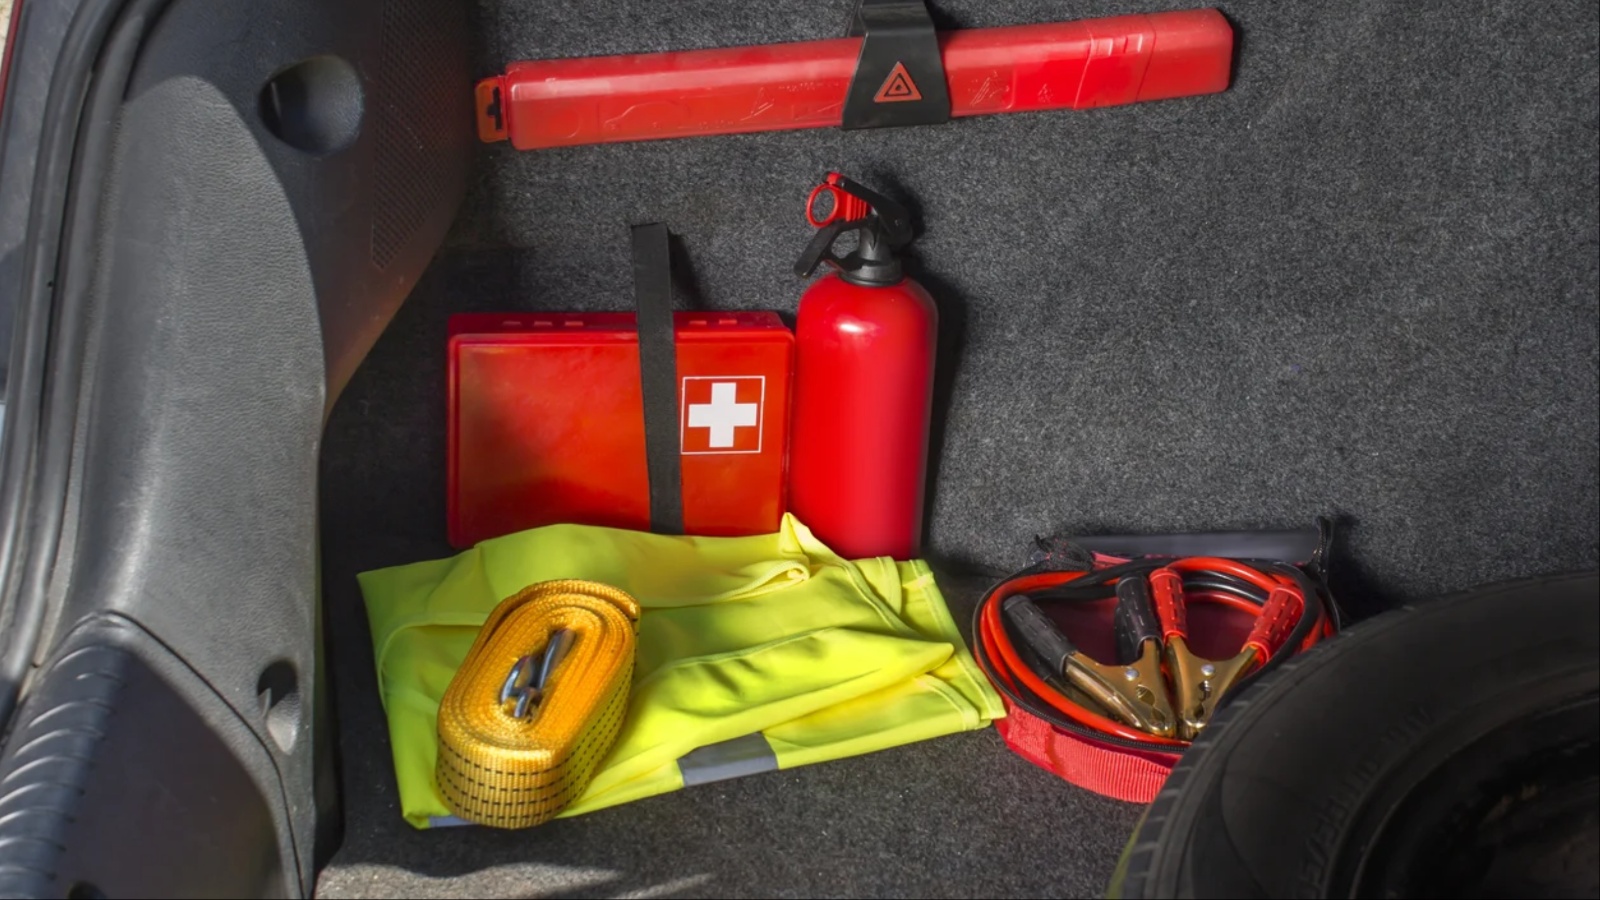
Check the pressure gauge every few months and replace or service it according to the label. A quality window-breaker and seatbelt cutter should live in the center console or door pocket, not the glove box, so you can grab it even if you’re pinned.
Keep a high-visibility vest, gloves, tire inflator, multi-tool, and phone charger in a small bag secured in the trunk. Check the kit twice a year and replace expired items and dead flashlight batteries. Make sure you also know how to use each item.
Read the fire extinguisher label, practice removing the pin, and know where the emergency cutter is stored. If an emergency occurs, move to a safe location first and contact emergency services. Only attempt to put out a fire if it is small and you have a clear escape route.