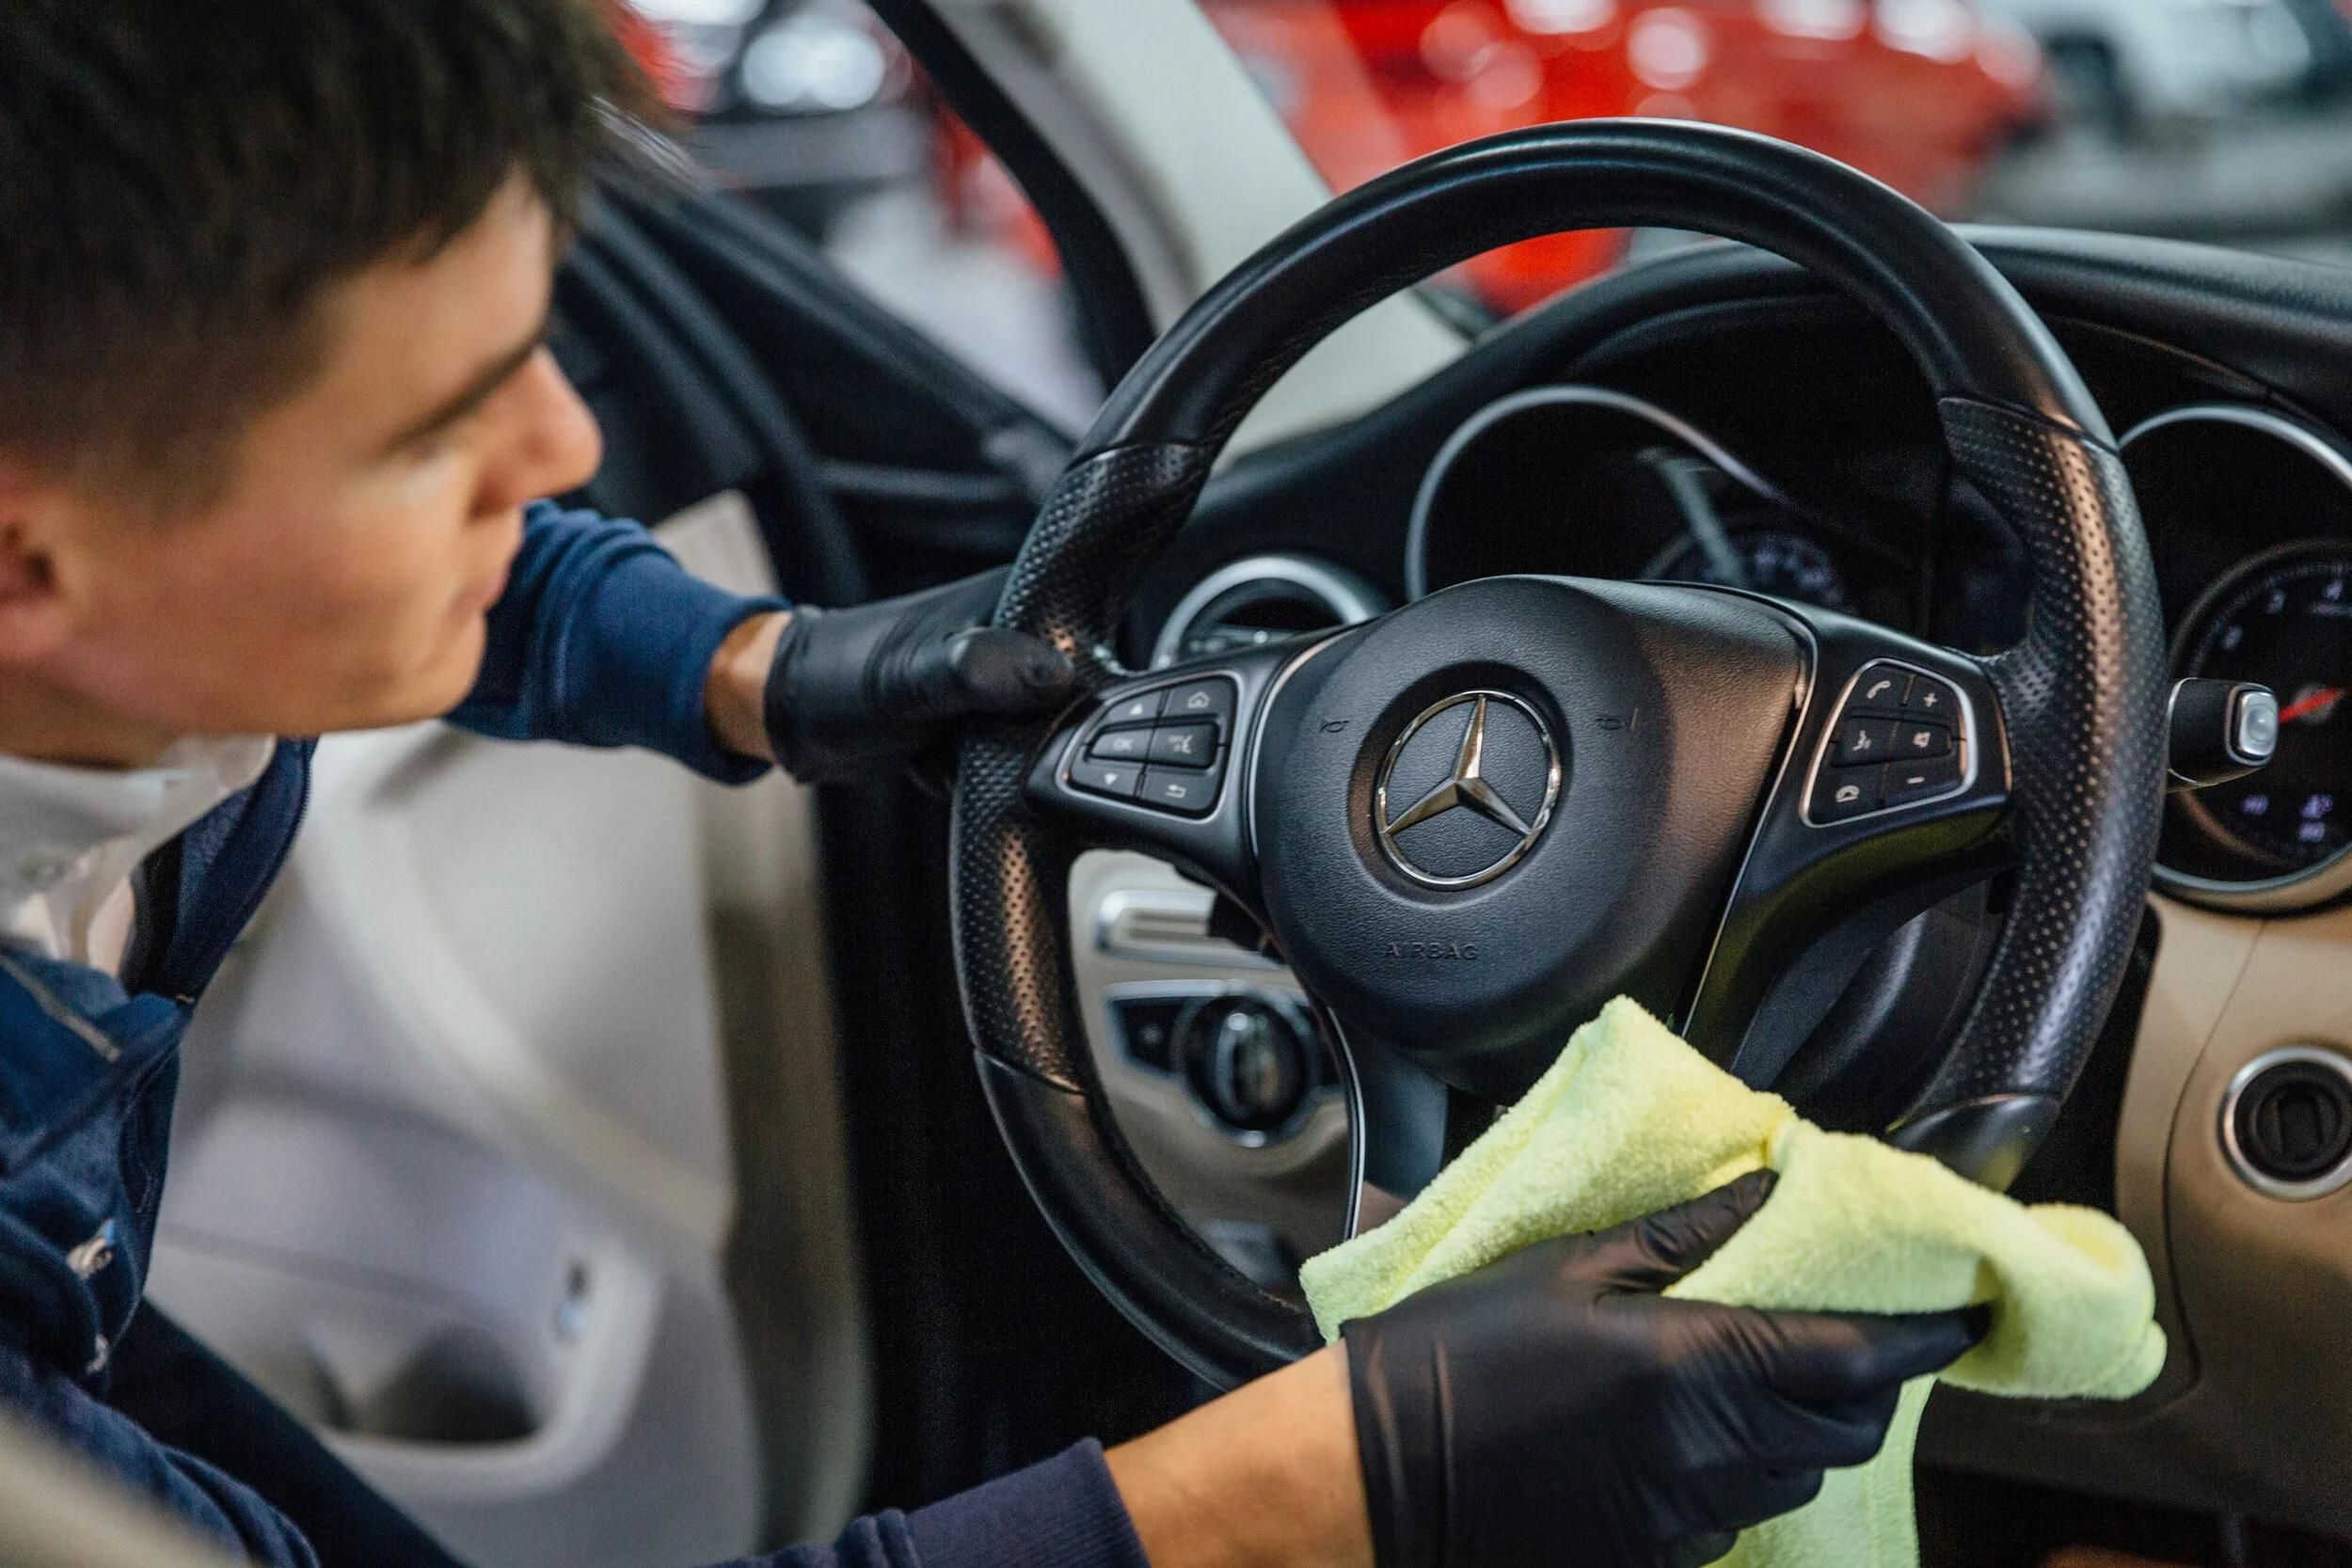
A steering wheel is the part of your car you touch the most. It takes sweat, sunscreen, hand lotion, and heat every day. Over time, that daily contact leaves its mark.
Worn wheels start with a shiny, slick patch at the ten and two positions. Next come fine cracks, faded color, and a sticky or gummy feel. Left alone, the damage spreads.
A worn wheel is more than a cosmetic problem. It changes how the car feels in your hands. A slick rim also reduces your grip when you need it most.
The good news is that most wheels can be saved. The right fix depends on the material and the damage. Leather, urethane, vinyl, and wood all age differently.
This guide covers ten proven methods. They run from a simple deep clean to a full professional rewrap. Some take twenty minutes and a rag. Others take a weekend and a steady hand. Start with the cheapest fix that matches your damage. Move up only when needed. That approach saves money and protects the original wheel.
1. Deep Clean with a Gentle Degreaser
Most “worn” wheels are just dirty. Skin oil builds up slowly. It forms a glossy film that looks like wear. Start by mixing a mild degreaser with water. A diluted interior cleaner works well. Avoid harsh household solvents.
Spray the cleaner onto a soft brush, not the wheel. This keeps liquid out of the seams and switches. A horsehair or soft nylon brush is ideal. Work in small sections with light circular strokes. Pay extra attention to the grip zones. Those areas hold the most grime.
Wipe away the foam with a damp microfiber towel. Then dry the wheel with a clean one. Do not let moisture sit in stitching. Textured leather traps dirt in its grain. A brush lifts it out far better than a cloth. Go slowly and let the cleaner do the work.
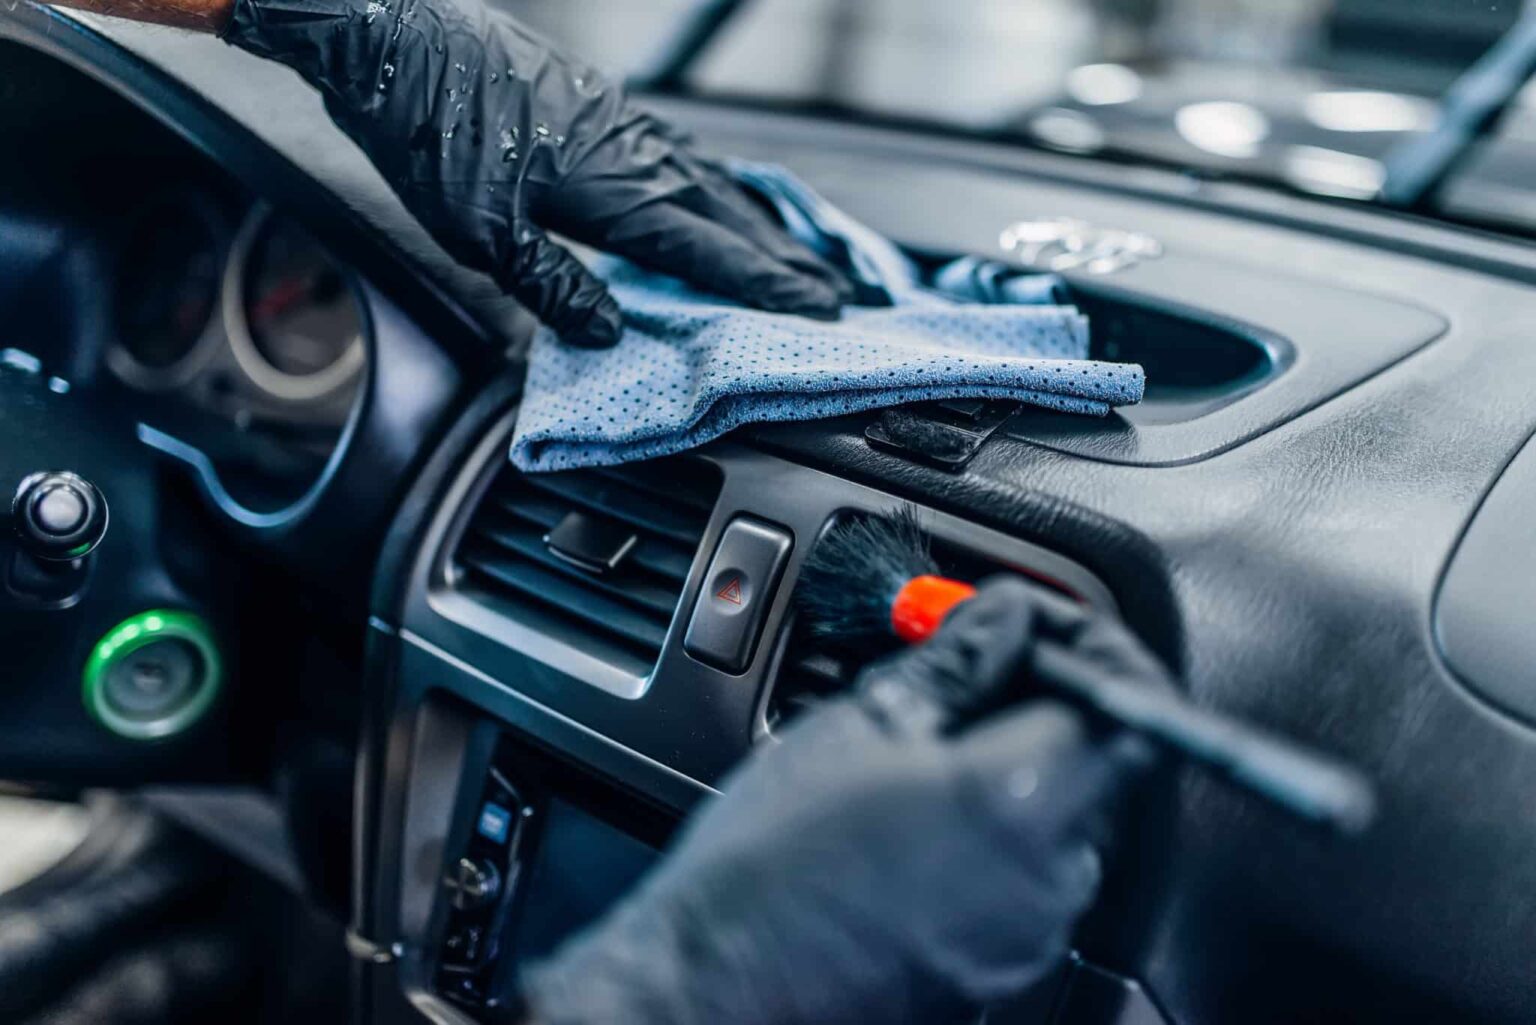
You will often see a big change. The wheel may look darker and richer. That is the true color, freed from the film. Repeat the process once if the towel still comes away gray. Stop if the dye begins to transfer. That signals the finish is failing and needs repair.
A deep clean also preps the surface for every later step. Conditioners and dyes bond poorly to dirty leather. Never skip this stage. Do this every two to three months. It prevents the oily glaze from returning. It also slows cracking over time.
2. Remove Residue with Isopropyl Alcohol
Some grime resists normal cleaners. Hand sanitizer, sunscreen, and lotion leave stubborn films. Isopropyl alcohol cuts through them. Use a solution of about 50 percent alcohol and 50 percent water. Pure alcohol is too strong for most finishes. It can strip color from dyed leather.
Dampen a lint-free cloth with the mix. Wipe a hidden spot first. Check the cloth for dye transfer. If the cloth stays clean, continue. Wipe the rim in short, even passes. Keep the cloth moving so alcohol never pools.
This step is vital before any refinishing work. Dyes, fillers, and coatings need a bare, oil-free surface. Alcohol leaves exactly that. It also helps with the sticky, gummy feel on older wheels. Many soft-touch coatings break down with age. Light alcohol wiping can remove the tacky top layer.
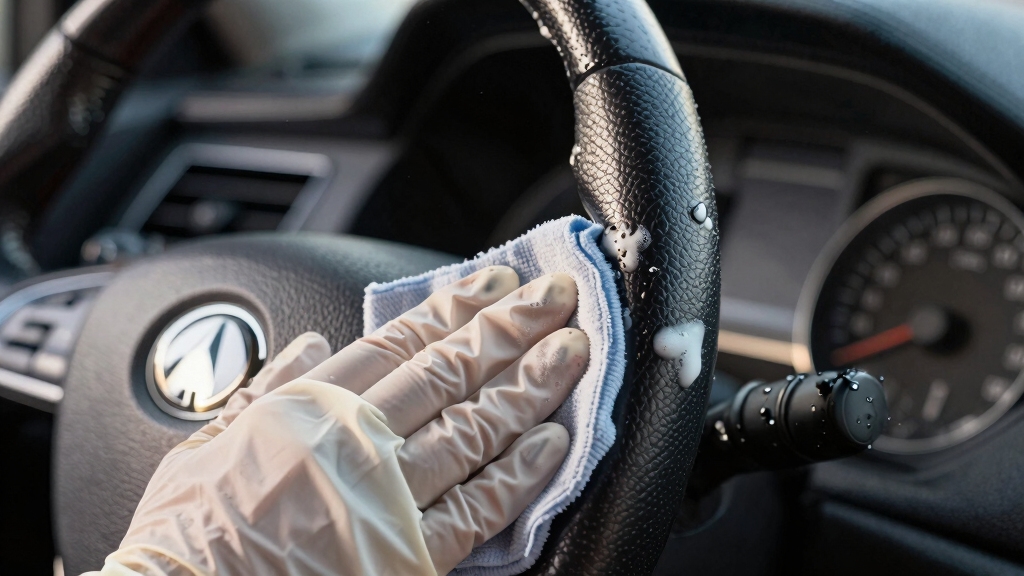
Do not scrub hard on a gummy wheel. Heavy rubbing can tear the coating. Let the alcohol soften it, then lift it gently. Work in a ventilated space. Alcohol fumes build up fast in a closed cabin. Open the doors while you work.
Follow with a clean damp cloth. This removes any leftover residue. Let the wheel air dry fully. Alcohol dries the surface. Leather will feel tight afterward. That is normal and sets up the next step, conditioning.
3. Rehydrate with a Quality Leather Conditioner
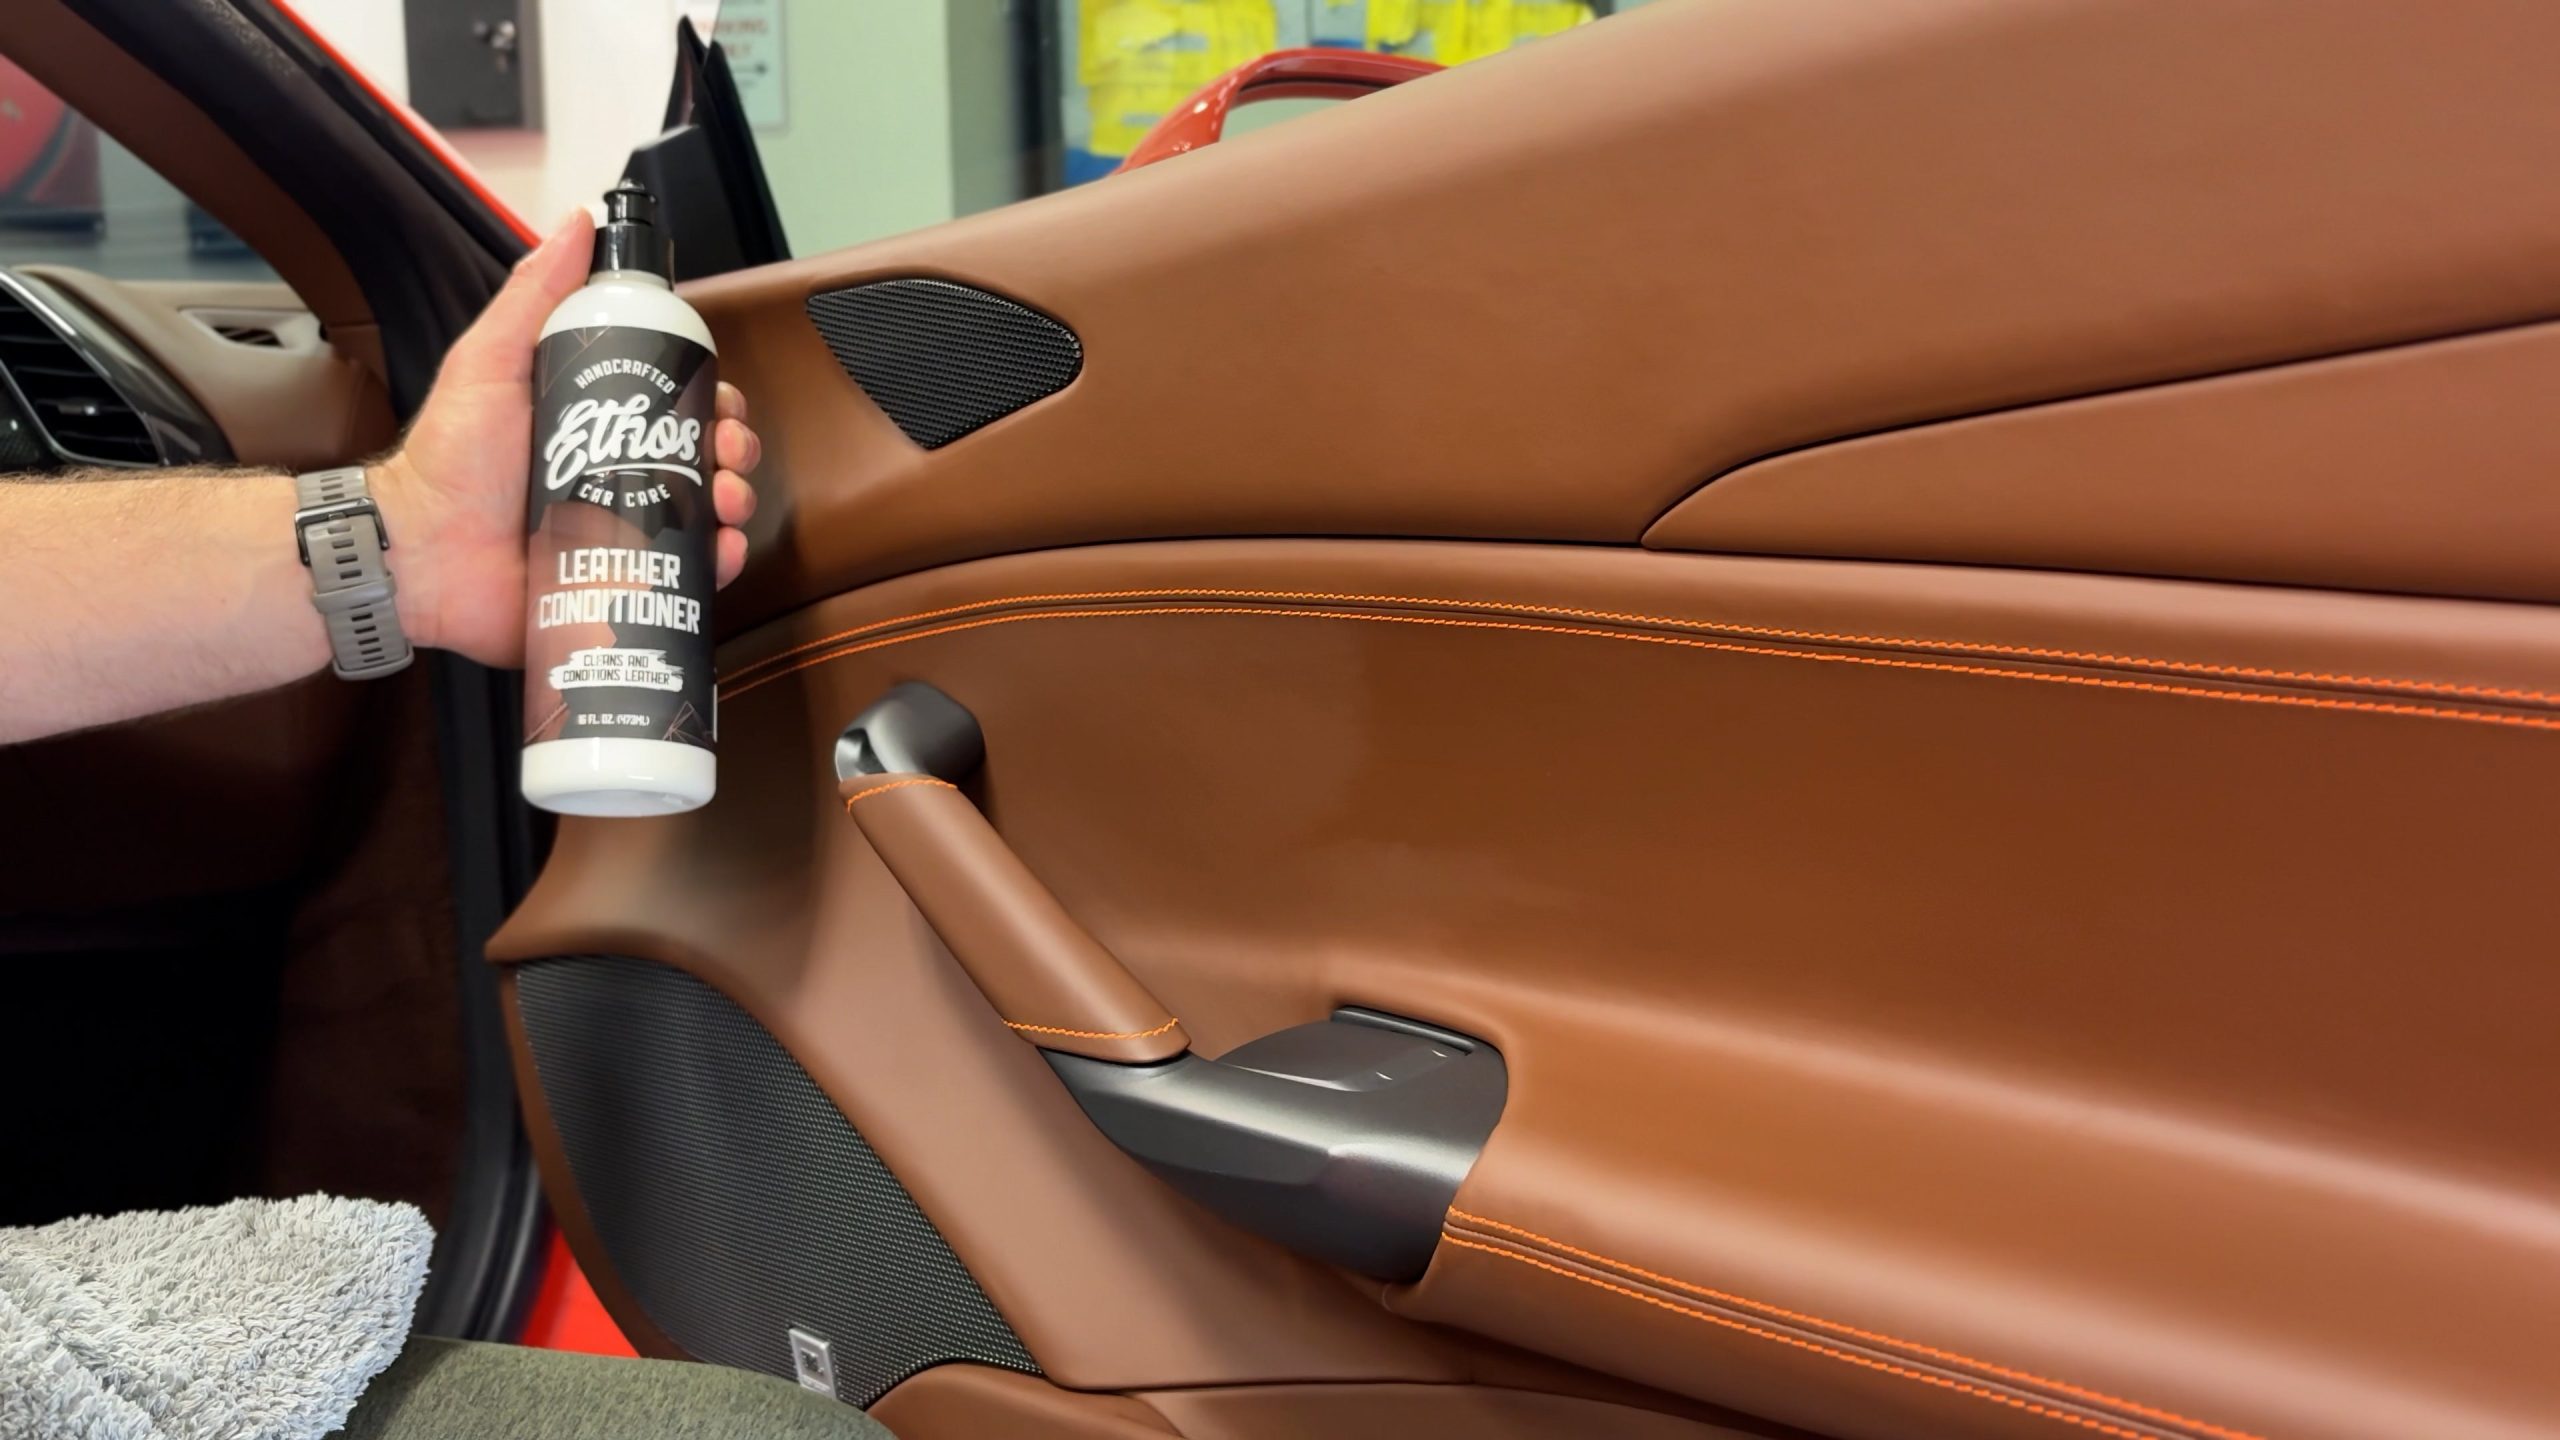
Dry leather cracks. Heat and sun pull moisture from the hide. A conditioner puts some of it back. Choose a water-based conditioner with no silicone. Silicone makes leather feel slick. It also blocks later dye from bonding.
Apply a pea-sized amount to a foam applicator. Spread it in thin, even layers. Too much product leaves a greasy rim. Massage it into the leather with your fingertips. Work around the entire wheel. Pay attention to the spokes and thumb rests.
Let the conditioner soak in for about thirty minutes. Park in the shade while it works. Direct sun can bake it into the surface. Buff off any excess with a dry microfiber cloth. The wheel should feel soft, not oily. A tacky surface means you used too much.
Conditioning works best on early-stage wear. Faint dullness and slight stiffness respond well. Deep cracks need more than moisture. Many coated automotive leathers sit under a protective topcoat. Conditioner cannot always penetrate it. Thin applications still help keep the finish flexible.
Repeat every three to four months. Consistency matters more than quantity. A wheel in a hot climate may need it more often. Pair conditioning with a sunshade. Heat and UV are the main aging forces. Protection costs far less than repair.
4. Recolor Faded Leather with a Dye Kit
Faded or rubbed-off color is a common problem. Dark wheels turn gray at the grip points. A leather recoloring kit fixes this. Begin with a thorough clean and an alcohol wipe. Then lightly scuff the surface with a fine pad. This helps the dye grip.
Mask off the spokes, trim, and horn pad. Painter’s tape works well. Cover the dashboard too. Match your color carefully. Many automakers use several blacks and grays. Test the dye on a hidden area.
Apply the dye with a foam sponge in thin coats. Dab, do not wipe. Thin coats build color without clogging the grain. Let each coat dry fully. Most kits need ten to twenty minutes. Rushing causes streaks and a rubbery feel.
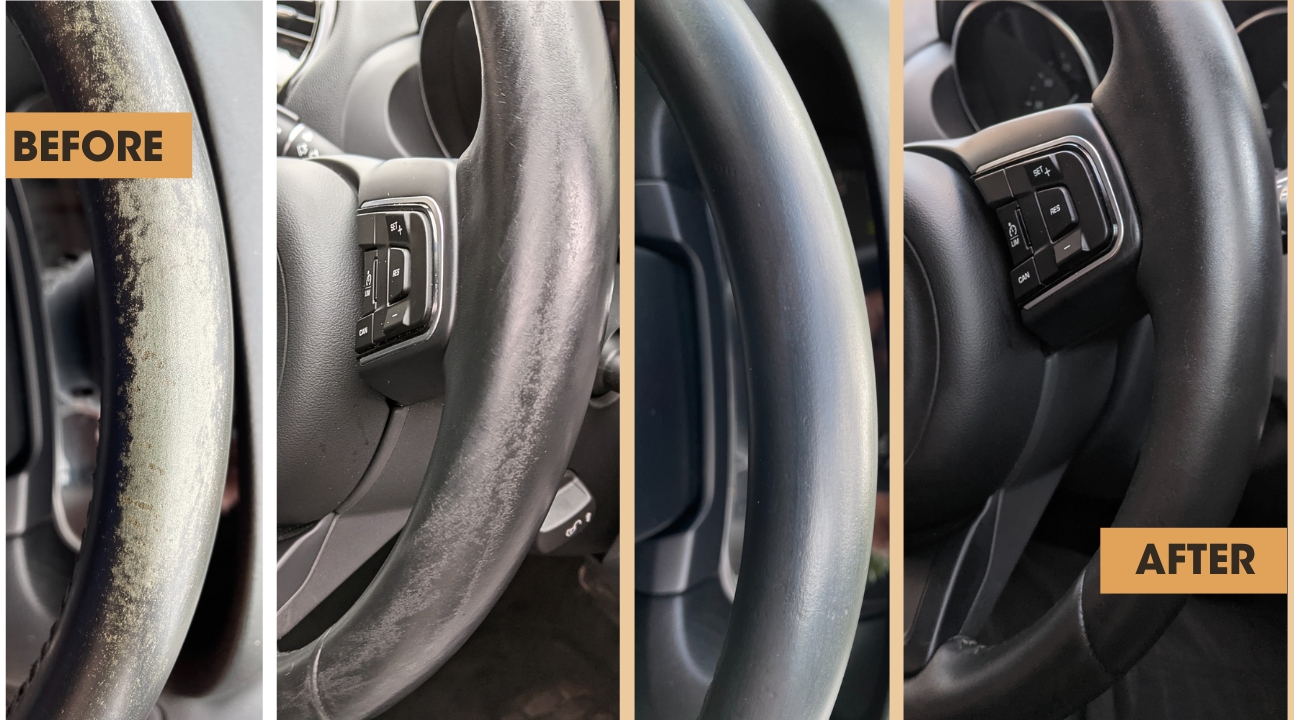
Expect three to five coats on a heavily worn wheel. Patience pays off here. A thick coat will peel later. Finish with the sealer that comes with the kit. This locks in the color and adds wear resistance. It also gives an even sheen.
Cure time matters. Most dyes need at least twenty-four hours before regular use. Avoid hot weather during that window. A good dye job can look factory fresh. A poor one looks painted. The difference lies in prep and thin coats.
5. Fill Cracks with Flexible Leather Filler
Cracks need more than color. Dye alone will sink into them and leave visible lines. A flexible filler levels the surface first. Use a filler made for automotive leather. It must flex with the wheel. Rigid compounds crack again within weeks.
Clean the crack and wipe it with alcohol. Remove any loose flakes with a fine pick. Keep the work area spotless. Press a thin layer of filler into the crack with a small spatula. Spread it flat across the surface. Scrape off any excess right away.
Let it dry, then add another thin layer. Deep damage may need several passes. Each layer shrinks slightly as it cures. Sand the cured filler with very fine paper. Use 800 to 1000 grit. The goal is a smooth blend with the surrounding grain.
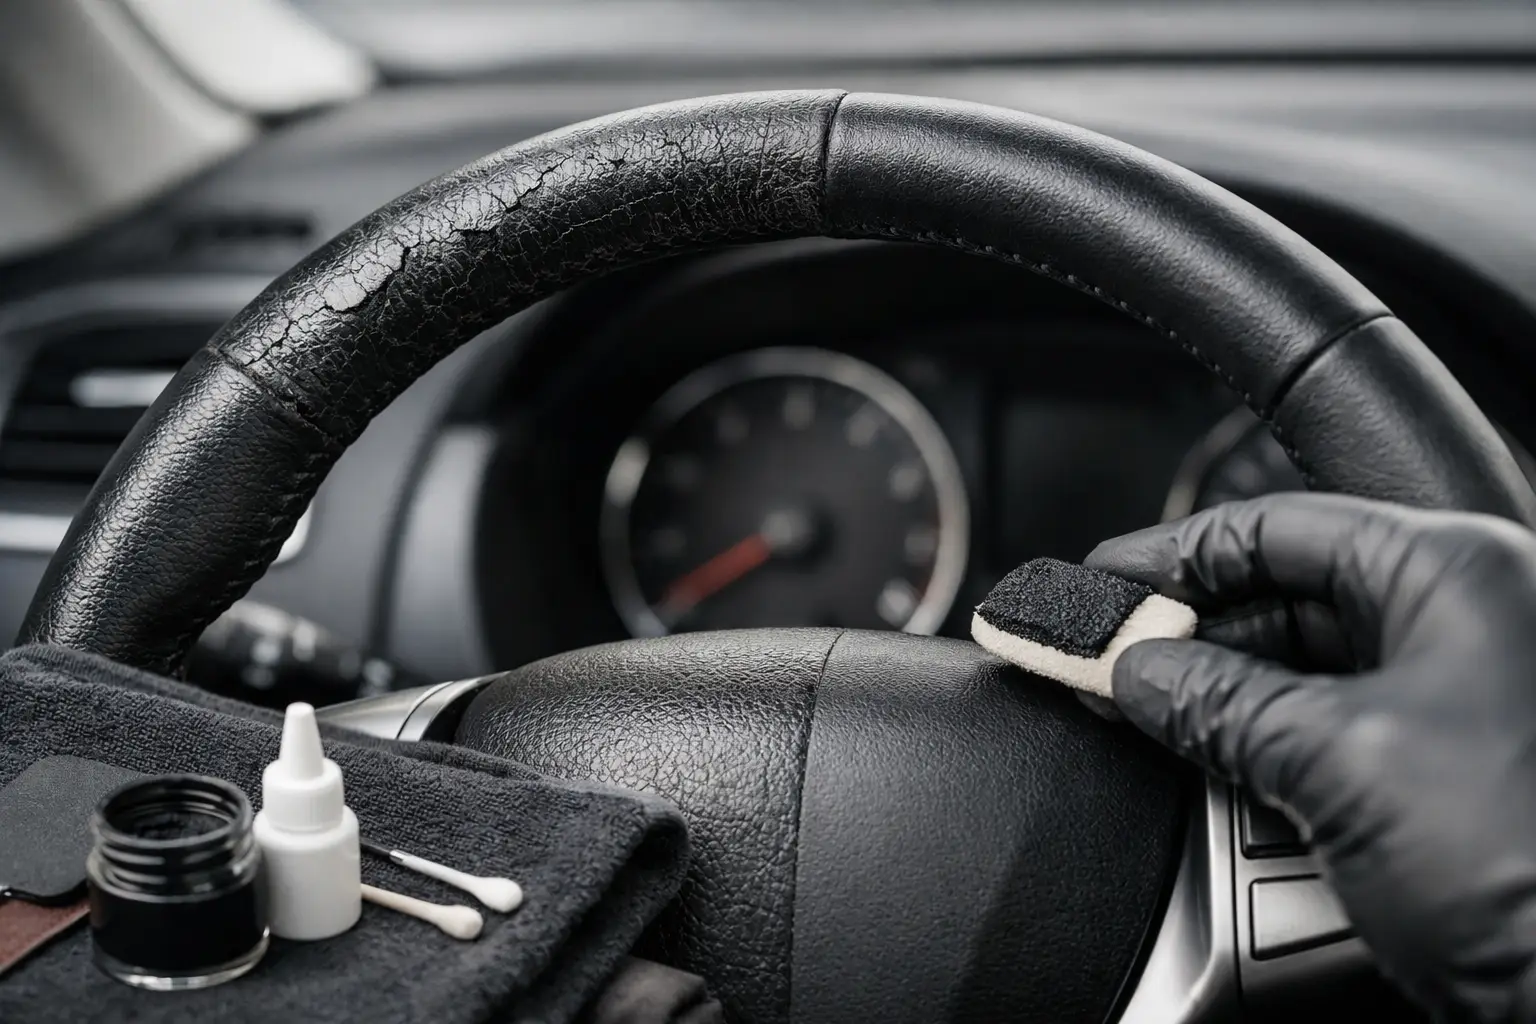
Many repairers add a grain pad at this stage. It presses a leather texture into the patch. Without it, the repair looks flat and shiny. After filling, you must recolor the area. Use the dye method described earlier. Seal it to finish the job.
This method suits cracks up to a few millimeters wide. Large gaps or missing leather need a rewrap. Do not stretch filler past its limits. A careful repair is nearly invisible. Rushed repairs show up in raking light. Take your time on the final sanding.
6. Refinish a Peeling Urethane or Soft-Touch Coating
Many modern wheels are not leather at all. They use molded urethane or a rubbery soft-touch coating. These finishes peel and turn sticky with age.
First, remove the failing coating. Use isopropyl alcohol and a plastic scraper. Peel back every loose edge. Sand the bare area smooth. Start with 400 grit and finish with 600. Feather the edges so no ridge remains. Clean the surface again. Then apply a flexible adhesion promoter.
This step is vital for plastic and urethane. Spray a vinyl and plastic coating in light passes. Choose a flexible, grippy formula. Standard paint will crack on a wheel. Hold the can about eight inches away. Keep your passes smooth and even. Let each coat flash dry before the next.
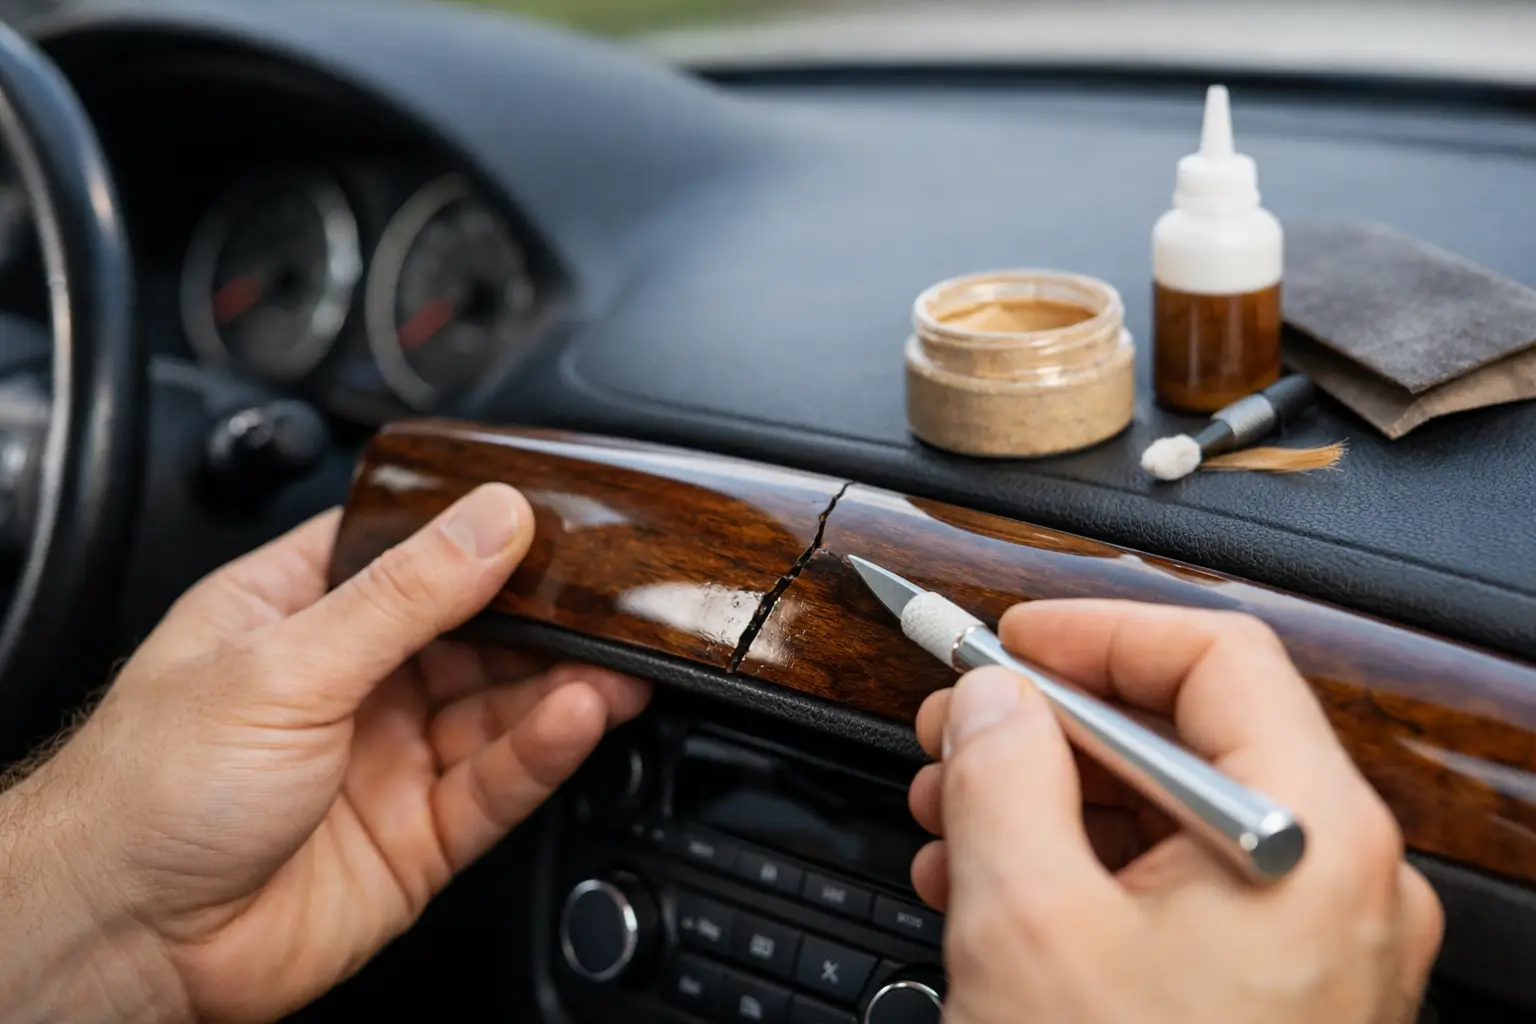
Many owners prefer a satin or matte finish. It resists glare and feels natural in the hand. High gloss feels slippery and looks cheap. Allow a full cure before driving. This often takes several days. Rushing leads to a tacky, fingerprint-prone surface.
This repair works best on wheels with surface-level damage. It cannot fix deep gouges or collapsed foam. Those need filling or replacement. A refinished wheel can last for years. The key is thorough sanding and the right primer. Cheap shortcuts always peel.
7. Install a Stitched-On Leather Wrap
A hand-stitched wrap covers damage completely. It adds fresh leather over the old rim. It also improves grip and thickness. Kits come with pre-cut leather and heavy thread. Choose one sized for your wheel’s diameter. Measure before you buy.
Clean the wheel and remove all sticky residue. A smooth base keeps the wrap from shifting. Fill any deep gouges first. Start at the bottom of the rim. Secure the leather with a few stitches. Pull it snug as you work.
Use a baseball-style or cross stitch. Keep each stitch tight and even. Uneven tension shows as ripples. Work slowly around the full circle. A typical wrap takes two to four hours. Take breaks to keep your hands steady.

Heat helps. A hair dryer softens the leather and makes it easier to stretch. Do not overheat or scorch it. Finish by tucking the final stitches under the leather. Trim any loose thread. Seal the knot with a drop of fabric glue.
The result looks custom and feels grippy. It suits older cars and enthusiast builds. Some owners add contrasting thread for style. Be honest about the thickness. A wrap makes the rim slightly fatter. Some drivers love that, others do not.
8. Hire a Professional to Rewrap in Genuine Leather
A professional rewrap is the premium fix. It removes the old covering and applies fresh leather. The finished wheel can look better than new. Shops usually take the wheel off the car. This requires removing the airbag. That is a safety-critical task.
Professionals disconnect the battery and wait before touching the airbag. Capacitors can hold a charge. Never rush this step. The shop strips the old material down to the core. They repair any damaged foam or plastic. Then they fit a custom-cut leather skin.
Stitching is done with strong, UV-resistant thread. Seams are placed to match your design. You can choose perforated, smooth, or Alcantara-style grips. Many shops offer color and stitch options. Some will match the dash trim exactly. Ask to see sample swatches.
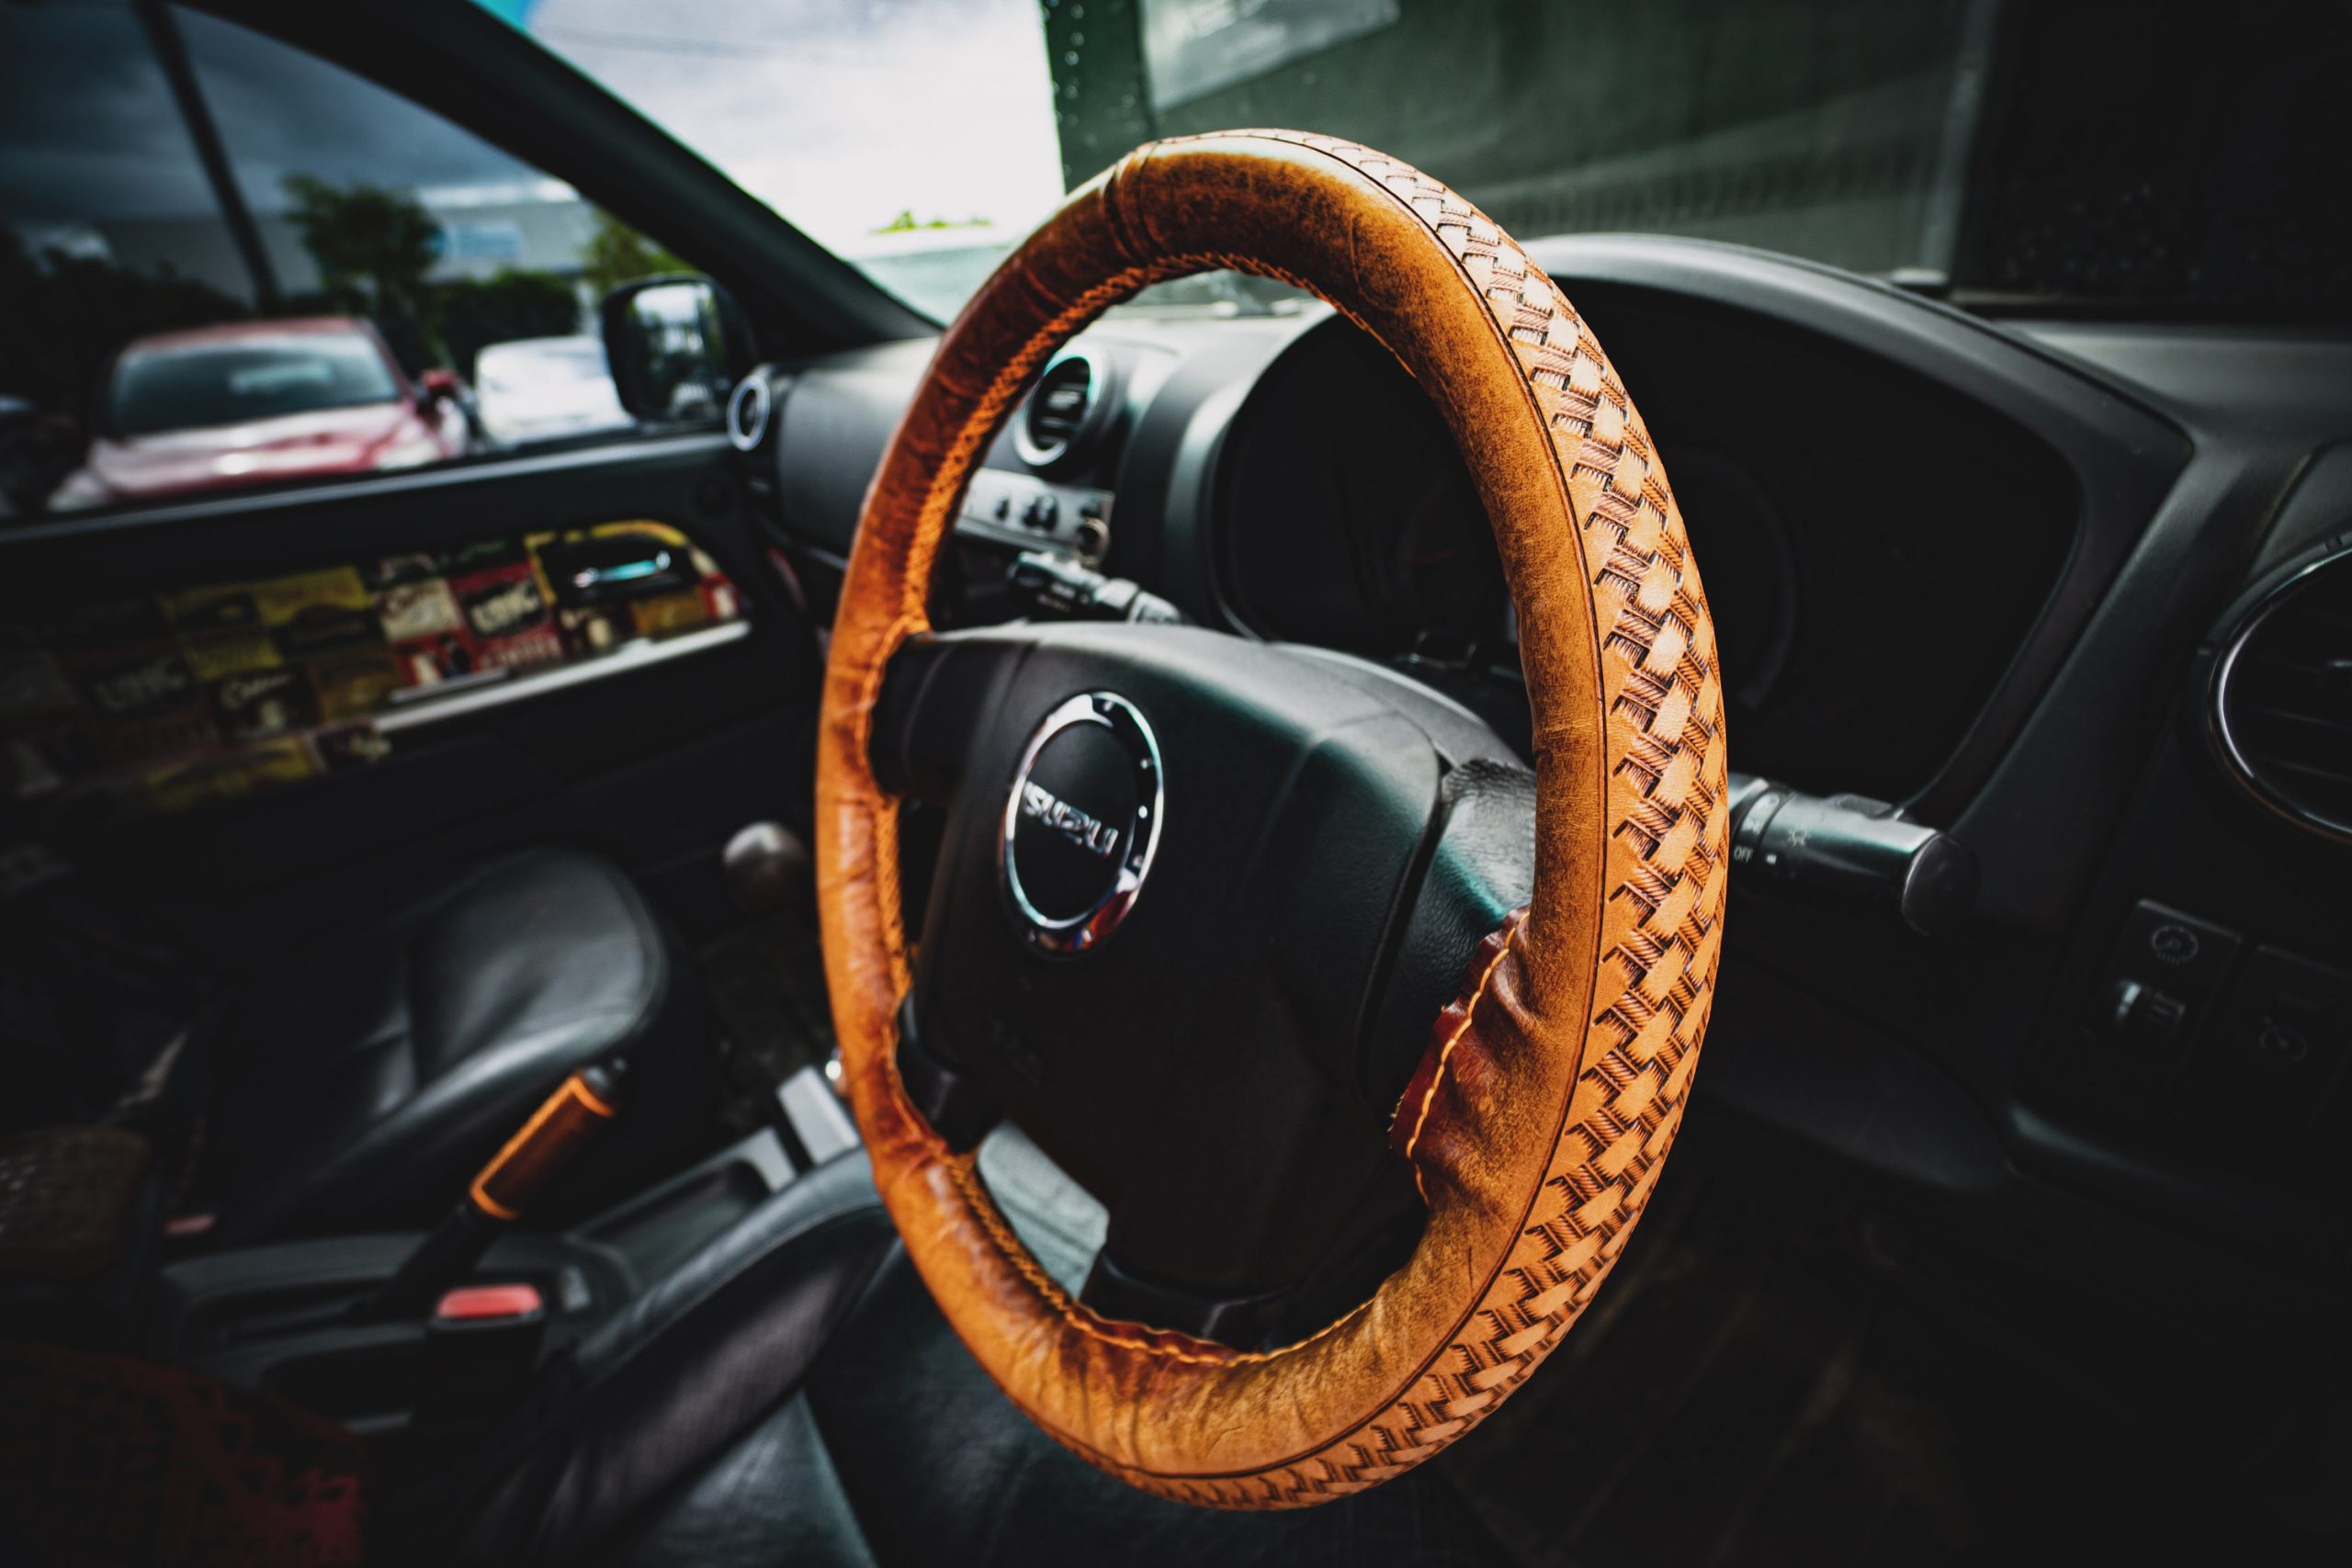
Expect to be without your wheel for a few days. Some shops offer mail-in service. That works well for classic cars. Costs vary by region and material. A quality rewrap usually costs far less than a new OEM wheel. It often lasts for decades.
Check reviews and ask for before-and-after photos. Good work shows clean seams and even tension. Avoid shops that cannot show examples. This route suits luxury cars and valuable classics. It preserves originality while delivering a flawless feel.
9. Restore a Wood or Trim-Ring Wheel
Some classic and luxury wheels use wood rims or wood inlays. The lacquer cracks and clouds with age. Restoration can bring back the glow. Remove the wheel if possible. Strip the old finish with a gentle chemical stripper. Avoid sanding through thin veneer.
Clean away all stripper residue. Let the wood dry fully. Lightly hand-sand with 320 grit. Repair small chips with colored wax or epoxy. Match the grain as closely as you can. Sand the patch flush.
Apply a marine-grade or automotive clear coat. These resist heat and UV better than household varnish. Use thin, even coats. Sand lightly between coats. Use very fine paper, around 600 grit. This builds depth and removes dust nibs.
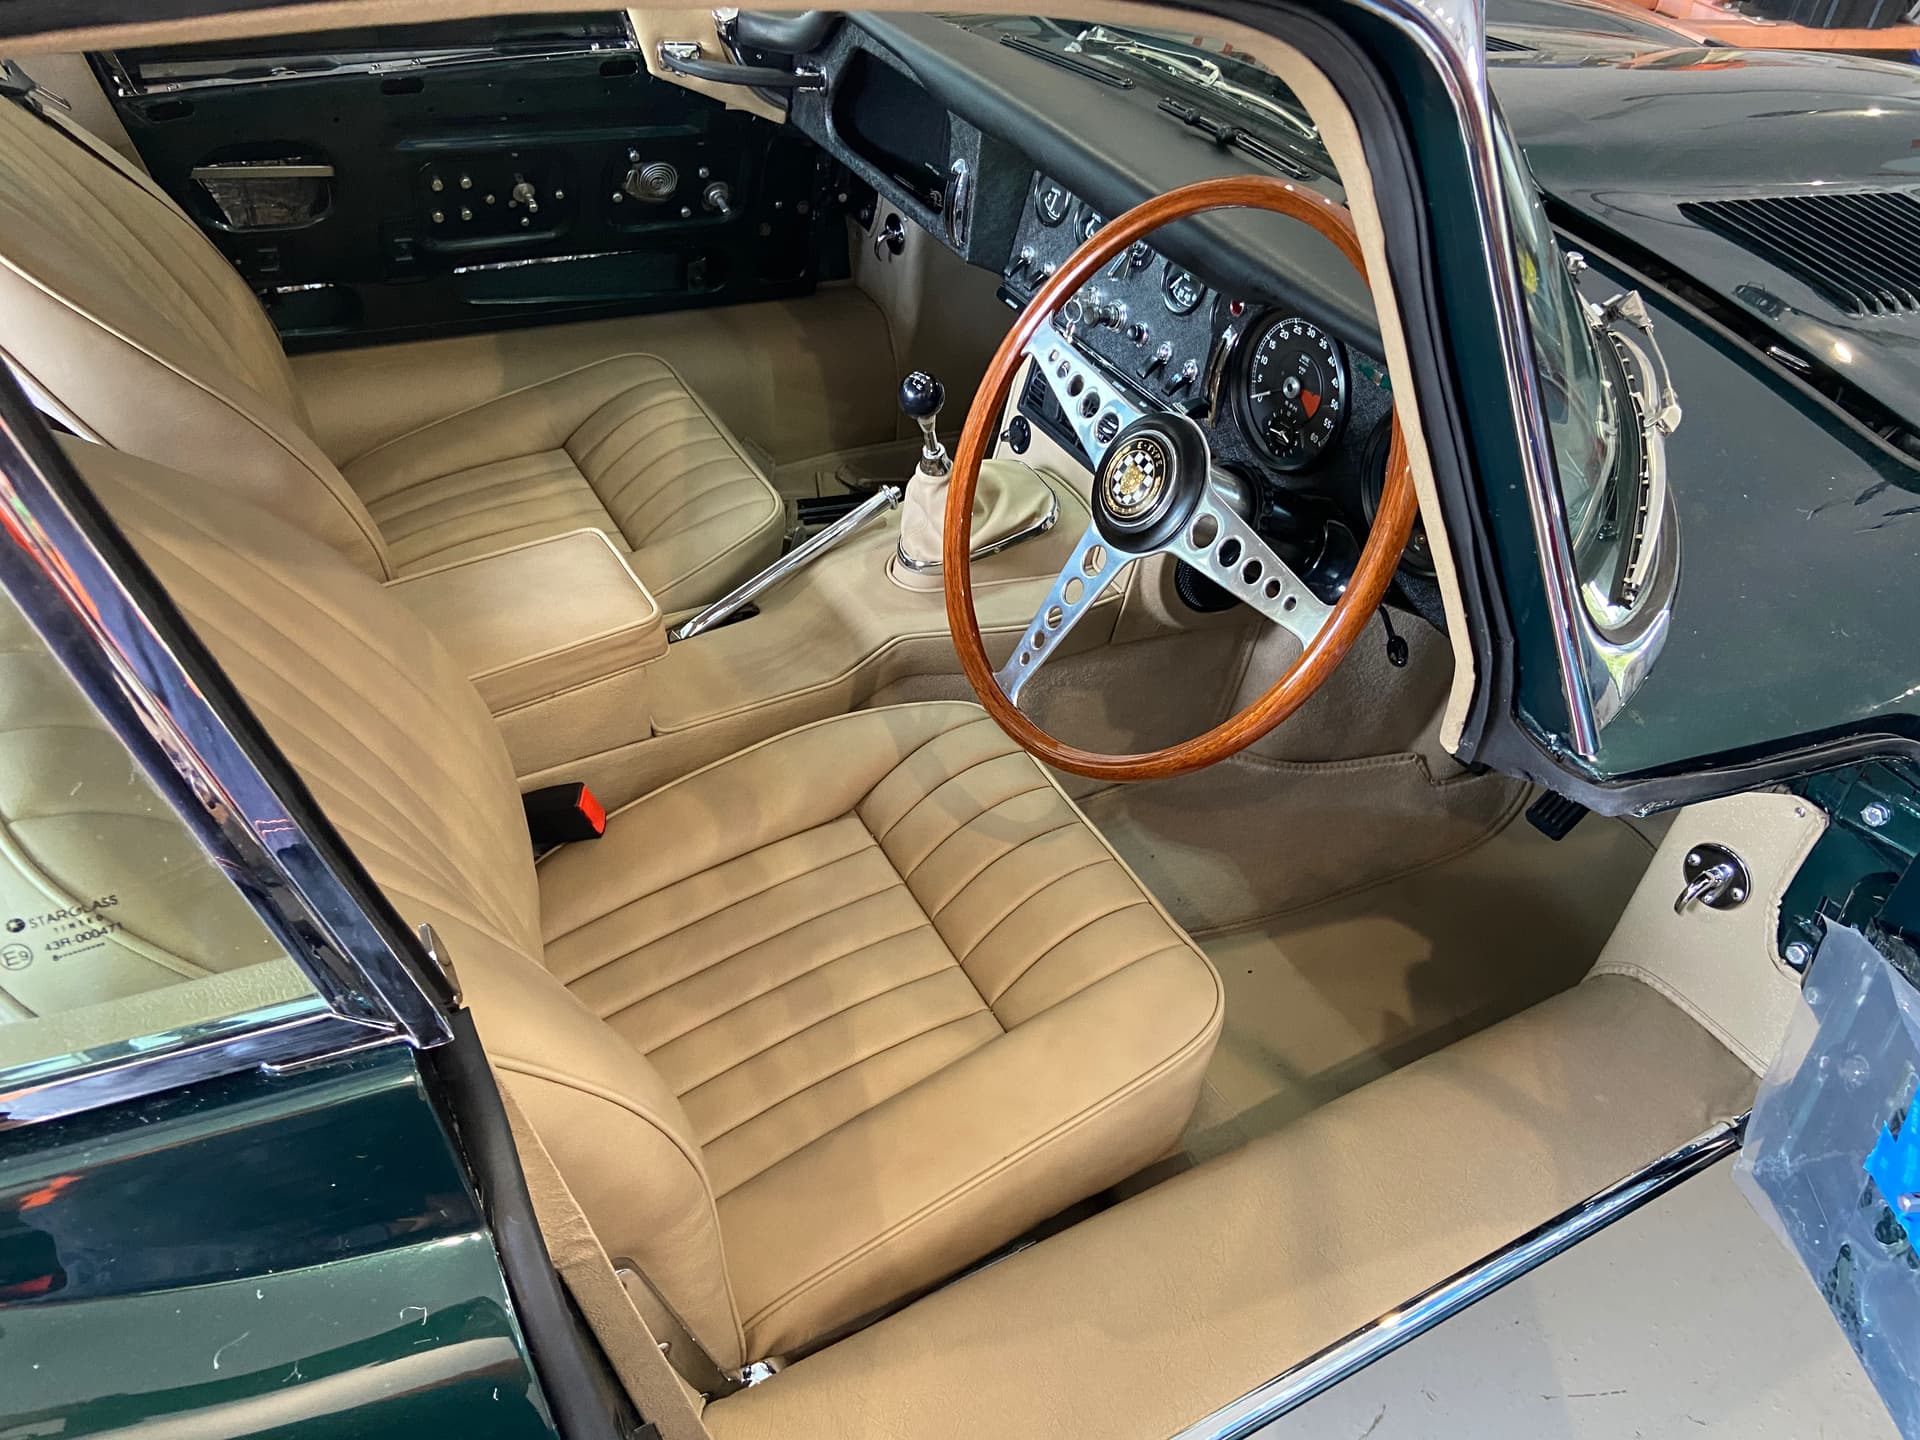
Finish with a polish for a deep gloss. Wood wheels from the 1960s and 1970s respond beautifully. The grain pops once the haze clears. Some wheels pair wood with chrome or metal trim. Polish the metal with a non-abrasive compound. Protect it with wax.
Be careful near horn contacts and wiring. Mask them before any chemical work. Moisture and stripper can cause damage. This job rewards patience. Hurried finishes look cloudy and uneven. Slow, thin coats give the best depth.
10. Replace with a Refurbished or New OEM Wheel
Sometimes restoration is not worth it. Deep structural damage or a collapsed rim needs replacement. A new or refurbished wheel solves that. Start by identifying your exact part. Check your car’s trim level and options. Heated, paddle-shift, and multifunction wheels differ.
Buy from reputable sources. Dealers, certified recyclers, and refurbishers are safer choices. Beware of counterfeit airbags and cheap copies. Airbag safety comes first. Disconnect the battery and wait at least ten minutes. Follow the factory service steps exactly.
Remove the airbag module with the correct tool. Disconnect the horn and control wiring. Mark the steering column position. Align the new wheel before tightening the center bolt. A crooked wheel will pull the steering off center. Use the original marks as a guide.

Torque the bolt to factory specification. Reconnect the airbag and battery. Then check that the warning light behaves normally. Some newer cars need a steering angle sensor reset. A scan tool may be required. A shop can handle this quickly.
Used wheels can be a smart value. A low-mileage unit from a donor car may look near perfect. Inspect the rim in good light before buying. If you lack the tools or confidence, hire a technician. This job involves a safety restraint system. Cutting corners here is never worth it.