Decals may look great when first applied, but years of sun exposure, rain, and repeated car washes can leave them cracked, faded, and difficult to remove. Whether you are preparing to sell your vehicle, updating a work vehicle’s branding, or removing an old sticker you no longer want, the goal is the same. Remove the decal cleanly without scratching the paint, dulling the finish, or damaging the clear coat underneath.
The good news is that paint damage is almost always avoidable. Most problems come from rushing, using metal tools, or applying too much heat or harsh solvent. The ten methods below range from gentle household approaches to dedicated products, and each explains what you need, how to do it, and what to watch for. Start with the mildest option, work in the shade on a clean panel, and be patient. Your paint will thank you.
1. Heat Gun
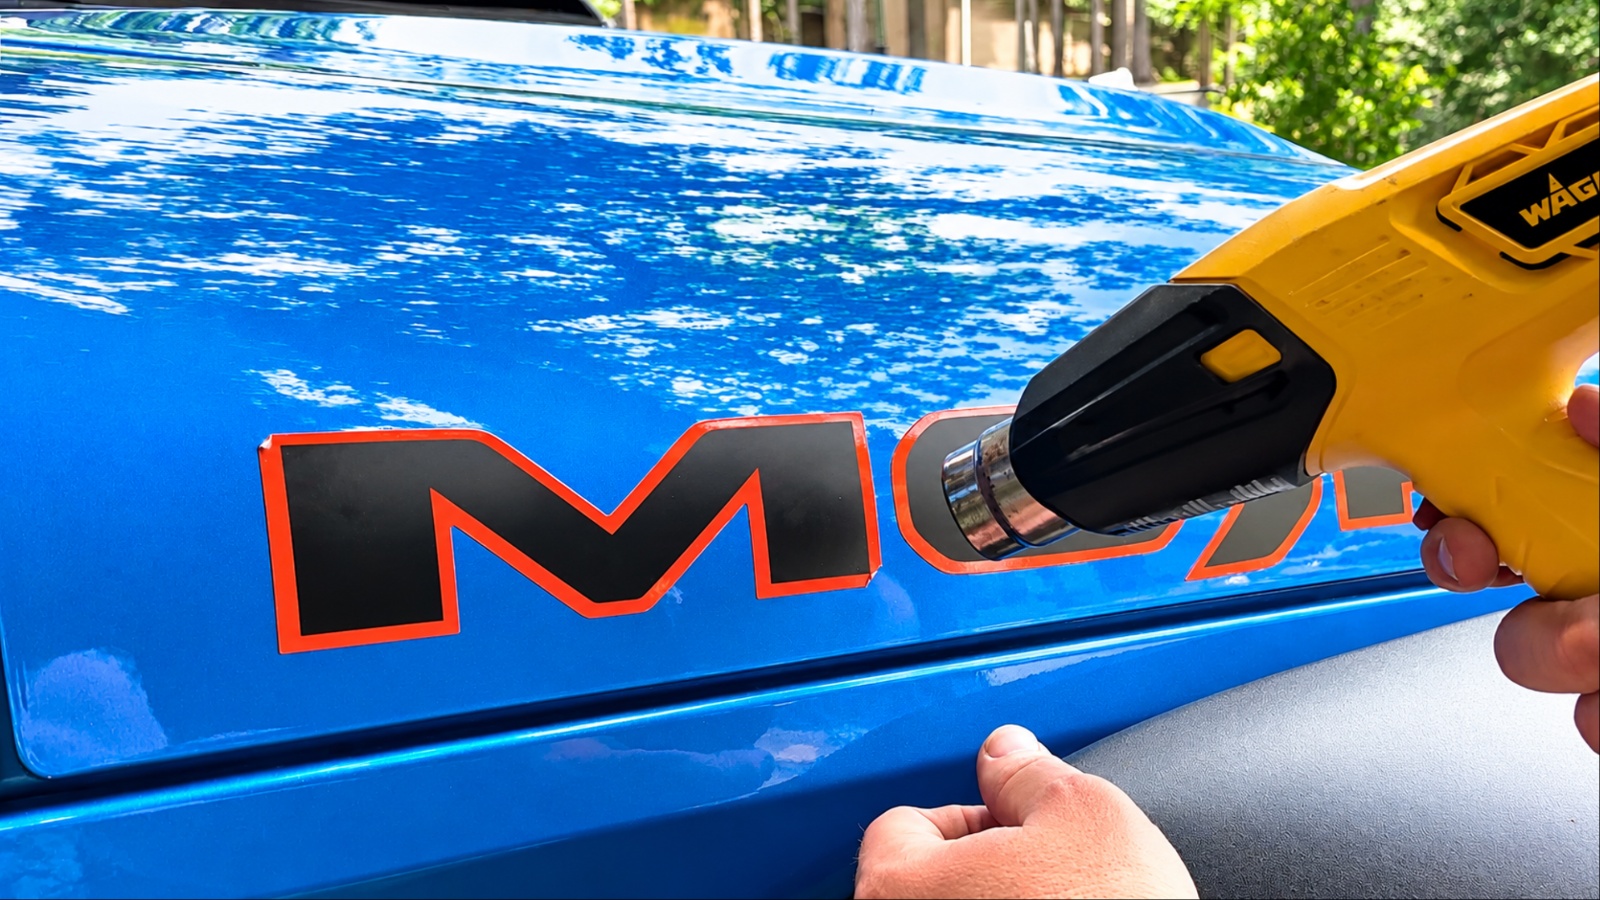
A heat gun is the classic method for removing vinyl decals because warmth softens the adhesive so the sticker releases in one piece instead of tearing into fragments. You will need a heat gun with adjustable settings, a plastic scraper or your fingernail, microfiber towels, and a mild car soap. Wash and dry the area first so grit does not scratch the paint while you work.
Set the gun to its lowest temperature and hold it six to eight inches from the surface. Move it in slow, constant sweeps across the decal for about thirty to sixty seconds. Never let it rest in one spot, because concentrated heat can blister clear coat, discolor paint, or warp plastic trim. The surface should feel warm to the touch, not uncomfortably hot.
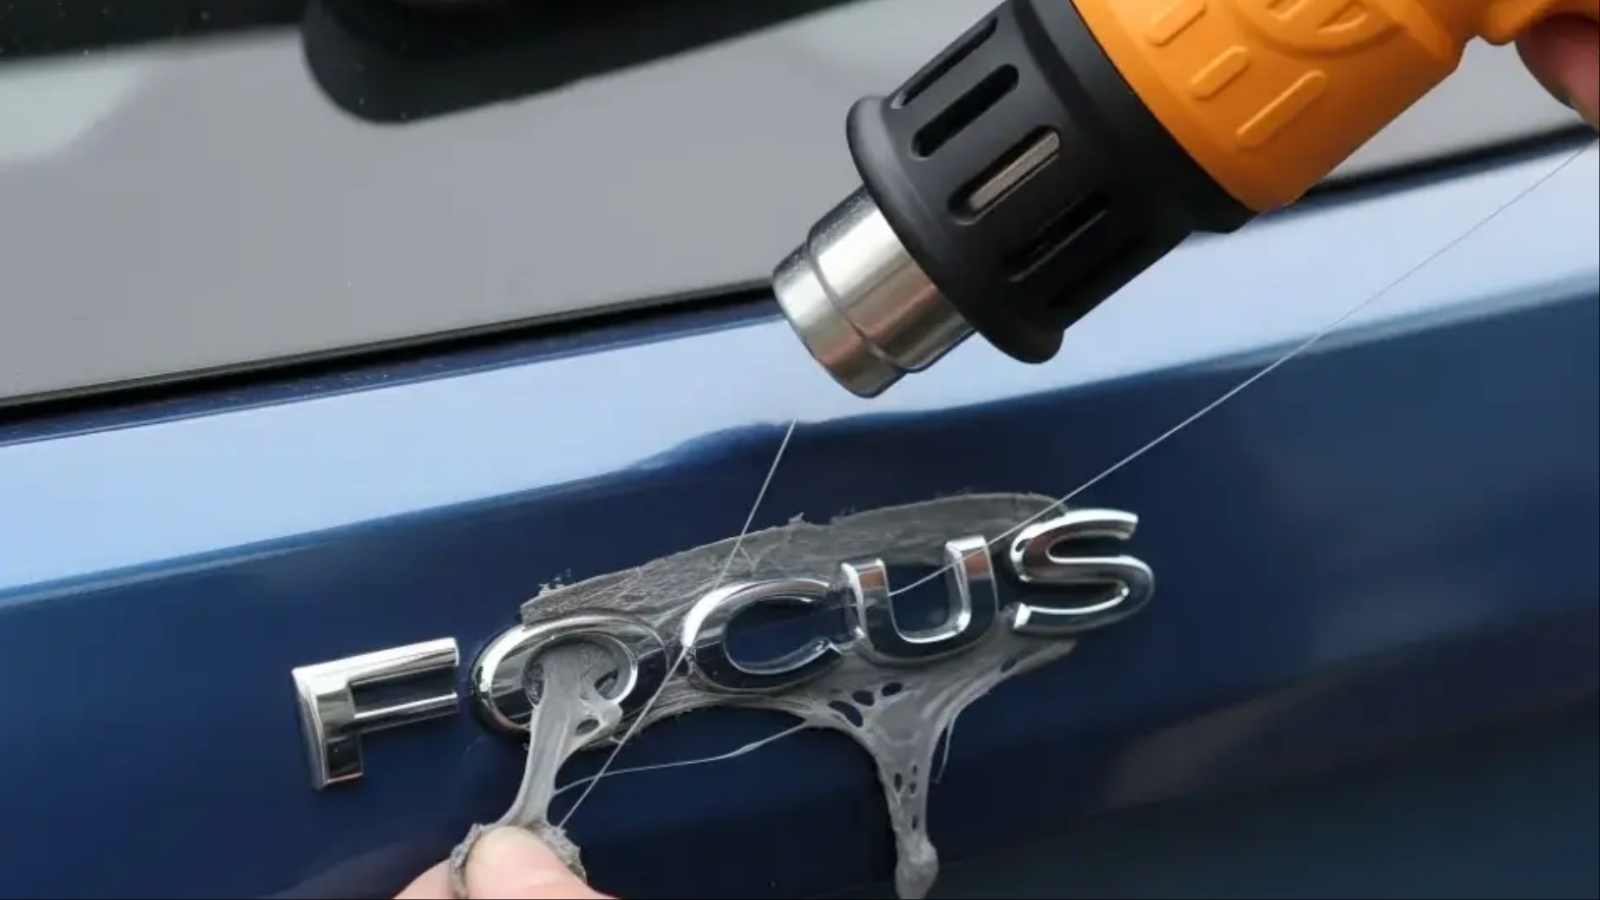
Lift one corner with a fingernail or plastic scraper. Once you have a flap to grip, pull the decal back on itself at a low angle, almost parallel with the panel, while continuing to apply gentle heat just ahead of the peel. Pulling straight outward tends to leave adhesive behind and stresses the paint. If the decal begins to tear, reheat and start again from another edge.
Expect some sticky residue afterward. Treat it with a dedicated adhesive remover or isopropyl alcohol, then wash the panel and apply wax to restore protection. Avoid this method on repainted panels or areas close to plastic bumpers, where heat tolerance is lower and damage appears faster.
2. Hair Dryer
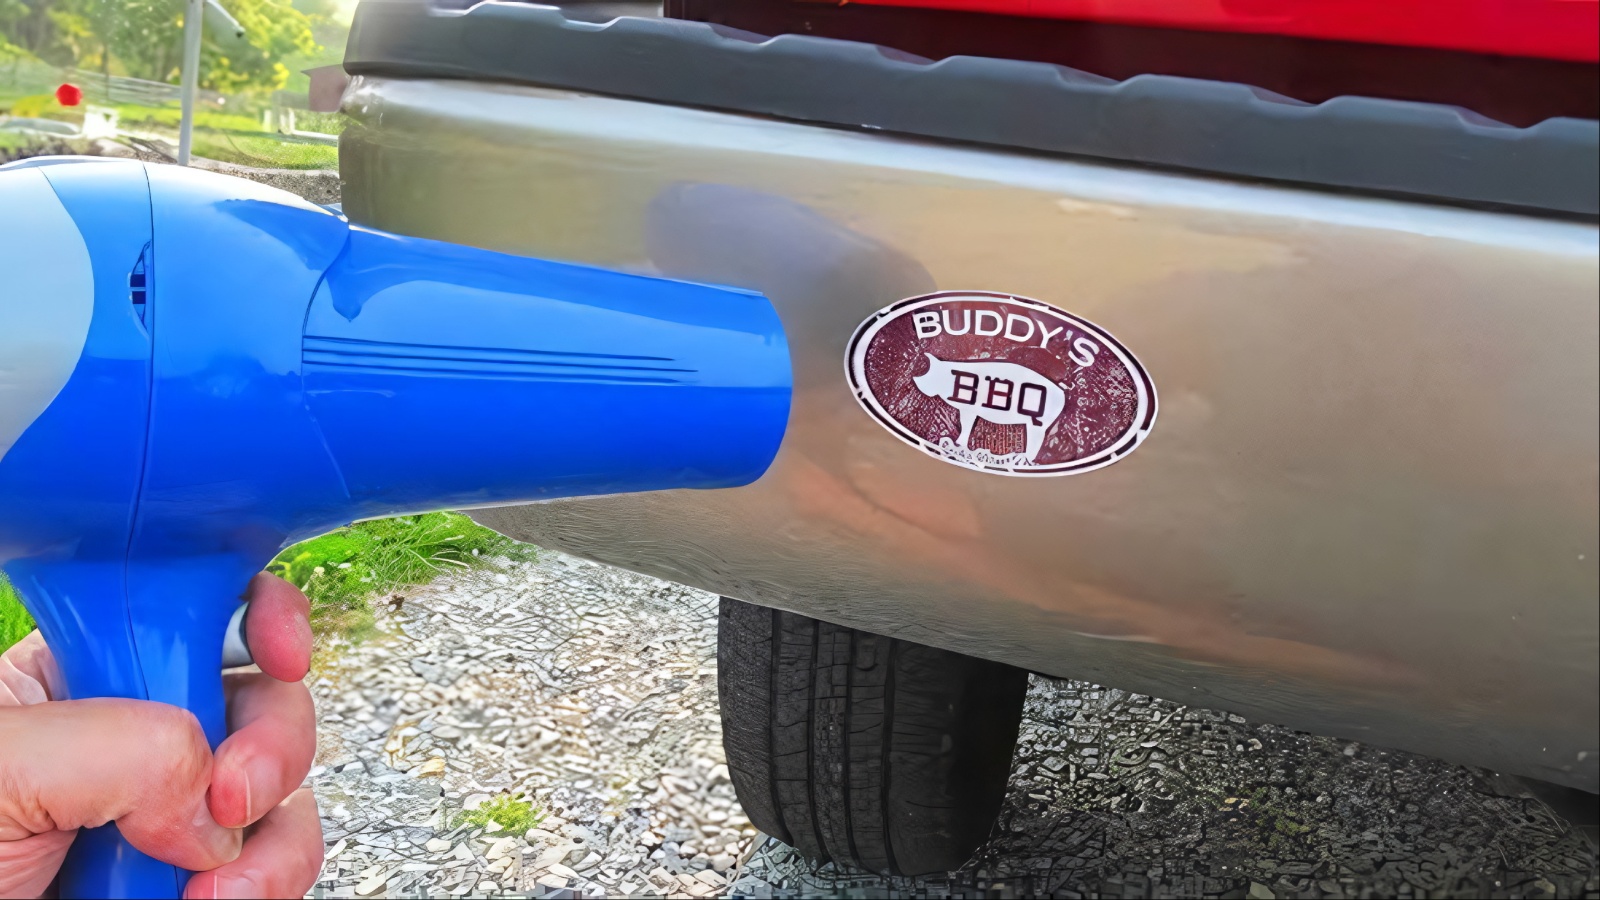
If you are nervous about a heat gun, a standard hair dryer is the safer alternative. It produces far less heat, which makes burning the paint almost impossible, though it takes longer to soften stubborn adhesive. This approach suits small stickers, bumper decals, and vinyl lettering that is only a few years old. You will need an extension cord if the car is parked far from an outlet, a plastic scraper or old credit card, and microfiber cloths.
Begin by washing the surface with soapy water and drying it completely. Set the hair dryer to its highest heat setting and hold it about four inches from the decal. Heat one section at a time for about one to two minutes, moving the dryer in small circles to distribute the heat evenly. Gently test an edge with your fingernail. If it lifts easily, the adhesive has softened enough to begin peeling.
Peel slowly at a shallow angle, pausing to reheat whenever you feel resistance. Patience matters here. Forcing the decal off while the glue is still firm can pull up paint, especially on older respray jobs or cars with thin factory finishes. Once the decal is gone, you will likely see a faint outline and some tacky glue.
Wipe the area with a microfiber towel dampened with isopropyl alcohol, then wash and wax. The outline is often paint that has faded around the sticker, so a light polish can blend the area back into the surrounding finish. Work in shade and keep the cord away from wet ground.
3. Fishing Line or Dental Floss
Fishing line or dental floss offers a mechanical approach that avoids heat and chemicals, making it ideal for thick vinyl, foam-backed badges, and raised emblems. The thin line slices through the adhesive layer without touching the paint, so there is very little chance of scratching.
You will need strong monofilament fishing line, around fifteen to twenty-pound test, or unwaxed dental floss, plus two small sticks, dowels, or pieces of tape to use as handles.
Start by warming the decal with a hair dryer for about 30 seconds to soften the adhesive and make removal easier. Wrap each end of a length of fishing line around a handle to create a secure grip and protect your fingers.
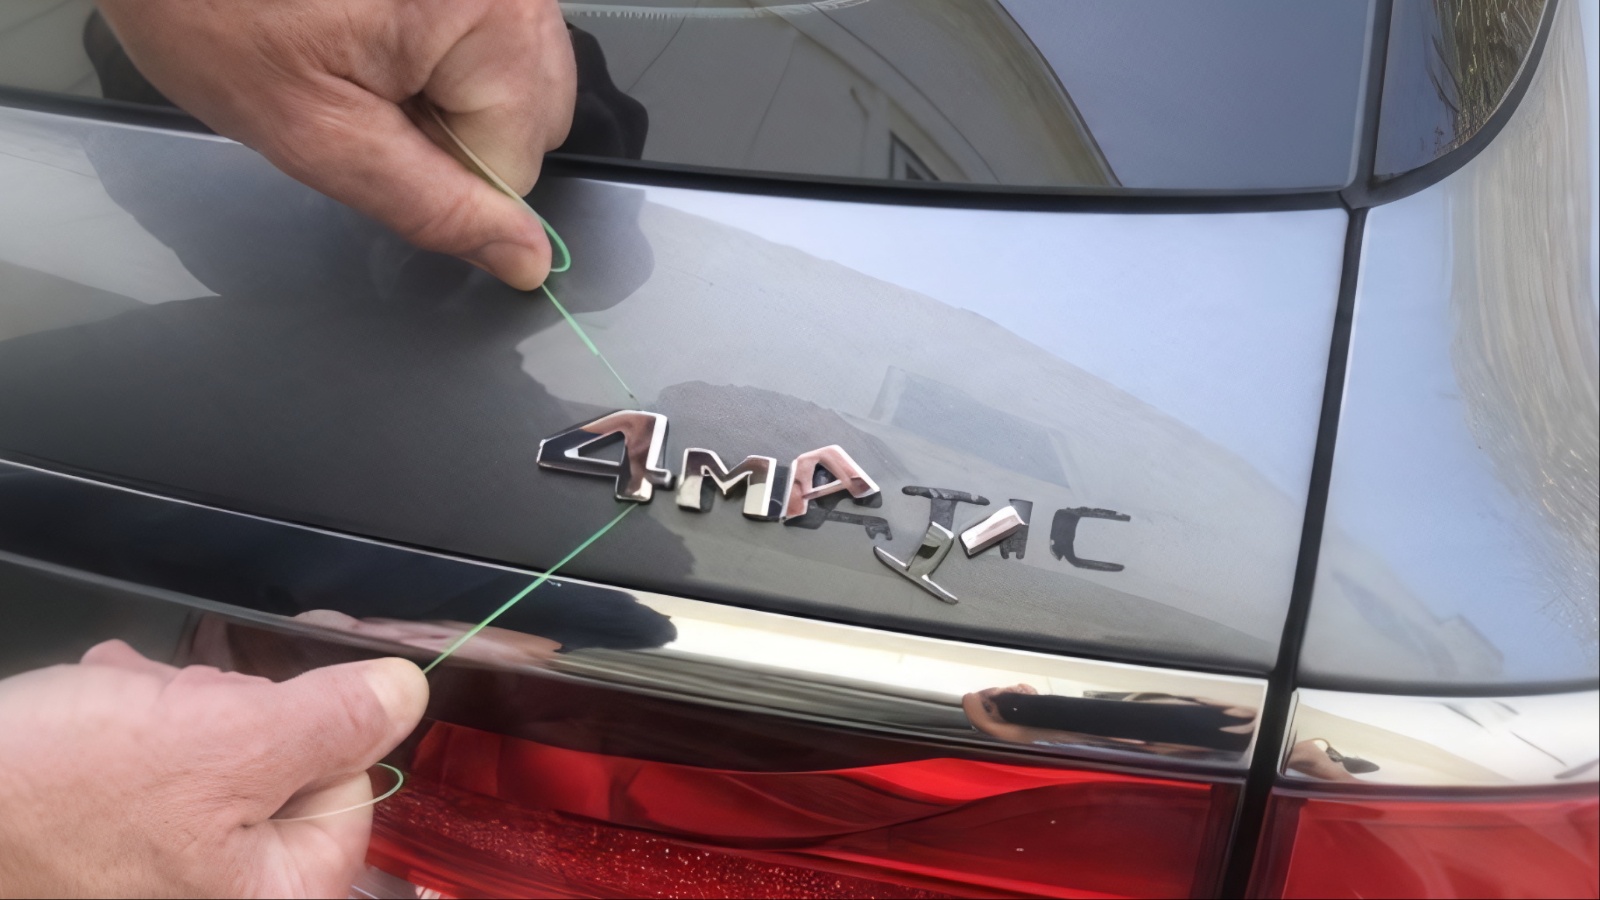
Work the line behind one edge of the decal or emblem, then move it back and forth in a gentle sawing motion while advancing along the gap between the adhesive and the paint. Take your time to prevent the line from snapping or slipping against the finish.
For large decals, work in smaller sections, removing each piece before continuing. If foam adhesive remains after removing a badge, gently roll it away with your thumb or use an eraser wheel designed for automotive paint.
Finish by cleaning the area with isopropyl alcohol or an adhesive remover, then washing and waxing. This method is slower than others on flat vinyl graphics, so it works best for dimensional items, but it is among the gentlest techniques available when you want absolute confidence in protecting your paintwork.
4. Plastic Razor Blade
A plastic razor blade scraper is a popular tool among detailers because it is firm enough to lift stubborn decal edges while being softer than automotive clear coat. Unlike metal blades, plastic is less likely to cut into the paint, although excessive pressure or a dirty surface can still leave scratches.
To get started, gather a plastic razor blade holder with replacement blades, a spray bottle filled with soapy water, and microfiber towels. Wash the area thoroughly to remove dust and grit that could get trapped beneath the blade and damage the finish.
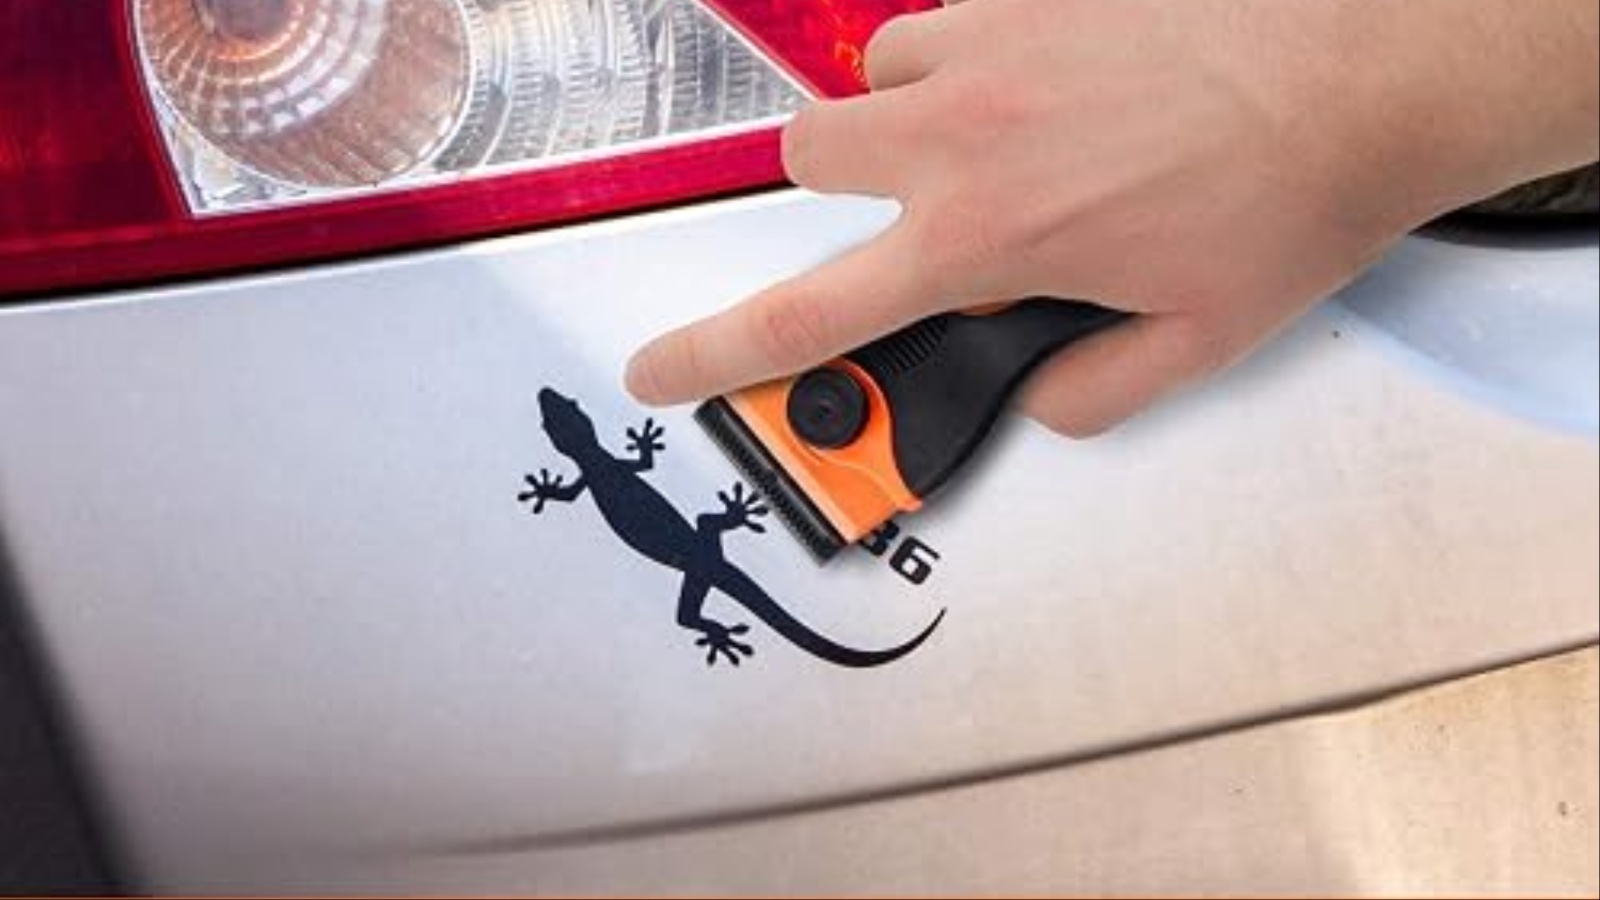
Next, gently warm the decal with a hair dryer to soften the adhesive. Spray the surface generously with soapy water to lubricate it, allowing the blade to glide smoothly rather than drag across the paint.
Hold the scraper at roughly a thirty-degree angle and push gently under the edge of the decal. Once you have lifted a section, continue sliding the blade forward in short, controlled strokes while peeling the lifted vinyl with your other hand. Keep the blade flat against the surface, never digging the corner into the paint.
Work in small areas, reapplying heat and lubricant as needed. Scraping dry is the most common mistake and the most likely to leave swirl marks. After the decal is gone, remove leftover glue with an adhesive remover, then wash the panel and apply a coat of wax or sealant. This technique excels on cracked, brittle decals that tear into small pieces, but take extra care near panel edges, where paint is typically thinner.
5. Isopropyl Alcohol
Isopropyl alcohol is an inexpensive solvent that breaks down many adhesives and is generally safe on modern factory paint when used briefly. It works best as a follow-up to peeling, though it can also help loosen small decals and stickers. Choose a concentration between seventy and ninety-one percent. You will need the alcohol, clean microfiber cloths, a plastic scraper, and a spray bottle if you prefer misting.
Wash and dry the surface first. Soak a corner of a microfiber cloth with alcohol and press it against the edge of the decal for thirty to sixty seconds so the liquid can seep underneath. Alternatively, spray the decal and let it sit for a minute. Gently lift the edge with a fingernail or plastic scraper, then add more alcohol beneath the lifted section and continue peeling.
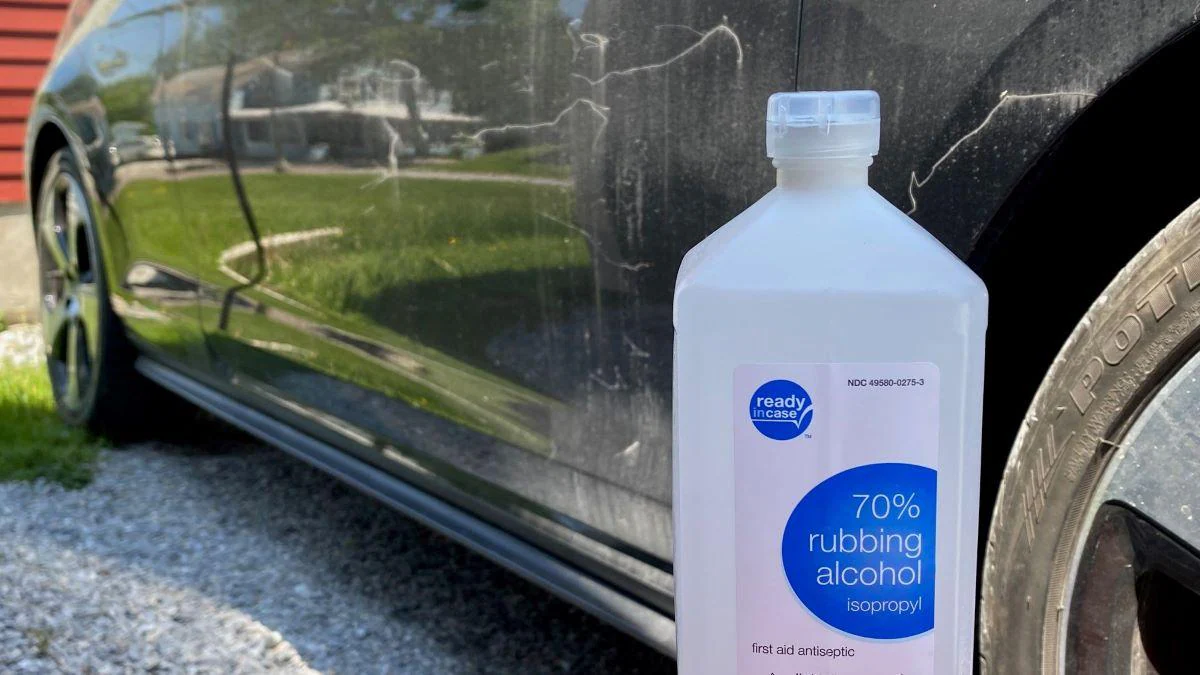
Avoid soaking the area for long periods or letting alcohol dry on the paint, since repeated exposure can dull wax and, on older or repainted finishes, soften the clear coat. Work in small sections and wipe away dissolved glue before it dries again into a sticky film. Always test on a hidden spot first, such as a door jamb, to confirm the paint tolerates the solvent.
After removal, clean the area with soapy water to neutralize any alcohol residue, then dry thoroughly. Because alcohol strips protective wax, reapply wax or sealant to the treated panel. This approach is gentle, cheap, and widely available, making it a sensible first choice for small stickers, bumper decals, and residue left behind by other removal methods.
6. Commercial Adhesive Remover
Commercial adhesive removers, such as 3M Adhesive Remover or Goo Gone Automotive, are formulated specifically to dissolve decal glue while remaining safe on cured automotive paint. They are the most reliable option for old, baked-on residue that other methods struggle to lift.
You will need the product, microfiber cloths, a plastic scraper, nitrile gloves, and soapy water. Read the label carefully, since formulations differ in strength and recommended dwell time.
Wash the panel and dry it before starting. Apply a small amount of remover to a cloth rather than pouring it directly onto the paint, then dab it over the decal or leftover adhesive. Let it sit for the time the manufacturer recommends, usually one to five minutes, keeping the area moist if it begins to dry. The glue should turn gummy and begin to roll up.
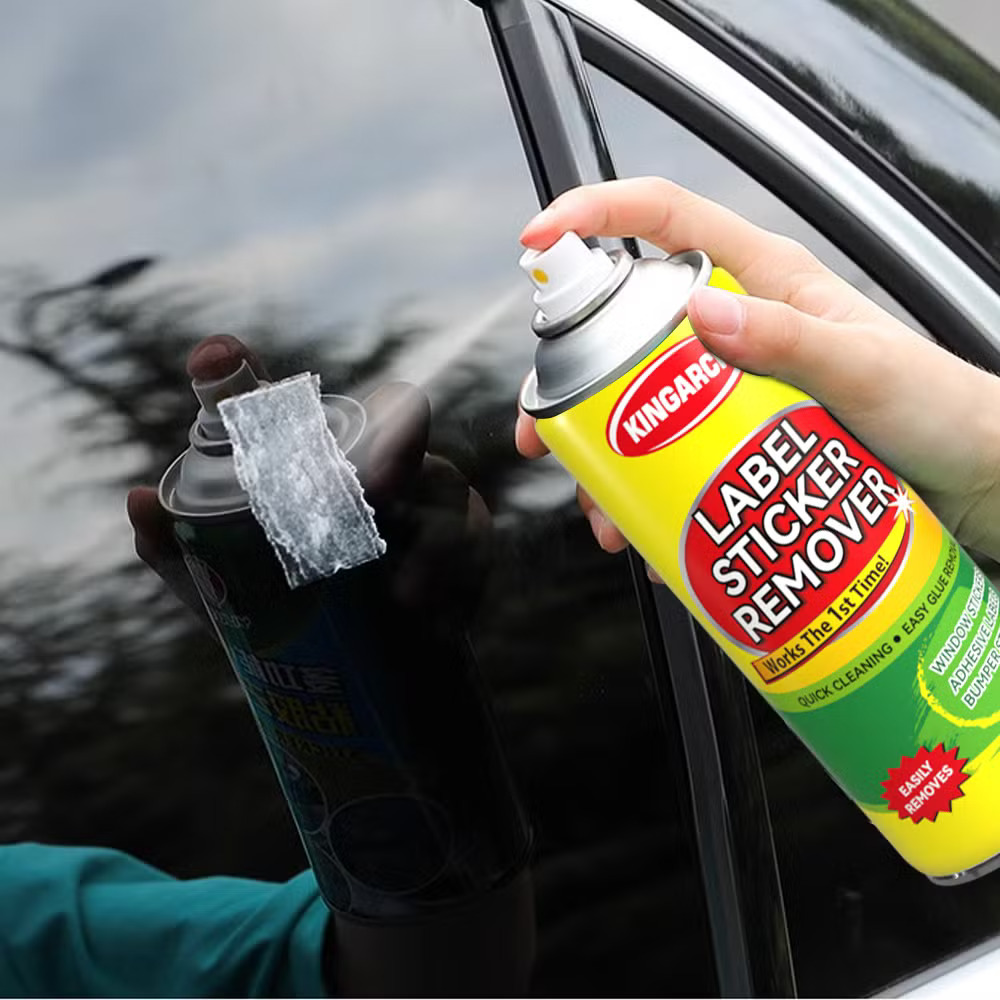
Wipe the area in one direction with a clean cloth or gently remove the softened residue with a plastic scraper. For stubborn spots, reapply the product rather than scrubbing aggressively, as excessive friction can scratch the surface. Work in small sections in a shaded area to slow evaporation and prevent streaking. Keep the product away from door seams, rubber trim, and unpainted plastic, as it may cause staining or swelling.
Once finished, wash the area thoroughly with car soap and water to remove all solvent traces, then dry and apply wax or sealant, since most removers strip protection. Always test a hidden patch first, particularly on repainted vehicles. This method costs slightly more than household options but delivers dependable results on heavy glue buildup.
7. WD-40
WD-40 is a handy garage staple that doubles as a mild adhesive loosener. Its light petroleum-based formula creeps under the edges of vinyl and dissolves some glue without harming healthy factory paint when used briefly and rinsed away. It works well on paper stickers, parking permits, and the sticky film left after a decal comes off. You will need a can of WD-40, microfiber cloths, a plastic scraper or old gift card, and car soap.
Begin by cleaning the surface so dirt does not get dragged across the paint. Spray a modest amount of WD-40 directly on the decal, concentrating along the edges. Let it soak for five to ten minutes, giving the liquid time to wick beneath the vinyl. For vertical surfaces, reapply every few minutes so it does not simply run off.
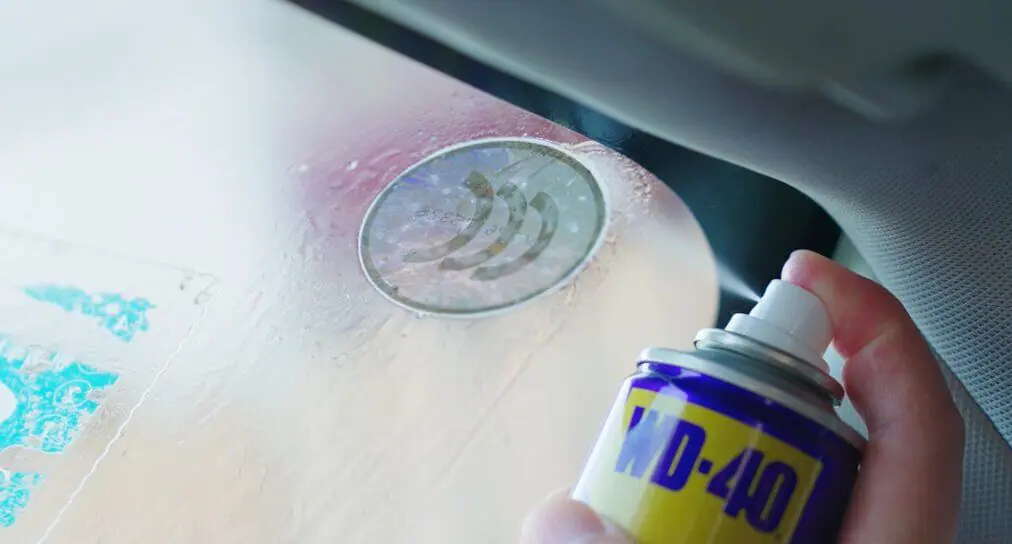
Gently lift an edge with your fingernail or plastic scraper and peel back slowly. Spray more product under the lifted section to keep the glue loosened as you go. If residue remains, apply a bit more WD-40 to a cloth and rub in small circles with light pressure until the glue breaks down and wipes away.
The most important step comes afterward. Wash the area thoroughly with warm water and dish soap to remove any oily residue, which can interfere with wax or sealant adhesion and attract dust. Dry the panel completely, then apply a suitable protective coating. Avoid using WD-40 on matte finishes, vinyl wraps, or rubber trim, as it may leave stains or damage the appearance.
8. Rubber Eraser Wheel
A rubber eraser wheel, sometimes called a decal eraser or pinstripe remover, attaches to a drill and rubs away old vinyl and adhesive through friction. It is a favorite of body shops because it clears large decals quickly, but it demands care since friction generates heat.
The wheel is soft rubber designed not to cut paint, yet technique still matters. You will need the eraser wheel, a variable-speed drill, safety glasses, a dust mask, microfiber cloths, and a spray bottle of water.
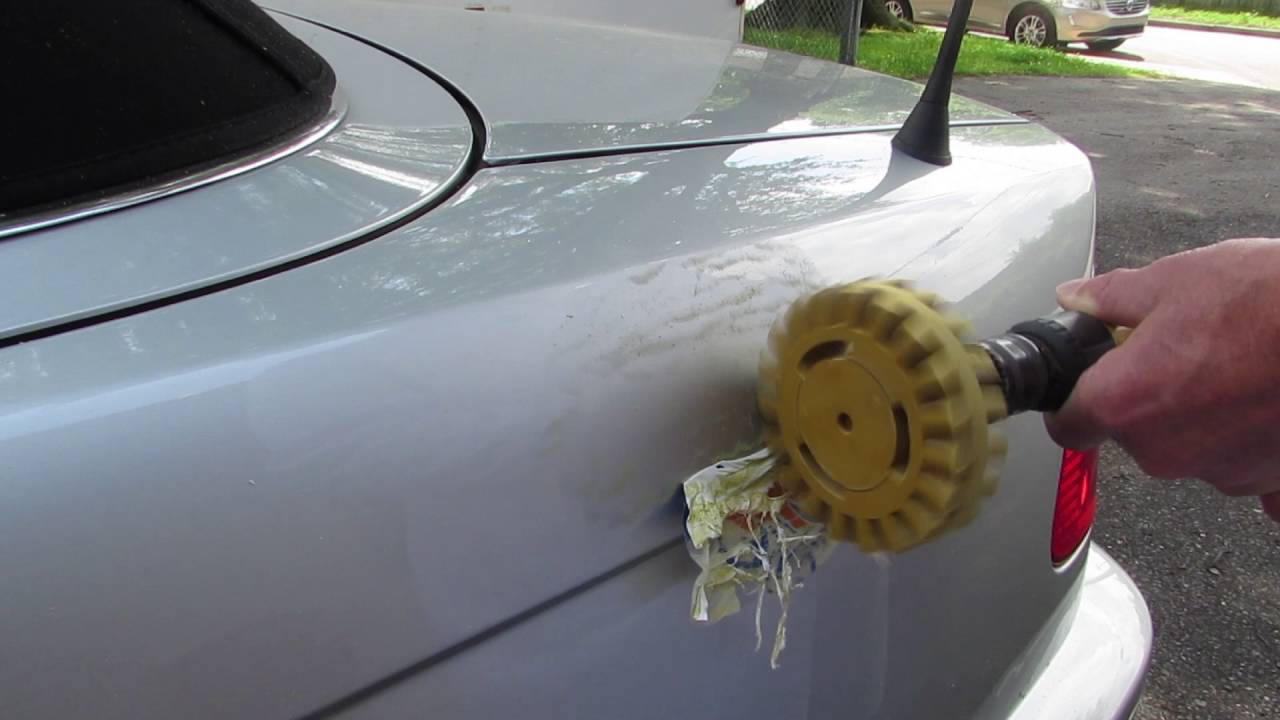
Wash the car and tape off nearby trim or badges to protect them. Attach the wheel to the drill and set the speed to low, ideally under two thousand revolutions per minute. Test on an inconspicuous area first to see how the paint responds.
Hold the wheel at a slight angle and apply gentle pressure, moving it across the decal in smooth, steady passes. Keep the wheel moving at all times, as lingering in one spot can generate excessive heat and damage the clear coat.
Pause every few seconds to check the panel temperature by touch. A light mist of water can help reduce friction and wash away rubber dust. As you work, the vinyl should break into small crumbs while the adhesive rolls off in thin strings.
Work only on factory-cured paint in good condition. Skip this technique on repainted panels, thin paint, or plastic bumpers, where heat damage appears quickly. After removal, clean the area with adhesive remover or alcohol, wash with soap, and consider a light polish and wax. When used patiently, the eraser wheel is fast and effective on large, heavily bonded graphics.
9. Steam Cleaner
A steam cleaner offers a chemical-free way to loosen decal adhesive using moist heat. Steam penetrates beneath vinyl and softens glue without the dry, concentrated heat of a heat gun, which makes it a relatively forgiving method for paint.
It is especially useful on large decals, window lettering, and older stickers that crack when heated dry. You will need a handheld or canister steamer with a nozzle attachment, microfiber towels, a plastic scraper, and gloves, since steam can cause burns.
Clean the area first, then hold the steam nozzle about two to three inches from the decal. Move it slowly across the surface for thirty to sixty seconds, concentrating on the edges. Keep the nozzle moving to avoid overheating one spot, and avoid steaming the same area for more than a couple of minutes at a time.
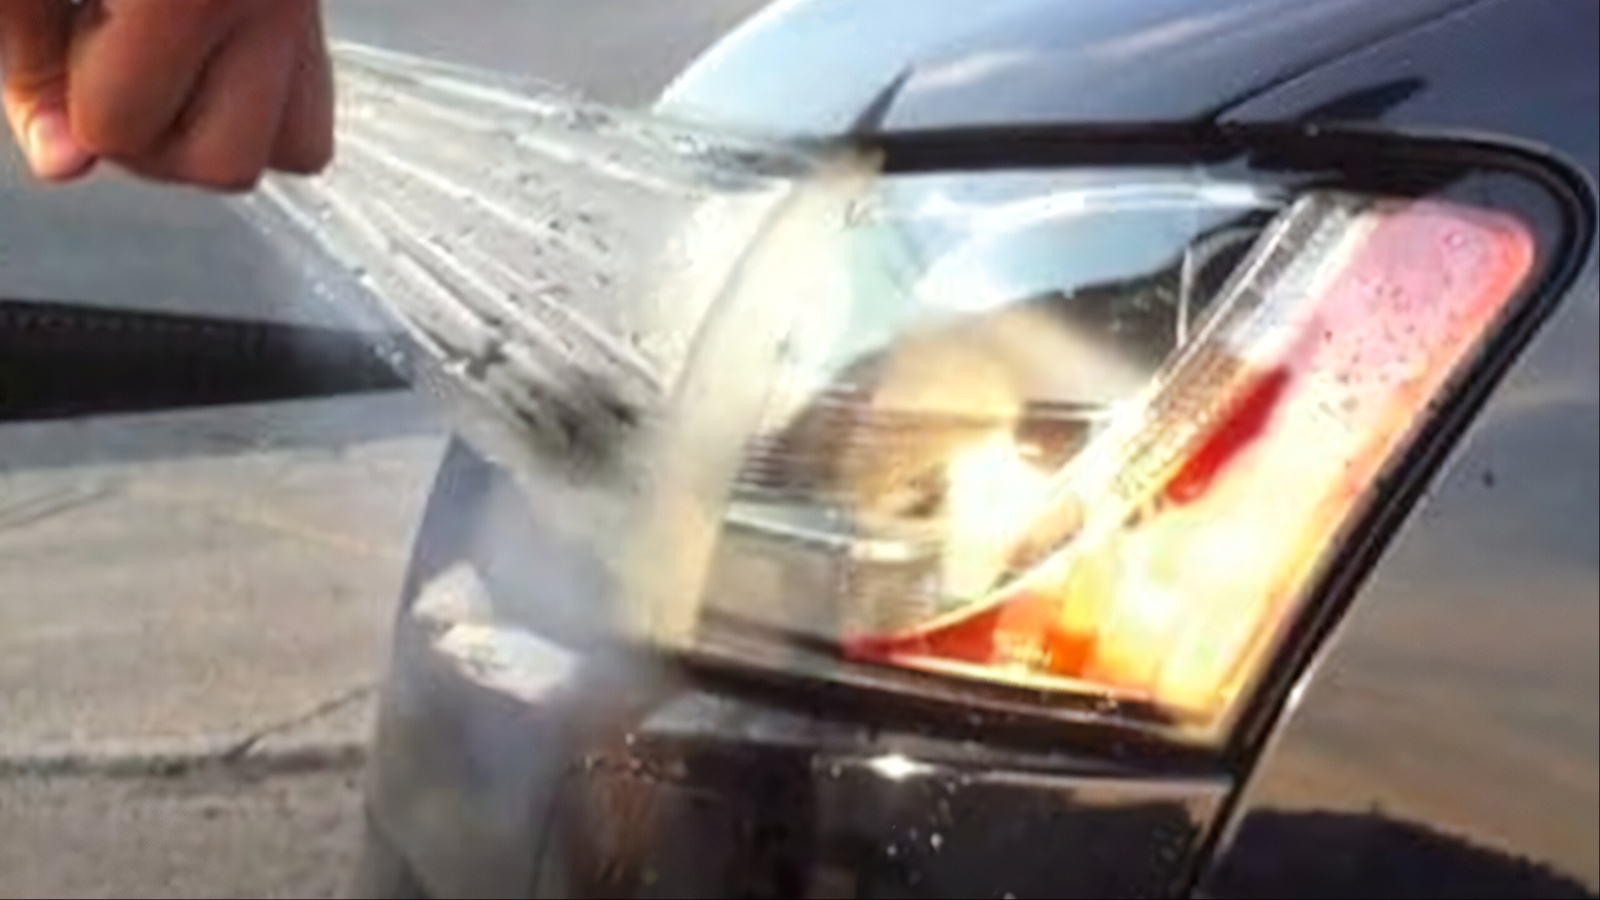
As the vinyl warms, lift a corner with a fingernail or plastic scraper. Peel slowly while directing steam just ahead of the separation point. The moisture helps the glue release cleanly, so you often remove the decal in larger pieces than with other techniques. Wipe away any softened residue with a clean microfiber cloth while it is still warm, because it hardens again as it cools.
Keep steam away from window seals, electrical components, door locks, and cracked or chipped paint, where moisture can seep in and cause rust or peeling. Finish by drying the panel completely, removing any remaining glue with isopropyl alcohol, and applying wax or sealant. Steam is gentle and clean, though it requires a bit of equipment.
10. Cooking Oil and Baking Soda
Cooking oil combined with baking soda is an old household trick that works surprisingly well on small decals and sticky residue. Oil breaks down the adhesive bond while baking soda acts as a very mild abrasive that helps lift loosened glue.
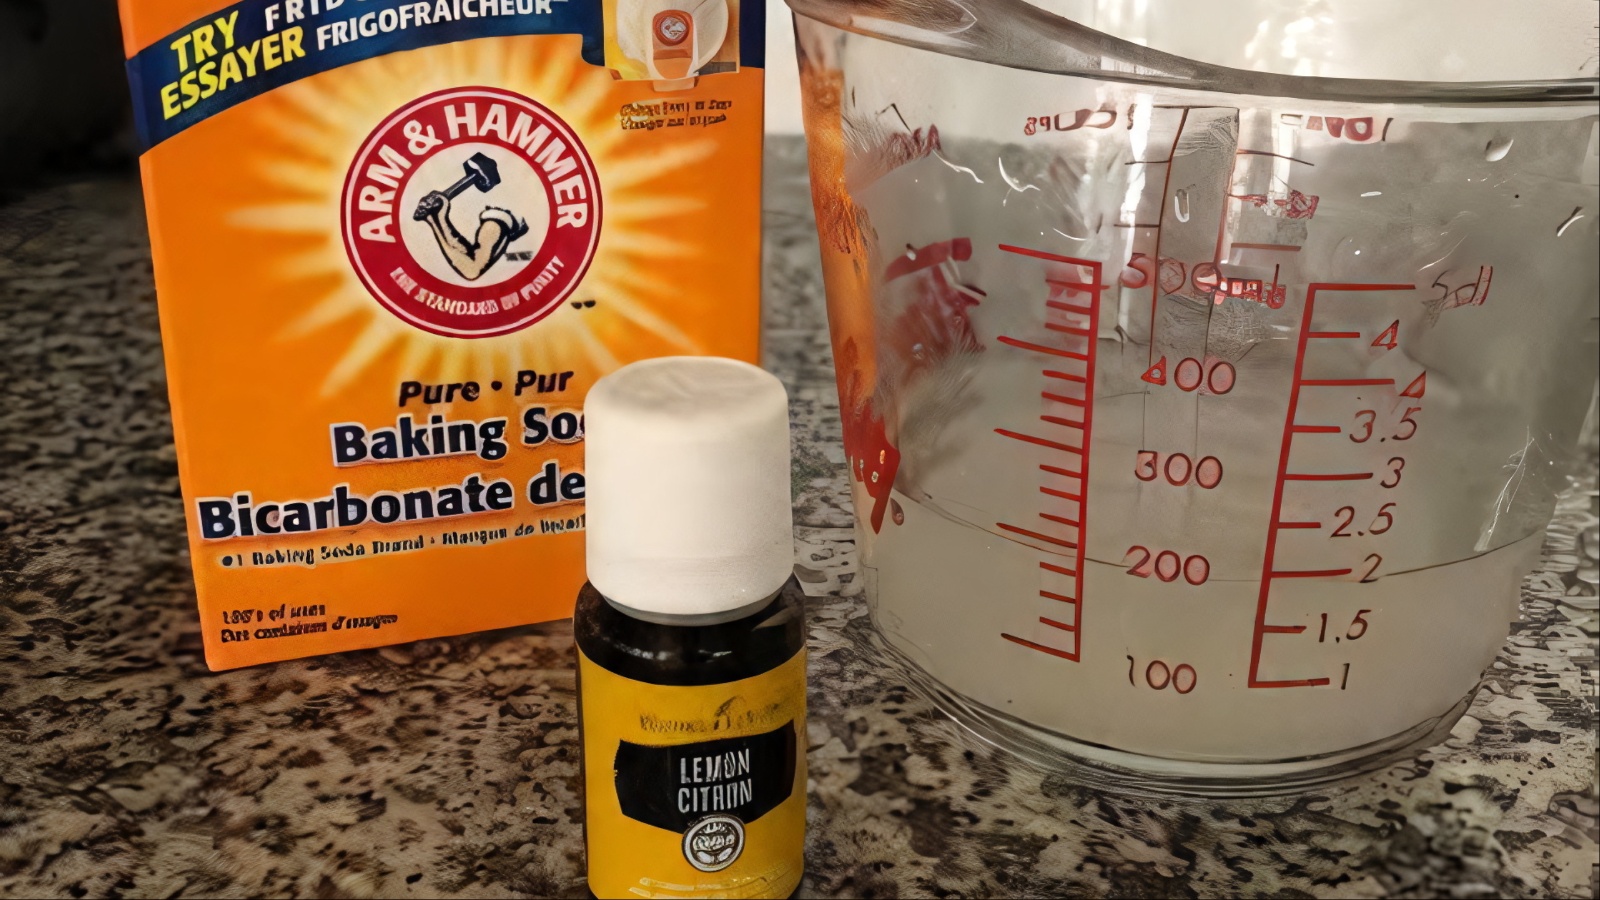
Baking soda is far softer than clear coat, so when mixed into a paste and used gently, it is unlikely to scratch. You will need vegetable or olive oil, baking soda, a small bowl, microfiber cloths, a plastic scraper, and dish soap.
Mix equal parts baking soda and oil into a thick paste. Wash and dry the area, then spread the paste over the decal or residue in an even layer. Let it sit for fifteen to thirty minutes so the oil can soak into the adhesive. For vertical panels, keep the paste in place by covering it with a piece of plastic wrap.
After waiting, rub gently in small circles with a damp microfiber cloth, using light pressure. You should feel the glue begin to ball up and slide away. Lift stubborn vinyl with a plastic scraper while the area is still saturated. Reapply fresh paste to any spots that resist and wait a little longer rather than pressing harder.
When the decal and glue are gone, wash the surface thoroughly with dish soap and warm water to cut through the oily film, since leftover oil can leave smears and block wax from bonding. Rinse, dry, and apply wax or sealant.