A cracked car bumper can make your vehicle look neglected and leave you wondering how much the repair will cost. Professional bodywork can be expensive, yet many minor bumper cracks can be repaired at home using affordable tools and materials.
With the right method, patience, and careful preparation, you may be able to restore your bumper for less than $50. The best solution depends on the crack’s size, location, and the plastic material used in your vehicle. This guide explains ten budget-friendly bumper repair methods, including practical steps, estimated costs, and tips for achieving durable results.
1. Repair a Small Crack With Automotive Plastic Repair Adhesive
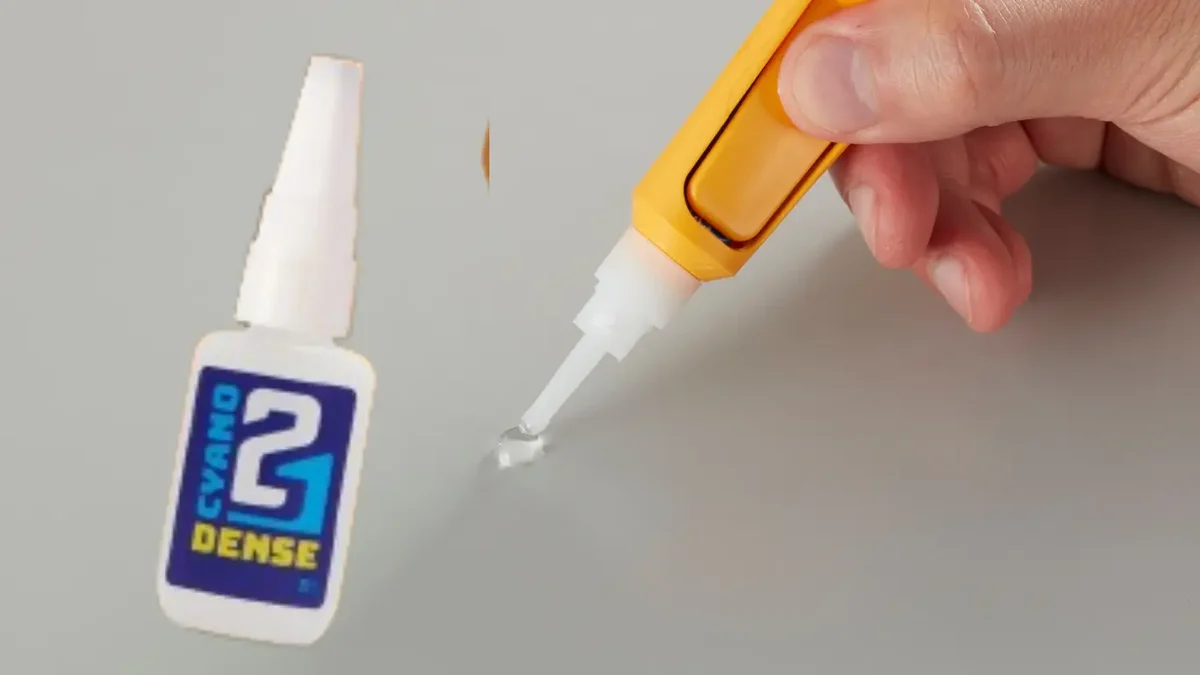
Automotive plastic repair adhesive offers a straightforward solution for small cracks in plastic bumpers. These products are designed to bond compatible automotive plastics and can provide a durable repair when applied correctly.
Depending on the product and the damage, you may spend between $10 and $25. Before purchasing anything, check the bumper material and read the adhesive manufacturer’s instructions. Some products work with polypropylene, while others are designed for ABS plastic or different automotive materials.
Start by washing the damaged area with automotive soap and water. Remove dirt, road grime, and loose plastic fragments before allowing the surface to dry completely.
If the crack contains sharp edges, smooth them carefully with fine-grit sandpaper. Follow the product instructions for any required cleaning or surface preparation. Avoid using household cleaners that leave oily residue, as contamination can weaken the bond.
Apply the adhesive according to the manufacturer’s directions. Some products require application to the back of the bumper, while others can be used on prepared surfaces or with a reinforcing material.
Keep the crack aligned during the curing process. Small clamps or suitable automotive repair tape may help hold the pieces in position, provided they do not distort the bumper’s shape. Never assume the adhesive is ready for use simply because the surface feels dry.
Allow the repair to cure for the full period specified on the packaging. Temperature, humidity, and the thickness of the adhesive can affect curing time.
Moving the bumper or driving before the product has reached its required strength may cause the crack to reopen. If the repair requires reinforcement, use a compatible mesh or backing material recommended by the adhesive manufacturer.
2. Use a Plastic Bumper Repair Kit
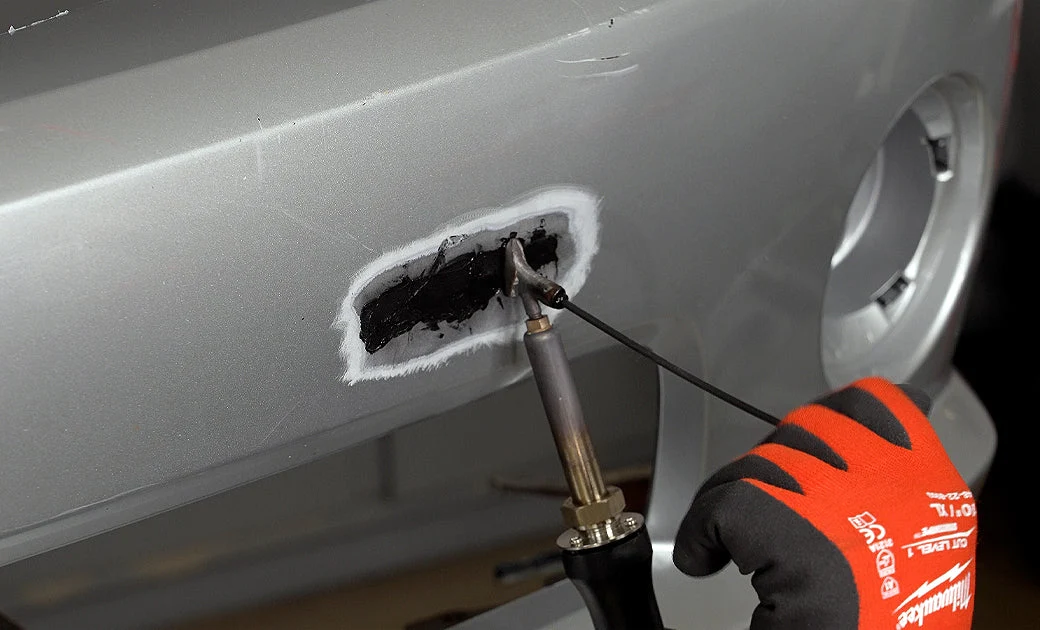
A plastic bumper repair kit can simplify the repair process by combining several materials needed for minor damage. Many kits cost between $15 and $35, depending on their contents and intended application.
Some include filler, reinforcing mesh, mixing tools, or surface preparation products. Others use a two-part adhesive system. Read the description carefully to confirm that the kit is suitable for your bumper material and the type of crack you need to repair.
Before opening the kit, inspect the damage from both sides of the bumper whenever possible. Look for loose fragments, separated edges, and signs that the bumper has been pushed out of shape. If the bumper can be safely removed using ordinary hand tools, access to its rear surface may improve the repair. However, removing a bumper can involve electrical connectors, parking sensors, and other components, so follow the vehicle manufacturer’s procedures.
Prepare the damaged surface using the cleaning and abrasion steps specified by the kit manufacturer. If reinforcement is supplied, position it where directed, often on the rear of the bumper.
Mix two-part products in the specified proportions and use them within their working time. Incorrect mixing can leave the repair weak or prevent it from curing properly. Wear suitable gloves and eye protection while handling repair chemicals.
Apply the repair material in controlled layers rather than using excessive filler to cover the crack. Make sure the broken edges remain aligned and the bumper retains its original contour.
If the instructions call for reinforcement, ensure the material is properly bonded rather than loosely covering the damaged area. Allow each layer to cure as directed before adding further material or sanding the surface.
3. Reinforce the Crack With a Plastic Repair Mesh
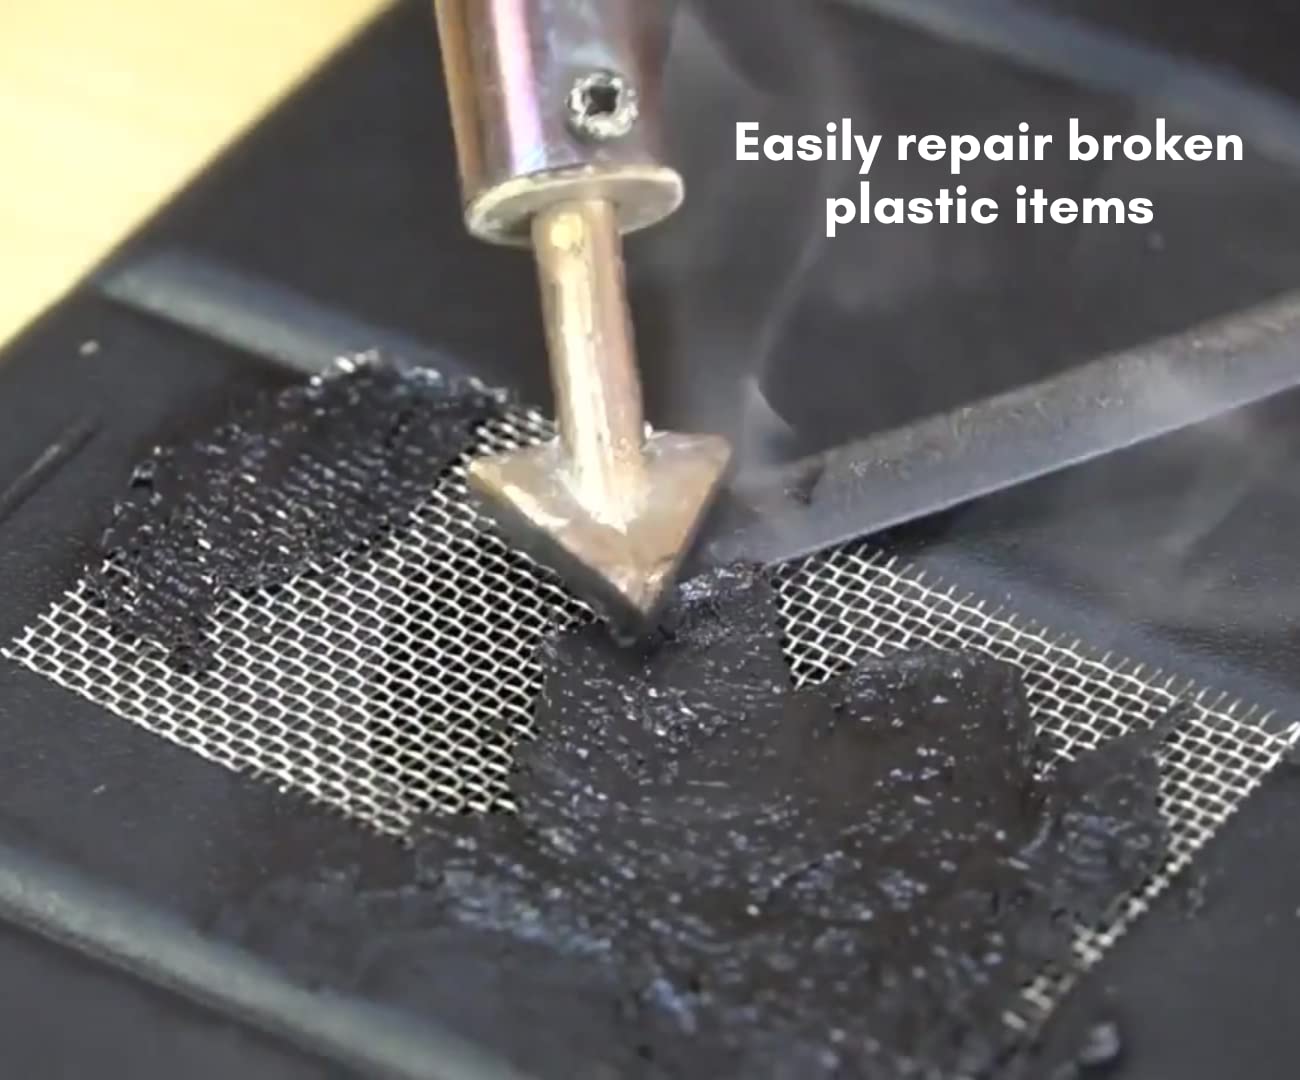
Reinforcing mesh can help distribute stress across a repaired crack rather than concentrating it along the original break. Automotive plastic repair mesh is commonly used with compatible adhesives, repair compounds, or plastic welding systems.
Basic materials can cost around $10 to $25, but compatibility is crucial. Standard craft mesh or household tape may lack the strength, durability, and bonding properties required for automotive bumper repairs.
Whenever possible, access the back of the damaged bumper. Clean the area thoroughly and remove any loose material without enlarging the crack unnecessarily.
Follow the product instructions for surface preparation, including sanding if required. The rear surface is particularly important because road dirt, wax, and plastic additives can interfere with bonding. Allow all cleaning products to evaporate before applying the repair material.
Cut the mesh to the size specified by the repair system. It should extend beyond the damaged area enough to provide reinforcement, without interfering with mounting points, wiring, or nearby components.
Apply the recommended adhesive or compound, then embed the mesh according to the manufacturer’s instructions. The mesh must be fully supported by the repair material, not simply pressed onto a dry surface.
Keep the bumper’s original shape while the repair cures. If the crack is near a curved corner, check that the reinforcement does not pull the plastic into an unnatural position. Excessive material can create a hard spot that behaves differently from the surrounding bumper. Allow the product to cure fully before handling, sanding, or reinstalling the bumper.
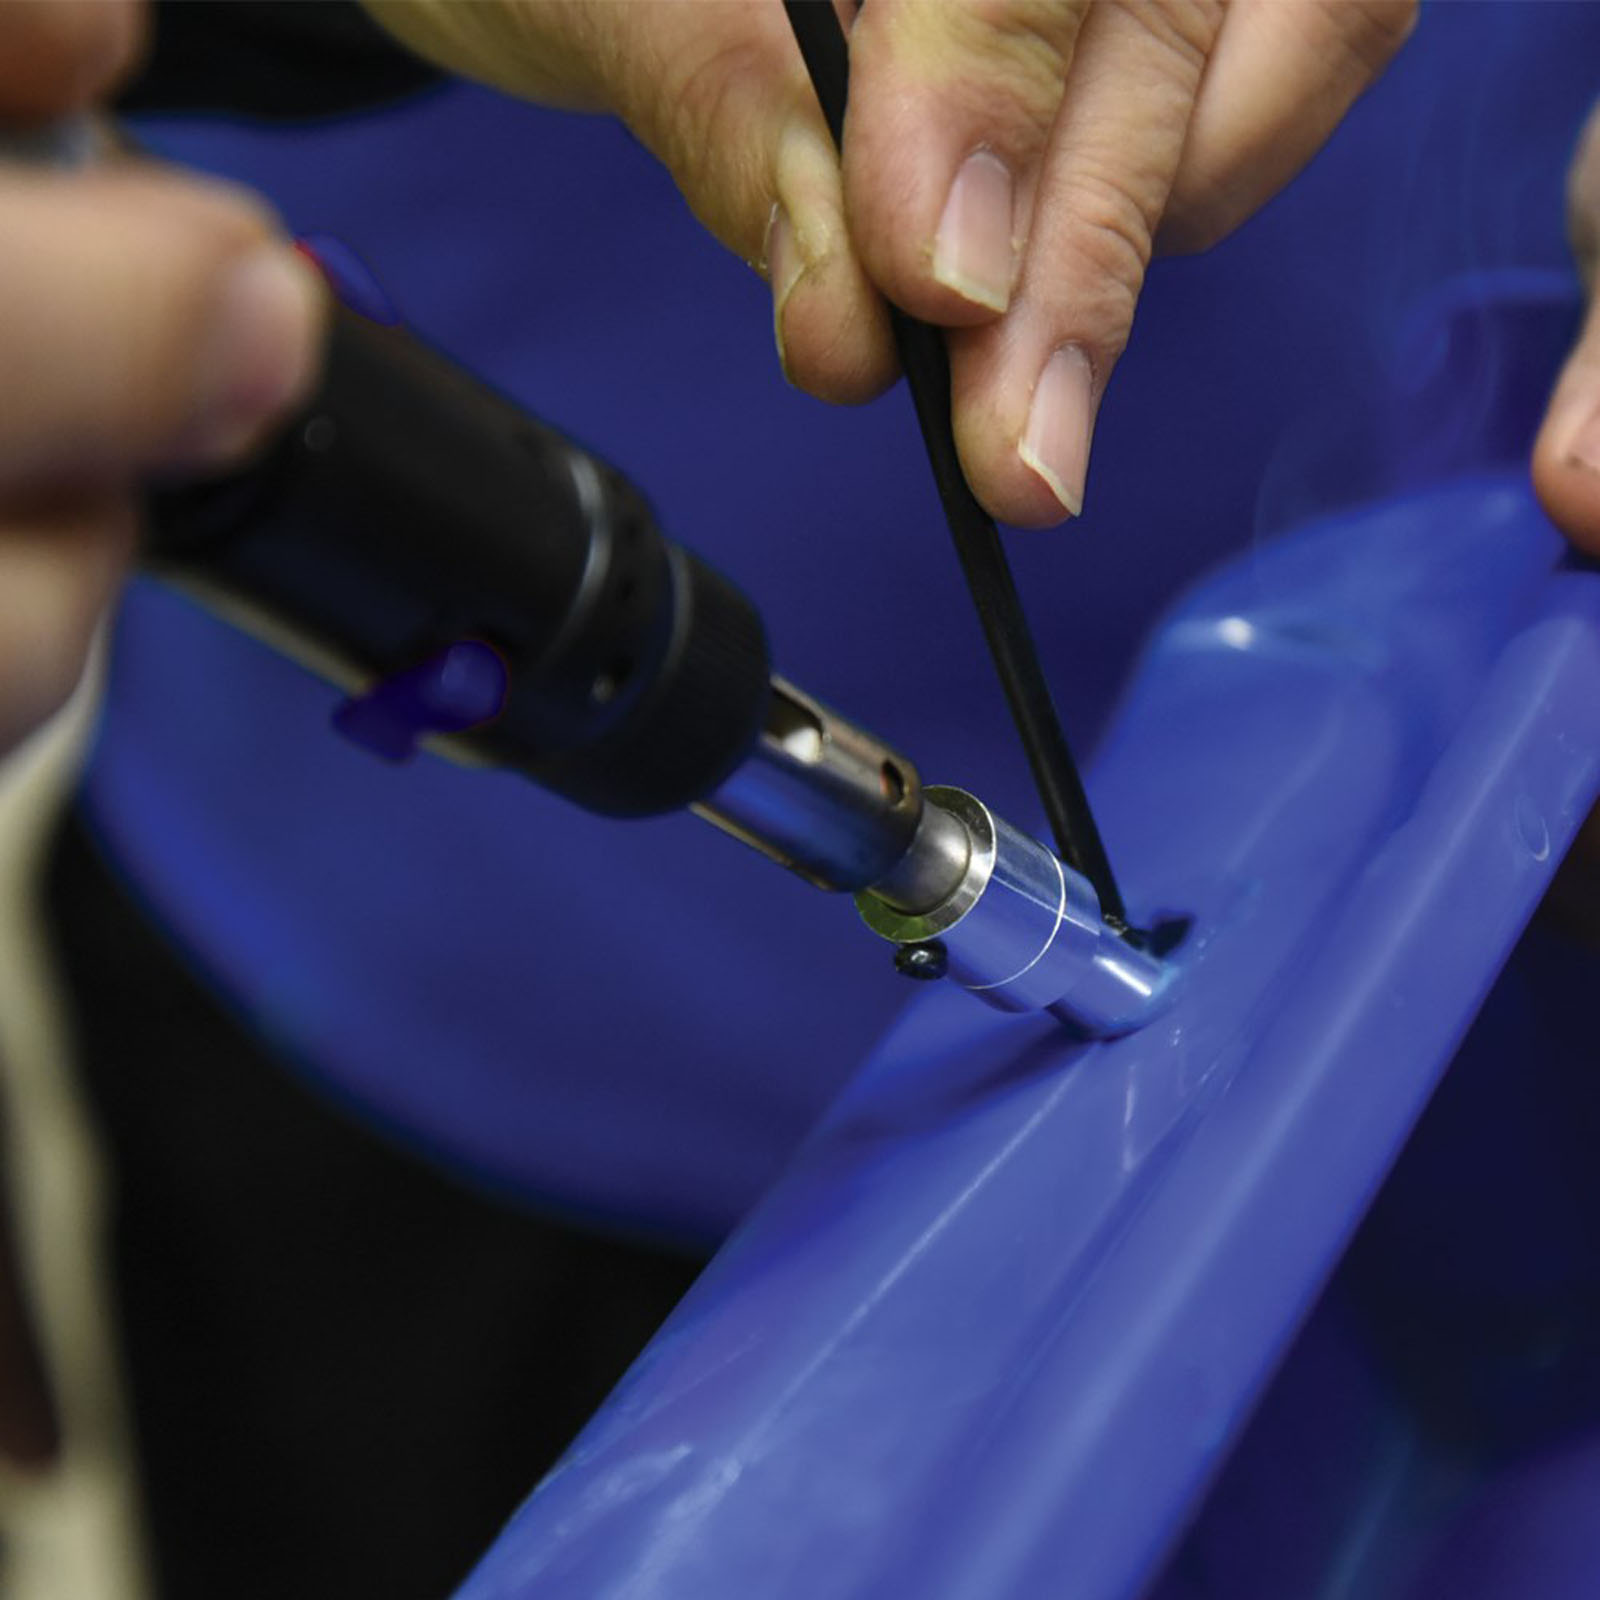
4. Repair the Crack Using a Plastic Welding Kit
Plastic welding joins compatible plastic pieces by softening the material and allowing it to fuse. Unlike ordinary glue, a suitable welding repair can create a connection between compatible plastic surfaces.
Entry-level repair tools or basic plastic welding kits may cost approximately $25 to $50, though professional equipment can cost considerably more. The method requires careful temperature control and an understanding of the bumper’s plastic composition.
First, identify the plastic type using the markings molded into the bumper or information supplied by the vehicle manufacturer. Common bumper materials include polypropylene blends and other engineered plastics. Not every plastic can be welded successfully to every other plastic. Using incompatible filler material may produce a joint that looks acceptable at first but fails under stress.
Clean the crack and prepare the surrounding area according to the welding system’s instructions. A trained repairer may create a shallow groove along the crack to help the weld material penetrate the joint.
This must be done carefully to avoid removing excessive material. If the bumper contains paint, coatings, foam, or nearby components, protect them from heat and debris. Remove the bumper when necessary to provide safe access.
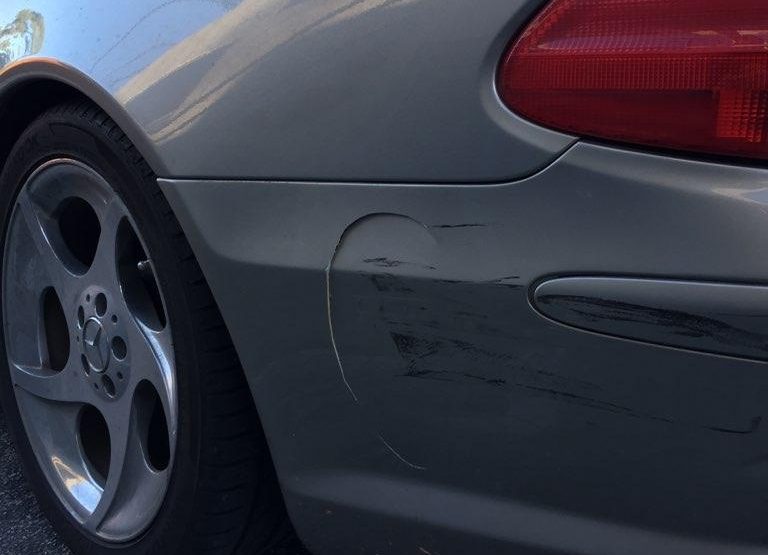
5. Apply Automotive Bumper Crack Filler
Automotive bumper filler helps smooth surface damage after the crack has been stabilized. It can cost around $10 to $25 for a suitable product, depending on the formula and package size.
Flexible bumper repair compounds are generally preferable to ordinary rigid body fillers when the product is intended for flexible plastic parts. Always check the label because not every filler is compatible with every bumper material.
The first step is to establish whether the crack has already been repaired structurally. Filler is primarily intended to restore the surface contour, not to hold separated bumper pieces together.
Applying a thick layer over a moving crack usually leads to renewed cracking or visible lines beneath the paint. Repair the underlying damage with a compatible adhesive, welding system, or other approved method before applying cosmetic filler.
Clean and abrade the area according to the filler manufacturer’s instructions. Remove sanding dust and ensure the surface is dry and free from grease. If the product requires a specific primer or adhesion promoter, use the recommended material. Applying filler directly to untreated plastic can lead to poor adhesion, especially with plastics that naturally resist bonding.
Mix and spread the filler as directed, keeping the layer as thin as practical. Build up the surface gradually rather than attempting to fill a deep gap in a single application.
Respect the working time and curing requirements listed on the package. Once the material has cured, use progressively finer sandpaper to blend the repaired area into the surrounding bumper. Avoid sanding through nearby paint or creating a flat patch on a curved surface.
6. Use a Plastic Repair Adhesive With Fiberglass Reinforcement, When Compatible
Fiberglass reinforcement can spread loads across a damaged area when used with a resin or adhesive system specifically approved for the bumper plastic. Basic fiberglass materials may cost between $10 and $25, but the resin and preparation products must also be included in the budget.
Traditional fiberglass resin does not bond reliably to every automotive plastic, particularly certain polypropylene-based bumper materials, so product compatibility is essential.
Inspect the bumper material before choosing this method. If the repair system is intended for fiberglass body panels rather than thermoplastic bumper covers, do not assume it will work on your vehicle.
A dedicated plastic repair adhesive with reinforcing mesh may be a better choice. Read the product technical information, including whether the material is suitable for flexible exterior automotive parts.
If a compatible reinforcement system is available, clean the rear surface of the bumper and prepare it as directed. Cut the reinforcing fabric to fit the damaged area, keeping it clear of electrical connectors, sensor housings, and mounting features.
Apply the specified resin or adhesive in the required sequence. The reinforcement should sit flat against the bumper and extend beyond the crack without creating unnecessary bulk.
Allow the material to cure fully under the recommended conditions. Some resins generate heat during curing and release fumes, so ventilation and protective equipment are important.
Do not use open flames or smoke near repair chemicals. When the reinforcement has hardened, inspect the bond and confirm that it has not pulled the bumper out of shape. Any surface work should follow the system’s instructions.
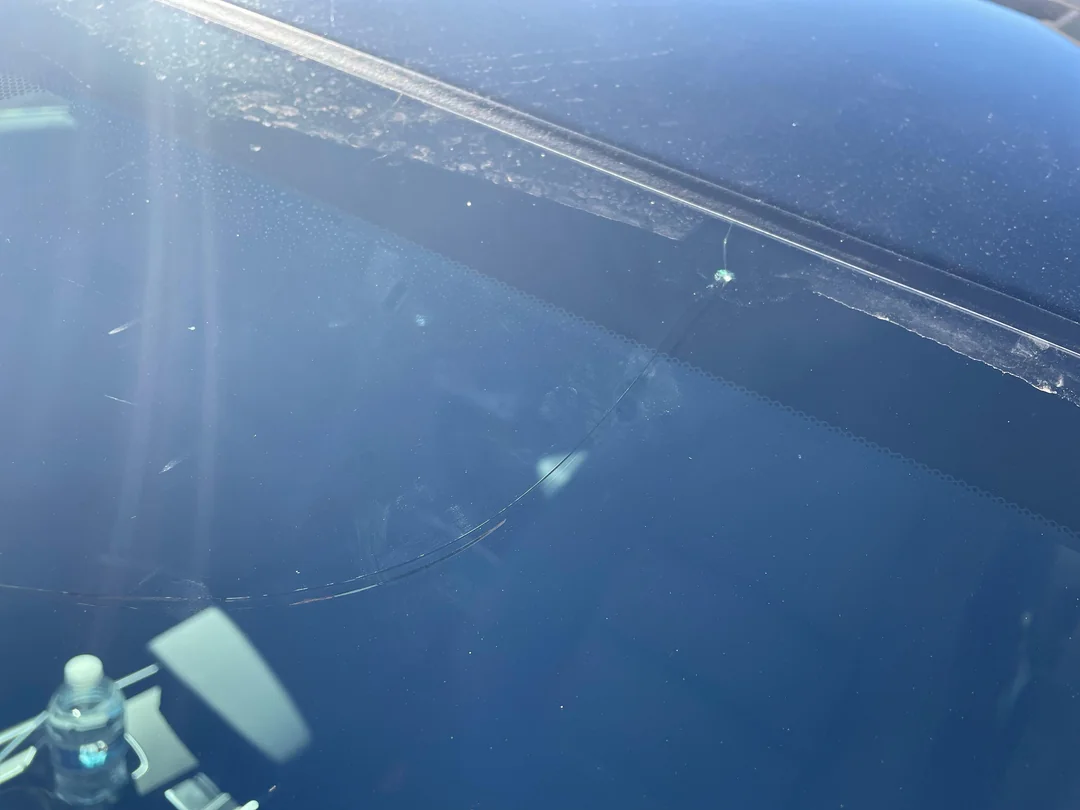
7. Repair a Hairline Crack With a Compatible Two-Part Epoxy
A hairline crack may be repairable with a two-part adhesive formulated for the particular bumper plastic. Small packages often cost between $8 and $20. These adhesives combine two components that react during curing to create a bonded joint.
Their strength, flexibility, and compatibility vary, so an automotive plastic repair formula is a better option than a general-purpose epoxy chosen without checking its intended use.
Begin by examining the crack closely in bright light. If the bumper edges remain aligned and the damage is not spreading, an adhesive repair may be practical. Check the rear surface for signs of additional damage, including broken supports or cracks extending beyond the visible line. A narrow surface crack can sometimes indicate a larger problem, especially after a collision.
Clean the surface and prepare it according to the adhesive manufacturer’s instructions. Some products require light sanding, while others specify a particular cleaner or adhesion promoter.
Do not widen the crack unless the product instructions call for a specific preparation technique. If the repair requires access to the rear surface, remove the bumper only if you can do so safely and reinstall it correctly.
Mix equal or specified amounts of the two components, depending on the product design. Apply the adhesive carefully so that it enters the prepared joint without spreading unnecessarily across the visible bumper surface.
Hold the edges in alignment with suitable tape or clamps if recommended. Avoid excessive pressure that could distort the plastic, and leave the assembly undisturbed for the full curing period.
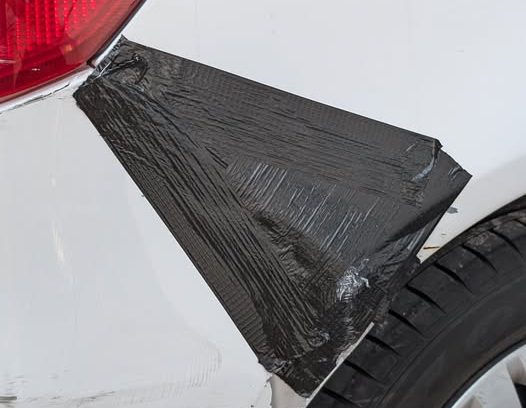
8. Use Automotive Repair Tape for a Temporary Fix
Automotive repair tape can provide a temporary solution when a small crack leaves an exposed edge or a loose piece of plastic. A suitable roll may cost between $5 and $15.
The exact result depends on the tape’s adhesive strength, resistance to water, and compatibility with exterior automotive surfaces. Tape should be viewed as a short-term measure rather than a permanent structural repair.
Before applying tape, inspect the bumper for loose pieces, sharp edges, and damage near the wheel or road surface. Do not tape over broken mounts or areas that could detach while driving. If a fragment is hanging loose, the safest option may be to stop driving until it can be secured properly. Tape cannot restore the strength of a damaged mounting point.
Clean the surface with an appropriate cleaner and allow it to dry completely. Road film, wax, moisture, and dust can prevent the tape from sticking.
Measure and cut a piece large enough to cover the damaged area with some extra material around the edges. Apply it smoothly, pressing out air pockets and making sure the tape does not obstruct lamps, sensors, or required reflectors.
Check the tape regularly, especially after rain, washing, or driving on rough roads. Heat, cold, water, and airflow can weaken the adhesive over time. Replace the tape if the edges begin lifting or if the crack starts spreading. Avoid using tape in a way that conceals damage that needs inspection or makes the vehicle appear safe when a component is actually loose.
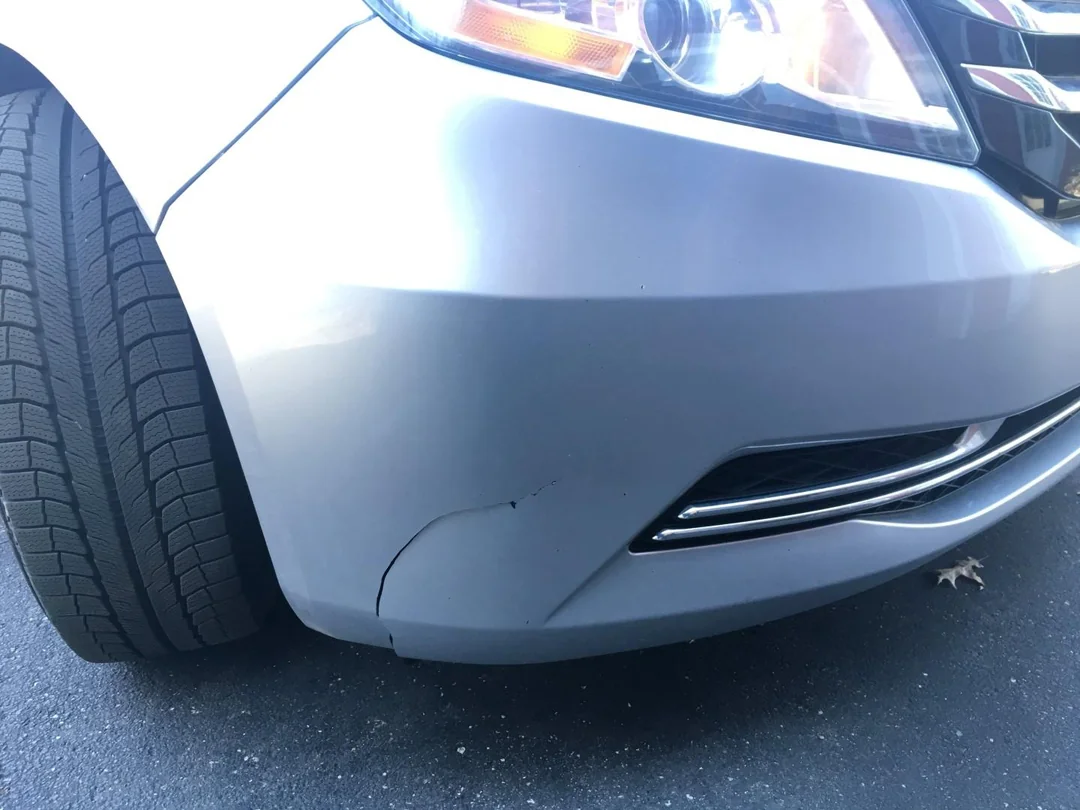
9. Sand and Repaint a Repaired Bumper Crack
Painting does not repair a crack by itself, but it can restore the appearance of a bumper after the underlying damage has been properly fixed.
Automotive primer, sandpaper, masking materials, and a small can of matching paint may fit within a $20 to $50 budget. The total depends on the vehicle’s paint color, the size of the damaged area, and the products required for the existing finish.
Begin only after the adhesive, weld, or filler has cured fully. Inspect the repair for gaps, rough edges, and areas that need additional surface preparation. Use the sanding method recommended by the repair product manufacturer. Work gradually, keeping the bumper’s original contours intact. Sanding too aggressively can create visible depressions or expose more plastic than necessary.
Clean the surface thoroughly and mask nearby areas to protect them from overspray. If the product requires an adhesion promoter for bare plastic, apply the specified type.
Use a primer compatible with the bumper material and the chosen paint system. Follow the product instructions for application distance, flash time, and curing conditions. Spray paint should be used in a well-ventilated location away from ignition sources.
Apply the matching paint in light, even coats rather than attempting to cover the repair in a single heavy pass. Factory paint colors can vary with age and exposure, so a paint code from the vehicle may help you choose a closer match.
Some colors and finishes require additional products, such as a compatible clear coat. Check the complete system requirements before buying materials, especially when the budget is limited.
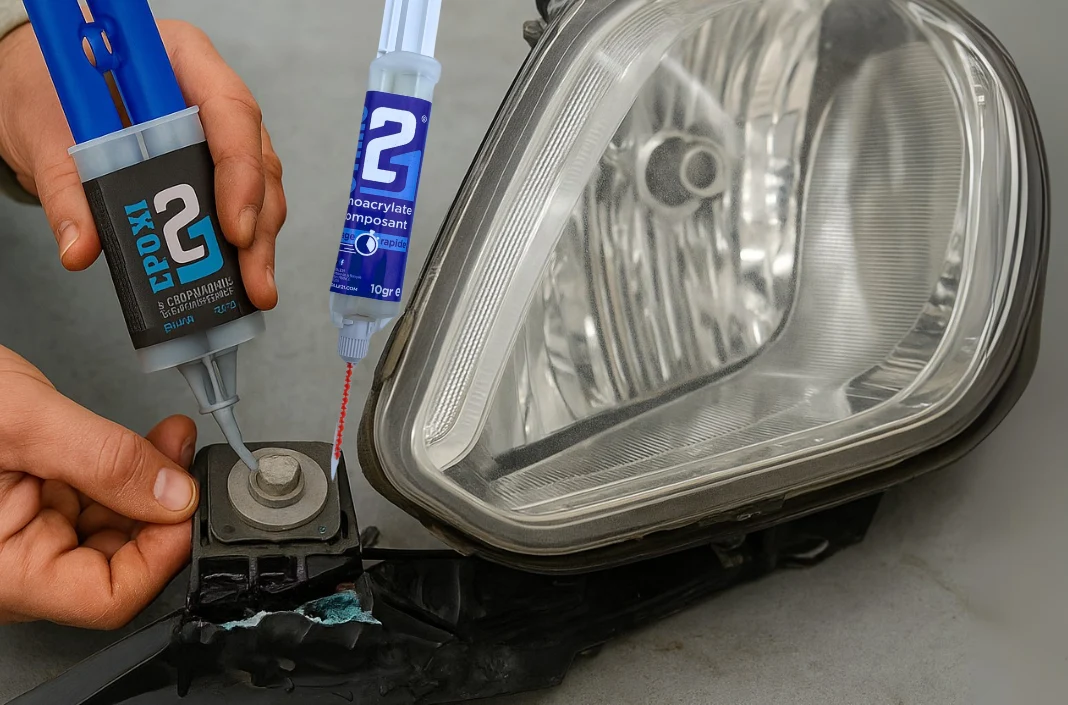
10. Repair the Crack With a Compatible Plastic Repair Staple System
Plastic repair staple systems use heated metal staples to reinforce certain cracks in thermoplastic parts. Entry-level tools may cost approximately $20 to $40, while some inexpensive kits include a small selection of staples.
The staples are embedded into the plastic to help hold the damaged edges together. This technique requires care because excessive heat or poorly placed staples can weaken or distort the bumper.
Before choosing this method, confirm that the bumper plastic and damage are suitable for hot-staple reinforcement. Some repair manufacturers recommend staples only as a supporting technique alongside a compatible plastic repair process.
A staple tool is not a universal solution for all bumper materials. It may be unsuitable near sensors, wiring, thin sections, or areas where the reinforcement would interfere with normal bumper movement.
Access the back of the bumper whenever possible and inspect the full length of the crack. Clean the surface and identify a repair pattern recommended by the tool manufacturer. Wear protective gloves and eye protection, and work in a ventilated area. Keep the heated tool away from wiring, foam absorbers, fuel-related components, and other materials that could be damaged by heat.
Position each staple across the crack according to the tool’s instructions. Apply heat only long enough for the staple to become embedded properly.
Do not push it so deeply that it breaks through the visible surface or creates a new weak point. After the staples cool, trim any protruding ends with the recommended tool. A compatible repair adhesive may be needed to seal and reinforce the area, depending on the system.