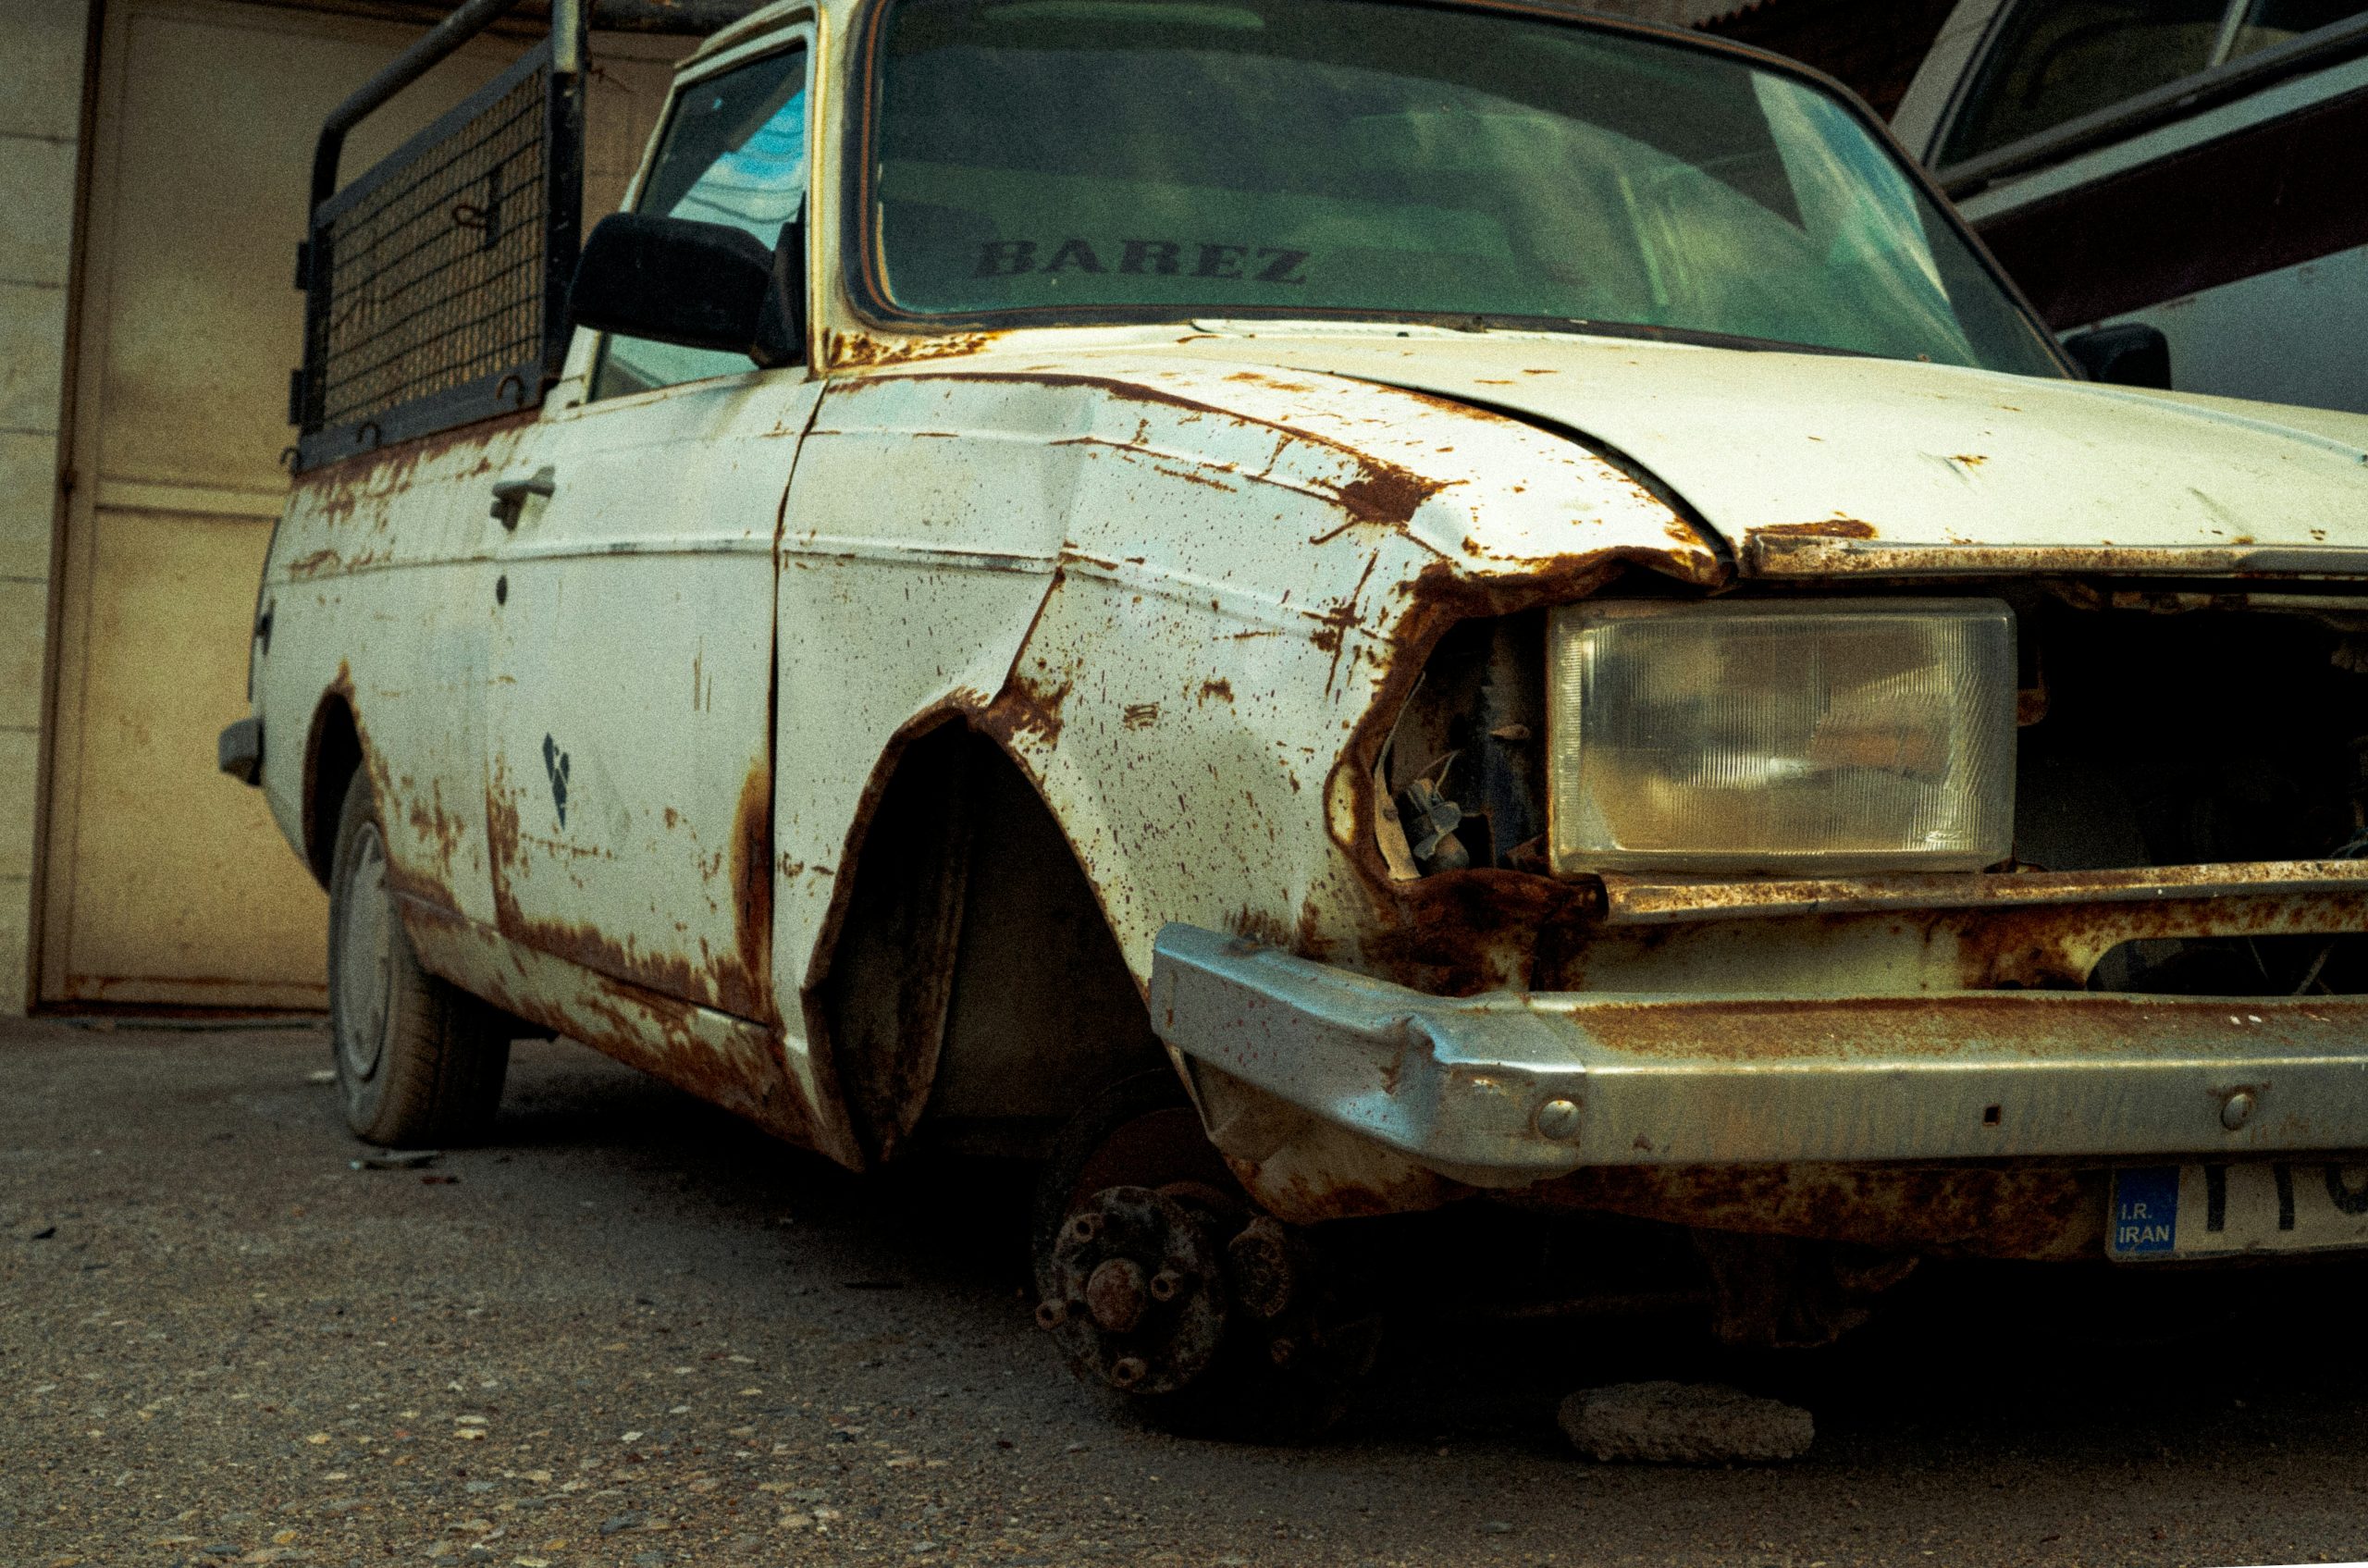
Rust spots can make household items, outdoor furniture, tools, clothing, and metal fixtures look old and neglected. The good news is that removing rust does not always require expensive cleaners or professional services. With a few affordable household products and simple techniques, you can treat many rust stains for less than $30.
The right method depends on the surface, the severity of the stain, and how long the rust has been present. This guide covers eight practical ways to remove rust spots, protect your belongings, and prevent fresh stains from forming, all while keeping your spending under control.

1. Remove Rust Spots With White Vinegar
White vinegar is an affordable household product that can help remove rust from small metal objects. Its acetic acid reacts with iron oxide, helping loosen the reddish-brown deposits that form when iron or steel is exposed to moisture and oxygen.
A bottle usually costs only a few dollars, making this method suitable for household maintenance on a tight budget. It works particularly well on small tools, metal screws, nuts, bolts, and other removable items that can safely be soaked.
To use white vinegar, place the rusty object in a suitable container and pour enough vinegar over it to cover the affected area. Leave the item to soak for several hours, checking its condition periodically.
Light rust may loosen quickly, while thicker deposits can require more time. Avoid leaving delicate or plated objects submerged for long periods because acid can damage their finish. If the item contains other materials, such as rubber handles or glued components, check their compatibility before soaking.
After soaking, remove the object and scrub the rusty area with a nylon brush, an old toothbrush, or a non-scratch scrubbing pad. Work gently and concentrate on the affected areas instead of scraping the entire surface.
For stubborn patches, return the item to the vinegar for a shorter additional soak. A wire brush may be suitable for durable, unfinished steel, but it can scratch painted, polished, or coated surfaces. Always choose a cleaning tool that matches the material you are treating.
Rinse the cleaned object thoroughly with fresh water to remove vinegar and loosened rust. Dry it immediately with a clean cloth, paying attention to joints, screw holes, and narrow crevices where water can collect.
Leaving the object wet can allow corrosion to start again. For tools and other unpainted steel items, apply a thin protective layer of suitable machine oil once the surface is completely dry. Keep the oil away from surfaces that will contact food unless the product is specifically approved for that purpose.
White vinegar is best suited to small, removable metal objects rather than every rusty surface around the house. Avoid using it on natural stone, marble, limestone, or other acid-sensitive materials because it can etch or dull them. It may also harm certain metal finishes, including some plated surfaces.
For a small collection of rusty screws or a neglected hand tool, however, vinegar offers a practical starting point. A bottle, a brush, and a little patience can provide an inexpensive alternative to specialized rust treatments.
2. Use Baking Soda to Treat Light Rust
Baking soda is inexpensive, widely available, and useful for treating light surface rust on compatible materials. Unlike acidic cleaners, it is mildly alkaline and provides gentle abrasion when mixed with water. This makes it a useful option for small rust marks that have not penetrated deeply into the metal.
A small box generally costs only a few dollars, leaving plenty of room in a $30 cleaning budget for brushes, cloths, or protective supplies.
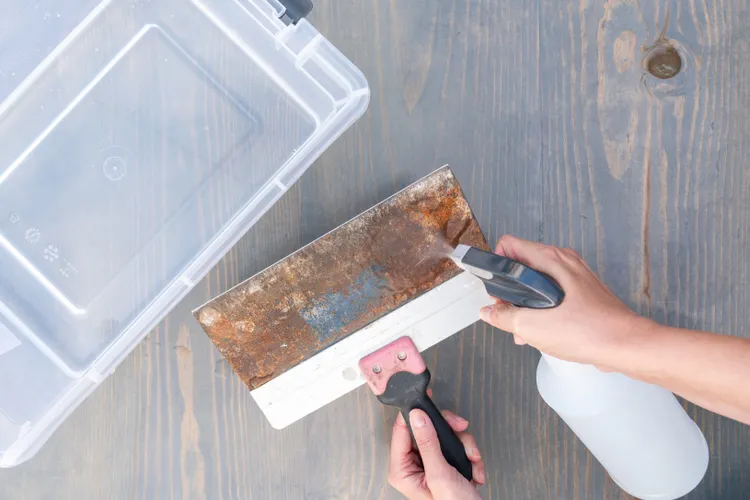
Start by mixing baking soda with a small amount of water to create a thick paste. Aim for a consistency that stays on the affected area without running down the surface.
Spread the mixture over the rust spots and let it sit for approximately 15 to 30 minutes. This gives the paste time to soften loose deposits and makes them easier to remove through gentle scrubbing. Test the mixture on an inconspicuous area first, particularly if the item has a decorative coating or polished finish.
Use a soft toothbrush, microfiber cloth, or non-scratch sponge to work the paste across the stained area. Apply light pressure and use small circular movements where appropriate. For narrow corners, a soft brush can reach places that a cloth cannot.
Avoid aggressive scrubbing on brushed stainless steel, chrome, painted metal, and delicate finishes because abrasive particles may leave visible marks. If the rust remains, repeat the process rather than immediately switching to a rougher cleaning tool.
Once the stain has lifted, wipe away the paste with a damp cloth and rinse the surface if the material permits. Dry the area carefully to prevent moisture from lingering around seams and edges.
On suitable bare steel, add a protective coating after drying to reduce future exposure to moisture. If the stain appears to have eaten into the metal, baking soda alone may not provide a lasting repair. Deep corrosion often requires rust removal, surface preparation, and a suitable protective finish.
This method is particularly convenient for small cleaning jobs that do not justify buying a dedicated rust remover. Baking soda may help with light staining on certain metal objects, but it should not be treated as a universal solution. Always consider the material before applying any cleaning paste.
For delicate surfaces, begin with the least abrasive approach available and stop if you notice scratching, discoloration, or changes in the finish. A careful test can prevent a minor rust problem from turning into an expensive replacement.
3. Try Lemon Juice and Salt for Small Rust Marks
Lemon juice contains citric acid, which can help loosen rust deposits on suitable surfaces. Combined with salt, it creates a simple treatment for small stains on selected metal objects.
Both ingredients are inexpensive and may already be available in your kitchen. This method is best reserved for light corrosion and small removable items, such as certain steel accessories or hardware. It is not suitable for every finish, and the mixture should never be assumed safe for all household materials.
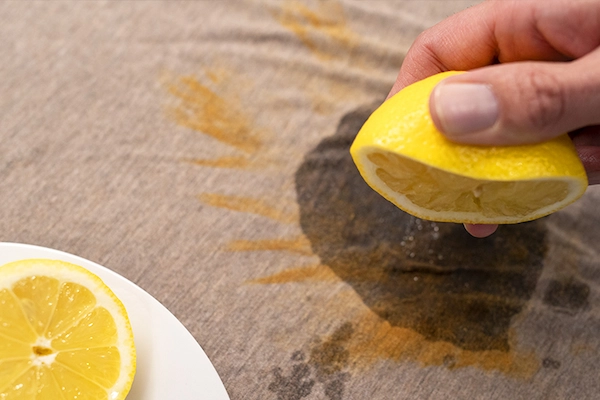
To prepare the treatment, squeeze fresh lemon juice into a small bowl and add enough salt to form a moist mixture. Apply it directly to the rust spot using a cloth or soft brush. For a removable item, you can place the object on a protected tray while the mixture works.
Allow around 10 to 20 minutes for a first attempt, then inspect the surface. Avoid letting the acidic mixture dry completely or remain on sensitive metal finishes for extended periods.
Use a soft brush or cloth to loosen the stain after the waiting period. Salt can act as an abrasive, so avoid vigorous rubbing on polished, coated, or decorative surfaces. If the object is particularly delicate, use lemon juice without salt or choose a less abrasive cleaning method.
The goal is to remove the corrosion without damaging the material underneath. If the surface begins to change color or develop scratches, stop immediately and rinse the treatment away.
When the rust has loosened, rinse the area thoroughly with water if the material can tolerate it. Dry the item completely with a clean towel. Check corners, seams, and recessed sections where moisture might remain hidden.
For unpainted iron or steel, a suitable rust-preventive coating can help reduce future corrosion. If the stain remains after a gentle attempt, do not keep increasing the pressure. Persistent rust may require a product specifically formulated for the metal in question.
Lemon juice and salt are most useful when the stain is small and the surface is easy to inspect. They are not recommended for natural stone, acid-sensitive materials, or objects whose finish could be scratched by salt.
Avoid applying this mixture to surfaces used for food preparation unless the material’s cleaning requirements permit it and you can rinse it thoroughly. For minor rust spots, the ingredients offer a low-cost option, but careful application matters more than using a stronger mixture.
4. Remove Rust From Chrome With Aluminum Foil
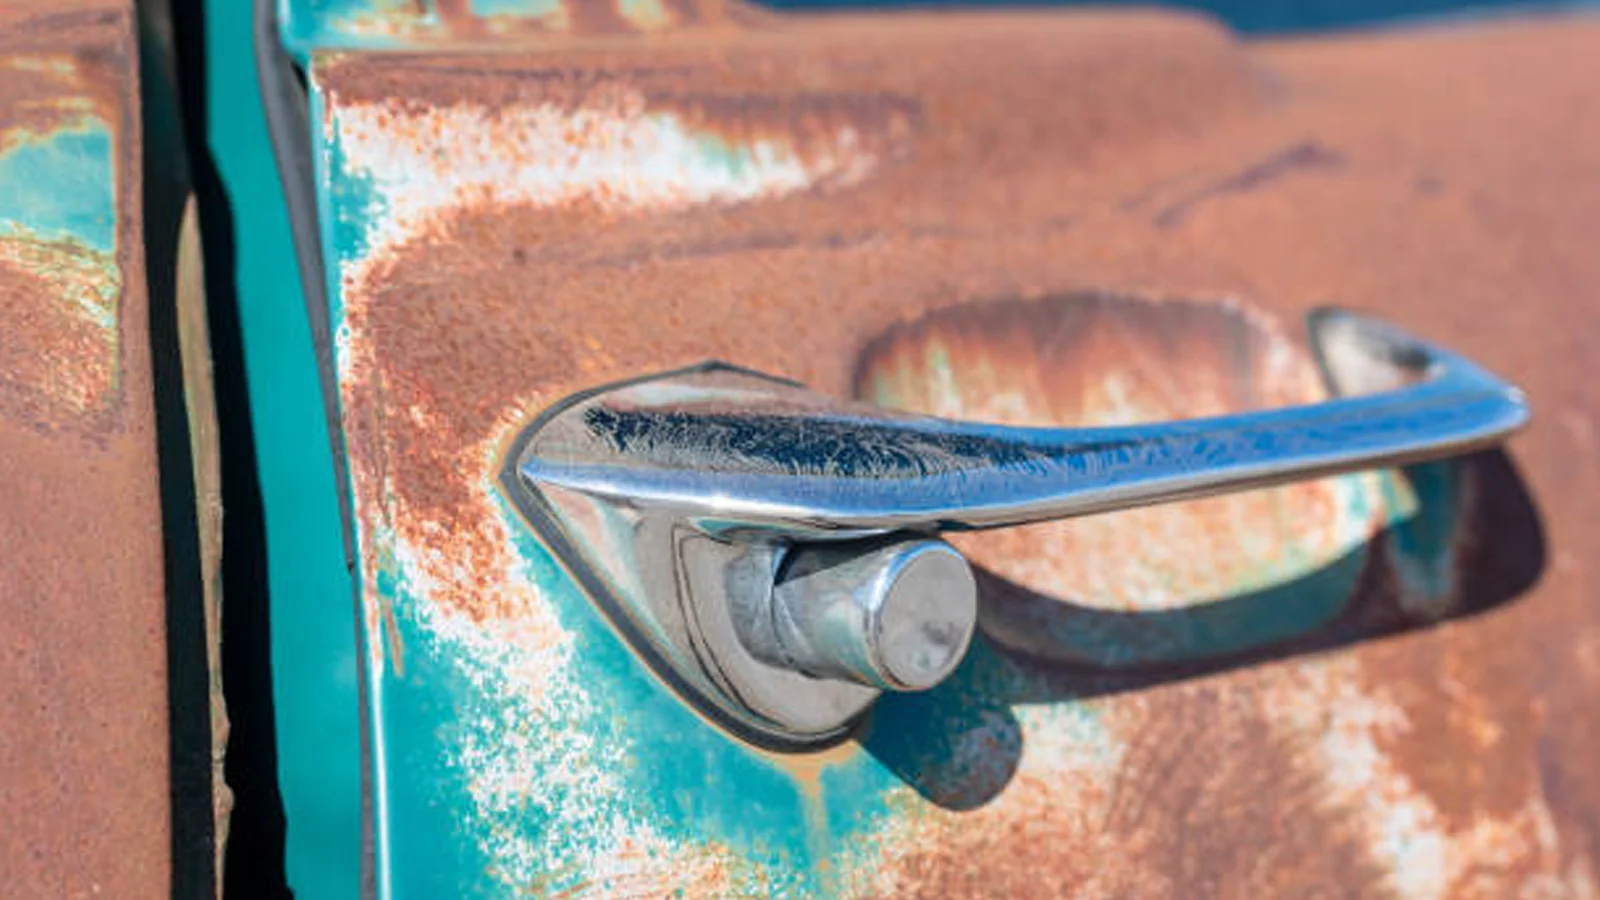
Chrome-plated items can develop rust-colored spots when the underlying metal is exposed through scratches, worn plating, or damaged protective layers. On some chrome surfaces, a gentle aluminum foil technique can help remove light surface contamination without using a harsh commercial abrasive.
This approach is often considered for small spots on chrome-plated fittings, bicycle components, and certain decorative metal parts. It is not a repair for missing chrome or corrosion that has eaten deeply into the underlying material.
Begin by cleaning the surface with mild soap and water to remove dust, grease, and loose dirt. Tear off a small piece of ordinary aluminum foil and crumple it loosely, keeping the edges smooth enough to avoid accidental scratching.
Dampen the foil with clean water. Test the technique on a hidden area before treating the visible rust spot, because chrome finishes vary and damaged plating may respond differently from intact chrome.
Rub the affected area very lightly with the damp foil, using short strokes and checking your progress frequently. Do not apply heavy pressure or use the foil on surfaces with peeling plating, deep scratches, or extensive corrosion. If the rust does not begin to lift quickly, stop rather than forcing the treatment.
A soft microfiber cloth and a chrome-compatible cleaner may be safer choices for fragile finishes. Never combine this method with an untested chemical cleaner.
Wipe away any residue with a clean, damp cloth, then dry the surface thoroughly. Inspect the treated area under good lighting to check whether the reddish mark has disappeared or whether the underlying coating remains damaged.
A rust spot that returns soon after cleaning may indicate that the protective plating has failed. Cleaning can improve appearance, but it cannot restore missing chrome. In such cases, refinishing or replacing the affected component may be the more durable solution.
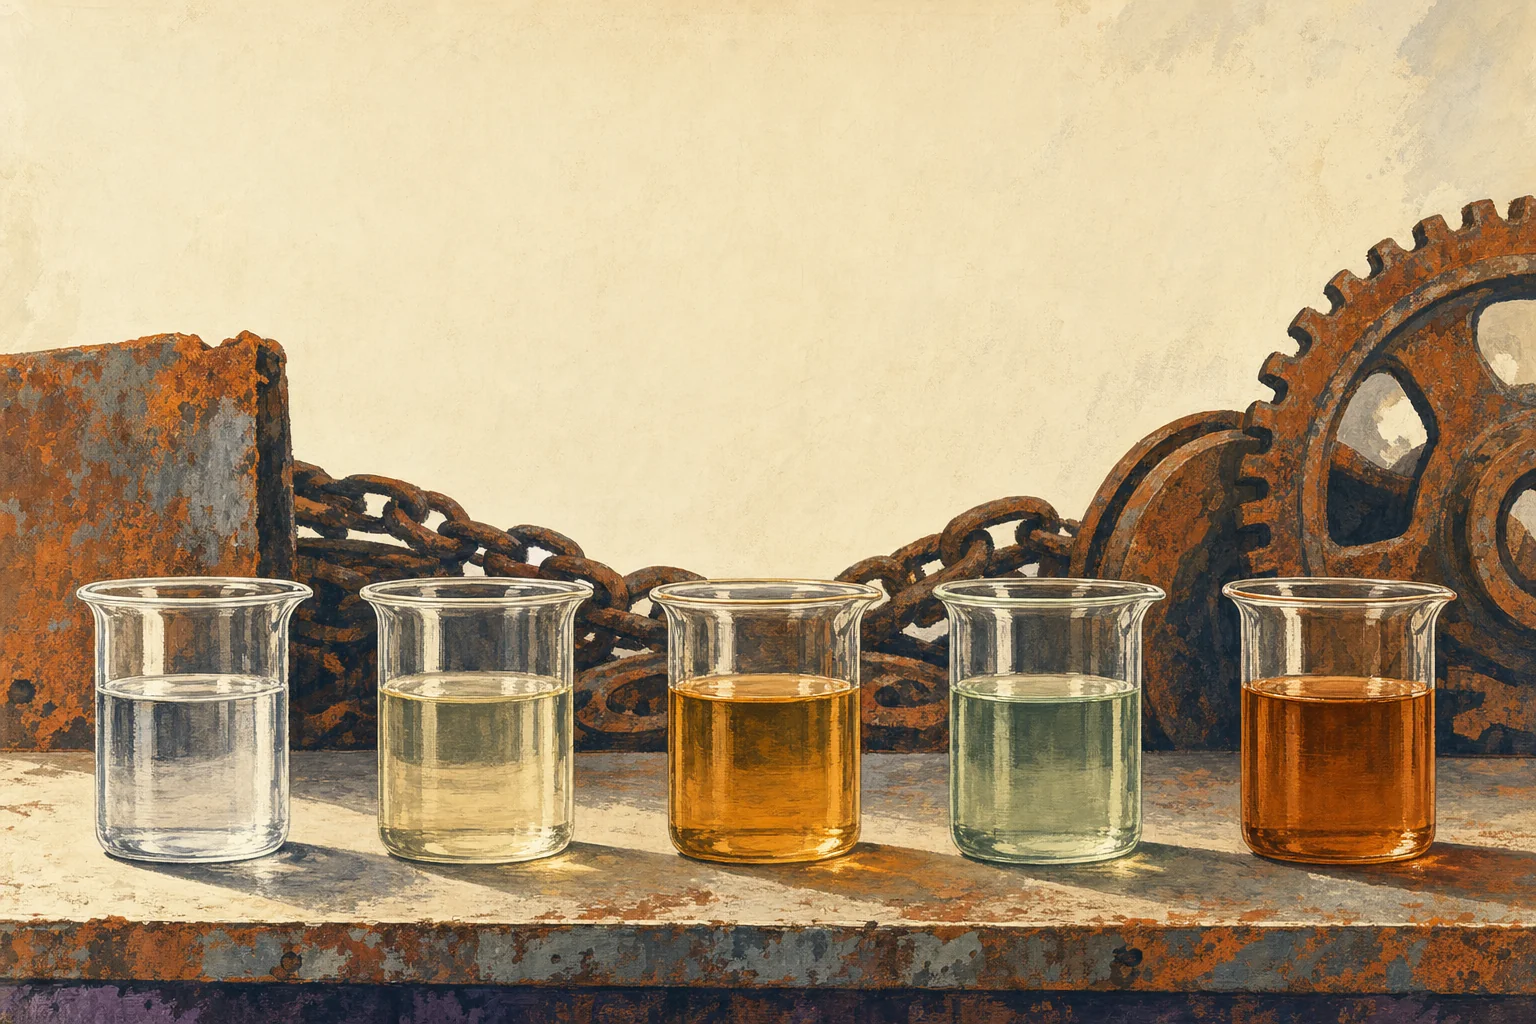
5. Use a Commercial Rust Remover for Stubborn Stains
When household remedies fail, a commercial rust remover may provide a more effective solution. These products are designed to loosen or chemically convert rust, depending on their formulation.
Many small bottles or containers cost less than $30, although prices vary by brand, size, and location. Before purchasing anything, read the label carefully to confirm that the product is suitable for your specific material. A formula intended for bare steel may damage aluminum, paint, chrome, or other finishes.
Choose the product based on the item you need to clean. Some removers are designed for tools and hardware, while others are formulated for automotive surfaces, household fixtures, or outdoor equipment.
Check the instructions for recommended application methods, contact times, ventilation requirements, and rinsing procedures. If you only have a few small rust spots, buying a small container is usually more economical than purchasing a large industrial product. Never assume that products with similar names have identical ingredients or safety requirements.
Before application, remove loose dirt and protect nearby materials from accidental contact. Wear the protective equipment specified on the label, which may include gloves and eye protection.
Apply the cleaner only to the recommended surface, using a brush or applicator suitable for the product. Follow the stated contact time precisely. Leaving a chemical treatment on longer than directed may damage the material or leave residues that interfere with later painting or finishing.
After treatment, follow the manufacturer’s instructions for wiping, rinsing, neutralizing, or drying the surface. Some products require thorough water rinsing, while others have different cleanup requirements. Do not improvise by adding vinegar, bleach, ammonia, or other cleaning agents.
Mixing chemicals can release hazardous fumes or create unwanted reactions. Once the rust has been removed, inspect the metal for pitting or remaining corrosion. If the item will be exposed to moisture, apply an appropriate protective coating when the product instructions permit it.
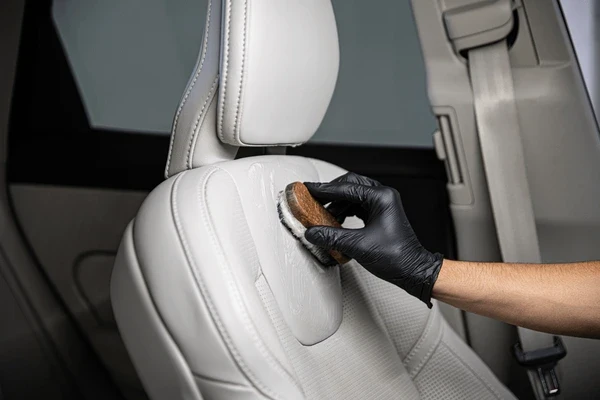
6. Remove Rust Stains From Car seats With a Laundry Rust Remover
Rust stains on clothing can be frustrating because ordinary washing may not remove them. Rust contains iron compounds that can cling to fabric fibers, creating orange, red, or brown marks. Standard chlorine bleach is not a reliable solution for these stains and can sometimes make them harder to remove or damage the fabric.
A laundry rust remover formulated for textiles is usually the better option. Many small treatment products cost less than $30, making them practical for saving a stained shirt, towel, or tablecloth.
First, check the garment’s care label and identify the fabric. Cotton and certain durable synthetic fabrics may tolerate treatments that are unsuitable for wool, silk, leather, or delicate blends. If the clothing is dry-clean-only, consult a professional cleaner before attempting a home remedy.
Avoid applying a metal rust remover to fabric unless its label specifically approves textile use. Products intended for metal can damage fibers, strip color, or leave residues that are difficult to rinse away.
For a washable garment, follow the directions on a fabric-safe rust stain remover. Test the product on a hidden seam or inside hem if the instructions recommend a colorfastness test. Apply the treatment to the stained area in the manner specified, and allow it to work for the stated period.
Do not rub the fabric aggressively, as this may spread the stain or damage the weave. Keep the product away from your eyes and skin, and use the ventilation recommended by the manufacturer.
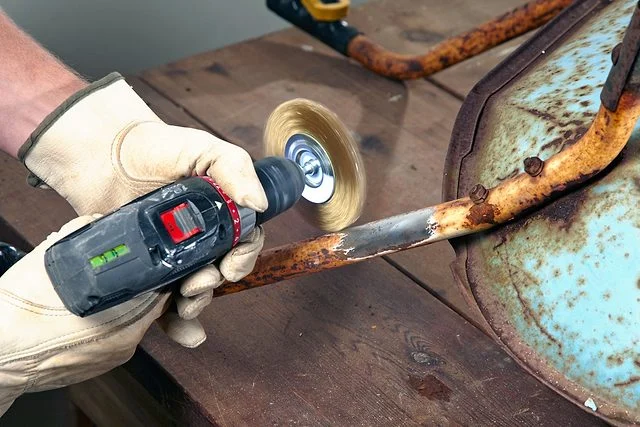
7. Sand Away Surface Rust and Repaint Metal
Painted metal surfaces can develop rust when moisture enters through chips, scratches, or worn paint. In these situations, simply wiping away the reddish stain may not solve the problem because corrosion can continue beneath the surrounding coating.
For small affected areas on suitable steel or iron, removing loose rust and applying a compatible metal primer and paint can provide a more durable repair. Basic supplies may fit within a $30 budget if the damaged area is small and you choose economical products.
Begin by inspecting the metal to determine whether the corrosion is superficial or structural. Wear gloves and eye protection, especially when using a wire brush or sandpaper.
Remove loose paint and flaky rust with a hand brush or suitable abrasive paper. Work carefully around the damaged area, avoiding unnecessary removal of sound paint. If the metal is deeply pitted, perforated, cracked, or weakened, a simple cosmetic repair may not be sufficient. Structural components may require replacement or professional assessment.
Use sandpaper suited to the condition of the surface. Coarser abrasive paper can help remove loose corrosion, while finer grades can smooth the area before priming.
Follow the paint manufacturer’s preparation instructions, since some coatings require a particular surface profile or a specific rust-removal process. Remove dust with a clean cloth and make sure the metal is dry. Do not sand painted surfaces that may contain lead without proper testing and appropriate precautions, particularly in older buildings.
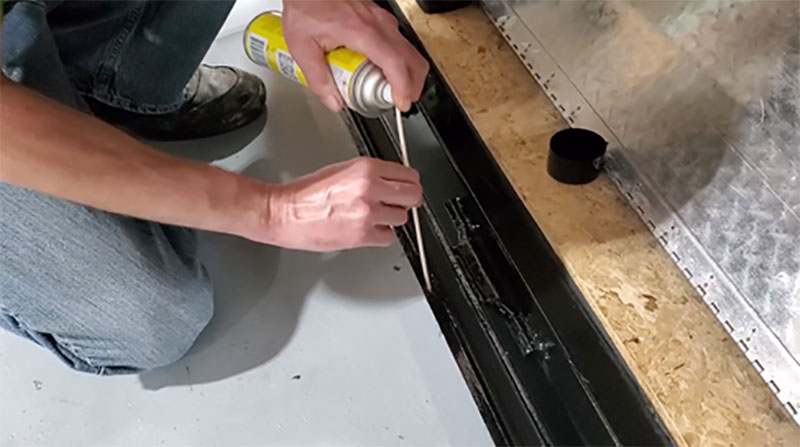
8. Prevent New Rust With Oil, Wax, and Better Storage
Removing rust is only part of the job. Iron and steel can begin corroding again when exposed to moisture and oxygen, particularly in humid rooms, damp sheds, garages, and outdoor storage areas. Preventive care often costs less than repeatedly purchasing rust removers.
A small bottle of suitable protective oil, a basic storage container, and a few dry cloths may be enough to protect many household tools. The best approach depends on whether the item is used for gardening, mechanical work, decoration, or food preparation.
Start by keeping metal items clean and dry after use. Wipe garden tools after working in wet soil, dry hand tools before returning them to a toolbox, and remove standing water from metal furniture following rain.
Pay special attention to hinges, joints, screw heads, and narrow spaces where moisture can remain trapped. Avoid storing damp tools in closed containers because trapped moisture can encourage corrosion. Good housekeeping is inexpensive and can significantly reduce the need for future rust removal.
For suitable unpainted steel tools, apply a thin layer of protective machine oil or a rust-preventive product recommended by the manufacturer. Spread it evenly and wipe away excess oil to avoid a slippery surface.
Do not use ordinary machine oil on surfaces that contact food unless the product is specifically approved for that use. For metal furniture or decorative items, a compatible wax or protective coating may be more appropriate. Always check whether the chosen product is safe for the item’s existing finish.
Storage conditions also matter. Keep tools in a dry cabinet, toolbox, or covered shed whenever possible. If humidity is a recurring problem, consider a moisture absorber or silica gel packets suitable for the storage container. Avoid placing metal objects directly on damp concrete, where moisture can collect underneath them.
Outdoor equipment should be stored under cover when practical, and damaged paint should be repaired before corrosion spreads. Small improvements to storage can prevent many rust problems before they become visible.