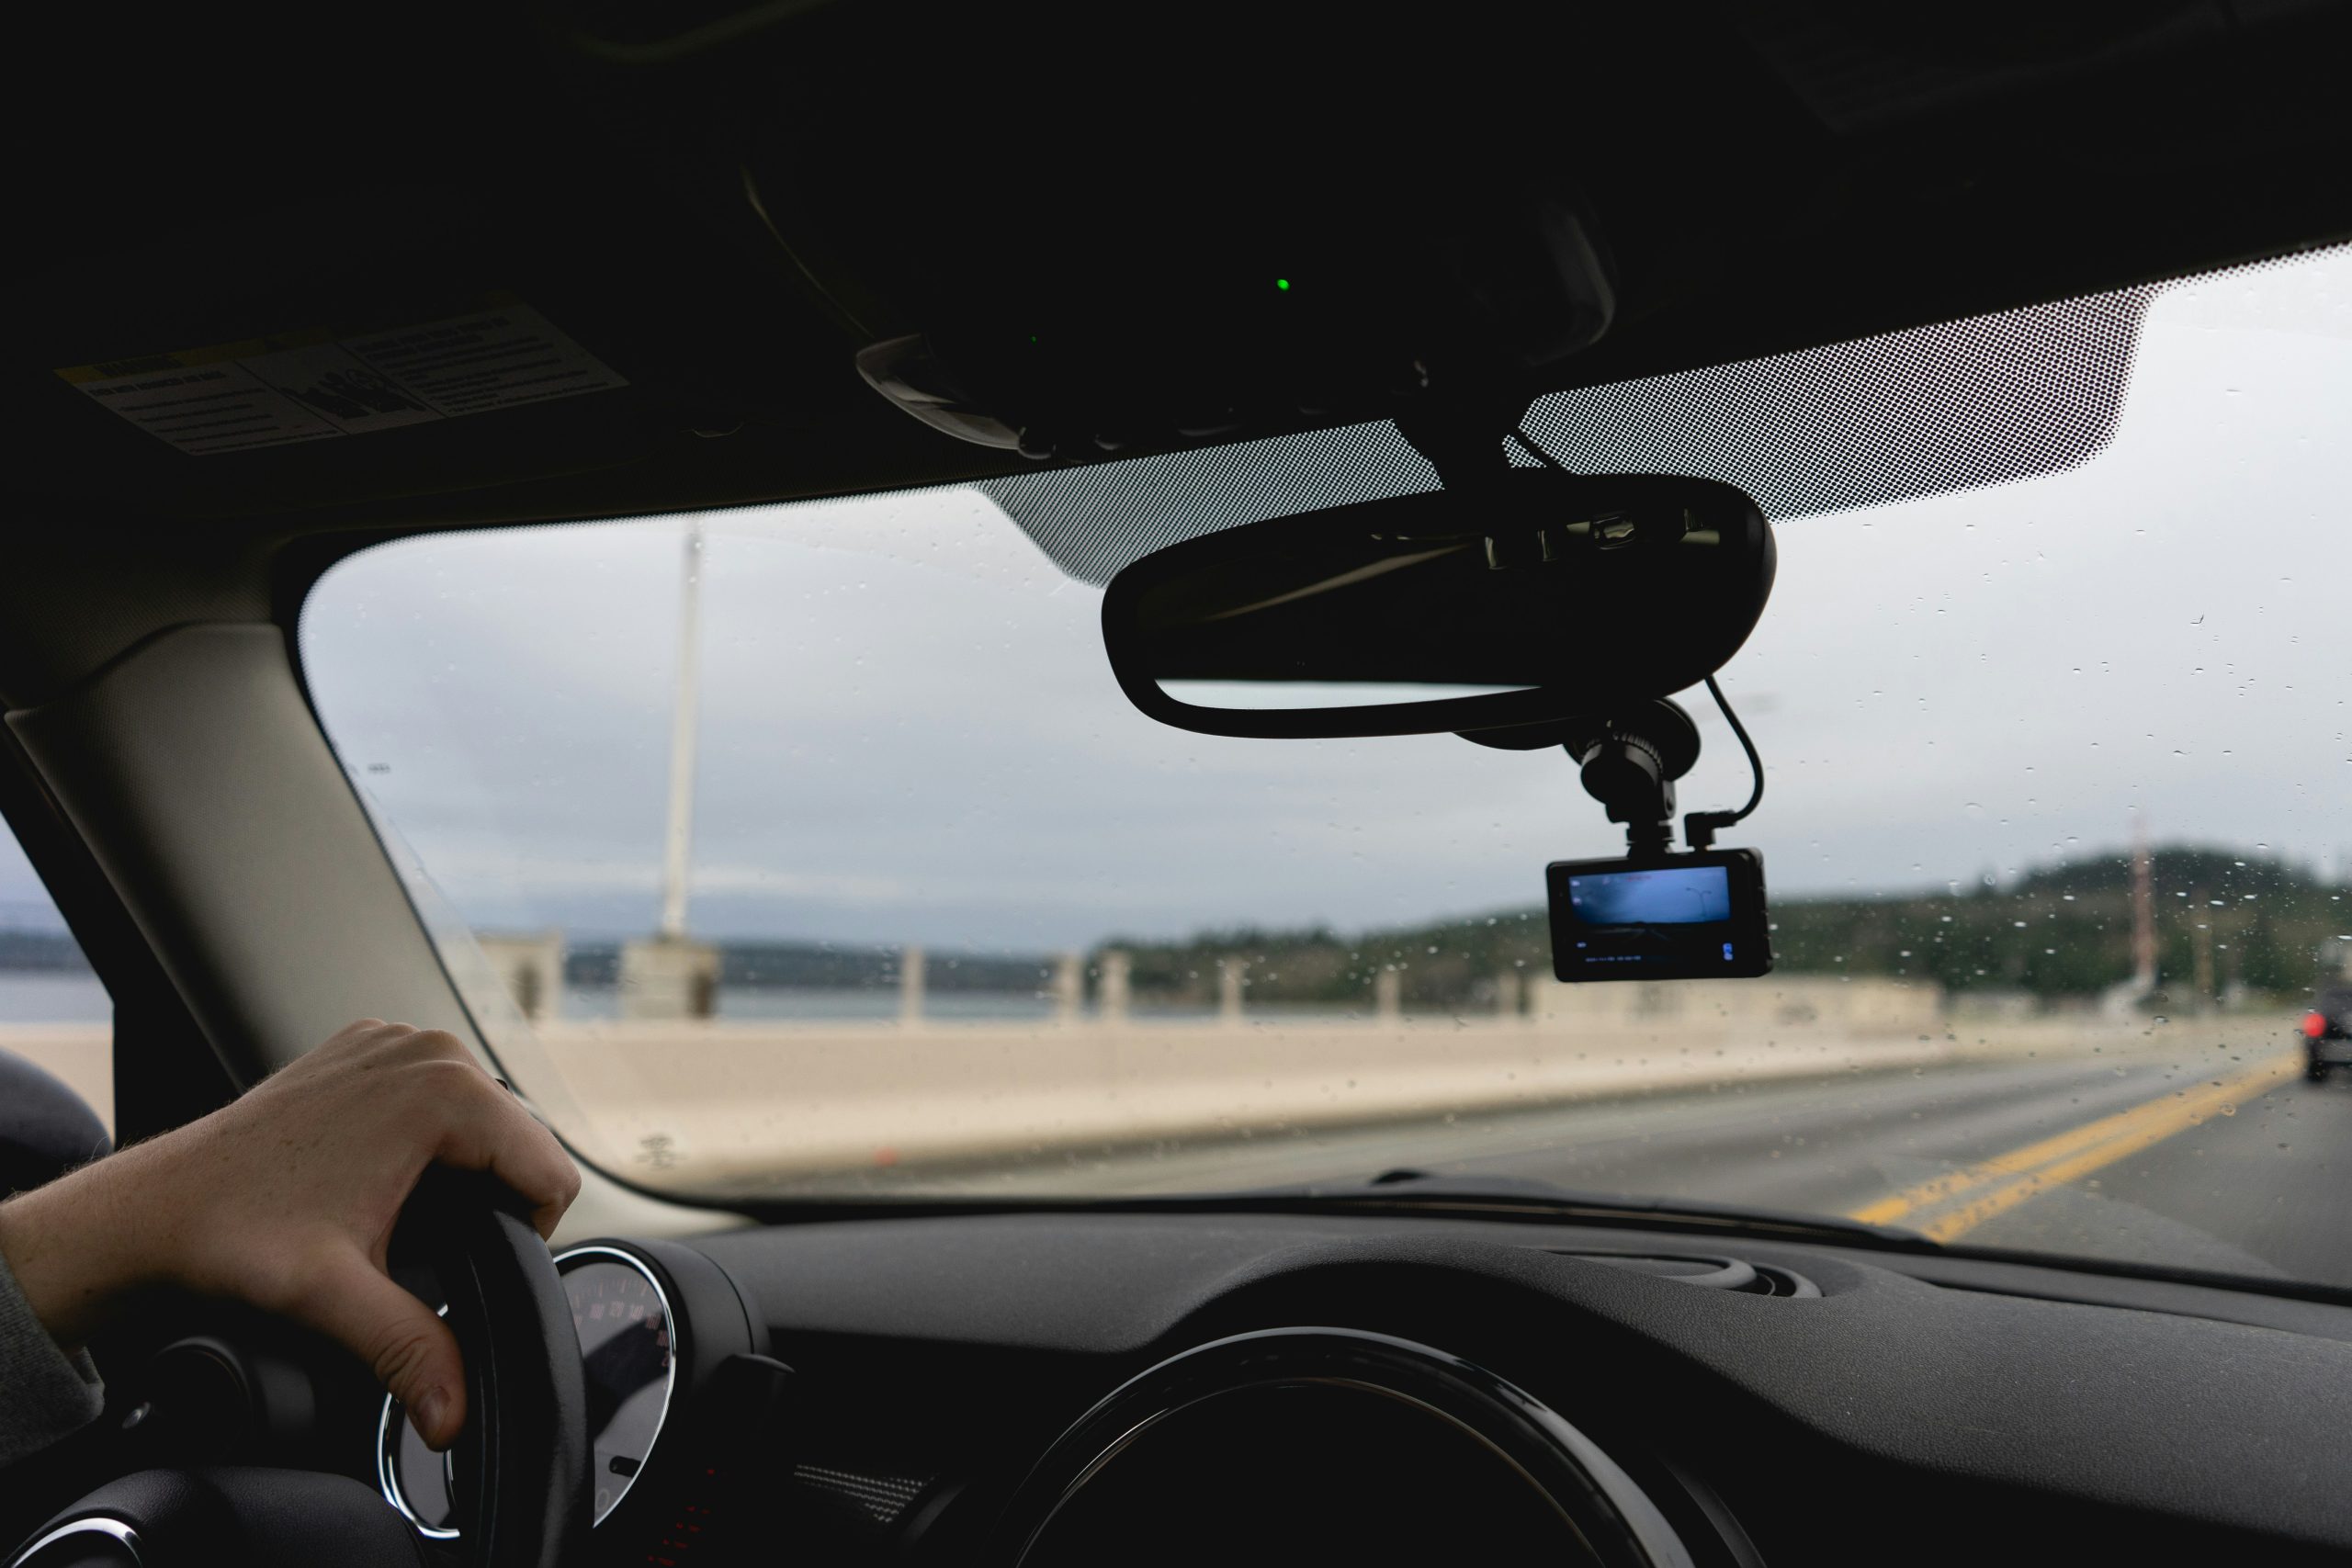
A cloudy windshield can make driving uncomfortable, reduce visibility, and create dangerous glare from sunlight or headlights. The good news is that you may not need an expensive detailing service or a new windshield to restore clear glass. In many cases, everyday cleaning supplies and inexpensive automotive products can remove the haze safely.
The key is identifying what causes the cloudiness before choosing a solution. This guide explains ten affordable ways to fix a cloudy windshield for under $20, with practical steps, budget estimates, and maintenance tips to help keep your vehicle’s glass clean, clear, and safe.
1. Clean the Inside of the Windshield With Automotive Glass Cleaner
A cloudy windshield often develops because of residue on the inside of the glass. Dust, fingerprints, cigarette smoke, cooking fumes, and airborne oils can form a thin film that becomes especially noticeable when sunlight shines through the windshield.
This layer may look like fog that never disappears, even when the weather is dry. Cleaning the interior glass thoroughly is a sensible first step before spending money on other treatments.
Choose an automotive glass cleaner that is suitable for your vehicle’s windows. Many affordable products cost between $5 and $10, depending on the brand and bottle size. If you already have a suitable cleaner at home, your cost may be nothing. Avoid products that leave a greasy finish, since extra residue can make glare worse instead of improving visibility.
Park your vehicle in a shaded area and allow the windshield to cool. Spray a small amount of cleaner onto a clean microfiber cloth rather than soaking the dashboard or spraying heavily near electrical components. Wipe the glass using overlapping strokes, paying particular attention to the lower corners and the area near the dashboard, where dust and residue tend to collect.
Use a second, dry microfiber cloth to buff away remaining moisture and streaks. Turn the cloth frequently so that you are not spreading the same dirt across the glass. A clean finishing cloth makes a noticeable difference because even a small amount of leftover product can create distracting lines when headlights shine through the windshield at night.
Inspect the glass from the driver’s seat after cleaning. If the haze has disappeared, repeat this process whenever a film begins to return. If the windshield remains cloudy, the problem may involve exterior contamination, condensation, mineral deposits, or permanent glass damage. Identifying the cause will help you avoid wasting money on products that cannot solve the underlying issue.
2. Use Two Clean Microfiber Cloths for a Streak-Free Finish
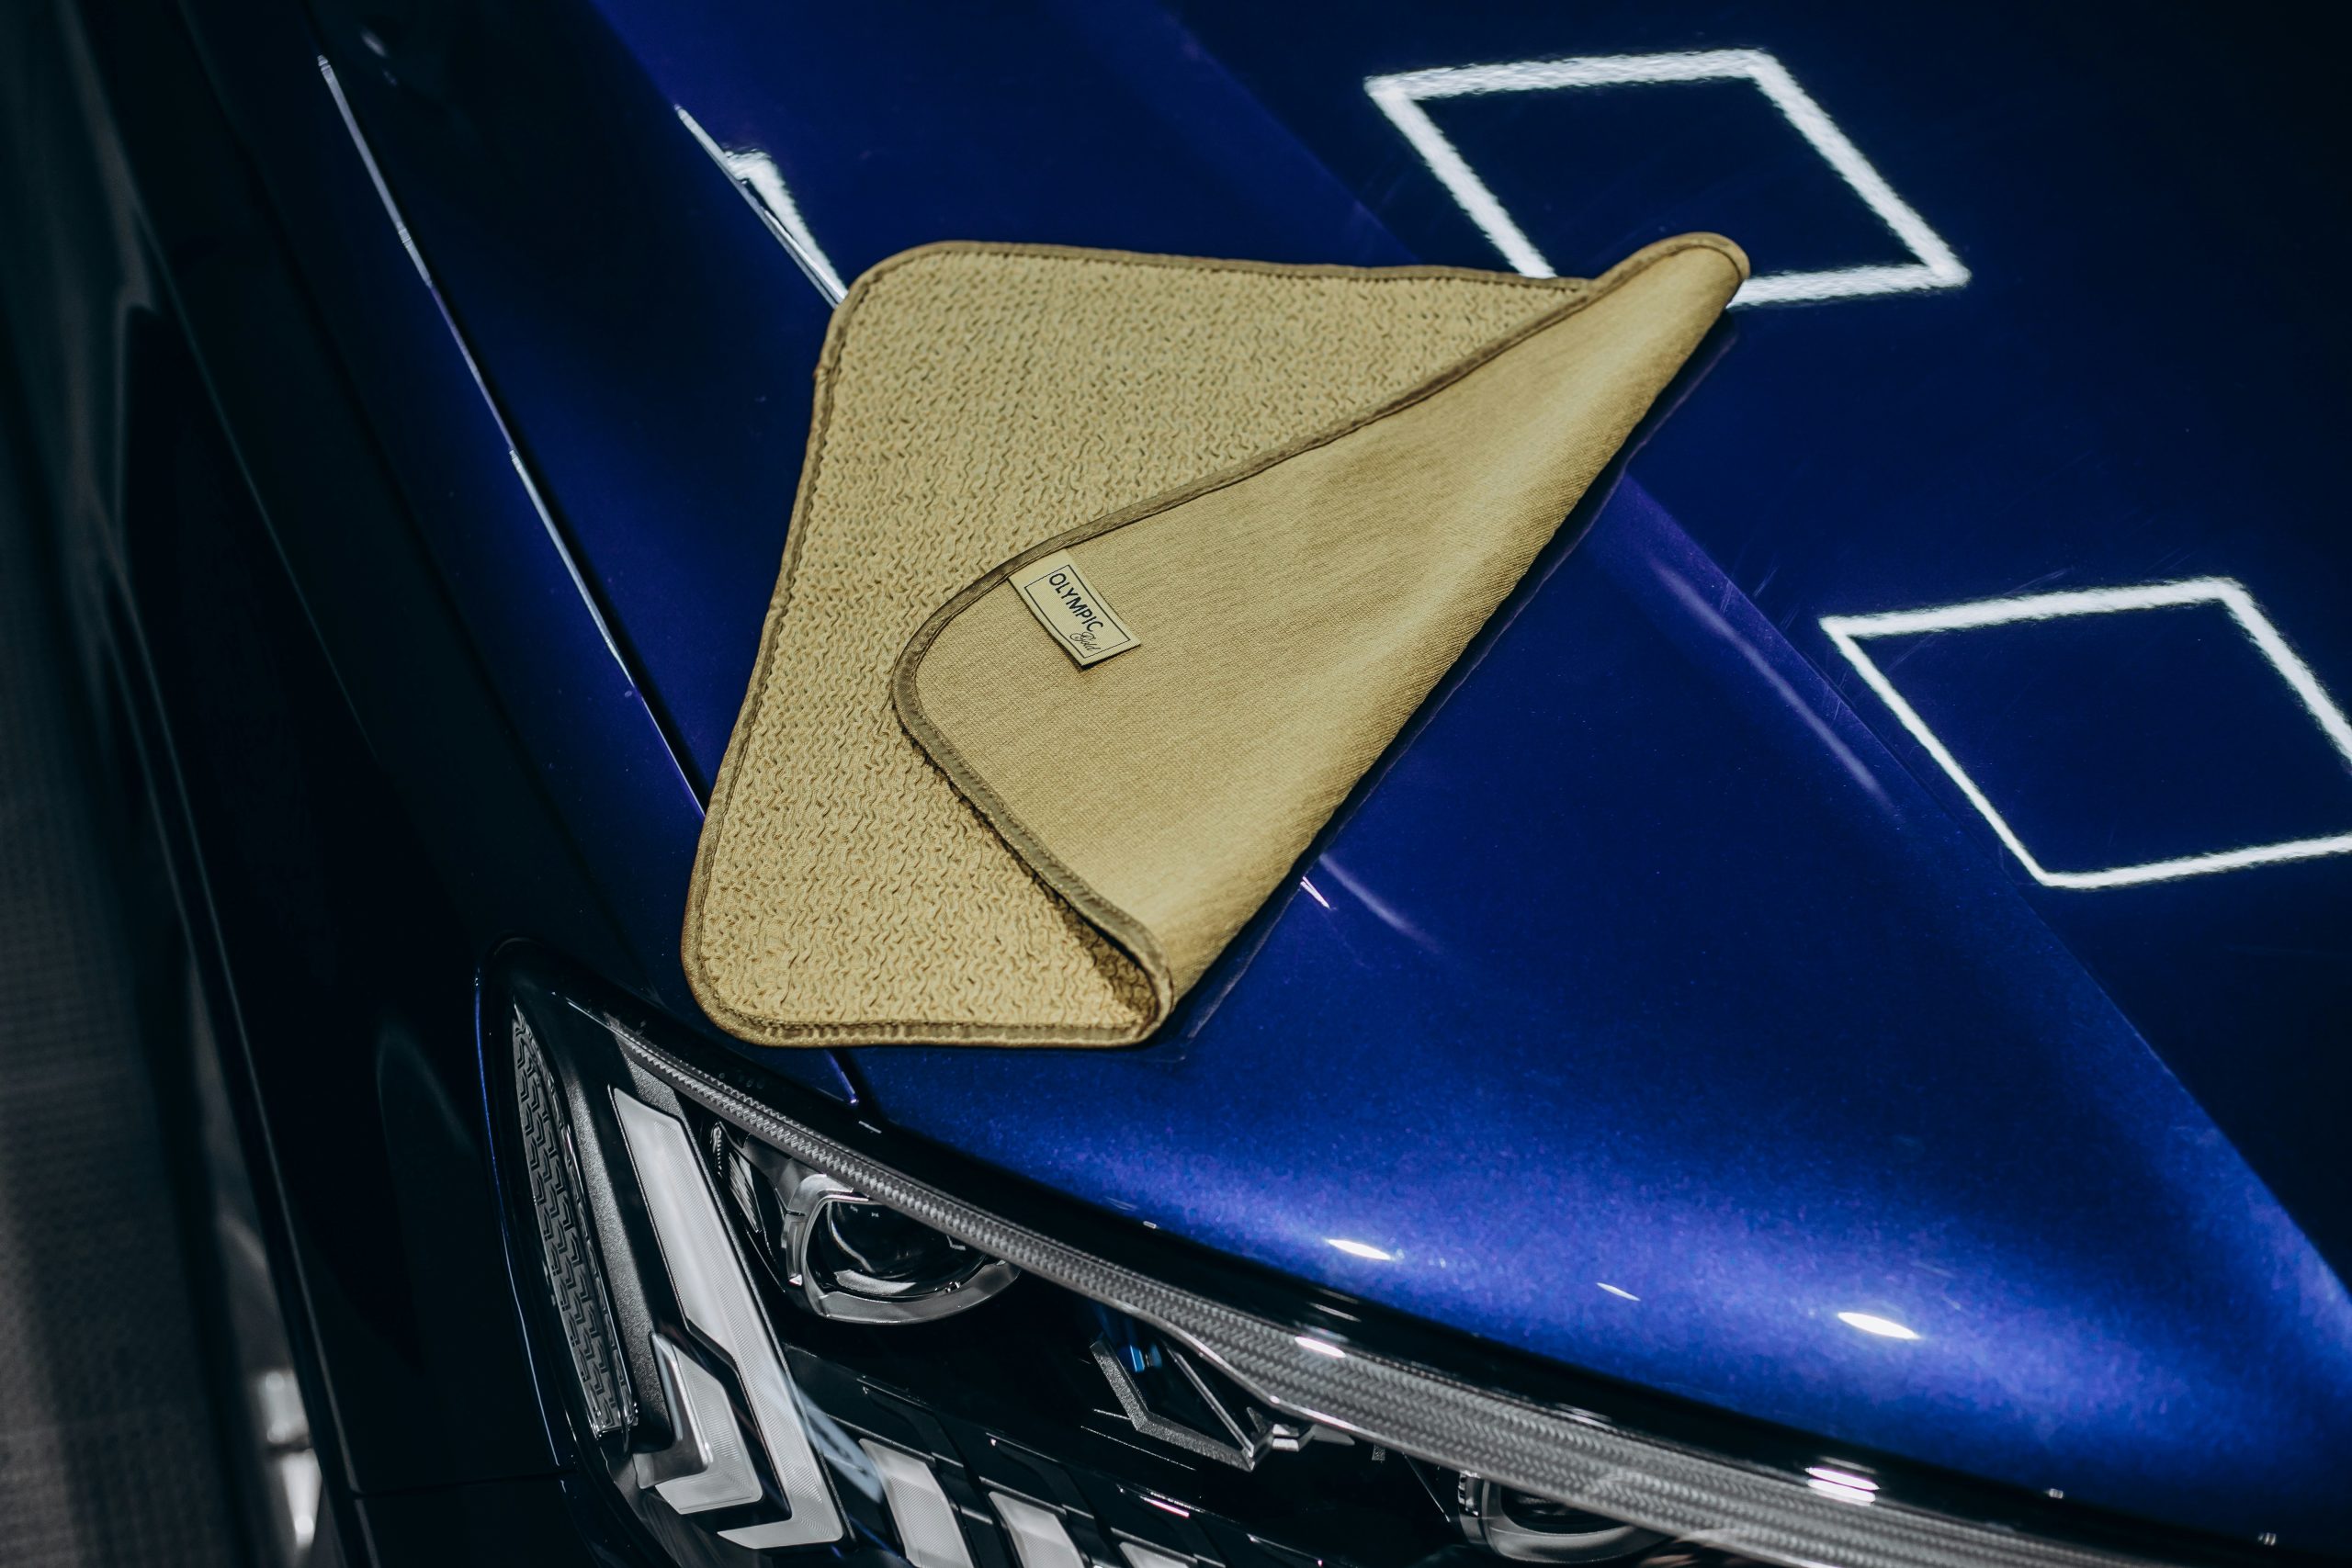
Microfiber cloths are among the most useful inexpensive tools for cleaning a cloudy windshield. Their fine fibers pick up dust, oily residue, and small particles without leaving the lint commonly associated with paper towels or ordinary cotton cloths. A basic two-cloth set often costs around $4 to $8, making it a practical investment for routine car maintenance.
The first cloth should be used for applying glass cleaner and loosening the film. The second should remain dry and clean for the final buffing stage. Separating these tasks reduces the chance of moving loosened dirt back onto the windshield. It also helps absorb excess moisture before it dries into visible streaks.
Before cleaning, shake out the cloths and check that they contain no grit. Tiny particles trapped in fabric can scratch delicate surfaces when rubbed against glass. Wash microfiber cloths separately when possible, and avoid fabric softener because it can leave a coating that reduces their cleaning performance. Follow the manufacturer’s care instructions.
Work across the windshield in small sections instead of wiping the entire surface with a single wet pass. Use moderate pressure and turn the cloth to expose a clean area as it becomes dirty. For stubborn interior film, make a second pass with fresh cleaner rather than rubbing aggressively. Excessive pressure is rarely necessary for ordinary surface residue.
Keep a dedicated pair of microfiber cloths in your car-care supplies, preferably stored in a clean bag or container. Do not use the same cloth for tire dressing, dashboard polish, or greasy engine components. Those products can transfer oils onto the windshield and create the very haze you are trying to remove. Clean tools help produce consistent results at minimal cost.
3. Remove Exterior Dirt With a Proper Glass Wash
Cloudiness on the outside of the windshield may come from road grime, dried rainwater, insect residue, pollen, and oily deposits from traffic. These contaminants can accumulate gradually, making the glass look dull even after a quick visit to a car wash. Exterior dirt may also cause wiper blades to drag, leaving smears across the driver’s field of vision.
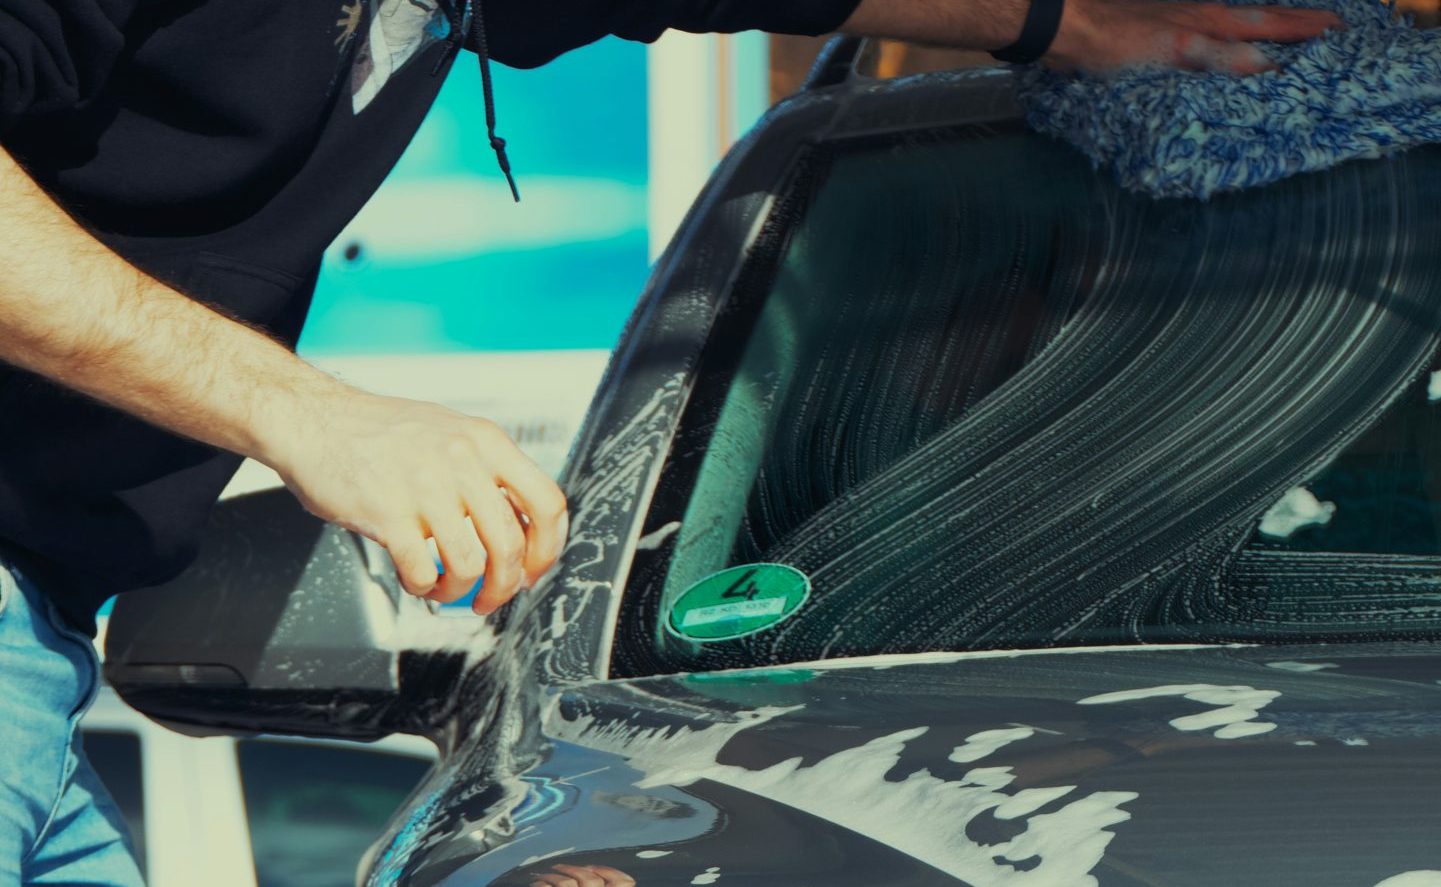
Start by rinsing the windshield with clean water to remove loose grit. This step matters because rubbing dry dirt against the glass can leave scratches. Apply a small amount of automotive car-wash soap mixed according to its label, then gently wash the surface using a clean sponge or microfiber wash mitt reserved for painted surfaces and glass.
Rinse thoroughly so that no soap film remains. Household dishwashing liquids can strip protective wax from nearby paintwork, and some formulas leave residues that are unsuitable for automotive glass. A dedicated car shampoo is generally a better choice. A small bottle may cost $5 to $10, and only a modest amount is needed for an individual windshield cleaning.
Dry the windshield with a clean microfiber drying towel. Allowing water to evaporate naturally can leave mineral spots, particularly when the water contains dissolved minerals. Check the edges, where water often collects and runs down the glass after the main surface appears dry. Wipe away these drips before they dry into streaks.
4. Clean the Windshield With a Diluted White Vinegar Solution
White vinegar can help loosen certain mineral deposits and water marks on exterior glass. Its mild acidity makes it useful for some cleaning tasks, particularly when ordinary washing has not removed the cloudy patches. A bottle of white vinegar typically costs just a few dollars, so this method can fit comfortably within a $20 budget.
Mix equal parts white vinegar and clean water in a small spray bottle. Apply a modest amount to the exterior glass using a microfiber cloth, then wipe gently across the affected area. Work in the shade, and do not let the solution dry on the windshield. Test a small area first to check for any unwanted effects.
Vinegar is not a universal windshield cleaner. It may help with certain mineral deposits, but it will not repair scratches, remove deep glass etching, or reliably dissolve every kind of oily road film. For stubborn grease, a suitable automotive glass cleaner may work better. Always match the cleaning method to the type of contamination.
Keep the solution away from sensitive trim, unprotected metal, and surfaces that the vehicle manufacturer advises against exposing to acidic cleaners. Avoid spraying near dashboard electronics or allowing liquid to run into vents. When cleaning the exterior, use only enough solution to wet the affected area, then rinse the glass with clean water.
5. Replace Worn Windshield Wiper Blades
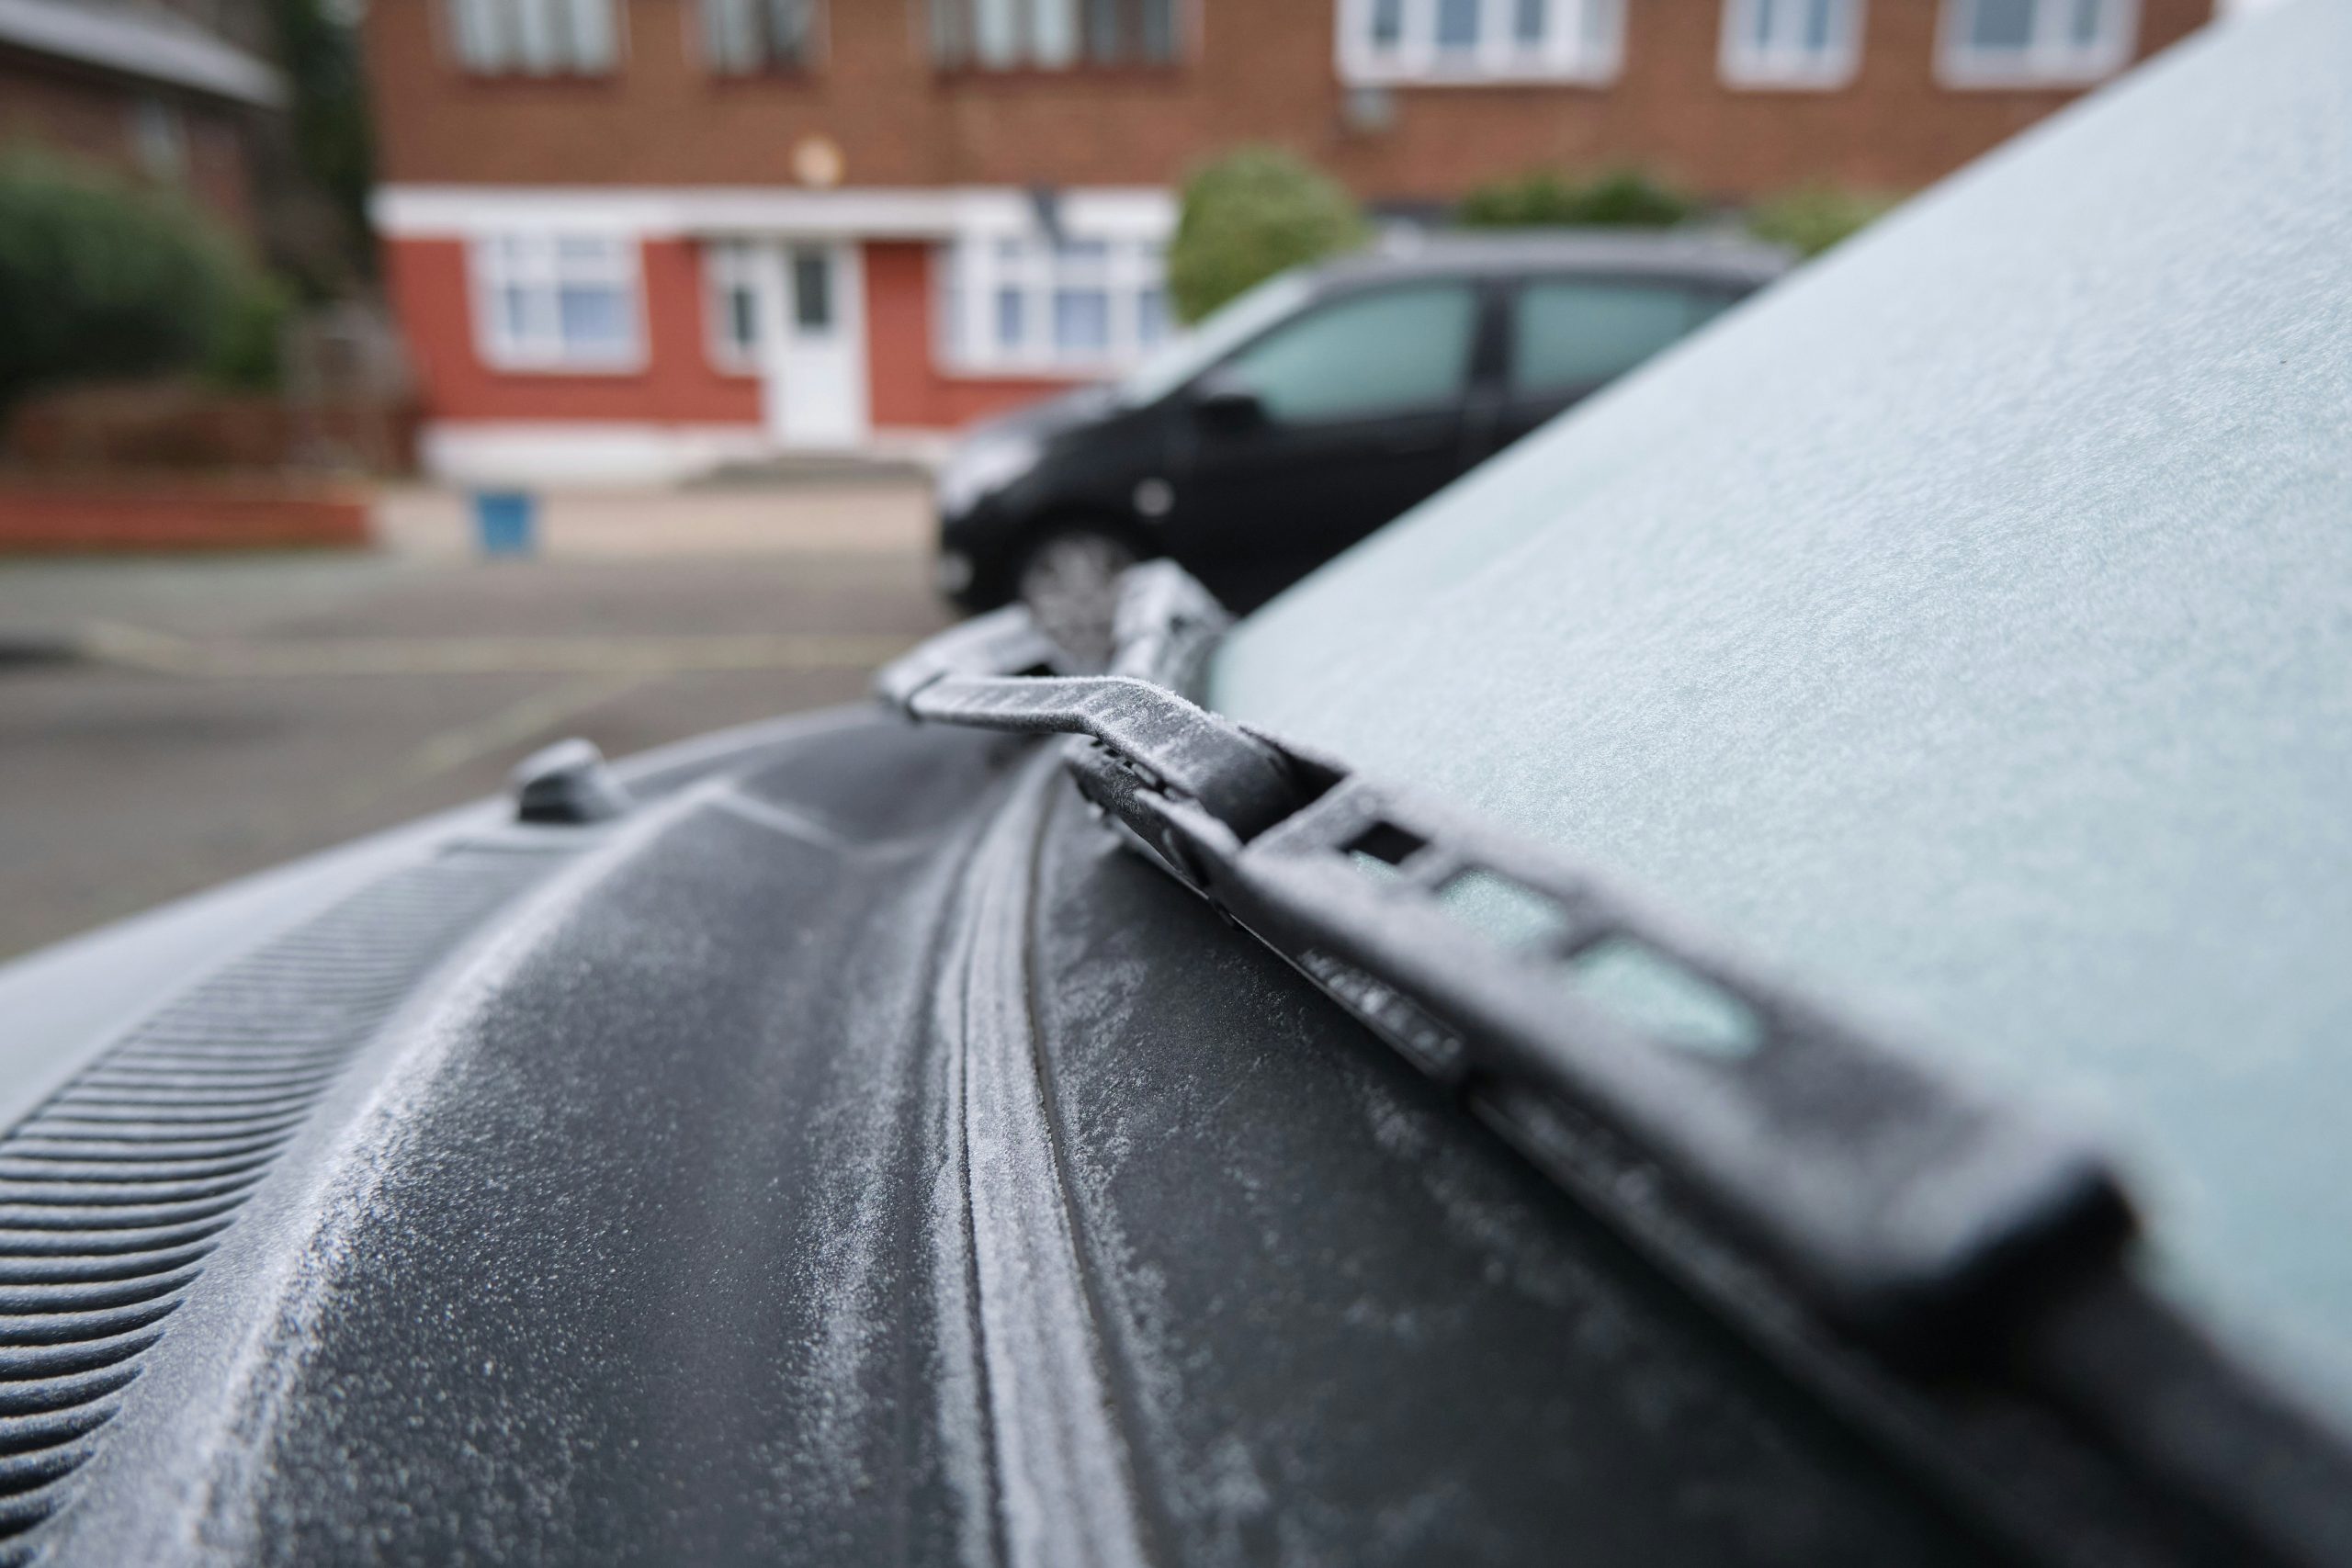
Sometimes the windshield is not actually cloudy. Instead, worn wiper blades spread water and grime across the glass, creating a hazy film each time it rains or the washer system is used. Common signs include streaks, skipped sections, squeaking, chattering, or narrow lines that remain after the wipers pass. Replacing damaged blades may solve the problem quickly.
Budget replacement blades can sometimes be found for $8 to $20 per blade, depending on vehicle fitment, size, and construction. Check the owner’s manual or a reliable vehicle parts catalogue for the correct dimensions and attachment type. Some vehicles use different lengths for the driver and passenger sides, while others require special connectors.
Inspect the rubber edge for cracks, splits, hardening, or uneven wear. Dirt lodged along the blade can also cause streaking, so gently wiping the rubber with a damp cloth may improve performance temporarily. If the rubber is damaged or the blade continues to leave clear lines of residue, replacement is the better long-term option.
Follow the installation instructions supplied with the new blades. Lift the wiper arms carefully, because some arms are spring-loaded and can snap against the windshield if released. Place a folded towel on the glass as a precaution while working. Make sure each replacement blade locks securely into its connector before lowering the arm.
After installation, test the blades with washer fluid on a clean windshield. They should move smoothly and clear water evenly without leaving major streaks.
6. Clear Internal Fog With Your Vehicle’s Defrost Settings
Condensation can make a windshield appear cloudy when warm, moist cabin air meets cooler glass. This commonly happens during rainy weather, on cold mornings, or when several passengers are inside a vehicle. The haze may disappear after the climate controls run for a few minutes, which suggests moisture rather than permanent staining is responsible.
Use the vehicle’s front defrost setting to direct airflow toward the windshield. Turn on the air conditioning if your vehicle allows it, since the system can remove moisture from the cabin air.
Adjust the temperature to a comfortable level and follow the instructions in your owner’s manual for the most effective defogging procedure.
Fresh outside air often helps clear fog faster than recirculated air. Recirculation can trap moisture from breathing, wet clothing, and damp floor mats inside the cabin. If the windshield keeps fogging up, switch to fresh-air mode when conditions allow and check whether wet items are contributing excess humidity. Keep the glass interior clean, since oily residue makes fog more noticeable.
You do not need to purchase a special product to try this solution. Correct use of the existing climate system costs nothing beyond the vehicle’s normal operating expenses. Avoid wiping a heavily fogged windshield while driving if doing so distracts you from the road. Pull over somewhere safe if visibility is too poor to continue.
Never pour hot water onto a cold windshield to clear condensation or ice. Sudden temperature changes can stress glass, particularly if it already contains chips or cracks.
If fog persists without a clear weather-related cause, check for damp carpets, water leaks, or problems with the heating and ventilation system. A recurring moisture problem may require mechanical attention.
7. Use Automotive Glass Polish for Stubborn Surface Film
If normal washing and glass cleaner fail to remove the cloudiness, a glass polish formulated for automotive windshields may help. Certain products are designed to remove stubborn surface contamination, light deposits, and residue that ordinary cleaners leave behind. A small bottle may cost approximately $8 to $15, depending on the formulation and size.
Read the product label carefully before purchasing anything. Glass cleaners, glass polishes, and abrasive compounds are not interchangeable.
Choose a product specifically approved for automotive glass and suitable for the type of marks you are treating. Avoid using paint polish or household scouring compounds unless the manufacturer explicitly states that they are safe for windshield glass.
Clean and dry the windshield before applying the polish. Follow the instructions for the amount to use, the recommended applicator, and the required working time. Some products require gentle hand application, while others have different procedures. Test a small area first, and do not apply excessive pressure in an attempt to remove deep scratches.
Pay attention to any restrictions involving coated glass, rain-repellent treatments, or special windshield surfaces. Abrasive polishing can affect existing coatings, and improper techniques can leave uneven areas or distort the glass. If your vehicle has a head-up display or advanced driver assistance equipment, check the owner’s manual for relevant windshield care precautions.
8. Clean Mineral Spots With a Glass-Safe Water Spot Remover
Dried water can leave white or cloudy marks on a windshield, particularly after rain, sprinkler exposure, or washing with hard water. These marks form when dissolved minerals remain behind as water evaporates. If the glass looks clean when wet but develops pale spots after drying, mineral deposits may be contributing to the problem.
Begin with a normal wash and inspect the affected areas. If the marks remain, consider an inexpensive water spot remover labelled as safe for automotive glass. Small bottles may cost around $8 to $15. Read the product details to confirm that it is suitable for your windshield rather than intended exclusively for paintwork or other surfaces.
Apply the remover exactly as directed. Some formulations require a soft applicator, while others are designed to be wiped on and rinsed off. Work on a cool windshield in the shade, and treat a small test patch first. Never mix different cleaning chemicals, especially acidic products and cleaners containing bleach or other reactive ingredients.
Use gentle movements and allow the product to do the work. Do not use steel wool, abrasive kitchen pads, or sharp tools to scrape mineral marks away. These materials can scratch glass, damage nearby trim, or create additional problems. If a spot remains after a careful treatment, it may be etched into the surface rather than sitting on top of it.
Rinse and dry the windshield thoroughly after treatment, then inspect it under different lighting conditions. Prevention is easier than repeatedly treating established deposits.

9. Clean the Windshield Washer System and Use Quality Washer Fluid
A windshield can become cloudy because the washer system spreads dirty water or leaves a film behind. Old fluid, contaminated reservoirs, partially blocked nozzles, and unsuitable cleaning mixtures can all contribute to poor results.
If pressing the washer control creates more streaks instead of clearing the glass, inspect the system before assuming the windshield itself is damaged.
A bottle of automotive windshield washer fluid often costs around $3 to $8, depending on its capacity and formulation. Choose fluid suitable for your local climate and vehicle requirements. Some products include cleaning agents for road film, while cold-weather formulas are designed to resist freezing. Check the label rather than choosing solely by price.
Locate the washer fluid reservoir using the owner’s manual and fill it to the recommended level. Do not confuse it with the coolant reservoir or brake fluid container.
Use only the fluid specified for the washer system, and avoid filling the reservoir with plain water if freezing temperatures are possible or the vehicle manual advises otherwise.
Activate the washers while the vehicle is safely parked. Check whether the spray reaches the windshield evenly and whether the wipers clear it without excessive smearing. If the jets appear blocked, follow the manufacturer’s cleaning instructions. Avoid forcing sharp metal objects into the nozzles, since doing so can damage them or alter their spray pattern.

10. Prevent Future Cloudiness With Simple Maintenance Habits
Keeping a windshield clear is usually less expensive than repeatedly treating heavy contamination. Dust, oily cabin residue, road grime, and moisture accumulate over time, especially when a vehicle is parked outdoors or driven frequently. A short cleaning routine can prevent these substances from building up into a stubborn film that causes glare and reduces visual comfort.
Keep a clean microfiber cloth and an automotive glass cleaner in your car-care kit. A basic kit can often be assembled for under $15 if you purchase affordable products. Store cleaning supplies securely, away from direct sunlight and excessive heat, and follow any storage instructions on the product packaging. Never leave loose bottles where they could interfere with driving.
Inspect your wipers regularly and pay attention to changes in how they clear water. Replace damaged blades promptly, keep the washer reservoir filled, and address condensation before setting off. Avoid parking beneath trees that release sticky sap or near sprinklers that leave mineral deposits. Small preventive steps can reduce the amount of cleaning needed later.
Make visibility the priority whenever you maintain your vehicle. If a windshield has deep scratches, chips in the driver’s field of view, internal clouding, or persistent distortion, inexpensive cleaning methods may not be sufficient.
A qualified automotive glass technician can assess the condition and recommend an appropriate repair or replacement. Never continue driving when the windshield prevents you from seeing the road clearly.