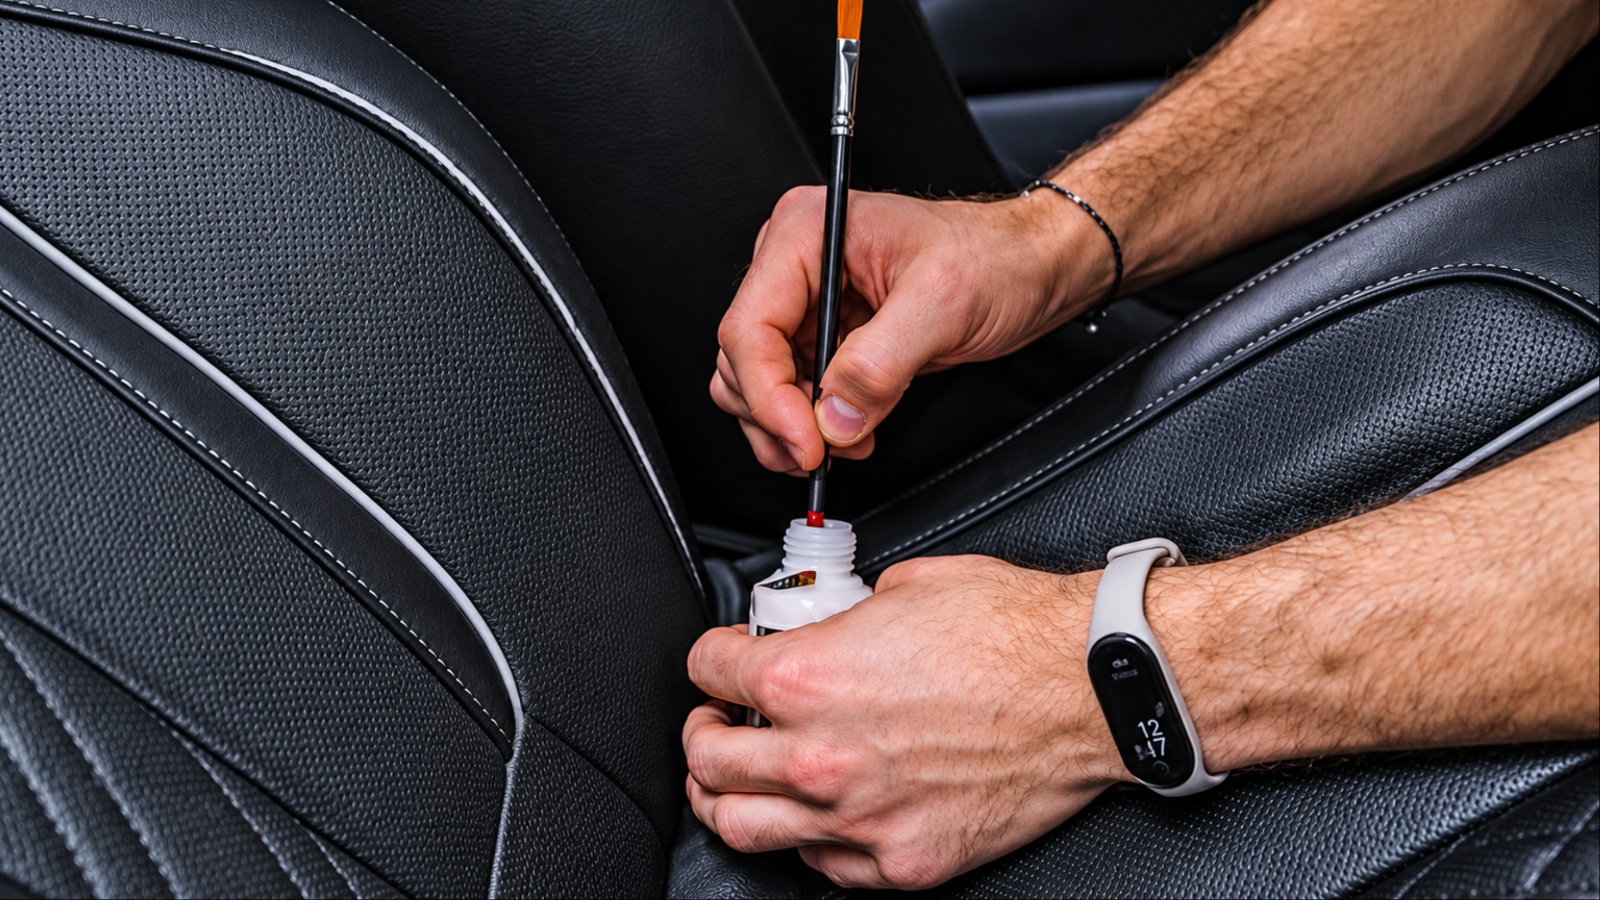
A torn seat is more than a cosmetic problem. Every time someone sits down, the rip stretches a little wider. Within weeks, a small split can turn into a gaping hole.
Foam is the next casualty. Once exposed, it crumbles, absorbs moisture and flattens. A ten-minute fix today can prevent a costly reupholstery bill later.
Many people assume a professional is the only answer. Upholstery shops often charge well over a hundred dollars for even a small job. For most tears, that spending is simply not needed.
This guide covers eleven repairs that each cost under twenty-five dollars. They work on car seats, dining chairs, sofas, office chairs and bike saddles. Each method is matched to a material and a type of damage.
Material matters more than most people realise. Vinyl, leather, woven fabric and velour react differently to heat, glue and dye. The wrong product can make the tear worse.
Size and position matter too. A popped seam needs a different fix from a burn hole in the middle of a cushion. Read the full list before you buy anything, then pick the method that fits your seat.
1. Iron-On Fabric Patch
Iron-on patches suit woven fabric such as cotton, polyester and canvas. A heavy-duty pack costs between five and eight dollars. The adhesive layer melts into the fibers and holds firmly.
Start by trimming loose threads around the tear. Frayed strands stop the patch from lying flat. Brush away lint and dust with a dry cloth. Cut the patch about an inch larger than the damage on every side. Round the corners with scissors. Rounded edges resist peeling far better than sharp ones.
If you can reach behind the tear, slide the patch underneath with the adhesive side up. This lets the fabric bond to it from above. Smooth the edges together so the gap closes neatly.
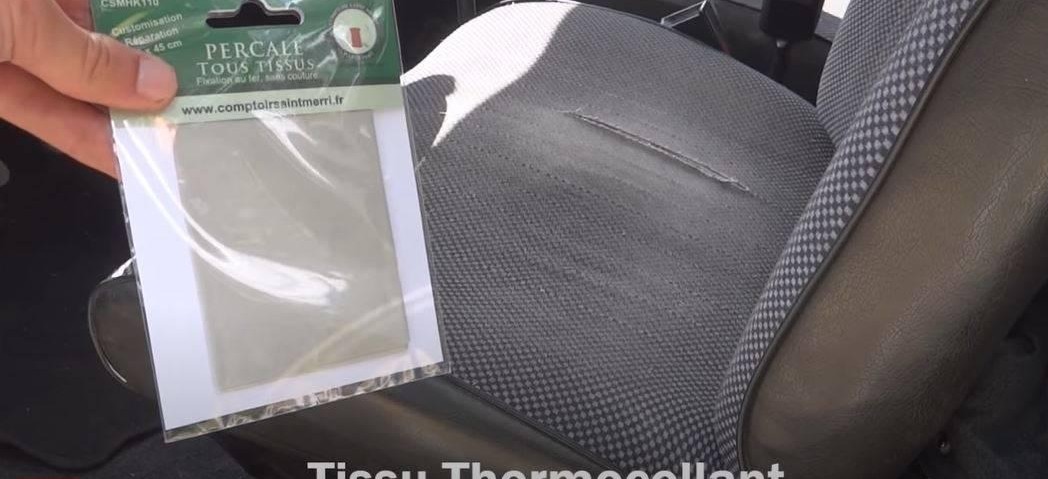
Set the iron to the cotton setting and place a thin cloth over the area. Press down firmly for about thirty seconds. Do not slide the iron, because that can shift the patch.
Let the repair cool fully before anyone sits down. Warm adhesive can still move and lose its grip. Waiting an hour is a sensible minimum. Never use this method on vinyl, leather or foam-backed synthetic fabric. Heat will melt, shrink or scorch them. Test a hidden corner if you are unsure.
For extra strength, add a few stitches around the patch edge. Choose a color that matches the seat closely. A near match disappears, while a bold contrast draws the eye.
2. Fabric Glue With a Hidden Backing
This fix suits clean cuts in sofa or chair fabric. A bottle of flexible fabric glue costs around six dollars. The secret is the support piece hidden underneath.
Cut a scrap of thin cotton slightly bigger than the hole. An old pillowcase or shirt works well. Slip it through the tear so it lies flat beneath the fabric.
Apply glue to the backing, not to the visible surface. This keeps the outside soft and free of shiny marks. Use a toothpick to spread a thin, even layer.
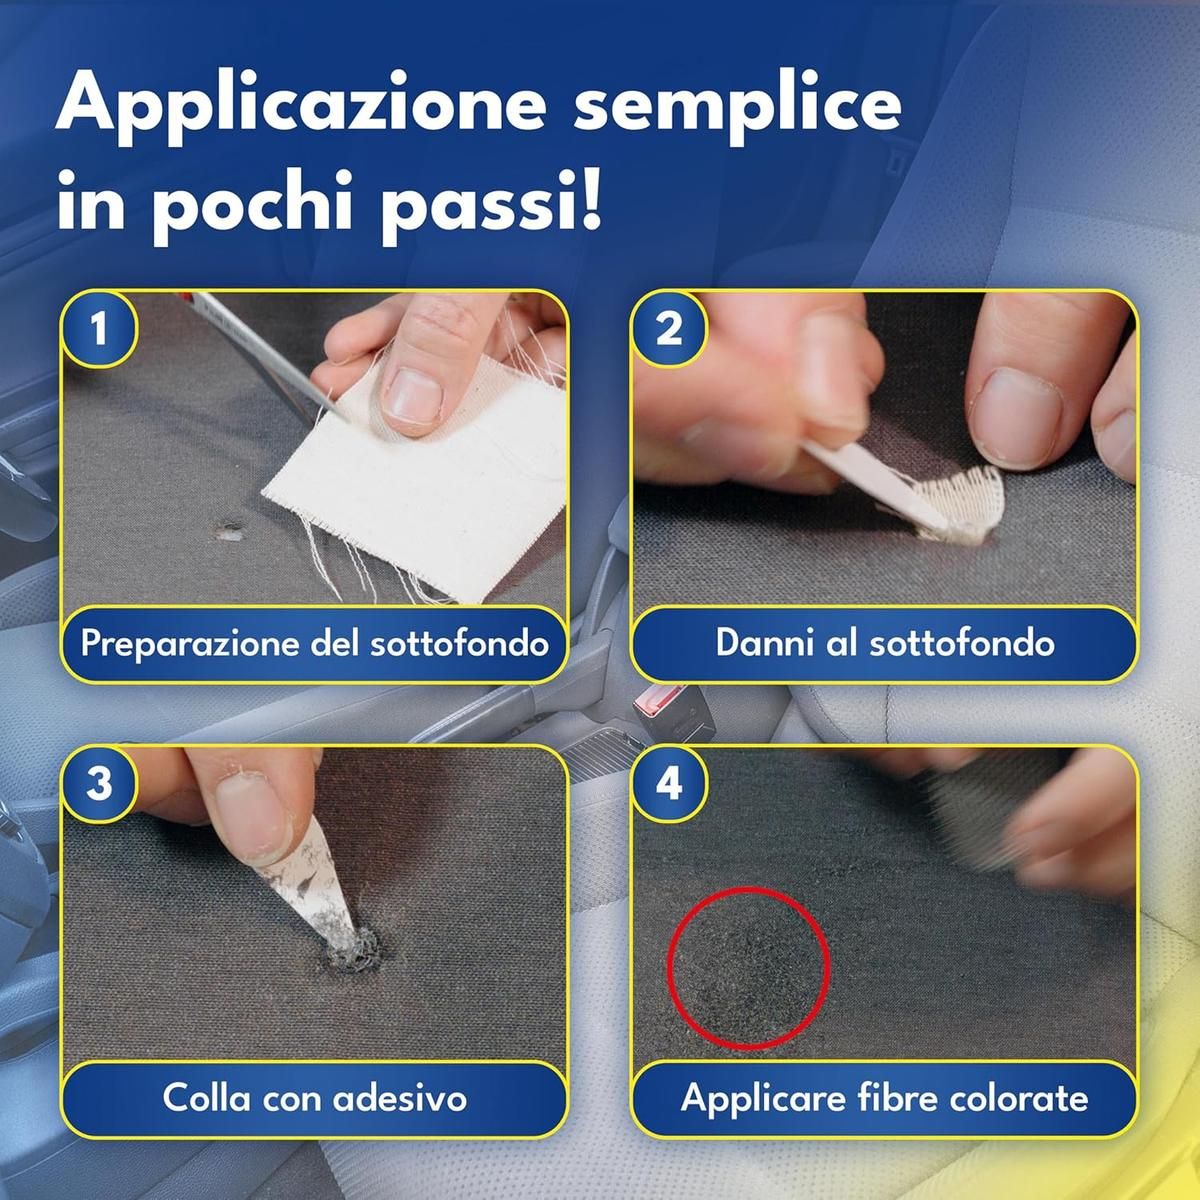
Press the torn edges down onto the backing, one side at a time. Make sure the weave lines up across the cut. A neat alignment hides the repair surprisingly well.
Hold everything in place with clips, pins or a heavy book. Wrap the book in wax paper first so it does not stick. Light, steady pressure beats hard squeezing.
Wipe away any seepage right away with a damp cloth. Dried glue leaves a stiff patch that is hard to remove. Work in small sections to stay in control.
Let the repair cure for a full day. Rushing is the most common reason these fixes reopen. Avoid sitting on the spot until it feels completely firm. Choose a glue labeled flexible and washable. Rigid craft glue cracks the moment the cushion bends. Check the label for fabric compatibility before you buy.
3. Hand Stitching With a Ladder Stitch
A ladder stitch is nearly invisible on seams and straight rips. A curved upholstery needle and bonded thread cost under ten dollars. Both are sold in most craft and hardware stores.
The curved needle is the key tool. It reaches tight spots where a straight needle cannot go. You can sew the tear without taking the cover off the seat.
Bonded nylon thread is far stronger than ordinary sewing thread. It resists rubbing, sunlight and repeated stretching. Match its color to the fabric as closely as you can.
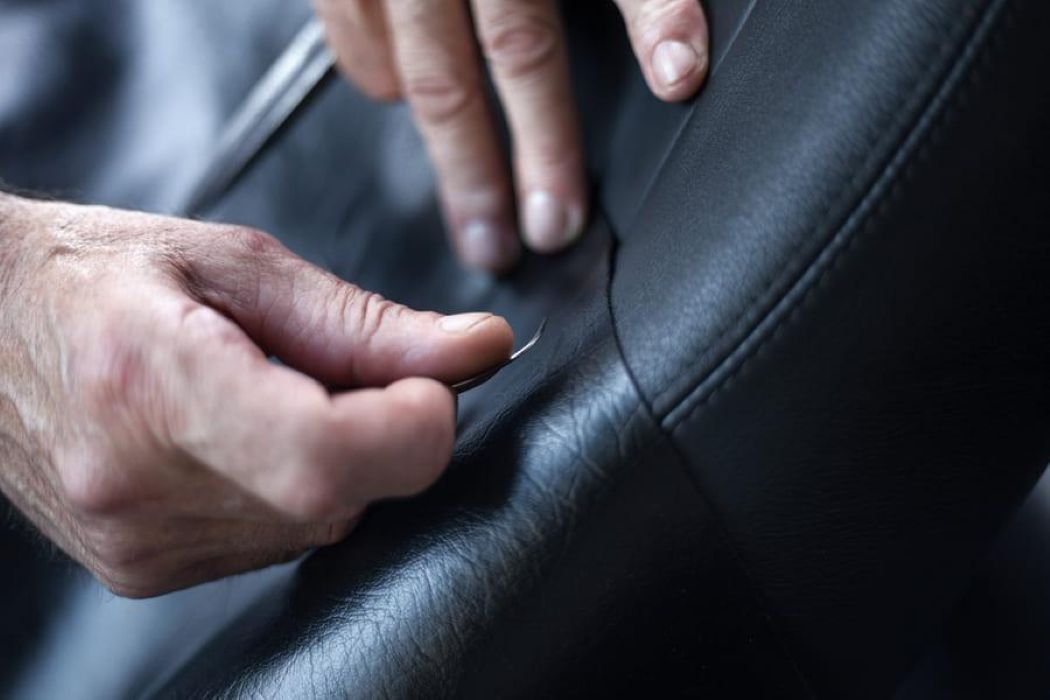
Begin by knotting the thread and hiding the knot inside one fold. Then pass the needle straight across to the opposite fold. Move forward a few millimeters and repeat.
Keep the stitches small and evenly spaced. This creates a ladder pattern between the two edges. Short stitches give a cleaner, tighter closure. Pull the thread gently once you have sewn a few inches. The edges should meet without puckering.
Pulling too hard will gather the fabric and show the repair. Finish with a small knot tucked inside the fold. Trim the tail close. The seam should look almost untouched.
This method suits popped seams and clean splits. It struggles when material is missing. In that case, combine it with a backing patch or a spot of glue.
4. Liquid Vinyl Repair Kit
Vinyl seats crack and split with age and sun exposure. A liquid vinyl kit costs about twelve to twenty dollars. It can rebuild the surface so the damage nearly vanishes.
Most kits include filler, color tints, backing fabric, and grain paper. The grain paper copies the texture of the original surface. This is what makes the finish look factory-made.
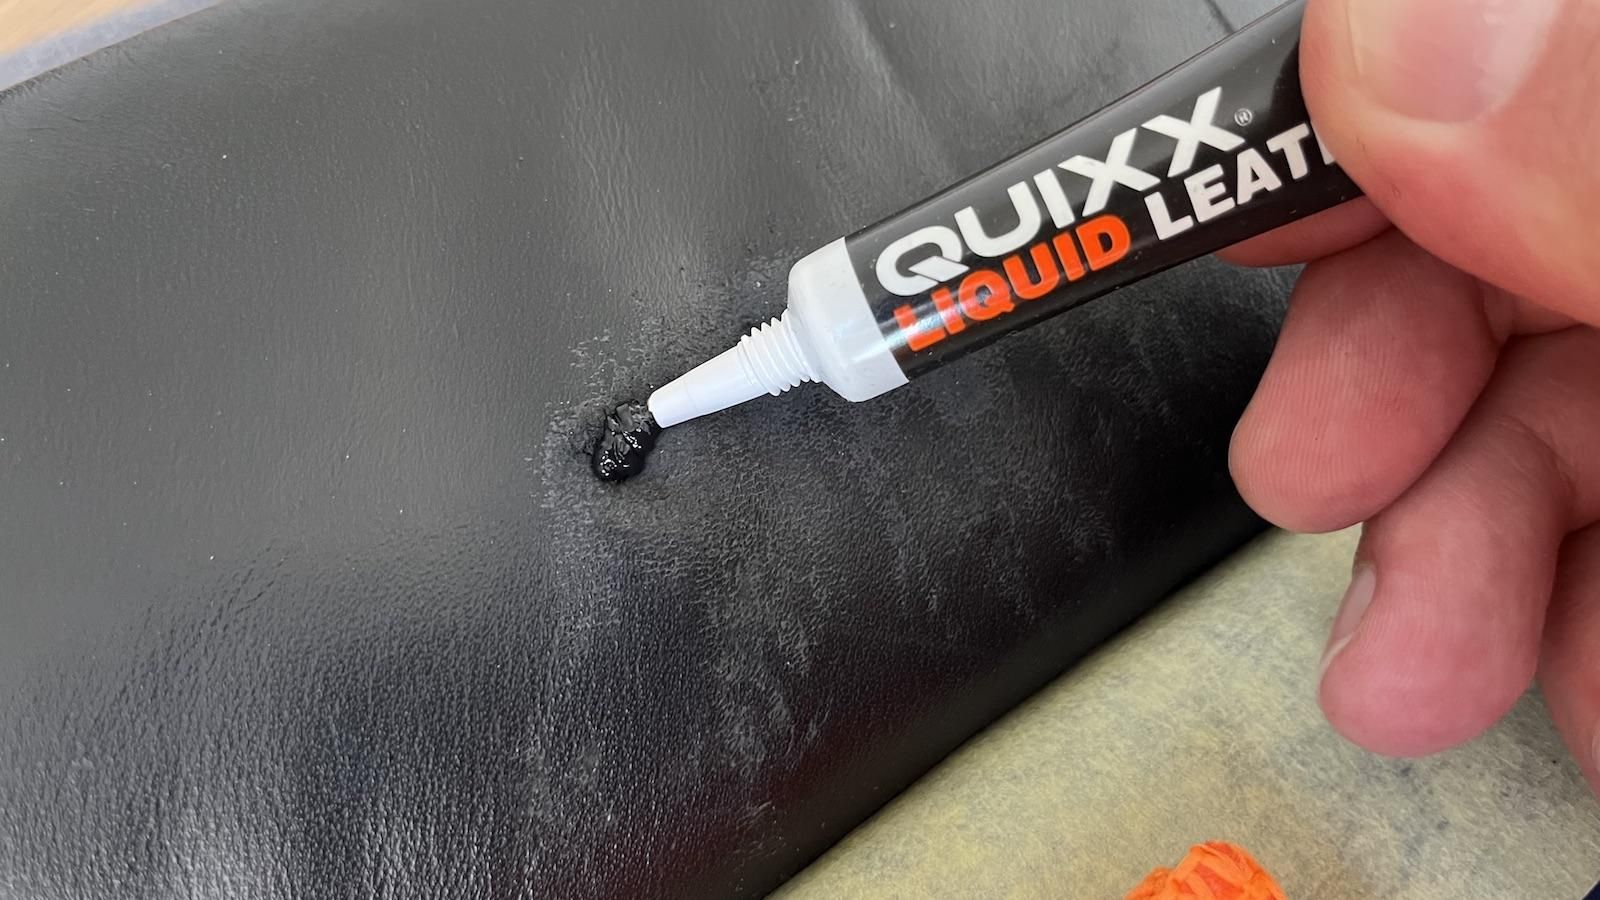
Clean the area with rubbing alcohol before you begin. Oils and protectant sprays prevent the filler from bonding. Let the surface dry completely. Slide the backing fabric under the tear. Then spread a thin layer of filler across the damage. Feather the edges outward so no ridge forms.
Lay the grain paper over the wet filler. Apply heat using the supplied tool or a hair dryer on low. Peel the paper away after the filler has set. Mix the color tints in tiny amounts. Test the shade on a hidden spot first. Colors usually darken as they dry.
Add the color in several light coats. Thin layers look more natural than one heavy blob. Allow each layer to dry before the next. Patience pays off here. A rushed repair stays tacky and traps dust. A careful one can last for years.
5. Leather Repair Compound
Leather needs a repair product that stays soft. Good kits cost between fifteen and twenty-five dollars. Cheap rigid fillers crack within weeks. These kits fill cracks and small holes with a flexible paste. A colorant then covers the repair. A sealer locks everything in.
Start by cleaning the area with a mild leather cleaner. Remove loose flakes with your fingertip or a soft brush. Lightly sand the edges of the tear with fine paper.
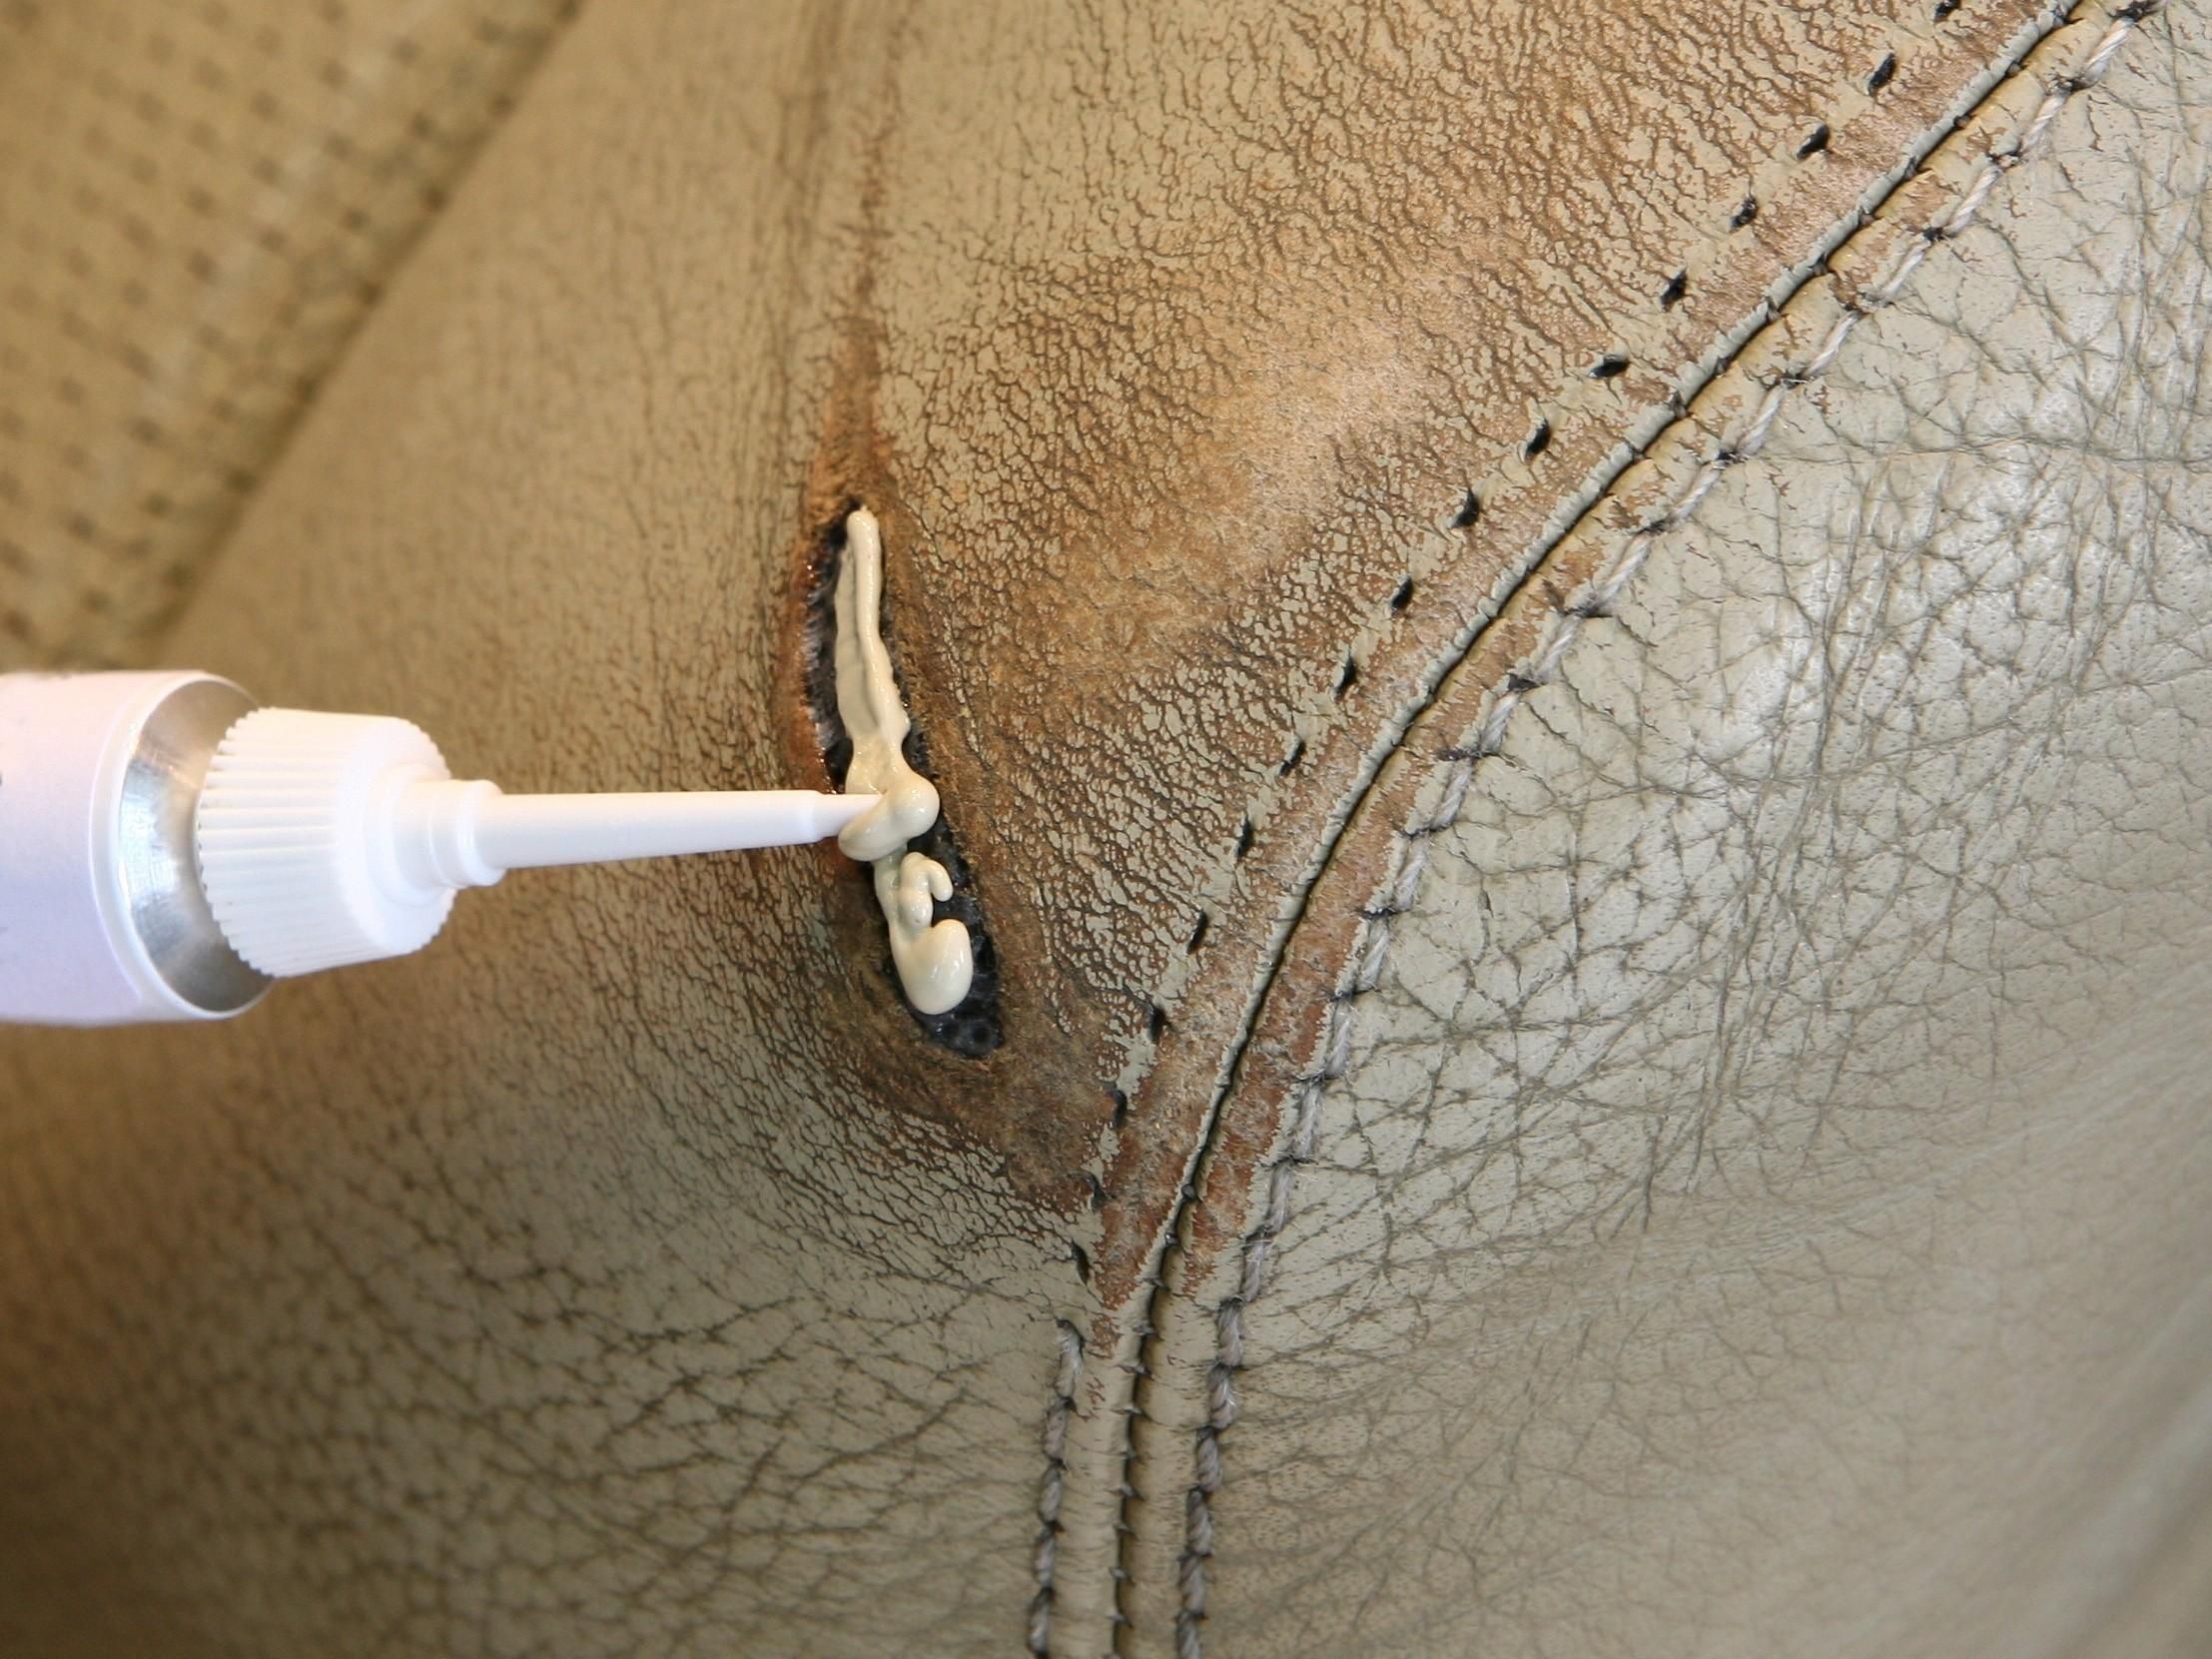
Place the backing fabric under any open hole. This gives the compound something to grip. Without it, the filler sinks and leaves a dent. Apply the compound in thin coats. Dry each coat with a hair dryer on a low setting. Sand gently between layers for a smooth surface.
Add the matching colorant with a sponge. Dab rather than wipe, so the grain stays visible. Finish with the sealer to protect against sweat and friction.
Check what type of leather you own before buying. Real leather and bonded leather behave differently. Bonded leather has a thin coating that peels, so it needs a gentler approach. Condition the whole seat after the repair. Dry leather near a fix will crack again. A little care keeps the patch flexible.
6. Self-Adhesive Leather or Vinyl Patches
This is the fastest repair on the list. A pack of patches costs between six and twelve dollars. Most jobs take under five minutes. The patches have a sticky back and an embossed face that mimics leather or vinyl grain. They suit small holes, burns and short splits.
They are especially handy on car seats. Round the corners of the patch with scissors before you peel it. Square corners catch on clothing and start to lift. Rounded ones stay flat for much longer.
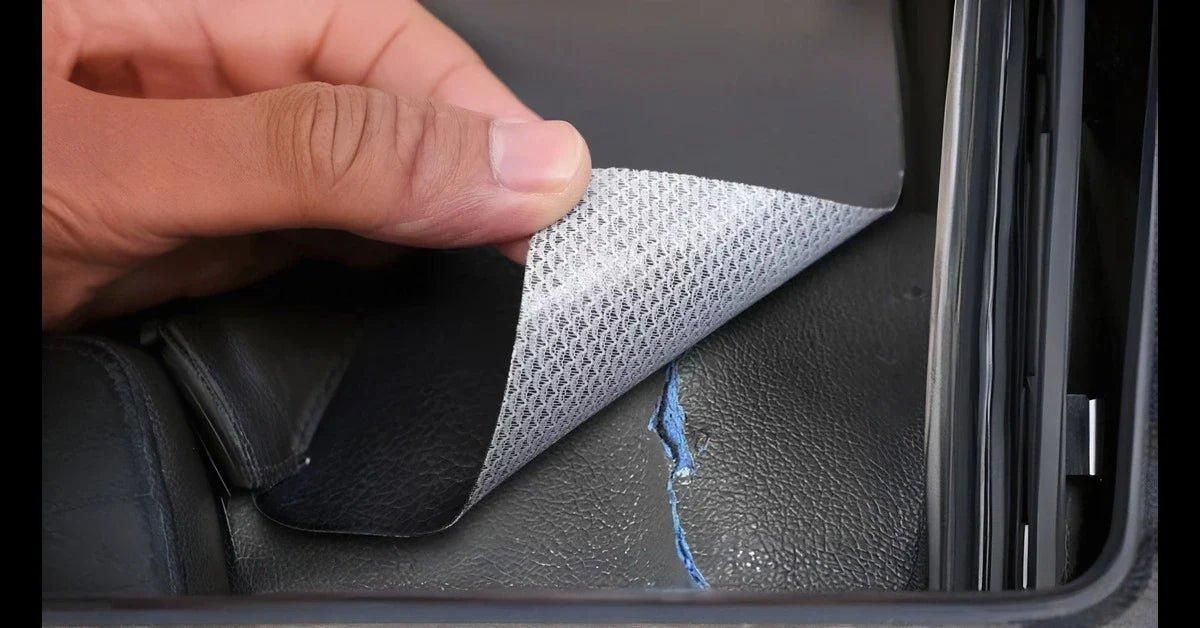
Clean the seat with alcohol and let it dry. Dust and oil ruin the bond. Warm the surface slightly in cold weather. Peel the backing and place the patch carefully. Press from the center outward to push out air bubbles. Once it touches, repositioning is difficult.
Rub the edges firmly for a full minute. The warmth of your hand helps the adhesive grab. Then leave the patch alone for several hours. These patches remain visible from close up. They look best when the color match is good and the placement is neat.
Choose a size only slightly larger than the damage. Avoid them on seats that bake in direct sun. Heat can soften the glue and curl the edges. A shaded or garaged seat will hold them longer.
7. Flexible Contact Adhesive With Reinforcement
Larger tears in vinyl or tough fabric need more than ordinary glue. A flexible contact adhesive costs seven to ten dollars. It grips instantly and holds under tension.
You also need a piece of canvas or heavy cloth. This acts as hidden support behind the tear. It spreads the load so the edges do not pull apart. Cut the support piece larger than the opening. Slip it inside and flatten it carefully. Mark the position of the tear edges with masking tape.
Coat the support and the underside of the tear thinly. Wait until the glue feels tacky but does not stick to your finger. This waiting time is essential for a strong bond.
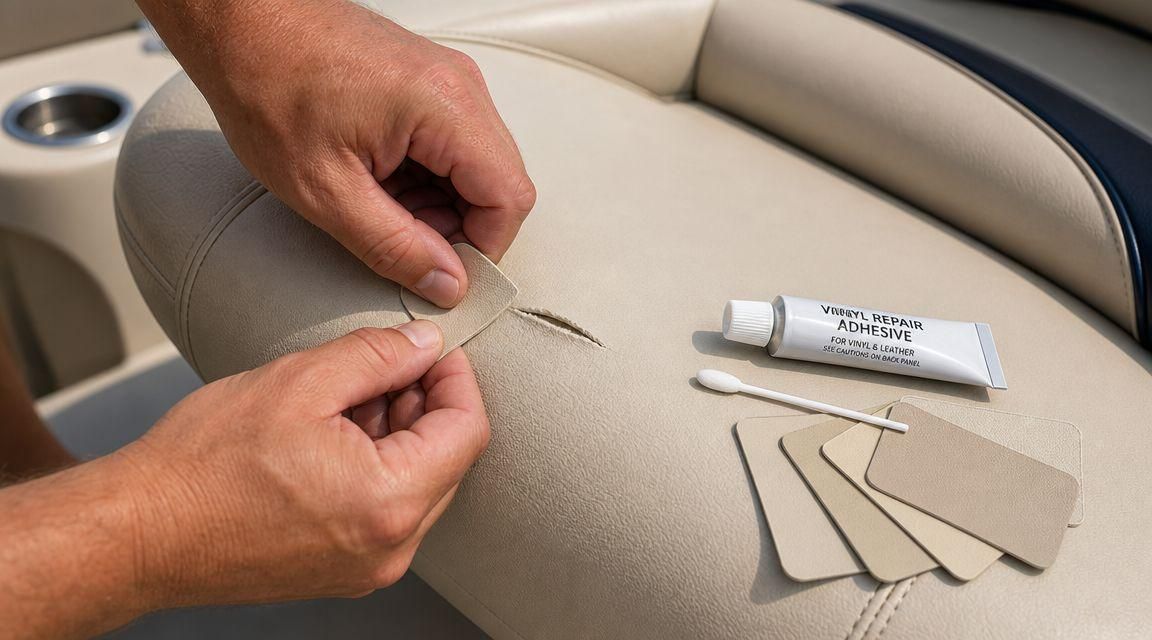
Press the surfaces together once, with care. Contact adhesive grabs on touch, so there is no second chance. The tape marks help you align everything first time.
Place a flat book on top and leave it for several hours. Even pressure prevents ridges along the join. Do not sit on the seat before the full curing time.
Work in a well-ventilated space. These adhesives give off strong fumes. Gloves are a good idea too. Look for a product rated for upholstery or vinyl. General-purpose glue turns brittle on surfaces that flex daily. The right choice makes the difference between a week and a year.
8. Replacing Damaged Foam With Spray Adhesive
Sometimes a tear reveals crumbling or collapsed foam. Fixing the cover alone will not last in that case. The cushion underneath needs attention first.
A sheet of upholstery foam costs about ten to fifteen dollars. Choose a thickness that matches the original. High-density foam holds its shape much longer than soft types.
Open the tear enough to see the damage. Cut away the crumbling foam with a sharp knife. Make clean, straight cuts so the new piece fits snugly.
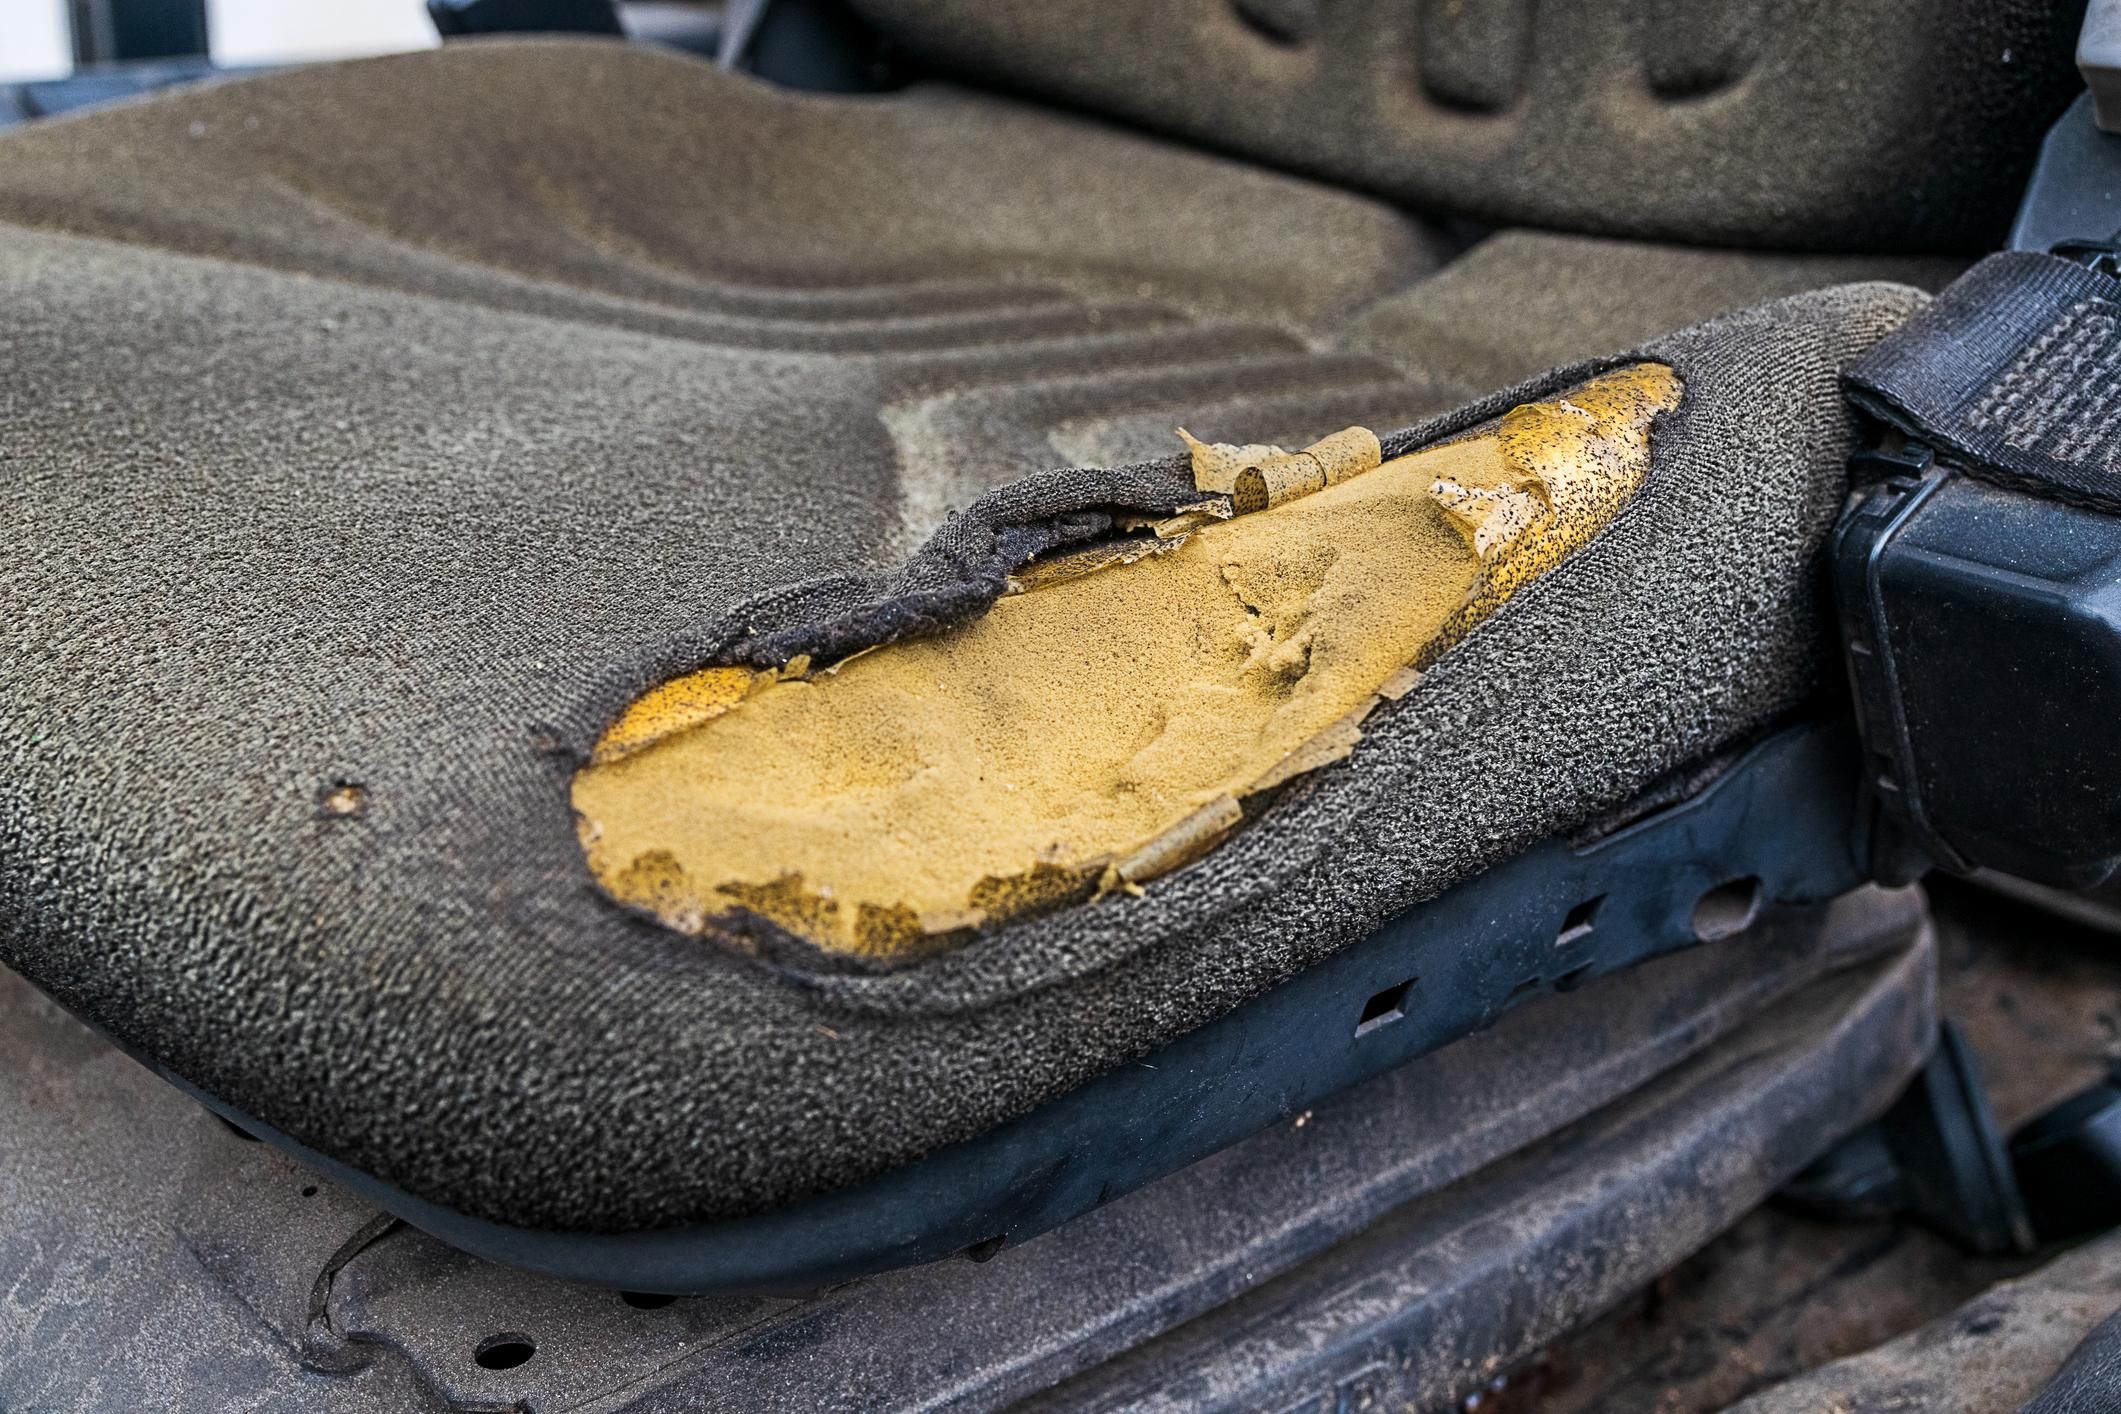
Trace the cut-out shape onto the new foam. Cut the replacement slightly oversized by a few millimeters. A tight fit prevents gaps and dips. Spray adhesive on both foam faces and wait until it turns tacky. Press the pieces together and hold for a minute.
Smooth the seam with your palm. Wrap a thin layer of polyester batting over the top. This softens the join and rounds off the edge. It also stops the new foam from showing through the cover.
Now repair the cover using any earlier method. A patch, glue or stitching all work well. The combination restores both comfort and appearance. Spray adhesive in a ventilated area, away from flames. Protect nearby surfaces with newspaper. Let everything set for several hours before use.
9. Fabric Paint and Dye for Worn Patches
Not every seat problem is a clean split. Some seats have frayed, faded or scuffed areas around the damage. A repair may work but still look lighter than its surroundings.
Flexible fabric paint or vinyl dye costs under ten dollars. It blends the repaired zone back into the seat. Used well, it makes the fix look intentional.
Clean the surface first, as dirt shows through paint. Use a mild cleaner suited to the material. Let the area dry fully. Test the color on a hidden spot before you begin. Dye usually looks darker once it dries. Mix small amounts until you find a close match.
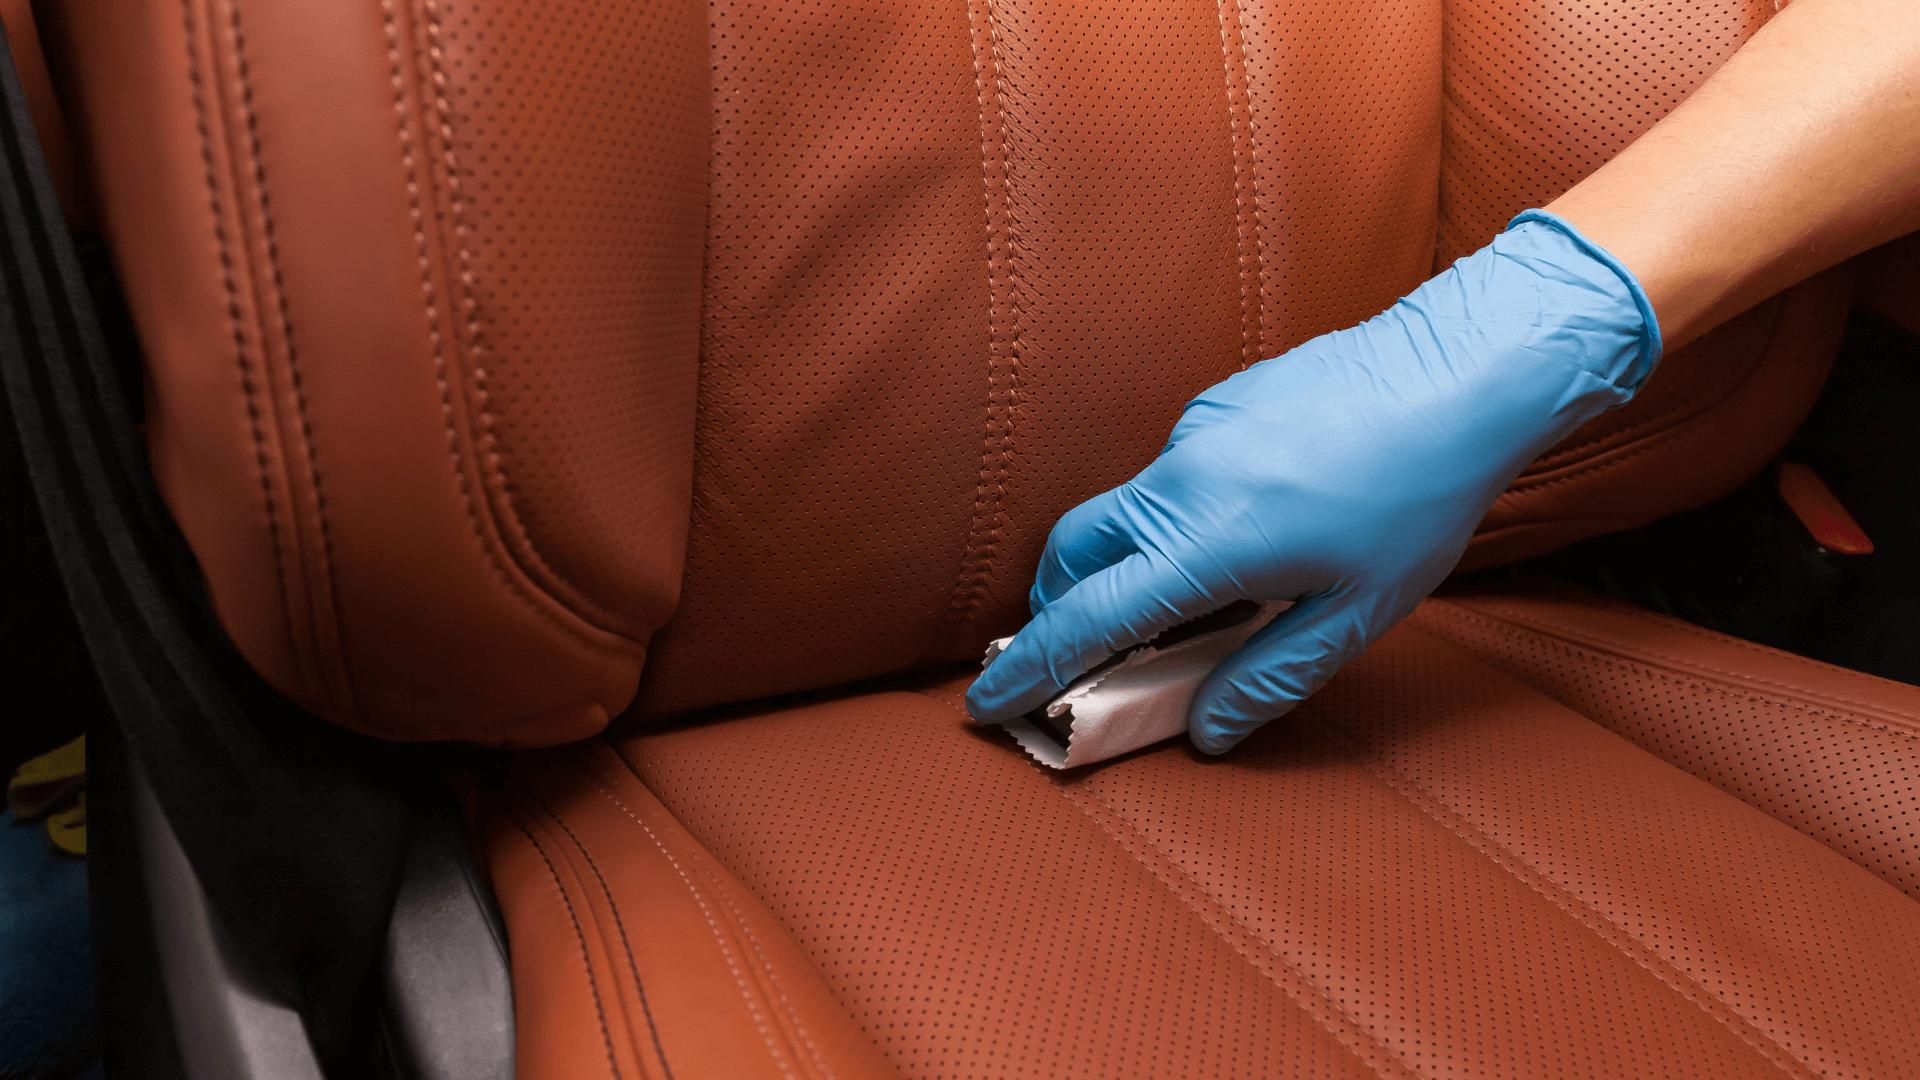
Apply the color with a sponge or soft brush. Dab lightly instead of dragging, which causes streaks. Build the shade up slowly. Let each coat dry before adding the next. Two or three light coats beat one heavy layer. Thick coats can crack when the seat flexes.
Seal the area if the product allows it. A sealer protects the color from rubbing and sweat. It also gives a more even finish. This method pairs well with patches and fillers. It will not close a tear by itself. Think of it as the finishing touch rather than the main repair.
10. Heavy Nylon Repair Tape
Nylon repair tape was designed for tents, jackets and outdoor gear. A roll costs about five to eight dollars. It is tough, flexible and waterproof. The tape sticks to vinyl and smooth fabric without leaving heavy residue. It also handles rain and sun far better than ordinary tape.
That makes it ideal for outdoor furniture. It suits boat cushions, patio chairs, bike saddles and motorcycle seats. These surfaces face weather and constant rubbing. Standard glue often fails there.
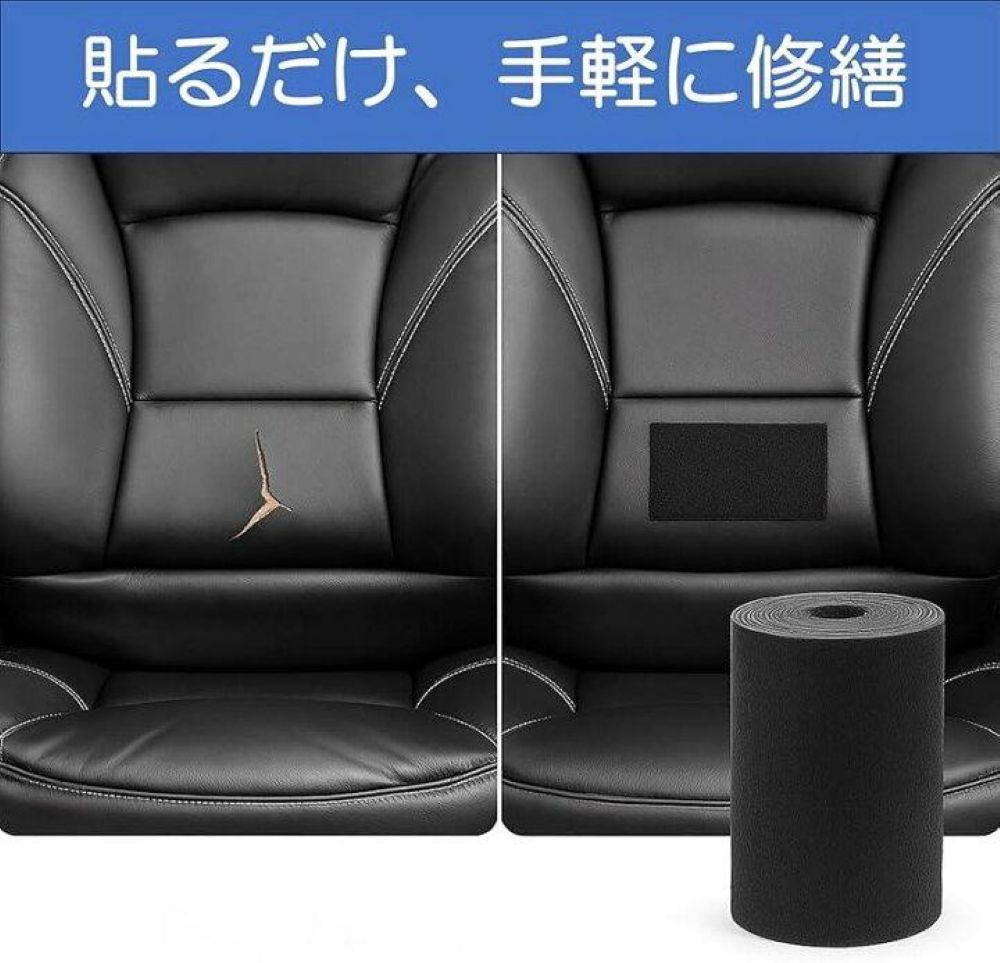
Clean the area with alcohol and let it dry. Moisture and dust weaken the adhesive. Trim any loose threads or flaps. Cut the tape and round the corners. Press it on from one end to the other without wrinkles. Rub firmly to seal every edge.
Choose clear tape when the seat color is unusual. Clear versions show the surface beneath and look neater. Colored tape works best on black or gray seats.
Treat this as a short- to medium-term fix. It buys time before a deeper repair. For a tear on a high-wear spot, plan to follow up. Check the edges now and then. Lifted corners collect dirt, which weakens the bond. Replace the tape if it starts to peel.
11. Stretch Seat Cover or Slipcover
Sometimes the cheapest answer is to hide the damage completely. A fitted cover costs twelve to twenty-five dollars. It also protects the seat from future wear.
Covers work well on dining chairs, office chairs and sofa cushions. Stretch fabric adapts to many shapes. Many designs come in sets for better value.
Measure the seat before you buy. Note the width, depth and height of the cushion. A loose cover slides around and looks sloppy. Do a quick repair underneath first. Even a taped tear stops the foam from spreading. It also prevents sharp edges from snagging the cover.
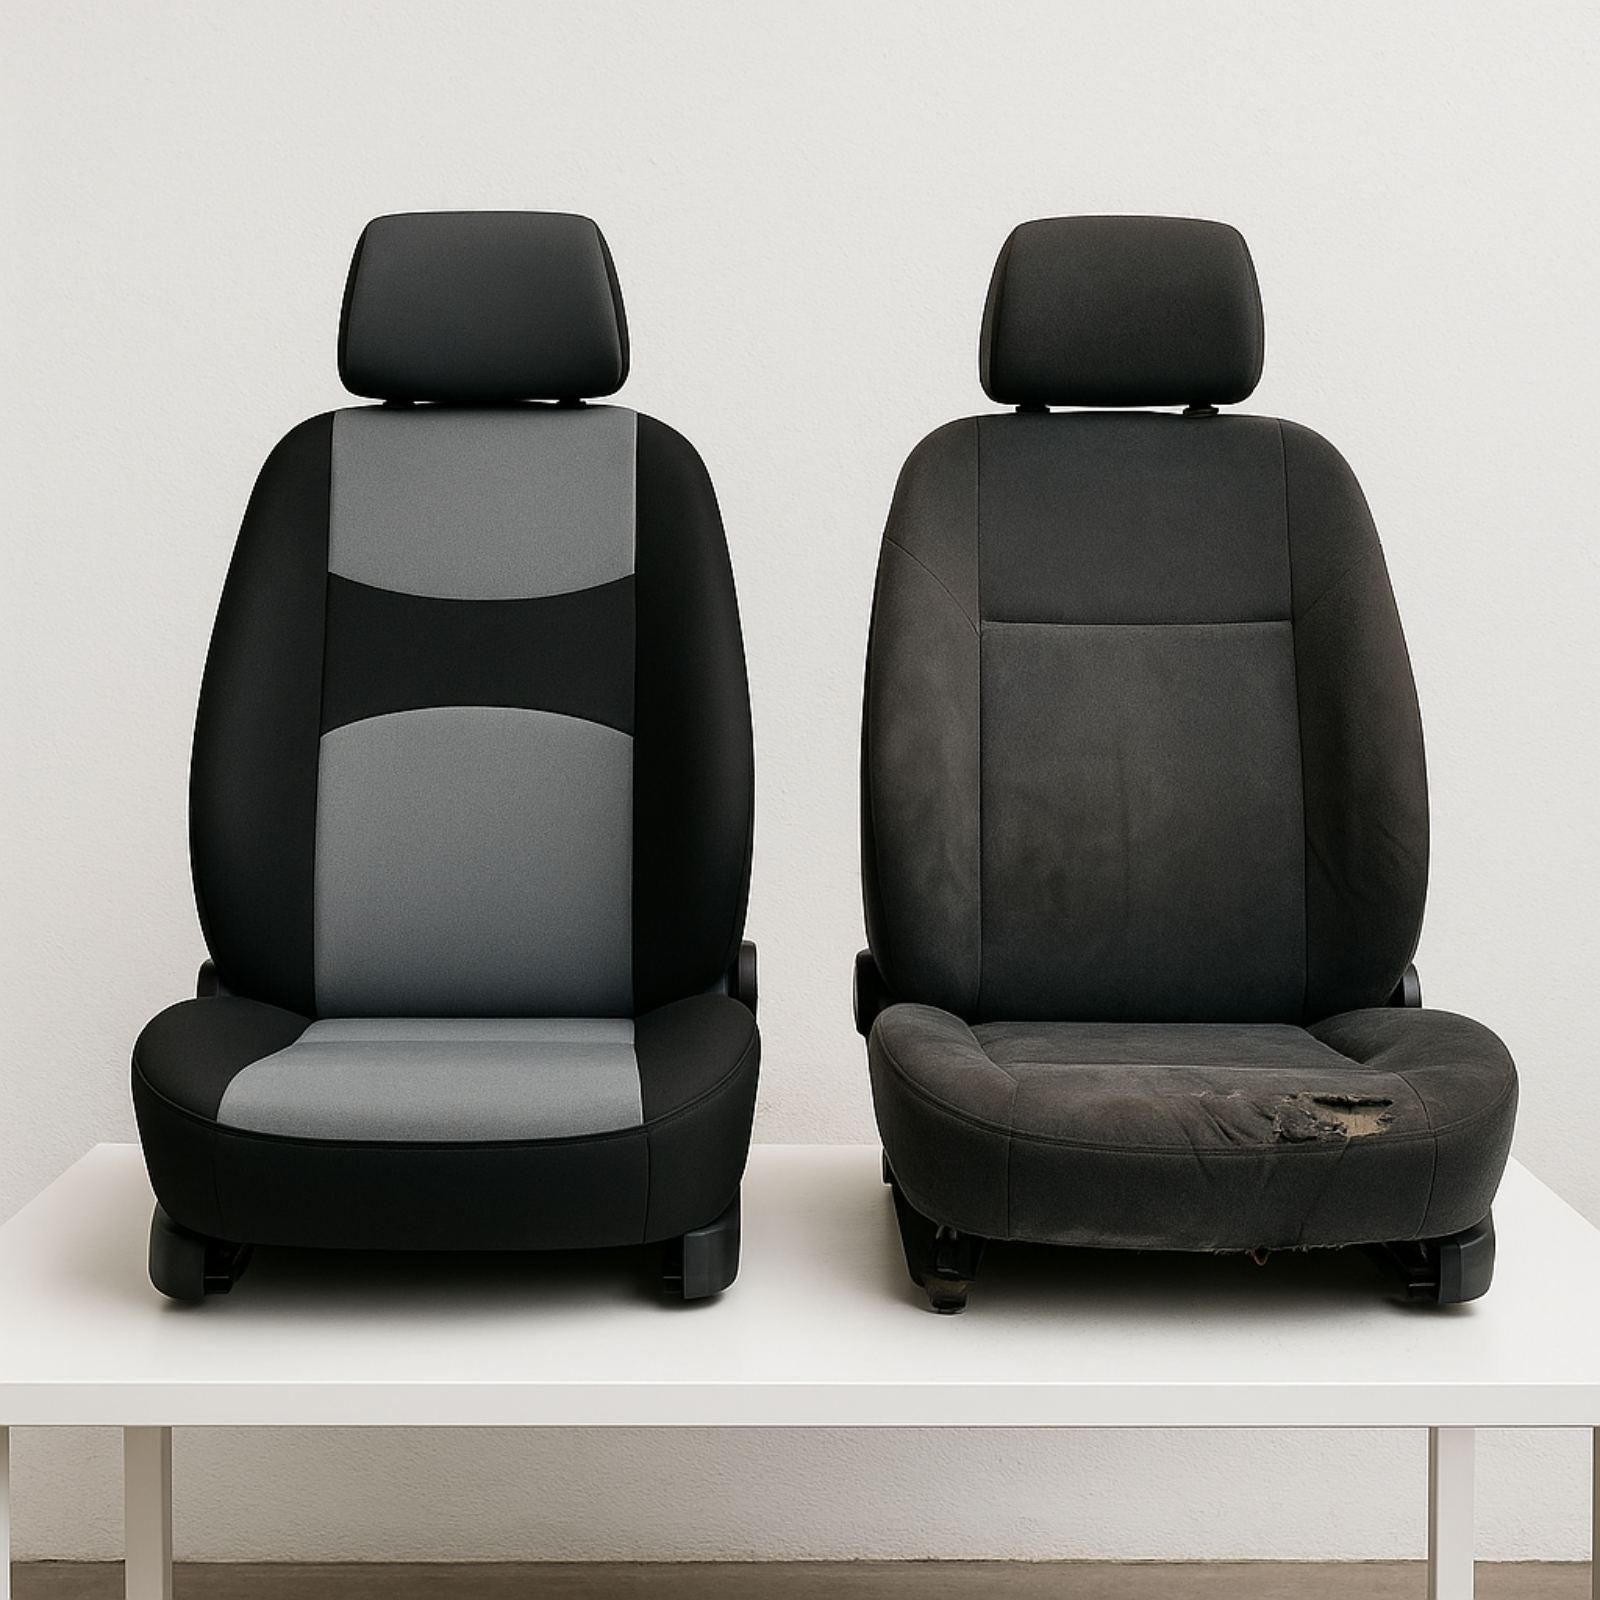
Choose a dark or patterned fabric for better camouflage. Solid light colors show every lump beneath. Texture hides imperfections more easily. Machine-washable covers save money in the long run. Spills and stains simply go in the wash. You can replace a worn cover for a few dollars.
Fit the cover by pulling it down evenly from the center. Tuck the edges under and smooth out wrinkles. Elastic hems keep it snug. This is also the best choice when the damage is large. A cover often looks better than a patchy repair. It is a smart option for rental homes or older furniture.