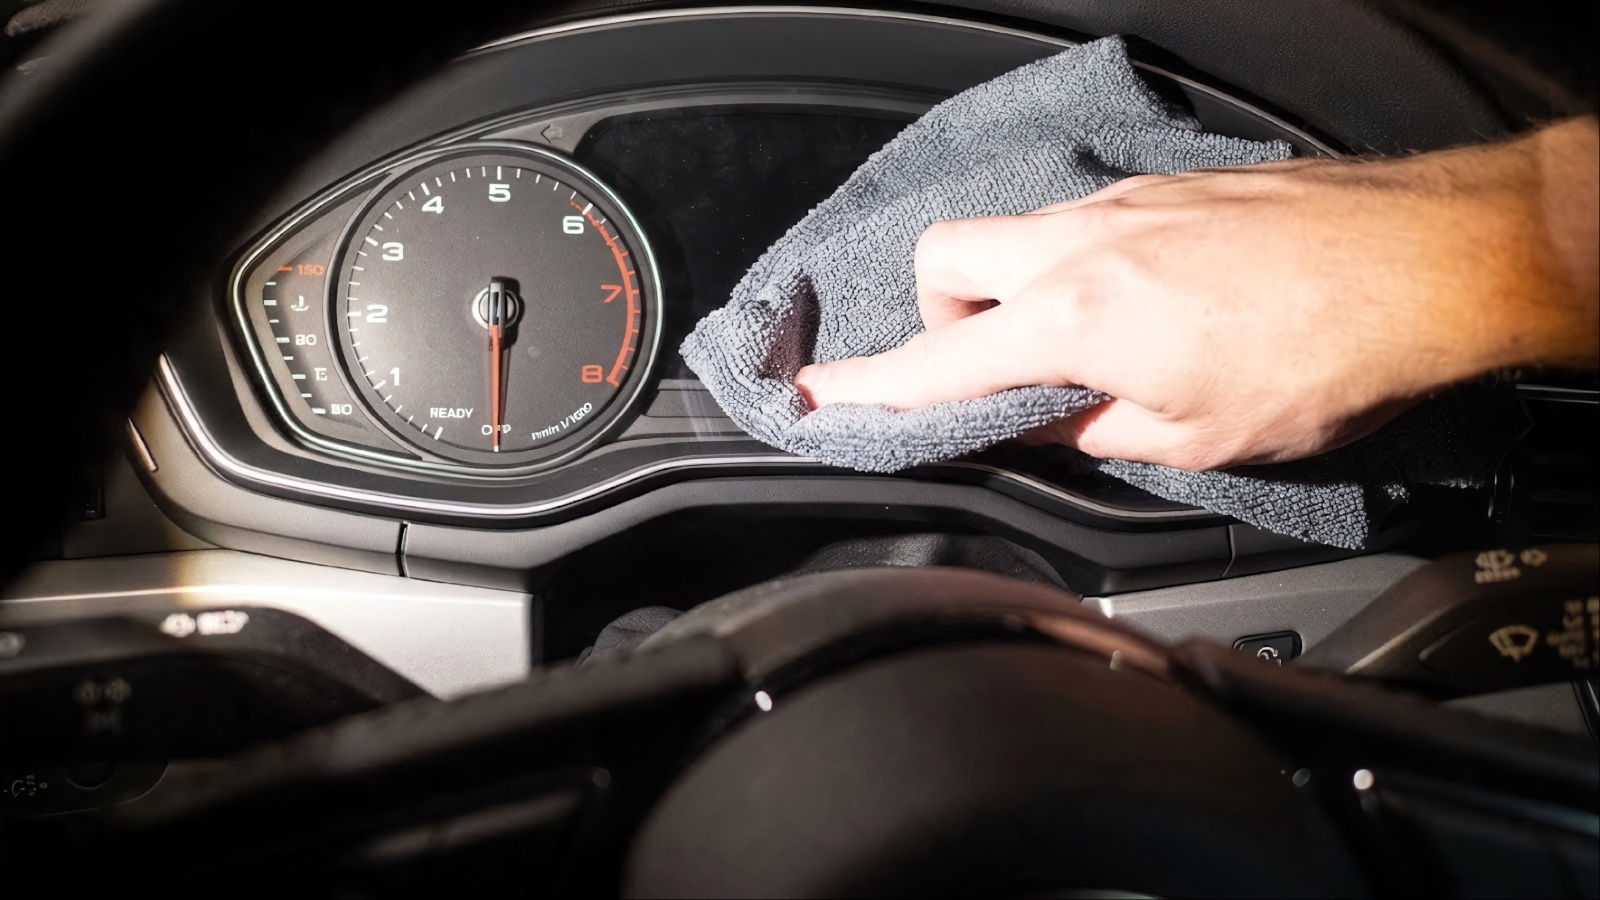
A foggy gauge cluster makes every drive harder. Speed and fuel readings blur behind a milky layer. Night driving makes the glare even worse. Many owners assume the whole cluster needs replacing. That can cost hundreds of dollars at a dealer.
In most cases, the haze is fixable at home. Fog usually comes from three sources. Moisture can seep behind the lens and condense there. Dash plastics slowly release oily vapors that settle on the glass. Sun and age can also oxidize the outer lens.
Each cause needs a slightly different fix. The wrong method can scratch soft plastic. Harsh chemicals can craze a lens for good. That is why technique matters as much as the product. Always test a hidden corner before committing.
This guide covers twelve ways to clear the haze. Every one costs under ten dollars. Most use items already in your kitchen or garage. Start with the gentlest option and work upward. A clear cluster also makes driving safer. Let’s begin.
1. Dry Microfiber Wipe
Start here before anything else. Dust and fingerprints cause more haze than people expect. A clean, dry cloth removes them safely. It takes less than a minute. Many owners skip this step and regret it.
Choose a soft microfiber towel with no tags or seams. Rough fabric leaves fine swirl marks on plastic. Gauge lenses scratch far more easily than glass. Never use paper towels or shop rags. Their fibers are harsher than they look.
Fold the cloth into a pad. Wipe in one direction with very light pressure. Avoid circles, because they make scratches look worse. Lift the cloth often to check your progress. Use fresh sections as each one picks up grime.
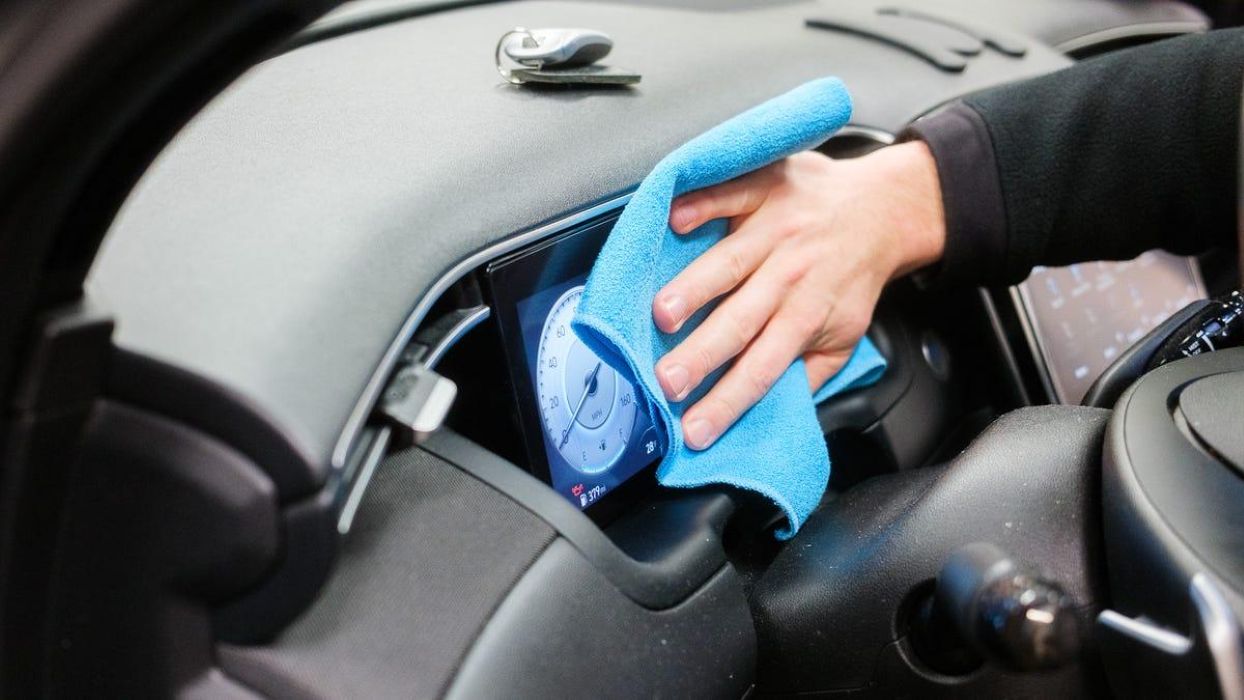
Work in daylight if you can. Shine a phone light across the lens at an angle. This shows whether the haze is on the surface or deeper inside. Surface haze will wipe off. Interior haze will not.
A single clean towel costs about five dollars. It also serves every other method on this list. Wash it without fabric softener, which leaves a waxy residue. Air dry it and store it in a sealed bag. If the lens looks clear after this step, stop there.
2. Distilled Water and Dish Soap
Greasy film is a common culprit. Hands, hair products, and cabin vapors all leave oily residue. Plain water cannot lift that film. Soap breaks it apart in seconds. This is the simplest wet method.
Mix one cup of distilled water with one drop of mild dish soap. Distilled water prevents mineral spots. Tap water can leave a chalky ring on dark lenses. Use a clean cup that has never held other cleaners. Stir gently so the mix does not foam.
Dampen a microfiber cloth with the mix. It should feel barely wet, never dripping. Liquid running into the cluster can short its electronics. Wring the cloth out twice to be safe. Dry fingers are a good sign.
Wipe the lens gently in straight lines. Then follow with a second cloth dampened with plain distilled water. This removes any soap film. Finish with a dry towel. Check the lens again under bright light.
Avoid dish soaps with strong degreasers or bleach. Those additives can dull some plastics. A basic clear soap is the safest choice. This method works well in cars where someone smokes or vapes. Those residues build a sticky film quickly. Expect to repeat the wipe two or three times.
3. Diluted Isopropyl Alcohol
Isopropyl alcohol cuts through stubborn oils. It also evaporates fast, which limits streaking. A bottle costs about three dollars. It is one of the most useful items in a car kit. Handle it with respect, though.
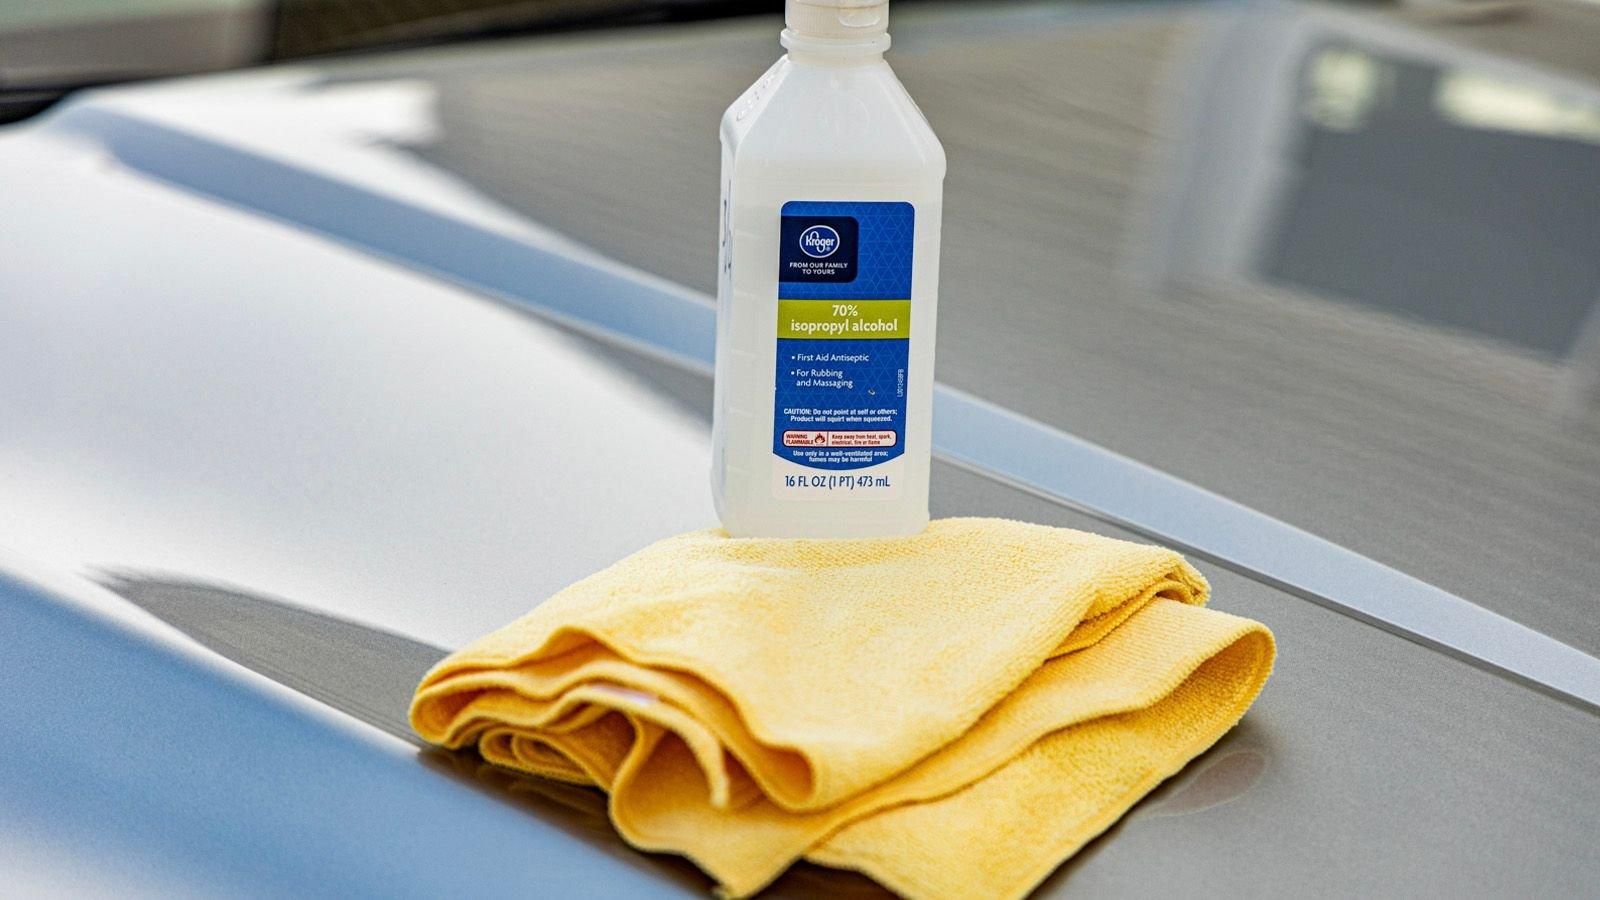
Never use it at full strength on a gauge lens. Some clusters use acrylic, which can cloud or craze under strong solvents. Dilute 70 percent alcohol with equal parts distilled water. That softens its bite without losing cleaning power. Mix only what you need.
Apply it to a cloth, not to the lens. Test a hidden corner first. Wait a minute and check for dulling or softness. A lens that feels tacky after testing should be left alone. Choose another method instead.
If the test spot looks fine, wipe the lens in light strokes. Do not let the liquid sit. Dry it right away with a clean towel. Keep the alcohol away from printed gauge faces and rubber seals. It can strip ink and dry out gaskets.
This method shines on interior haze from dash outgassing. The oily vapor dissolves easily. If the cloth comes away with a yellow tint, that is the film leaving. Repeat until the cloth stays clean. Ventilate the car while you work.
4. Non-Gel White Toothpaste
Toothpaste is a classic budget polish. Its fine grit smooths light surface haze. It works best on small scuffs and mild cloudiness. Detailers have used this trick for decades. It costs about two dollars.
Pick plain white paste. Gels, whitening formulas, and charcoal blends can contain harsher abrasives. Plain paste is the gentlest option. Check that the tube does not list baking soda as a main ingredient. That is far too coarse for plastic.
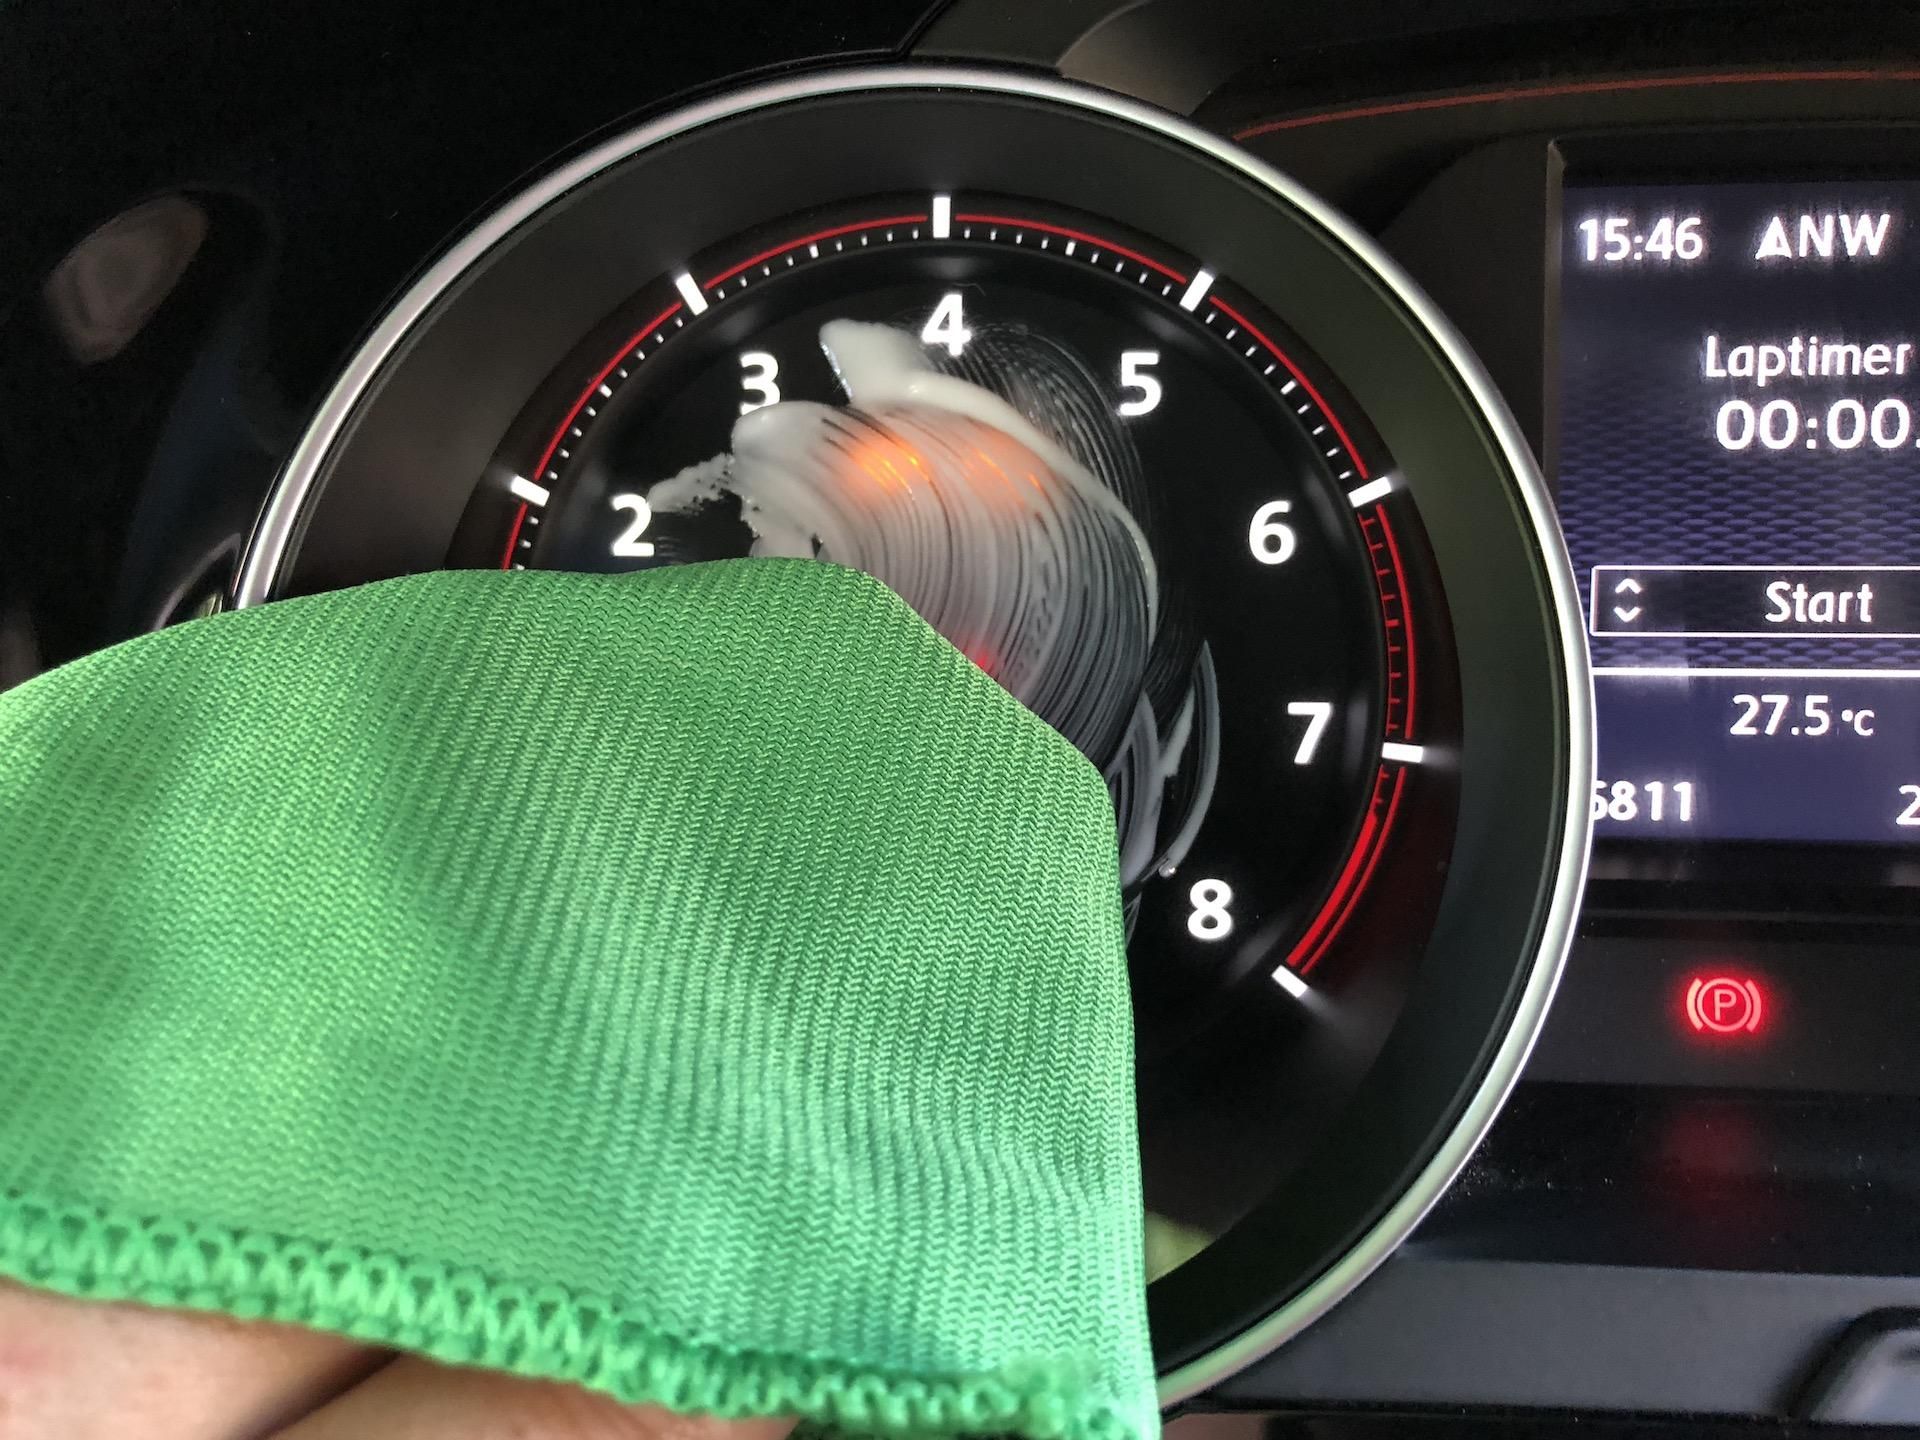
Place a pea-sized dab on a damp microfiber cloth. Rub it over the lens in small, light circles. Work one small area at a time. Spend about a minute per section. Do not press hard.
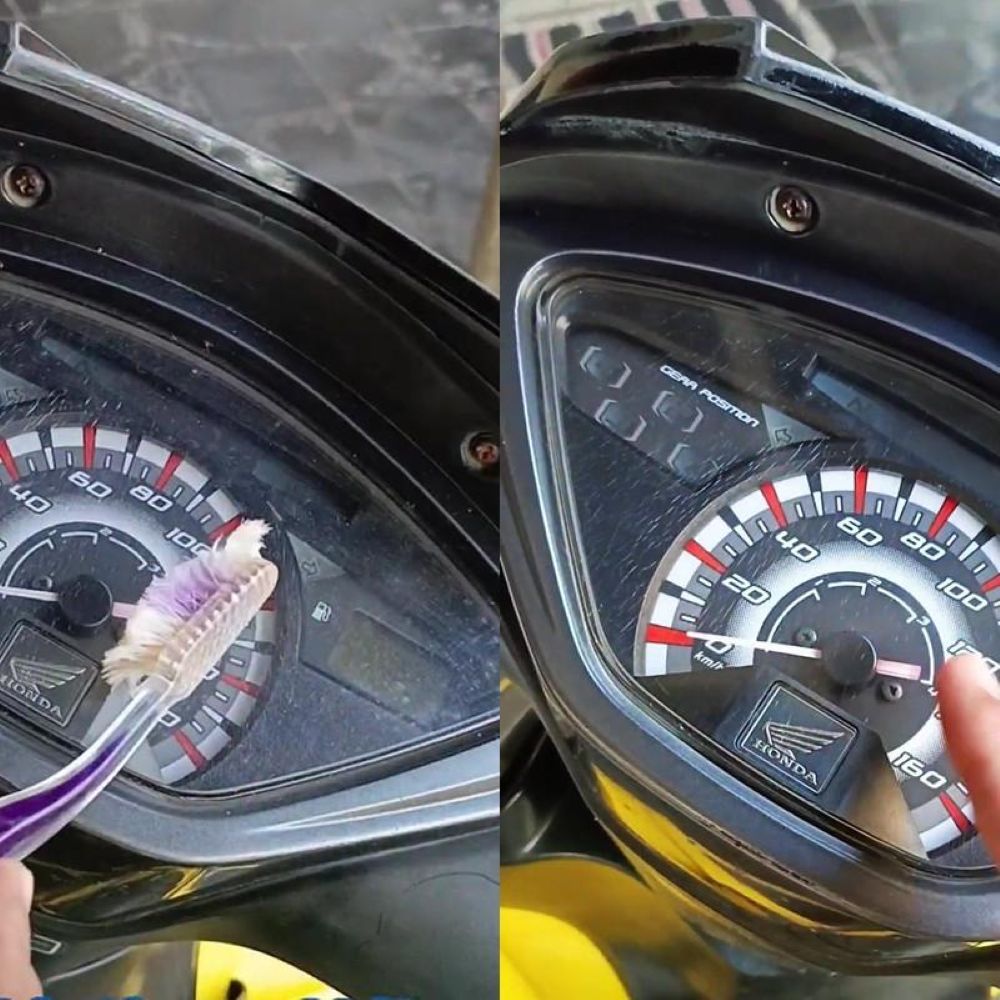
Let the paste do the cutting instead of your hand. Pressure creates heat, and heat softens plastic. Keep the cloth moving at all times. Rest between sections.
Wipe the residue away with a damp cloth. Then dry the lens and inspect it under bright light. Repeat once if the haze remains. Stop if you see new fine scratches. That means the paste is too coarse for your lens. Move to a proper plastic polish instead.
5. Plastic Polish for Oxidized Lenses
Yellowed or chalky lenses need real polishing. Sun damage breaks down the outer plastic layer. Cleaning alone cannot undo that. You must remove a hair-thin layer of damaged plastic. A good polish does exactly that.
A small tube of plastic polish costs around eight dollars. It uses very fine abrasives made for acrylic and polycarbonate. This is the same type of product used on headlights. It cuts slowly and predictably. That makes it forgiving for beginners.
Mask the dashboard trim with painter’s tape first. Polish can leave white residue in seams and vents. Tape saves a lot of cleanup. Remove it carefully when you finish. Pull it away from the lens, not toward it.
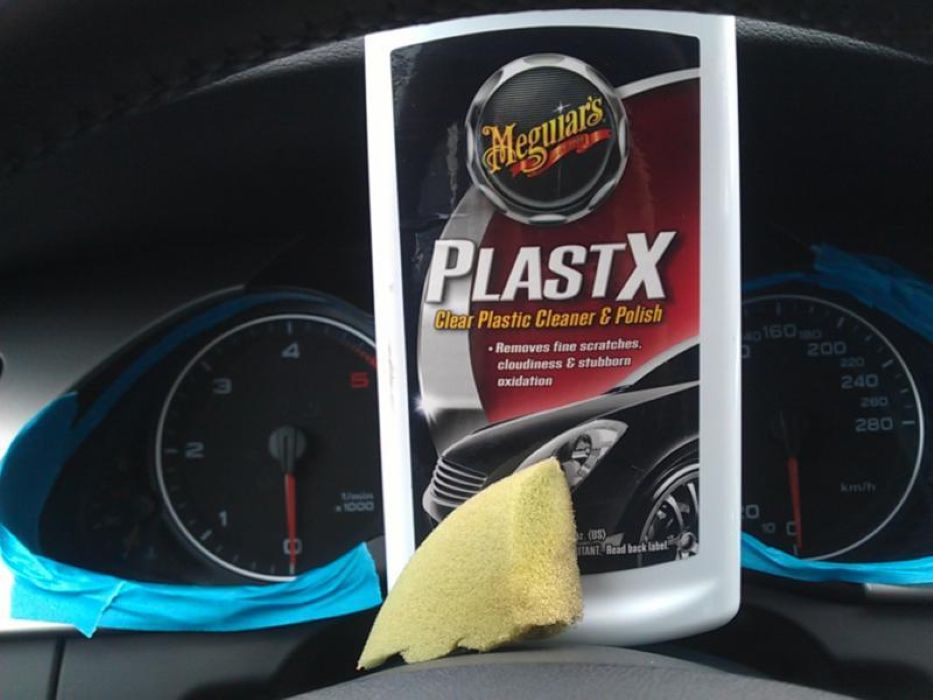
Apply a small amount to a clean cloth. Rub it across the lens with steady, light pressure. Work in overlapping strokes. Buff off the residue with a fresh, dry cloth. The lens should look clearer and glossier.
Heavy oxidation may need two rounds. Wait a few minutes between them. Always finish with a protective layer. Polished plastic has lost its outer coating. Without protection, the haze returns within months.
6. Compressed Air and a Soft Brush
Dust hides in the tiny gaps around the lens. It also lands on the inside edges. A soft brush and canned air remove it without touching the surface. This is a dry, low-risk step. It prepares the lens for every wet method.
Canned air costs about six dollars. A soft makeup brush costs a dollar or two. Together they handle what a cloth cannot reach. Choose a brush with very fine bristles. Stiff bristles can scratch.
Hold the can upright and spray in short bursts. Keep it six inches from the lens. Tilting the can can spit freezing liquid onto the plastic. That liquid can crack a warm lens or leave spots. Short bursts avoid the problem.
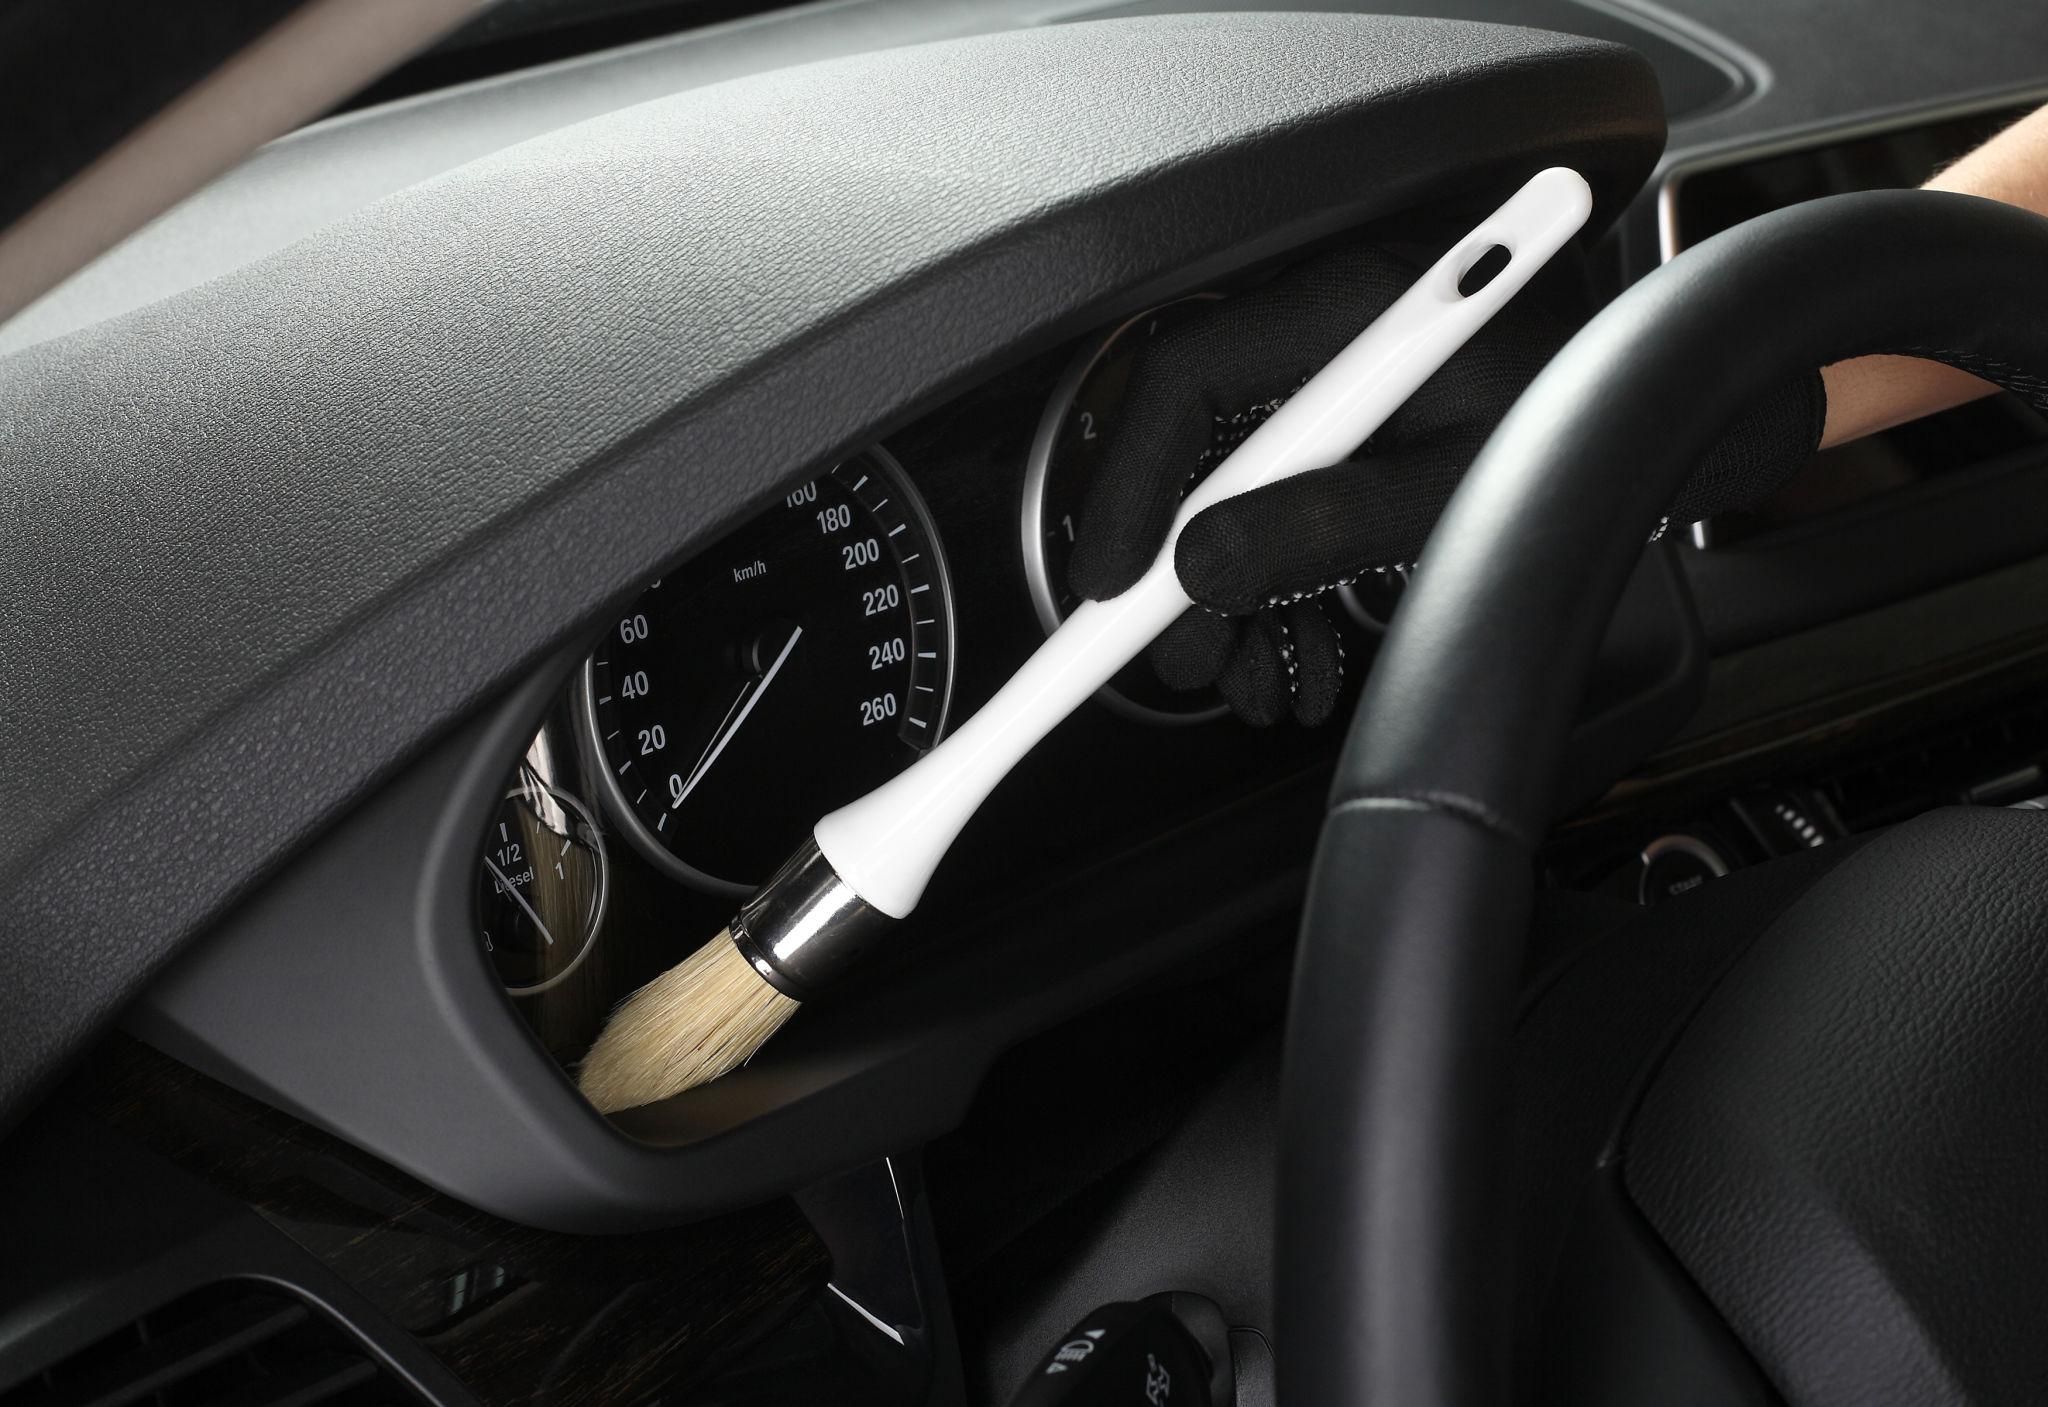
Sweep the brush along the bezel edges. Loosen dust before blowing it away. This keeps particles from dragging across the lens later. Work from the top down. Gravity then helps you.
Do this before wet cleaning every time. Trapped grit turns into sandpaper under a damp cloth. A clean surface is a safer surface. Check the air vents near the cluster as well. Dust blown from them settles on the lens quickly. Clear them to slow the haze from coming back.
7. Silica Gel Desiccant Packets
Moisture trapped inside the cluster causes true internal fog. Wiping the outside will never fix it. You need to pull the humidity out. Silica gel does this quietly and cheaply. It is a patient solution.
Silica gel packets absorb water vapor from the air. A pack of twenty costs about seven dollars. They are safe, dry, and reusable. You may already have some from shoe boxes or electronics. Check those first.
Place several packets on the dash near the cluster. Close the doors and windows. Leave them overnight in a dry spot, ideally a garage. Check the lens in the morning. Fog often lifts by a visible amount.
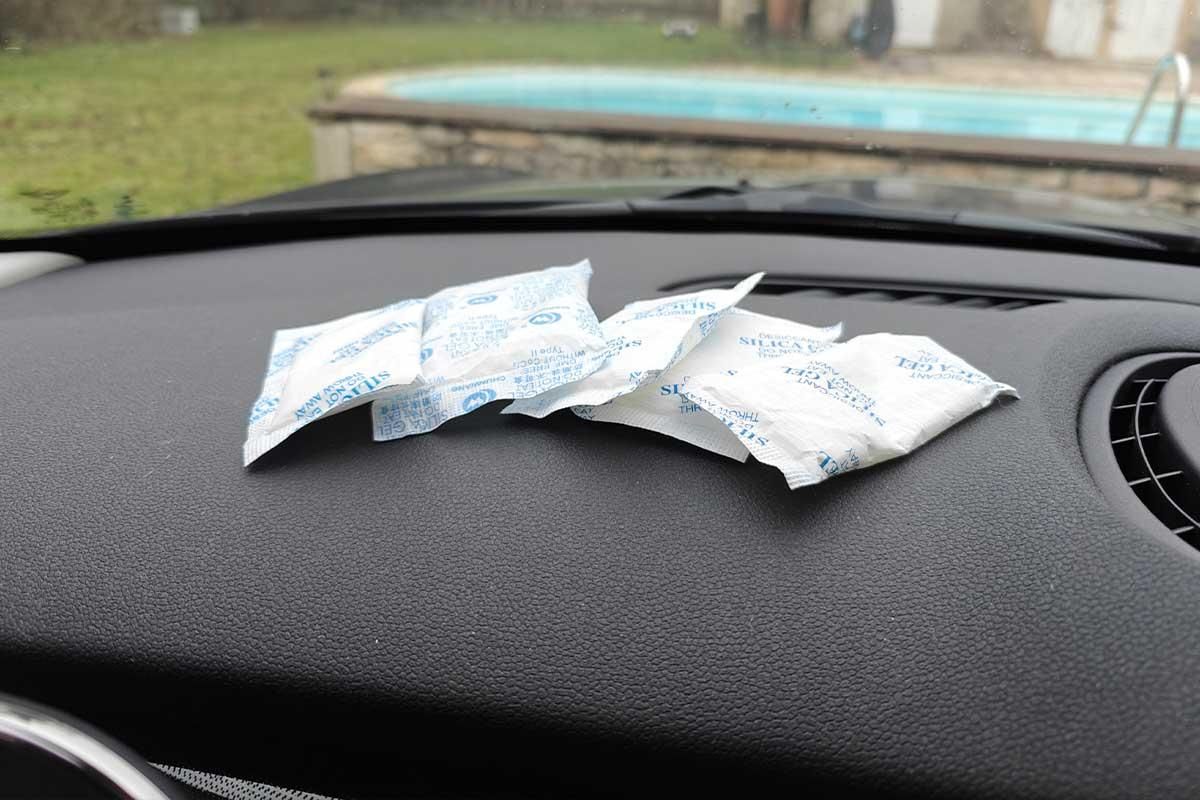
Large moisture problems may need packets placed behind the cluster. That requires removing the trim, which is a bigger job. Do it only if outside placement fails. Keep packets away from wiring and moving parts. Secure them so they cannot shift.
Recharge used packets in a low oven at about 250 degrees Fahrenheit. Heat them for an hour or two. Let them cool before reuse. If fog returns fast, look for a leak. Bad windshield seals and clogged drains are common causes. Drying the cabin without fixing the leak only delays the problem.
8. Warm Air and Defrost Drying
Mild condensation inside a cluster often clears with warmth. Your car’s own heater can do the job. It costs nothing. This is the best first move after a rainy week. It also helps after a car wash.
Park somewhere dry and shaded. Turn the heat to a medium setting. Direct the airflow toward the dash and windshield. Keep the fan at a gentle speed. Strong blasts add little.
Run the air conditioning at the same time. The system pulls moisture out of the cabin air. Dry warm air then draws moisture from behind the lens. This is the same trick used to clear a fogged windshield. It works on gauges for the same reason.
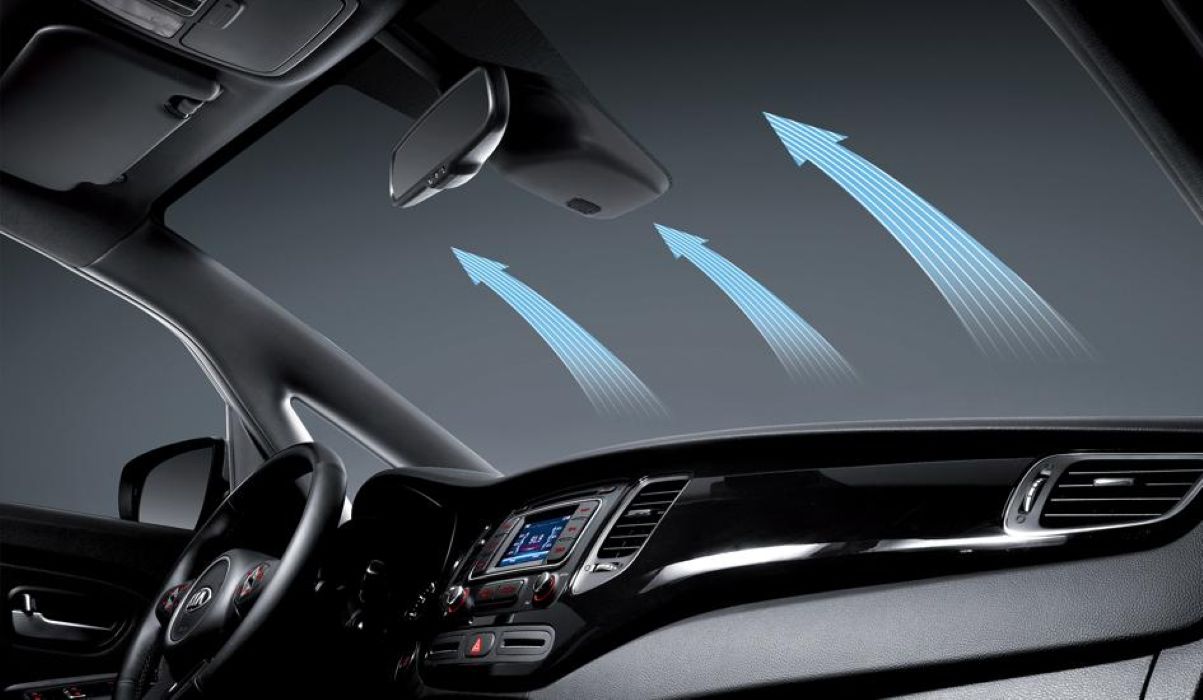
Give it ten to twenty minutes. Check the cluster every few minutes. Fog should thin gradually as the cabin dries. If nothing changes after thirty minutes, the moisture is trapped. Try the desiccant method instead.
A hair dryer on its lowest, coolest setting can help too. Hold it a foot away and keep it moving. Heat concentrated in one spot can warp the plastic. Never use a heat gun. It can melt the lens and damage circuit boards. Gentle and slow always wins.
9. Cotton Swabs for Corners and Edges
Haze often hides along the edges of the lens. A cloth cannot reach into tight corners. Cotton swabs can. They give you control that no cloth offers. Fine detail work needs fine tools.
A box of swabs costs about two dollars. Choose the firm-tipped type, since loose cotton leaves fibers behind. Dampen them lightly with distilled water. A wet swab can drip into the cluster. Squeeze the tip before use.
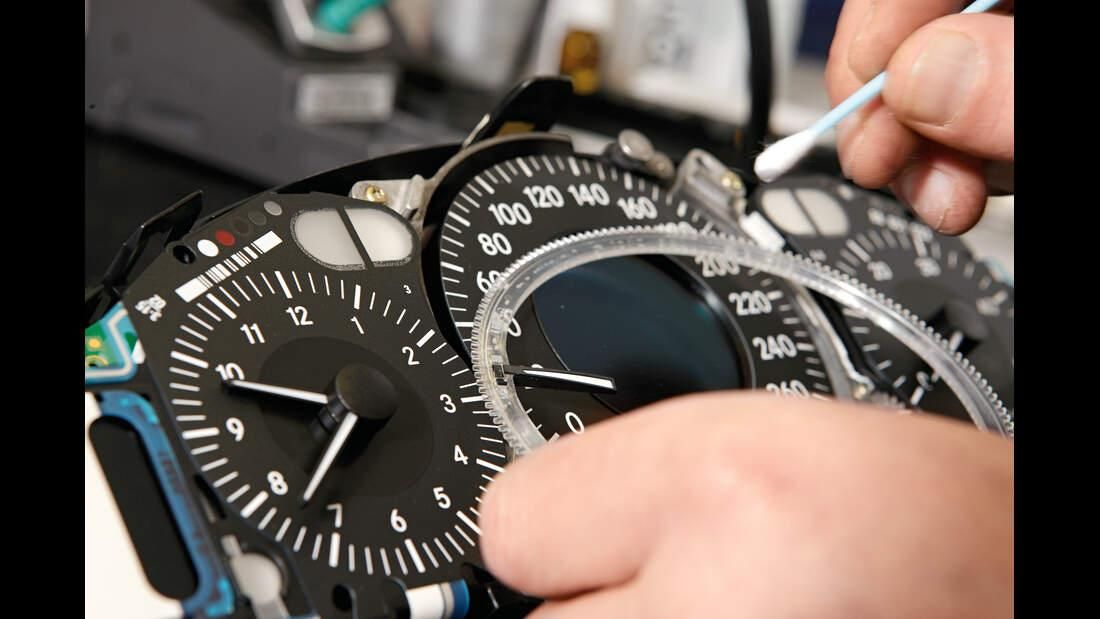
Trace the lens border in small, controlled lines. Dirt collects where the lens meets the bezel. Removing it sharpens the whole display. Work slowly and watch the tip. A fast hand misses spots.
Swap swabs as soon as they turn gray. A dirty swab only moves grime around. Fresh tips keep the work clean. Keep a small pile ready before you start. You will use more than you expect.
Use a dry swab to pick up leftover moisture. Wet edges can wick liquid into the cluster. Dry them right away. This step pairs well with the soap and alcohol methods. Use swabs for the details and the cloth for the open areas. Together they leave a much cleaner finish.
10. Cleaning the Inside of the Lens
Some haze sits on the inner side of the lens. Wiping the outside cannot touch it. You must open the cluster. This is the most involved method on the list. It also gives the biggest improvement.
A basic plastic trim removal kit costs around eight dollars. It prevents scratches on the dash. Metal screwdrivers often leave marks. Look up your vehicle’s cluster removal steps first. Each model is different.
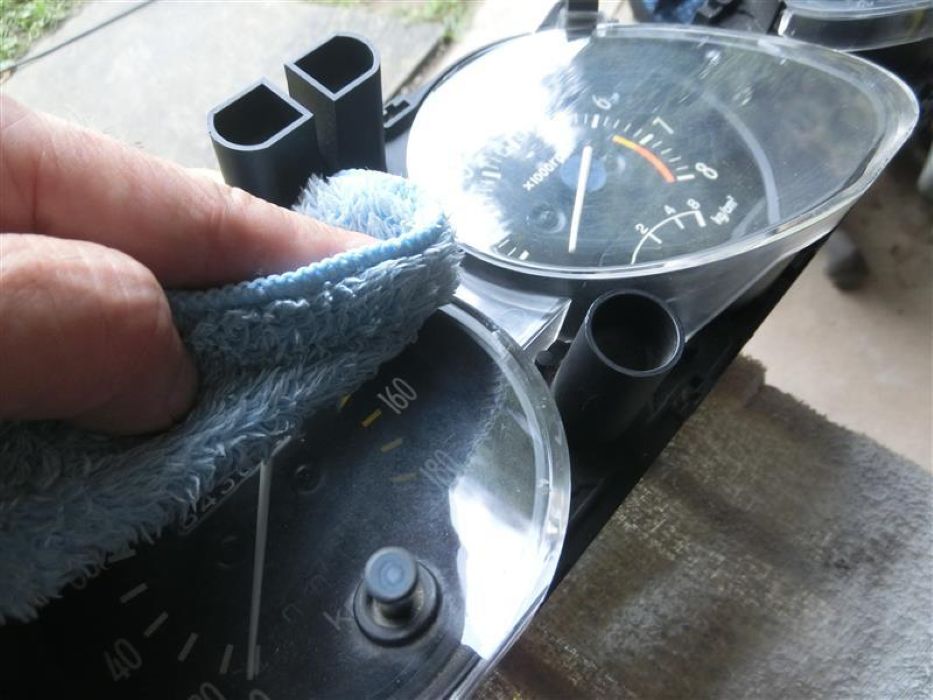
Disconnect the battery before you begin. Photograph each connector before unplugging it. Label any screws you remove. Store them in a small tray. Lost screws cause rattles later.
Once the lens is free, clean it away from the electronics. Use a cloth lightly dampened with diluted alcohol. Wipe only the clear plastic. Keep liquid away from the circuit board and needles. Let everything dry fully before reassembly.
Rushing this step risks a short. Handle the needles with great care. They bend or pop off with little force. Work in a clean, well-lit space. Dust sealed inside will cloud the lens again. If you feel unsure, stop and ask a professional. This method rewards careful hands.
11. Anti-Fog Treatment for Condensation
Some clusters fog only on cold mornings. That points to condensation. An anti-fog treatment can stop it from forming. It is a quick fix with lasting results. It suits drivers in damp climates.
Anti-fog sprays and wipes cost around five dollars. They leave a thin film that spreads water into a clear sheet. Beads of moisture then cannot scatter light. This is the same science used in goggles and mirrors. It works well on clean plastic.
Apply the product to a cloth first. Wipe a very thin layer onto the outer lens. Buff gently until it looks clear. Clean the lens thoroughly beforehand. Treatment over dirt traps the dirt.
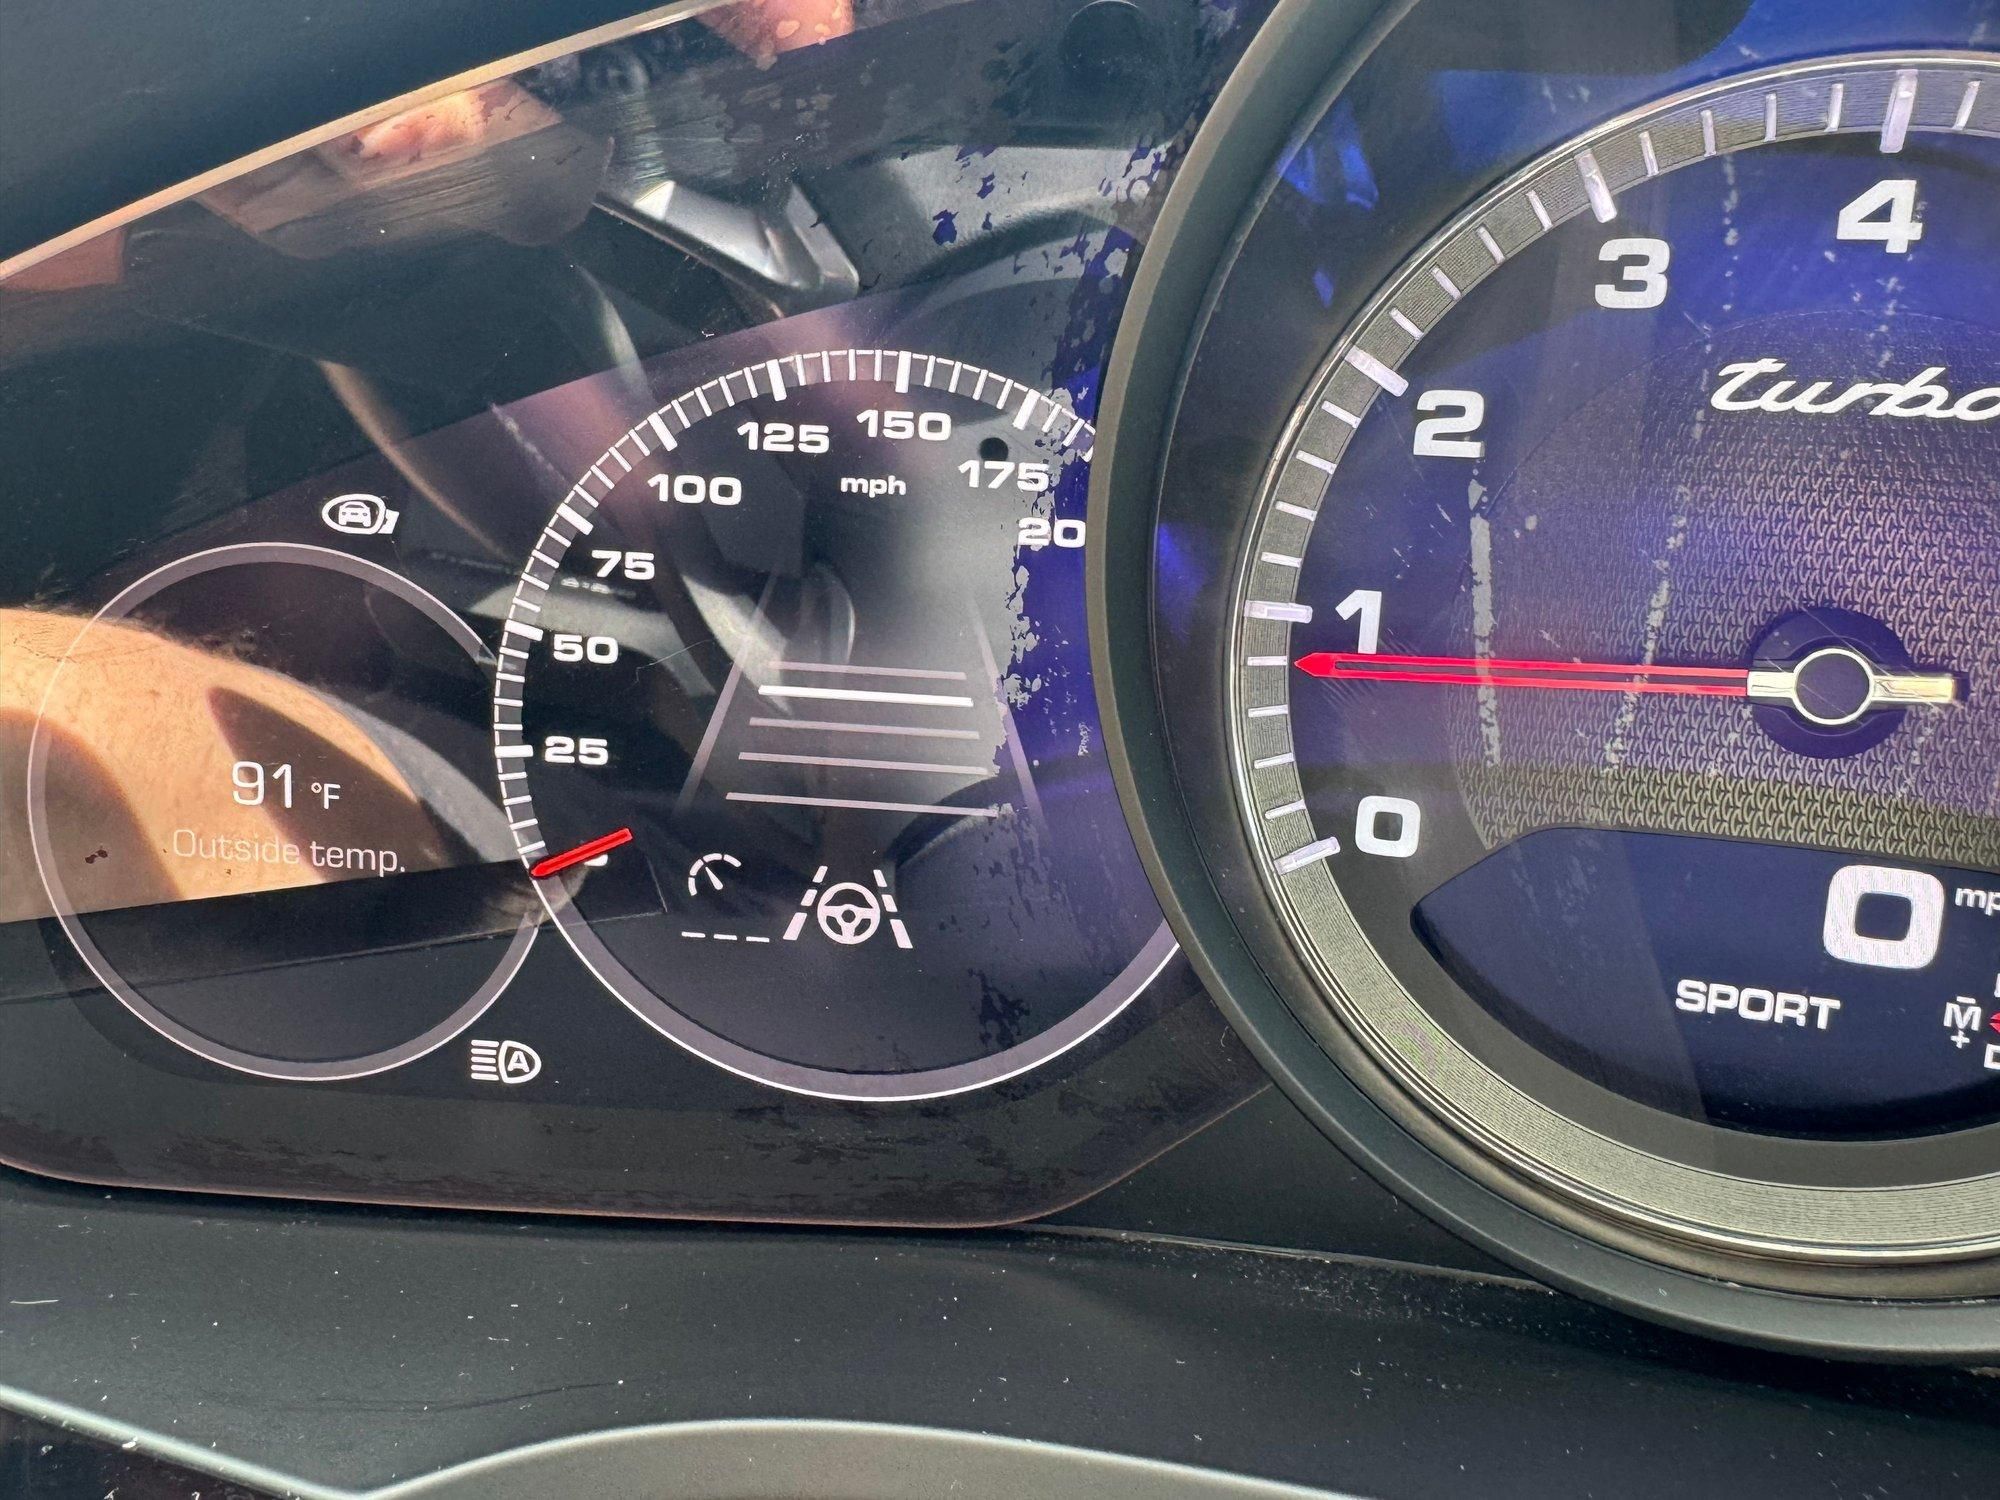
Use only products labeled safe for plastics. Some formulas contain solvents that cloud acrylic. Read the label before you buy. Test a hidden corner as with any chemical. A small test saves a ruined lens.
This treatment cannot reach inside the cluster. It only helps fog on the outer face. For internal moisture, use drying methods instead. Reapply every few weeks as the film wears off. Do not overapply, because thick coats cause streaks. A little goes a long way.
12. UV Protectant and Sun Shield
Cleaning fixes today’s haze. Protection stops tomorrow’s. This step keeps your gauges clear for years. It is the habit that separates lasting results from temporary ones. Think of it as insurance.
Ultraviolet light is the main enemy of dash plastics. It breaks them down and speeds up outgassing. A windshield sunshade blocks much of that damage. Quality shades cost about ten dollars. Use one every time you park outside.
The dash temperature drops noticeably with a shade in place. Cooler plastic releases fewer oily vapors. That means less film on the inside of the lens. A reflective shade works best. Fit it snugly against the glass.
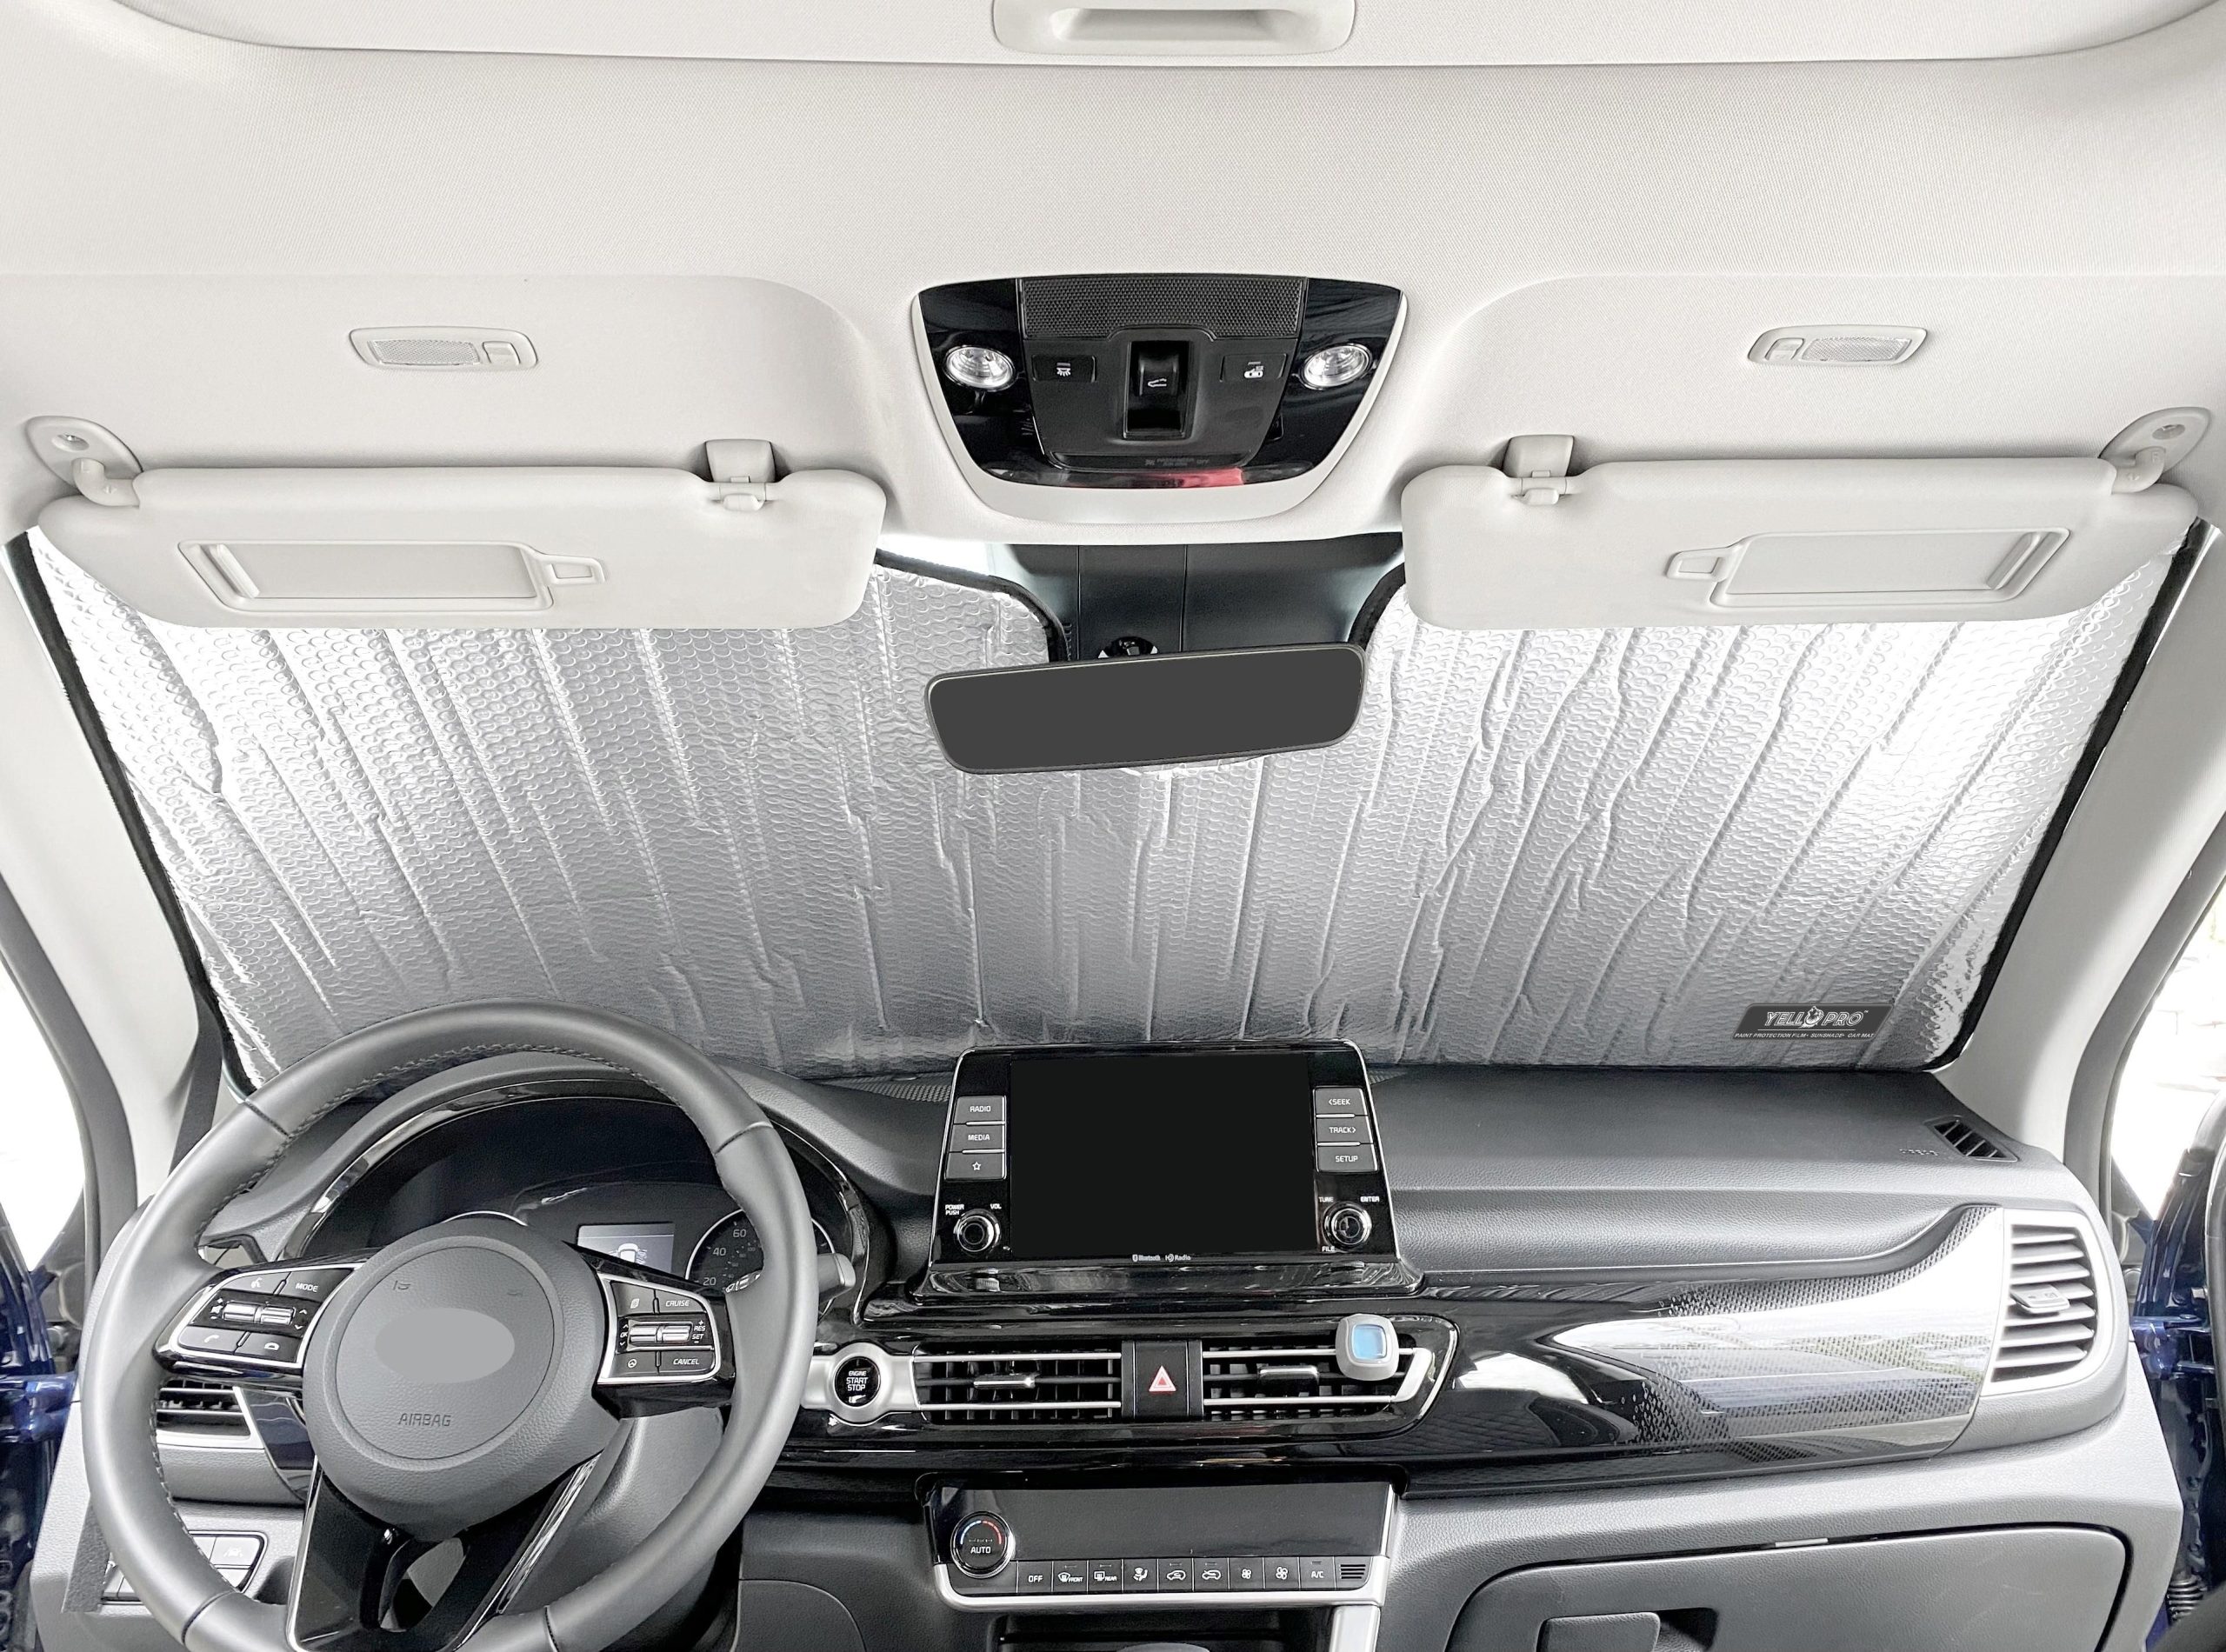
Apply a plastic-safe UV protectant to the lens after cleaning. Choose a non-greasy, matte formula. Greasy dressings attract dust and create new film. Keep protectant off the gauge face and any glossy trim you want to keep clear. Wipe on a light coat and buff it dry.
Park in shade or a garage when you can. Crack the windows slightly on hot days if it is safe. Tinted windshield strips can also help. Less heat means less vapor, and clearer gauges for longer. Repeat the protectant every month or two.