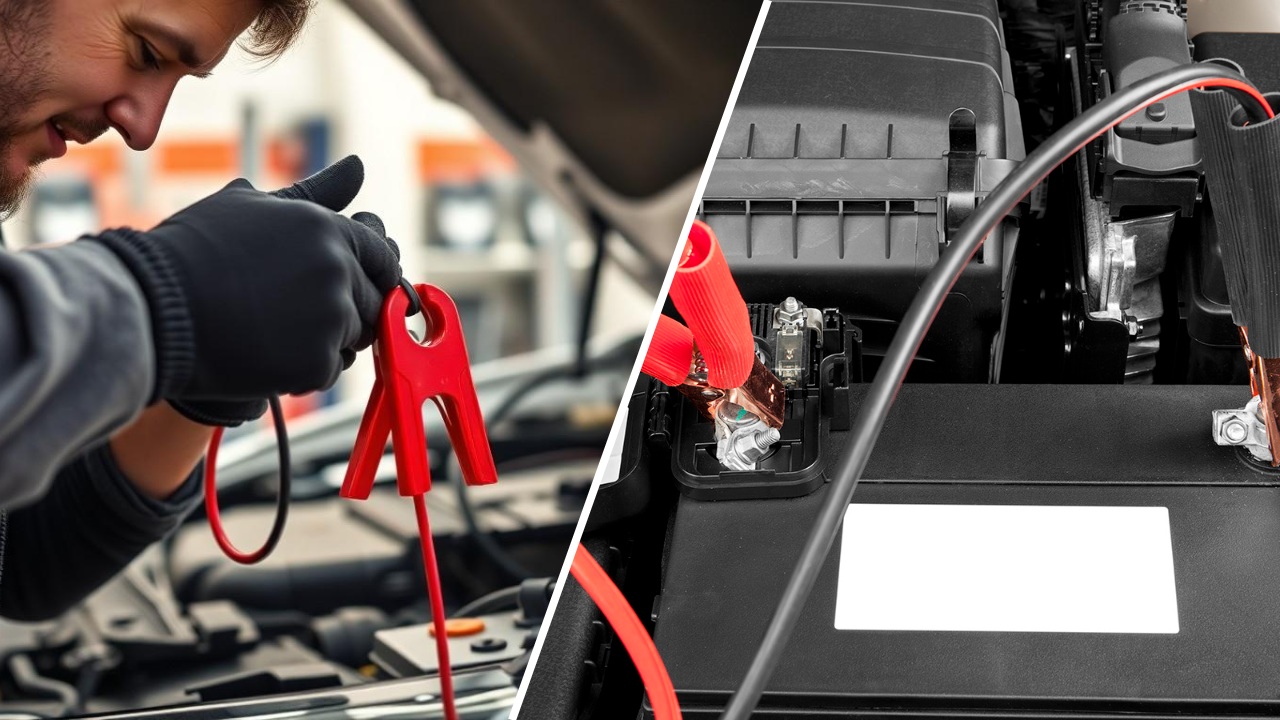
A dead battery is one of the most common reasons drivers need roadside assistance, but jump-starting a modern vehicle is no longer as simple as connecting two sets of cables.
Today’s cars contain dozens of electronic control modules, advanced sensors, infotainment systems, and sophisticated charging systems that are far more sensitive to voltage fluctuations than vehicles built decades ago.
A simple mistake during the jump-start process can damage expensive electrical components or create dangerous sparks around the battery.
Understanding the most common errors helps protect your vehicle, prevents unnecessary repair bills, and ensures the battery is recharged safely using procedures recommended by automakers and battery manufacturers.
Also Read: 10 Vehicles With the Longest Powertrain Warranties
1. Connecting the Jumper Cables in the Wrong Order
The most common jump-start mistake is also one of the most dangerous. Reversing the polarity or attaching the cables in the wrong sequence can instantly create electrical problems that range from blown fuses to damaged control modules.
Modern vehicles contain numerous computers that rely on stable voltage. Even a brief reverse-polarity connection can overwhelm protective circuits and permanently damage expensive electronics.
The correct procedure begins by connecting the red positive cable to the positive terminal of the discharged battery, followed by the positive terminal of the donor battery. The black negative cable should then be connected to the donor battery’s negative terminal. The final connection should not be made directly to the dead battery’s negative post.
Instead, manufacturers generally recommend attaching the last clamp to a clean, unpainted metal grounding point on the disabled vehicle’s engine block or chassis. This reduces the chance of sparks occurring near the battery, where hydrogen gas may be present.
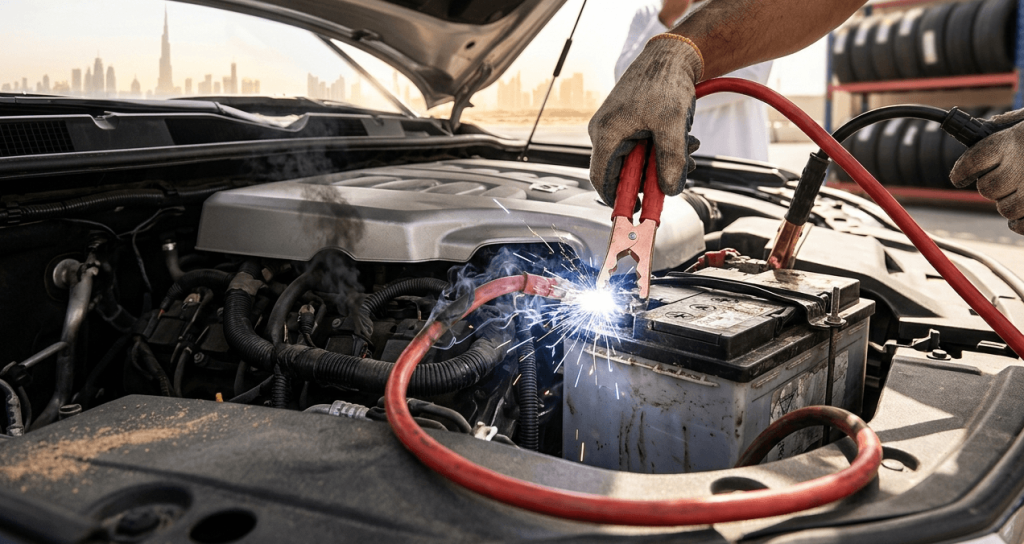
Accidentally reversing positive and negative cables can create immediate consequences. High current may flow in the wrong direction through sensitive electronics, potentially damaging the alternator, battery management system, engine control module, infotainment system, or charging circuit.
In severe cases, jumper cables can overheat within seconds, producing enough heat to melt insulation or damage battery terminals.
Many newer vehicles include battery monitoring sensors attached to the negative terminal. Improper cable placement can interfere with these sensors or bypass their intended operation.
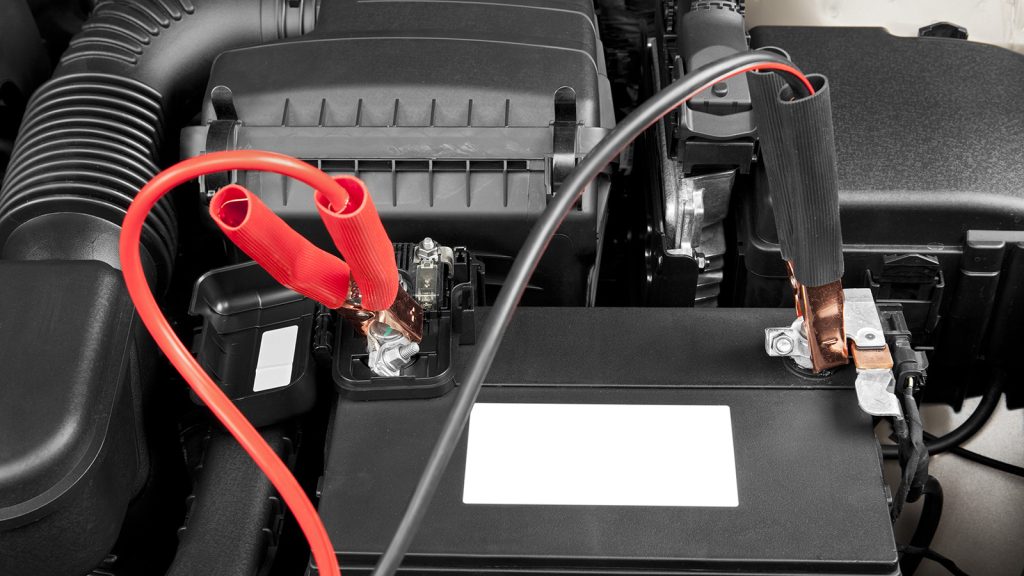
Checking terminal markings before making each connection only takes a few extra seconds but can prevent repairs costing hundreds or even thousands of dollars.
Following the manufacturer’s recommended connection order is one of the simplest ways to protect modern vehicle electronics during a jump-start while also reducing personal safety risks.
2. Trying to Jump-Start a Vehicle With the Wrong Battery Voltage
Not every automotive battery operates at the same voltage, and assuming they do can create serious electrical problems. Nearly every passenger vehicle sold in the United States uses a 12-volt electrical system, but larger commercial trucks, heavy-duty equipment, and some military vehicles operate on 24-volt systems.
Attempting to jump-start a 12-volt passenger vehicle using a 24-volt source can expose sensitive electronics to double their intended voltage, creating damage almost instantly.
Modern vehicles contain dozens of electronic control units connected through high-speed communication networks. Modules controlling the engine, transmission, airbags, anti-lock brakes, power steering, lighting, and infotainment are designed to operate within a narrow voltage range.
A voltage spike caused by an incorrect jump-start source can permanently damage these modules before protective fuses have time to react.
Even among 12-volt vehicles, owners should verify compatibility before connecting cables. Many late-model hybrids and start-stop vehicles use Absorbent Glass Mat (AGM) batteries or advanced battery management systems.
While these vehicles can generally be jump-started using another 12-volt source, manufacturers often recommend following specific procedures outlined in the owner’s manual to protect the charging system and battery monitoring electronics.
Portable lithium jump starters have become increasingly popular because they provide a regulated 12-volt output and include reverse-polarity protection.
Many quality units also prevent accidental short circuits and incorrect cable connections, reducing the chance of damaging expensive electronics. However, users should still confirm that the jump starter is designed for the engine size being started.
Before connecting any cables, check the battery label or owner’s manual to verify the electrical system voltage. Taking a minute to confirm compatibility is far less expensive than replacing an alternator, engine control module, or multiple electronic systems that can be damaged by excessive voltage.
3. Revving the Donor Vehicle Excessively
Many drivers believe aggressively revving the donor vehicle helps charge the dead battery faster. While this advice was common decades ago, it is generally unnecessary and can actually increase the risk of voltage fluctuations in modern vehicles equipped with sophisticated charging systems.
Today’s alternators are controlled by electronic voltage regulators and, in many vehicles, by the engine control module itself. These systems automatically adjust charging output based on battery condition, electrical demand, and operating temperature.
Raising engine speed significantly does not always increase charging efficiency in a useful way, but it can increase alternator output enough to create voltage spikes under certain conditions.
Modern vehicles contain sensitive components such as adaptive cruise control modules, radar sensors, digital instrument clusters, infotainment systems, and battery management controllers. While these systems are designed to tolerate normal charging voltages, unnecessary fluctuations increase electrical stress.
Automakers generally recommend allowing the donor vehicle to idle for several minutes before attempting to start the disabled vehicle rather than repeatedly revving the engine.
Another concern is alternator wear. Producing maximum electrical output places additional load on the alternator, especially if the discharged battery is severely depleted. Keeping the donor engine at idle allows the charging system to provide current steadily without unnecessary strain.
After allowing a few minutes for some charge to transfer, attempt to start the disabled vehicle. If it does not crank, wait another few minutes rather than increasing engine speed dramatically.

Once the disabled vehicle starts, disconnect the cables in the reverse order of installation and allow the vehicle to run or drive long enough for the charging system to replenish the battery. Using patience instead of excessive throttle helps protect both vehicles while reducing unnecessary stress on their charging systems and electronic components.
4. Disconnecting the Jumper Cables Too Quickly
Many drivers breathe a sigh of relief as soon as the disabled vehicle starts and immediately begin removing the jumper cables. While it may seem harmless, disconnecting the cables too quickly can create unnecessary stress on the electrical system, especially if the battery is deeply discharged.
A battery that has been completely drained may not be able to stabilize system voltage immediately after the engine starts. Modern vehicles depend on the battery and alternator working together. The battery acts as a voltage buffer, smoothing fluctuations produced by the charging system.
When the battery is extremely weak, the alternator must suddenly supply nearly all of the vehicle’s electrical demand, including ignition, fuel injection, lights, cooling fans, and numerous electronic control modules.
Removing the jumper cables instantly can create abrupt changes in electrical load that some manufacturers advise avoiding.
A better approach is to let both vehicles remain connected for a minute or two after the disabled vehicle starts. This allows the discharged battery to recover slightly while allowing the alternator to begin charging it under more stable conditions.
Once the engine is running smoothly, disconnect the cables in the reverse order of installation. Remove the negative clamp from the previously disabled vehicle first, followed by the donor vehicle’s negative clamp. Then remove the positive clamp from the donor vehicle before removing the final positive clamp from the restarted vehicle.
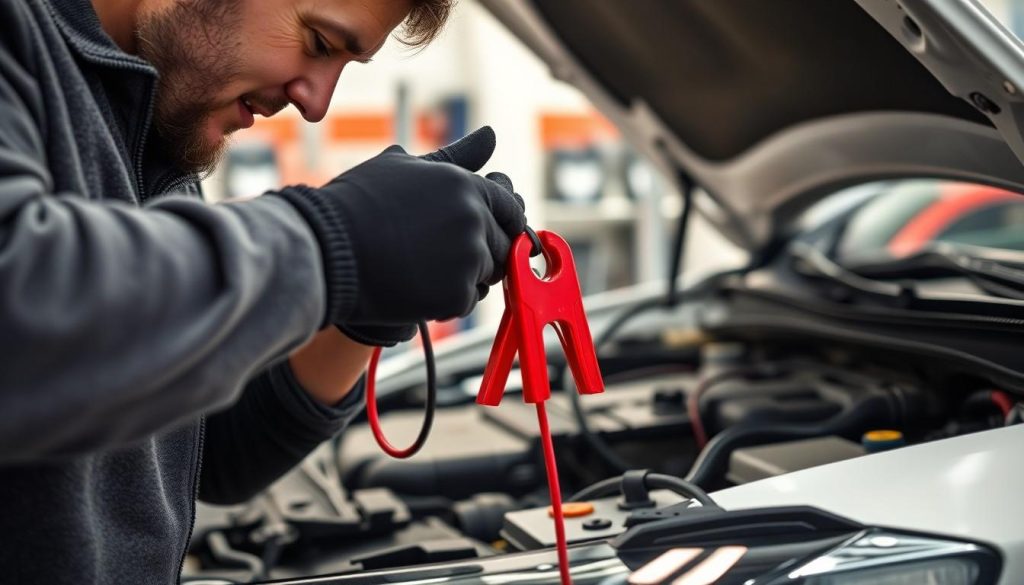
If the engine stalls immediately after the cables are removed, the battery may be too weak to hold a charge, or another charging system problem may exist. In many cases, the battery should be tested rather than repeatedly jump-started.
Allowing a brief stabilization period before disconnecting the cables helps reduce voltage fluctuations, supports the alternator during the initial charging process, and gives the battery a better chance to recover safely.
5. Ignoring the Owner’s Manual and Manufacturer Jump-Start Points
One of the biggest mistakes modern vehicle owners make is assuming every vehicle should be jump-started directly from the battery terminals. That approach worked for many older cars, but numerous current vehicles use remote positive terminals and designated grounding points instead.
Manufacturers often specify these locations because the battery may be difficult to access or because the electrical system includes battery monitoring sensors that should not be bypassed.
Many luxury vehicles place the battery in the trunk, under the rear seat, or inside the cargo area to improve weight distribution. Connecting jumper cables directly to these batteries instead of the designated jump-start terminals may increase the risk of accidental short circuits or interfere with the vehicle’s battery management system.
Likewise, several vehicles equipped with intelligent battery sensors monitor battery condition through the negative terminal. Attaching the negative jumper cable incorrectly can prevent the system from accurately measuring charging current.
Following the owner’s manual also helps protect expensive electronics. Automakers provide specific procedures for hybrids, plug-in hybrids, and vehicles equipped with advanced stop-start systems because these models often contain additional electrical components that require special handling during a jump-start.
Another overlooked step is verifying why the battery became discharged in the first place. A battery older than four or five years, a failing alternator, loose battery terminals, or a parasitic electrical drain can all leave a driver stranded again shortly after a successful jump-start.
Treating the jump-start as a temporary solution instead of the final repair helps avoid repeated breakdowns.
Modern vehicles contain more electronic technology than ever before. Taking a few minutes to follow the manufacturer’s recommended jump-start procedure is one of the simplest ways to protect those systems, reduce repair costs, and ensure the vehicle returns to reliable operation safely.
Also Read: 10 Popular Cars With Surprisingly High Insurance Premiums