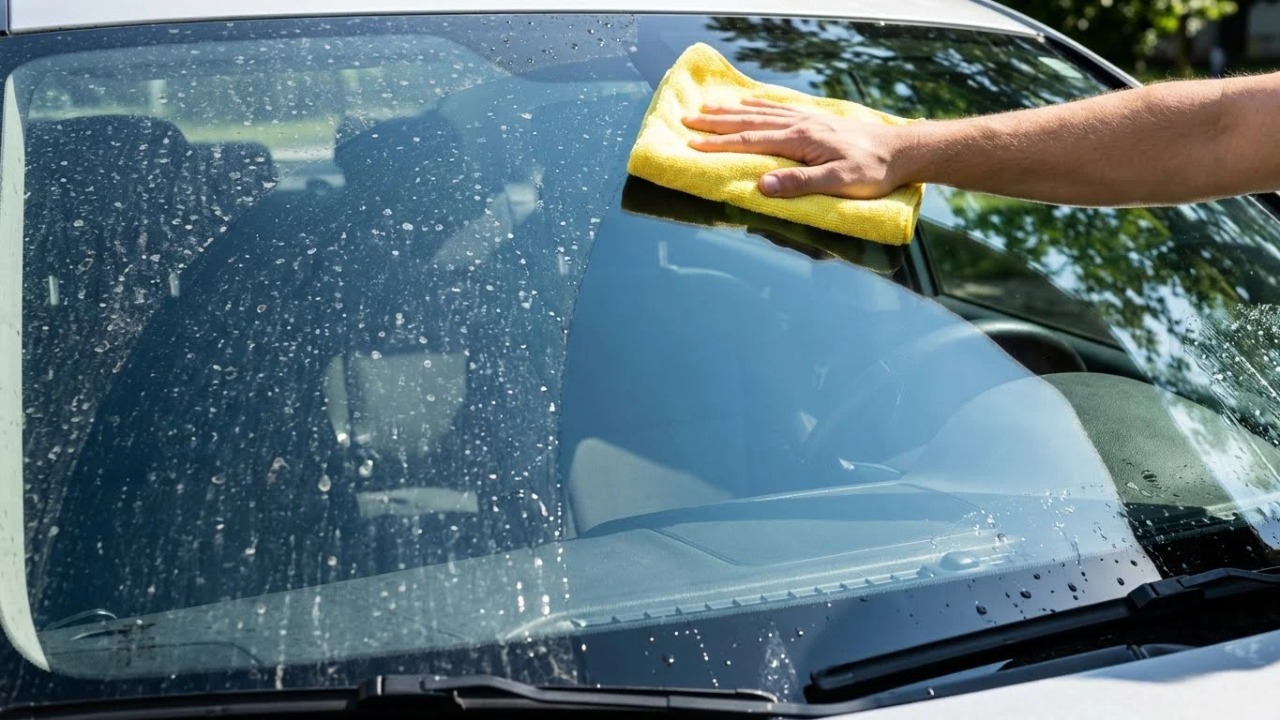
Water spots on automotive glass are more than an annoying cosmetic problem. They are usually mineral deposits left behind after water evaporates, with calcium and magnesium among the common contributors.
Fresh deposits can often be removed without aggressive polishing, but older spots may become bonded to the glass or eventually cause etching. The biggest mistake is attacking them with excessive pressure before identifying what you are actually dealing with.
A careful process starts with cleaning, then uses the mildest effective treatment before moving to dedicated glass polish or professional correction. Just as important, preventing water from repeatedly drying on the glass keeps the problem from returning.
1. Wash the Glass Before Treating the Water Spots
Do not begin by attacking visible water spots with vinegar, polish, or a specialized remover. The first step should be a proper cleaning of the glass. Road film, dust, oily residue, and loose grit can sit around the mineral deposits, and rubbing over that contamination can create unnecessary abrasion.
Start with the vehicle parked in a cool, shaded area. Rinse the glass thoroughly to remove loose particles, then wash it using a clean microfiber towel or suitable glass-cleaning applicator. Pay particular attention to the lower portion of the windshield, where road film can accumulate heavily.
Once the glass is clean, rinse it thoroughly and dry it with a dedicated microfiber towel. This gives you a much better view of the actual mineral deposits. Some marks that look like water spots while the glass is dirty are simply residue that disappears during proper washing.
The distinction matters because hard-water deposits are generally composed of minerals left behind when water evaporates. Calcium and magnesium are common contributors, and ordinary glass cleaner may not dissolve established mineral buildup effectively.
Inspect the glass from several angles after drying. Look for white rings, chalky dots, cloudy patches, or circular outlines. If the surface is clean but the marks remain, you can move to targeted mineral removal.
This first step also prevents you from mistaking embedded dirt for a chemical deposit. More importantly, it establishes a clean surface for every treatment that follows. A few extra minutes spent washing first can prevent you from rubbing contamination into the glass while trying to solve the water-spot problem.
2. Use White Vinegar to Break Down Fresh Mineral Deposits
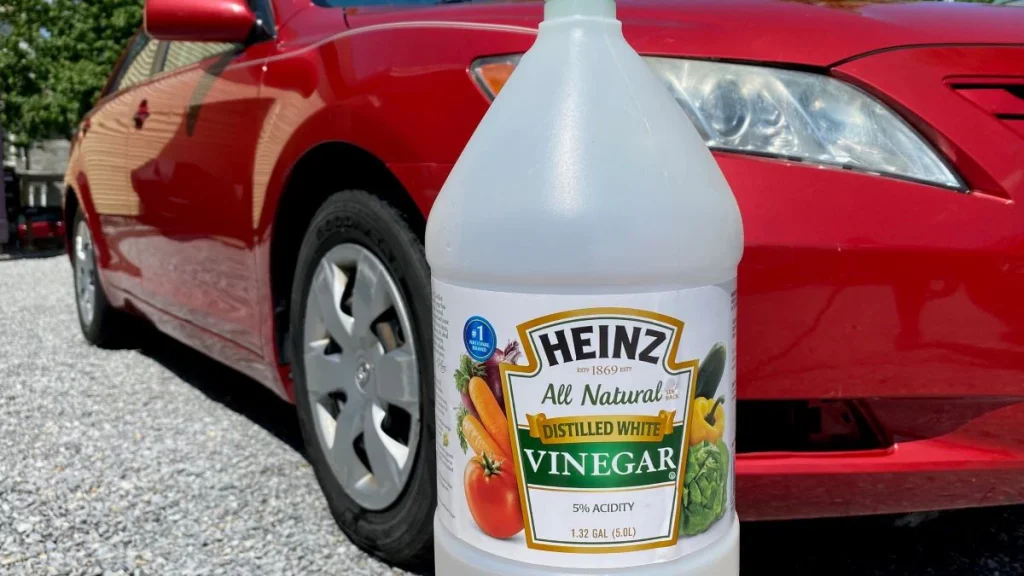
For relatively fresh water spots, white vinegar is a sensible first treatment because its acidity can help dissolve mineral deposits left behind by hard water. This is particularly useful when the glass has been washed but still shows white rings or cloudy mineral residue.
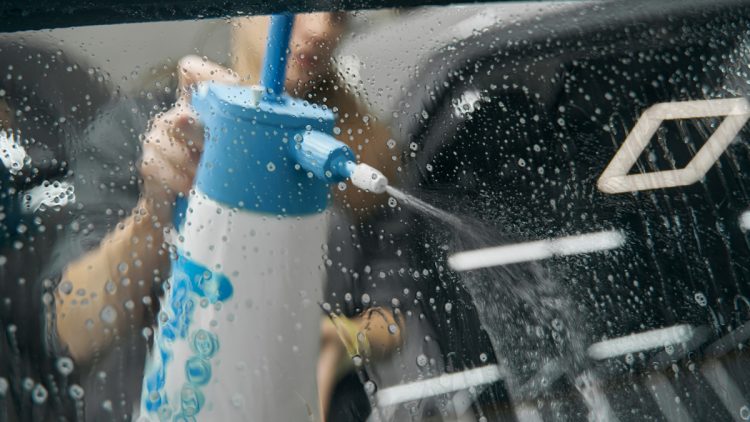
The important point is to use vinegar as a targeted cleaning treatment, not as something that should simply be left sitting on the vehicle indefinitely. Start by mixing white vinegar with water in a suitable spray bottle, then apply the diluted solution to a microfiber towel rather than flooding the entire vehicle.
Wipe a small section of clean glass and allow the solution a short dwell time so it can work on the deposits.
Follow with a clean-water rinse and dry the glass thoroughly. If the spots have softened but remain visible, repeat the process rather than immediately switching to aggressive scrubbing. Repeated gentle treatment is preferable to putting heavy pressure against the surface.
Keep the solution away from areas where prolonged exposure to an acidic cleaner could cause problems, particularly unprotected natural stone or other acid-sensitive materials. Vinegar should also never be mixed with bleach or other household chemicals.
There is a limit to what this method can accomplish. If water spots have chemically etched the glass, dissolving surface minerals will not restore the original surface. At that stage, mechanical glass polishing may be necessary.
Vinegar is therefore most useful when the problem is mineral residue rather than permanent glass damage. It is inexpensive, easy to obtain, and gives you a relatively mild option before moving to specialized products.
After treatment, inspect the glass in direct light. If the circular marks disappear when the surface is clean and dry, you have likely dealt with removable deposits. If faint outlines remain despite repeated cleaning, the glass may require a more corrective approach.
3. Apply a Dedicated Hard-Water Spot Remover
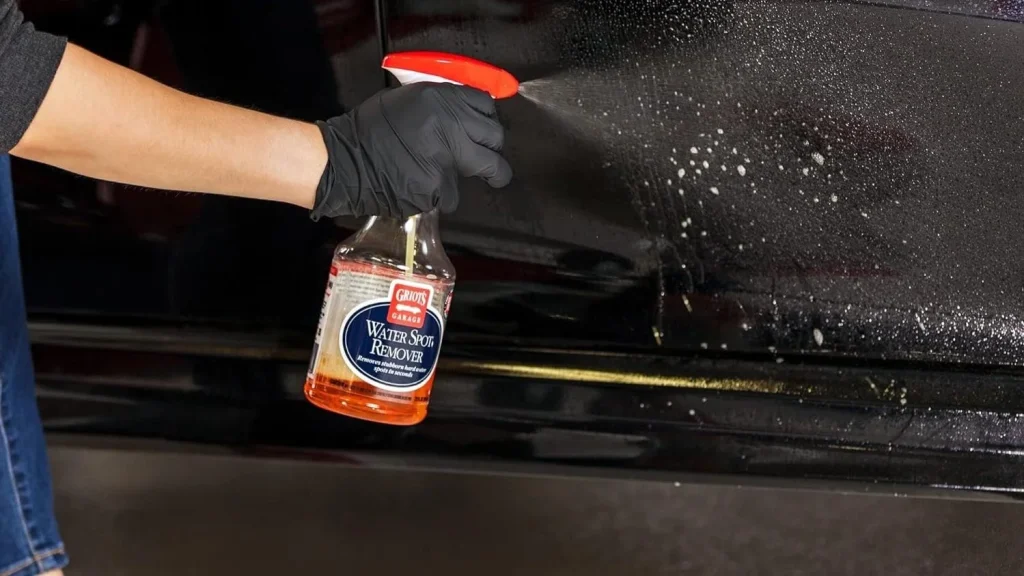
When ordinary glass cleaner and diluted vinegar are not enough, a dedicated hard-water spot remover can provide a stronger and more controlled approach. These products are specifically formulated to address mineral deposits rather than simply removing fingerprints, dust, or oily road film.
Before using one, read its label carefully. Not every water-spot remover is intended for every automotive surface, and some formulations are designed specifically for glass. Choosing a product intended for automotive glass reduces the risk of using an inappropriate chemical on the windshield or side windows.
Work on a small test area first. Apply the remover according to its instructions, keep the surface adequately wet for the recommended dwell time, and use a clean applicator or microfiber towel. Avoid treating the entire windshield immediately.
A test section tells you whether the product is actually dissolving the deposits and whether any residue remains afterward.
Do not compensate for a weak result by applying excessive pressure. Chemical treatment and mechanical abrasion are different approaches. If a deposit does not respond to the recommended application, increasing pressure can create unnecessary wear without solving the underlying problem.
Once the treatment is complete, rinse or wipe the glass as directed and inspect it under strong lighting. A properly cleaned section should have a noticeably clearer appearance, especially when viewed against a bright sky or light-colored background.
Dedicated removers are particularly useful when mineral buildup has been allowed to accumulate through repeated exposure to hard water. They are not magic solutions for etched glass, however. If the mineral deposits have already altered the glass surface, polishing rather than chemical cleaning may be required.
The advantage of using a dedicated product is precision. Instead of experimenting with increasingly aggressive household methods, you are using a treatment designed for the specific type of contamination you are trying to remove.
4. Use a Clay Bar for Mineral Residue That Sits on the Surface
A clay bar is usually associated with painted body panels, but it can also be useful for certain contaminants sitting on exterior glass. The key is understanding what it can and cannot do. Clay is designed to grab bonded surface contamination, so it can help when the glass feels rough even after washing.
Run your fingertips lightly across the clean, wet, or lubricated glass. If you feel a gritty texture, there may be contamination physically attached to the surface. A clay treatment can help remove that material without immediately resorting to abrasive glass polishing.
Use a clay product and lubricant specifically recommended for the application. Keep the glass well lubricated throughout the process. Work a small section with very light pressure, moving the clay across the surface rather than pushing it aggressively into the glass.
You should not expect clay to dissolve mineral deposits or repair etched glass. Its role is surface decontamination. If the water spots are chemically bonded to the glass or have already etched it, clay will not reverse that damage.
There is another reason to use a gentle technique. Clay can create its own marring if it is used incorrectly, especially when there is not enough lubrication or the clay becomes contaminated. Fold the clay regularly or replace it when needed to prevent collected debris from being dragged repeatedly across the glass.
After completing a section, wipe it clean with a dedicated microfiber towel and inspect the result. The glass should feel smoother if bonded contamination was the issue.
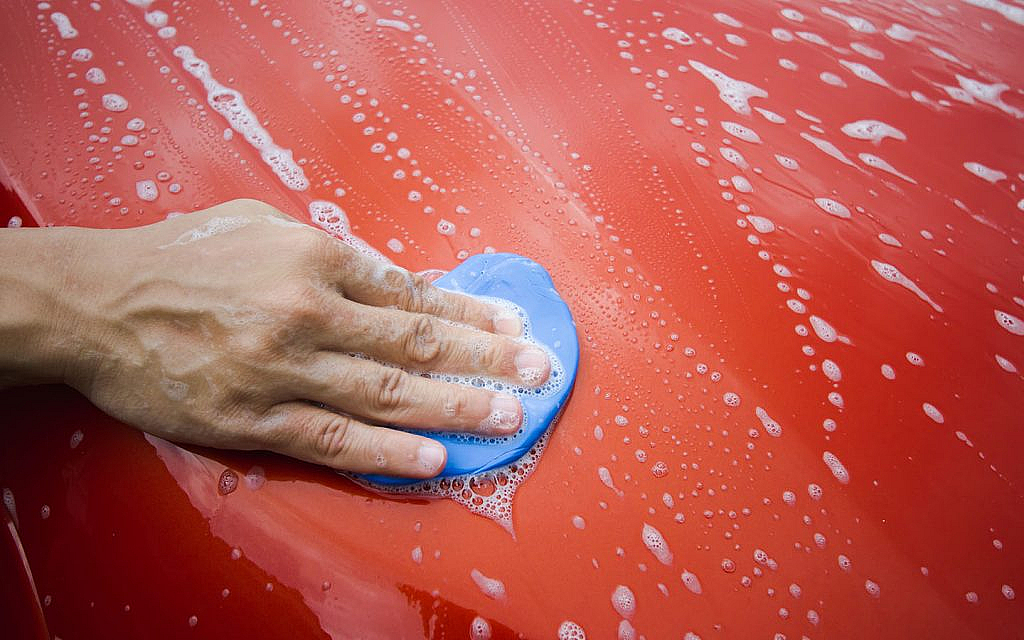
This method makes the most sense as a middle step between chemical cleaning and polishing. If washing removed loose dirt, a water-spot remover addressed mineral residue, and the glass still feels contaminated, clay can identify whether a physical layer remains.
Once the glass is smooth but visible rings persist, stop claying. At that point, additional clay work is unlikely to provide much benefit, and a glass-polishing process becomes the more appropriate next step.
5. Polish the Glass by Hand With a Glass Polish
When water spots remain after cleaning and chemical treatment, they may no longer be simple deposits. Some can leave behind etching or stubborn surface marks that require controlled mechanical correction. A dedicated automotive glass polish can address certain defects without using a machine.
Choose a product specifically formulated for automotive glass and follow its instructions closely. Glass is much harder than automotive paint, so ordinary paint polish is not necessarily the right tool for the job. Products formulated for glass commonly use abrasives designed to work against mineral staining and fine surface imperfections.
Before polishing, thoroughly clean the glass. Mask adjacent painted surfaces if the product manufacturer recommends it, particularly when working around windshield edges or trim. Apply a small amount of polish to an appropriate hand applicator and concentrate on a manageable section.
Pressure and patience matter here. Work the product methodically rather than rapidly scrubbing the same spot. After several passes, remove the residue and inspect the glass. If the appearance improves, repeat the process as necessary while staying within the product’s directions.
Do not assume that more pressure automatically means more correction. Glass polishing is intended to remove or refine extremely small amounts of surface material. Aggressive DIY experimentation can create uneven results or optical distortion, especially if someone attempts to correct more serious damage.
Also remember that not every mark is safely removable by hand. Deep scratches, severe etching, chips, or damage within the driver’s viewing area may require professional assessment rather than increasingly aggressive polishing.
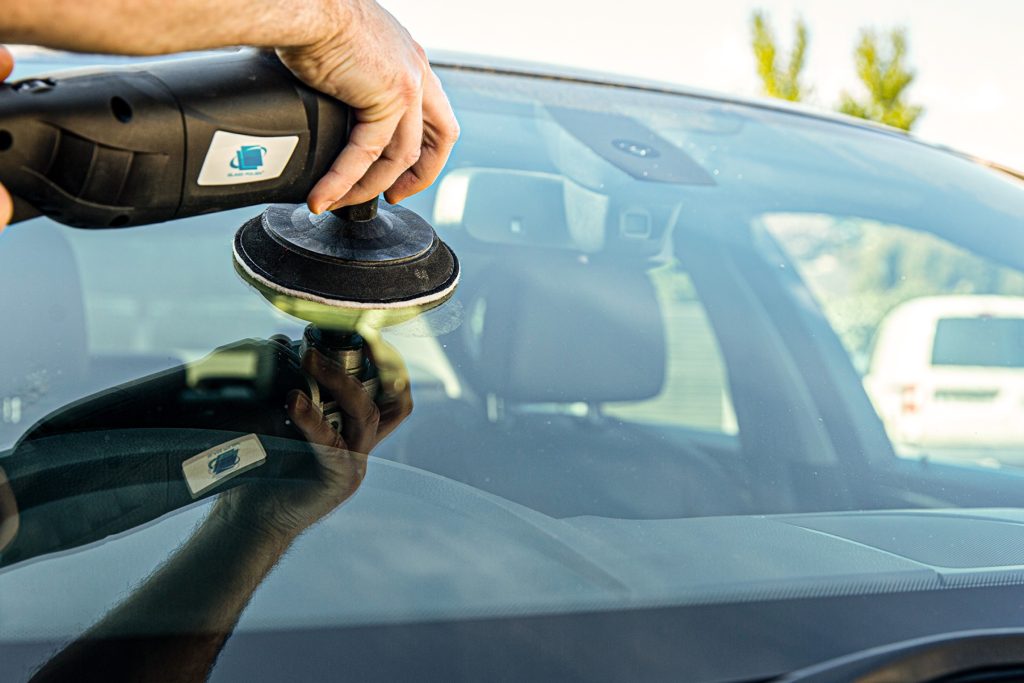
Hand polishing is most useful when the glass is fundamentally sound but has stubborn surface defects. It takes considerably longer than machine polishing, but it gives you precise control over the amount of correction being attempted.
Once the spots have been reduced and the glass looks optically clear, stop polishing. Continuing simply to chase the last faint imperfection is rarely worth unnecessary material removal.
6. Try a Fine Glass-Polishing Compound for Stubborn Etching
When a water spot survives washing, acidic treatment, and a dedicated spot remover, the problem may have progressed beyond removable residue. Minerals can remain on glass long enough to leave a visible outline or etch the surface. At that point, a fine glass-polishing compound can be more useful than another round of chemical cleaning.
Use a product specifically intended for automotive glass. Fine polishing compounds are designed to mechanically refine the surface, and some use cerium oxide or other abrasives suited to glass correction. The important part is restraint. You are correcting the surface, not trying to grind away a deep defect.
Divide the glass into small sections and work one area at a time. Keep your pressure controlled and maintain an even motion. Do not concentrate aggressively on a single tiny spot for an extended period. Uneven correction can potentially affect how light passes through the glass, which is particularly undesirable on a windshield.
After a short polishing session, remove the residue completely and inspect the area from the driver’s seat as well as from outside. A windshield is not simply another piece of glass. Any distortion within the driver’s primary field of vision deserves special caution.
If the marks become less visible, you can repeat the treatment according to the product instructions. If there is virtually no improvement, stop escalating the pressure. The defect may be too deep for a sensible hand correction, or it may not actually be a mineral-related defect.
Professional glass-polishing guidance commonly treats cerium-oxide-based polishing as a method for addressing fine scratches and surface defects, while more serious damage may require more specialized work.
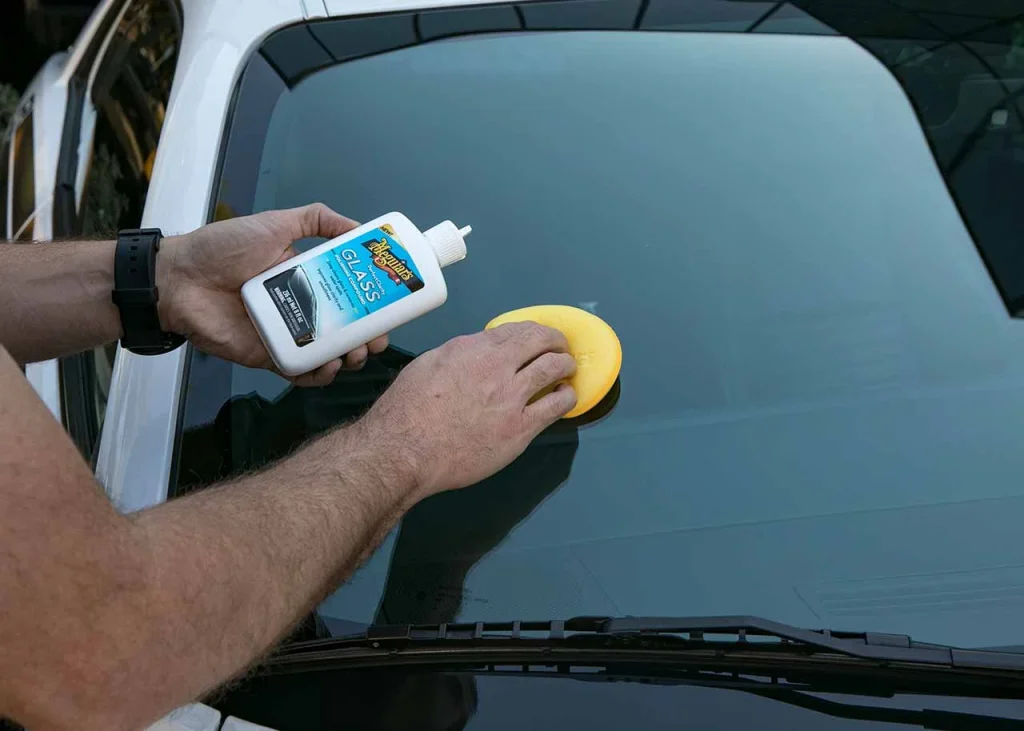
This method is best reserved for stubborn cases, not as the first solution. Chemical cleaning should come before abrasive correction whenever possible. Once the glass has been restored as far as reasonably practical, clean away every trace of compound and move directly to protection.
The goal is a clearer surface, not perfectly flawless glass at any cost. A cautious correction that preserves optical clarity is much more valuable than an aggressive attempt that creates a new problem.
7. Use a Razor Scraper Only for Safe, Flat Glass Areas
A razor scraper can remove deposits that refuse to budge with ordinary cleaning, but it is one of those tools where technique matters enormously. Used correctly on appropriate glass, a razor can lift stubborn mineral buildup, adhesive residue, or other contamination from the surface. Used carelessly, it can scratch the glass or damage surrounding materials.
For automotive work, do not treat every piece of glass as an appropriate target. Before using a blade, check the glass manufacturer’s or vehicle manufacturer’s guidance and the scraper’s instructions. A razor should never be used casually on tinted film, plastic glazing, delicate coatings, or surfaces where the blade could catch an edge.
If the application is confirmed as safe, keep the glass wet and use a clean, sharp blade at a shallow angle. Never scrape dry glass. Move the blade in controlled strokes rather than digging one corner into the surface. The objective is to lift contamination, not shave the glass.
This technique can be particularly useful for deposits that have accumulated as a physical layer. However, it will not repair true chemical etching. If the water has already altered the glass surface, scraping the same location repeatedly will not restore it.
Keep the blade clean as well. A damaged or contaminated edge can introduce scratches. Use minimal pressure and inspect the area frequently.
Extra caution is necessary around windshield edges, rubber seals, painted trim, and aftermarket films. A blade that slips off the glass can cause damage well beyond the water spot itself.
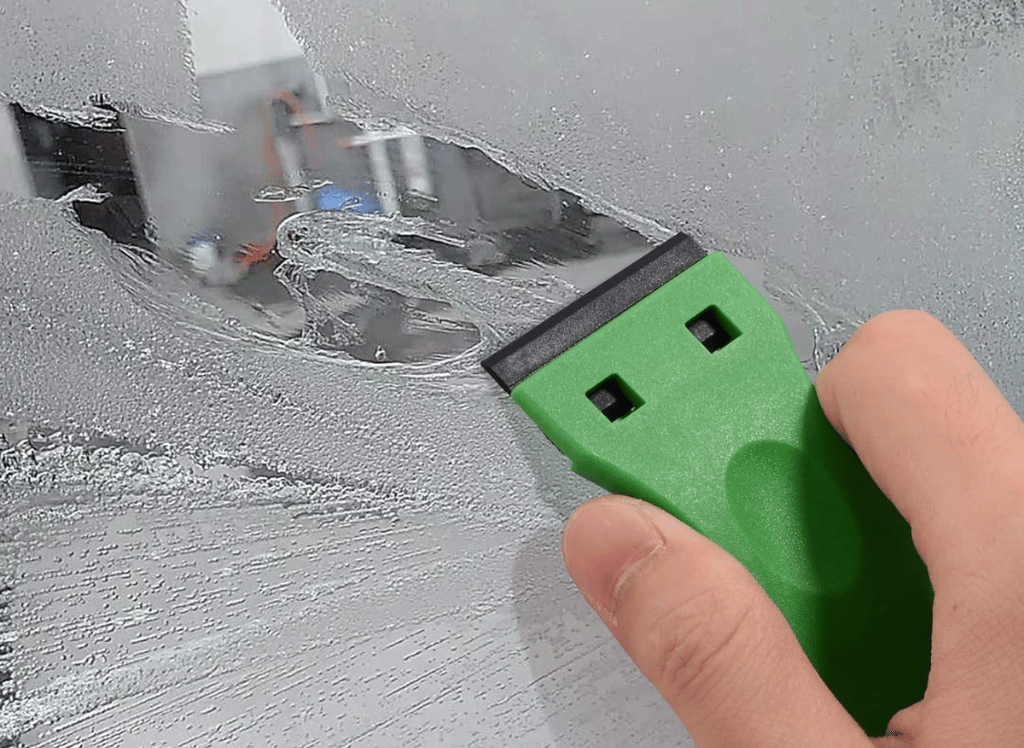
For most drivers, a razor should therefore be a specialized option rather than the starting point. Try washing, mineral removal, and appropriate glass polishing first. If a stubborn deposit remains and the surface is confirmed safe for scraping, careful blade work can remove contamination that chemicals alone cannot loosen.
The moment the deposit stops lifting, stop scraping. Continuing to apply pressure against a mark that is actually etched into the glass accomplishes little and increases the chance of damage.
8. Prevent Water From Drying on the Glass Again
The most effective way to keep water spots from returning is to change what happens after the glass gets wet. Removing established deposits is only half the job. If mineral-rich water repeatedly dries on the same windshield, side window, or rear glass, the same residue can gradually build up again.
The simplest improvement is drying the glass promptly. After washing the vehicle, use a clean, dedicated microfiber drying towel rather than allowing the water to evaporate naturally. Pay particular attention to horizontal glass surfaces because they can retain water longer than vertical panels.
This also matters after rain or sprinkler exposure. If a vehicle repeatedly sits outside while water evaporates on the glass, minerals can remain behind. You do not need to dry the vehicle obsessively after every drop of rain, but avoiding regular exposure to untreated hard water can make a noticeable difference.
Water quality itself can be part of the problem. The U.S. Geological Survey explains that hard water contains dissolved minerals, particularly calcium and magnesium. When water evaporates, those dissolved minerals can remain behind as deposits.
That is why a vehicle washed with mineral-rich water may develop visible spots even when the washing technique is otherwise good.
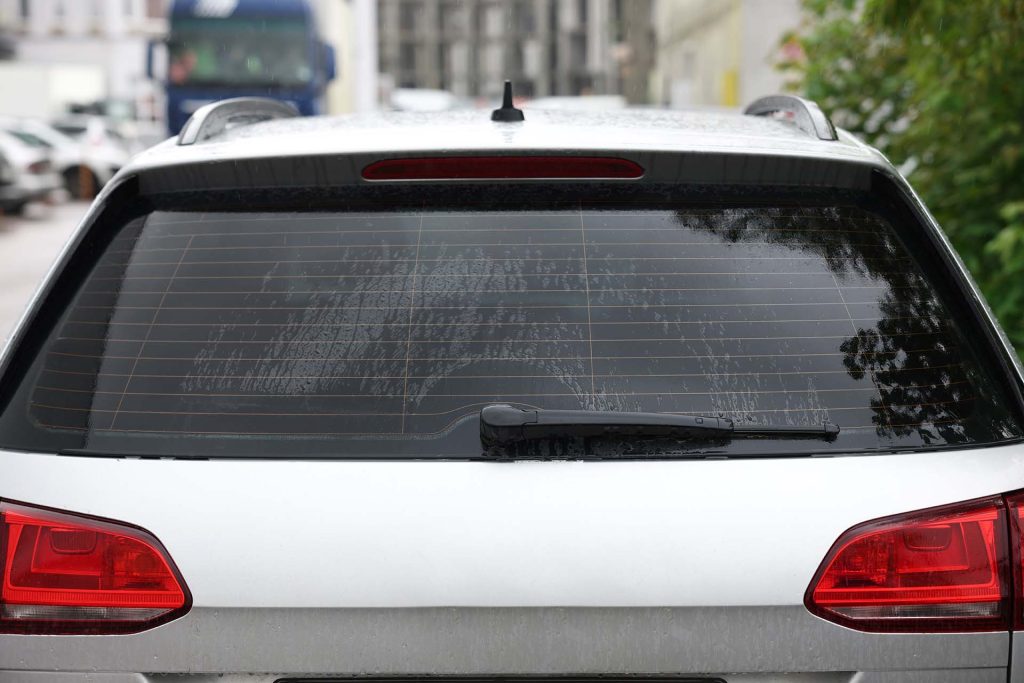
A protective glass treatment can also make future cleaning easier. Products formulated for automotive glass can create a hydrophobic surface that encourages water to bead and move away more readily. They do not make the glass immune to water spots, but reducing how long water remains on the surface can help.
Avoid wiping dusty or contaminated glass with a dry towel simply to remove a few water marks. Wash the surface first so loose grit is not dragged across it.
The long-term solution is therefore a combination of clean glass, prompt drying, suitable protection, and reduced exposure to mineral-rich water. Once those habits become routine, you should spend far less time trying to rescue the glass from stubborn white rings.