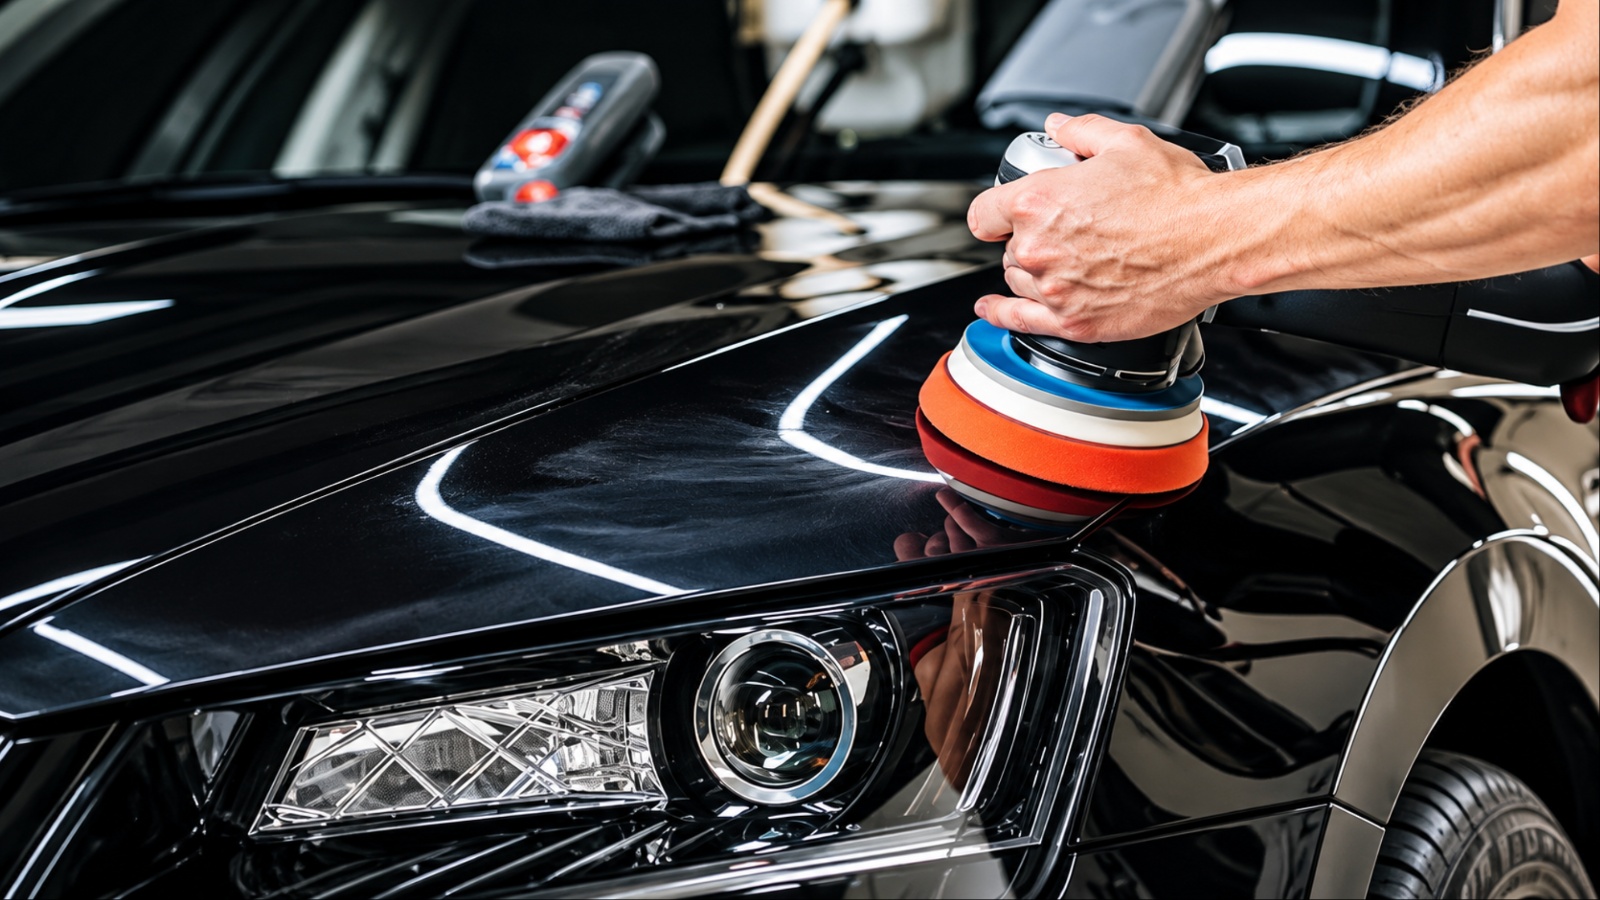
Swirl marks are among the most frustrating paint defects because they can make a clean car look dull under direct sunlight. They are usually fine scratches in the clear coat, often created by washing, drying, or wiping the paint with contaminated materials.
Removing them by hand takes more patience than using a machine, but it can be done when the defects are relatively light. The key is using controlled abrasives rather than simply applying more pressure.
A proper wash, decontamination, hand polishing, careful microfiber technique, and paint protection can noticeably improve the finish without a power tool.
1. Start With a Proper Two-Bucket Wash
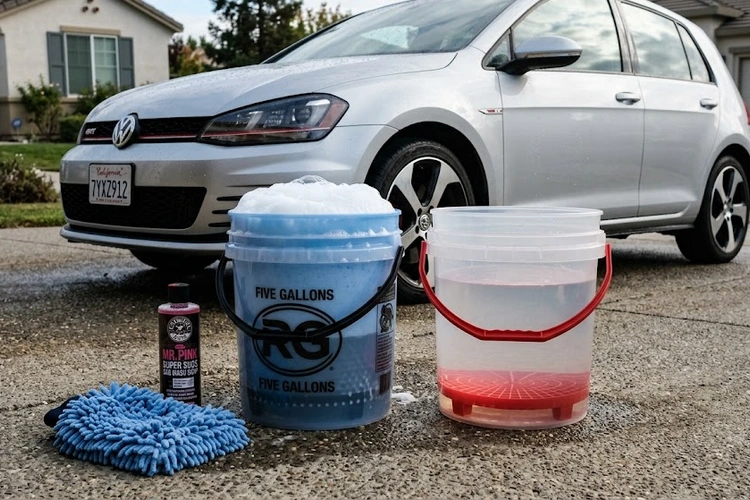
Before attempting to remove swirl marks, get the paint genuinely clean. This sounds basic, but polishing a dirty surface can create more scratches while you are trying to eliminate existing ones. Tiny particles of sand, road grit, or hardened contamination can become trapped in a wash mitt and dragged across the clear coat.
A two-bucket wash gives you a better chance of avoiding that problem. Use one bucket for your car-wash solution and another containing clean water for rinsing the wash mitt. Work from the upper portions of the vehicle toward the lower, dirtier sections. Rinse the mitt frequently instead of carrying contamination from one panel to another.
Do not scrub aggressively. Swirl removal is not accomplished by forcing a wash mitt against the paint. The objective at this stage is simply to remove loose contamination while minimizing additional contact and friction.
The choice of drying method matters too. A clean, high-quality microfiber drying towel is preferable to an old bath towel, rough household cloth, or anything that has been used around wheels and engine compartments. Even a good towel becomes a liability if it contains trapped grit.
Once the vehicle has been washed, inspect the surface under strong lighting. 3M’s paint-finishing procedures emphasize cleaning and inspecting painted surfaces between correction stages because remaining contamination or defects can interfere with the finishing process.
A careful wash will not remove existing swirls by itself, but it creates the clean starting point needed for every hand-correction method that follows.
2. Use a Clay Bar Before Polishing
If the paint feels rough after washing, do not immediately reach for an abrasive polish. That rough texture can indicate bonded contamination sitting on top of the clear coat.
Iron particles, industrial fallout, overspray, and other contaminants can remain attached even after a thorough wash. Trying to polish over them can make the correction process less effective and can introduce additional marring.
A clay bar is designed to remove this type of bonded surface contamination. Professional detailing systems from manufacturers such as Meguiar’s and 3M use clay products as a paint-preparation step before polishing because they help leave the surface smoother and cleaner for subsequent correction work.
The technique matters more than force. After washing and drying the vehicle, use plenty of dedicated clay lubricant and work a small section at a time. Keep the clay moving lightly across the surface instead of pressing hard. If the clay becomes visibly contaminated, fold it to expose a clean section.
Do not use a clay bar on dry paint. Without adequate lubrication, the material can drag across the surface and create unnecessary marring.
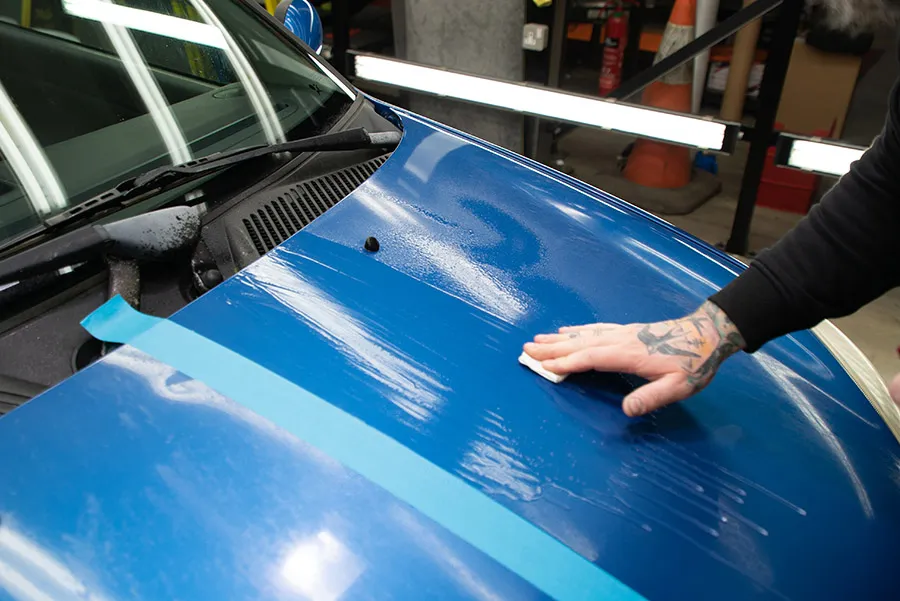
It is important to understand that clay does not remove swirl marks through polishing. Instead, it lifts embedded contaminants that can interfere with the polishing process. Once the paint surface feels clean and smooth, hand polishing can work more effectively and consistently on the fine imperfections within the clear coat.
For a heavily contaminated vehicle, this step can make a dramatic difference in how the paint feels. For a relatively clean car, it may be less important.
The test is easy to perform. After washing the vehicle, place your fingertips inside a thin plastic bag and gently glide them across the paint. If the surface feels rough or gritty instead of smooth and glass-like, the paint likely has embedded contaminants that should be removed.
3. Choose a Mild Hand Polish First
Hand polishing works best when you start with the least aggressive product capable of addressing the defect. Swirl marks are typically shallow clear-coat defects, so immediately reaching for an aggressive compound can remove more material than necessary.
A finishing or light-correction polish paired with a suitable foam applicator is a sensible starting point. Products designed for hand application contain controlled abrasives that can refine the uppermost portion of the paint surface.
Meguiar’s, for example, describes its Ultimate Polish as a product intended to remove fine imperfections and enhance gloss by hand or machine.
Do not attack the entire vehicle immediately. Select a small test area, perhaps around 12 by 12 inches, and perform several controlled passes using moderate pressure. Wipe the residue away with a clean microfiber towel and inspect the result under strong lighting.
This test helps determine whether the polish you selected can reduce the appearance of the swirl marks. If the results are not good enough, you can gradually move to a stronger corrective polish. Starting with an aggressive product can be difficult to undo if a milder option would have been sufficient, since polishing removes a small amount of clear coat from the paint.
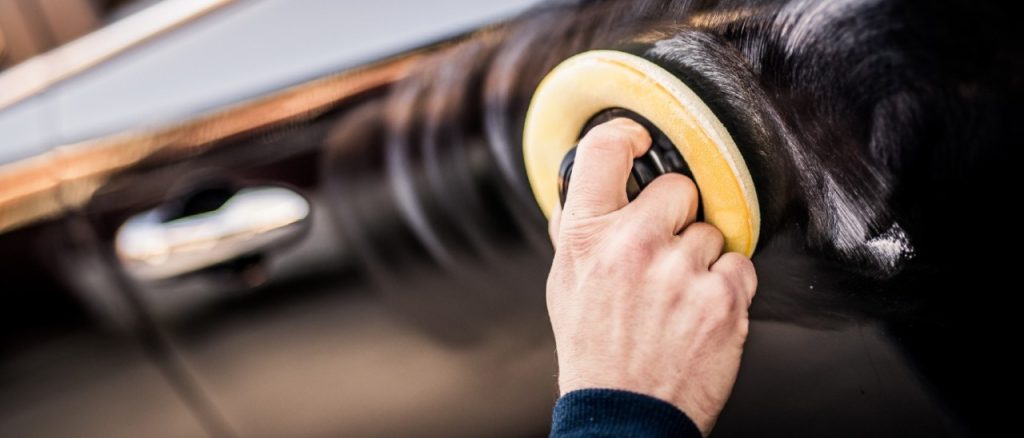
Your hand motion should remain controlled rather than frantic. Work the product evenly across the section, keep the applicator clean, and avoid allowing dried polish residue to build up.
The goal is not to make the paint perfectly scratch-free in one session. A successful hand correction is one that improves clarity and gloss while preserving as much original clear coat as reasonably possible.
4. Work by Hand With a Foam Applicator
Once the paint has been washed, decontaminated, and tested with a mild polish, the applicator becomes your main correction tool. This is where patience matters more than brute force. A foam applicator gives you a controlled way to distribute polish across the clear coat without the speed and cutting action produced by a machine.
Apply a small amount of polish to the pad rather than covering it with a thick layer. Working on a section roughly 12 by 12 inches makes it easier to maintain consistent pressure and coverage. Use overlapping passes in a deliberate pattern, applying moderate pressure at first and gradually easing off as you finish the section.
The temptation is to push harder when the swirls do not disappear immediately. That is usually the wrong response. More pressure does not automatically produce better correction, and excessive pressure can increase friction and create additional haze or micro-marring.
Keep the applicator clean as you work. If it becomes saturated with spent polish or collects contamination, replace it or clean it before continuing. Using a dirty pad defeats the purpose of careful paint correction.
The number of passes required depends on the severity and depth of the defects, the polish being used, and the hardness of the particular paint. A test spot is therefore more useful than blindly repeating a fixed number of passes across the entire vehicle.
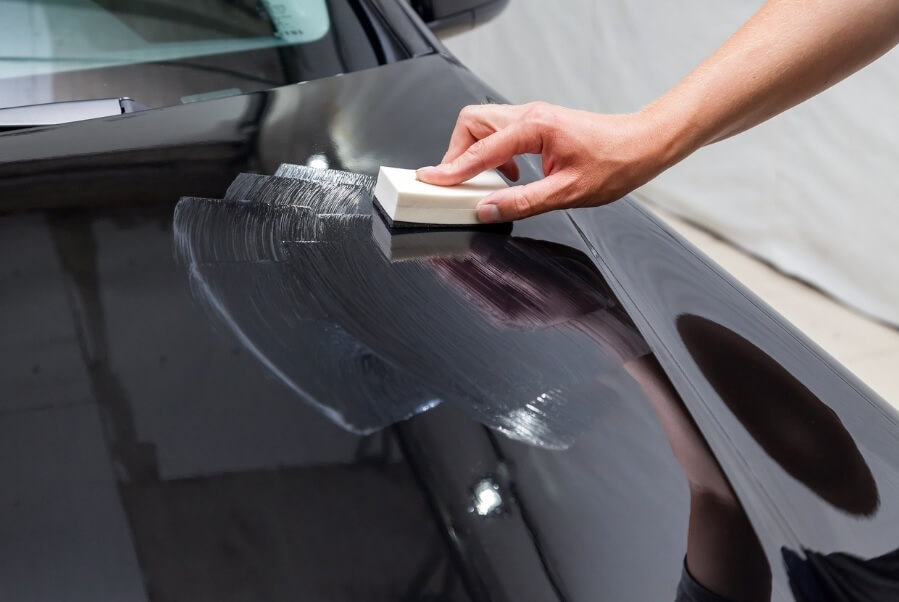
Professional detailing guidance generally emphasizes controlled application, small working areas, and inspection between correction stages. Those principles become even more important when working entirely by hand because you have less cutting power available than with a machine.
Hand polishing takes longer, but that slower pace can actually be an advantage. You can monitor the surface constantly and stop as soon as the desired improvement is achieved.
5. Use a Microfiber Finishing Pass
After correcting the paint with polish, do not assume the job is finished simply because the surface looks glossy. Polish residue can hide remaining defects, while an unsuitable towel can introduce fresh marring immediately after correction. A careful microfiber finishing pass helps reveal what you have actually achieved.
Choose a clean, soft microfiber towel that has not been used for wheels, exhaust tips, glass contaminated with grit, or other dirty areas. Fold it into manageable sections and lightly wipe the polished area rather than rubbing aggressively. Rotate to a fresh portion of the towel as the used section accumulates residue.
This step is particularly useful when working under strong lighting. Swirl marks can appear dramatically different depending on the angle and intensity of the light hitting the paint. Check the panel from several angles rather than judging it under ordinary garage lighting alone.
If you still see defects, resist the urge to immediately attack the panel with significantly more pressure. First determine whether you are looking at genuine scratches or simply polish residue, haze, or reflections. Wiping the surface clean can make that distinction much easier.
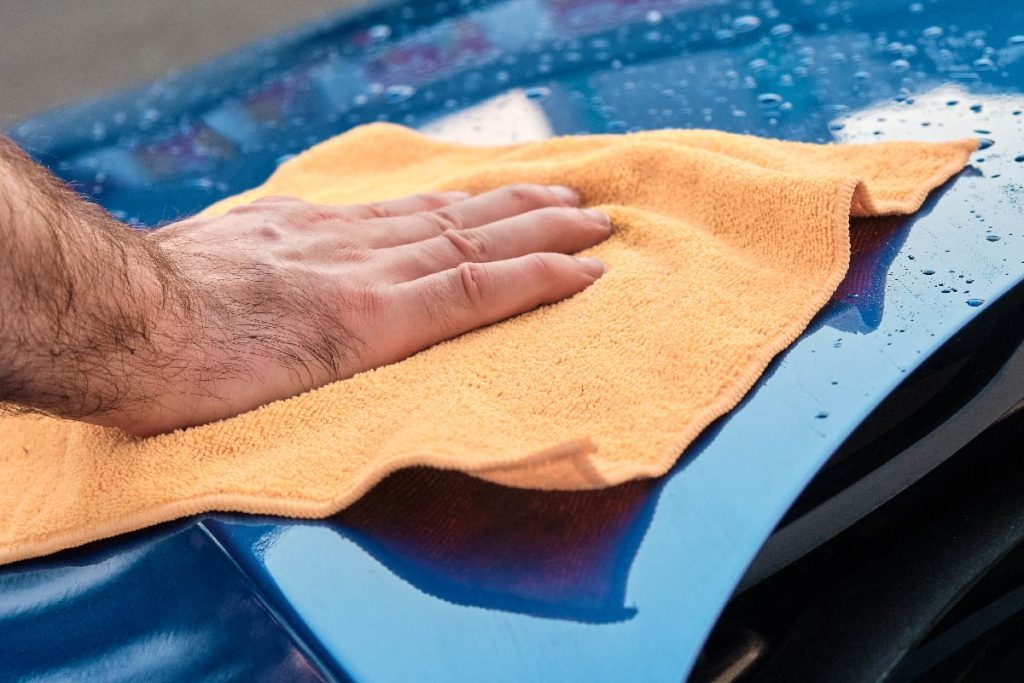
Microfiber itself is not a guarantee against scratching. A towel can become abrasive if it traps dirt or is washed with materials that leave contamination behind. Keep paint towels separated from heavily soiled automotive towels and wash them according to the manufacturer’s care instructions.
The finishing wipe should therefore be treated as part of the correction process, not an afterthought. Once the residue has been removed, inspect the surface again. If the improvement is sufficient, move on to protection instead of continuing to polish simply because a few extremely fine imperfections remain.
6. Try a Dedicated Scratch Remover on Isolated Swirls
Not every swirl-marked panel needs the same level of correction. If most of the paint looks good but one area around a door handle, trunk lid, or frequently touched section has more noticeable marring, a dedicated scratch remover can be a useful hand-applied option.
These products generally contain more aggressive abrasives than finishing polishes. That makes them better suited to localized defects, but it also means they should be used carefully. The objective is to reduce the appearance of shallow defects, not to keep cutting the paint until every visible mark disappears.
Start by thoroughly cleaning the area. Apply a small amount of product to a clean foam or microfiber applicator and work a limited section using controlled overlapping movements. Follow the product’s instructions for application and removal rather than assuming every compound behaves the same way.
A test spot remains essential. If two or three controlled applications produce little improvement, the defect may be deeper than a hand-applied product can safely correct. Continuing to polish harder can remove additional clear coat without delivering the result you want.
Depth is the deciding factor. A defect that remains entirely within the clear coat may be reduced through polishing, while a scratch that has penetrated much deeper can require professional refinishing. Running a fingernail lightly across a clean scratch can provide a rough indication of depth, although it is not a substitute for professional paint inspection.
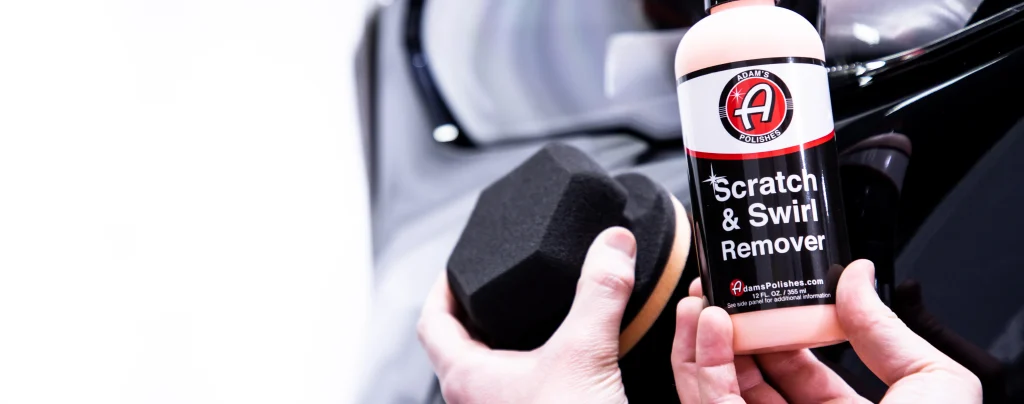
Use the stronger product only where it is needed. There is little benefit in aggressively polishing an entire hood when only a small section requires extra correction.
This targeted approach also preserves more of the surrounding finish. Once the isolated marks have been improved, follow with a milder finishing polish if necessary to refine the surface and restore maximum clarity.
7. Finish With a Fine Polish for More Clarity
After the more noticeable swirl marks have been reduced, a fine finishing polish can make the paint look considerably cleaner without requiring aggressive correction. This stage is less about removing substantial defects and more about refining the surface so light reflects from it more evenly.
That distinction matters because paint can appear glossy while still showing microscopic haze or fine marring under direct sunlight. A finishing polish uses much finer abrasives than a heavy compound and is commonly used as the final polishing stage after more corrective work.
For hand application, use a clean finishing pad and work a small section at a time. Keep your pressure moderate and concentrate on consistent coverage rather than trying to force the product through the paint. As the polish is worked, gradually reduce pressure so the final passes are gentle.
There is no need to polish until the product has completely disappeared from the panel. Follow the instructions for the specific product, then remove the residue with a clean microfiber towel. Inspect the finish before moving to another section.
Lighting is especially important here. Park the vehicle where you can see reflections clearly, or use a bright inspection light. A surface that looks perfect in shade may reveal fine circular marks when exposed to direct sunlight.
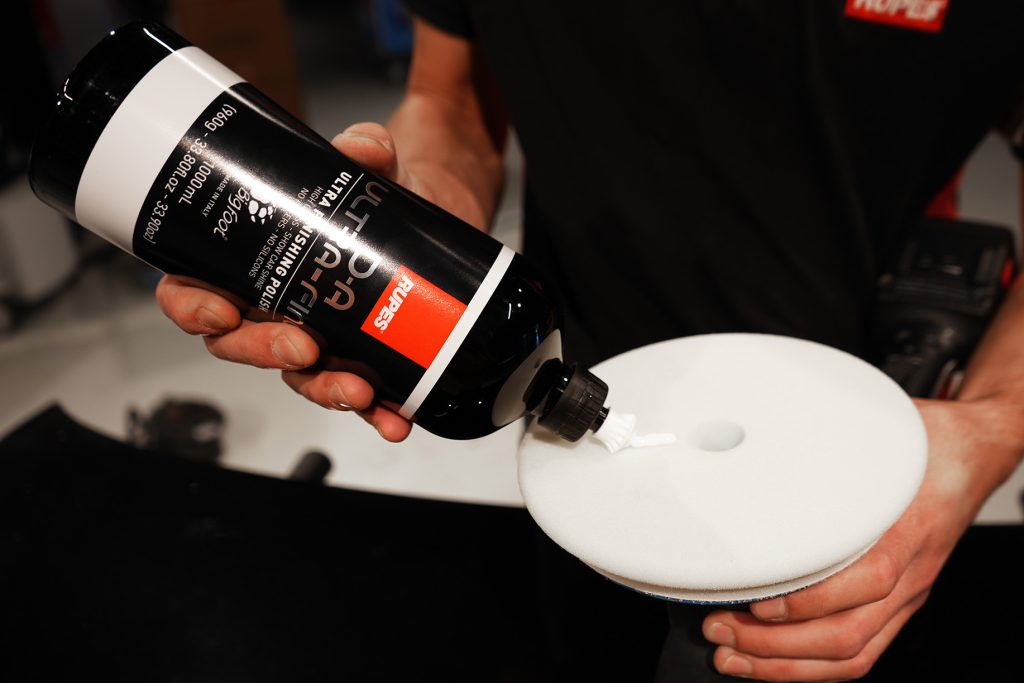
One reason this method works well for hand detailing is control. You can stop as soon as the finish reaches the level you want rather than repeatedly cutting the clear coat in pursuit of perfection.
Keep expectations realistic, too. A finishing polish can improve fine marring and restore gloss, but it cannot safely erase deep scratches simply because you spend more time rubbing. Once the surface is clear and reflective, protection should become the priority rather than continued correction.
8. Use a Glaze to Hide Remaining Fine Swirls
Sometimes the paint is already too thin, the defects are too widespread, or hand polishing simply cannot remove every visible swirl without taking an unreasonable amount of time. In that situation, a glaze can provide a useful finishing strategy.
Unlike an abrasive compound, a glaze is primarily intended to improve visual appearance by filling or masking very fine imperfections rather than permanently removing them.
That distinction is important. A glaze does not repair the clear coat in the same way that polishing does. Instead, its oils and filling components can temporarily make fine defects less noticeable by reducing how strongly they catch the light.
This makes a glaze particularly useful when the objective is improving the appearance of an older daily driver without aggressively correcting its paint. Apply it according to the manufacturer’s instructions, usually with a clean foam or microfiber applicator. Work small areas and spread the product evenly rather than repeatedly rubbing the same spot.
The finish may look dramatically better after the glaze is removed, especially under bright lighting. However, the effect is not necessarily permanent. Washing and exposure can gradually reduce the masking effect, depending on the formulation and the protection applied afterward.
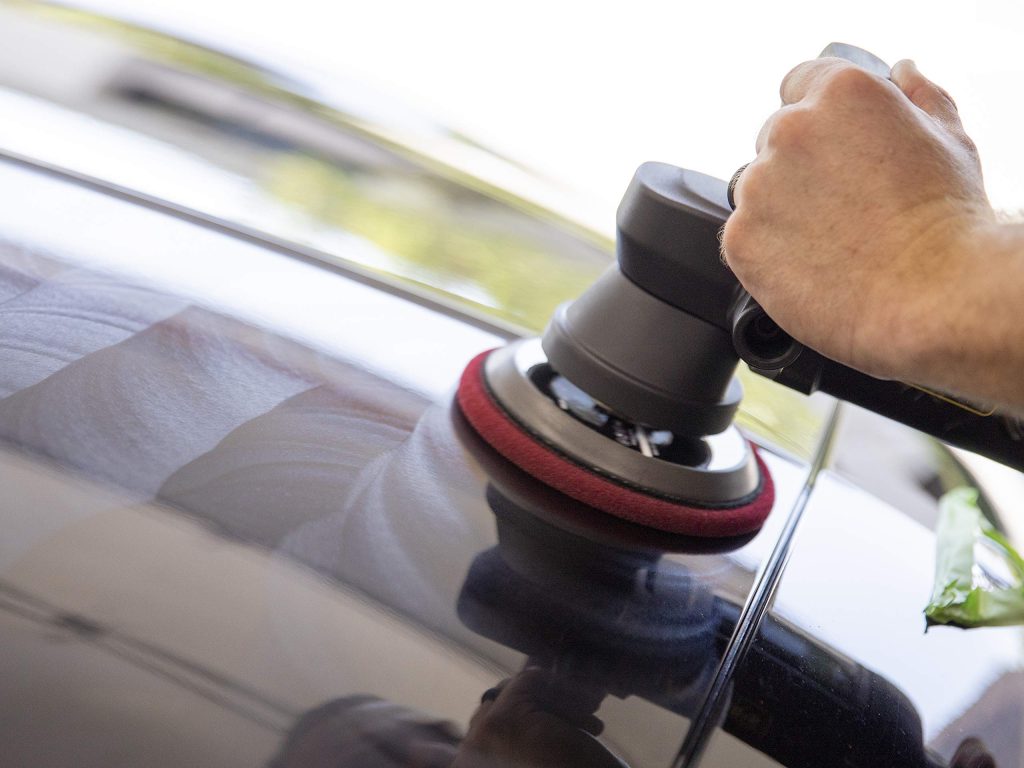
That temporary nature is not a weakness if you understand what the product is doing. It becomes a problem only when a glaze is presented as a permanent scratch-removal solution.
Glazes can also be useful before an appearance-focused event when you want maximum visual improvement without aggressive paint correction. For a long-term solution, however, correcting the paint with an appropriate polish and then protecting it is preferable.
Think of a glaze as cosmetic assistance rather than surgery. It can make a tired finish look significantly cleaner while avoiding unnecessary removal of clear coat.
9. Protect the Paint With a Wax or Sealant
Removing swirl marks is only half the battle. If the freshly polished surface is immediately exposed to the same contamination and washing practices that caused the marring, the defects can gradually return. Applying a suitable protective product gives the paint a barrier against environmental contamination and makes routine cleaning easier.
A traditional automotive wax can provide gloss and water-repelling properties, while synthetic paint sealants are formulated for longer-lasting protection. The correct choice depends on the product and the level of durability you want. Neither should be considered a permanent shield against scratches.
Application technique still matters. Start with clean, dry paint unless the product specifically states otherwise. Use a clean applicator, spread a thin and even layer, and follow the manufacturer’s curing or removal instructions. More product does not necessarily mean more protection. Excess material can simply make removal harder.
Protection also helps reduce the temptation to scrub dirty paint during future washes. When contamination can be removed more easily, there is less reason to apply aggressive pressure with a wash mitt or towel.
The protection step is particularly important because swirl marks are often created through repeated contact rather than one dramatic incident. Dusting a dusty vehicle with a dry towel, using a contaminated wash mitt, or dragging a dirty drying towel across the paint can repeatedly introduce tiny scratches.
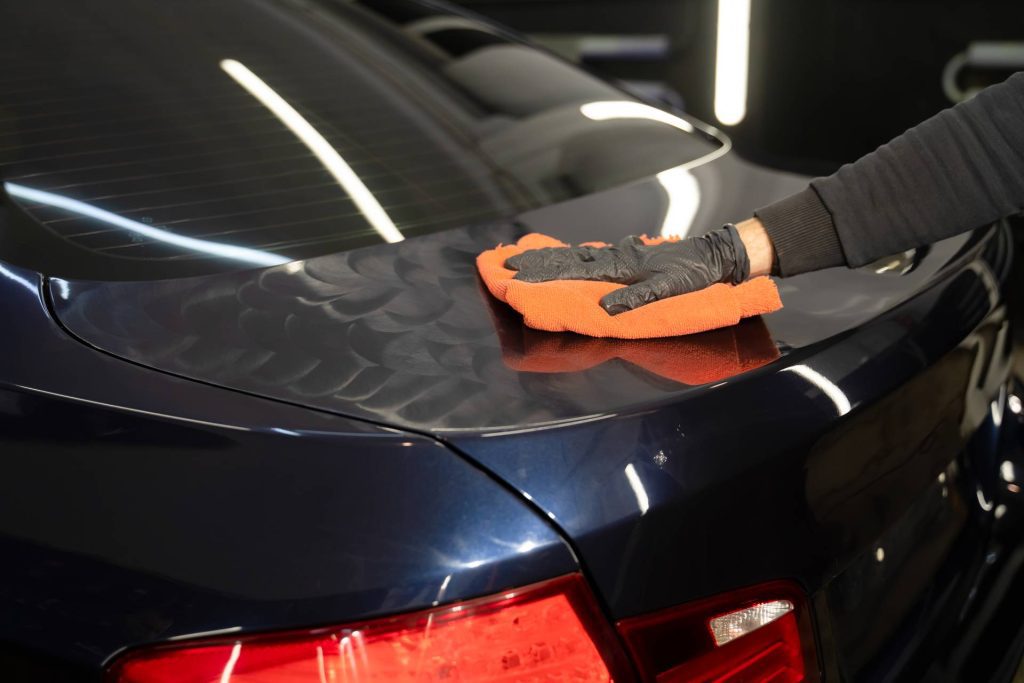
A wax or sealant cannot prevent every defect, but combining protection with careful washing can significantly reduce unnecessary contact.
Think of the freshly corrected finish as a clean slate. The best hand correction will not stay looking good if the maintenance routine immediately puts new marring into the clear coat. Protecting the paint and changing how you wash it are what make the correction last.
10. Change the Way You Dry and Wipe the Paint
The final step is less about removing existing swirl marks and more about making sure you do not create another batch of them. Drying and wiping are among the most frequent forms of contact between your hands, towels, and painted surfaces, so technique matters considerably.
Never drag a dirty towel across the paint simply because the vehicle has already been washed. A towel that has picked up a small piece of grit can turn a routine wipe into a series of fine scratches. Use clean microfiber towels dedicated to paint, and keep towels used on wheels, exhaust components, or heavily contaminated areas separate.
When drying, avoid pressing aggressively into the surface. A high-quality drying towel can absorb water with relatively little pressure. Gently laying the towel over a panel and lifting it away can be preferable to repeatedly rubbing the paint.
The same rule applies when removing dust between washes. If the vehicle is visibly dirty, do not treat it like a clean desk and wipe it with a dry microfiber towel. Dry wiping can move abrasive contamination across the clear coat. Wash the vehicle properly instead.
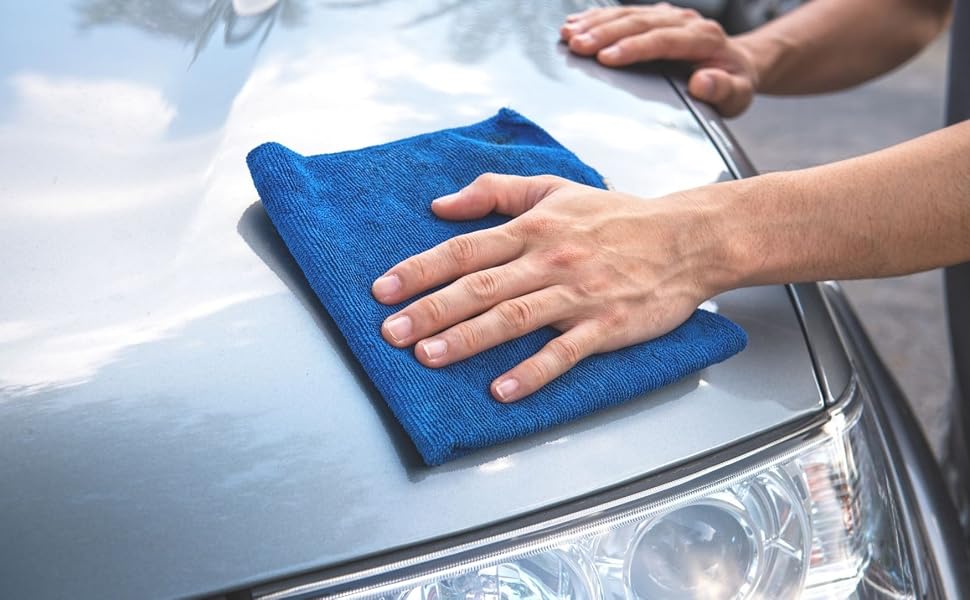
Your washing equipment deserves attention too. Microfiber mitts and towels should be cleaned properly after use and inspected for trapped debris. Replace items that become excessively worn, hardened, contaminated, or otherwise unsuitable for delicate paintwork.
Finally, resist the urge to chase microscopic imperfections every time sunlight reveals them. Clear-coat thickness is finite, and repeated polishing removes material. A finish that looks excellent from normal viewing distances does not need to be perfectly defect-free.
The most effective way to deal with swirl marks is to focus on prevention as well as correction. Wash the paint carefully, avoid unnecessary contact, use clean towels, and protect the finish after polishing. Following these steps can help preserve the results of hand polishing and keep the paint looking better for longer.