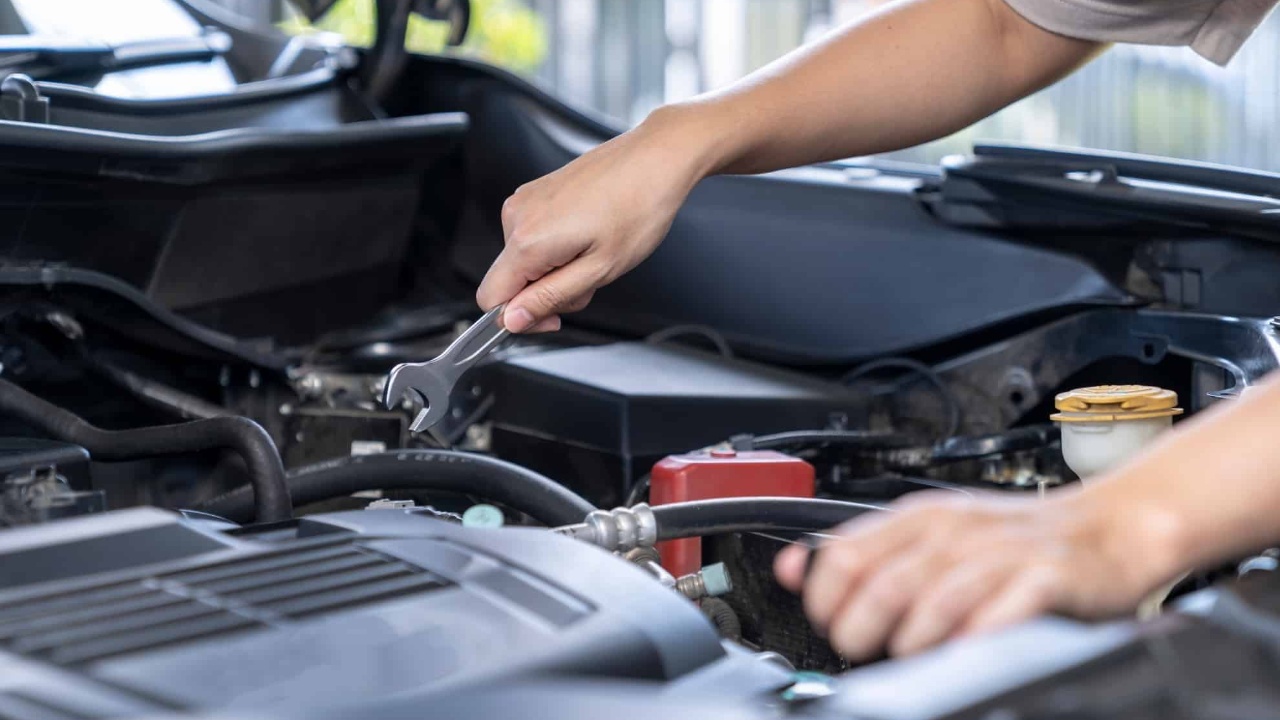
Not every car repair requires a lift, scan tool, or trip to a repair shop. A surprising number of useful maintenance jobs can be handled in a driveway with basic tools, a little patience, and the correct procedure for the vehicle.
The smartest DIY repairs are the ones where the parts are accessible, the job has clear steps, and a mistake is unlikely to compromise a critical safety system.
That does not mean every repair belongs in a driveway. Brakes, steering, airbags, and high-voltage systems can require specialized equipment and training. These ten jobs offer practical ways to save labor costs while keeping the work within a sensible DIY skill level.
1. Replace the Engine Air Filter
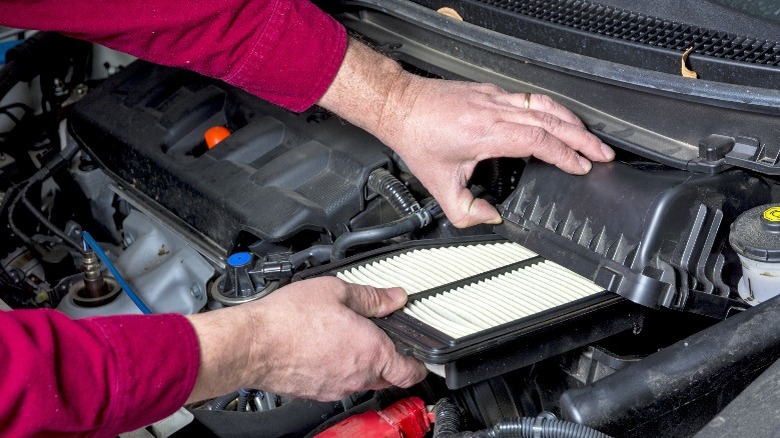
Replacing an engine air filter is a task that seems almost too basic to count as real maintenance, yet it is a legitimate part of routine vehicle care. The filter’s job is to keep dirt and debris out of the engine’s intake system, and manufacturers typically set inspection or replacement schedules based on the vehicle’s design and how it’s driven. The Car Care Council lists this among the basic tasks owners can handle themselves.
The exact steps differ by vehicle, but most gasoline cars use a plastic airbox held shut with clips or screws. With the engine off and the car safely parked, the box can usually be opened so the old filter can be swapped for a new one in the same orientation. The key is making sure the replacement seats properly along its sealing edge, since a misaligned filter can let unfiltered air reach the engine.
There’s no single mileage figure that applies to every driver, since conditions vary so much. Frequent dusty-road driving clogs a filter far faster than mostly highway miles, which is why the owner’s manual matters more than generic online estimates.
Checking the filter before replacing it can prevent unnecessary spending. A clean filter in good condition may not need an early replacement, while a dirty or clogged filter should be changed. The job typically requires only a new filter and possibly a screwdriver. Because it involves little risk of disturbing electrical, fuel, braking, or steering components, it is an excellent task for beginners learning basic car maintenance.
2. Replace Windshield Wiper Blades
Few car repairs are easier to perform at home than replacing windshield wiper blades, and unlike many cosmetic maintenance jobs, this one directly affects visibility. NHTSA recommends replacing worn blades and checking that the windshield wipers operate properly, particularly before difficult weather and long trips.
Wiper blades deteriorate because they live outside in sunlight, rain, heat, ice, dirt, and road grime. NHTSA notes that blades can become worn and recommends replacing them when they no longer function properly.
The agency also warns against operating wipers on a dry windshield because doing so can scratch the glass, damage the blade, or place unnecessary strain on the wiper motor.
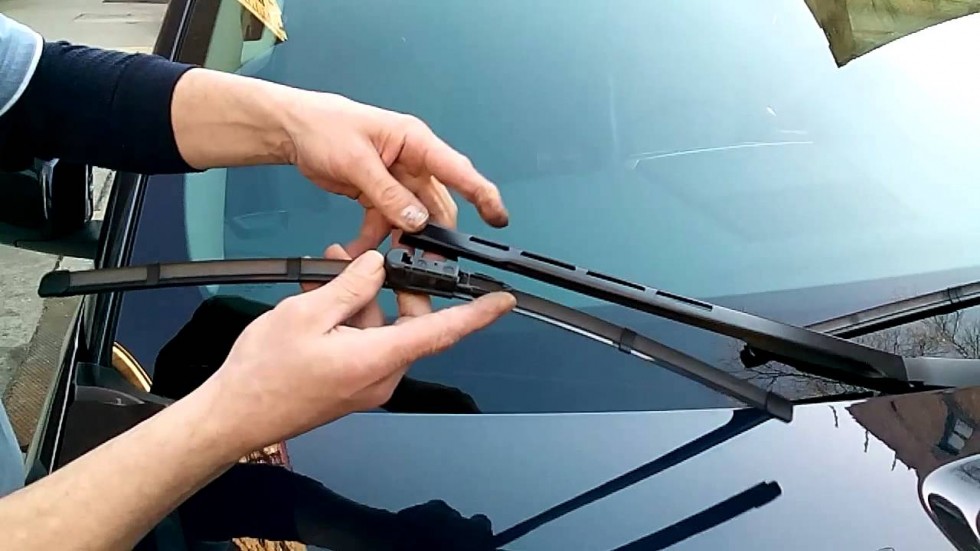
The replacement itself usually takes only a few minutes. Lift the wiper arm carefully, release the locking mechanism, slide off the old blade, and install the new one using the correct connector. The exact attachment varies, so checking the replacement instructions is worthwhile.
One important precaution should be kept in mind. Never let the exposed metal or plastic wiper arm drop onto the windshield. Because the arm is spring loaded, it can hit the glass with enough force to cause damage. Keeping the arm supported while replacing the blade helps prevent this from happening.
You also do not necessarily need to replace a blade merely because a certain number of months have passed. Look at its performance. Streaking, skipping, smearing, or sections of glass that remain uncleared indicate that the blade deserves attention.
NHTSA recommends inspecting wipers and replacing worn blades, while its technical guidance notes that cleaning the windshield and blade can sometimes resolve streaking before replacement is necessary.
For such a small job, doing it yourself makes little sense to outsource unless access or mobility is an issue.
3. Replace the Cabin Air Filter
The cabin air filter is one of the easiest maintenance items to overlook because it does not affect whether the engine starts. Its job is different: it filters air entering the passenger compartment through the heating, ventilation, and air-conditioning system.
A clogged filter can restrict airflow and make the blower work harder, while a dirty filter can also reduce the effectiveness of the HVAC system.
NHTSA specifically recommends checking the cabin air filter as part of vehicle preparation, noting that the filter should be checked before summer travel when the air-conditioning system is working harder.
On many American-market vehicles, the filter sits behind the glove box. Others place it under the dashboard or near the HVAC housing. Once you locate the filter using the owner’s manual, the replacement can often be completed without specialized equipment. The important part is installing the new filter in the direction indicated by its airflow arrow.
Do not assume every dirty-looking filter needs replacement immediately, though. The manufacturer’s maintenance schedule should be the starting point. Some vehicles specify a mileage or time interval, while others call for inspection and replacement according to condition.
NHTSA-published maintenance schedules show that cabin air filters can be scheduled maintenance items, with replacement intervals varying by vehicle.
The driveway advantage is obvious. You avoid paying labor for a component that is deliberately designed to be serviced. It is also an excellent opportunity to inspect the filter housing for leaves, dirt, or other debris before installing the replacement.
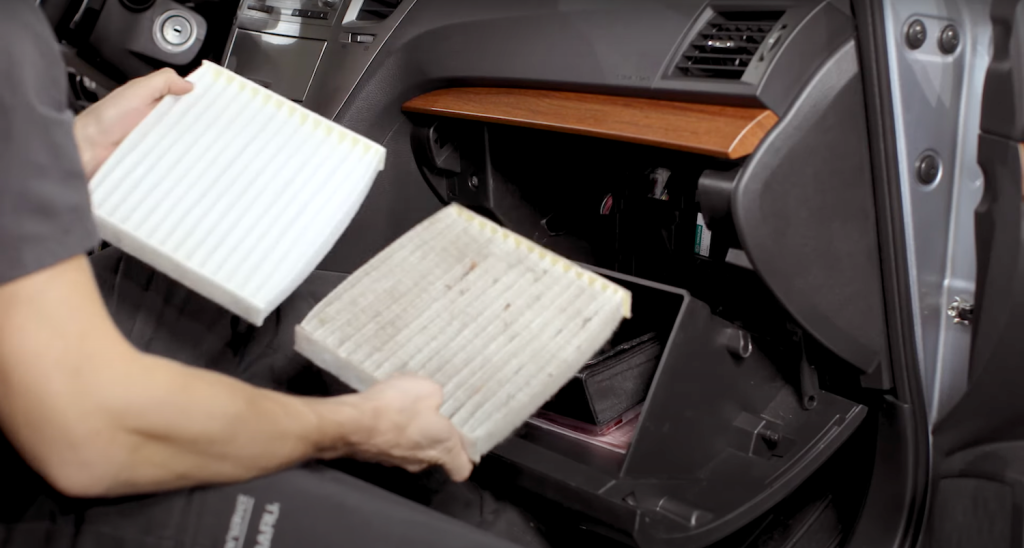
One important thing to keep in mind is that the cabin filter and engine air filter are not interchangeable. Each serves a different purpose and requires its own replacement procedure. Before buying a new filter, verify the part number and make sure it is designed for your specific vehicle.
For a beginner, this is one of the most satisfying maintenance jobs because the procedure is simple, the part is inexpensive compared with many repairs, and the result can be immediately noticeable when the HVAC system is running.
4. Replace the Battery
Replacing a conventional 12-volt automotive battery is another driveway job that can be straightforward, but it requires more care than simply removing two terminals. NHTSA recommends having a vehicle’s battery and charging system checked when necessary, particularly before demanding trips.
The first step is confirming that the battery actually needs replacement. A vehicle that struggles to start does not automatically have a bad battery.
A weak alternator, poor electrical connection, parasitic drain, or damaged cable can create similar symptoms. A battery tester or charging-system test can help identify the real problem before spending money on a replacement.
If the battery is confirmed to be worn out, the replacement must match the vehicle’s requirements. Battery size, terminal arrangement, capacity, and cold-cranking rating can differ substantially between vehicles. Some newer cars also require the replacement battery to be registered through the vehicle’s electronic system after installation.
The physical job normally involves switching the vehicle off, identifying the negative and positive terminals, removing the retaining hardware, disconnecting the negative terminal first, then the positive terminal, and removing the battery.
Installation is performed in the reverse order, with the positive terminal connected before the negative terminal. The owner’s manual should take priority because manufacturers can specify different procedures.
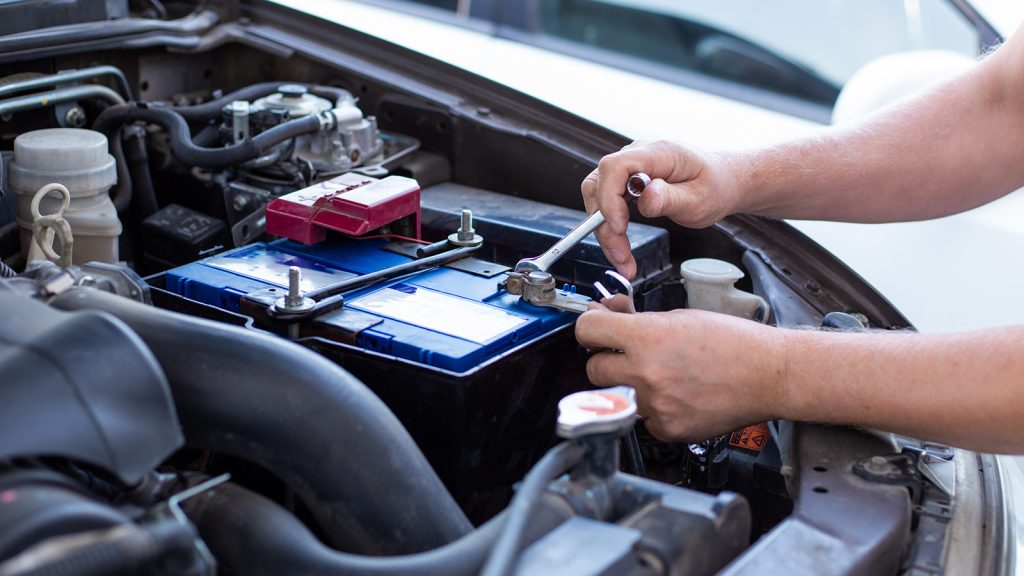
There is an important exception for hybrids and electric vehicles. NHTSA explicitly warns that the high-voltage traction battery in an EV or hybrid is completely different from the conventional 12-volt battery and should not be serviced without appropriate training and specialized equipment.
The difference makes the basic rule easy to follow. A conventional 12 volt battery can often be replaced safely at home, while a high voltage battery should be handled by a qualified professional. Always use the correct battery for the vehicle, take precautions to prevent accidental short circuits, and never assume the two systems can be treated the same way.
5. Replace a Serpentine Belt
A serpentine belt is easy to forget because it sits in the engine bay and usually receives very little attention until something stops working. Yet one belt can drive several accessories, including the alternator, air-conditioning compressor, power-steering pump on applicable vehicles, and other engine accessories. If it fails, the vehicle can quickly become undriveable.
Replacing it can be a reasonable driveway job on vehicles where the belt is accessible, and the manufacturer does not require specialized procedures. The first challenge is identifying the correct belt routing.
Many engines have a routing diagram under the hood, while others show the arrangement in the owner’s manual or service information. Taking a photograph before removal is also useful, but the manufacturer’s routing diagram should be treated as the authority.
Inspection should come before replacement. The Car Care Council recommends checking drive belts for signs of wear and damage as part of routine vehicle maintenance. Cracks, fraying, glazing, contamination, missing chunks, or unusual rib wear can indicate that the belt needs attention.
The job typically involves releasing the belt tensioner with the appropriate tool, removing the old belt, routing the new one around the pulleys, and slowly releasing the tensioner. The belt must sit correctly in every grooved pulley. A belt that is one rib out of position can be damaged rapidly after the engine starts.
Do not replace the belt blindly if the underlying problem is a failing pulley or tensioner. A seized bearing can destroy a new belt, while a weak tensioner can allow slippage. Spinning accessible pulleys by hand with the engine off can sometimes reveal obvious roughness, although more involved diagnosis may require professional equipment.
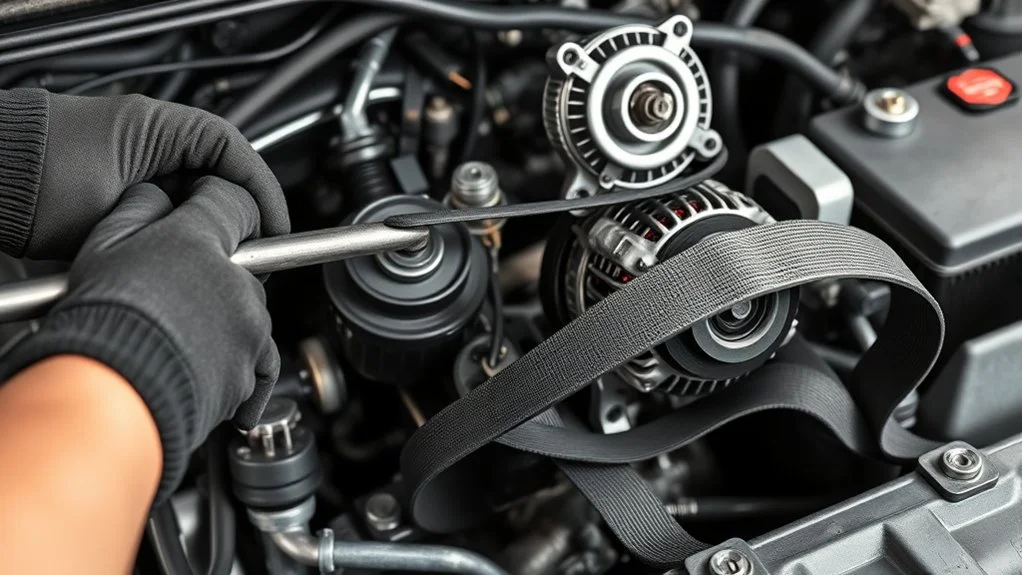
This is also a repair where engine configuration matters enormously. Some modern vehicles have very limited access around the belt system, turning a simple replacement into a frustrating job. If the manufacturer’s procedure requires removing major components, the driveway advantage disappears.
For an accessible engine, however, a serpentine-belt replacement can be one of the more rewarding DIY maintenance jobs.
6. Replace the Engine Oil and Filter
An oil and filter change is arguably the classic driveway maintenance job, but doing it correctly requires more than draining the old oil and pouring in a random replacement.
Engine oil lubricates moving components, helps carry heat away from internal parts, and suspends contaminants so the filter can remove them. The correct oil specification and service interval therefore matter.
The Federal Trade Commission advises vehicle owners to follow the manufacturer’s maintenance schedule and use the correct products and procedures specified for the vehicle.
Before beginning, check the owner’s manual for the required oil viscosity, specification, approximate capacity, and filter type. Do not rely solely on what worked for an older vehicle. Modern engines can require specific oil standards, particularly turbocharged or emissions-controlled powertrains.
The physical procedure is straightforward. Warm the engine according to the manufacturer’s instructions, park on a level and stable surface, secure the vehicle properly, drain the old oil into a suitable container, replace the filter, reinstall the drain plug using the correct procedure, and add the specified amount of new oil. The final level should be checked using the manufacturer’s recommended method.
Never work beneath a vehicle supported only by a jack. If the vehicle must be raised, use properly rated jack stands on suitable support points and follow the manufacturer’s instructions.
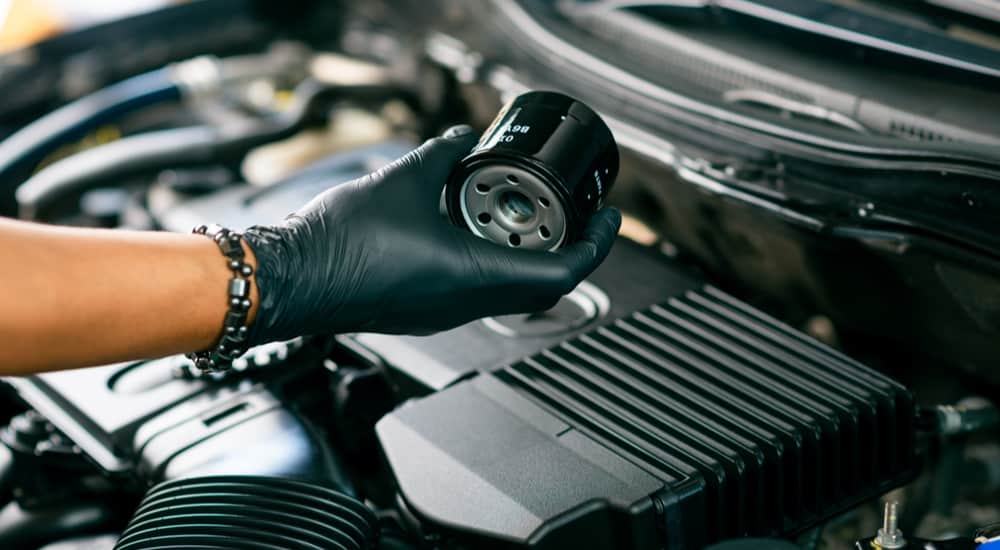
Used oil also needs responsible handling. The Environmental Protection Agency states that used oil can be recycled and that recycling used oil conserves a valuable resource. (epa.gov) Many automotive retailers and recycling facilities accept used motor oil, although local programs differ.
The appeal of doing this job yourself is not simply saving labor. You control the exact oil and filter being installed and can inspect the old oil for unusual metal particles or coolant contamination.
Just remember that the correct specification matters more than the cheapest bottle on the shelf.
7. Replace the Engine Coolant
Changing engine coolant can be a manageable driveway job on some vehicles, but it requires considerably more care than changing a wiper blade or cabin filter. Coolant regulates engine temperature and provides corrosion protection for the cooling system, so using the correct fluid and following the manufacturer’s procedure is essential.
The most important rule is straightforward. Never open the cooling system while the engine is hot. Because the system remains pressurized, the coolant inside can be extremely hot, and removing the cap too soon can result in serious burns. NHTSA’s vehicle maintenance guidance also stresses the importance of allowing the engine, components, and fluids to cool completely before beginning any service.
Once the engine is completely cool, the exact procedure depends heavily on the vehicle. Some cars have a radiator drain plug, while others require access to a lower hose. Certain cooling systems also have specific bleeding procedures to remove trapped air.
That last point is important because simply draining and refilling the reservoir is not necessarily a coolant change.
The owner’s manual or factory service procedure should identify the correct coolant specification and capacity. Do not assume that coolant color determines compatibility. Different manufacturers use different formulations, and mixing incompatible products can create problems.
The Car Care Council recommends checking coolant condition and maintaining the cooling system as part of routine vehicle care.
Coolant disposal is another consideration. Used coolant should never be poured onto the ground or into a storm drain. Ethylene glycol coolant is toxic, and spills can be dangerous to pets and wildlife. The EPA advises proper handling and disposal of automotive fluids through appropriate local waste or recycling programs.
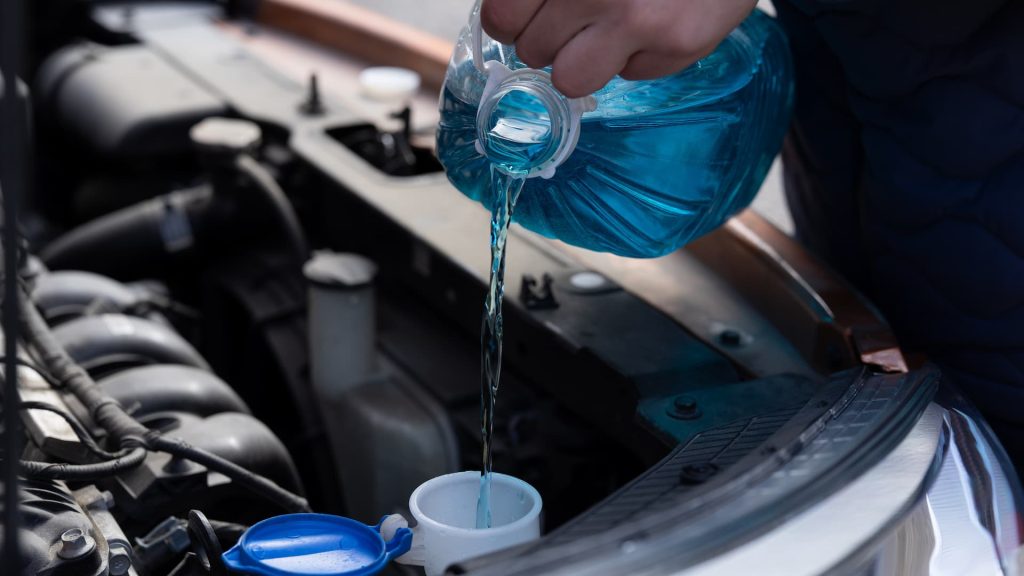
This job becomes less attractive when the cooling system requires vacuum filling, specialized bleeding equipment, or complicated access. On a conventional vehicle with an accessible radiator and clearly documented procedure, however, it can be a practical home-maintenance task.
The real benefit is being able to perform a scheduled cooling-system service before degraded coolant becomes a larger problem.
8. Replace Spark Plugs
Spark-plug replacement is one of the best driveway repairs for a gasoline engine because the components are relatively small, accessible on many engines, and designed as routine service items. Spark plugs ignite the air-fuel mixture inside the cylinders, and worn or fouled plugs can contribute to misfires, rough running, poor acceleration, and reduced fuel economy.
The replacement interval varies considerably by vehicle and plug design. Modern iridium and platinum plugs can last substantially longer than older conventional plugs, so replacing them based on a generic mileage figure can be unnecessary. The manufacturer’s maintenance schedule should always take priority.
The procedure begins with a completely cool engine. Remove the necessary engine covers or ignition components, disconnect the ignition coil from the cylinder being serviced, remove the coil, and then use the correct spark-plug socket and extension to remove the old plug. The replacement plug must have the correct part number and specification for the engine.
One of the biggest mistakes beginners make is forcing a plug into the cylinder head. Spark plugs must start threading smoothly by hand. Cross-threading the plug can damage the cylinder-head threads and turn a simple maintenance job into a much more expensive repair.
The tightening procedure matters just as much. Manufacturers specify a particular torque, and using a torque wrench is preferable to guessing. Over-tightening can damage the plug or cylinder head, while insufficient tightening can create sealing problems.
The Car Care Council lists spark-plug inspection and replacement among routine vehicle maintenance tasks and emphasizes following the manufacturer’s recommendations.
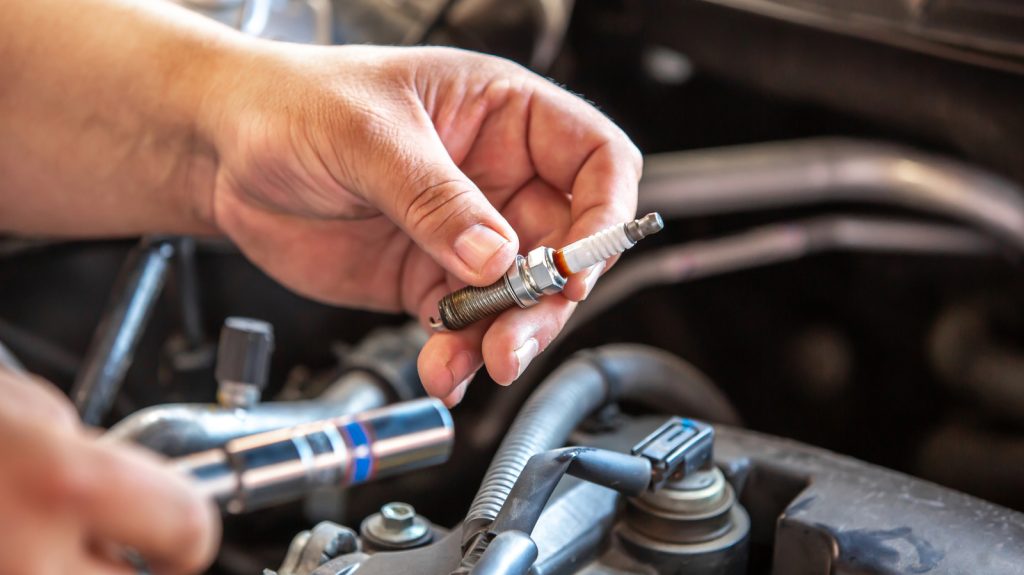
Modern ignition systems can also make access surprisingly difficult. Some V6 and turbocharged engines place plugs beneath extensive intake or engine hardware. If reaching the plugs requires substantial disassembly, the job may no longer qualify as an easy driveway repair.
For an accessible four-cylinder or similarly straightforward engine, however, spark plugs are a perfect example of maintenance that can be performed carefully at home while giving the owner an opportunity to inspect the condition of the engine’s combustion system.
9. Replace a Blown Fuse
Replacing a blown fuse is one of the simplest electrical repairs a vehicle owner can handle at home, provided the cause of the failure is understood. Fuses protect wiring and electrical components by breaking the circuit when excessive current flows. Using the wrong fuse rating can defeat that protection and create a serious electrical hazard.
Start by locating the vehicle’s fuse box and identifying the failed fuse with the owner’s manual. The manual should also provide the correct amperage. Always replace a blown fuse with one that has the same rating. Never install a higher-rated fuse simply because the correct replacement is not available.
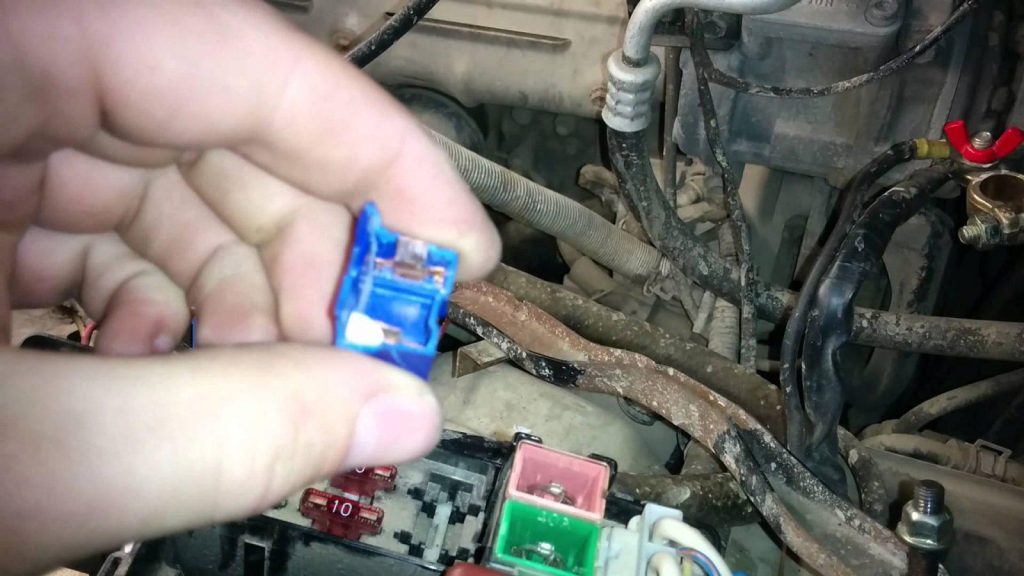
NHTSA recommends paying attention to electrical problems and having persistent faults properly diagnosed rather than repeatedly replacing blown fuses. If a replacement fuse fails immediately, it can indicate a short circuit, damaged wiring, or a faulty electrical component.
At that point, the repair should stop. Do not continue installing new fuses in an attempt to keep the system working. Repeated failures indicate that excessive current is still present and that a deeper electrical problem needs attention.
The actual replacement is usually straightforward. Turn off the ignition and relevant electrical equipment, remove the damaged fuse with the supplied fuse puller or a suitable tool, inspect it, and install an identical replacement.
Keeping a small selection of correctly rated spare fuses in the vehicle is also a good idea. They are inexpensive, compact, and useful when an unexpected electrical problem occurs. Most importantly, treat a blown fuse as a warning that should be investigated, not simply replaced repeatedly.
10. Replace a Headlight or Exterior Bulb
Replacing a conventional exterior bulb is a simple driveway repair that can save a trip to the repair shop. A failed headlight, brake light, turn signal, or marker lamp can reduce visibility and make your vehicle harder for other drivers to see. For that reason, a burned-out bulb should be replaced promptly.
The replacement process varies by vehicle. Some bulbs can be accessed through the engine compartment or an access panel, while others may require removing additional components. Check the owner’s manual for the correct bulb type and installation procedure.
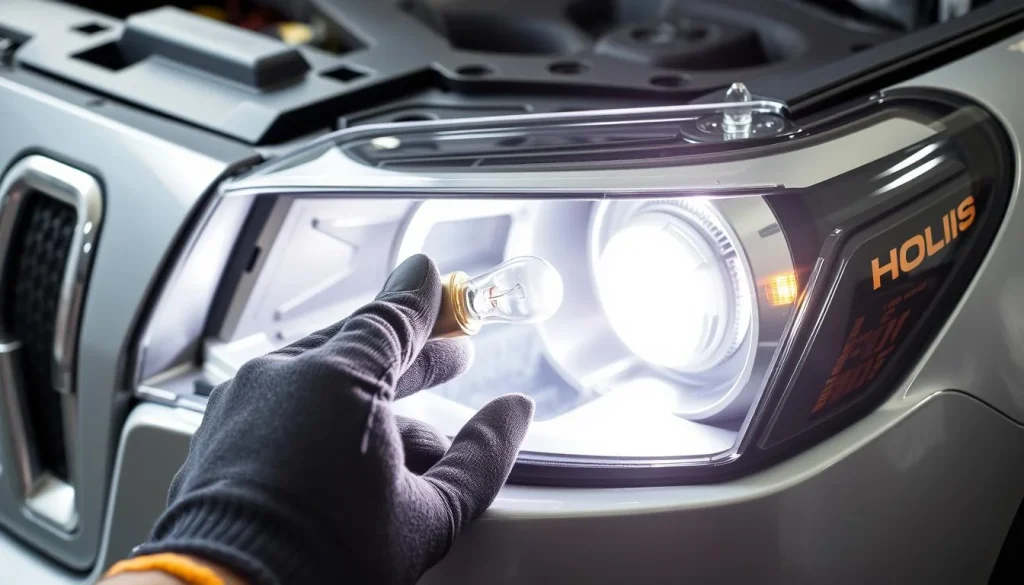
NHTSA recommends regularly checking headlights, brake lights, turn signals, and other exterior lighting because functioning lamps are essential for seeing and being seen.
When installing a halogen bulb, avoid touching the glass with bare fingers. Oils from your skin can leave residue on the surface and cause uneven heating. Hold the bulb by its base or use clean gloves instead.
Not every modern lighting system is suitable for DIY work. Many newer vehicles use LED assemblies instead of replaceable bulbs, while some headlamp systems contain high-voltage components or require electronic calibration. These systems are better handled according to the manufacturer’s service instructions.
After installing the bulb, test all relevant lights before driving. Check the headlights, turn signals, brake lamps, and parking lights. If the new bulb fails immediately, the issue could involve a fuse, wiring, socket, or charging system.
Always use the exact bulb specification recommended for your vehicle. Avoid installing a higher wattage bulb simply to produce more light.