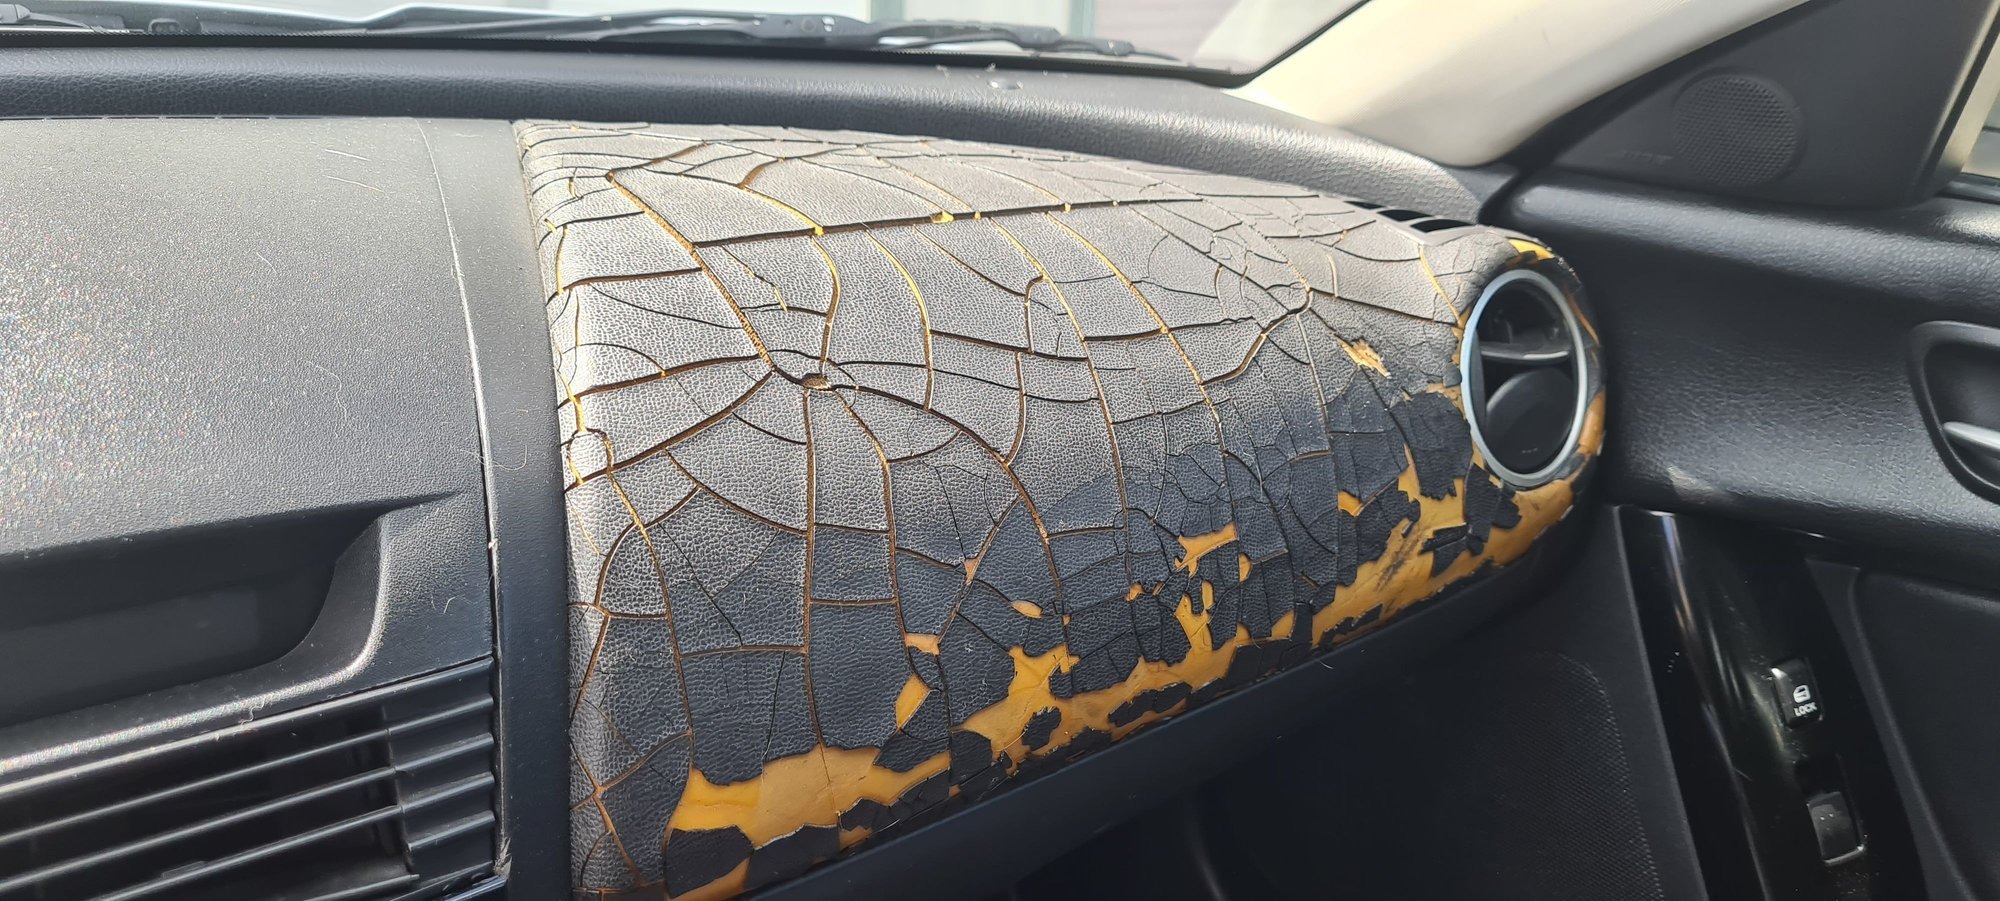
A cracked dashboard can make an otherwise dependable vehicle look tired and poorly cared for. The good news is that replacing the entire dashboard is not always necessary. Depending on the material, location, and size of the damage, you can repair the surface with affordable materials and basic tools. Some methods work best for small cracks, while others are better suited to larger damaged areas.
The right repair can improve the appearance of the interior and help stop the damage from getting worse. Before starting, clean the area carefully and check whether the crack affects an airbag cover or another safety component. If it does, professional service is the safer choice. For ordinary cosmetic cracks, these ten methods can give your dashboard a fresh appearance without the expense of a full replacement.
1. Fill Cracks with Epoxy
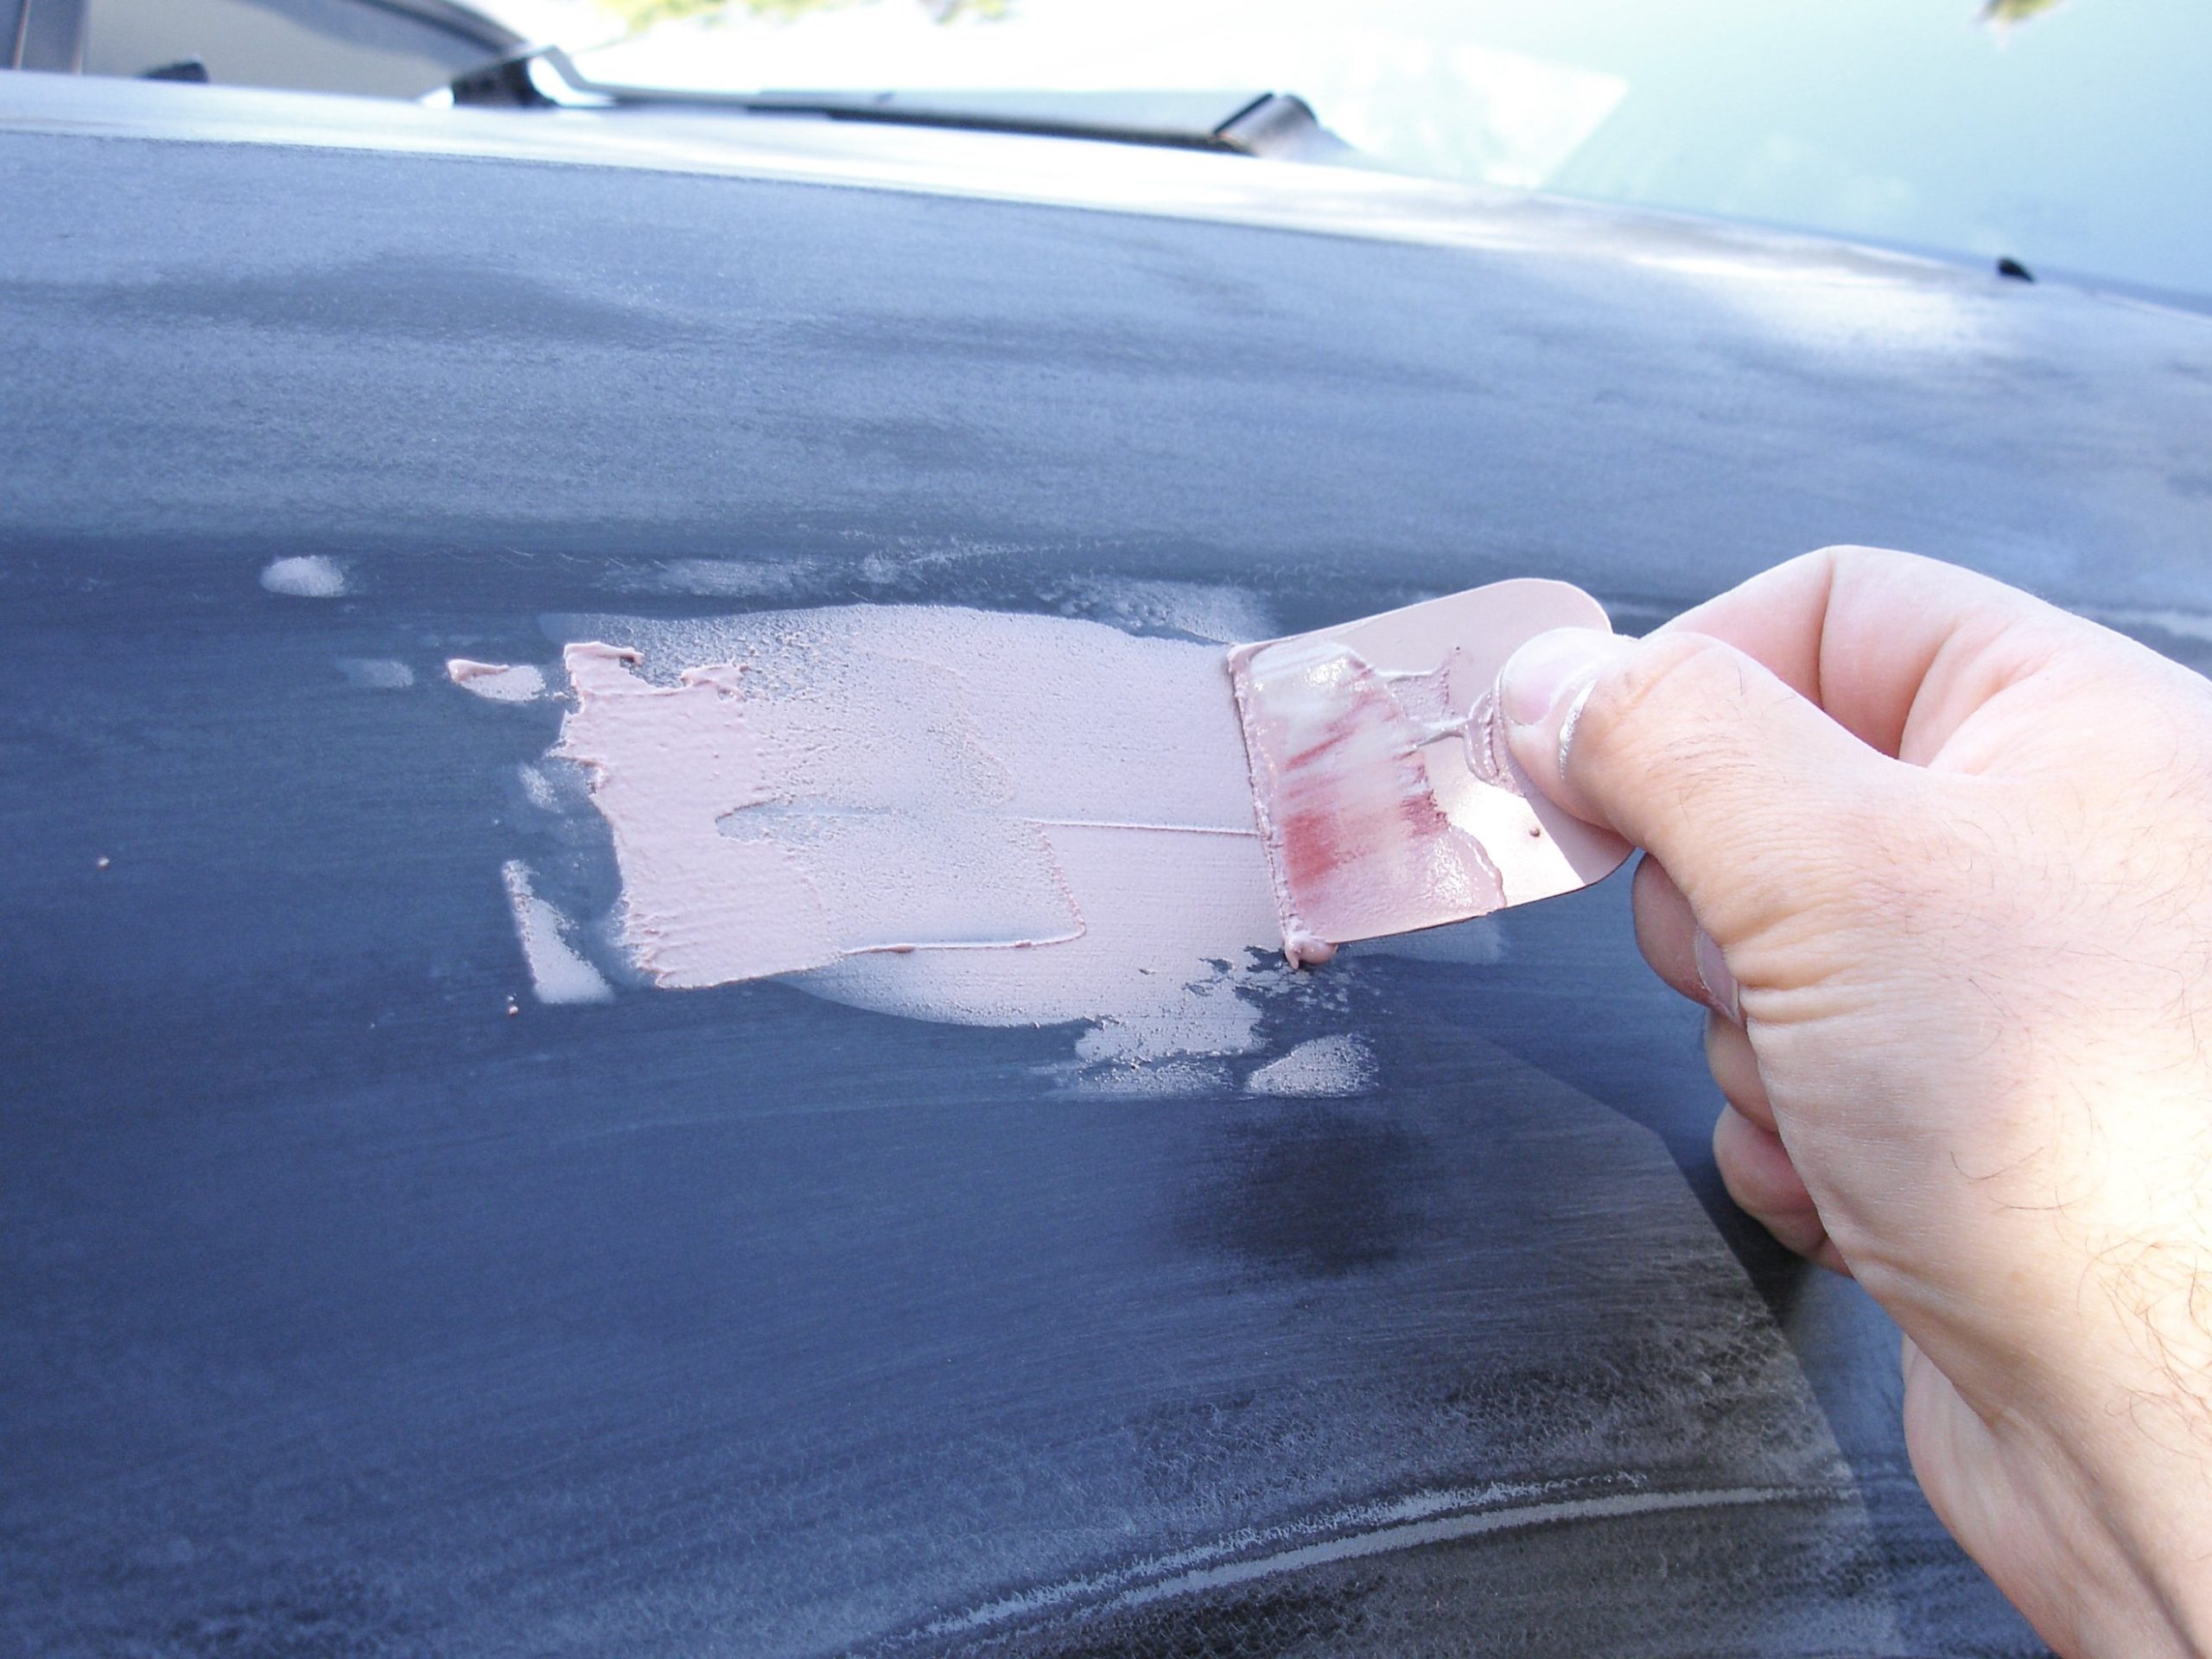
Deep cracks need more than a surface patch, and epoxy filler handles that job better than almost anything else available to home mechanics. Start by widening the crack slightly into a V-shape using a small rotary tool or sharp blade.
The goal is not to increase the damage, but to create more surface area for the epoxy to bond with, which can make a significant difference in the repair’s long-term durability. Prepare the two-part epoxy according to the package instructions, then press it firmly into the groove you made.
Work it in completely so no air pockets remain underneath the surface, since trapped air tends to cause bubbling or cracking again down the road. Let it cure overnight, resisting the urge to rush this part.
Once fully hardened, sand the area with fine-grit sandpaper until it sits flush with the surrounding plastic. Deeper cracks sometimes need a second or third application, especially if the first layer shrank slightly while curing. Patience pays off here.
Finish with a texture spray or matching paint to blend everything together visually. Done properly, this method holds up remarkably well against heat cycles and everyday wear.
It’s arguably the strongest repair on this whole list for anyone dealing with cracks that go deep into the material rather than sitting only on the surface.
2. Use Moldable Glue
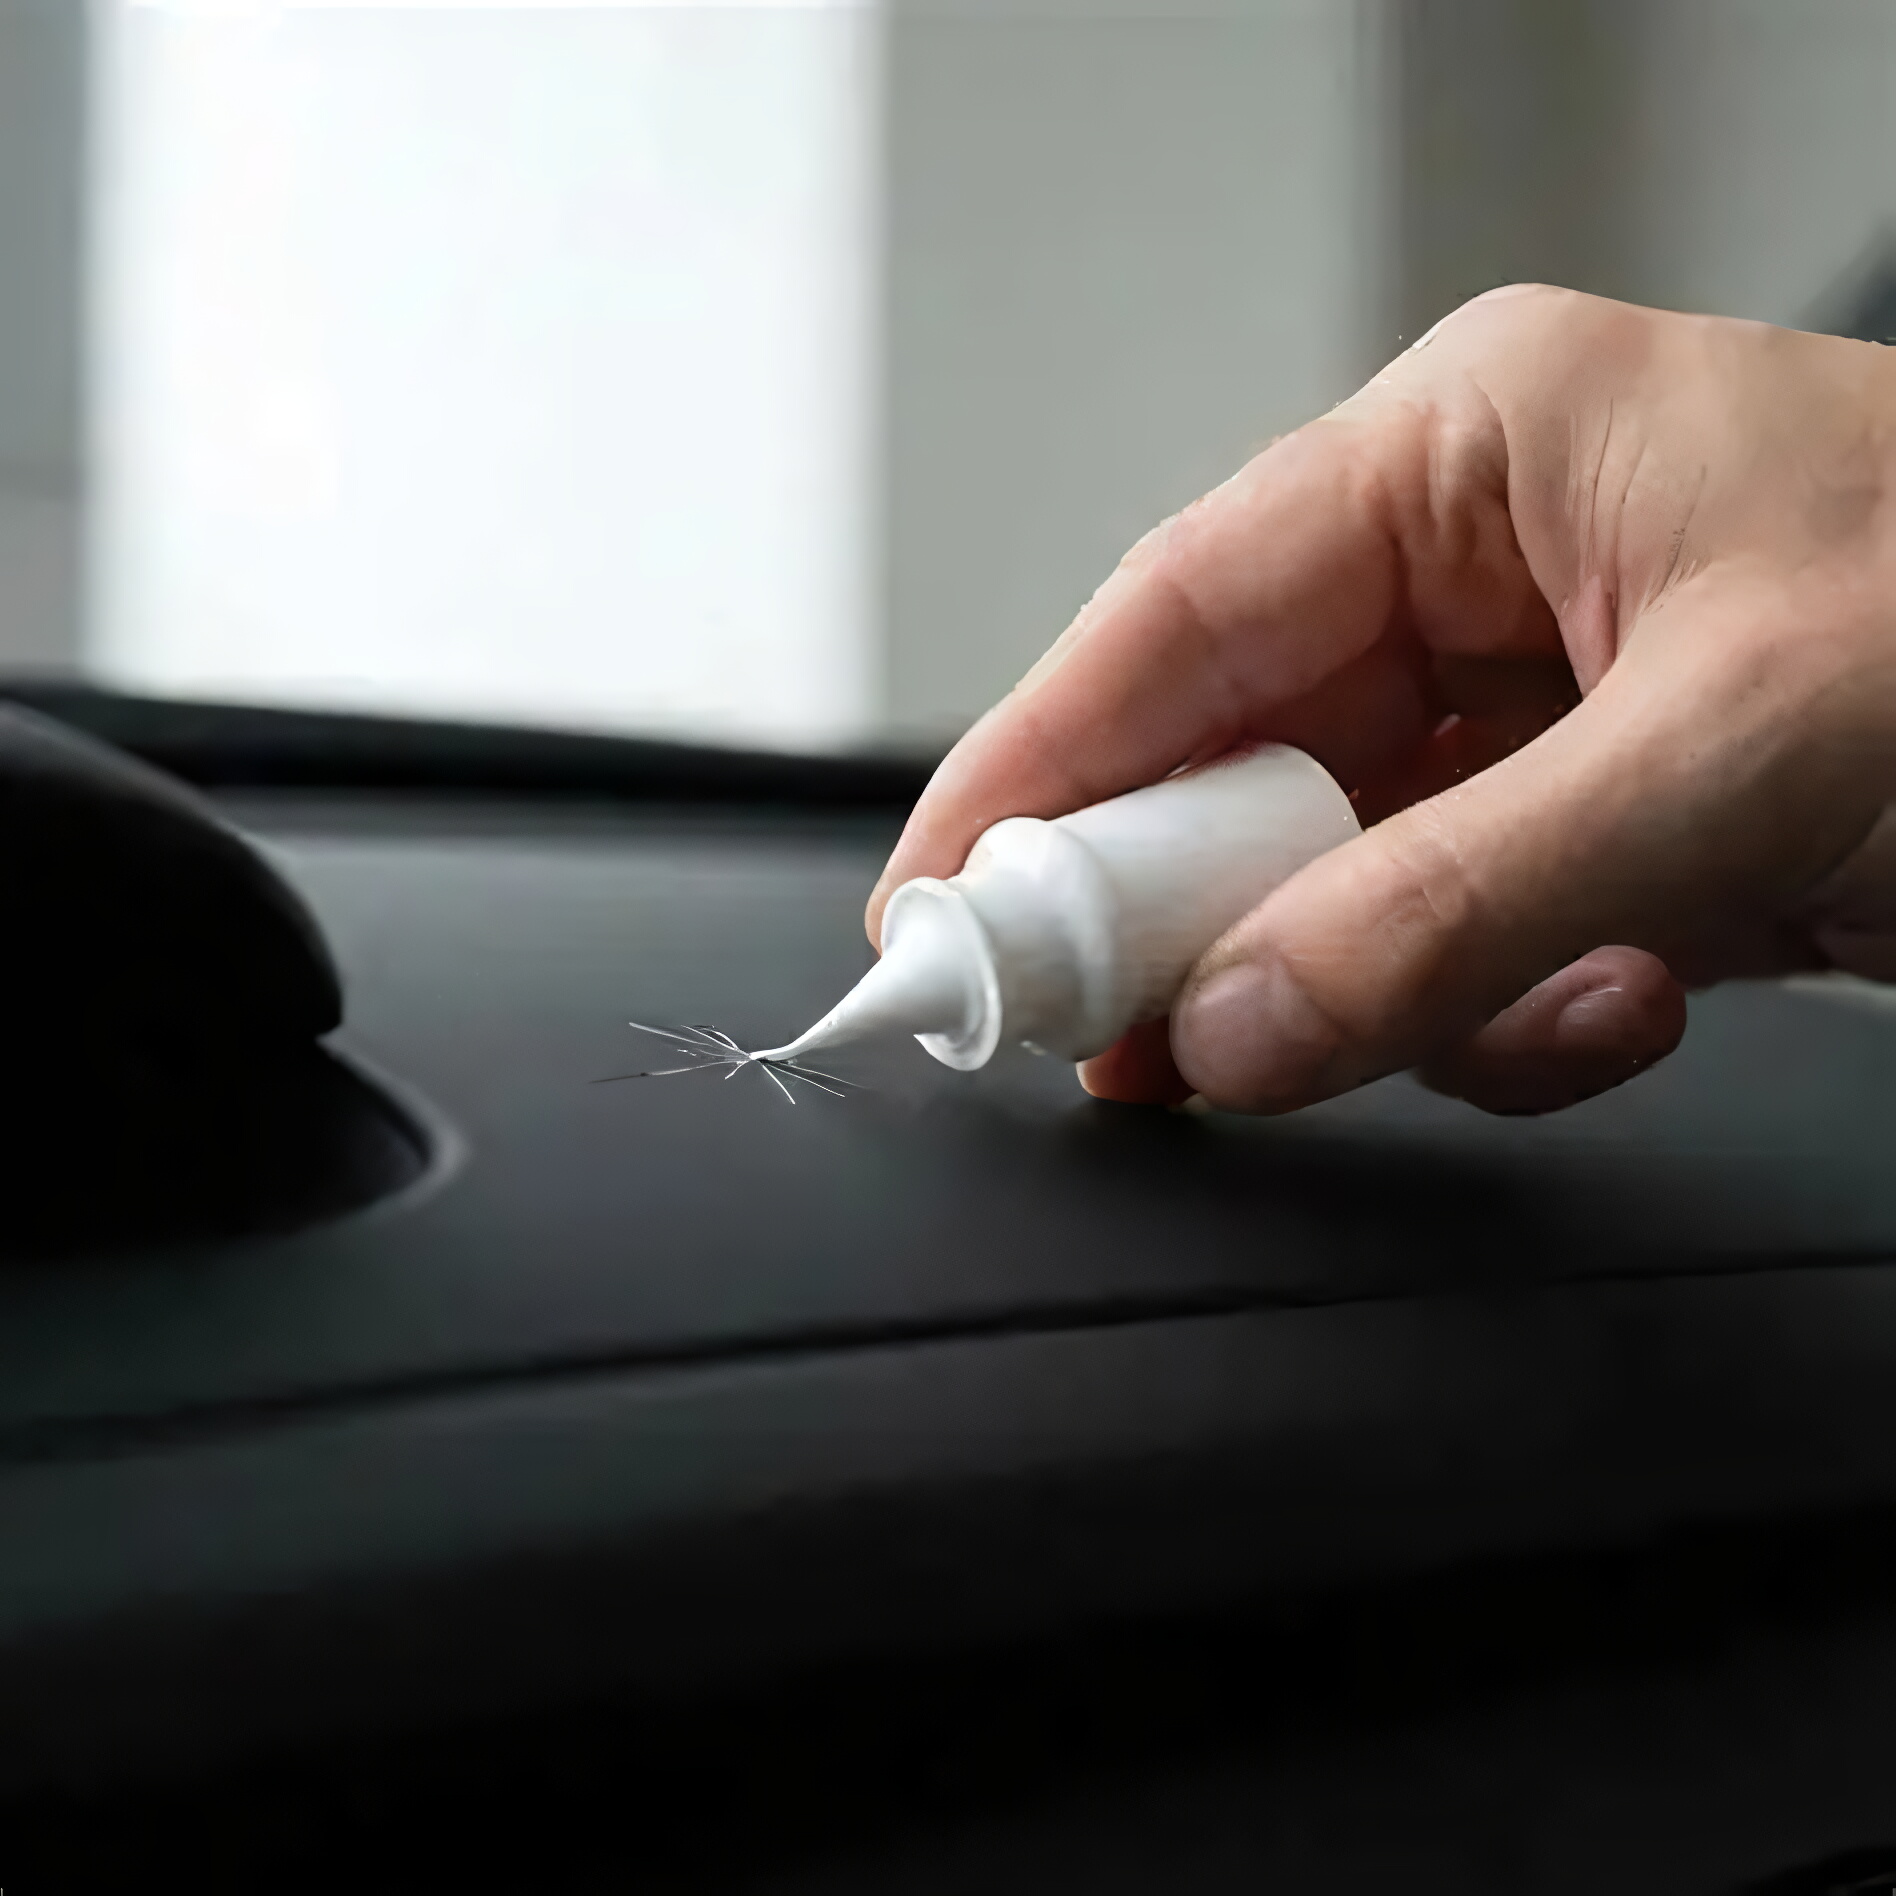
Small hairline cracks call for something gentler than epoxy, and moldable glue fits that need perfectly. Think of it as putty that hardens into plastic once cured, ideal for vinyl or soft-touch dashboard surfaces where a rigid filler might look or feel out of place.
Knead the glue between your fingers first. You want a soft, workable consistency before it ever touches your dashboard, similar to warming up clay before shaping it.
Press the material directly into the hairline crack, working it in gently so it fills the gap without leaving gaps of its own underneath. Smooth away any excess using a plastic scraper or even your fingertip, keeping the surface as level as possible while the glue is still pliable.
Once you’re satisfied with the shape, leave it alone overnight to set fully. Rushing this step almost always leads to a lumpy, uneven result that’s harder to fix later.
Painting over the cured glue is optional, but most people choose to do it anyway for a cleaner look that matches the surrounding dash color.
This method works best on cracks under a few inches long. For anything wider or deeper, epoxy remains the better choice, since moldable glue lacks the structural strength needed for larger repairs.
3. Apply Dashboard Overlay
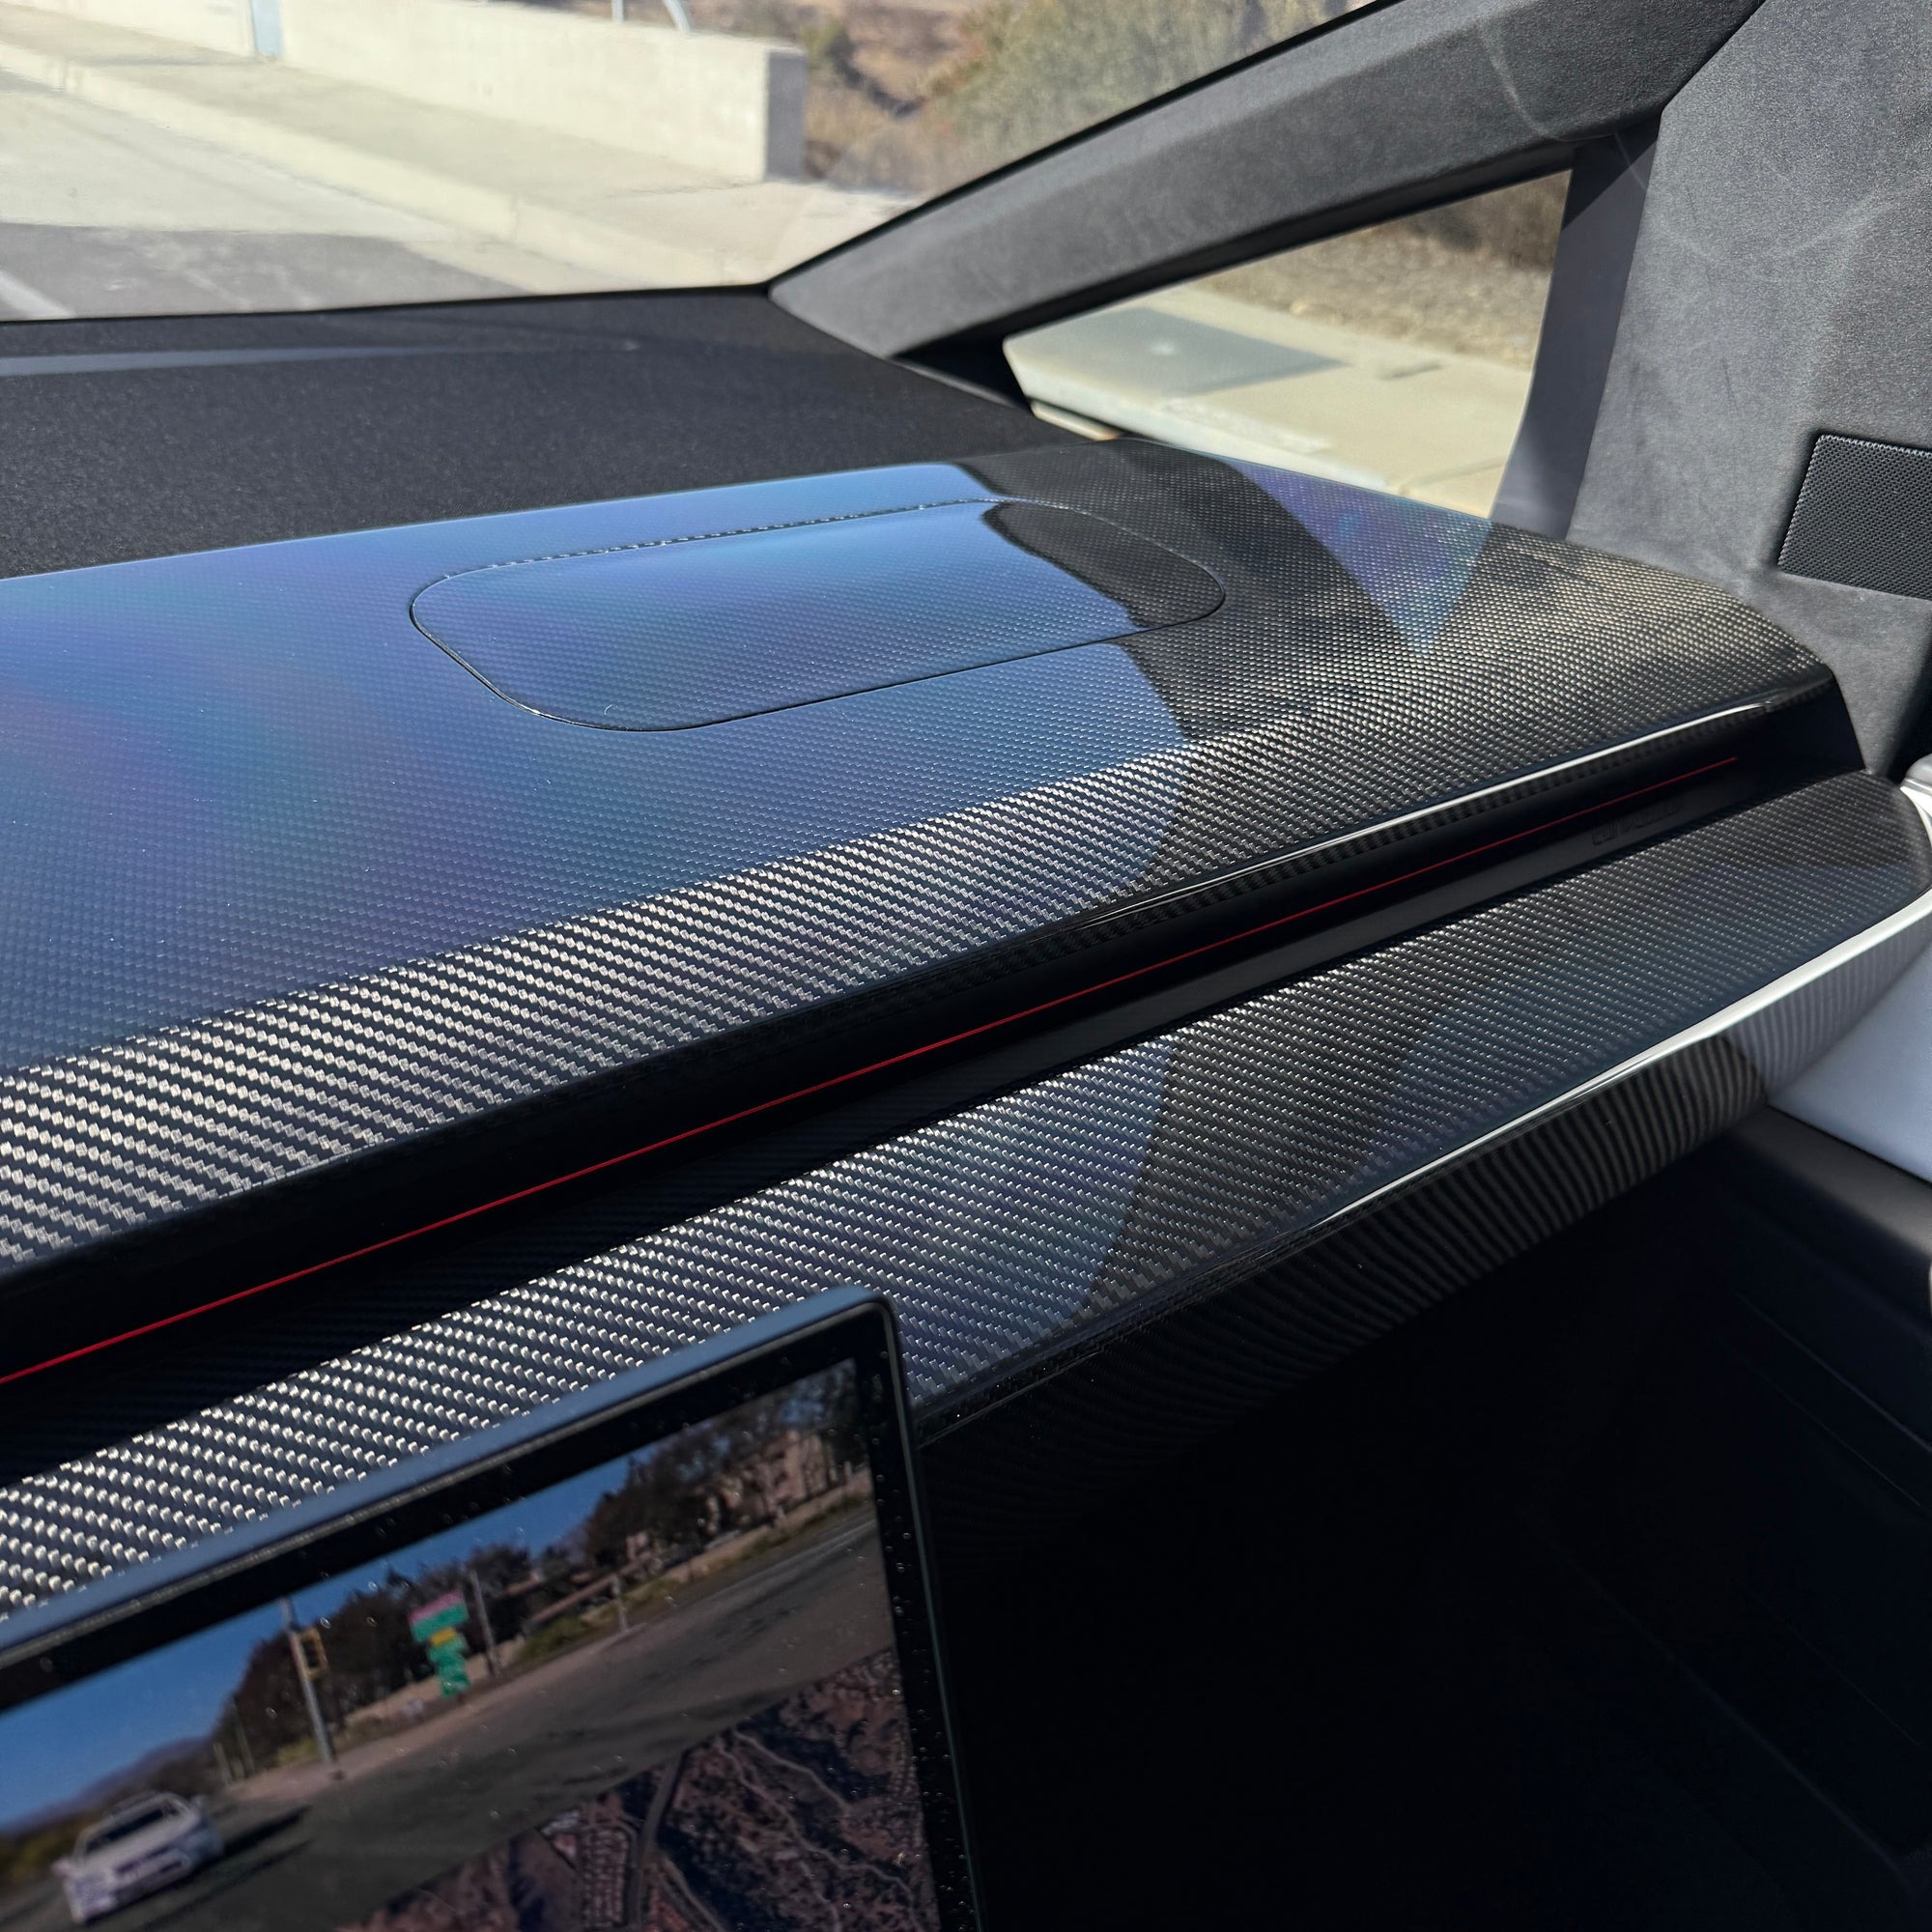
A dashboard overlay offers a practical solution when several cracks make individual repairs difficult. Instead of filling every damaged section, an overlay covers the affected surface with a new piece of plastic, vinyl, or another dashboard-compatible material.
Preparation is the part that should receive the most attention. Clean the existing dashboard carefully and remove dust, grease, and loose material. Lightly sanding the surface can help the adhesive grip, but avoid removing more material than necessary.
Test-fit the overlay before applying adhesive. Make sure it sits properly around vents, gauges, switches, and other fittings. This step matters because adhesive can make repositioning difficult once the piece has been placed.
Use an adhesive recommended for the overlay material. Apply it according to the manufacturer’s directions rather than spreading an excessive amount across the entire surface. Too much adhesive can squeeze out around the edges and create a messy finish.
Once the overlay is positioned, press it firmly against the dashboard. Tape can hold sections in place while the adhesive cures. Give the adhesive enough time to set before driving the vehicle.
This method can produce a cleaner appearance than attempting to repair many separate cracks. It also saves time when the original dashboard has widespread cosmetic damage but remains firmly secured in its position.
4. Install a Dash Cap
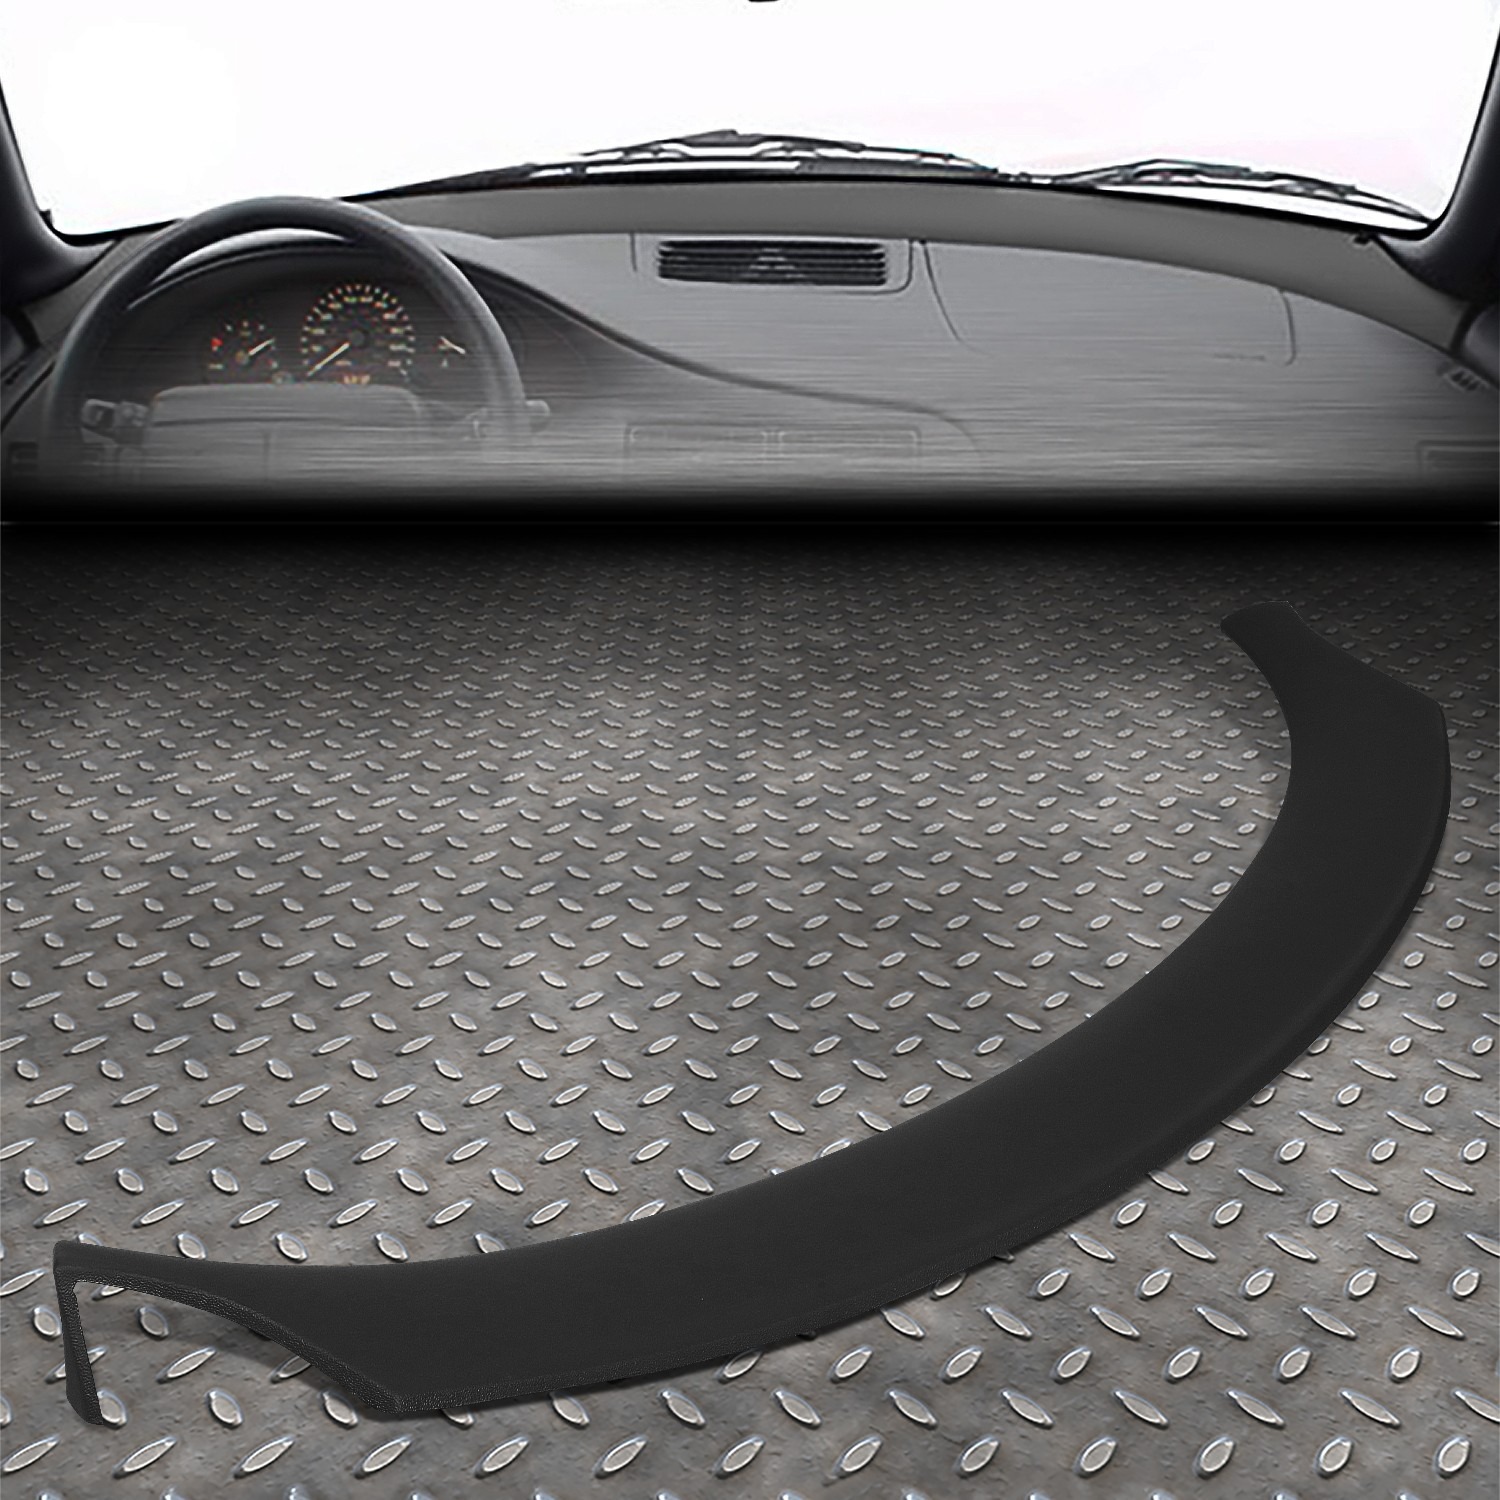
A dash cap works in a similar way to an overlay, but it is generally designed to cover a larger portion of the dashboard. These covers are formed to match the shape of specific vehicle dashboards, allowing them to sit over damaged areas without removing the original panel.
Before installation, clean the dashboard thoroughly. Any dirt or oily residue beneath the cap can interfere with adhesion. Place the cap on the dashboard without adhesive first and check its fit. Pay close attention to air vents, speaker openings, instrument areas, and edges.
If everything lines up correctly, apply the recommended adhesive to the areas specified by the manufacturer. Avoid using random household adhesives because some formulas can damage vinyl, plastic, or the cap itself.
Lower the cap into position carefully. Press along the edges and other contact points so the adhesive bonds properly. Depending on the product, tape, clamps, or weights may be useful while the adhesive cures.
One advantage of a dash cap is that it can hide several cracks at once. It also creates a fresh surface above the damaged dashboard. Some caps have finishes designed to resemble factory materials, making them less obvious after installation.
A properly fitted cap can be a practical choice for a badly cracked dashboard when the original panel is still structurally secure.
5. Reinforce with Fiberglass or Mesh
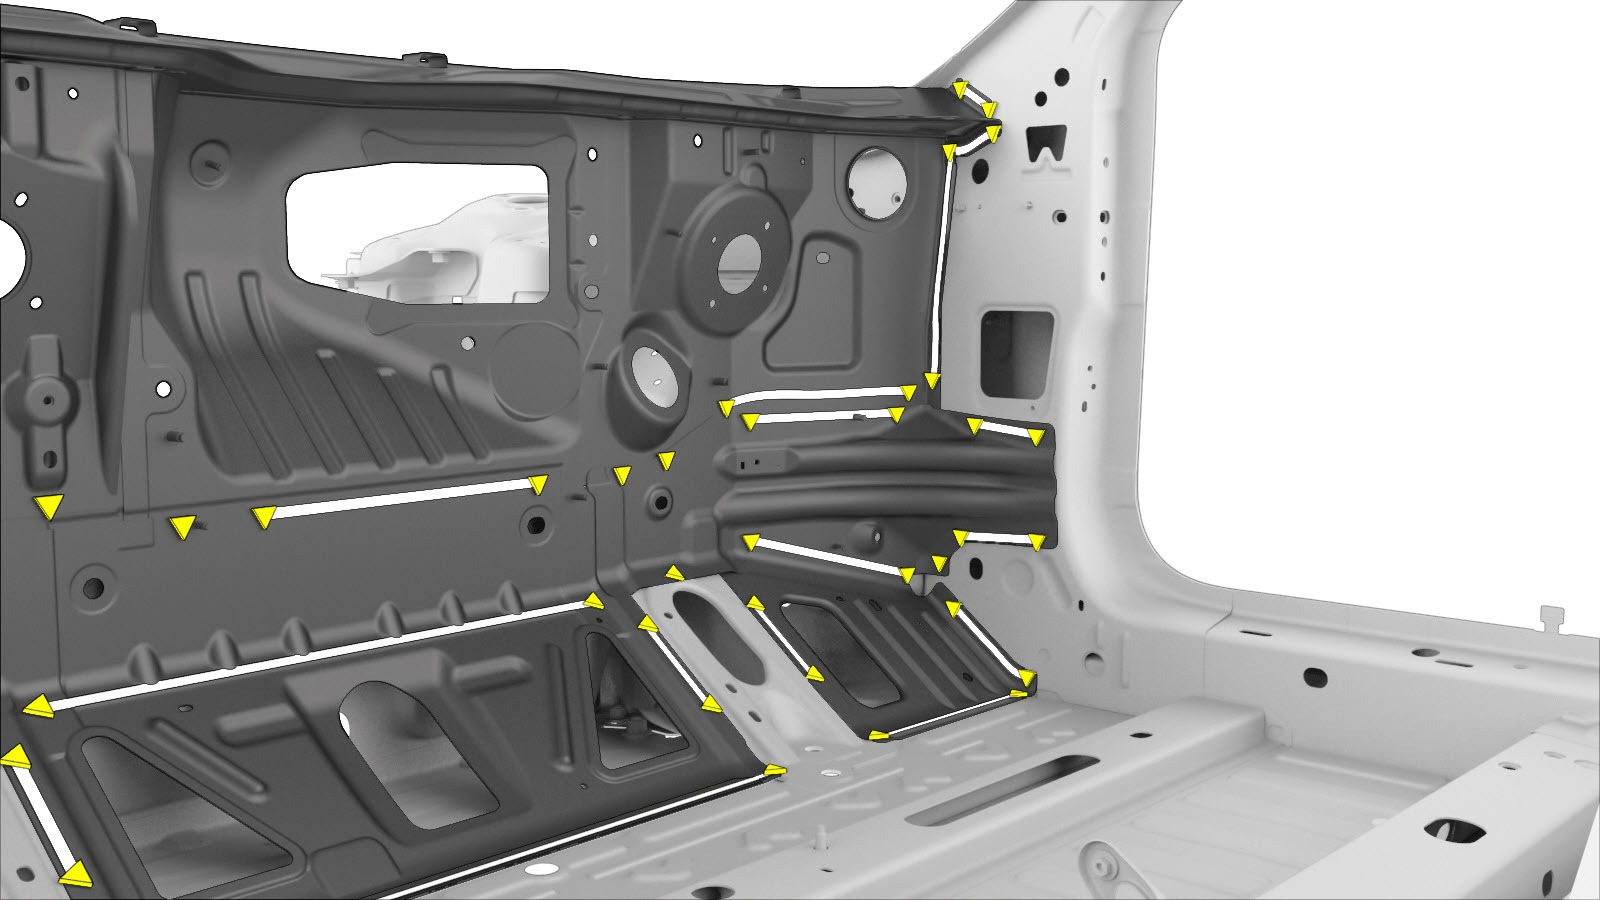
Cracks that keep spreading despite your best repair attempts usually need reinforcement underneath, not just filler on top. That’s where fiberglass or plastic mesh comes into play, adding structural backbone that prevents future separation as the dashboard material naturally expands and contracts with temperature changes.
Start by cutting a small piece of thin fiberglass mesh slightly larger than the crack itself. Slide it behind the crack if there’s enough space, or press it directly into the gap if the damage runs through the entire thickness of the material.
Apply epoxy or filler over the mesh once it’s positioned, working it in so the mesh becomes fully embedded rather than sitting visibly at the surface.
This creates a bonded layer that distributes stress across a wider area instead of concentrating it at one weak point, which is exactly why the crack formed there in the first place.
Give the repair plenty of time to cure completely before sanding, since rushing this stage risks pulling the mesh loose from the surrounding material. Once hardened, sand smooth and proceed with texture matching and painting as you would with any other filled crack.
This method takes more effort than a basic epoxy fill, but for dashboards exposed to constant heat, direct sun, or wide temperature swings, that extra reinforcement often makes the difference between a repair that lasts years and one that cracks again within months.
6. Sand Smooth and Recreate Texture
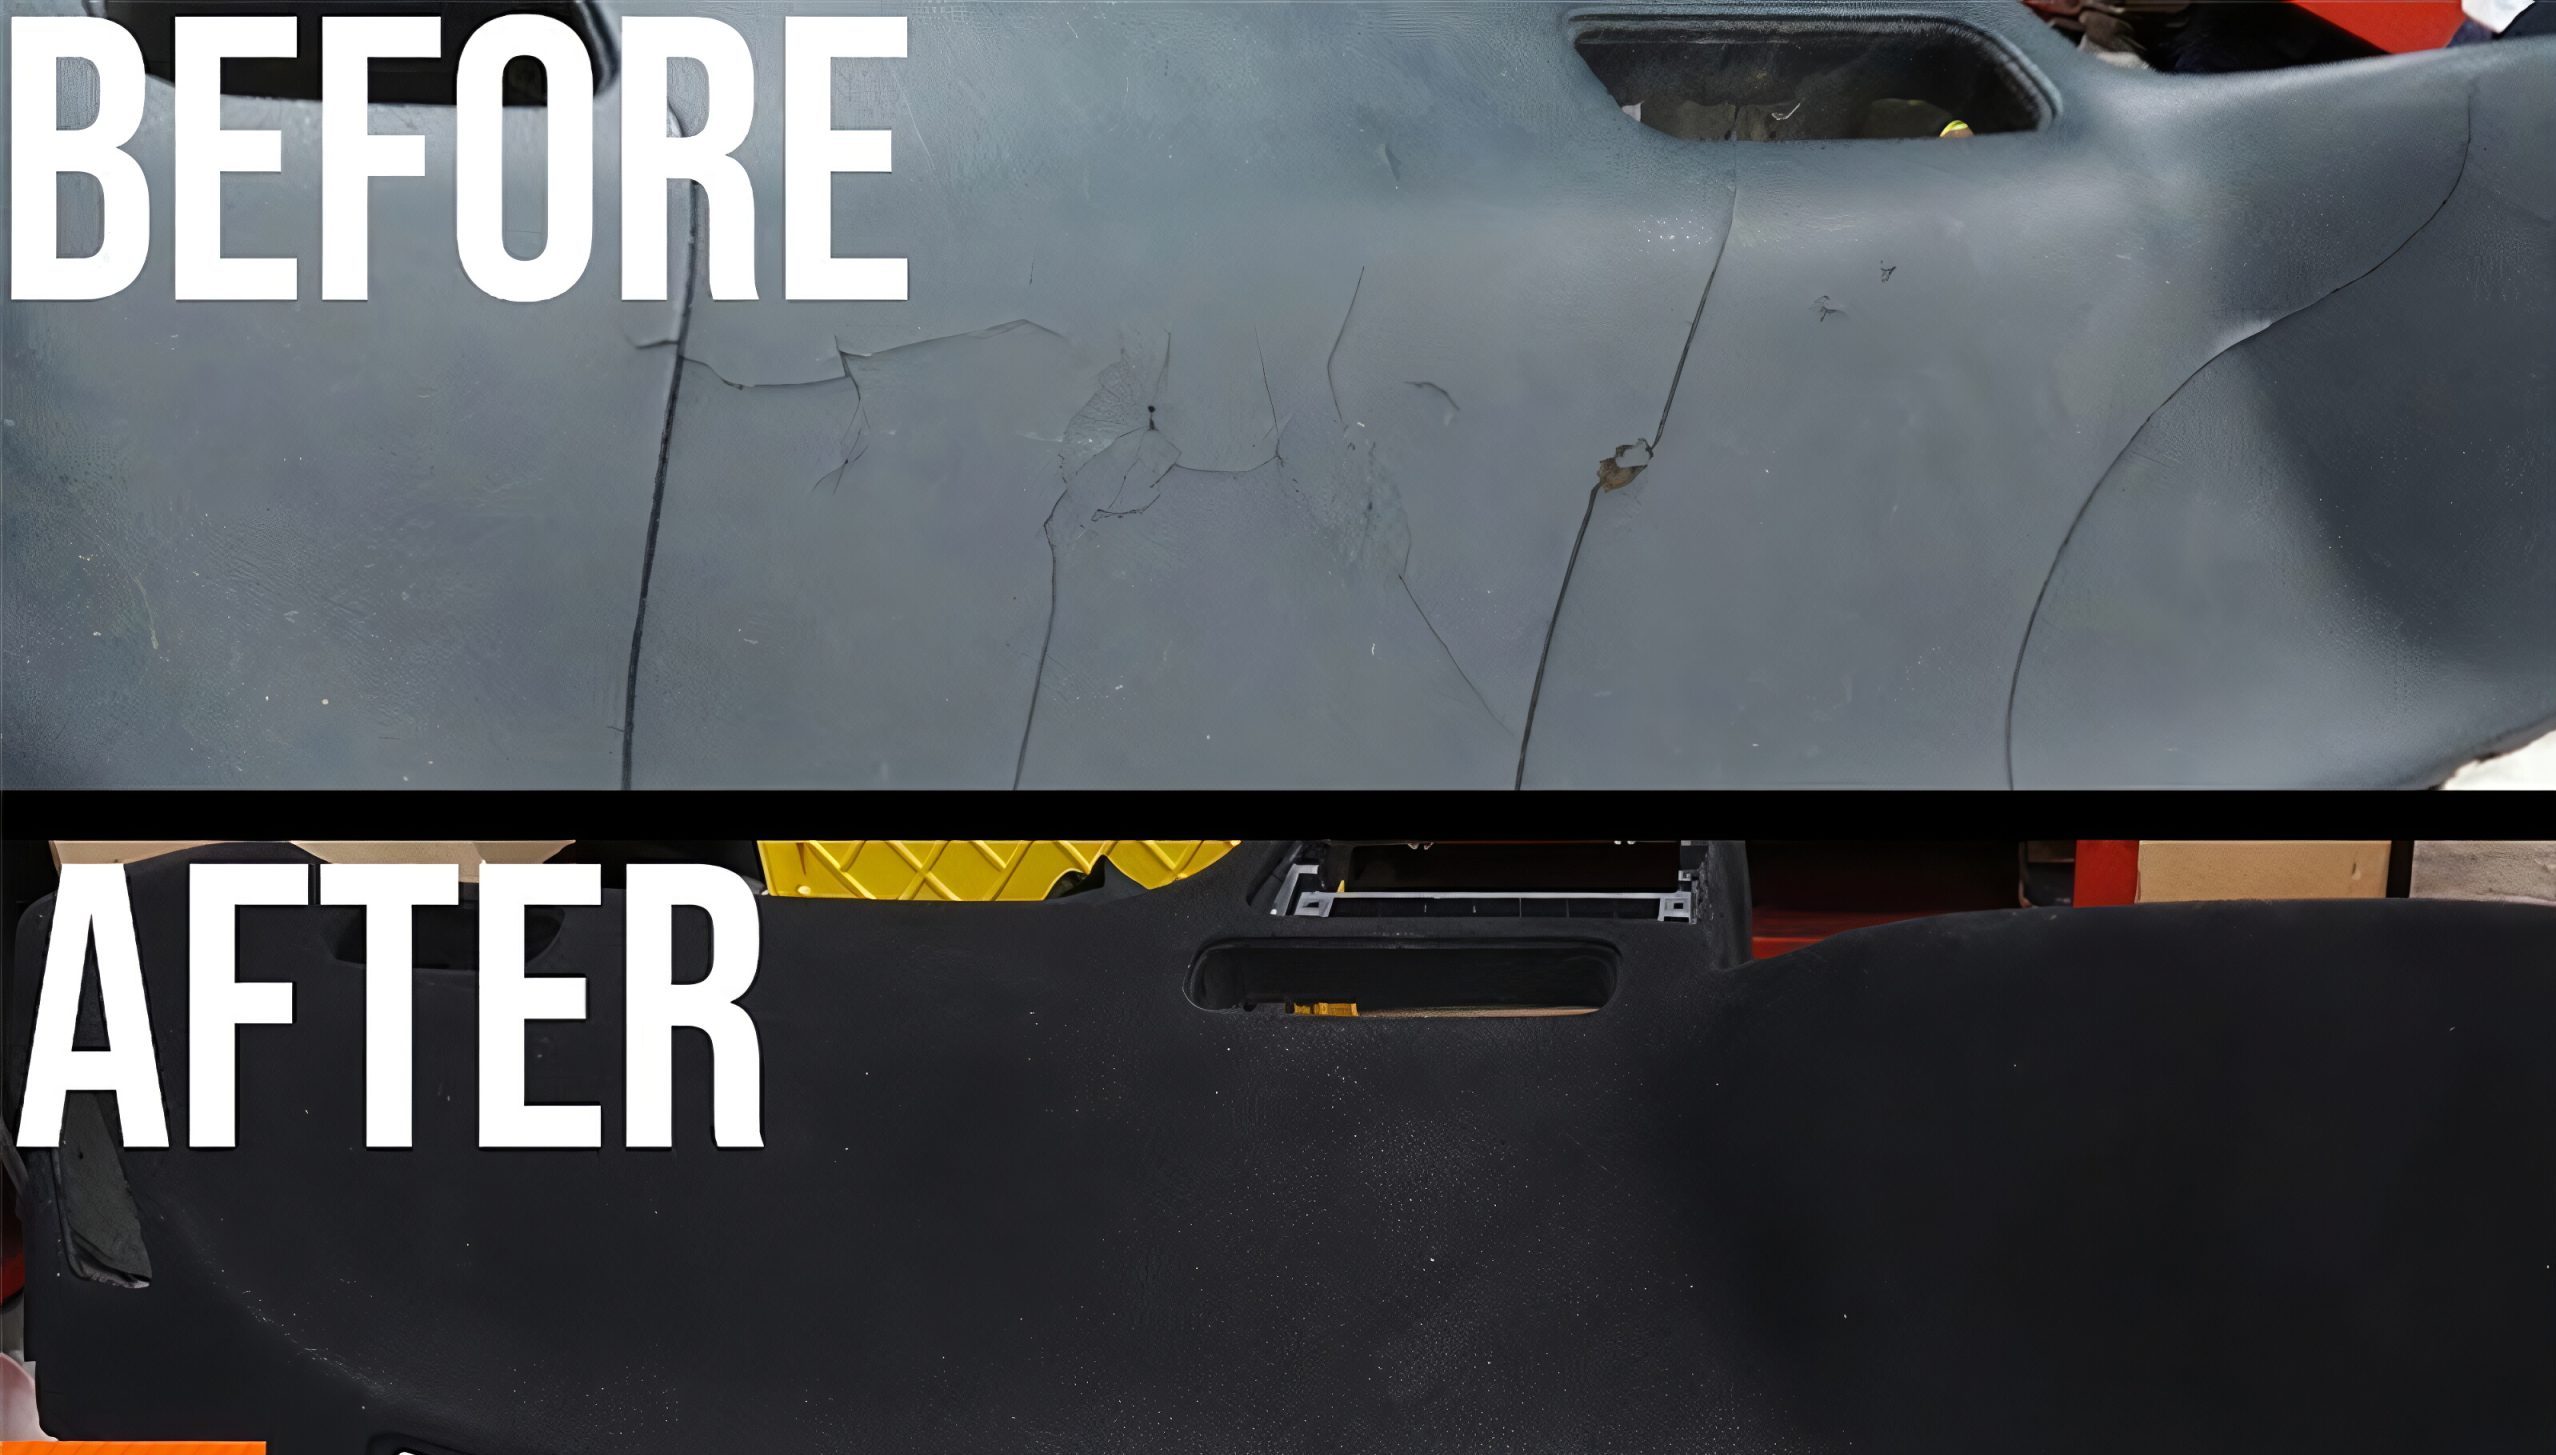
A repair can be structurally sound and still look poor if the texture does not match the surrounding surface. Dashboard panels typically have a textured, grained finish that helps reduce glare and conceal minor marks. Failing to recreate that texture can make the repaired area noticeably stand out.
Begin with coarser sandpaper to level out any filler or epoxy that sits above the original surface. Work gradually toward finer grits as you go, checking your progress frequently by running a finger across the area to feel for bumps or ridges that still need attention.
Once the surface feels level and smooth, it’s time to bring the texture back. Texture spray, available at most auto parts stores, mimics the factory grain when applied correctly.
Practice on a scrap piece of plastic first if you’ve never used it before, since getting the spray distance and technique right takes a bit of trial and error.
Some people prefer factory-grain paper instead, pressing it against wet paint or filler to stamp texture directly into the surface before it fully cures. Either method works, though texture spray tends to be more forgiving for beginners.
Take your time here. This single step often determines whether a repair looks professional or obviously patched, so rushing through it undermines all the careful work you put into the earlier stages.
7. Color Match with Vinyl Paint or Dye
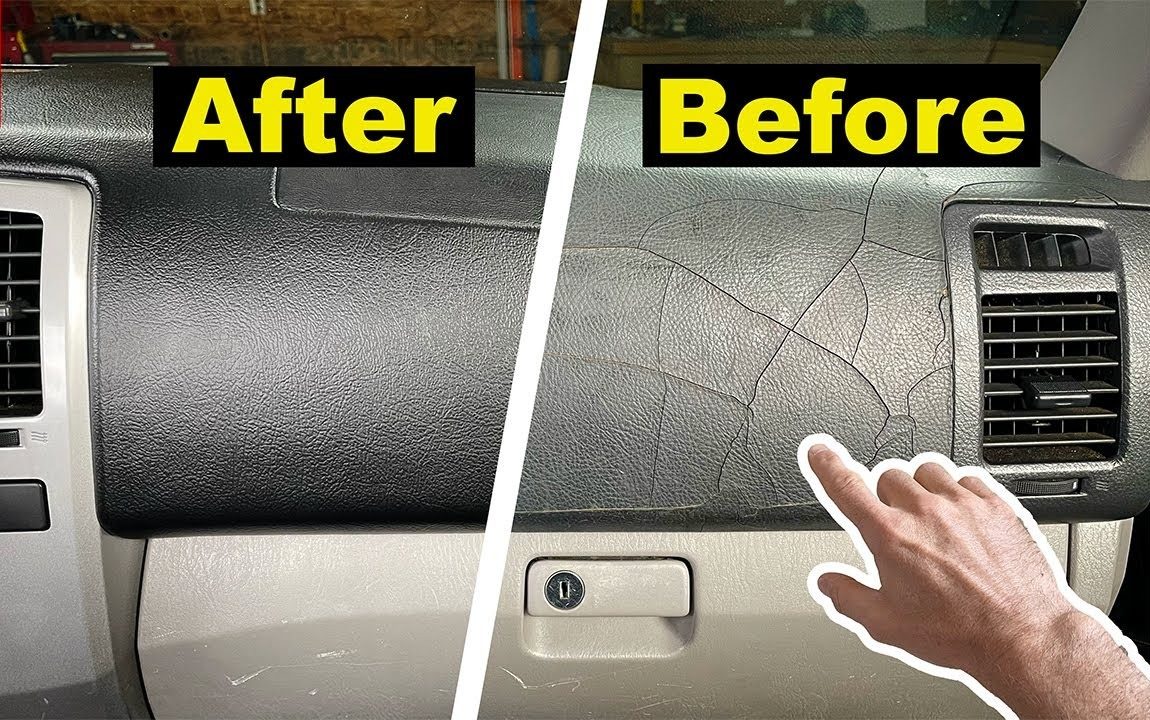
Once the crack has been filled and the surface texture restored, color matching becomes the next concern. Even a carefully repaired dashboard can look unfinished when the patch is a different shade from the original material.
Automotive vinyl paint or dye can help blend the repaired area. Choose a product designed for the dashboard material rather than using ordinary household paint. Check whether the coating is suitable for plastic, vinyl, or the specific surface you are repairing.
Clean the area again before painting. Sanding can leave behind fine dust that interferes with adhesion and creates an uneven finish. Mask nearby vents, controls, glass, and trim pieces to protect them from overspray.
Apply several thin coats instead of one thick application. Light coats give you better control and reduce the chance of creating runs, puddles, or an overly glossy patch. Allow each coat to dry according to the product instructions.
Color should be assessed after the coating has dried. Wet paint can look different from its final appearance, so avoid adding more material too quickly.
For the best result, match both the color and sheen. A dashboard with a matte finish can make a glossy repair stand out even when the color is correct. Taking time with the final coating can make a basic repair look far more professional.
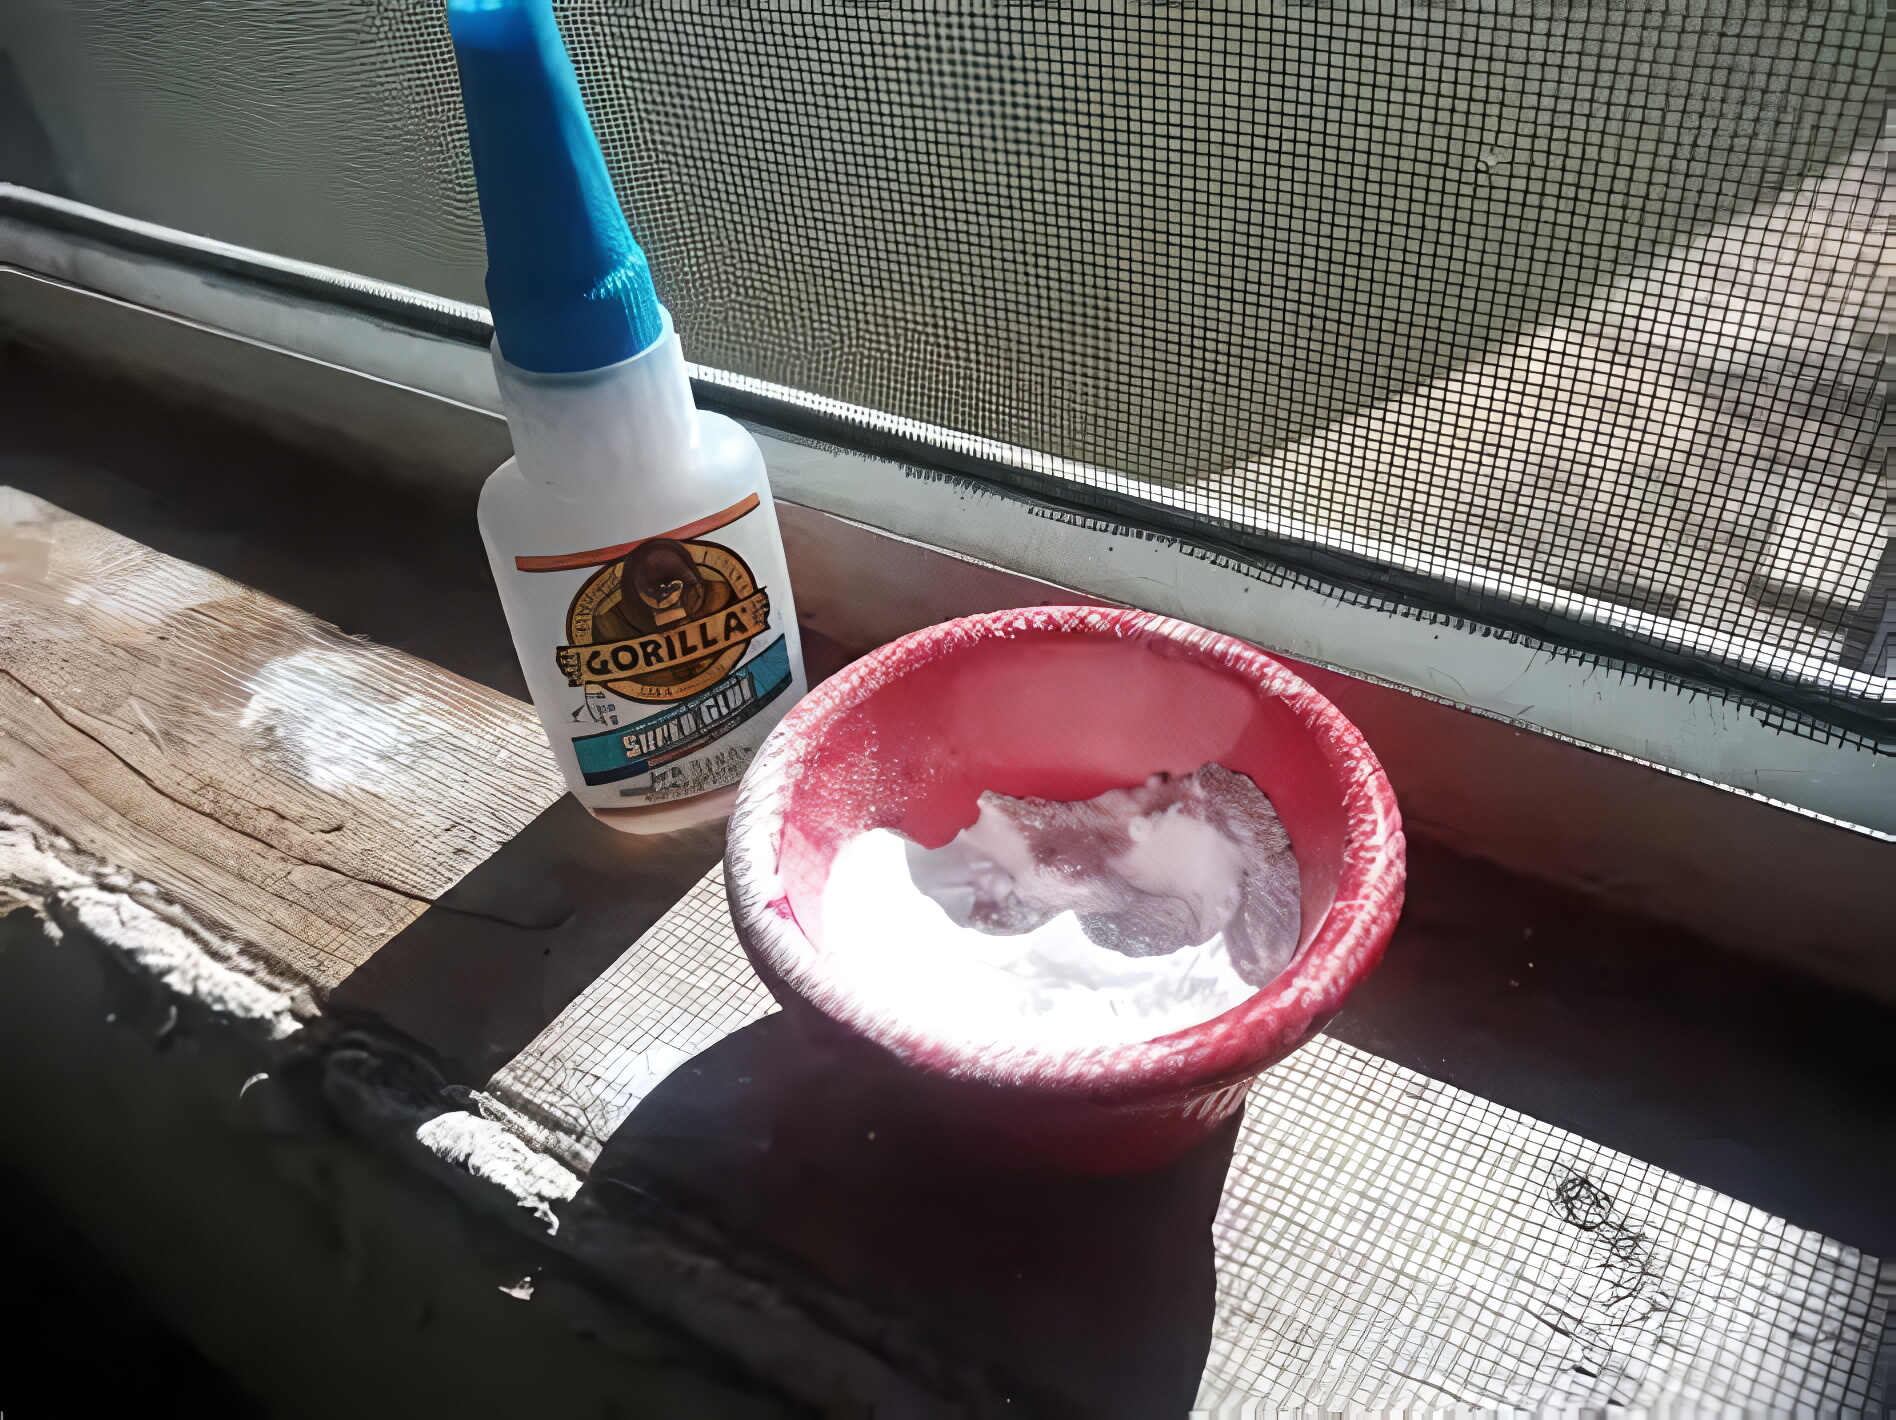
8. Quick Fix with Baking Soda and Super Glue
For a tiny crack, baking soda and super glue can create a hard patch that temporarily holds the damaged edges together. This method is inexpensive and uses materials many people already have at home, but it should be treated as a temporary repair rather than a permanent dashboard restoration.
Clean and dry the damaged area before applying anything. Use only a very small amount of adhesive because super glue can spread quickly and may leave a visible mark on some dashboard materials.
Baking soda can be added to the adhesive to create a hardened material. Work carefully because the mixture can cure quickly. Apply only enough to fill the small opening, then allow it to harden completely.
After curing, the raised area can be gently sanded. Be careful around the surrounding dashboard because excessive sanding can damage the original finish.
This technique is better suited to tiny cracks than long or deep damage. A large crack can continue moving beneath the hardened patch, causing the repair to fail.
There is also an appearance issue to consider. Super glue can leave a shiny or discolored area on some plastics and vinyls. For that reason, test the materials on an inconspicuous surface when possible.
If the crack continues growing, replace this temporary patch with a repair method designed for the dashboard material and size of the damage.
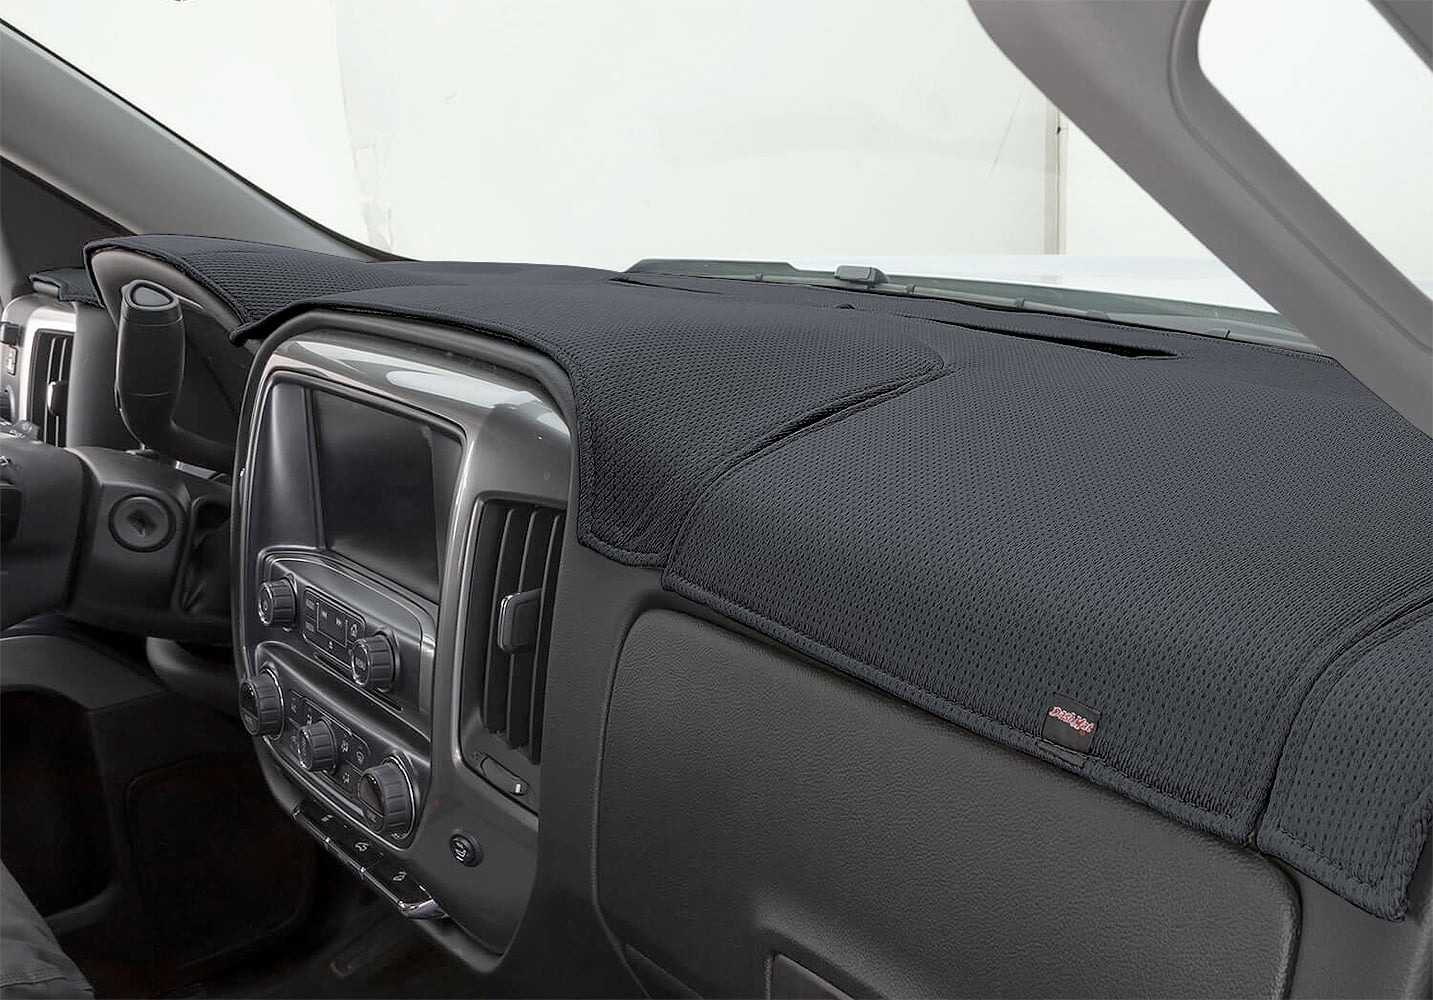
9. Cover with Fabric Dash Mat
Not every solution requires glue, paint, or curing time. A fabric or suede dash mat sits directly on top of the dashboard, hiding cracks underneath a soft, textured layer that also happens to reduce glare bouncing off the windshield during sunny drives.
Installation couldn’t be simpler compared to nearly everything else on this list. Most mats use adhesive strips or hook-and-loop fasteners that stick directly to the dashboard surface, requiring no sanding, mixing, or waiting for anything to cure before you can use your car again.
Beyond hiding existing cracks, these mats provide genuine ongoing protection. Direct sunlight causes much of the heat damage that leads to cracking in the first place, and a mat blocks some of that exposure from reaching the plastic underneath.
Choose a mat sized specifically for your vehicle’s make and model for the cleanest fit around vents, gauges, and any dashboard-mounted sensors. Generic universal mats work in a pinch, but custom-fit versions look noticeably more polished once installed.
The tradeoff is coverage rather than actual repair. Cracks remain underneath, still capable of spreading over years of heat exposure even with a mat on top.
Still, for anyone wanting an immediate cosmetic improvement without committing to a weekend project, this remains one of the easiest options available.
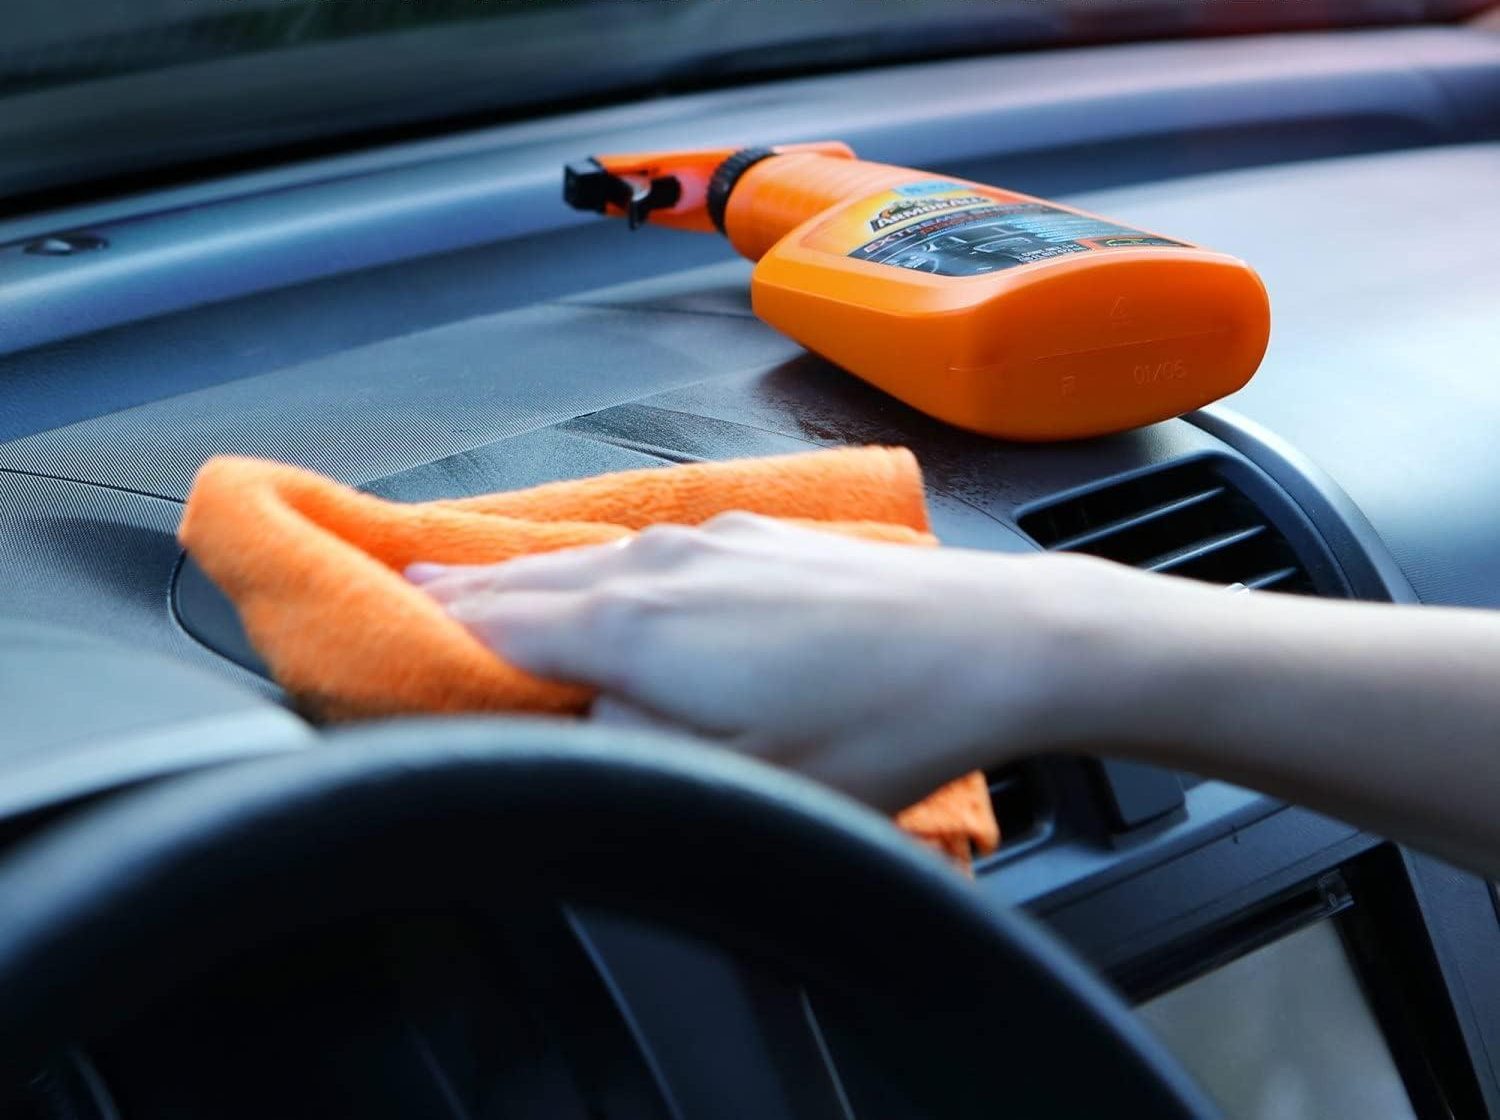
10. Preventive Measures for Longevity
Fixing existing damage matters, but stopping future cracks from forming matters just as much, especially after you’ve put real effort into repairing what’s already there.
A handful of simple habits can add years to your dashboard’s condition, whether it’s freshly repaired or still original. Start with a reflective sunshade whenever you park under direct sunlight.
That single accessory blocks a substantial amount of heat buildup inside the cabin, protecting not just your dashboard but your entire interior from the kind of prolonged UV exposure that breaks down plastic over years of parking outdoors.
UV-blocking protectant sprays offer another layer of defense. Applied regularly, these products replace plasticizers that heat and sunlight gradually strip away, the very compounds that keep dashboard plastic flexible rather than brittle.
A dashboard without those plasticizers becomes far more prone to cracking, even under normal daily conditions. Parking in shade whenever it’s available costs nothing and helps more than most people realize.
Garages, covered lots, or even a spot under a tree during summer months all reduce cumulative sun exposure across months and years of ownership. Round things out with proper cleaning using interior-safe products rather than harsh chemicals that can dry out plastic further.
Occasional conditioning treatments restore some flexibility to aging dashboards, extending the life of both original surfaces and any repairs you’ve completed using the methods described throughout this guide.
Cracked dashboards look intimidating at first glance, but as this list shows, most damage responds well to affordable, doable fixes anyone can handle with a little patience and the right supplies.
Whether you choose a permanent epoxy repair, a quick baking soda fix, or simple preventive habits going forward, your dashboard doesn’t have to stay cracked, and it definitely doesn’t require an expensive replacement to look and function like new again.