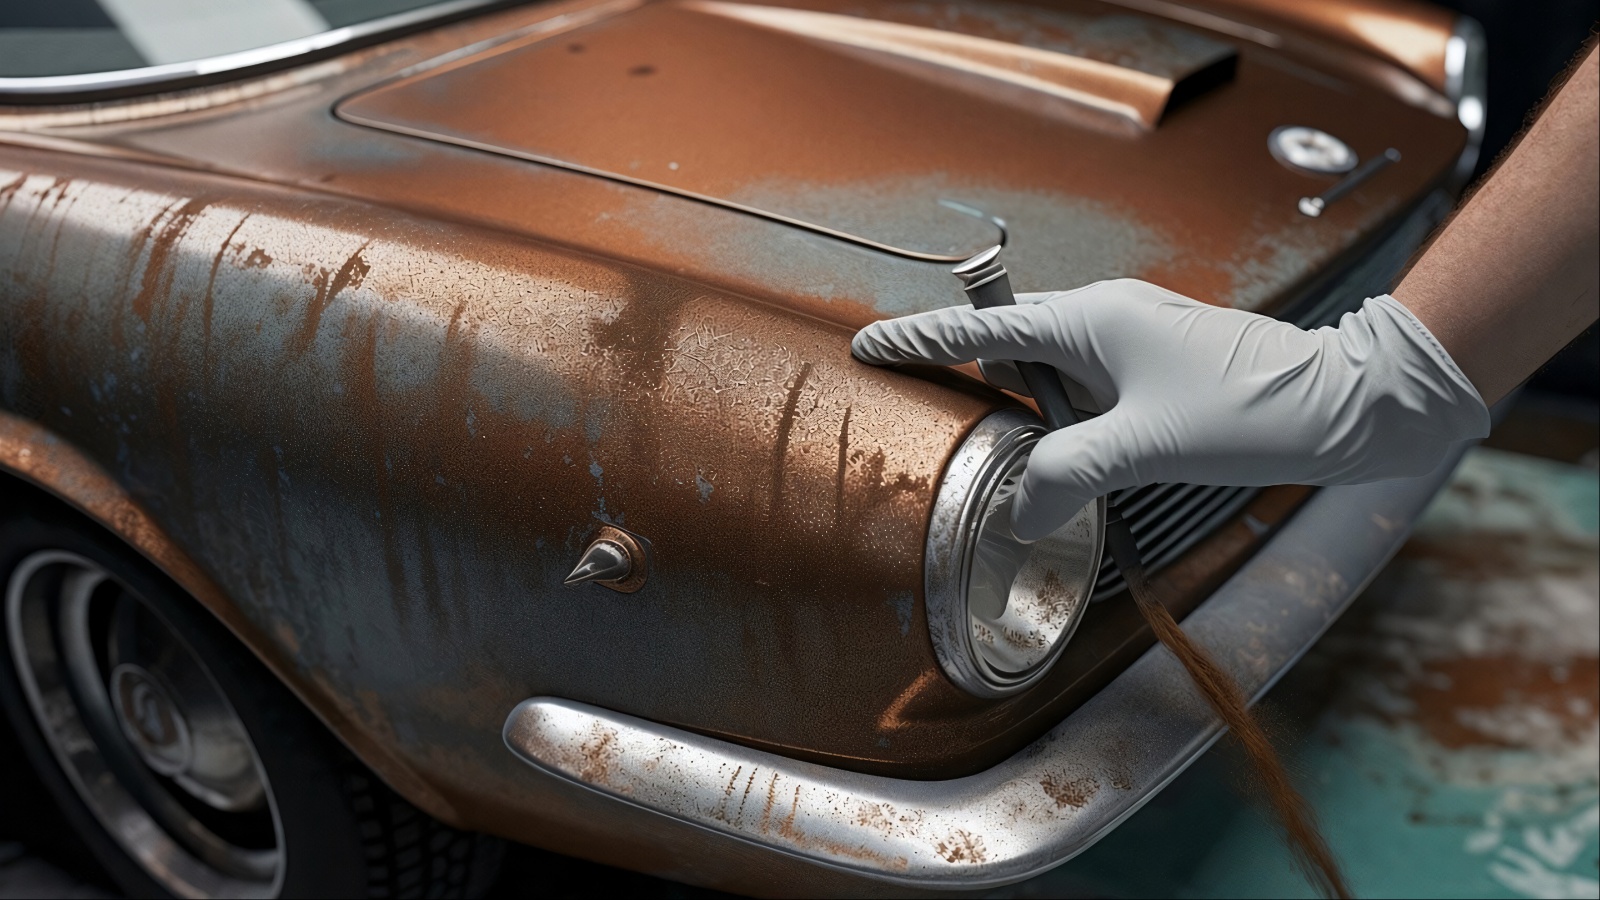
Rust can start as a tiny orange spot, yet that small mark may become a costly body repair if it receives no attention. Surface rust usually appears after paint gets chipped, scratched, or exposed to moisture. Once the bare metal stays damp, corrosion begins working its way into the panel. The good news is that early rust can often be handled at home with the right products, preparation, and patience.
The most important part is removing active corrosion before applying anything meant to protect the repair. From simple hand sanding to protective undercoating, these methods can help restore a rusty area and reduce the chance of the problem returning. Here are ten practical methods worth considering when you catch surface rust early.
1. Manual Sanding
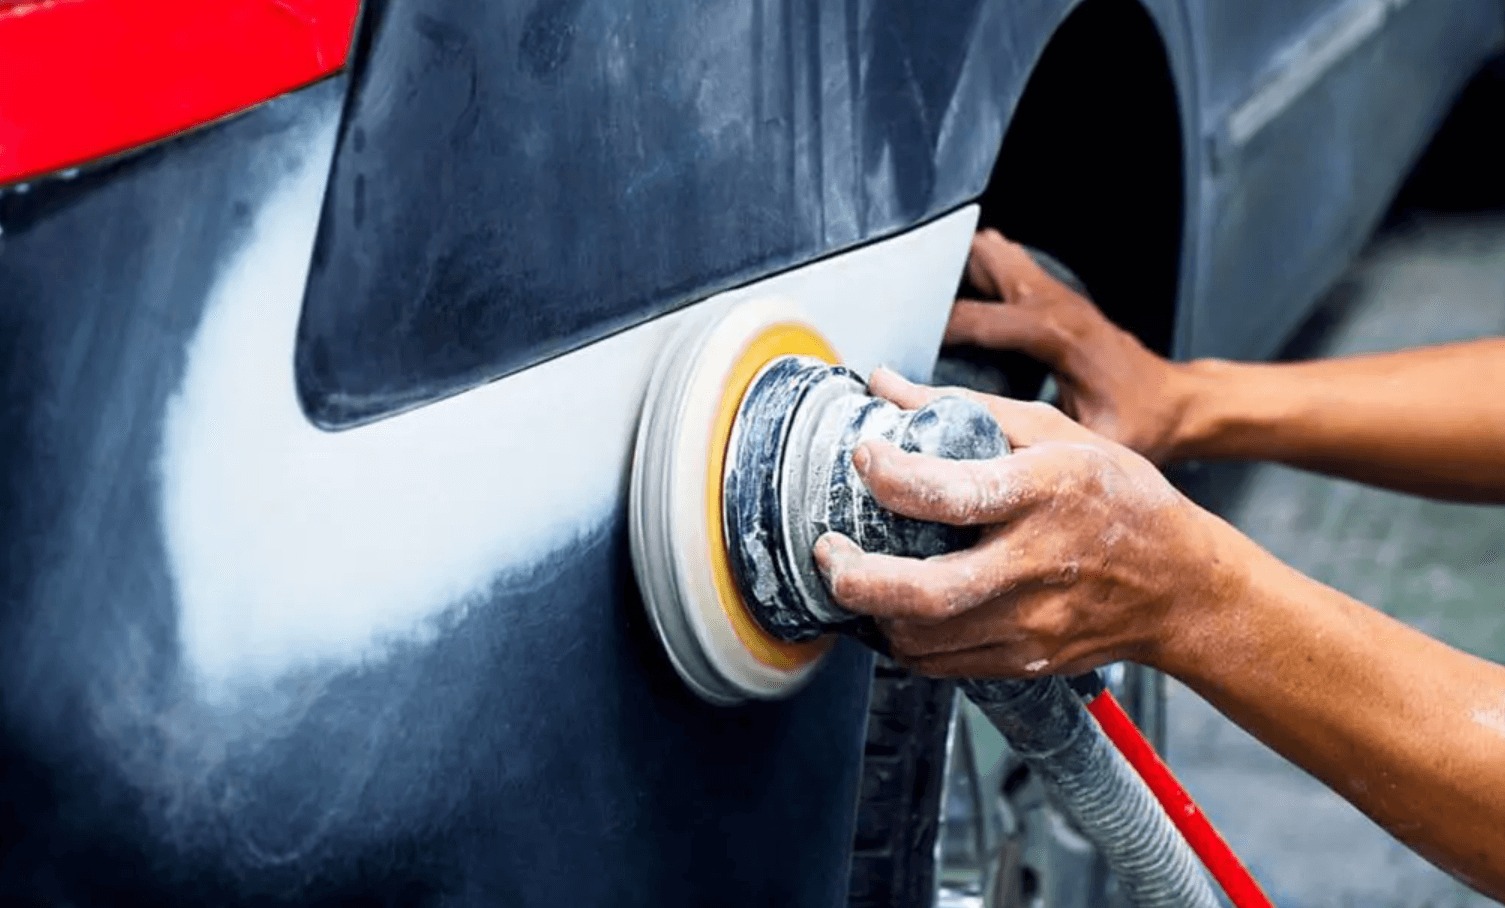
There’s something satisfying about doing a job with your own two hands, and manual sanding is where most rust repairs begin. Grab coarse sandpaper, somewhere between 40 and 80 grit, and start working the affected spot in small circular motions.
The goal isn’t speed here. It’s thoroughness. Loose paint flakes off first, followed by the crumbly orange rust sitting underneath it. Keep going until you hit bare metal that actually shines a little when light hits it.
That shine matters because it tells you every trace of oxidation has been physically removed, not just smoothed over. This method works best on smaller spots, maybe the size of a coin or a bit larger, where a power tool would feel like overkill.
It also provides better control around trim pieces, door handles, and curved body lines where a machine could slip and damage the metal. Be sure to wear a mask while sanding to avoid breathing in dust and particles.
Old paint sometimes contains materials you don’t want to breathe in, especially on vehicles built before the 1990s. Change your sandpaper often too, since clogged paper just pushes rust around instead of removing it.
Finish with a finer grit, around 220, to smooth the edges so your primer and paint blend in later rather than sitting on a rough, jagged boundary that will show through the final coat.
2. Power Tool Grinding
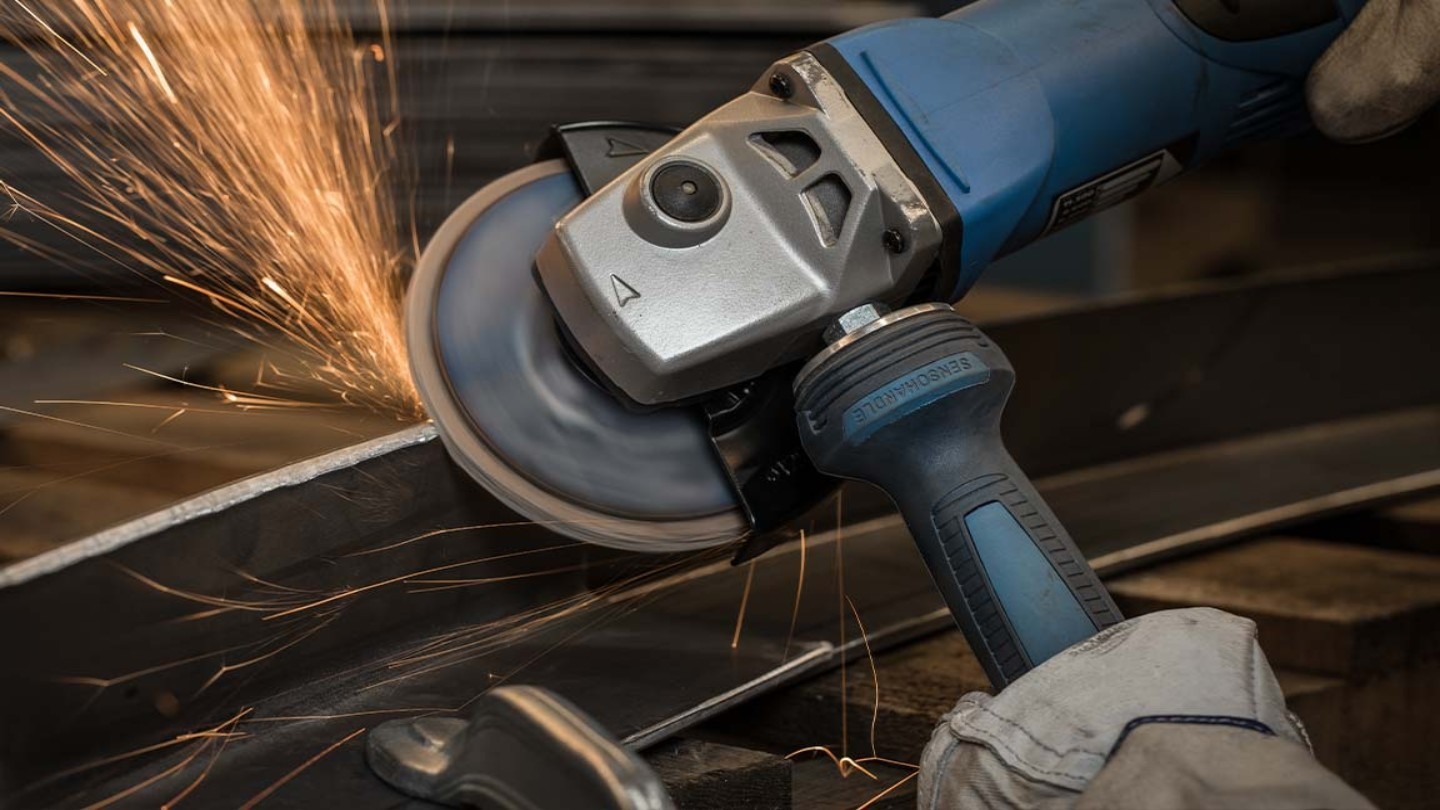
When the damage stretches across a larger section of the panel, hand sanding turns into an all-day chore nobody wants. That’s where an angle grinder or a rotary wire brush wheel earns its keep.
These tools chew through rust and old paint fast, clearing wide patches in minutes instead of hours. Fit your grinder with a flap disc or wire wheel attachment designed for automotive metal work.
Keep the tool moving steadily across the surface rather than holding it in one spot, since lingering too long can heat the metal, warp thin panels, or gouge grooves that are harder to fix than the rust itself. Light, even passes give you a cleaner result than aggressive digging.
Safety goggles are non-negotiable here. Grinding throws off metal shavings, paint chips, and rust particles at speed, and a stray piece in the eye ruins your whole day.
Gloves and a long-sleeve shirt help too, since sparks and hot debris tend to land on exposed skin. This method suits rockers, wheel wells, and lower door panels, the spots where rust tends to spread widest because of trapped moisture and road grime.
Just remember that power tools remove metal quickly, so check your progress often. Stop grinding the moment you reach solid, unpitted steel. Going further than that thins the panel unnecessarily and can create new weak points down the road.
3. Chemical Rust Dissolver
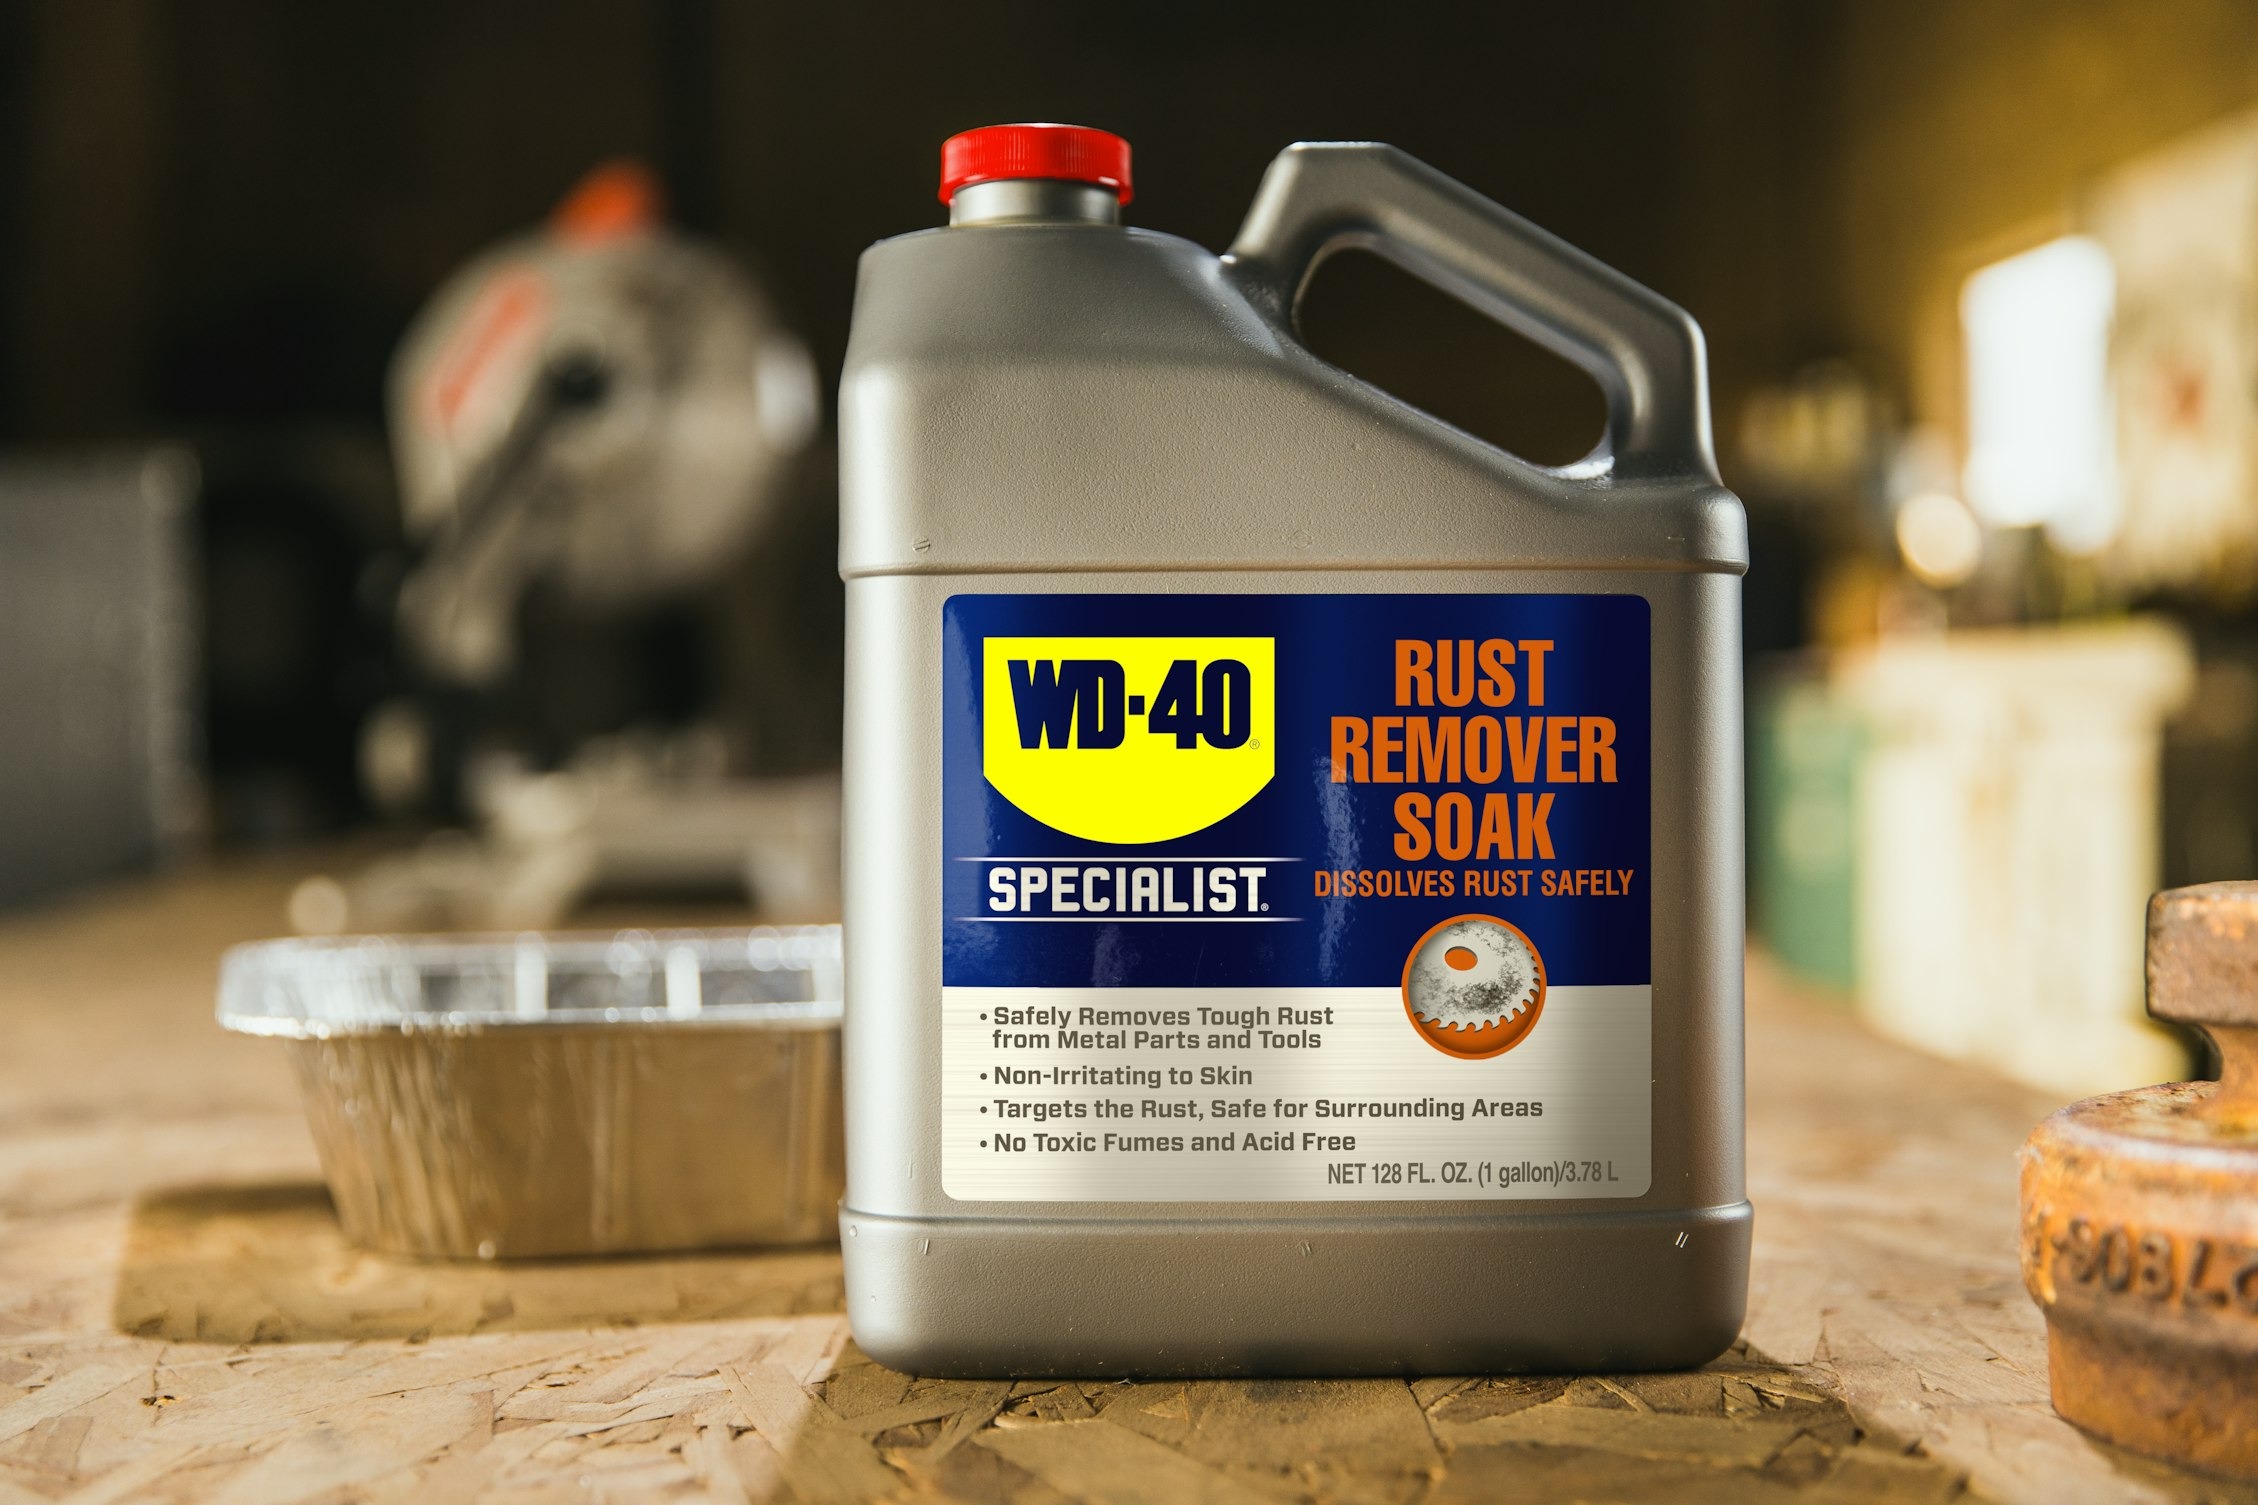
Sanding and grinding handle the visible stuff, but rust has a sneaky habit of hiding in microscopic pockets that tools alone can’t reach. A phosphoric acid-based rust remover, Naval Jelly being the classic example, dissolves that lingering oxidation on a chemical level rather than a physical one.
Apply the gel with a brush, following the directions on the bottle closely, since dwell times vary by product. The acid reacts with iron oxide and breaks it down, turning stubborn orange residue into something you can wipe or rinse away.
Watch the surface as it works. You’ll often see a color change, sometimes a slight fizzing, as the chemical does its job. Once the recommended time has passed, rinse thoroughly with water and dry the area completely.
Leaving moisture behind defeats the entire purpose, since damp metal invites rust right back. A clean cloth followed by compressed air, if you have access to it, speeds up drying and gets into small seams where water likes to hide.
This step works well as a follow-up to sanding or grinding, catching what those methods missed rather than replacing them. Think of it as the fine detail pass after the heavy lifting.
Always work in a ventilated space and wear gloves, since phosphoric acid, while less harsh than some industrial chemicals, still irritates skin on contact. A well-rinsed, fully dry panel sets you up nicely for the next stage of treatment.
4. Chelating Gel Treatments
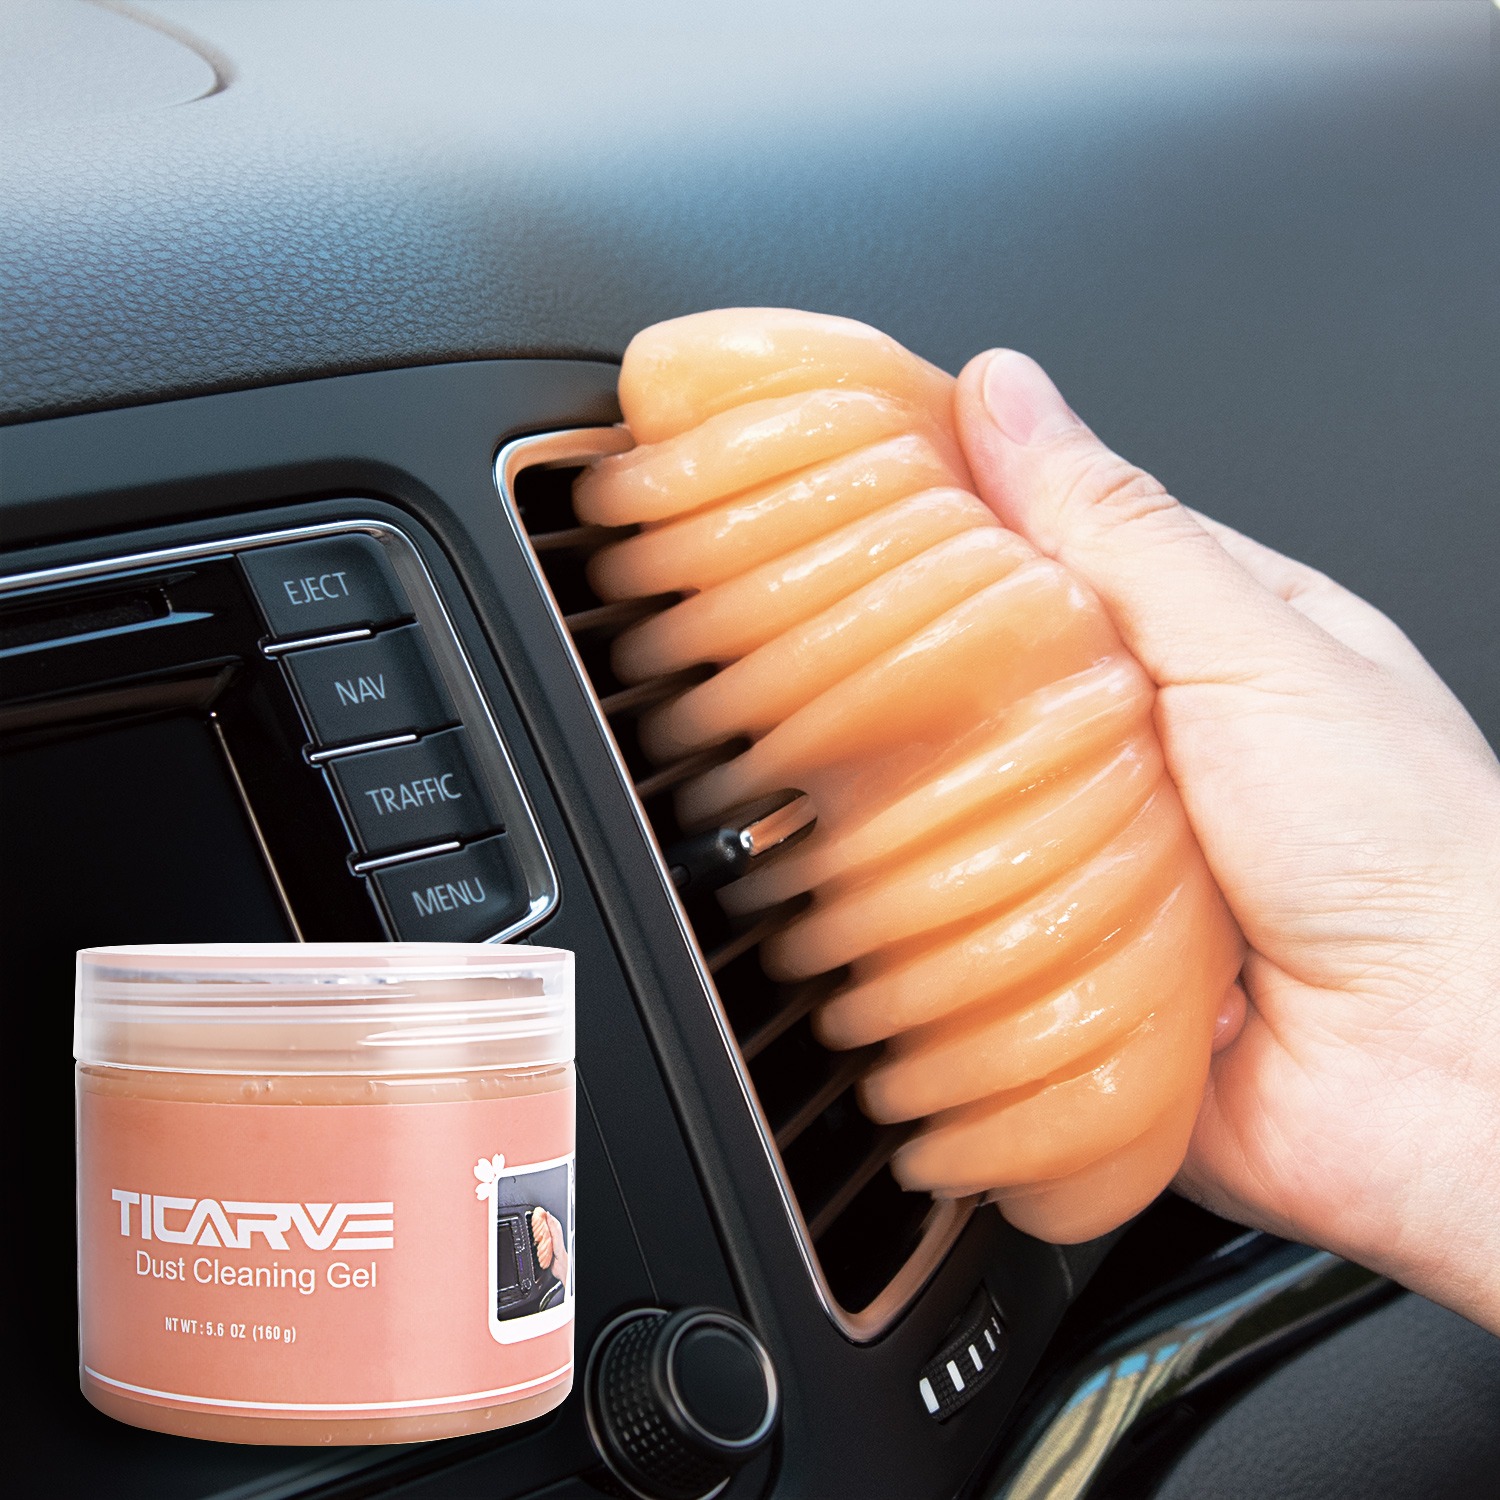
When rust appears close to the original factory paint, using a chelating gel can be a better option than aggressive sanding. This type of product is made to target rust without causing unnecessary damage to the good paint around the affected area.
It is particularly useful when you want to deal with corrosion while keeping as much of the original paintwork as possible. Before applying the gel, read the manufacturer’s instructions carefully and follow the recommended application process.
Use a small brush or suitable applicator to place the gel directly on the rusty section. This gives you better control and prevents the product from spreading to areas that do not need treatment.
Allow it to remain on the surface for the stated period so it can work properly. Chelating gel is also useful when rust has formed in small corners, edges, or other tight areas that are difficult to reach with ordinary sandpaper.
Instead of removing a large section of surrounding paint, you can focus treatment on the affected spot. However, proper preparation is still necessary. Remove loose rust flakes and dirt before applying the gel.
After treatment, inspect the metal carefully to confirm that the corrosion has been removed. If some rust remains, repeat the process when the product instructions allow it.
Clean and dry the area properly before applying primer or any other protective coating.
5. Rust Converter Application
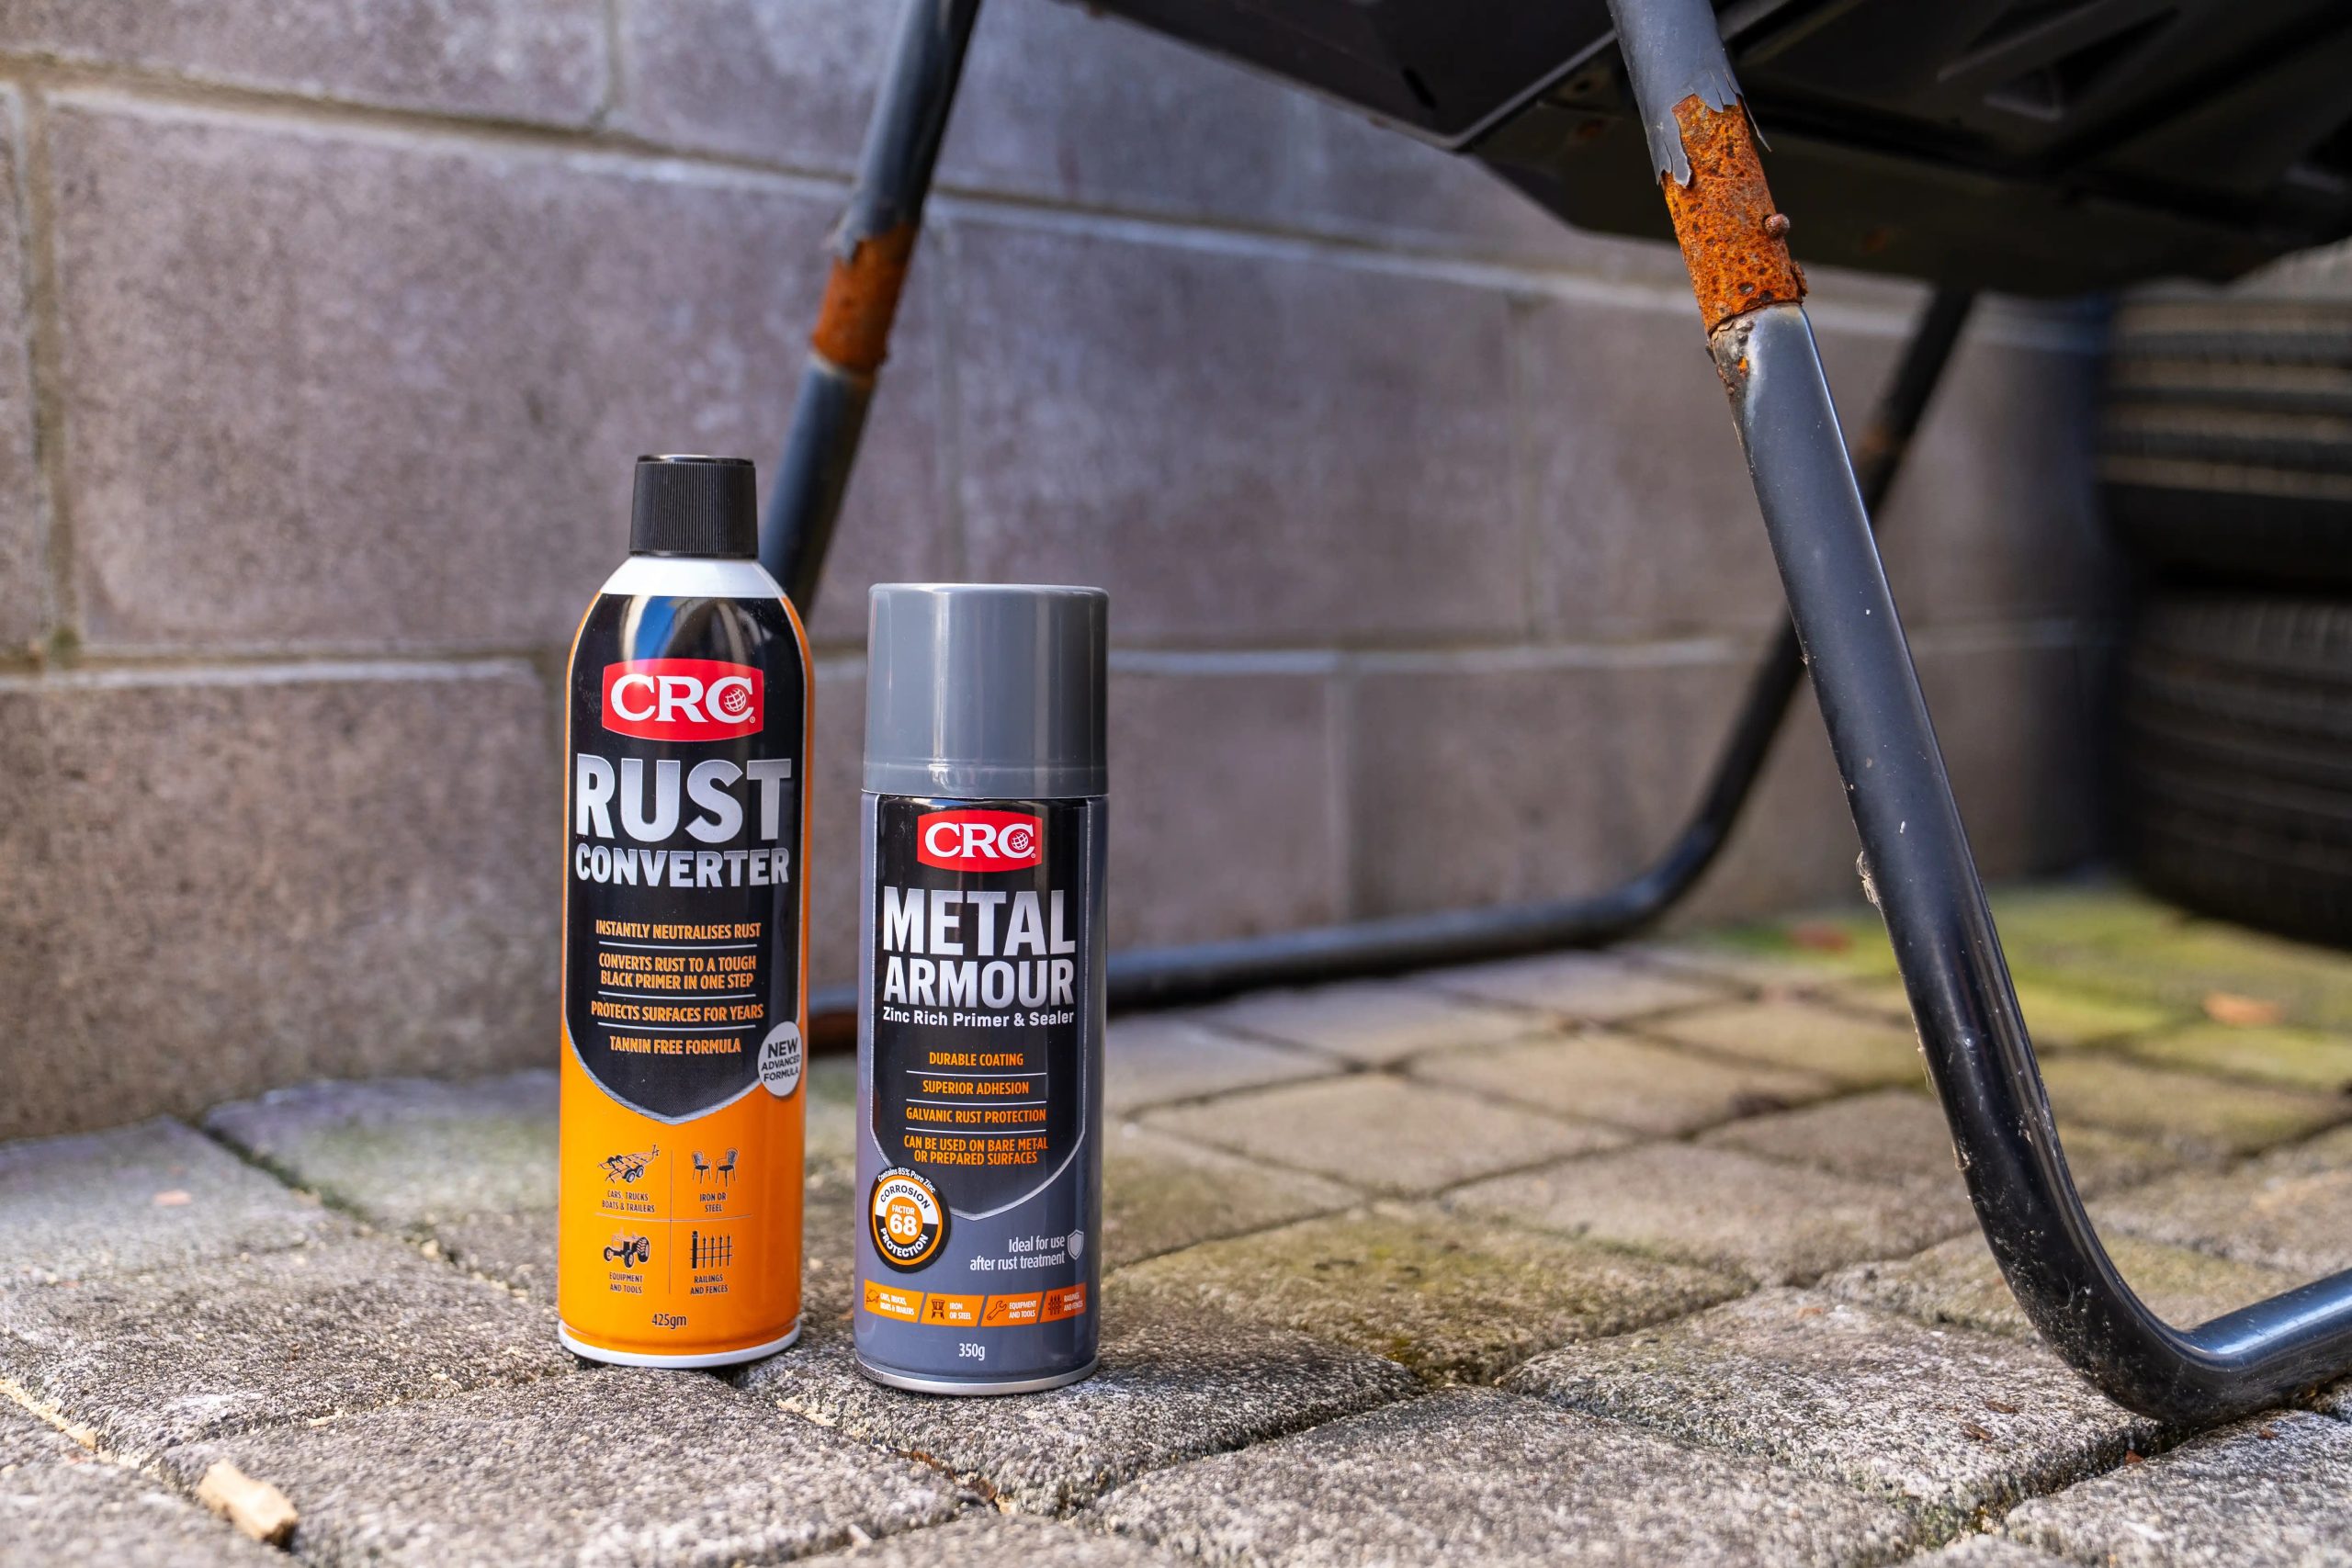
Not every rusty panel becomes perfectly smooth after sanding. Tiny pits can remain in the metal even after loose corrosion has been removed. A rust converter is designed for situations where a small amount of firmly attached rust remains and cannot be removed without taking away more metal.
The chemical reaction changes the remaining iron oxide into a more stable coating that can often be painted after it has cured. Many converters turn dark or black, making the treated area easy to identify.
Before using one, check whether the product is compatible with the primer and paint you plan to apply afterward. Follow the stated drying and curing times rather than guessing.
Applying paint too soon can trap moisture or interfere with adhesion. Rust converter should not be viewed as a substitute for proper rust removal when heavy corrosion is present.
Thick flakes, weak metal, or holes require more extensive repair. On a small area with minor pitting, however, this method can provide another layer of protection before priming.
Once the treated surface has fully cured and meets the manufacturer’s requirements, you can continue with the coating process.
6. Self-Etching Primer Spray
Bare metal is vulnerable metal. The moment you’ve sanded a panel down to steel, the clock starts ticking on how long it stays rust-free, especially if humidity or rain is anywhere in the picture.
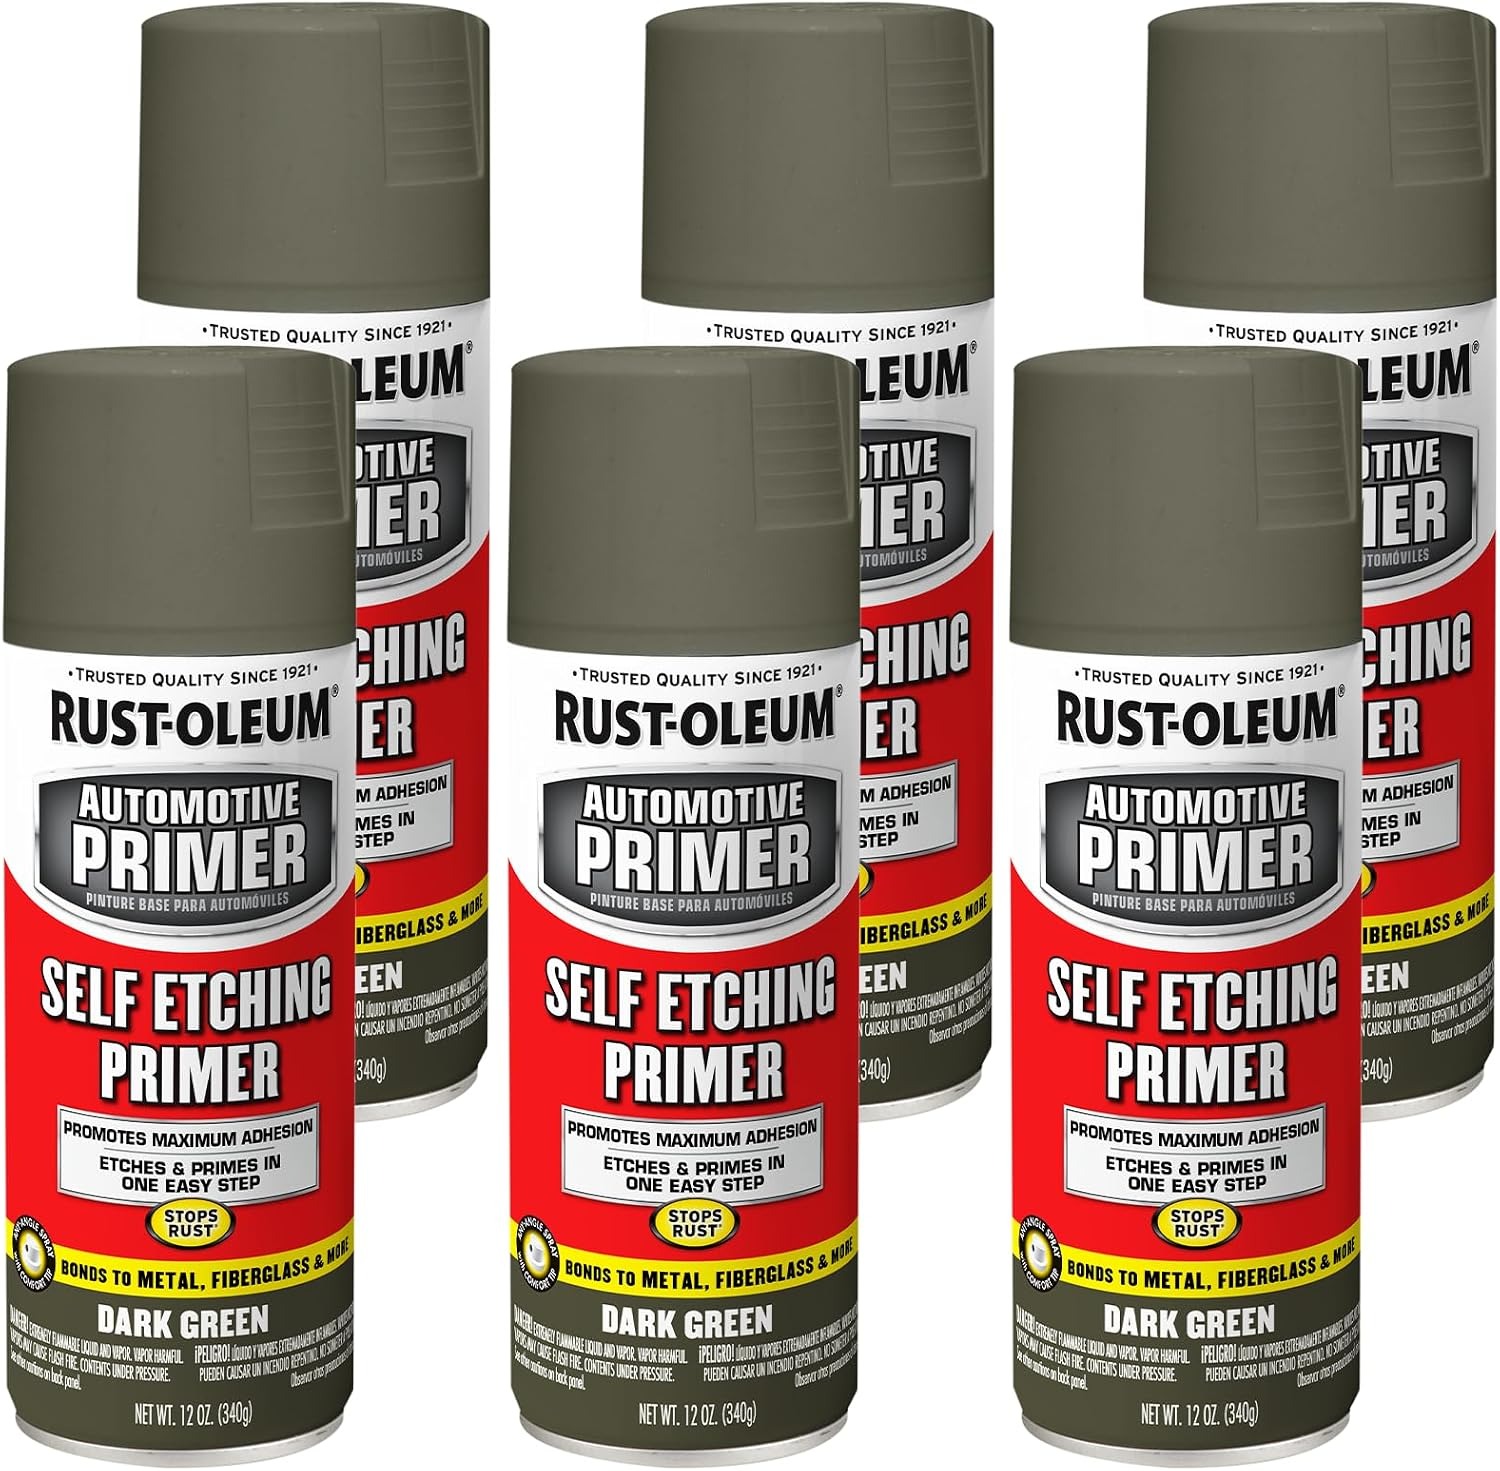
Self-etching primer solves this by bonding directly to bare metal on a molecular level, something regular primer simply can’t do. Shake the can thoroughly, more than you think you need to, since the etching acid inside settles and needs proper mixing for the chemical bond to work correctly.
Hold the can roughly six to eight inches from the surface and apply light, even coats. Heavy application causes drips and uneven coverage, which creates weak spots once everything dries.
Give each coat time to flash, typically ten to fifteen minutes, before adding another layer. Two to three thin coats usually cover the area completely while keeping the surface smooth for whatever goes on next.
Rushing this step by piling on primer too fast often leads to a gummy, uneven finish that causes problems later during painting. Work in dry conditions with moderate temperatures, since cold or damp air interferes with how the primer cures.
A garage with decent ventilation and a temperature between 50 and 90 degrees Fahrenheit gives you the best results. Once fully cured, usually within a day, this primer layer seals out moisture and gives your repair a rock-solid foundation that resists new corrosion for years rather than months.
7. Fiberglass Body Filler
Rust doesn’t just discolor metal; it eats it away, leaving behind dips and low spots even after every trace of oxidation is gone. That’s where body filler steps in, smoothing out the physical damage left behind so the repaired section sits flush with the rest of the panel instead of looking sunken or wavy.
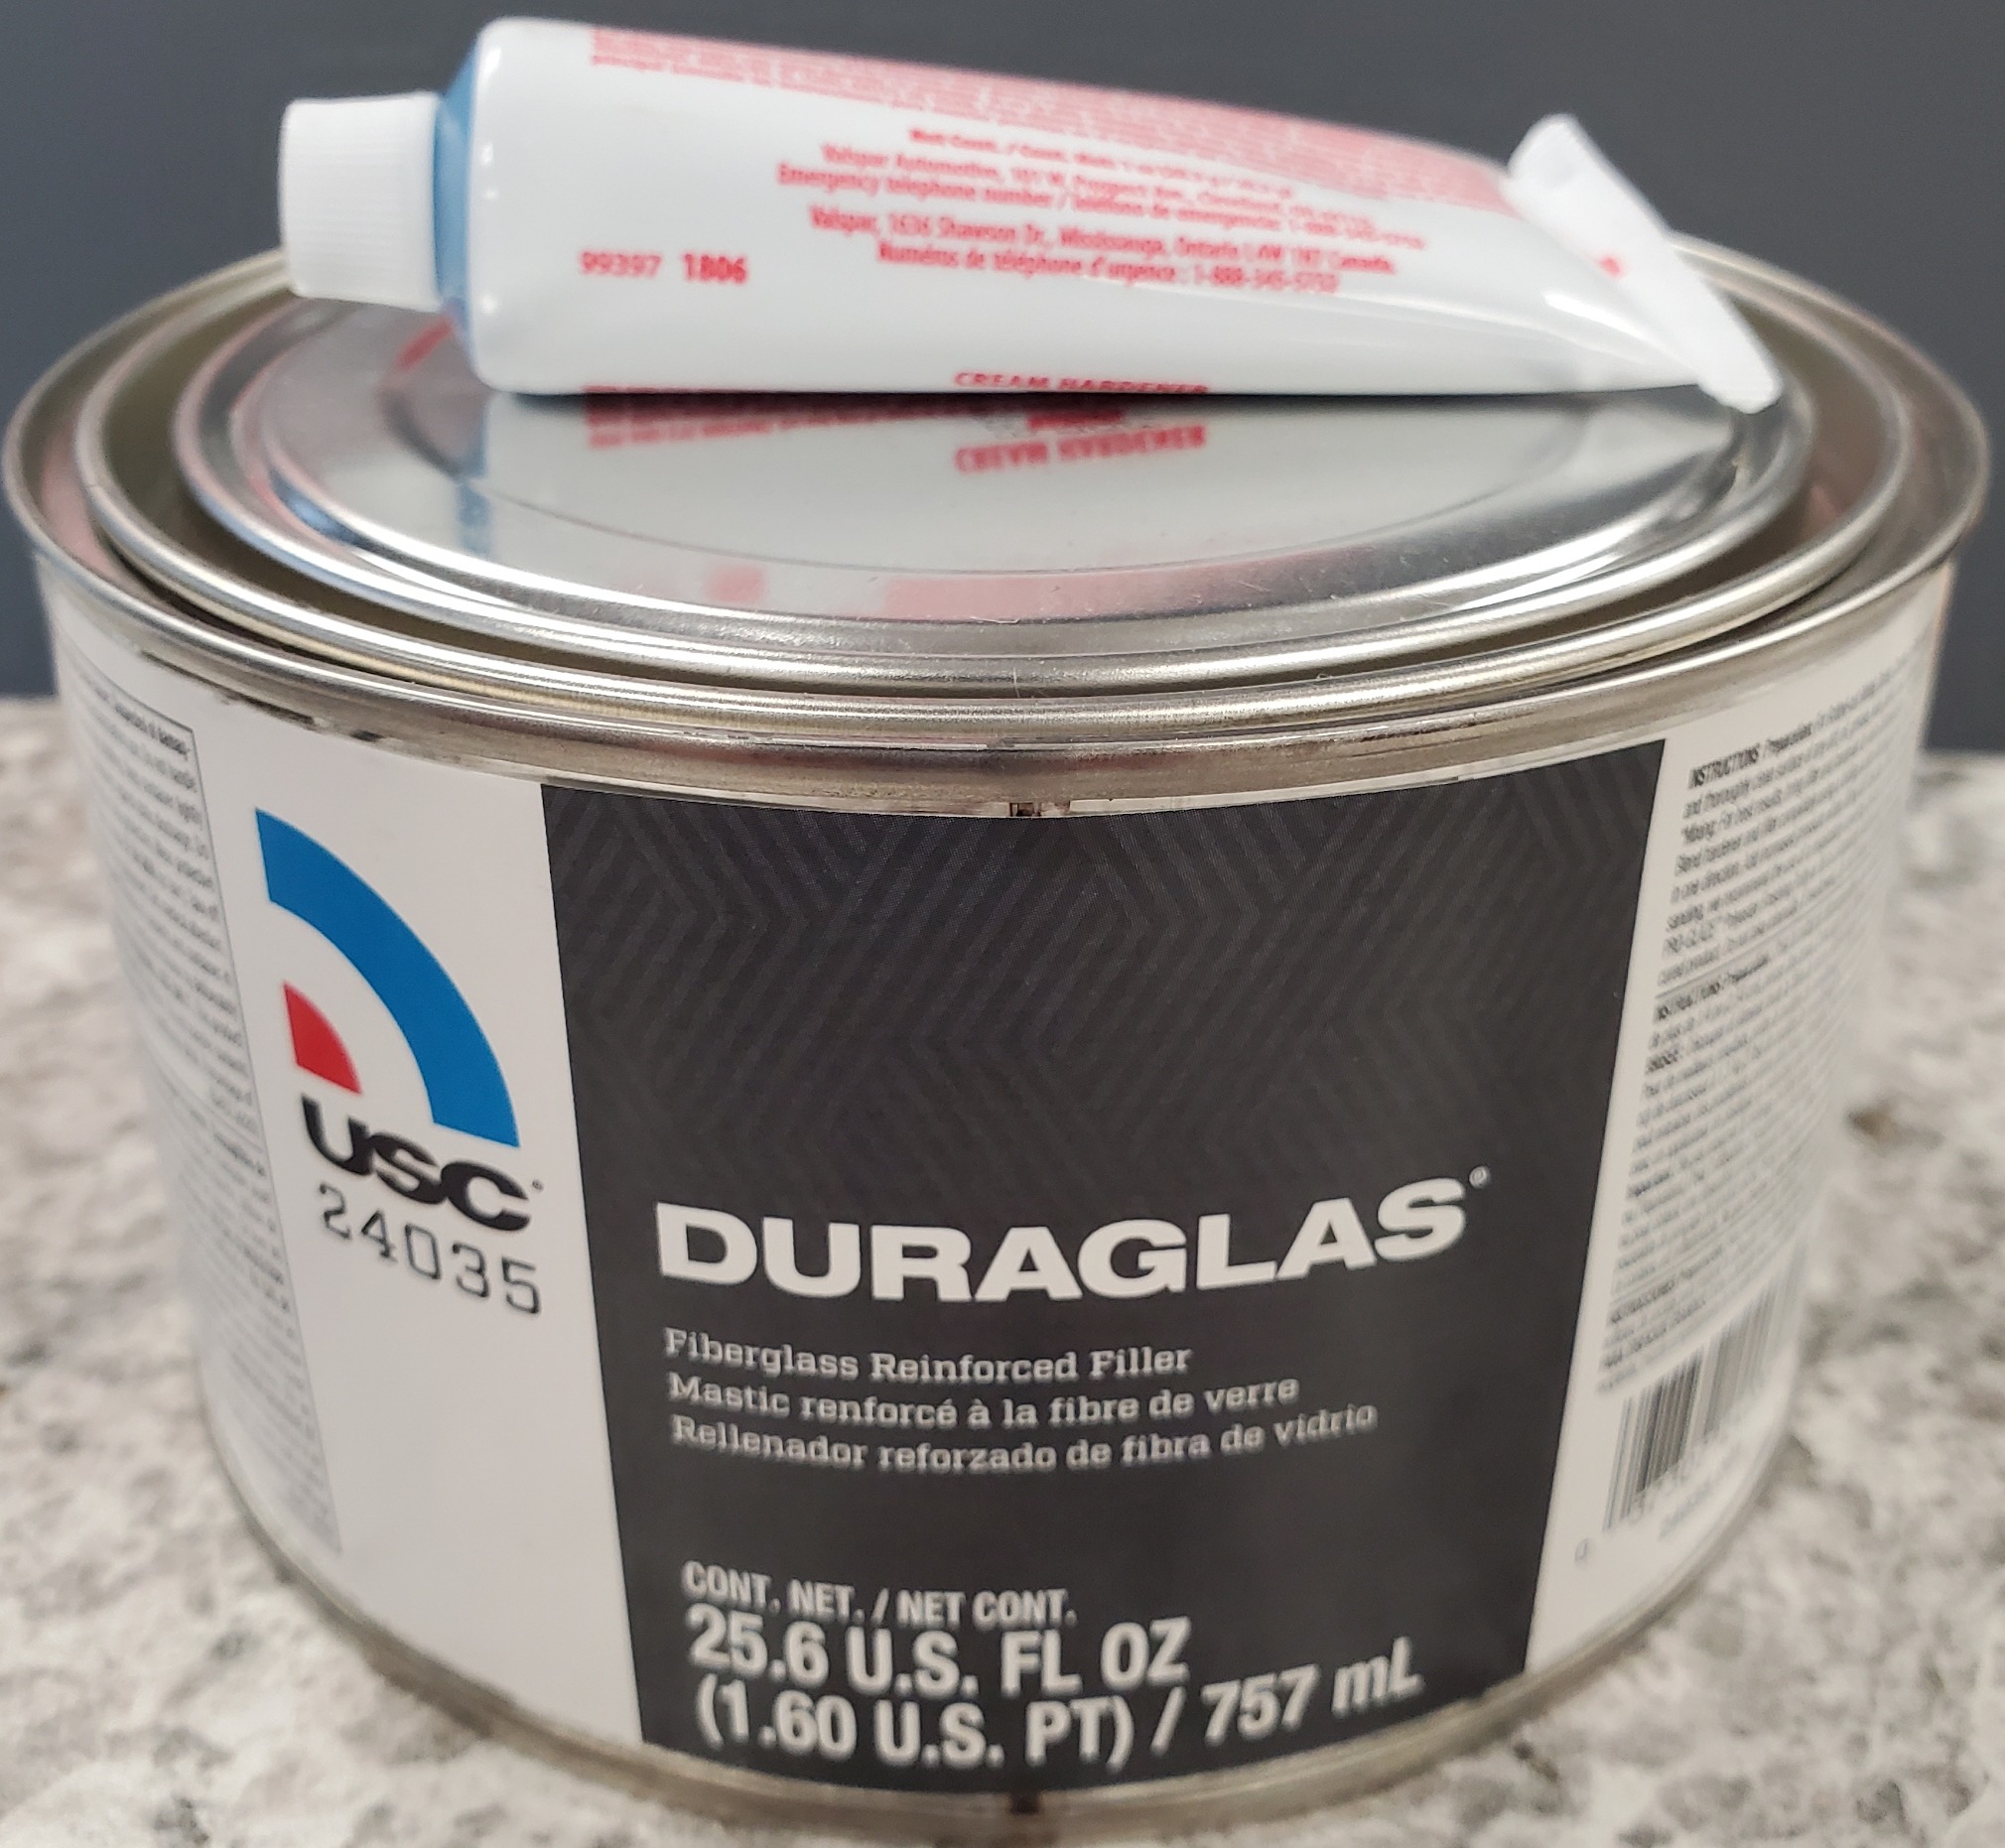
Mix the filler with its hardener according to the ratio printed on the container. Too little hardener and it stays soft for hours; too much and it sets before you can spread it properly.
Most people learn this balance through a bit of trial and error on a scrap piece before working on the actual car. Spread a thin layer using a plastic applicator, working at an angle to push the material into the low spots rather than just laying it on top.
Building up in thin layers beats one thick application every time, since thick filler tends to crack or shrink unevenly as it cures. Once hardened, usually within twenty to thirty minutes depending on temperature, sanding begins.
Start with medium-grit paper and work toward finer grits, checking your progress with your palm as much as your eyes. Hands catch high spots and dips that light alone might miss.
The final surface should feel seamless against the surrounding metal, with no ridge or step where the filler meets the original panel. That smoothness is what makes paint look factory fresh rather than patched.
8. Color-Match Touch-Up Paint
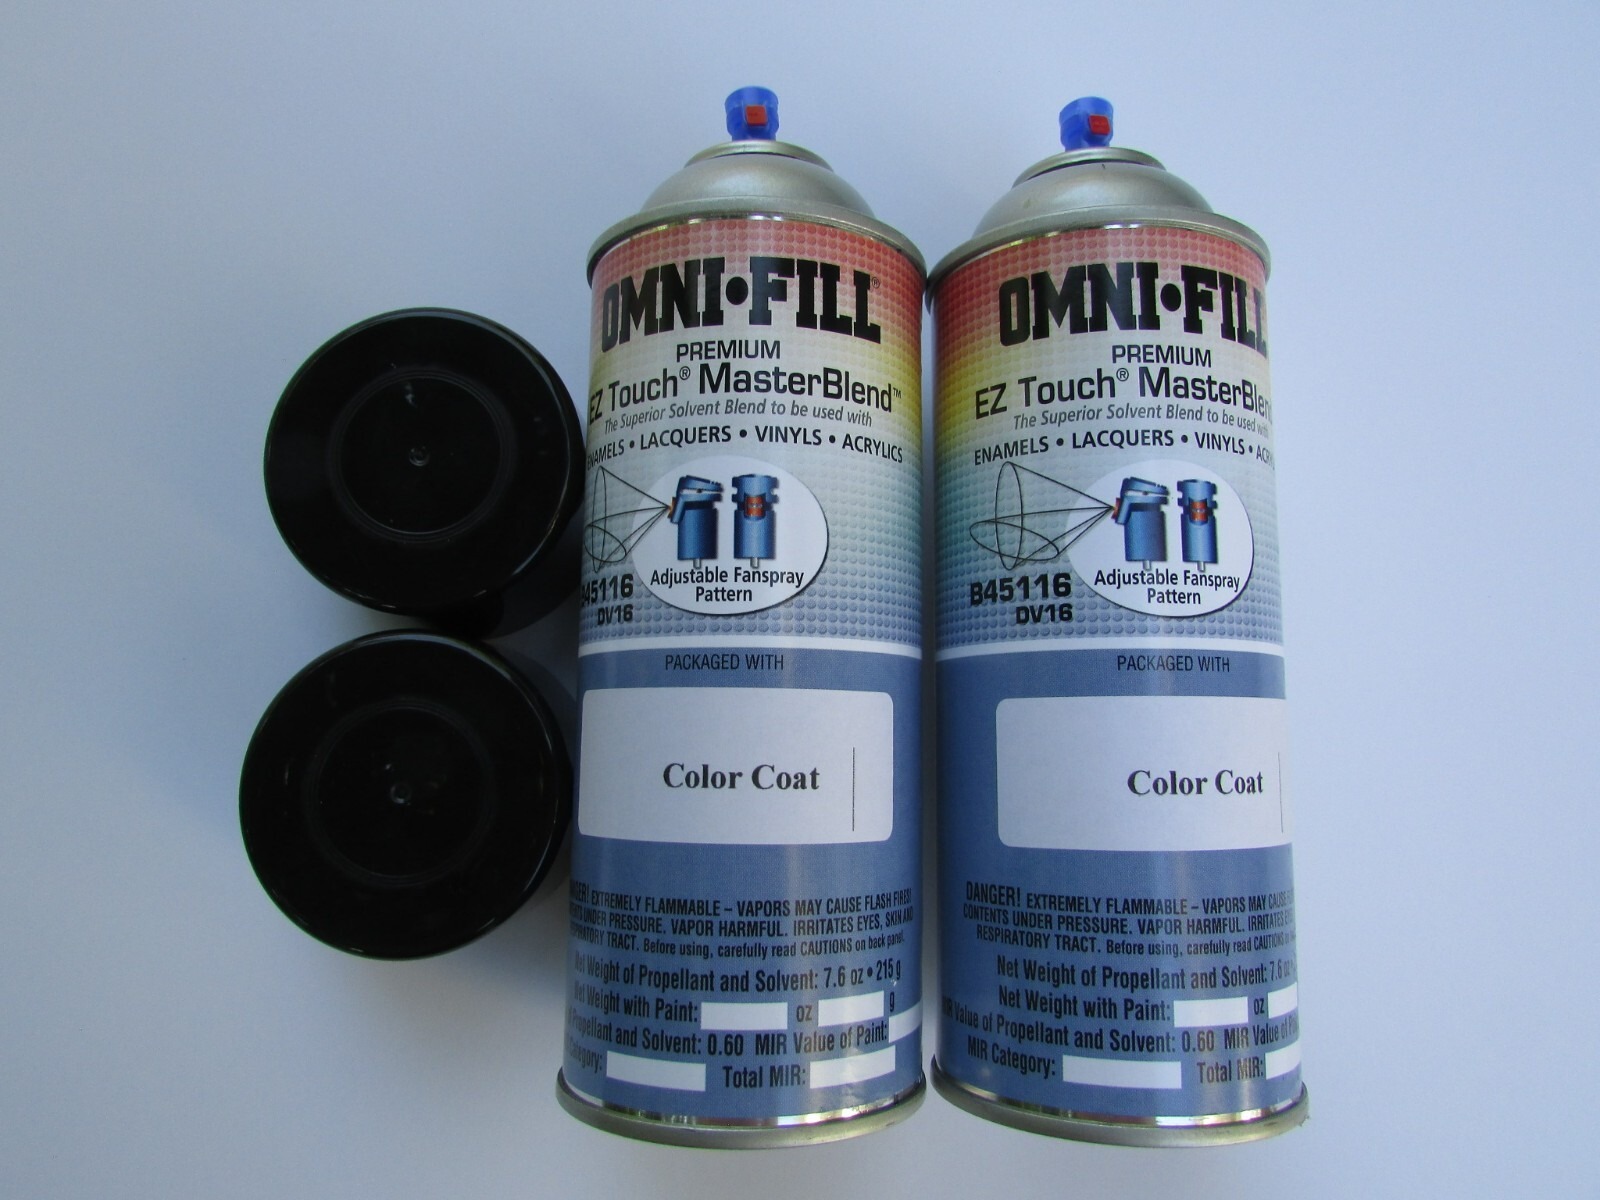
This is the stage most people look forward to because the repaired area finally begins to blend back into the rest of the vehicle. When the base coat is properly mixed and matched to the factory color, the sanded and primed section can look almost indistinguishable from the surrounding paint.
Getting the color right starts with your vehicle’s paint code, usually found on a sticker in the door jamb, glove box, or under the hood.
Order paint matched to that exact code rather than guessing from memory or a photo, since even small variations in shade become obvious once light hits the panel at different angles.
Apply thin coats, allowing proper drying time between each one as listed on the product. Rushing this step is the most common mistake people make, since impatience leads to runs, drips, or a blotchy finish that draws attention rather than hiding it.
Most touch-up jobs need two to three coats for full coverage, with the paint building depth and richness as each layer goes on. Feathering the edges, meaning blending the new paint gradually into the old rather than stopping at a hard line, helps the repair blend into surrounding panels rather than standing out as an obvious patch.
Temperature and humidity affect how paint lays down, so pick a mild, dry day if you’re working outside, or a controlled garage space if possible.
Patience during this stage pays off directly in how invisible the final repair looks once everything cures and the surface returns to its normal shine.
9. Clear Coat Sealing
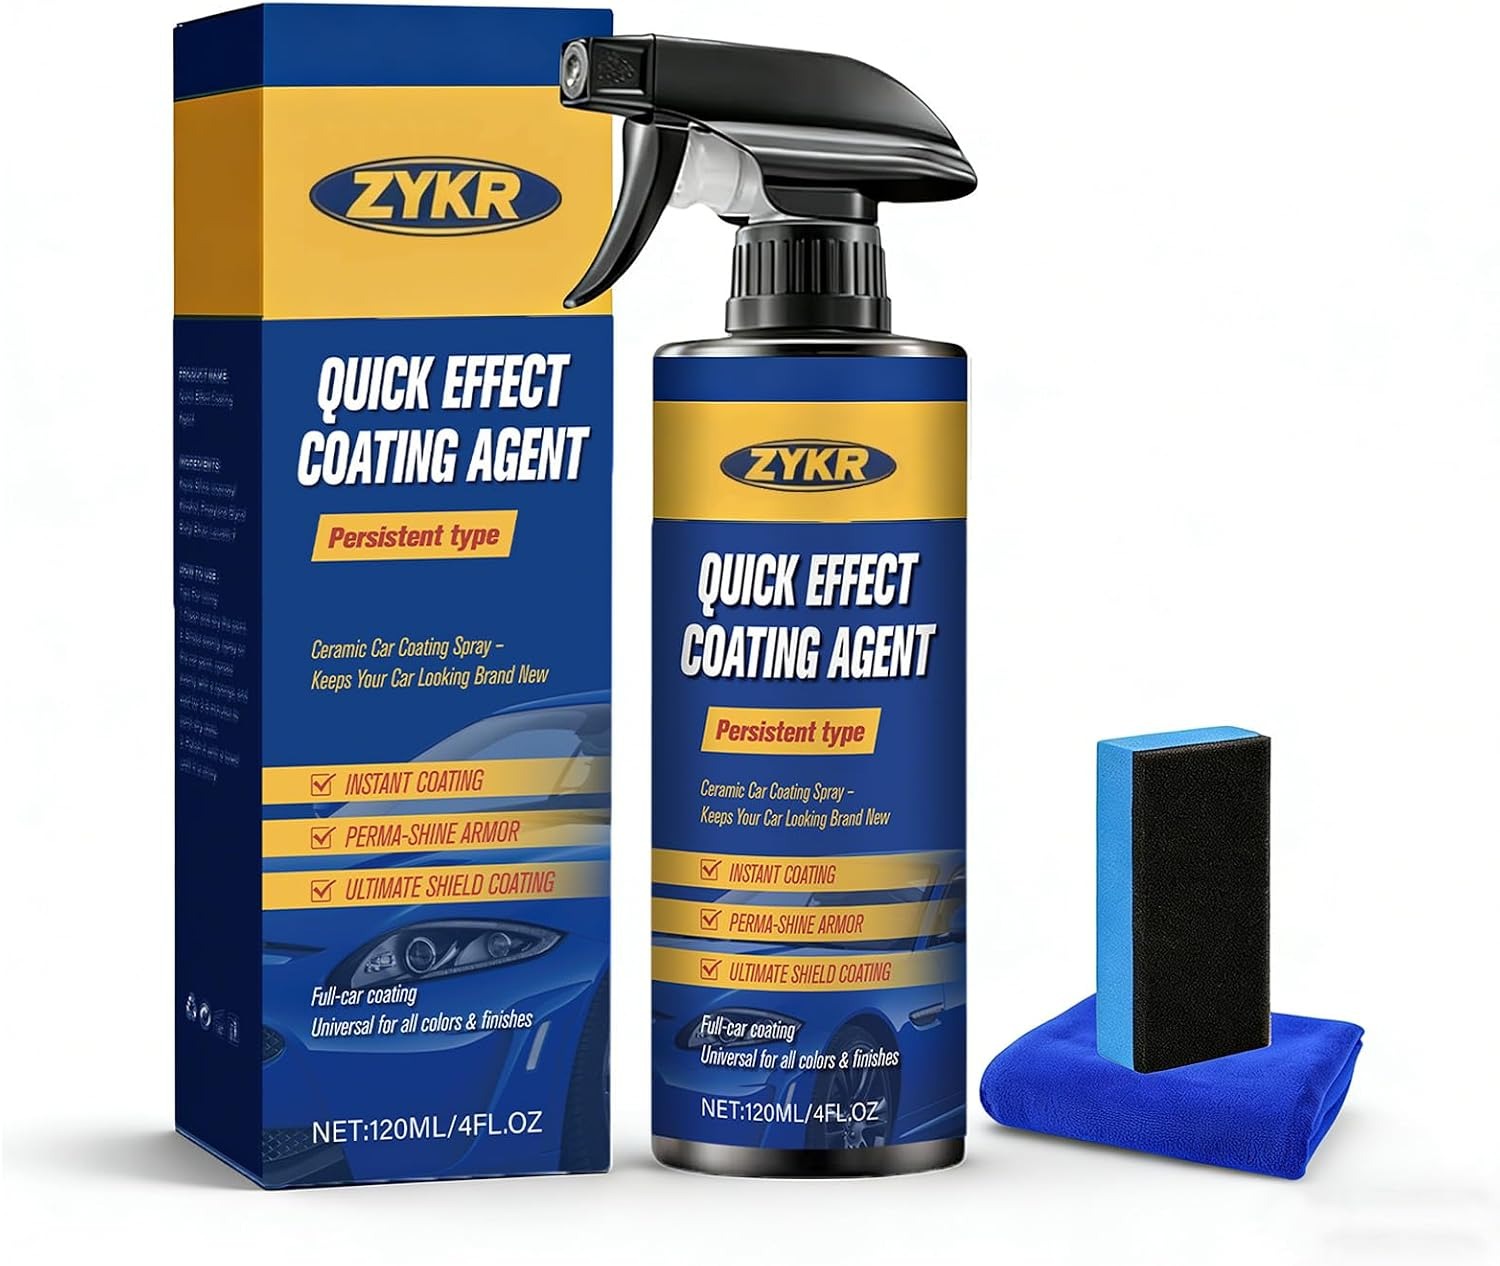
After repairing the rusty area and applying the colour coat, the next step is to protect the paint with a clear coat. This final layer helps give the repaired section a smooth, glossy appearance similar to the vehicle’s original finish.
It also protects the new paint from sunlight, moisture, dust, and other conditions that can affect the surface. A 2K aerosol clear coat can provide a strong and lasting finish because it contains a separate hardener.
However, you need to handle this type of product carefully because the chemicals can be harmful when inhaled or when they come into contact with the skin.
Read the instructions on the container before use, wear the recommended protective equipment, and make sure you are working in a properly ventilated area.
When spraying, use light and steady coats instead of applying too much product at once. Keep the can moving across the surface to avoid creating runs, patches, or uneven areas.
Allow each coat to dry for the period recommended by the manufacturer before applying another one. Do not touch, wash, or polish the repaired section too soon. The surface may appear dry while the layers underneath are still curing.
After the clear coat has completely cured, inspect the area under good lighting. If the finish is smooth and blends well with the surrounding paint, no further work may be required.
If polishing is recommended for the product, follow the manufacturer’s instructions carefully. A properly applied clear coat helps protect the repaired metal and keeps the new paint looking good.
10. Protective Undercoating
A repaired body panel deserves protection beyond the visible surface, especially when nearby areas underneath the vehicle are exposed to water, dirt, and road debris.
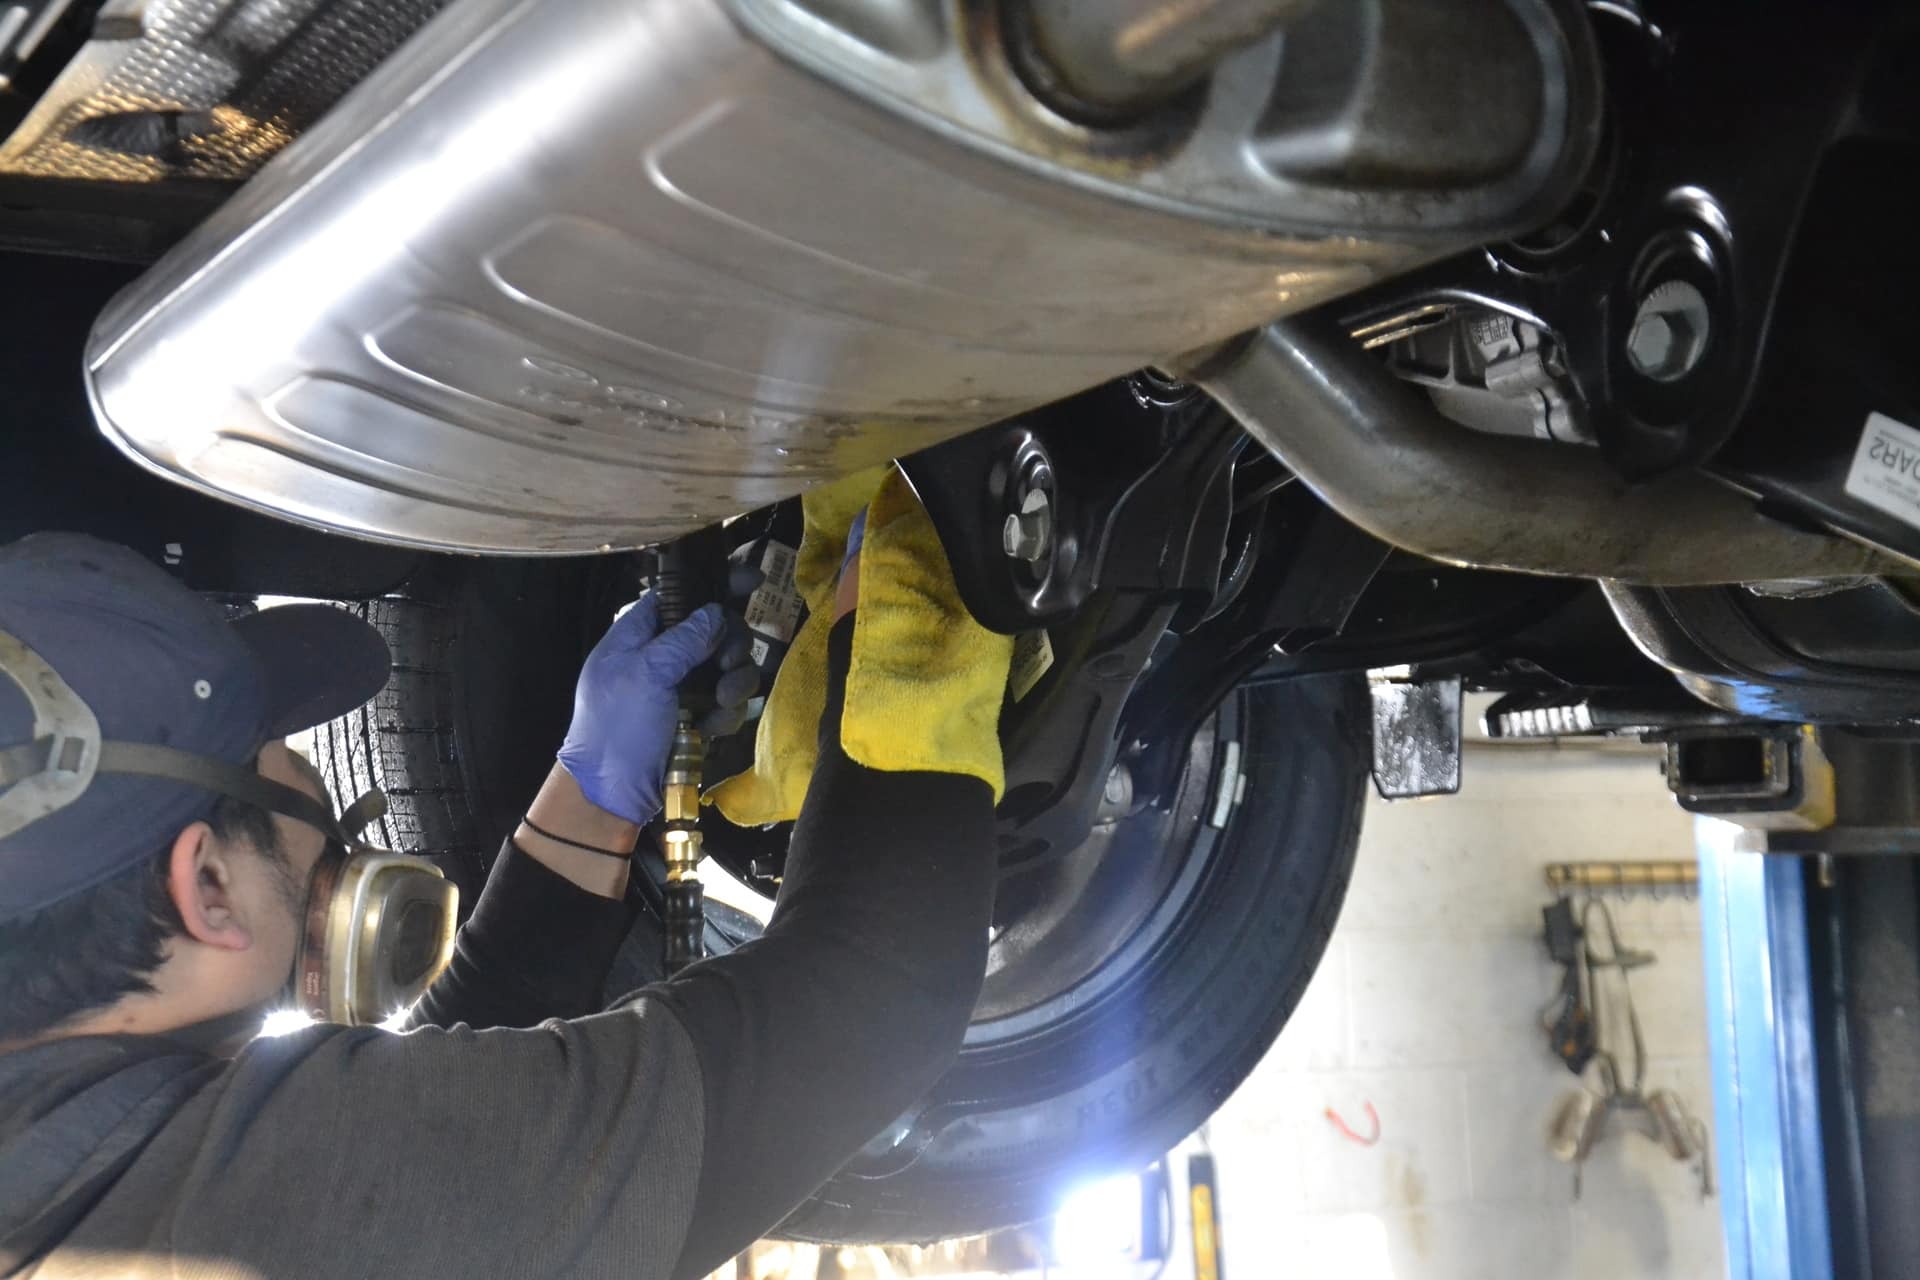
An appropriate underbody coating can create a barrier that helps reduce contact between vulnerable metal and moisture. Before applying anything underneath the vehicle, clean the area thoroughly and allow it to dry.
Dirt trapped beneath a coating can hold moisture against the metal and create another corrosion problem. Inspect the underside for existing rust, loose coating, damaged seams, and drainage points.
Rubberized coatings can provide a tough protective layer, while wax-based products can offer flexible coverage in areas where moisture tends to collect. Choose a product intended for automotive underbody use and follow the manufacturer’s instructions.
Do not spray over brakes, exhaust components, suspension parts, electrical connections, drain holes, or other areas where coating could interfere with vehicle operation. Good masking and careful application matter.
Check the protected areas periodically, particularly after harsh weather or frequent driving on wet, dirty roads. A protective coating is not a permanent excuse to ignore the underside.
Regular inspection allows small problems to be caught before corrosion gets a chance to damage the metal more deeply.