Have you ever walked behind your car at night and noticed the taillights look cloudy, dull, or sweaty? It’s more common than you’d think, and it’s more than an eyesore. Foggy lenses dim the light that warns drivers behind you, which can make every brake tap harder to see. The good news is that you don’t need a mechanic or a big budget to fix it.
This guide shares ten reliable methods, ranging from a five-minute wash to a full restoration that lasts for years. Some use items already in your kitchen, while others call for a few inexpensive supplies. Pick what matches your situation, roll up your sleeves, and get ready to enjoy crisp, bright taillights again. Your car, and the drivers behind you, will thank you.
1. Clean With Soap and Water
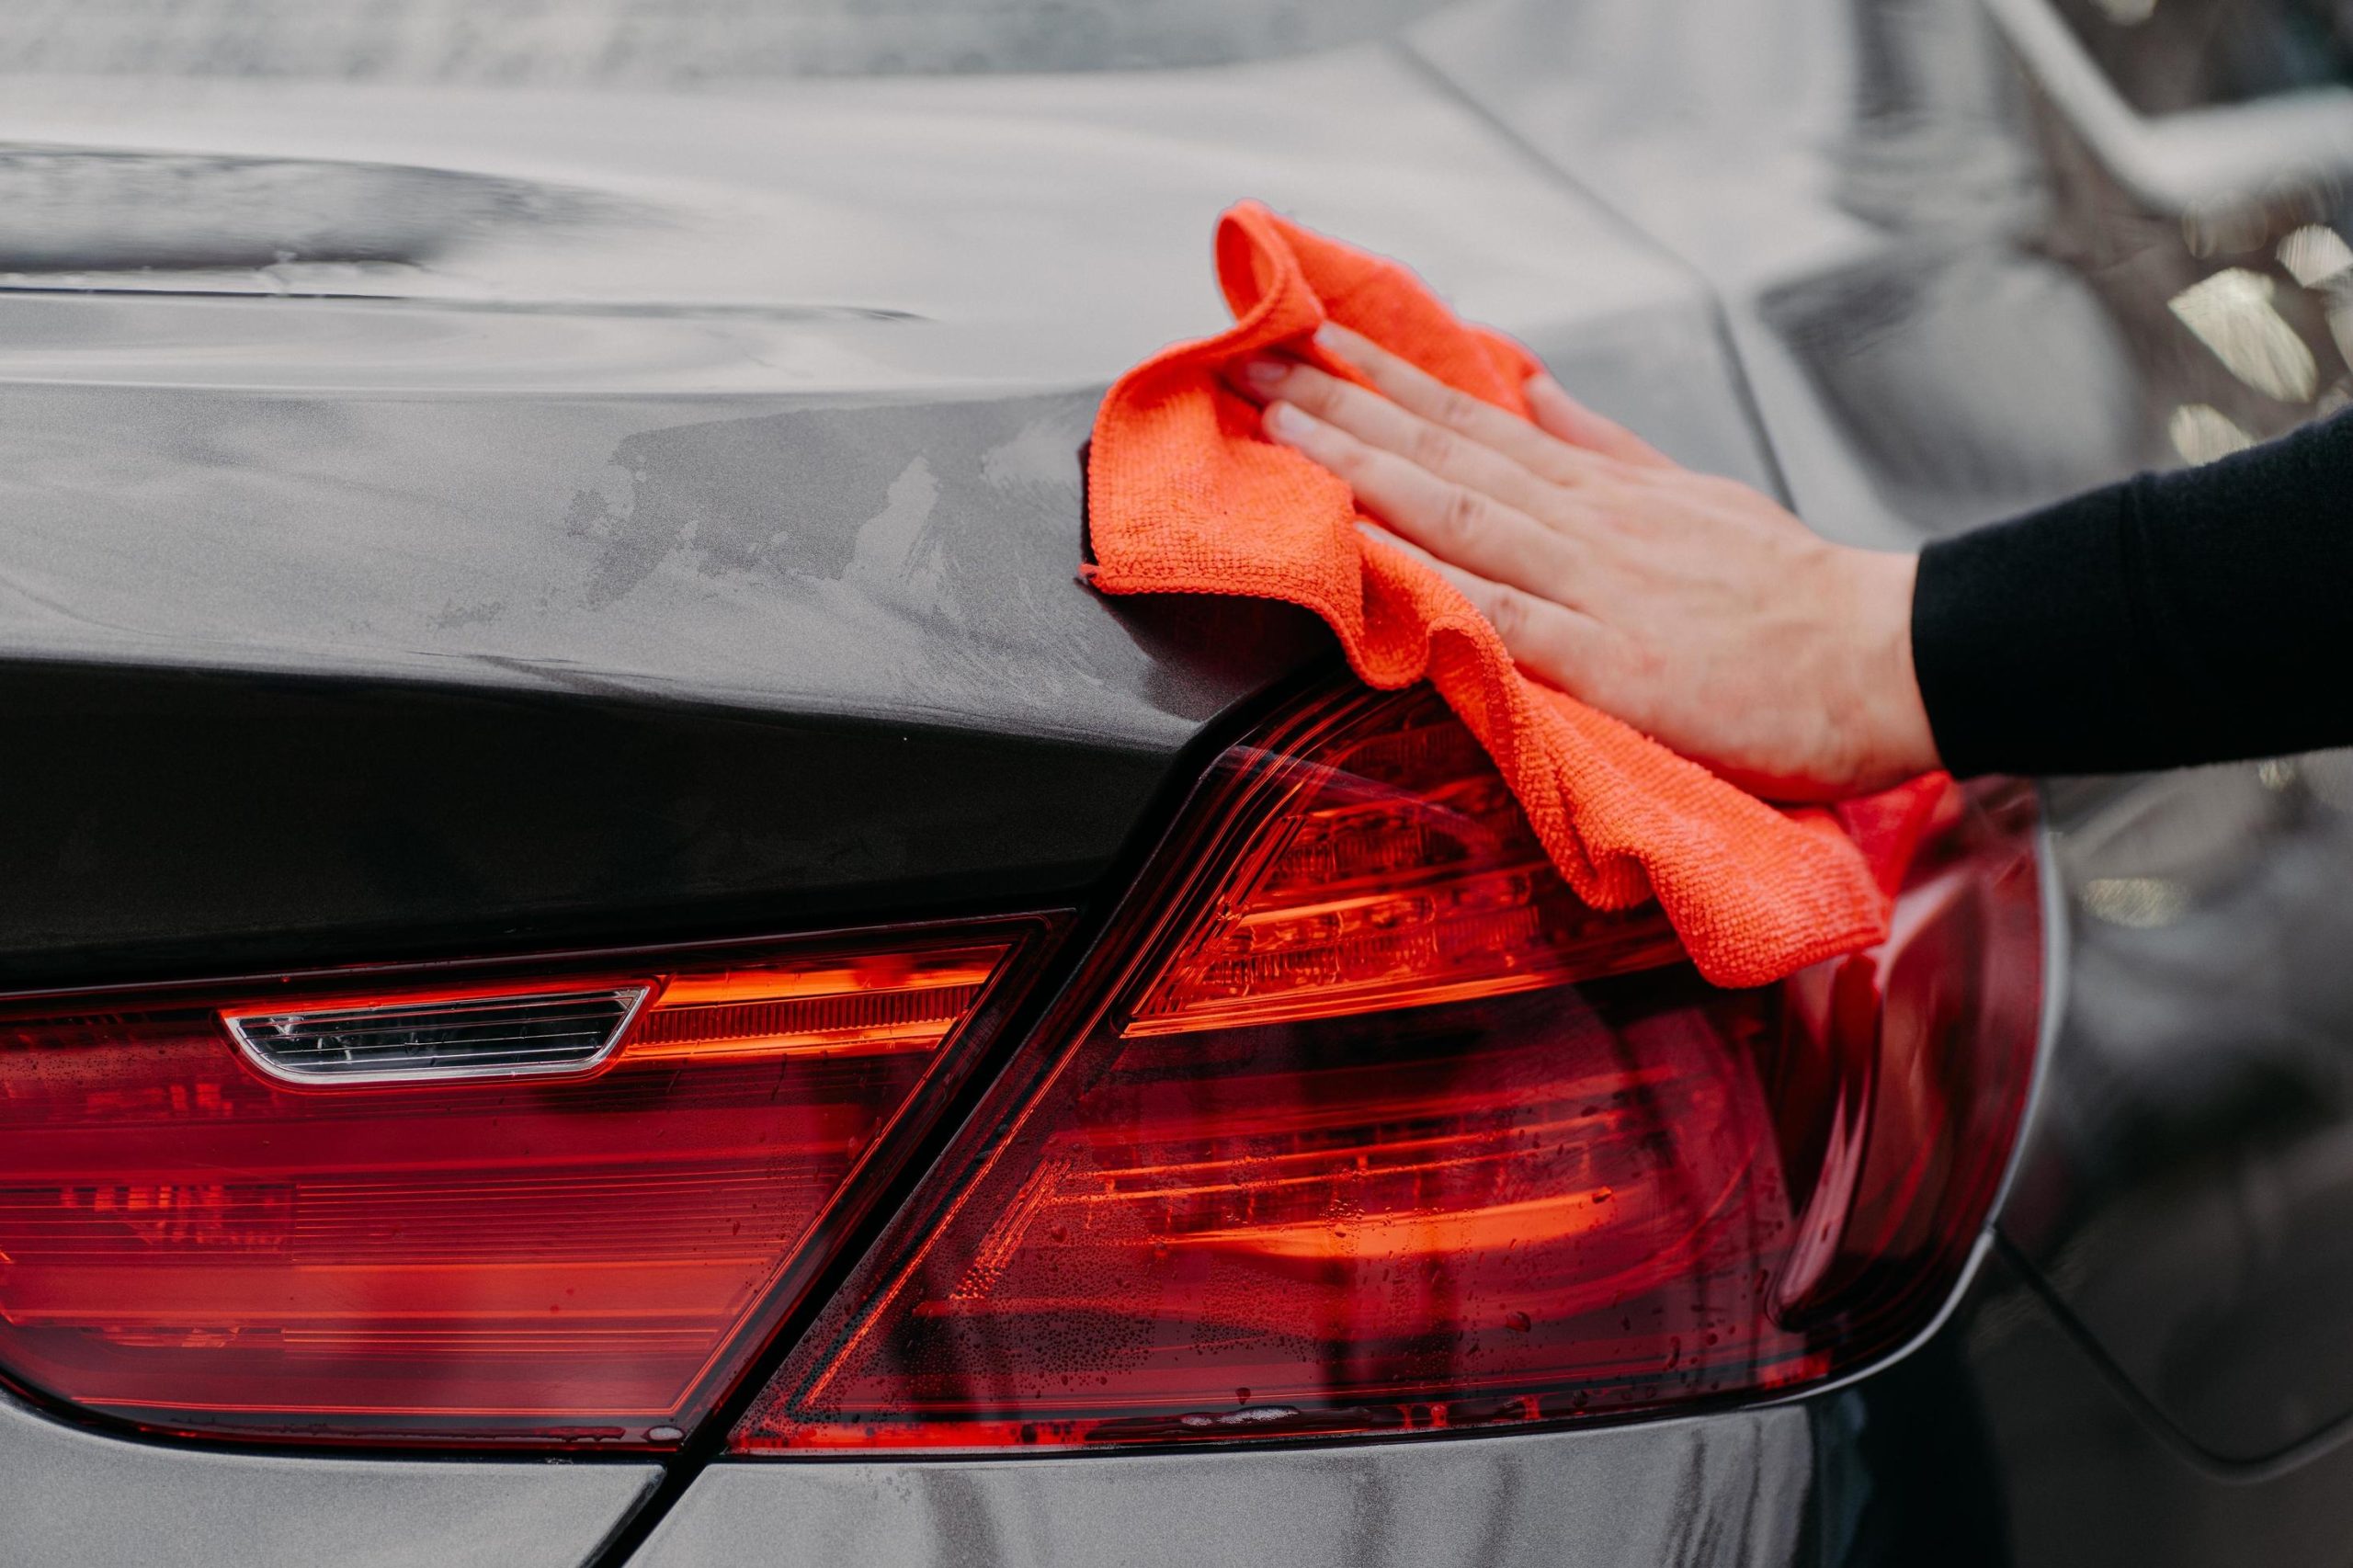
Before trying special products or polishing tools, start by washing your taillights. Sometimes, cloudy plastic is simply covered with road grime, dried mud, bug residue, tree sap, or other debris.
A thorough wash can make a surprising difference and help you determine whether the lens needs deeper treatment. You will need warm water, mild car-wash soap, and two clean microfiber cloths.
Rinse the taillight first to remove loose dirt that could scratch the surface. Mix the soap with water, dampen one cloth, and gently wipe the lens. Pay attention to the edges and corners, where grime often collects.
Avoid rough sponges, stiff brushes, and abrasive towels. After cleaning the lens, rinse away the soap and dry it with the second microfiber cloth. Examine the taillight under natural light to see whether the cloudy appearance has improved.
Still seeing a haze? The plastic may have oxidation, which requires polishing or another restoration method. If moisture appears behind the lens, cleaning alone will not solve the problem.
This simple method costs little and takes only a few minutes. It also prepares the plastic for further treatment by removing dirt that could interfere with polishing. Start here before spending money on restoration products.
2. Use Toothpaste as a Mild Abrasive
You might already have a useful cleaning product in your bathroom cabinet. Plain white toothpaste contains mild abrasive ingredients that can help remove light surface oxidation from plastic taillight lenses.
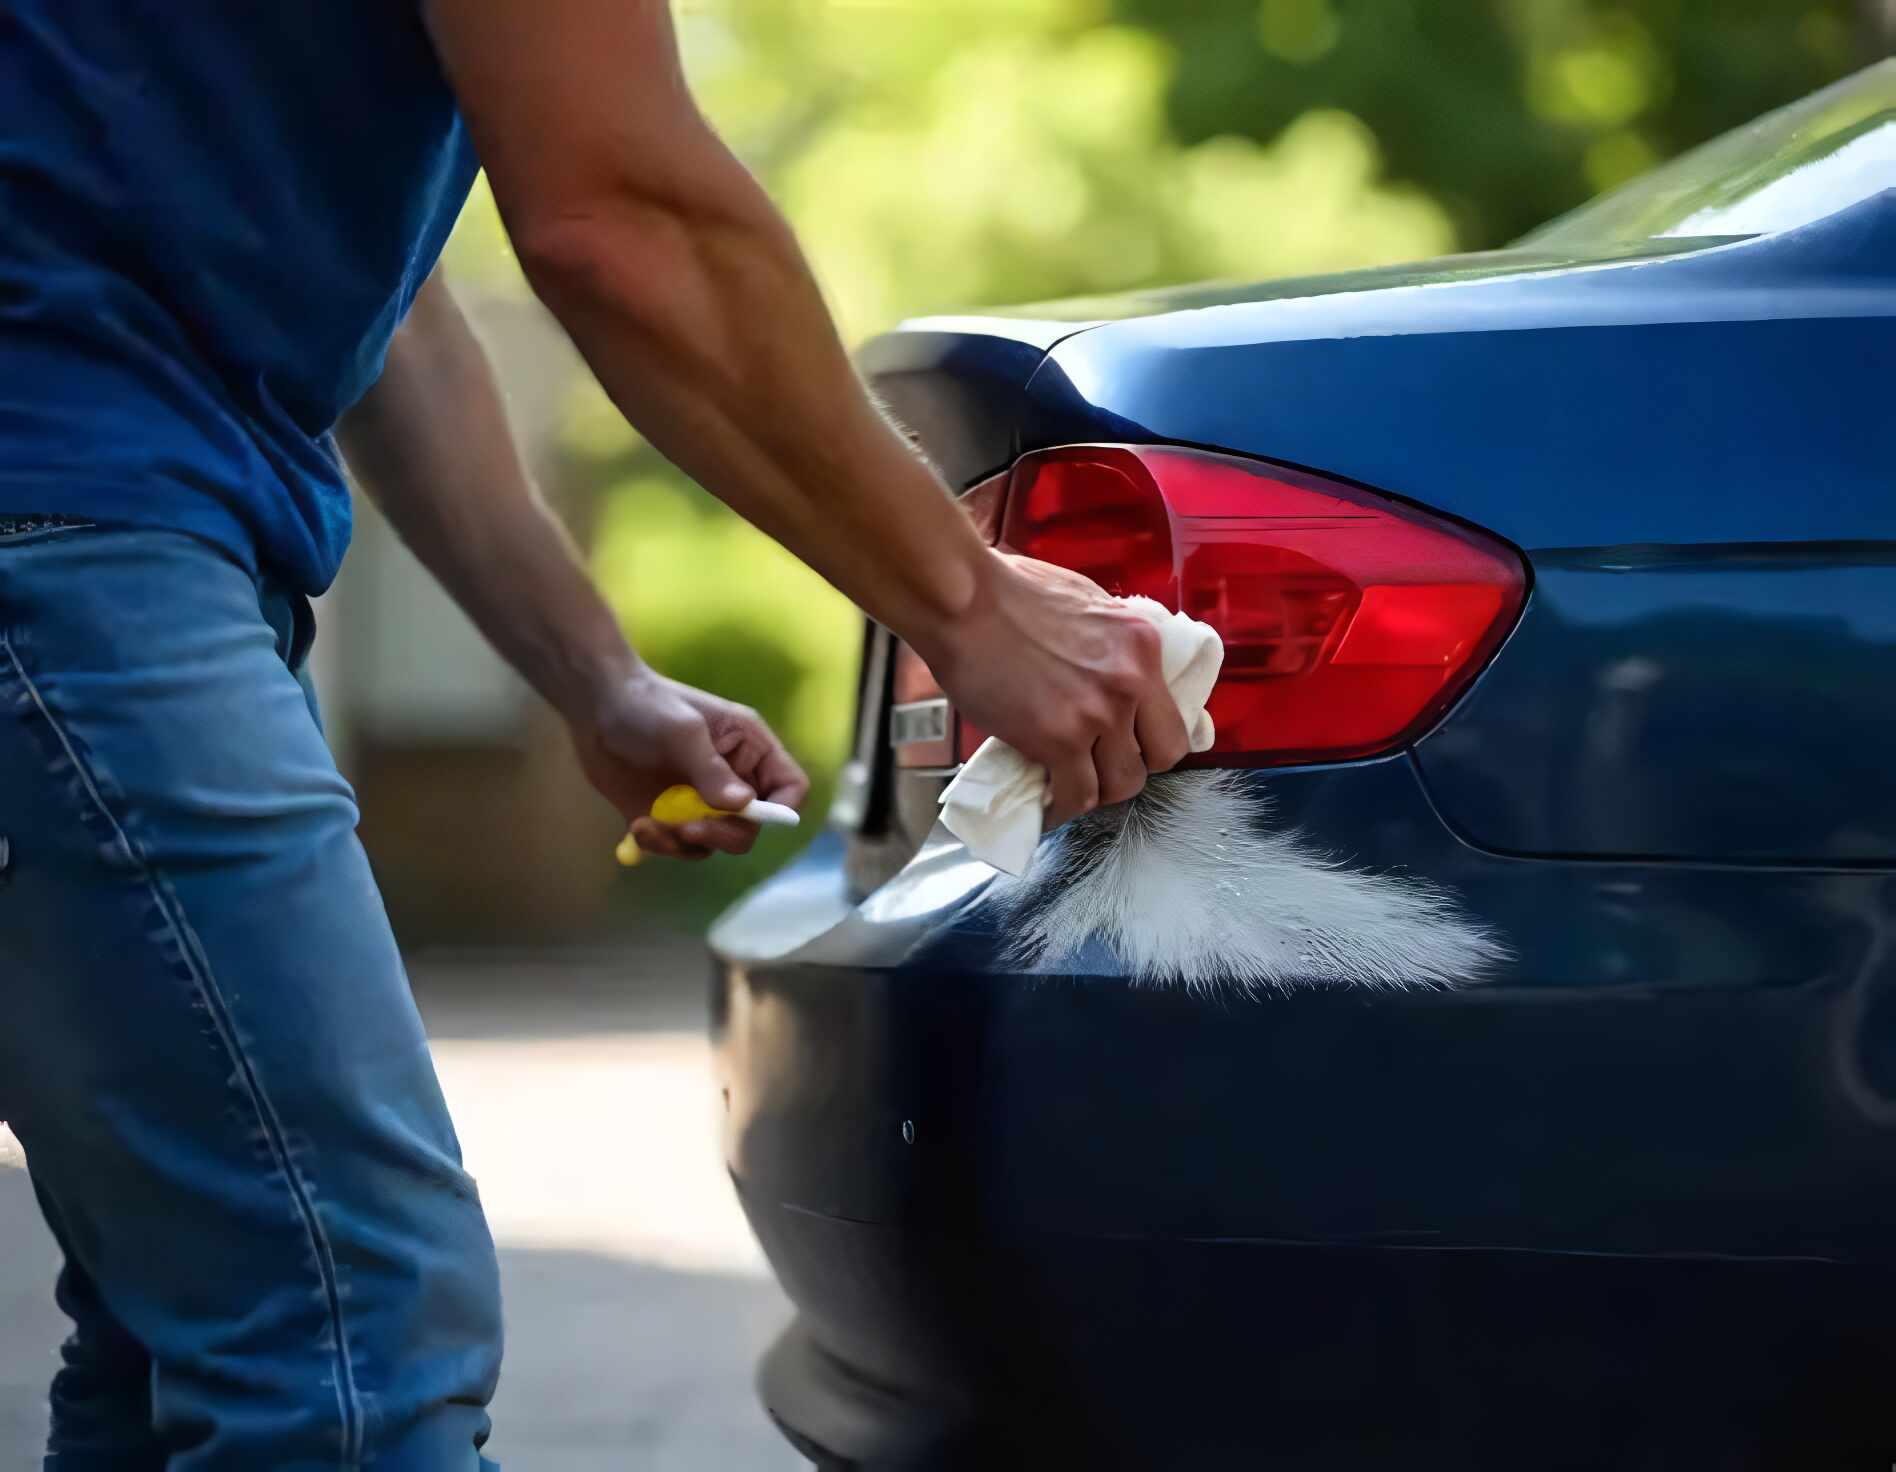
It is not a dedicated restoration product, but it can improve mildly cloudy plastic when used carefully. Begin by washing and drying the taillight. Apply a small amount of plain white toothpaste to a damp microfiber cloth.
Gently rub the lens in small circular motions, working on one section at a time. Keep your pressure light, and avoid aggressive scrubbing, which can leave fine scratches.
After working across the surface, rinse the lens thoroughly with clean water. Use a microfiber towel to dry it, then inspect the results in good lighting. If the haze has improved, additional polishing may not be necessary.
Choose a basic toothpaste rather than a gel formula or one containing large abrasive particles. Results can vary. Light surface dullness may respond well, but deep oxidation, cracks, and internal condensation require different solutions.
Remember that toothpaste does not provide permanent UV protection. Sunlight can cause the plastic to become cloudy again. For a longer-lasting finish, follow up with plastic polish and a suitable UV-resistant protective coating afterward.
3. Apply Baking Soda and Water Paste
Baking soda offers another household option when soap alone cannot remove a stubborn film. Mixed with water, it forms a mild abrasive paste that can loosen surface residue and help reduce light oxidation.
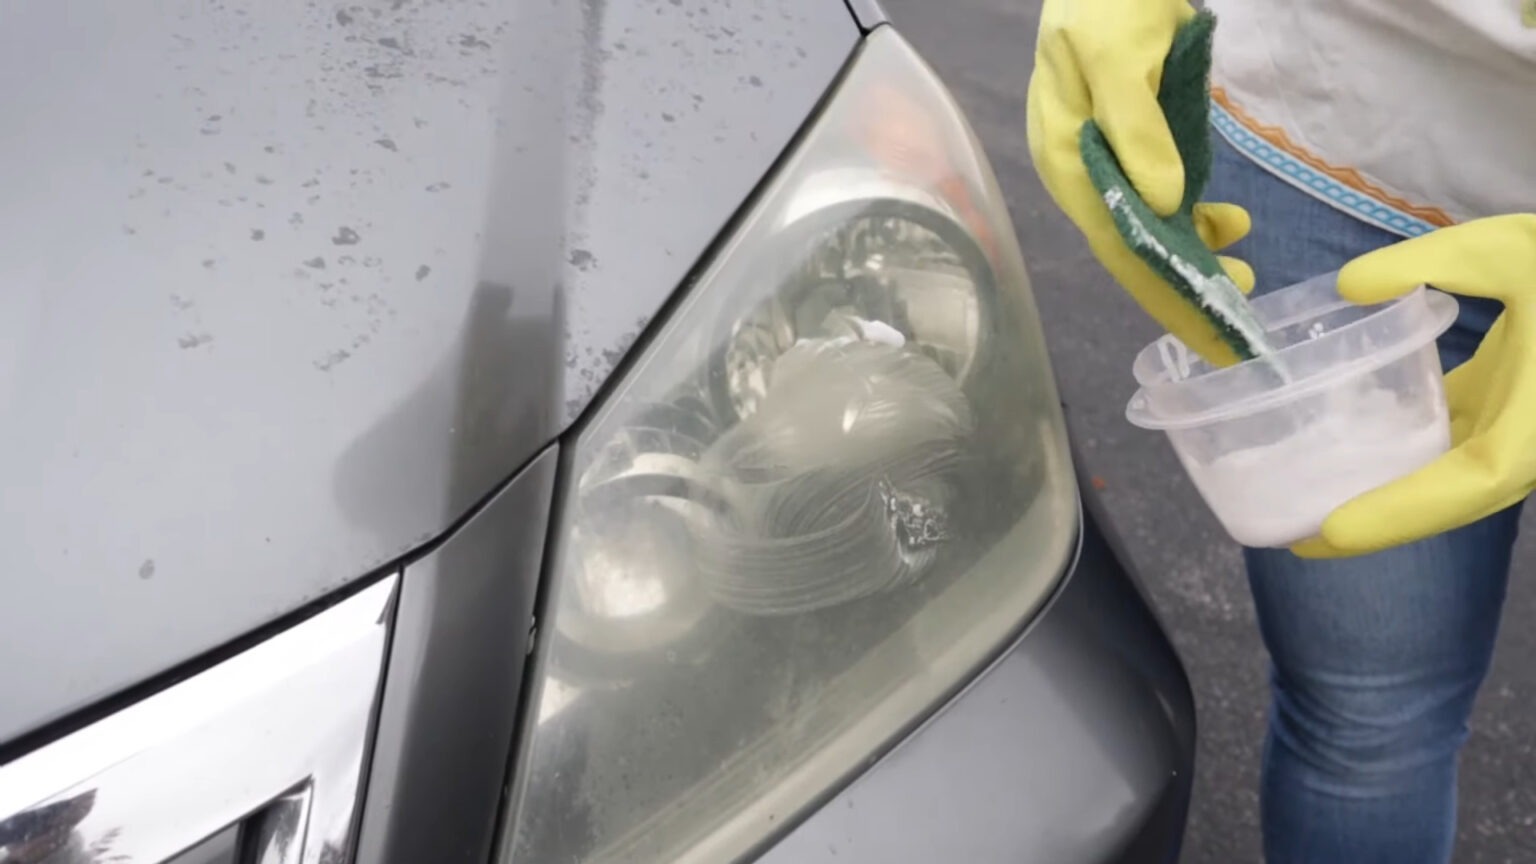
Place a few spoonfuls of baking soda in a small container and add water gradually. Stir until the mixture becomes thick enough to stay on a cloth without running.
Wash and dry the taillight first. Then apply a small amount of the paste with a soft microfiber cloth. Use gentle circular motions rather than aggressive scrubbing.
Keep the pressure light and work across the lens in short sections. The goal is to polish away the dull surface layer, not to grind deeply into the plastic. If the cloth dries out, add a little water instead of pressing harder.
After several minutes, rinse the lens completely. Baking soda residue can collect around seams and edges, so inspect those areas carefully. Dry the taillight with a clean towel and check it under good lighting.
This approach can help with mild haze and surface buildup, but it is not a substitute for professional plastic restoration when oxidation is deep. It also cannot solve internal condensation or a leaking housing.
If the lens looks clearer but begins to haze again soon after cleaning, the plastic may need UV protection or a more durable restoration treatment.
For a heavily damaged lens, stop rather than increasing pressure. A controlled sanding and polishing process may be more appropriate. A patient application is safer than aggressive scrubbing. Use clean water for rinsing. Gently.
4. Use Automotive Plastic Polish
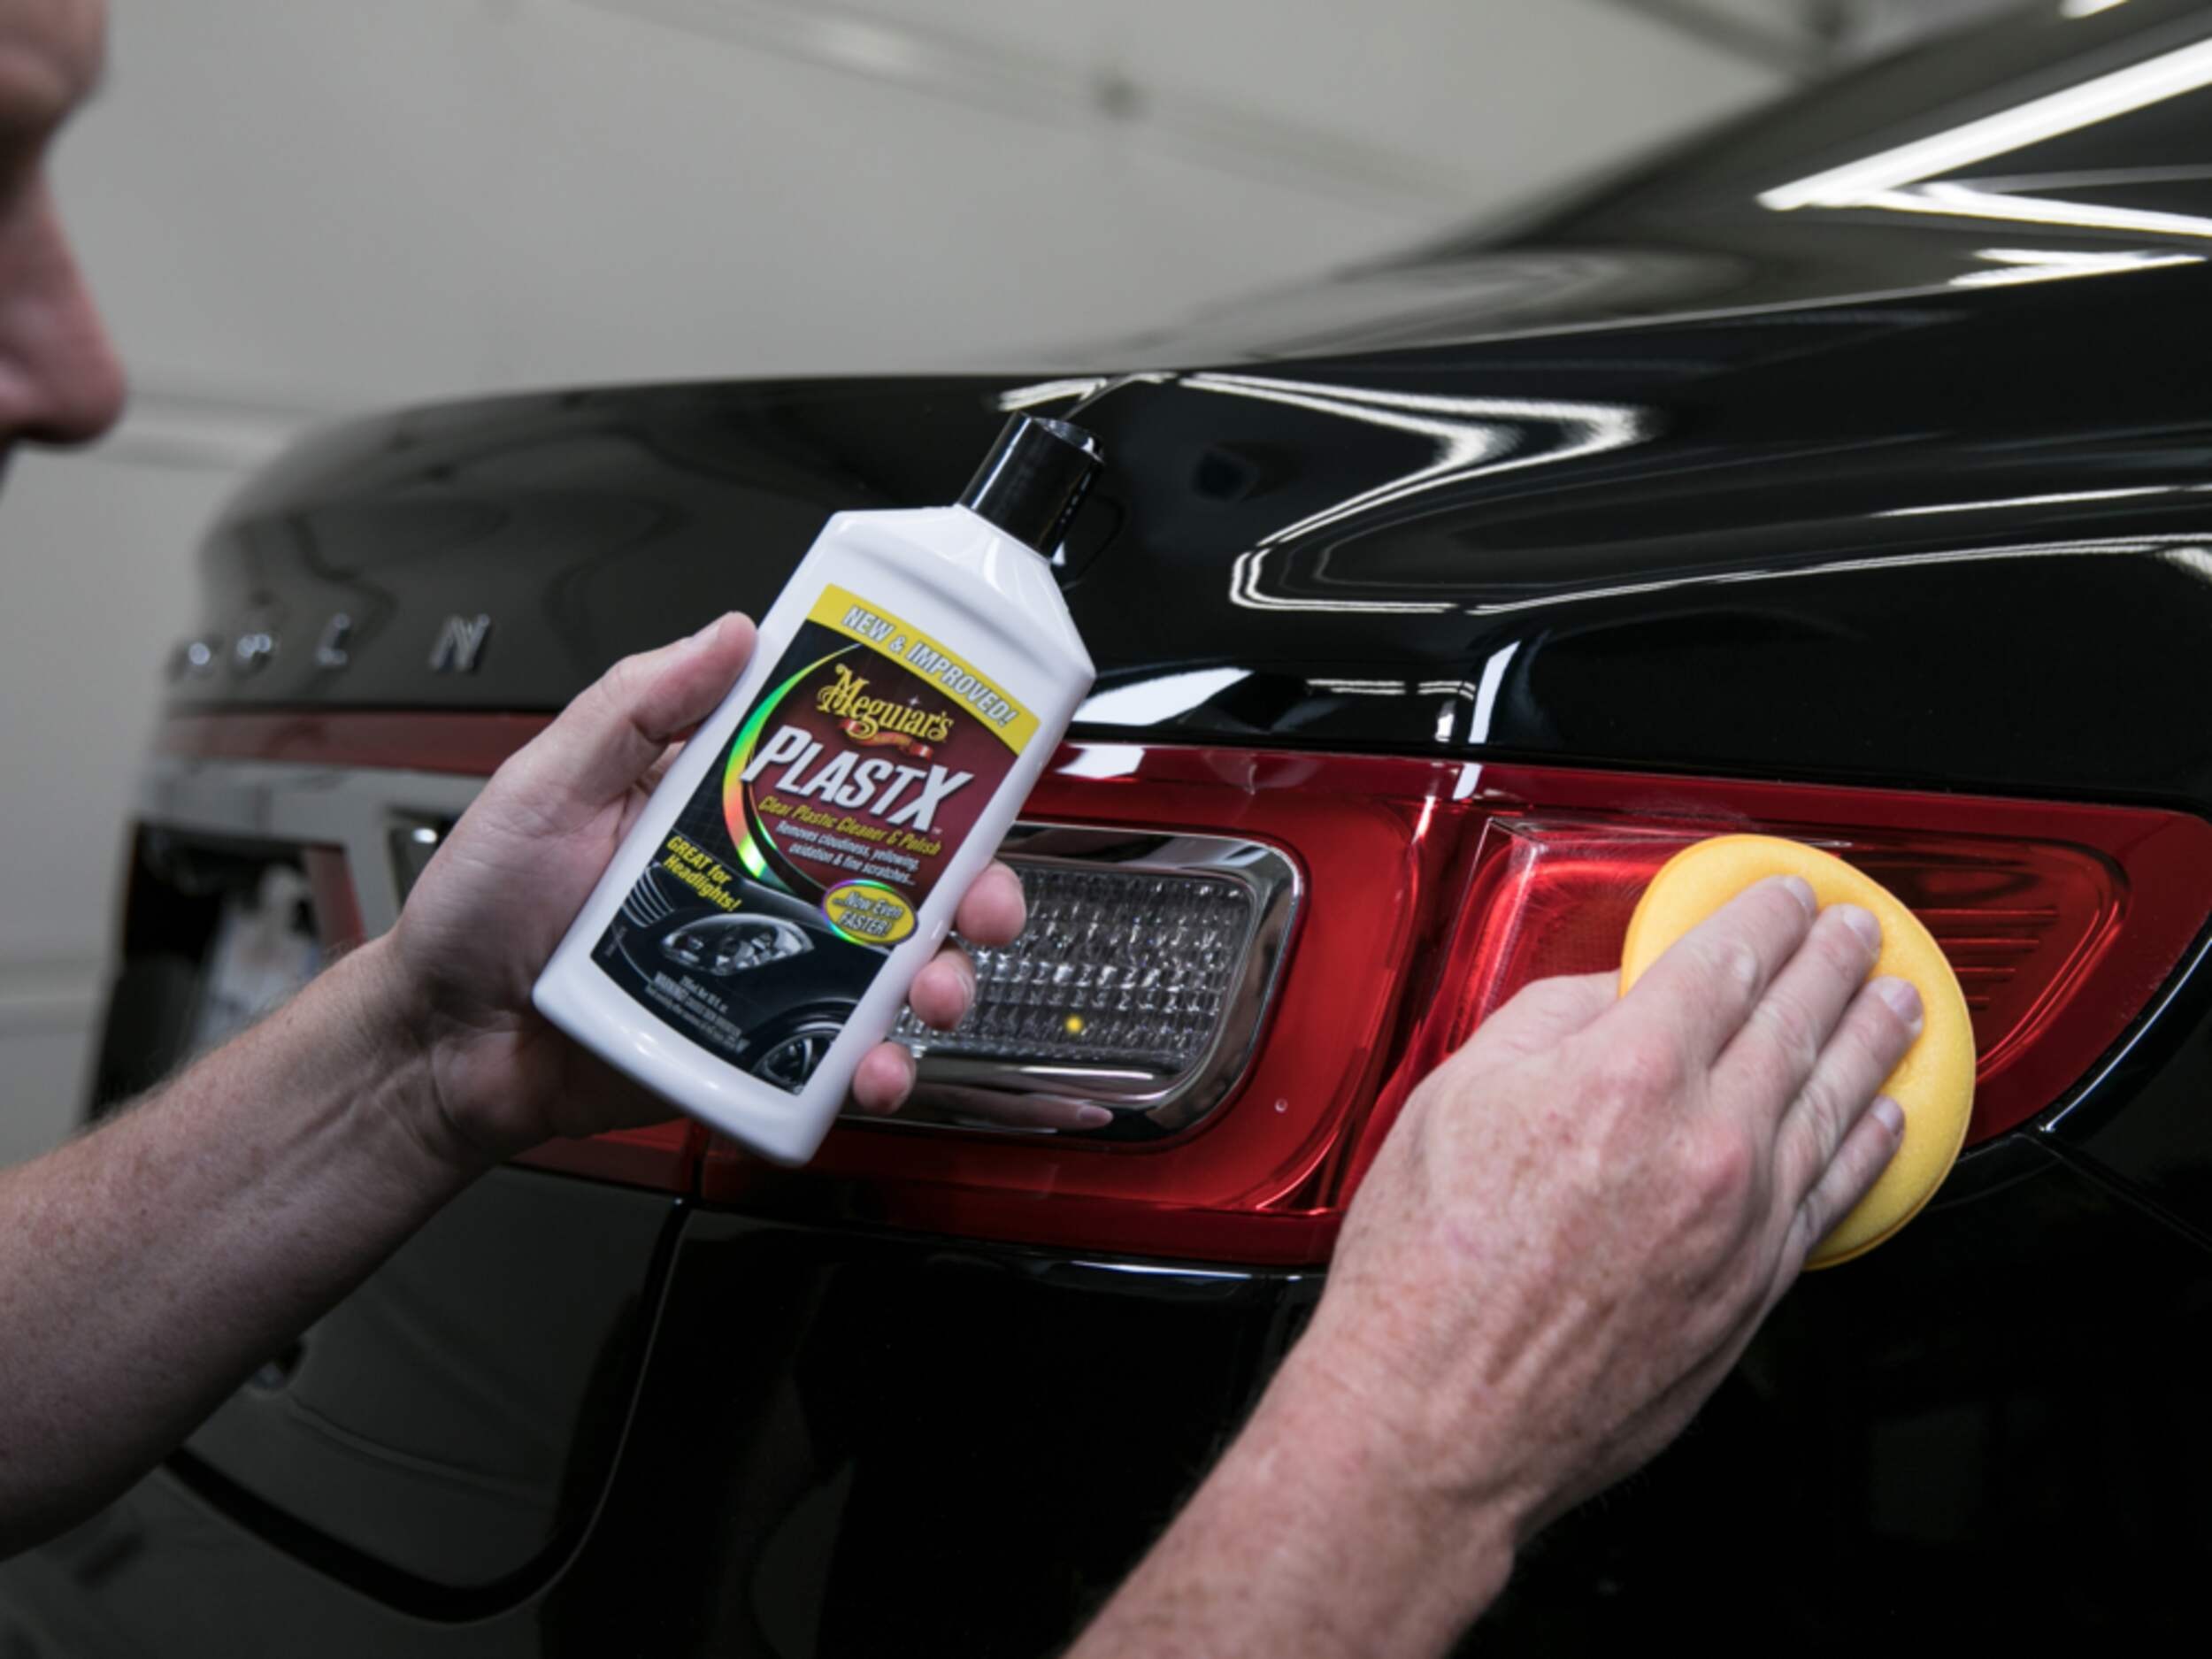
Household fixes have their limits, and that is where plastic polish becomes worth using. Products are designed to remove oxidation from clear plastic.
Their abrasives are finer and more consistent than toothpaste or baking soda, helping cut through haze while leaving a smoother surface.
Start by washing the lens and drying it completely. Mask the surrounding paint with painter’s tape to prevent polish from dulling the finish.
Put a small amount of polish on a foam applicator or microfiber cloth, then work it across the lens using overlapping passes. You can polish by hand, or use a drill attachment for results.
If using a machine, keep it moving to prevent heat from building in one area, since excessive heat can warp or cloud plastic.
Wipe the residue away with a clean microfiber cloth and inspect the lens under bright light. If haze remains, repeat the process. Moderate oxidation often improves after two or three applications.
Choose a polish labeled safe for polycarbonate or acrylic. Some kits also include a protective sealant, which helps prevent oxidation from returning quickly.
Compared with replacing a taillight assembly, a bottle of polish is inexpensive and can be reused on headlights and other plastic lenses.
5. Wet Sanding (For Severe Oxidation)
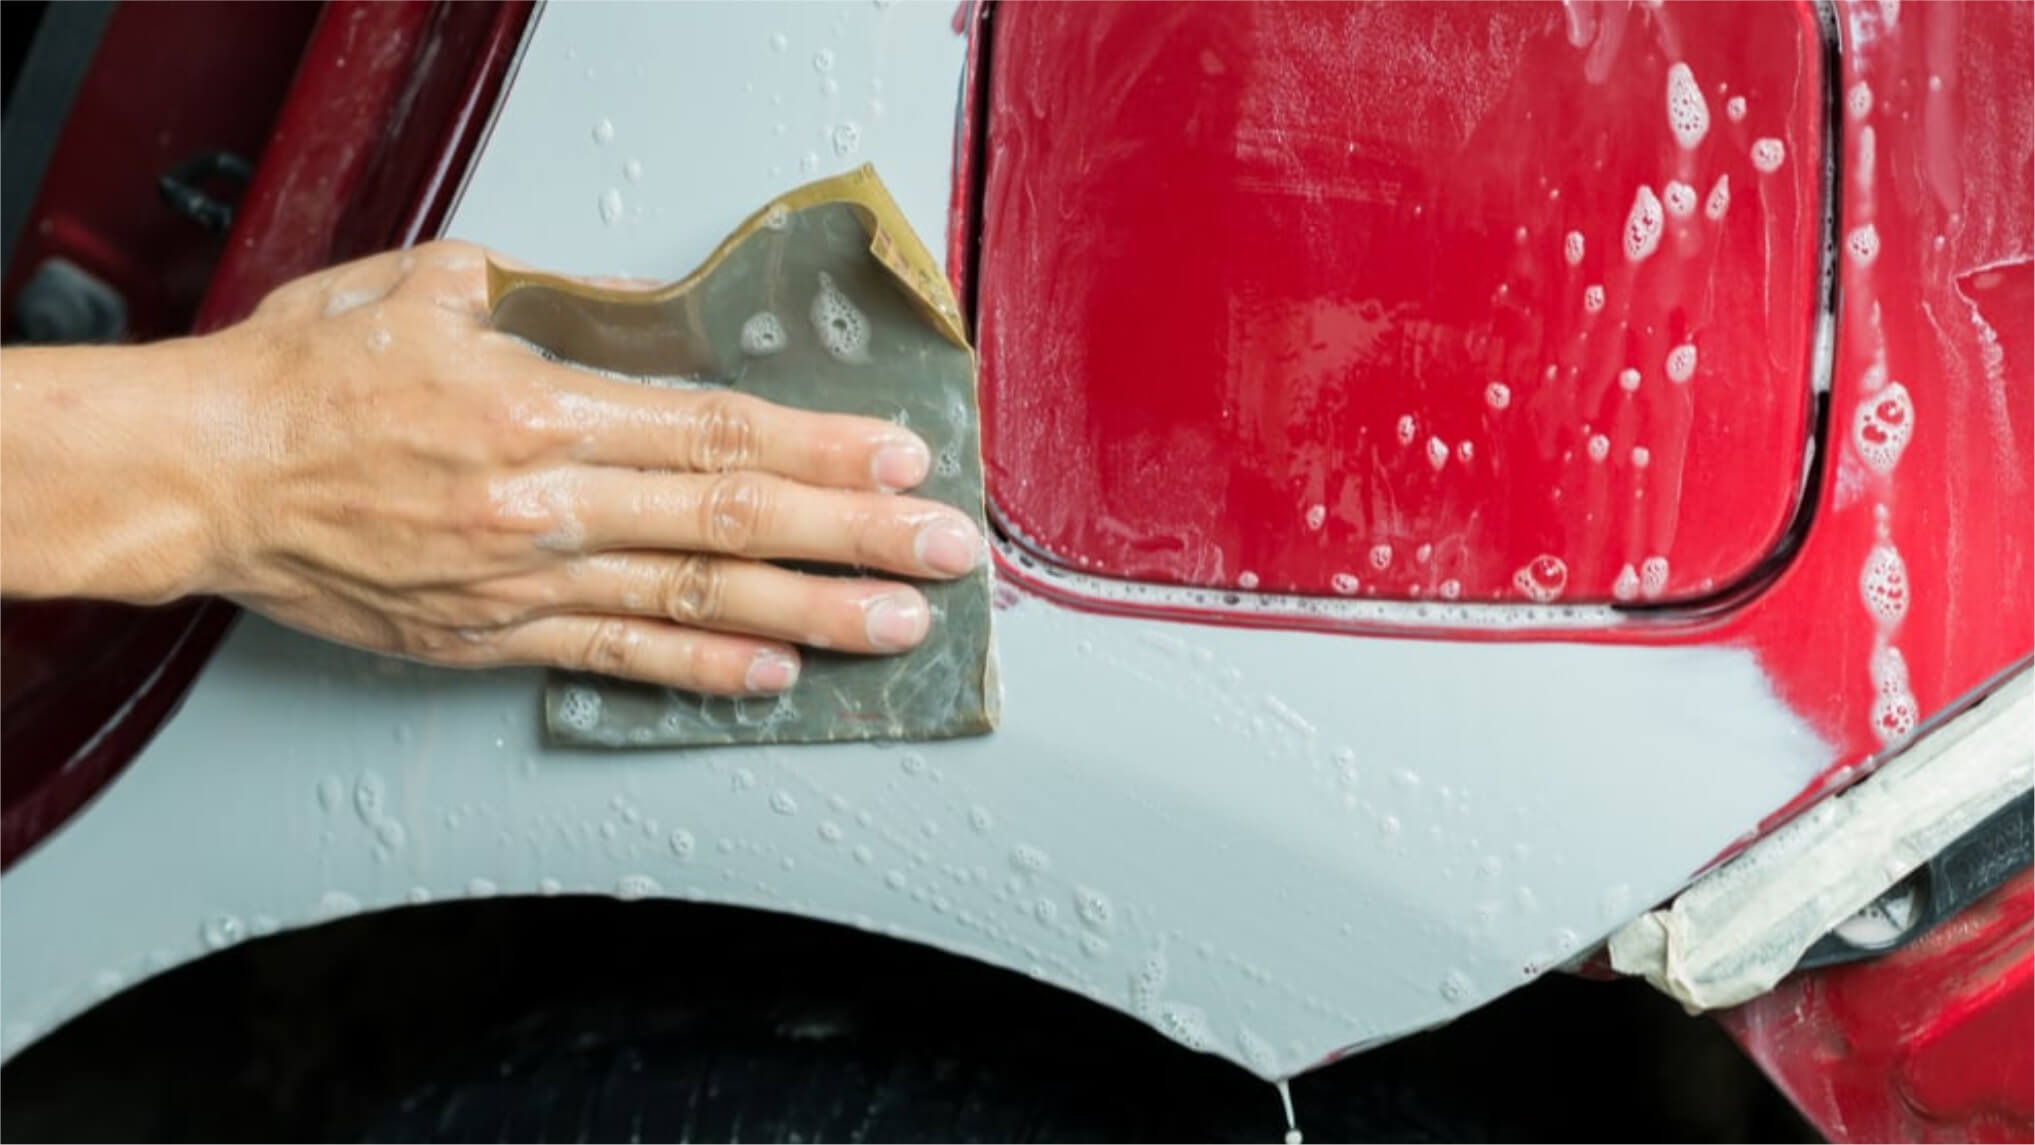
When ordinary polishing fails and the lens remains cloudy, wet sanding can provide deeper correction. This method is meant for severe oxidation because it removes a thin layer of plastic.
That makes technique essential. Rushing the job can leave scratches or uneven areas. Gather waterproof sandpaper in 1000, 2000, and 3000 grits, painter’s tape, a spray bottle, microfiber cloths, and plastic polish.
Wash the lens, dry it, and protect nearby paint and trim with tape. Soak the 1000-grit sandpaper in water for several minutes. Spray the lens and sand using straight, even strokes while keeping everything wet.
Wipe the surface to check your progress. The lens should become evenly dull, which is normal. Move to 2000 grit and sand in a direction that crosses your previous strokes.
Finish with 3000 grit, again changing direction. Rinse the lens, dry it, and polish the surface until the clarity returns. Water carries away debris and reduces deep scratches.
Avoid heavy pressure, skipping grits, or concentrating on one spot. These mistakes can create uneven patches or gouges. Once polishing is finished, apply a protective coating.
Bare, sanded plastic can oxidize again quickly. Work slowly, and the final result can look surprisingly close to new.
6. Apply a UV Sealant or Clear Coat
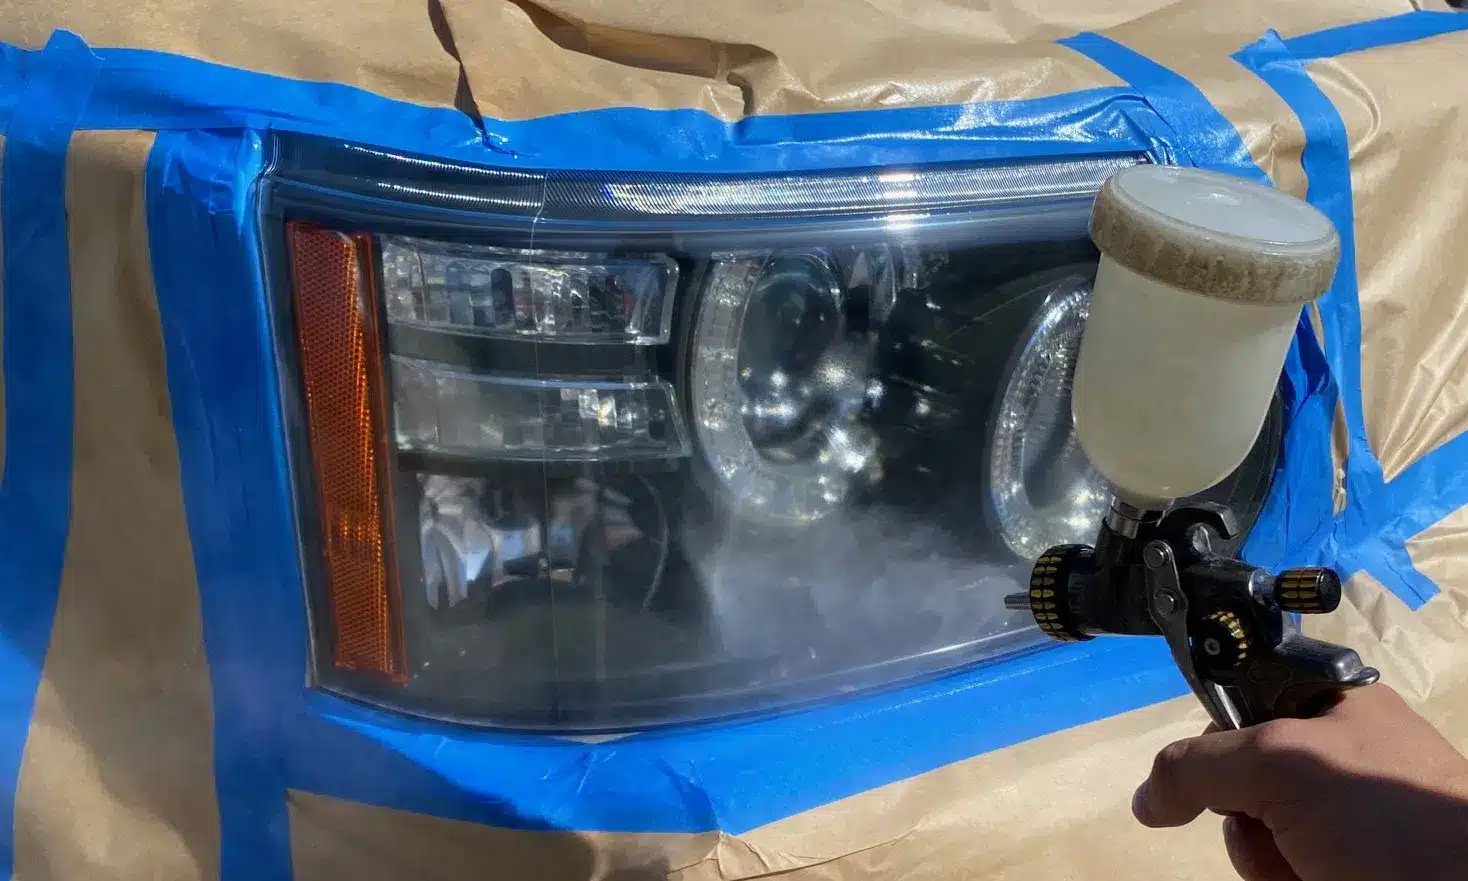
A clear taillight can lose its fresh appearance again if the restored plastic is left exposed to sunlight without protection. After cleaning, polishing, or sanding, applying a UV-resistant sealant can help protect the surface from ultraviolet exposure and environmental wear.
Prepare the lens. Remove all polish residue, dust, oils, and moisture before applying the product. Follow the manufacturer’s directions for preparation, application, drying, and curing. Do not coat a dirty or damp lens unless the product specifically allows it.
UV-resistant automotive coatings come in several forms, including dedicated plastic sealants and clear coats designed for exterior vehicle surfaces. Choose a product that is intended for automotive plastic and confirm that it is suitable for taillight lenses.
Apply the coating evenly. Heavy coats can run or cure unevenly. Keep the vehicle in a clean, dry location while the coating cures, and avoid touching the surface until the stated curing period has passed.
A protective coating creates a barrier between the plastic and sunlight, moisture, road contaminants, and other environmental exposure. This can help the restored surface stay clearer for longer.
A UV sealant cannot fix moisture trapped inside the housing. If condensation is present behind the lens, dry the housing and correct the source of the moisture first. Sealing a wet interior can trap water inside and leave the original problem unresolved.
After restoration, UV protection helps preserve the finish. Used after proper restoration, it is a practical maintenance step rather than a quick cosmetic trick. Use thin, even coverage when possible.
7. Remove Moisture by Opening the Housing
Cloudiness that appears behind the taillight lens points to a different problem from surface oxidation. Internal condensation means moisture has entered the housing or normal temperature changes have caused water vapor to collect inside.
In that situation, polishing the outside will not remove the haze. Check whether the moisture disappears after the vehicle sits in a warm, dry place.
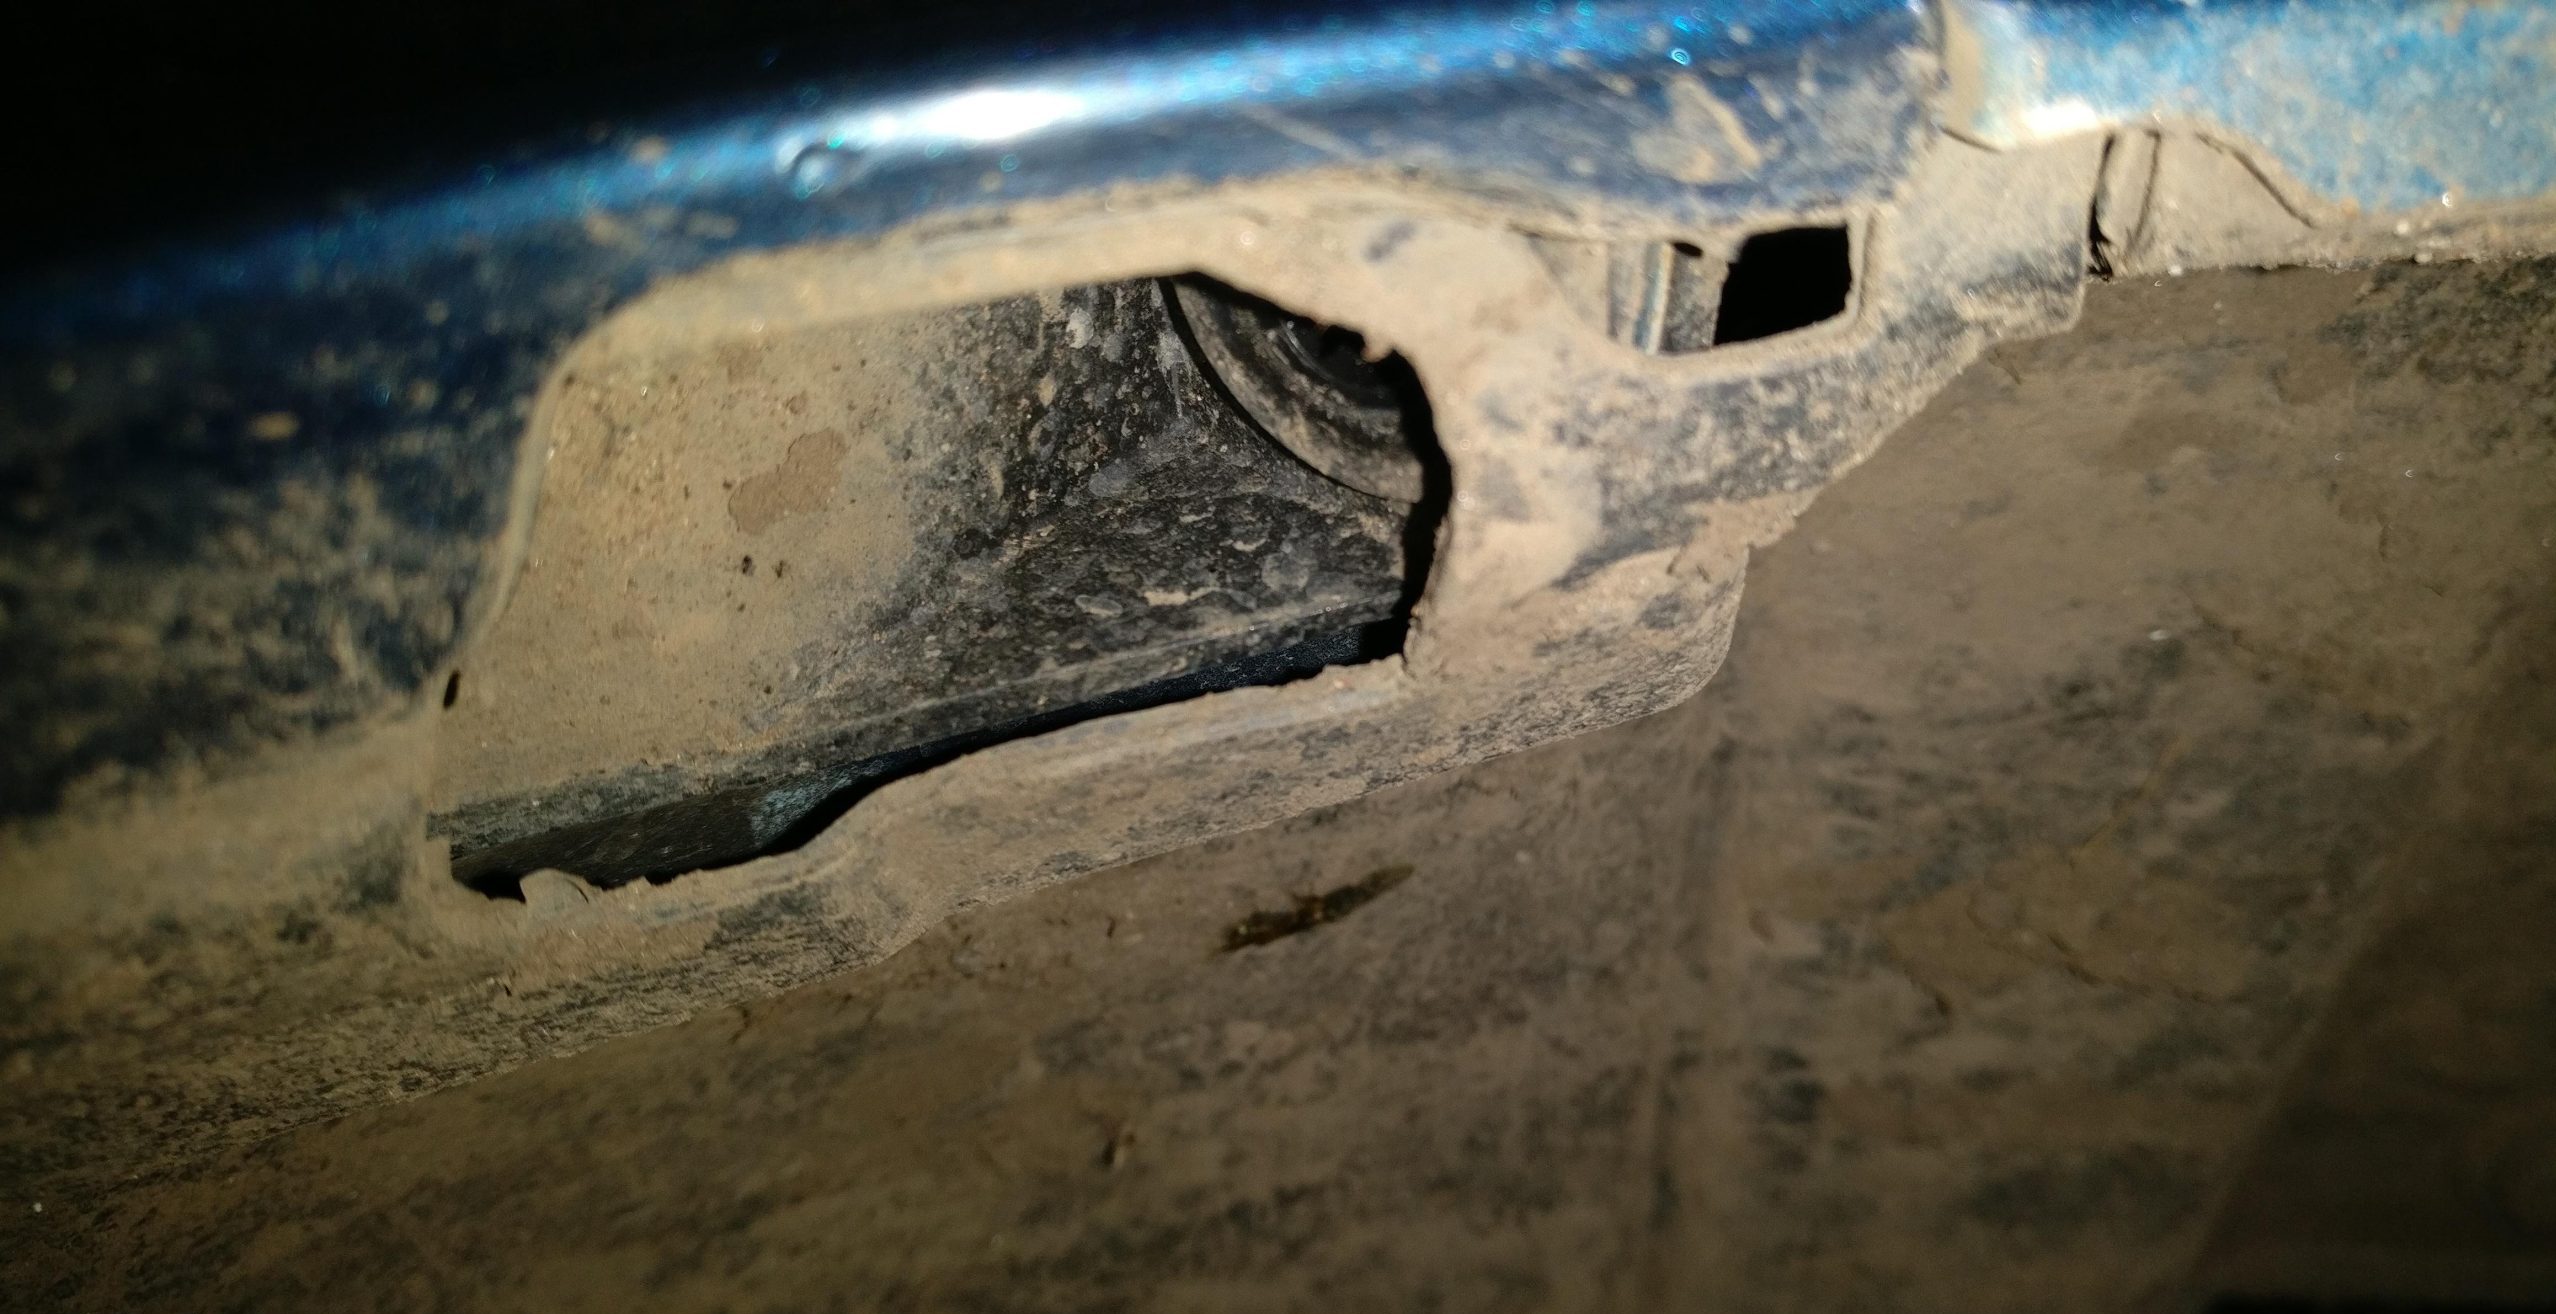
If it remains, consult the vehicle’s service instructions before removing the taillight assembly. Some housings are secured with bolts, clips, or trim pieces that can be damaged if forced.
Once the assembly is safely removed, inspect the housing, bulb sockets, vents, and seals. Let the interior dry naturally in a clean, dry area. Gentle airflow can help, but avoid high heat.
Excessive heat can warp plastic, damage wiring, or affect the lens. Do not seal the housing while moisture remains inside.
Drying the assembly addresses only part of the problem. You also need to determine how the water got inside in the first place. Check for cracks, worn bulb seals, damaged vents, and gaps around the housing that could allow moisture to enter.
A small amount of condensation can sometimes occur when temperatures change. Persistent pooling or repeated heavy fogging deserves closer inspection.
After the housing is dry, reinstall it according to the vehicle manufacturer’s instructions and make sure every seal sits correctly. Test the lights before driving.
If water returns after drying, focus on the entry point rather than repeatedly drying the assembly. A repaired seal, gasket, crack, or vent may be necessary to keep the taillight dry. Allow enough time for complete drying before reinstalling. Fully.
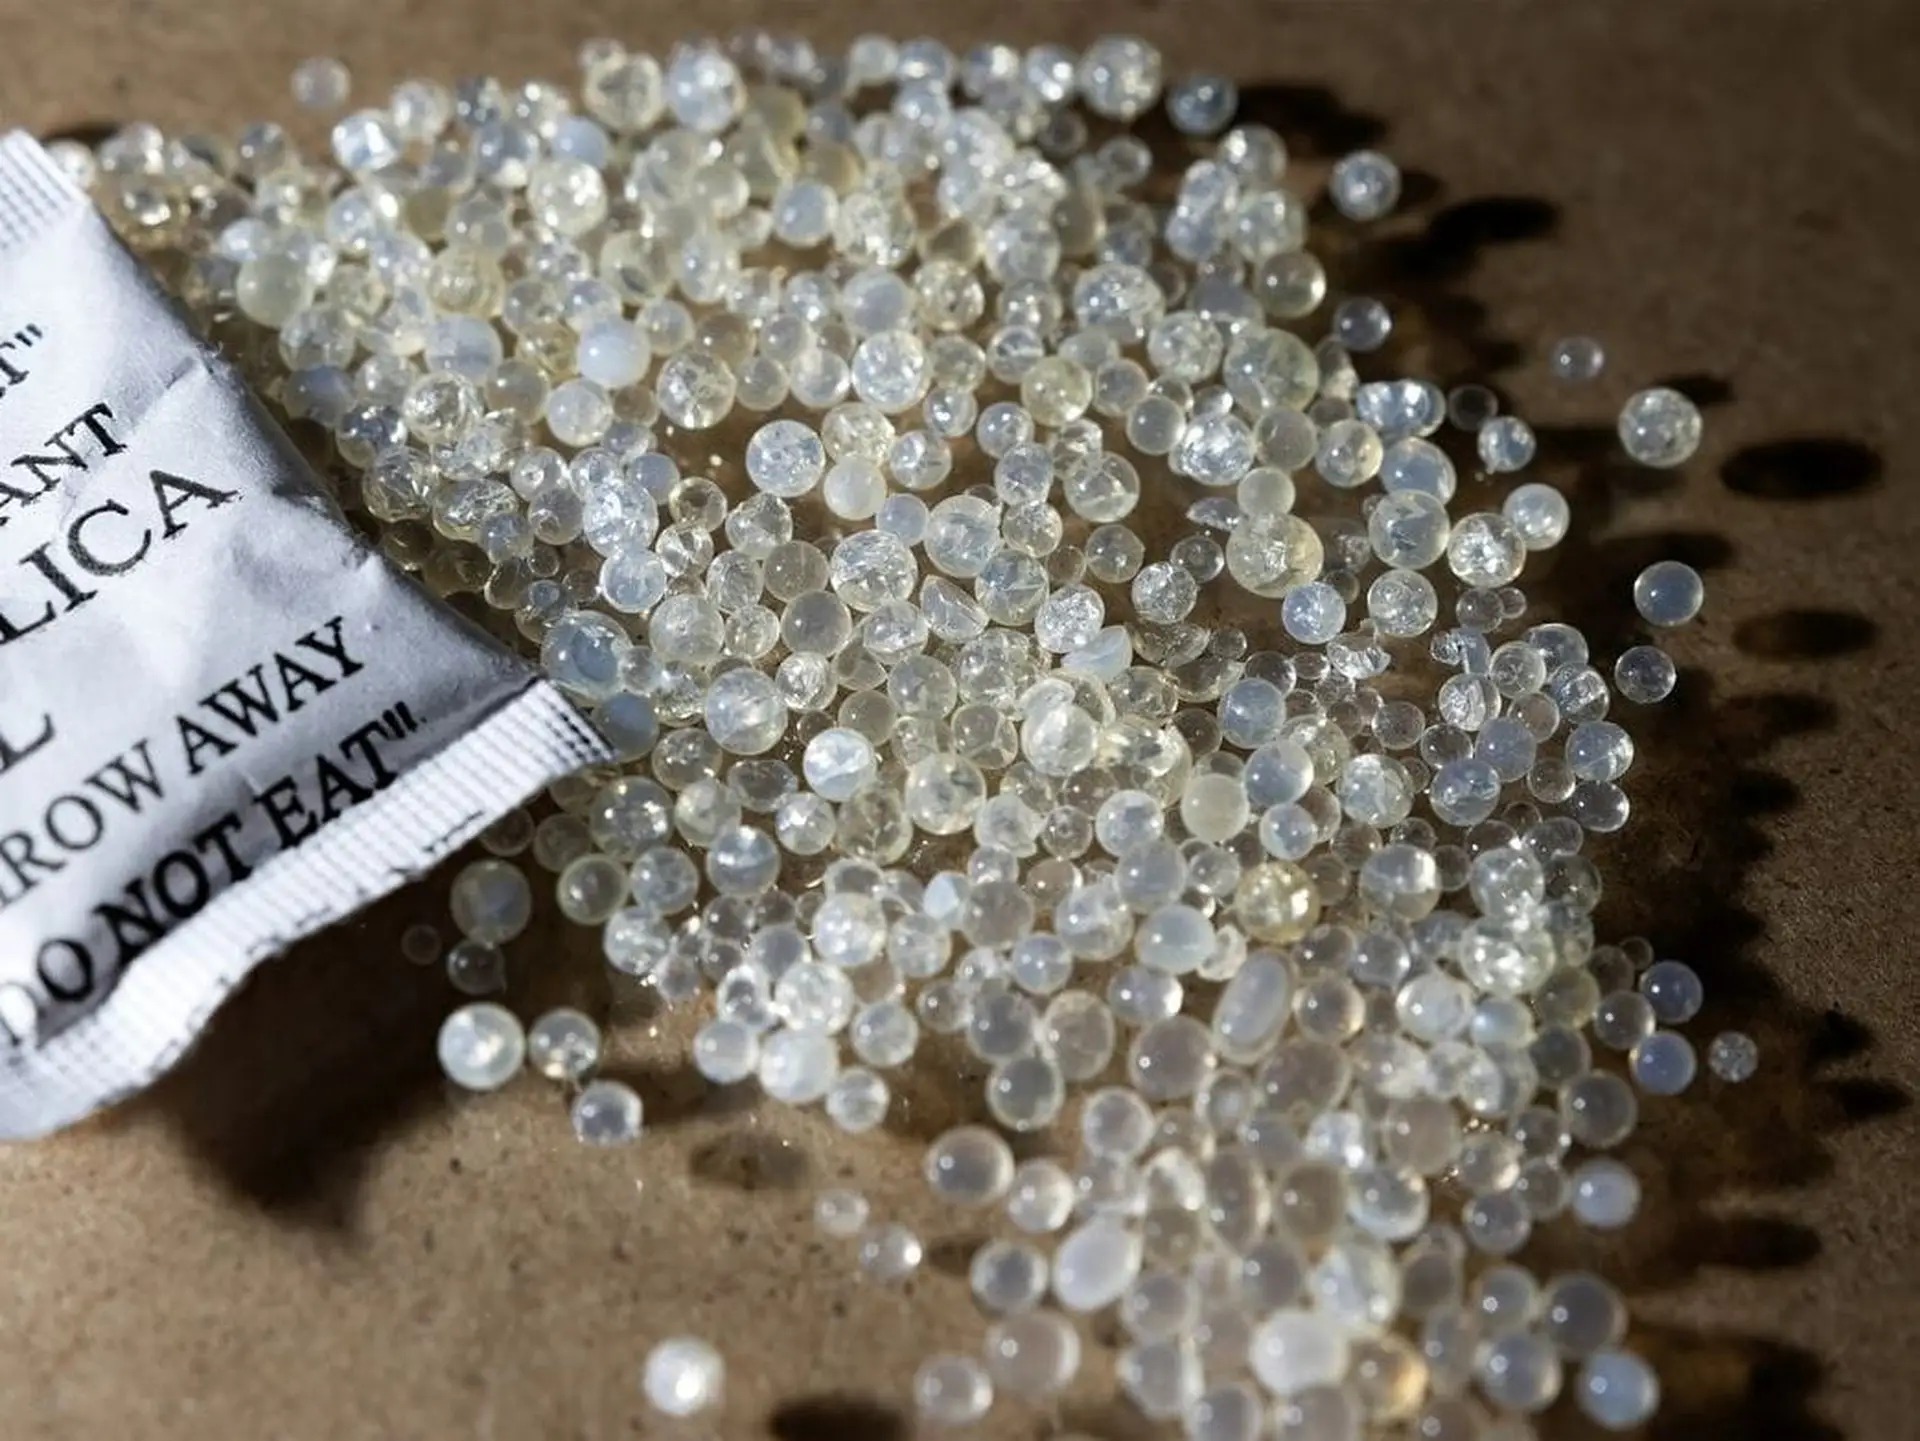
8. Use Silica Gel Packs Inside the Housing
Think of silica gel as a tiny sponge for humidity. Those small packets found in shoe boxes and electronics contain beads that absorb moisture from the air. Placing one inside a taillight housing can help reduce leftover dampness and keep the lens clearer, especially in humid conditions.
This method works best as a supporting step, not a permanent solution. Dry the housing completely first, then add the silica gel packet. Putting one inside a wet housing will quickly use up its moisture-absorbing capacity.
Choose a safe location away from bulbs, sockets, wiring, and other hot components. A corner near the bottom of the housing can work well. Use a small packet and secure it with suitable adhesive so it cannot move into the bulb area or interfere with the light.
Silica gel eventually becomes saturated. Some reusable packets can be dried according to their instructions and used again. Check the packet every few months and replace or refresh it when necessary.
This trick is especially useful for vehicles regularly exposed to rain, humidity, coastal air, outdoor parking, or frequent washing.
However, silica gel cannot repair leaks. It only controls remaining moisture while you address the actual source. Think of it as extra protection, not a cure.
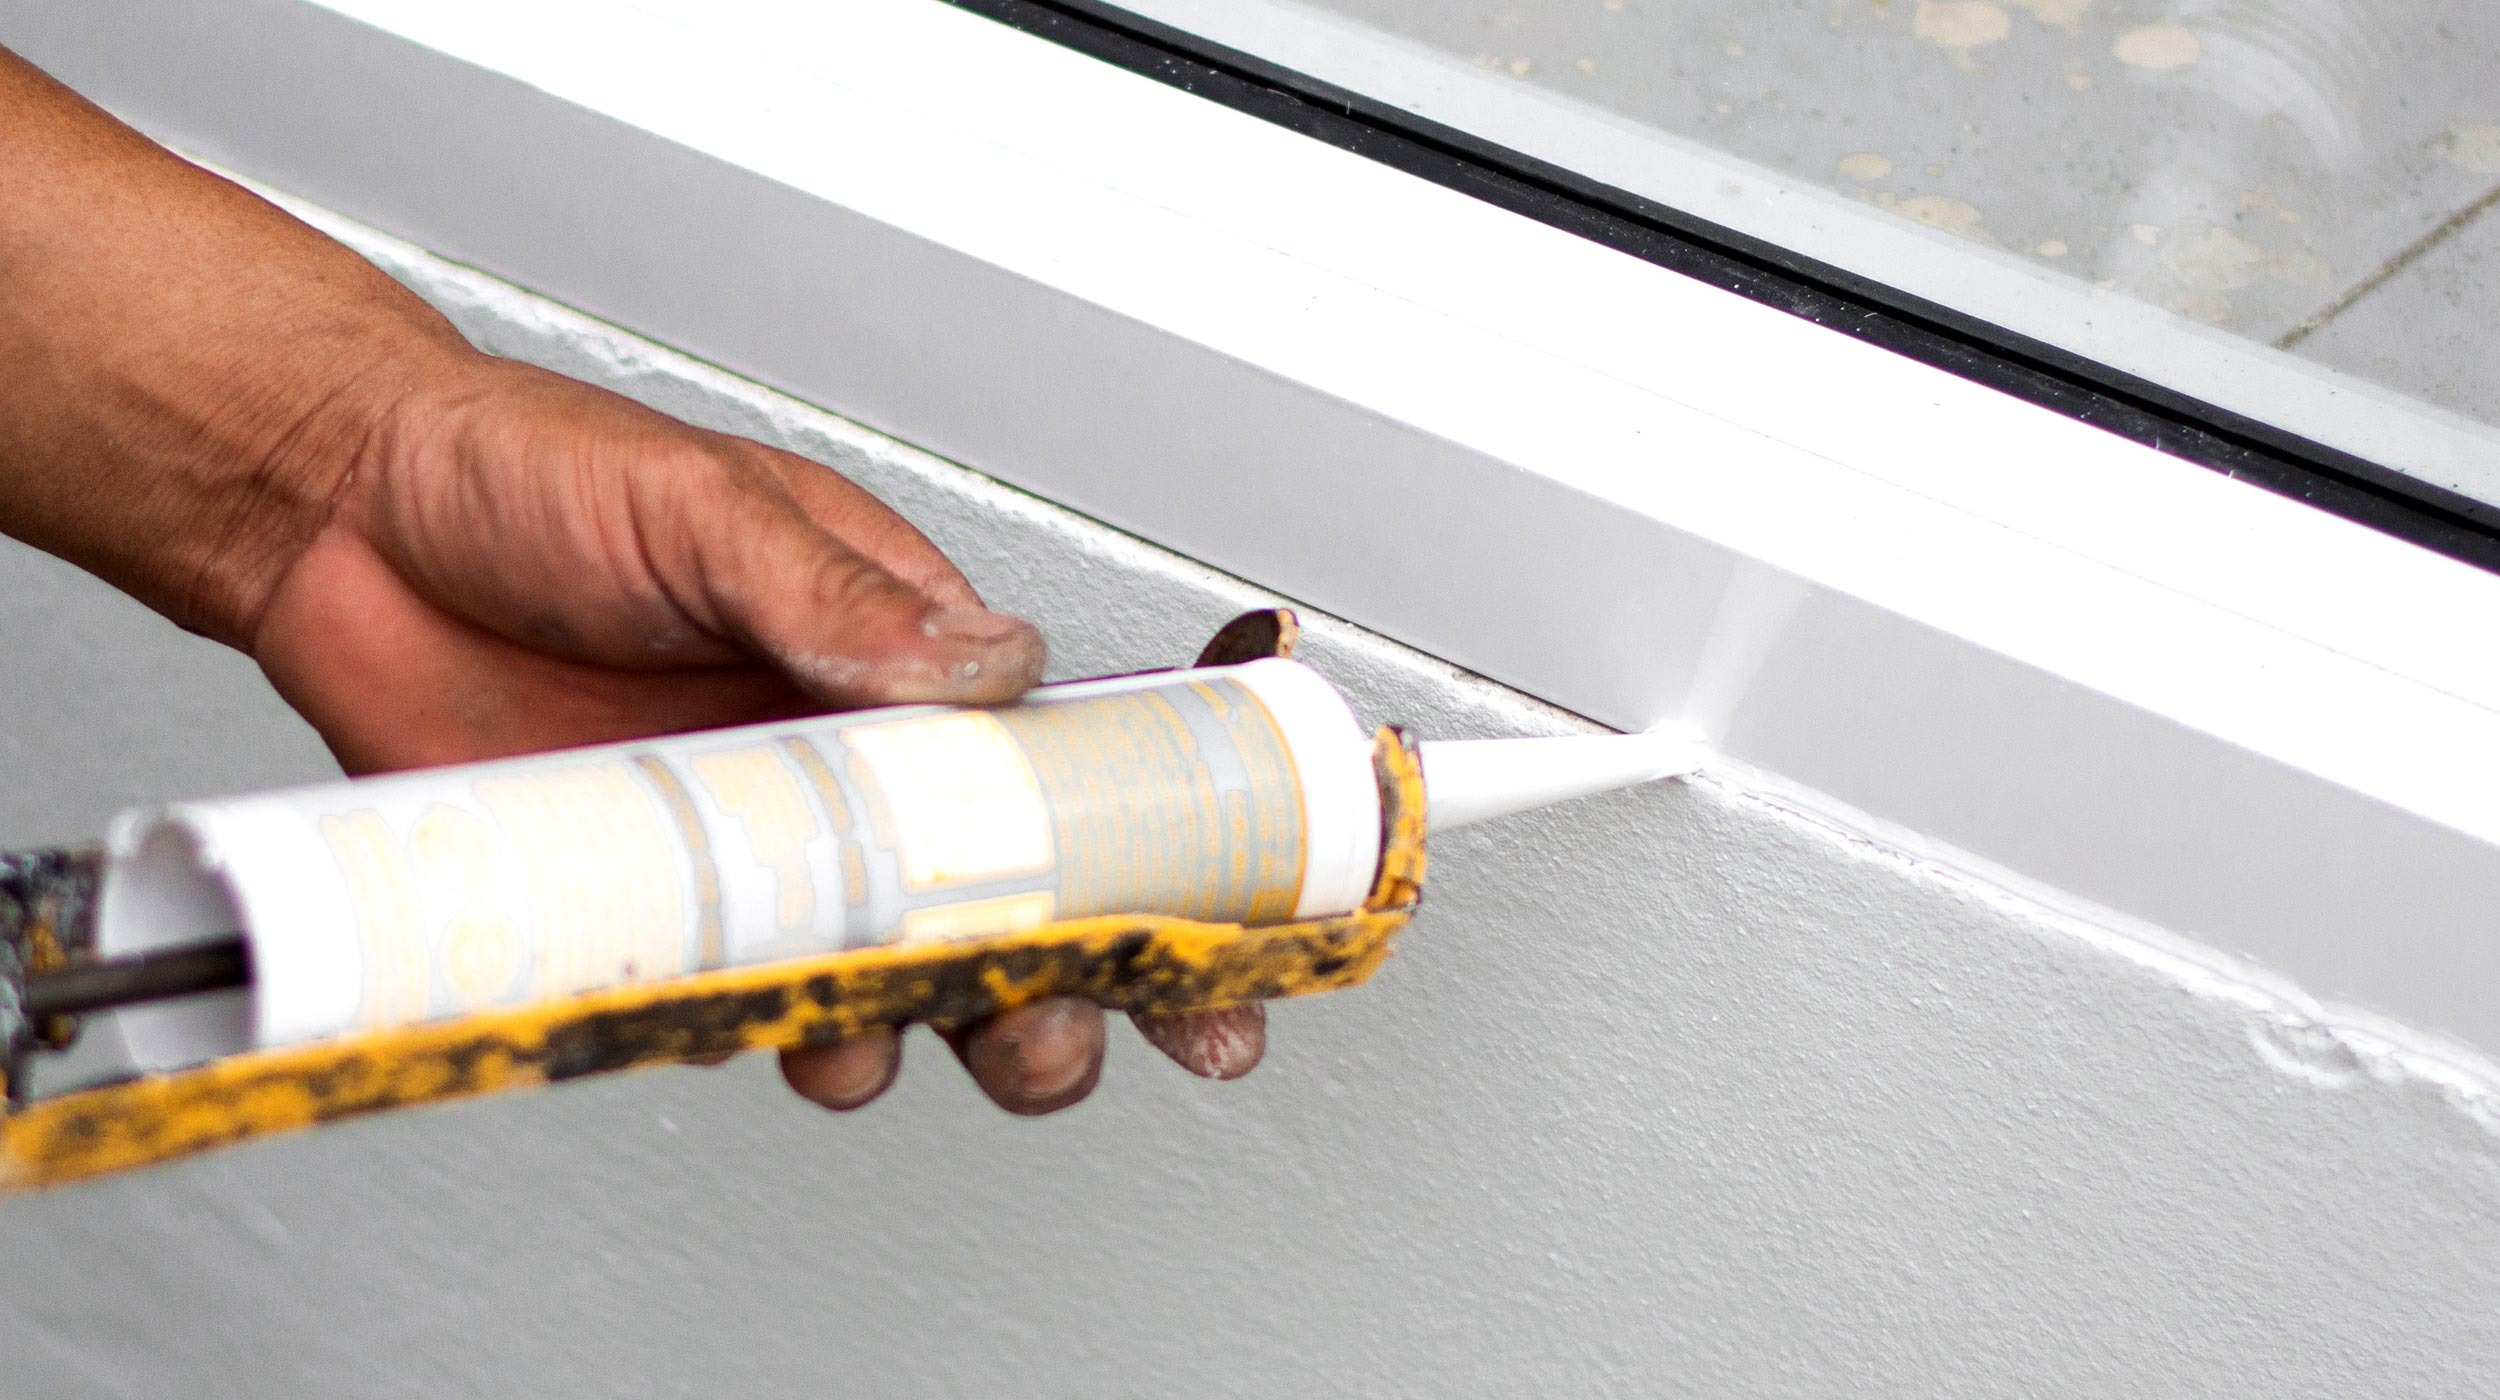
9. Reseal Cracks or Gaps With Silicone Sealant
If condensation keeps returning after you’ve dried the taillight, moisture is probably getting inside through a crack, gap, or failed seal. Drying the housing alone will not solve the problem, so inspect it carefully for the entry point.
Look closely around mounting points, corners, housing seams, screw posts, wiring grommets, and bulb socket seals. Pay particular attention to the joint where the lens meets the housing, because aging factory adhesive can eventually deteriorate.
You can perform a simple leak check after removing and drying the assembly. Lightly spray the outside with water, avoiding excessive pressure.
Watch the inside carefully for new moisture or droplets. The area where water appears can help identify the problem. Once you locate the gap, clean the surrounding surface with rubbing alcohol and allow it to dry completely.
Apply a thin bead of automotive-grade silicone sealant over the affected area. Smooth it carefully with a gloved finger, then allow it to cure according to the manufacturer’s instructions, often around 24 hours.
Use clear silicone where appearance matters, and avoid products that can release vapors that cloud plastic. Never block designed drain holes or vents.
After reinstalling the light, monitor it for several days. Persistent condensation may indicate a damaged gasket or housing.
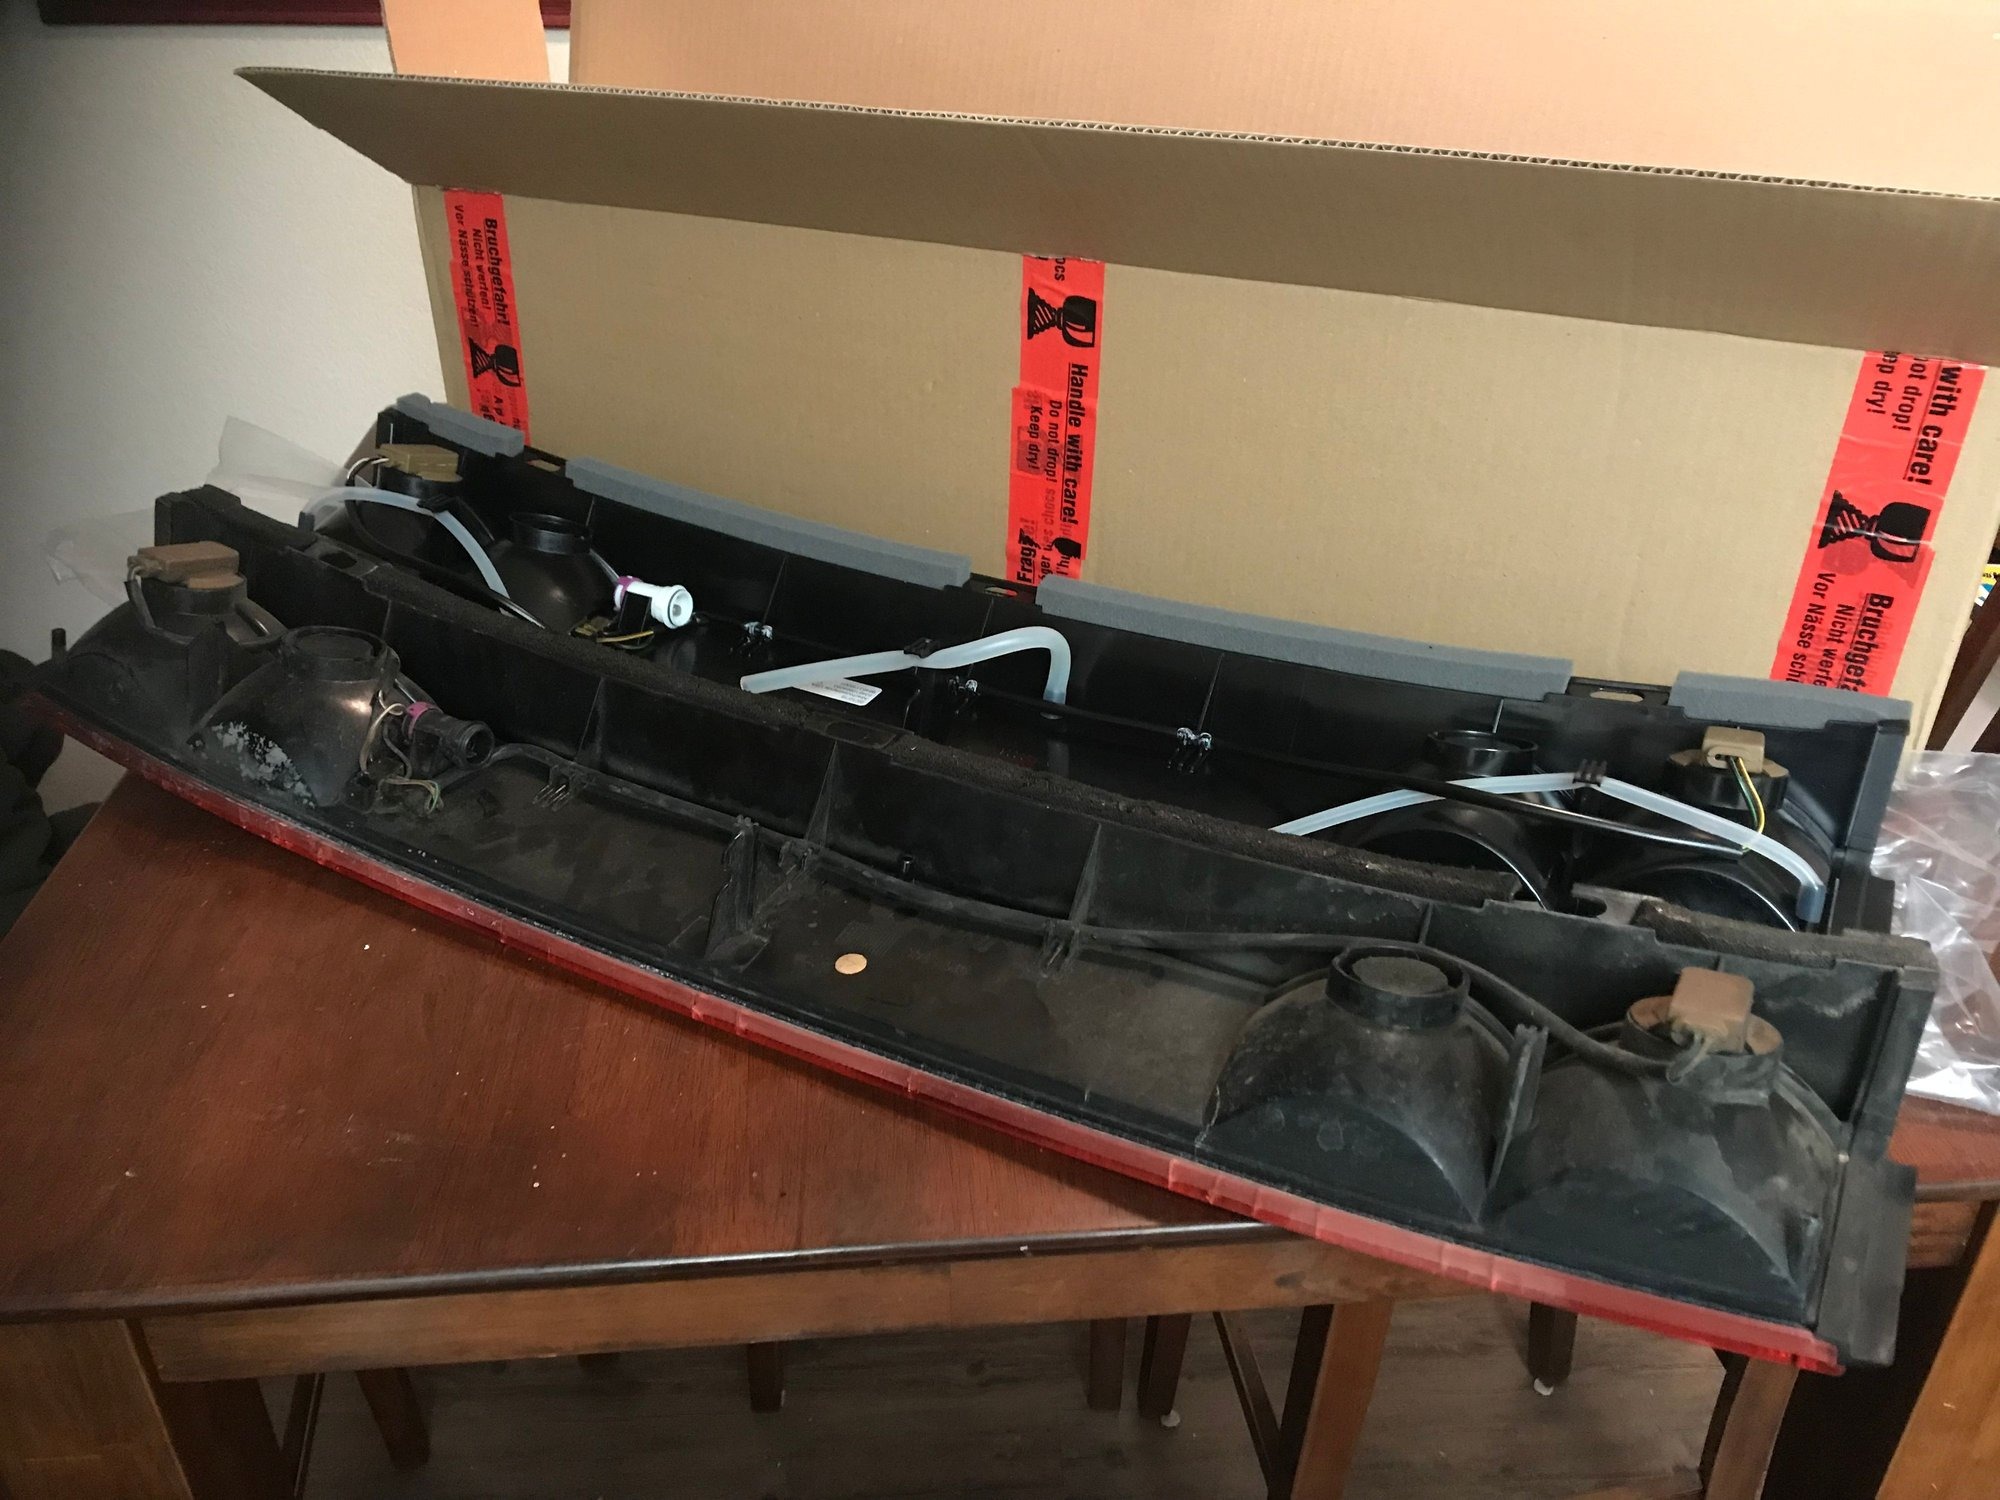
10. Replace the Taillight Gasket
A worn gasket can be the hidden reason a taillight repeatedly develops condensation. Age, heat, vibration, or repeated removal can cause the material to flatten, crack, harden, or lose its shape.
Check around the taillight assembly for evidence of water entry. Damp carpeting, water marks, dirt trails, or moisture near the mounting points can provide clues.
Consult the vehicle service information to identify the correct gasket and the proper removal procedure. Remove the taillight carefully and clean the mating surfaces.
Old seal material, dirt, and debris can prevent the new gasket from sitting correctly. Do not stretch the replacement gasket unless instructed.
Position the new gasket evenly around the housing and reinstall the assembly with the correct hardware. Tighten fasteners according to the recommended sequence and torque where specifications are provided. Too much force can distort the housing.
A new gasket can help when moisture enters around the lamp perimeter. It will not correct a cracked lens or damaged housing. If fogging continues, inspect vents, bulb seals, wiring openings, and cracks.
A persistent moisture problem is easier to solve when the entry point is identified rather than repeatedly treating visible condensation. Replacing a gasket is often more reliable than repeatedly drying a leaking taillight.
The seal should sit evenly against the vehicle body, with no folds or pinched sections. Before driving, check that the lamp is firmly mounted and that the brake, turn, and running lights operate correctly.
A properly fitted gasket can help keep the interior dry and preserve the clear appearance of the lens for longer.