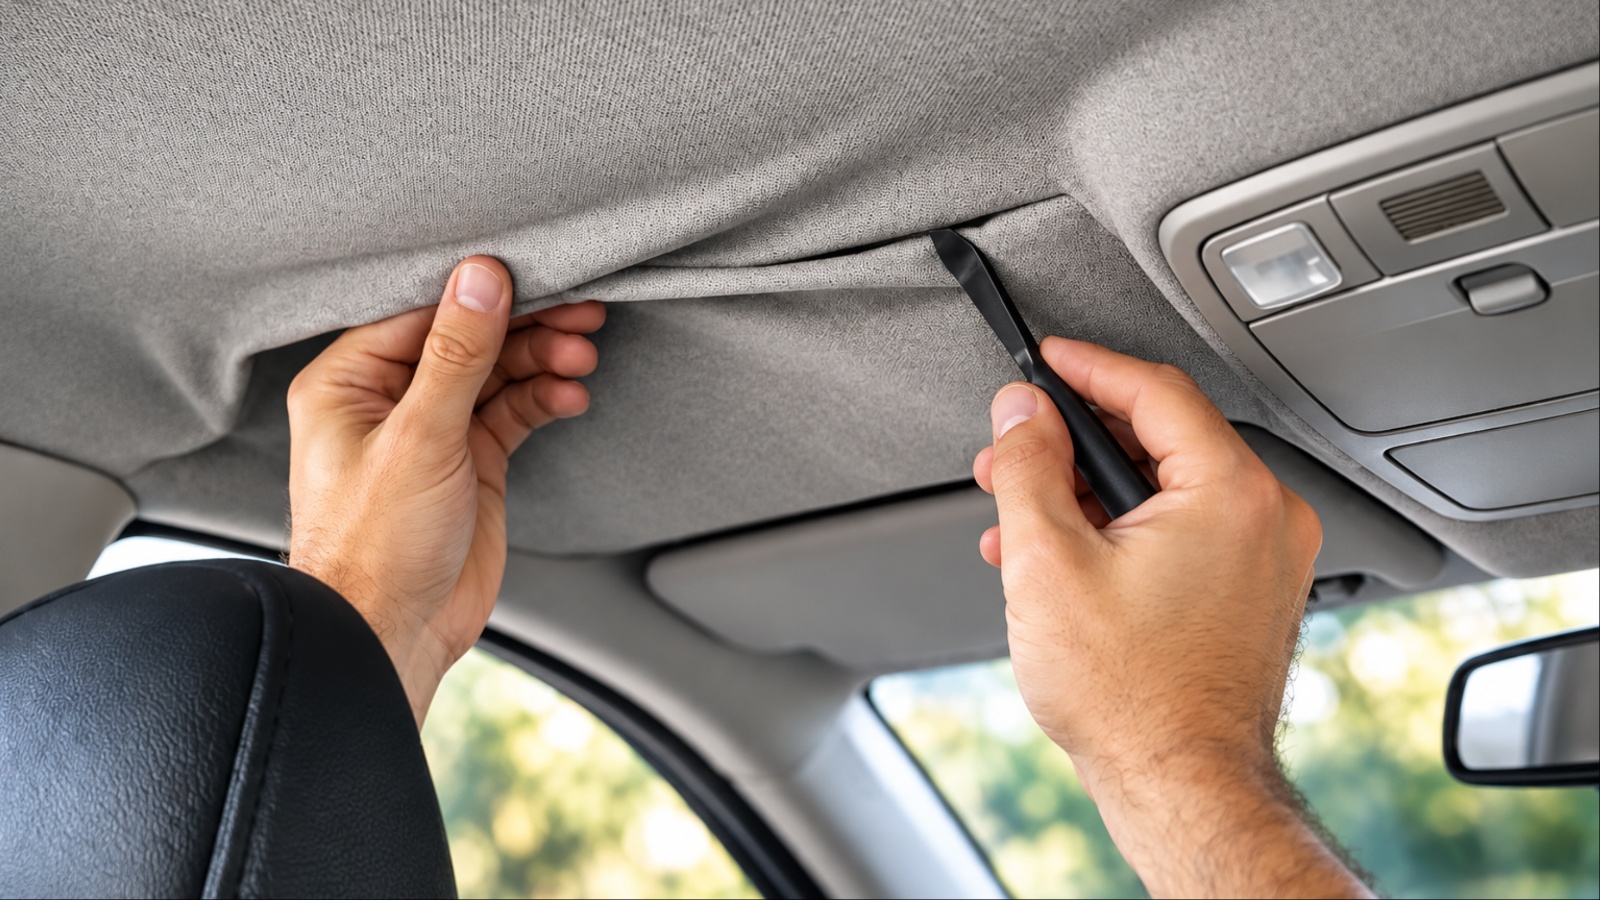
A sagging headliner can make an otherwise tidy car interior look worn out. The good news? You do not always need to spend hundreds of dollars at an upholstery shop to make it look better. For small and moderate areas, a few inexpensive supplies can hold the fabric in place and restore a cleaner appearance. From adhesive sprays and Velcro to twist pins and steam, several DIY methods can cost less than $30.
Some provide a neat repair, while others are better when you need a quick fix before the fabric gets worse. The right choice depends on how much of the headliner has separated and whether the underlying board is still in good condition. Before starting, park the vehicle somewhere clean and dry, and protect the seats and dashboard from adhesive.
1. High-Temperature Headliner Adhesive Spray
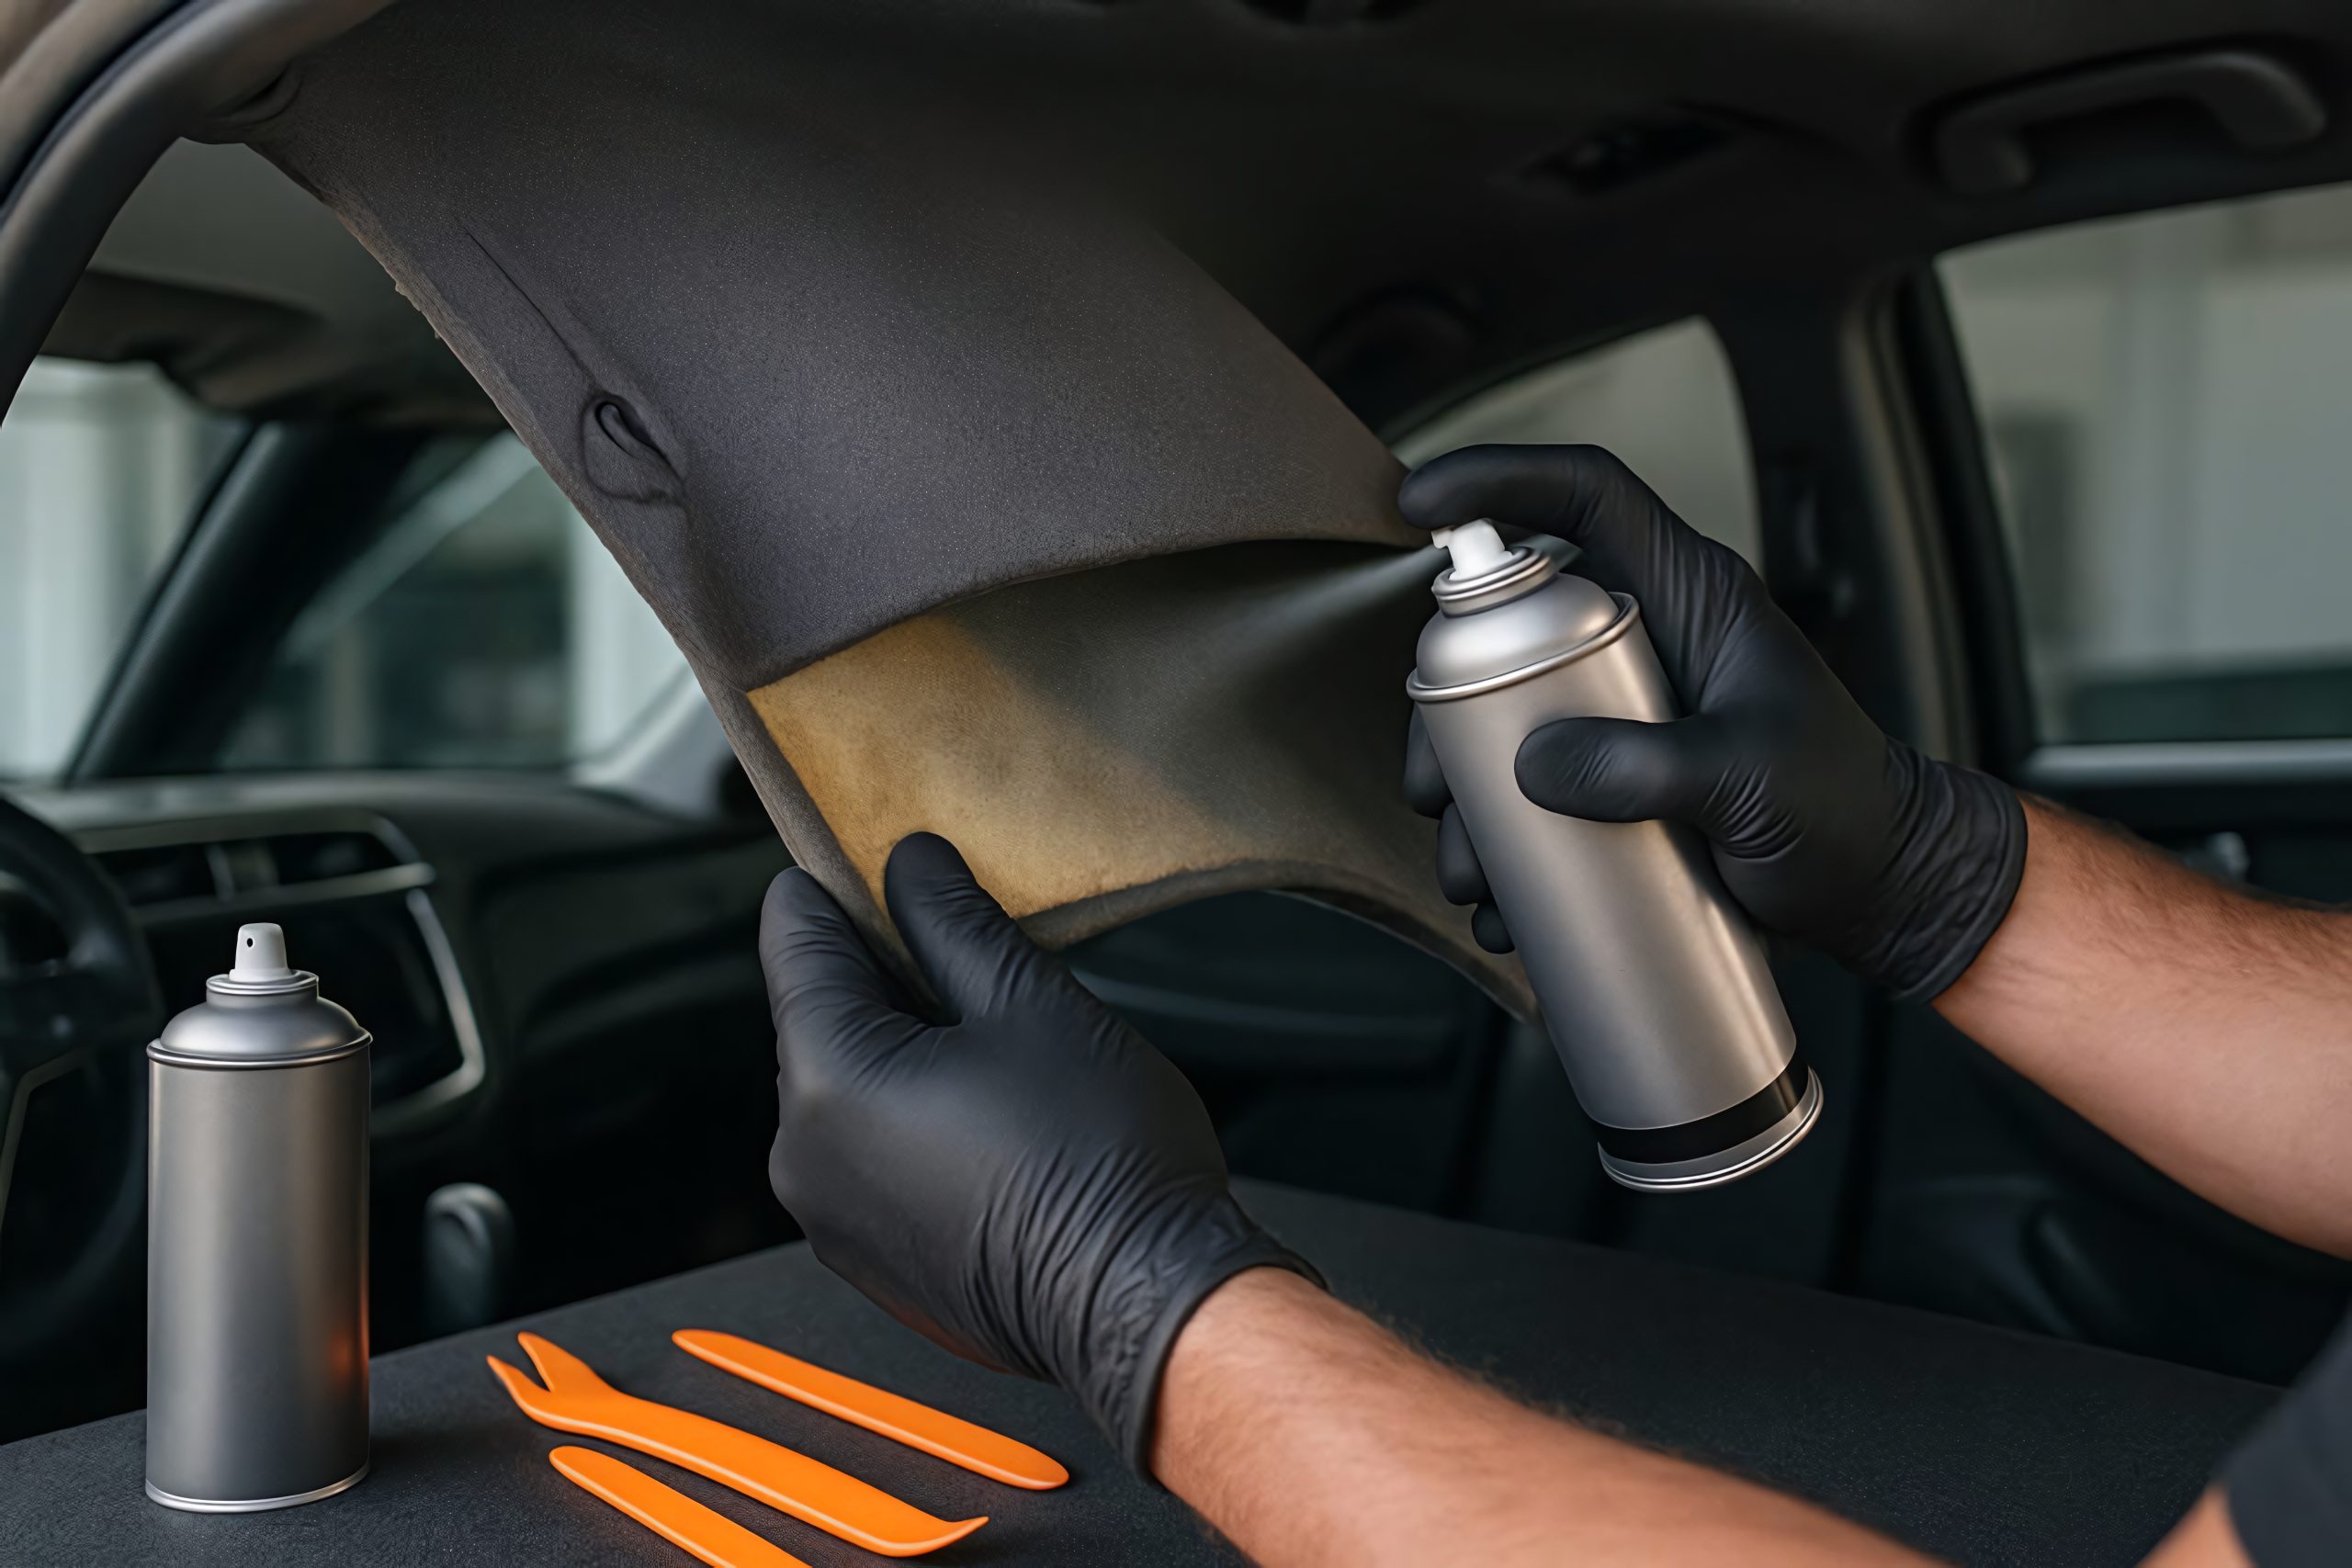
When the fabric has separated from the headliner board but is still in good condition, adhesive spray can provide a clean-looking repair without replacing the entire headliner. It is one of the most practical options when appearance matters.
Start by gently pulling the loose fabric away from the board. Avoid stretching it because stretched fabric can develop wrinkles when you put it back. Brush away loose foam or debris from the exposed surface.
Next, use an adhesive specifically designed for automotive headliners or high-temperature applications. Ordinary household glue may soften when the vehicle interior becomes hot, causing the fabric to sag again.
Apply the spray according to the product instructions, usually coating the appropriate surfaces evenly. Allow the adhesive to become tacky if the label calls for a waiting period. Then carefully press the fabric back against the board, working from one area outward.
Use your hand, a clean cloth, or a soft roller to smooth the material. Take your time around corners and curves.
A can commonly costs around $8 to $15, leaving room in a $30 budget for basic cleaning supplies. Do not soak the fabric with adhesive. Too much product can seep through and leave visible stains.
2. Steam Cleaner + Paint Roller
Got access to a small steam cleaner? You may already have one of the tools needed for this repair.
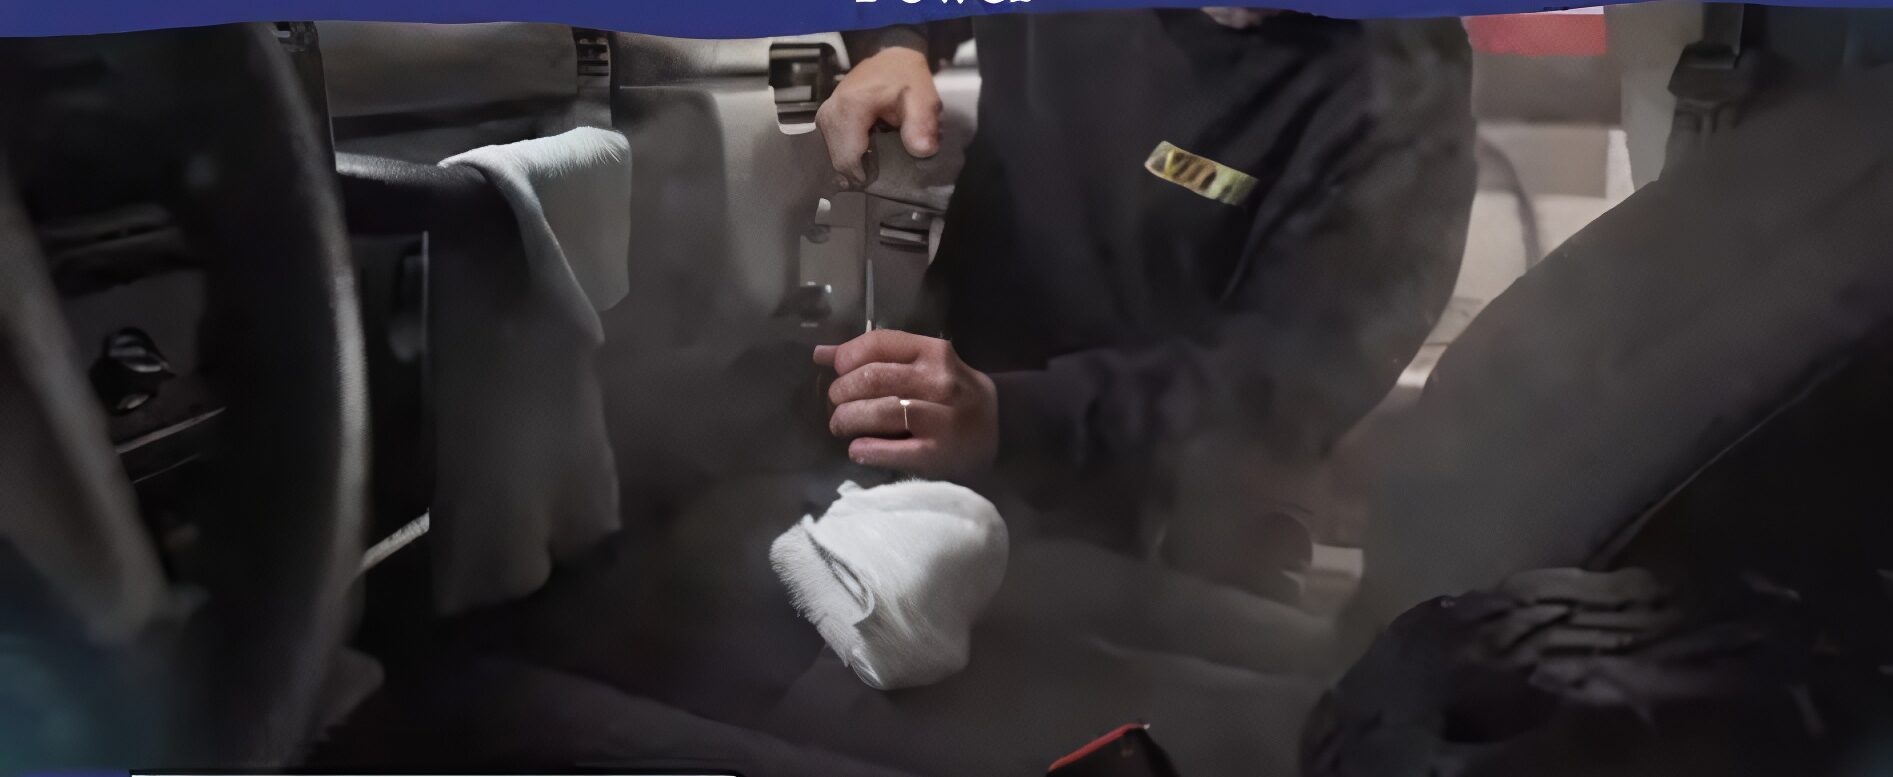
Steam can soften certain old adhesive layers beneath headliner fabric, allowing the material to be pressed back against the board. The method can work particularly well when the fabric itself remains intact, and the problem is mainly adhesive failure.
Begin with a gentle amount of steam. Do not hold the nozzle against one spot for too long. Excessive heat or moisture can damage the fabric, loosen more material than intended, or affect the headliner board.
Once the adhesive becomes workable, use a small, clean paint roller to press the fabric back into place. Move gradually rather than pushing hard. The roller helps spread pressure evenly and can reduce wrinkles as the fabric settles.
There is one important limitation to keep in mind. Steam cannot restore deteriorated foam backing or repair severely damaged fabric. If the material has become brittle, heavily stained, or badly separated, a different repair method may be more appropriate.
This option can cost nothing if you already own a steamer and paint roller. Borrowing the equipment can also keep the repair within budget.
Work patiently, test a small hidden area first, and allow the material to dry properly before judging the result.
3. Twist Pins / Headliner Pins
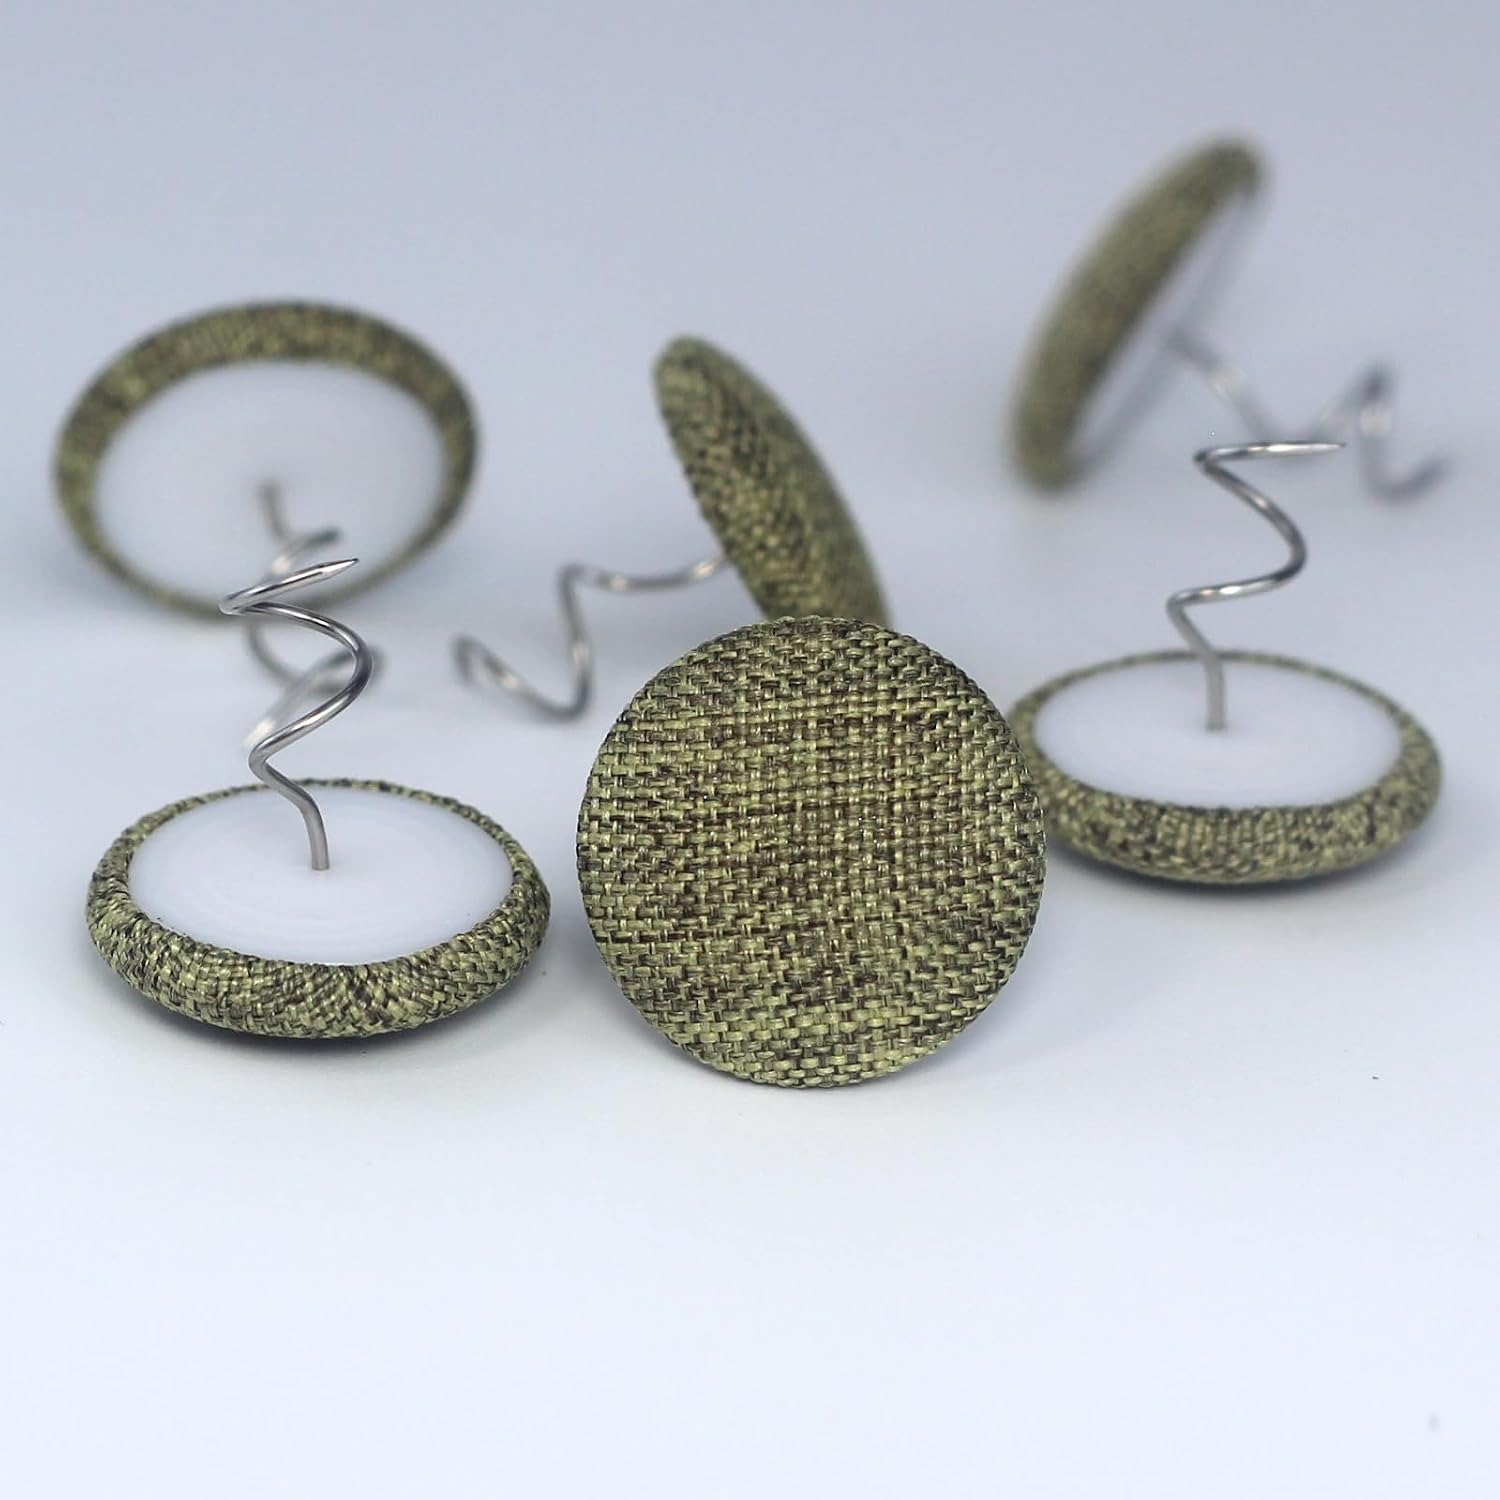
Sometimes you need a repair that takes minutes rather than an afternoon. Twist pins are designed for exactly that type of situation. These small fasteners, often sold as headliner pins or saggy stoppers, have a pointed end that goes through the fabric and into the backing material.
A twisting motion secures the pin and keeps loose fabric from hanging down. The biggest advantage is speed. You do not have to remove the headliner board, wait for adhesive to dry, or gather specialized equipment. A small package can cost roughly $3 to $7.
For a cleaner appearance, place the pins in an organized pattern rather than scattering them randomly. Rows, small grids, or evenly spaced points can make the repair look intentional. Start near the area where the fabric hangs lowest and work outward.
There is a catch, though. Pins are a holding solution rather than a restoration of the original adhesive. They may also leave small holes in the fabric or board.
Use gentle pressure when installing them. If the backing material feels unusually weak, forcing the pins could cause additional damage.
This approach makes sense when you want an inexpensive repair that can be completed quickly. It is also useful when adhesive has already failed badly, and you need to keep the fabric away from your head while driving.
4. Double-Sided Automotive Tape
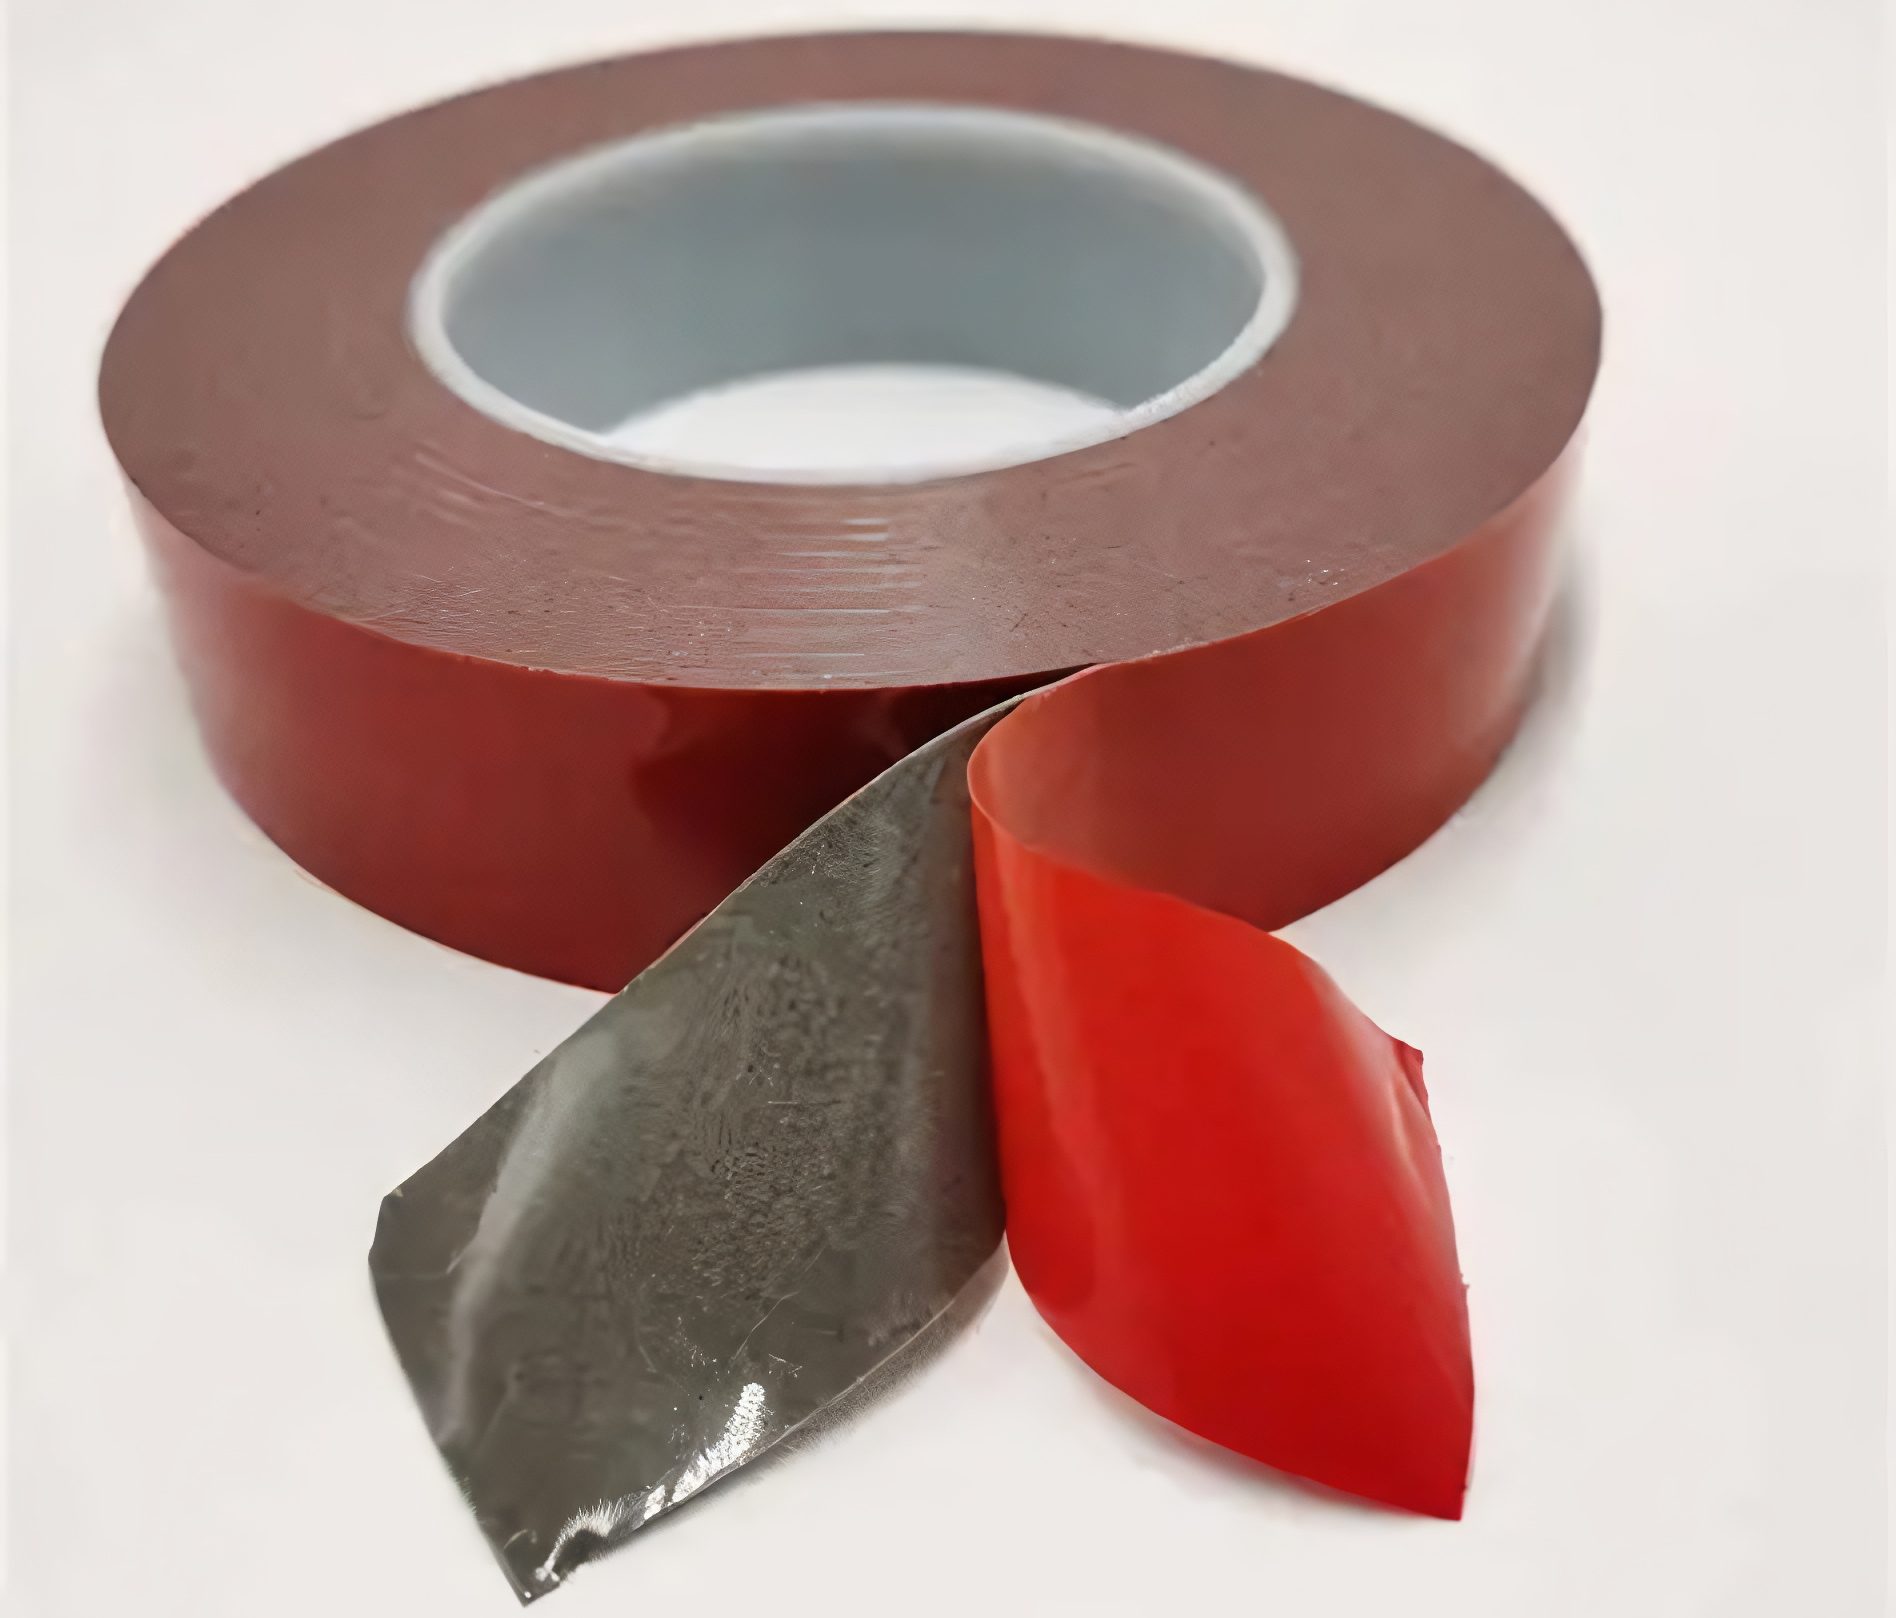
Sometimes the simplest repair is all you need. Cut the tape into strips, apply them to both the board and fabric, and press firmly to create a secure bond. This method works particularly well for small areas and typically costs around $5 to $10.
Tape also avoids the fumes, overspray, and mess that can come with adhesive products. Automotive-grade tape is made to withstand heat and vibration, making it a much more durable choice than ordinary craft tape.
Imagine a small corner that has let go, or a thin strip along a sun visor. Those spots are ideal for this trick. Wide sags need more muscle, but a modest patch can be tamed in minutes.
Begin by cleaning the board surface and the fabric backing so both are dust-free. Cut strips to fit the loose area, then stick one side to the board while leaving the paper backing on the other.
Peel the backing, line up the fabric, and press. Patience is the secret ingredient. Hold pressure for a few seconds along each strip, then run your hand over the whole patch to check for bubbles.
One detail is easy to overlook. Tape adds thickness, and stacking multiple layers can create faint ridges that show through the fabric. Use thin, flat strips and apply as few layers as possible to keep the finished surface smooth.
For a tiny problem, this method hits the sweet spot between effort and payoff. You’ll finish before your coffee cools and still have change left from a ten-dollar bill.
5. Velcro Strips
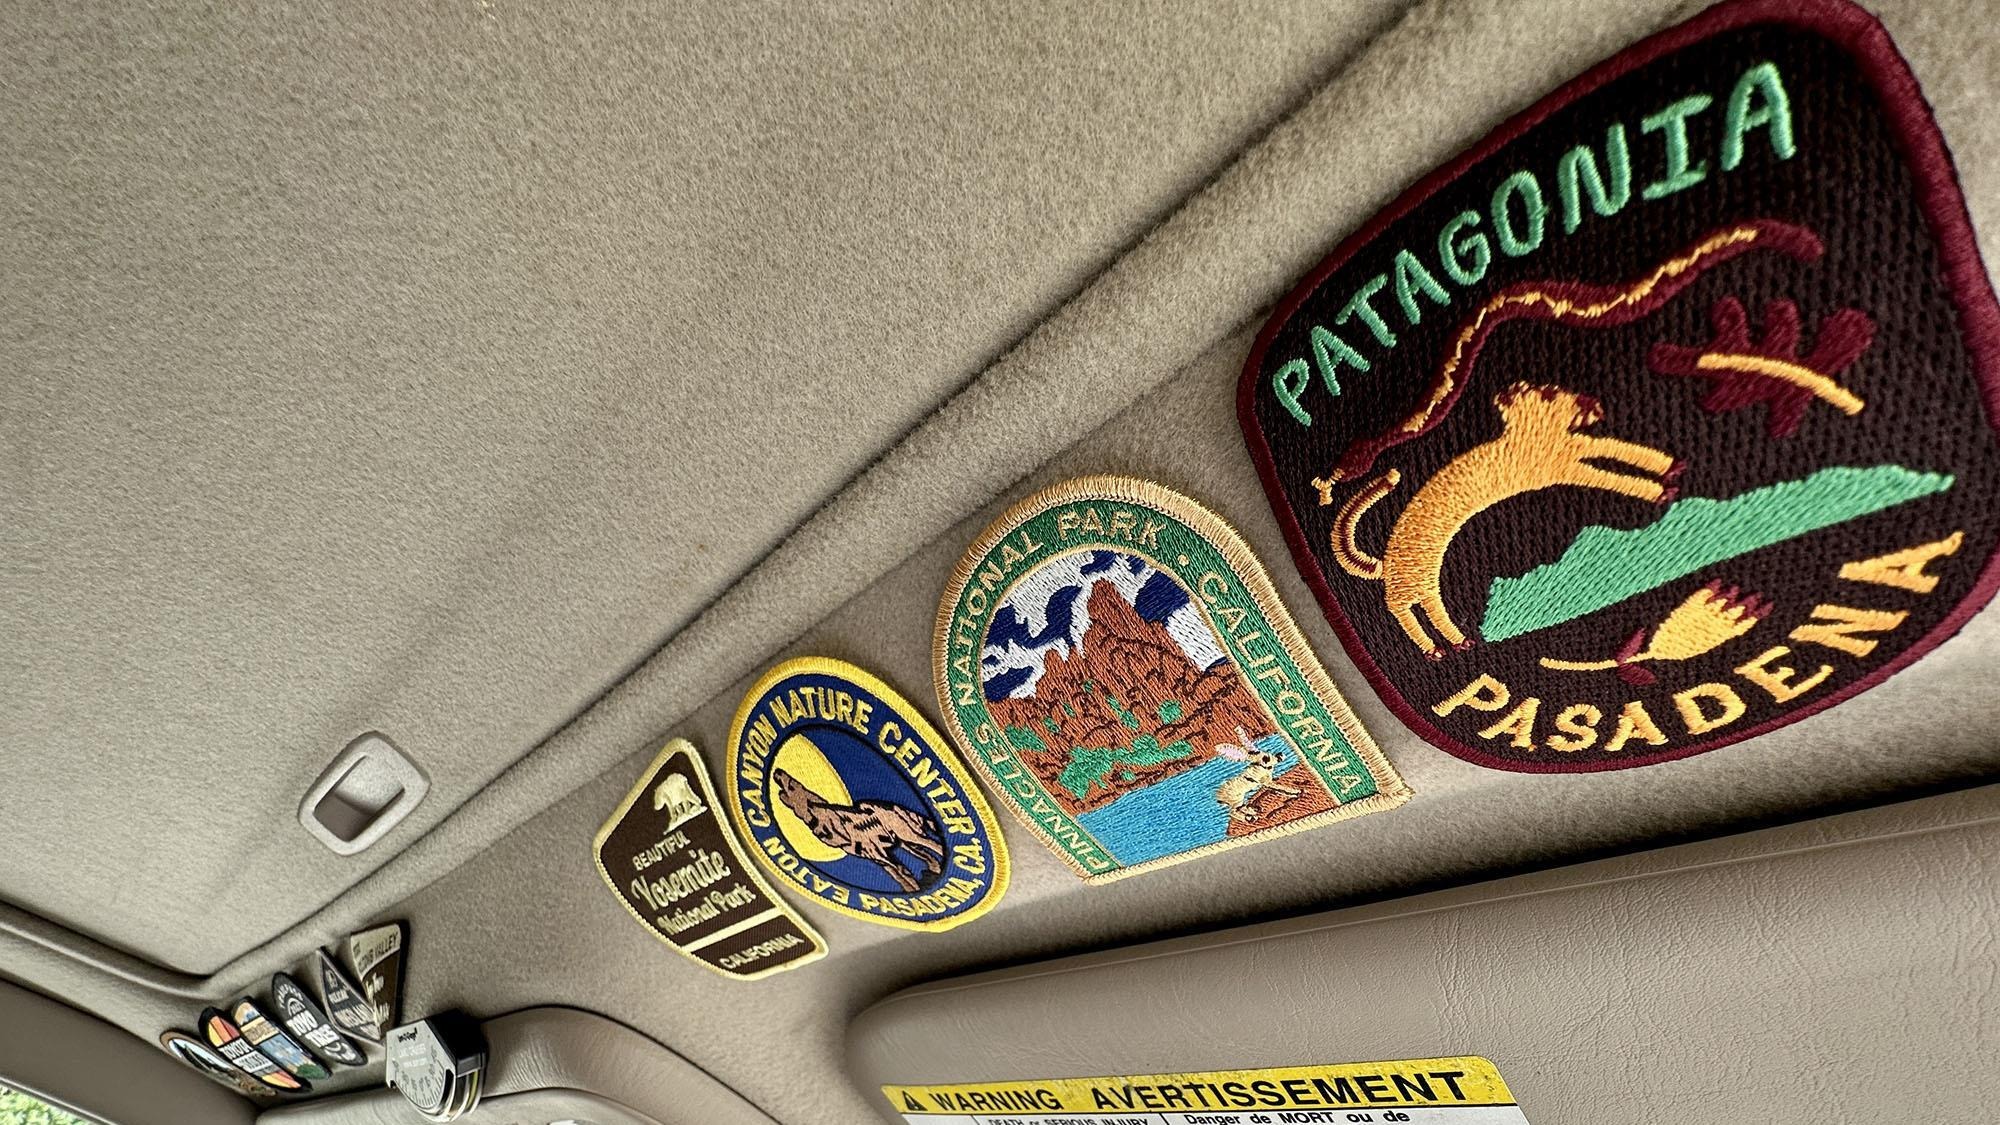
Velcro strips offer a different way to hold loose headliner fabric in place. Instead of relying on one adhesive surface to carry the fabric directly, the hook-and-loop design creates a removable connection between the material and the backing.
This can be useful for small patches, loose edges, or areas where you want to be able to remove the fabric later. A package may cost around $5 to $8, depending on its size and quality.
Cut small pieces rather than covering the entire repair area. Place one side on the headliner board and the matching side on the fabric. Press each piece firmly into position before joining them.
The headliner fabric should be clean and reasonably strong. If the fabric is crumbling, badly stretched, or separating from its foam backing, Velcro may not have enough material to grip.
There is also a visual consideration. Thick strips can create small raised areas beneath the fabric, particularly when used in several places. Thin automotive-grade products can produce a neater result.
One benefit is flexibility. If you need to access wiring, a light, or another roof-mounted component later, the fabric can be separated without tearing away a permanently bonded repair.
Think of Velcro as a practical option for controlled repairs, not as a cure for widespread headliner deterioration. Used selectively, it can keep a small problem from becoming an annoying hanging flap.
6. Thumbtacks
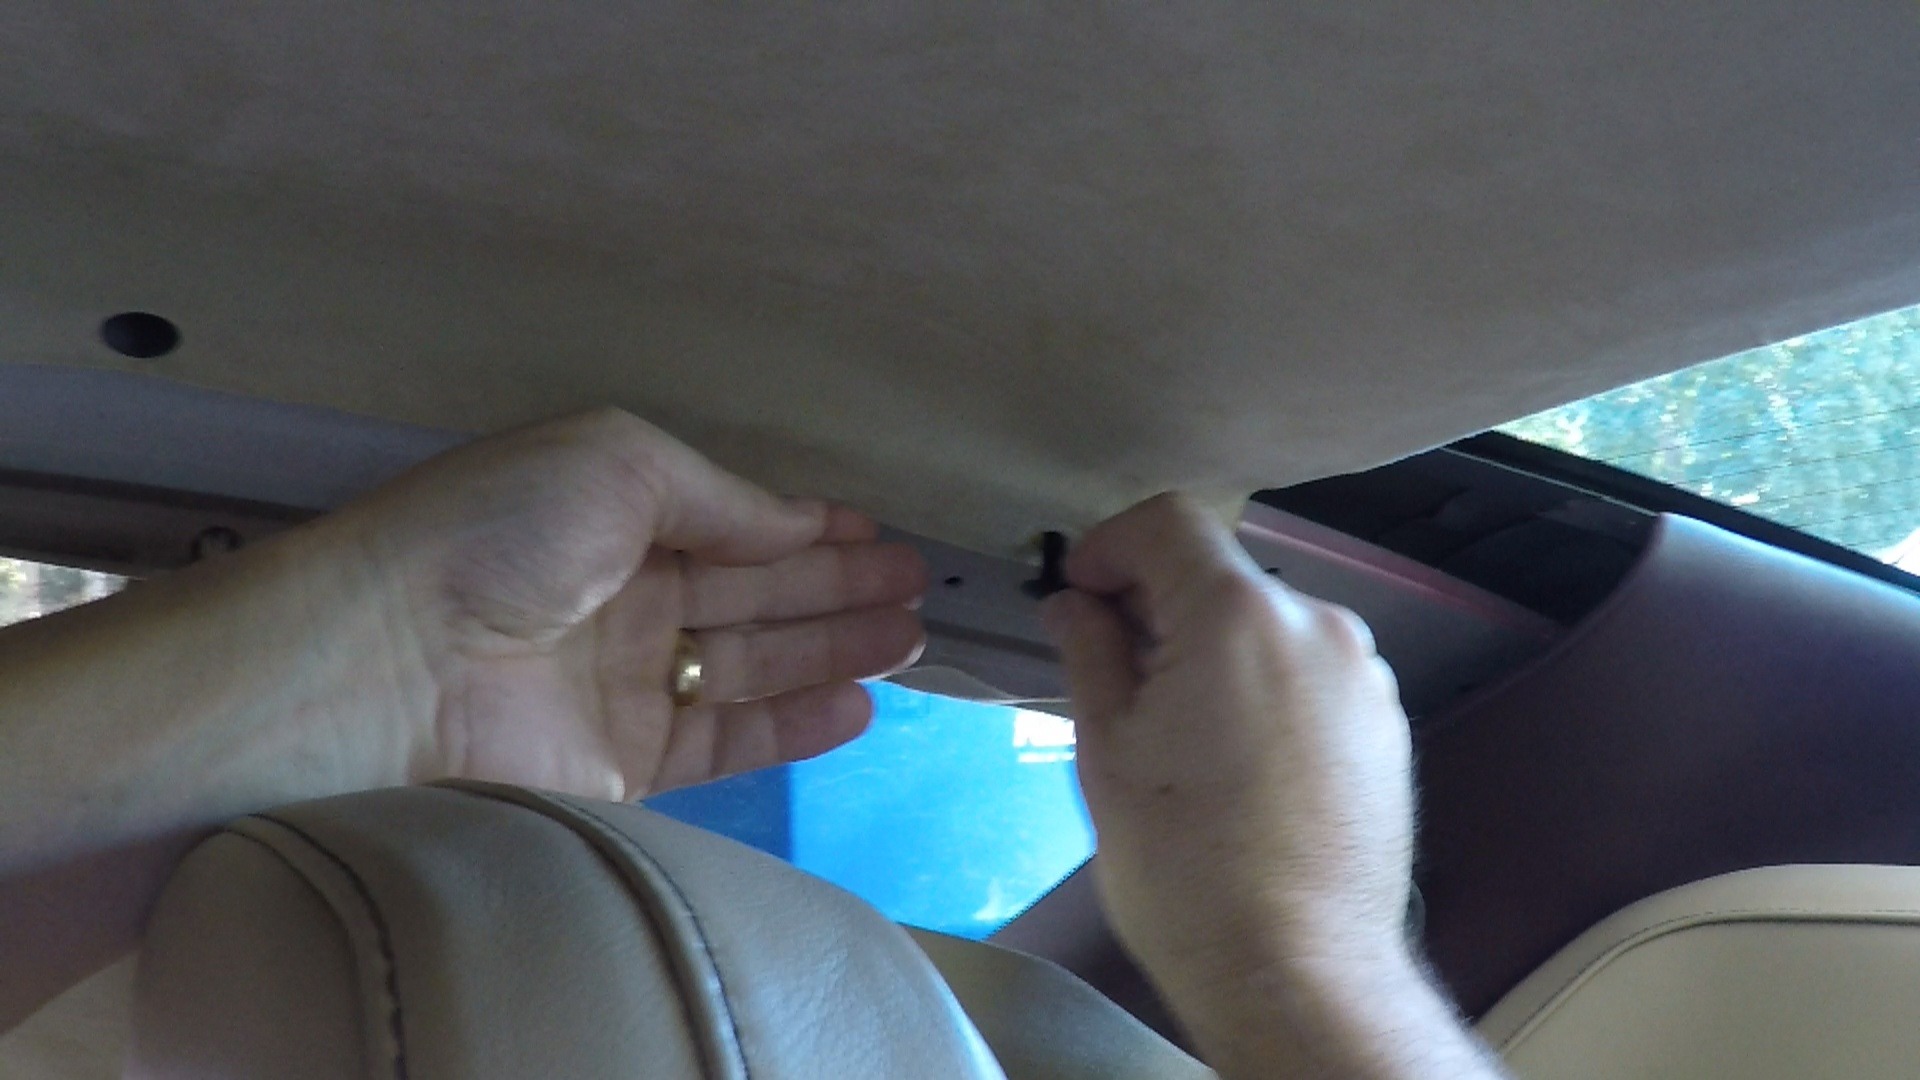
Yes, thumbtacks can actually work in a pinch. Push them evenly across the sagging section to hold the fabric in place. It is not a permanent repair, but it is one of the cheapest options available, with a typical cost of just $1 to $3.
It is best viewed as an emergency solution rather than a long-term fix. If the sagging fabric is blocking your rearview mirror and you need the car ready to drive the next morning, thumbtacks can keep things in place until you have time for a proper repair.
A box of tacks costs about as much as a gumball, and you probably have a few in a desk drawer right now. For a cleaner look, pay attention to spacing.
Random jabs create a messy ceiling, while even rows look almost deliberate. Place each tack a few inches from the next, pressing the fabric flat before you push.
Choose clear or matching colors so they blend in, and pick short tacks so they don’t poke through the roof. Avoid spots where your head might bump them, and check them now and then, since vibration can loosen them.
Is this a long-term answer? No. The fabric will keep loosening around the pins, and the glue problem is still there. Yet for a borrowed car, a rental, or a vehicle you plan to sell, the cost-to-benefit ratio is tough to argue with.
Think of tacks as a bandage, not surgery. They stop the bleeding and buy you time. When you’re ready for a proper repair, pull them out and pick another method from this list.
7. Staple-and-Cover Method
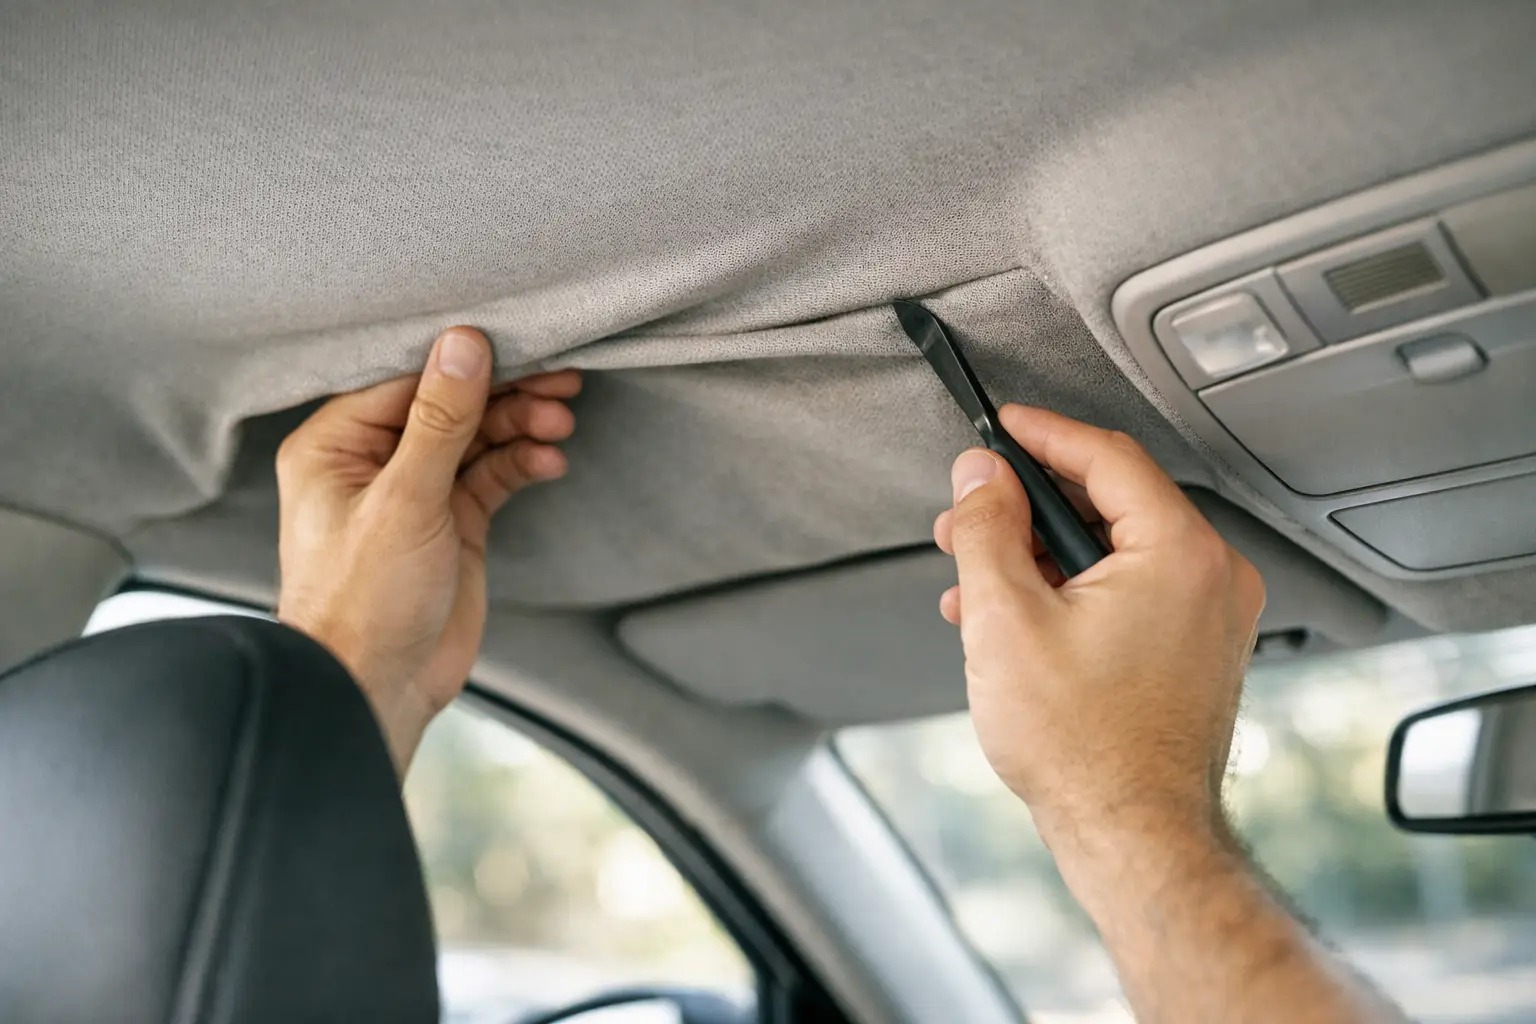
A staple gun can turn a sagging headliner into a much more secure repair, particularly around the edges where the fabric has pulled away from the backing.
The basic process is simple. Position the fabric carefully, secure it with small staples, and then conceal the fasteners with trim or another suitable covering.
Before reaching for the staple gun, inspect what is behind the fabric. You need a backing material capable of holding the staples. Avoid areas containing electrical wiring, lights, clips, or other components.
Use the smallest suitable staples and apply only enough pressure to secure the fabric. Excessive stapling can damage the material and create an untidy appearance.
Once the fabric is secure, a decorative strip, upholstery trim, or another appropriate covering can conceal the staples. This can turn a purely functional repair into something that looks deliberate.
The cost can be around $5 to $10 if you already have a staple gun. If you need to purchase the tool, the total may be higher.
This method works best on limited sections rather than an entire deteriorated headliner. It is also more suitable for areas where the staples can be hidden naturally.
Take your time with positioning. Once a staple goes into the backing, moving the fabric may leave a visible hole. A careful layout before fastening can save you from unnecessary repairs afterward.
8. Combination: Adhesive + Staples
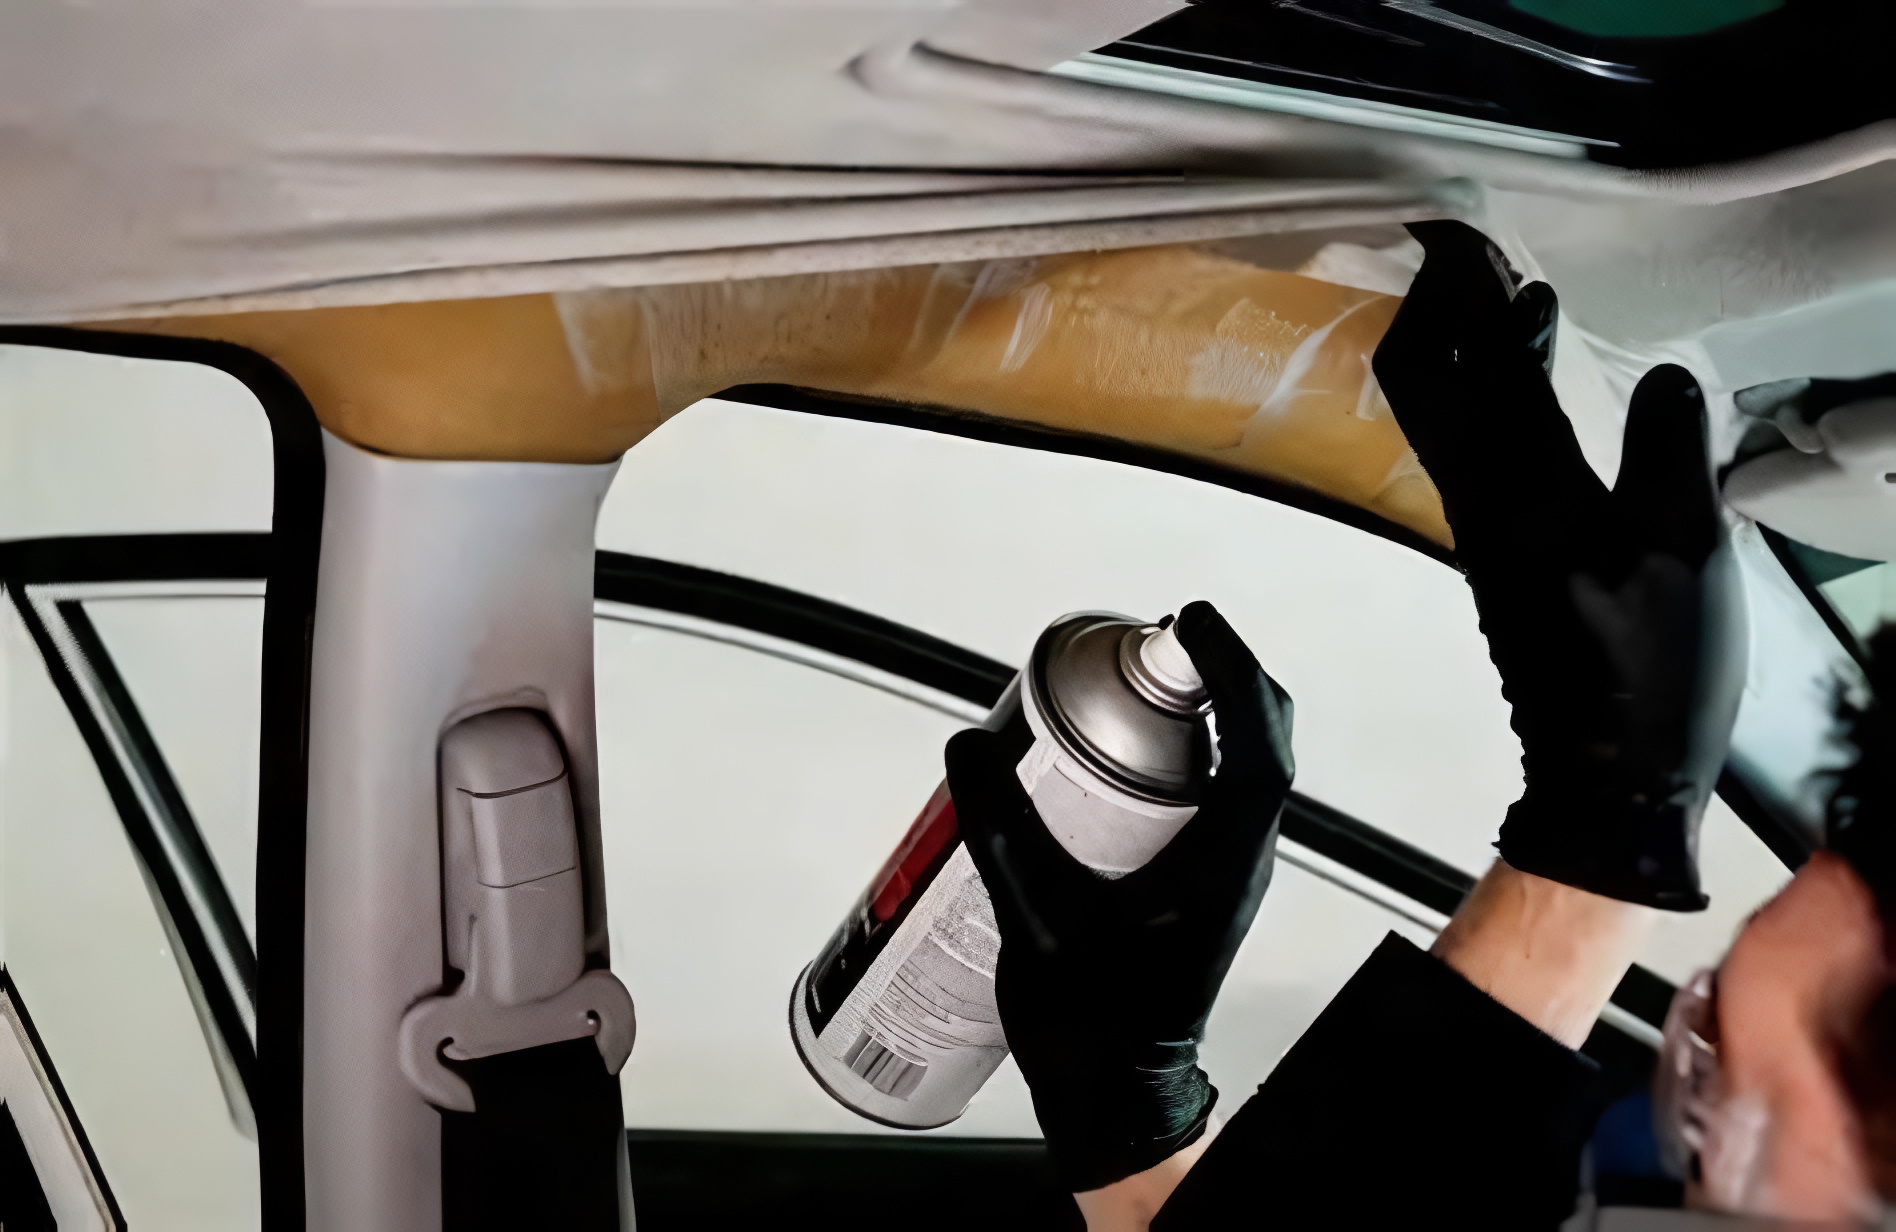
Why rely on one repair method when two can work together? Start with spray adhesive to secure the fabric across the main surface, then reinforce any stubborn areas with staples and cover them with trim or another suitable material. The combined approach typically costs around $10 to $20.
The idea is simple. Adhesive handles the larger, flatter sections of the headliner, while staples provide extra support in spots where the fabric refuses to stay in place. It is a practical combination that adds reinforcement without requiring a full professional repair.
Begin with the glue process. Peel back the fabric, spray both surfaces, let the adhesive get tacky, and press everything into place. Then look closely at the trouble zones, such as corners, edges, and curved sections near the dome light. Those spots often fight gravity the hardest.
Add staples along those problem edges, spacing them evenly and keeping them shallow. Finally, hide them with trim or tape that matches your interior.
Before you start, protect the seats and ventilate the car. Brush off any crumbling foam, spray with light, even coats, and staple only where needed.
Cover every staple when you finish, so nothing catches the eye. Is it overkill for a small droop? Probably. But for a large sag, or a car that lives under a scorching sun, the double approach makes sense.
You spend a bit more, maybe twenty dollars, and you get a repair built to last. Some owners say this is the method they wish they’d tried first.
Fewer repeat repairs, fewer headaches, and a ceiling that finally stays where it belongs.
9. Edge Re-Gluing Without Removing the Board
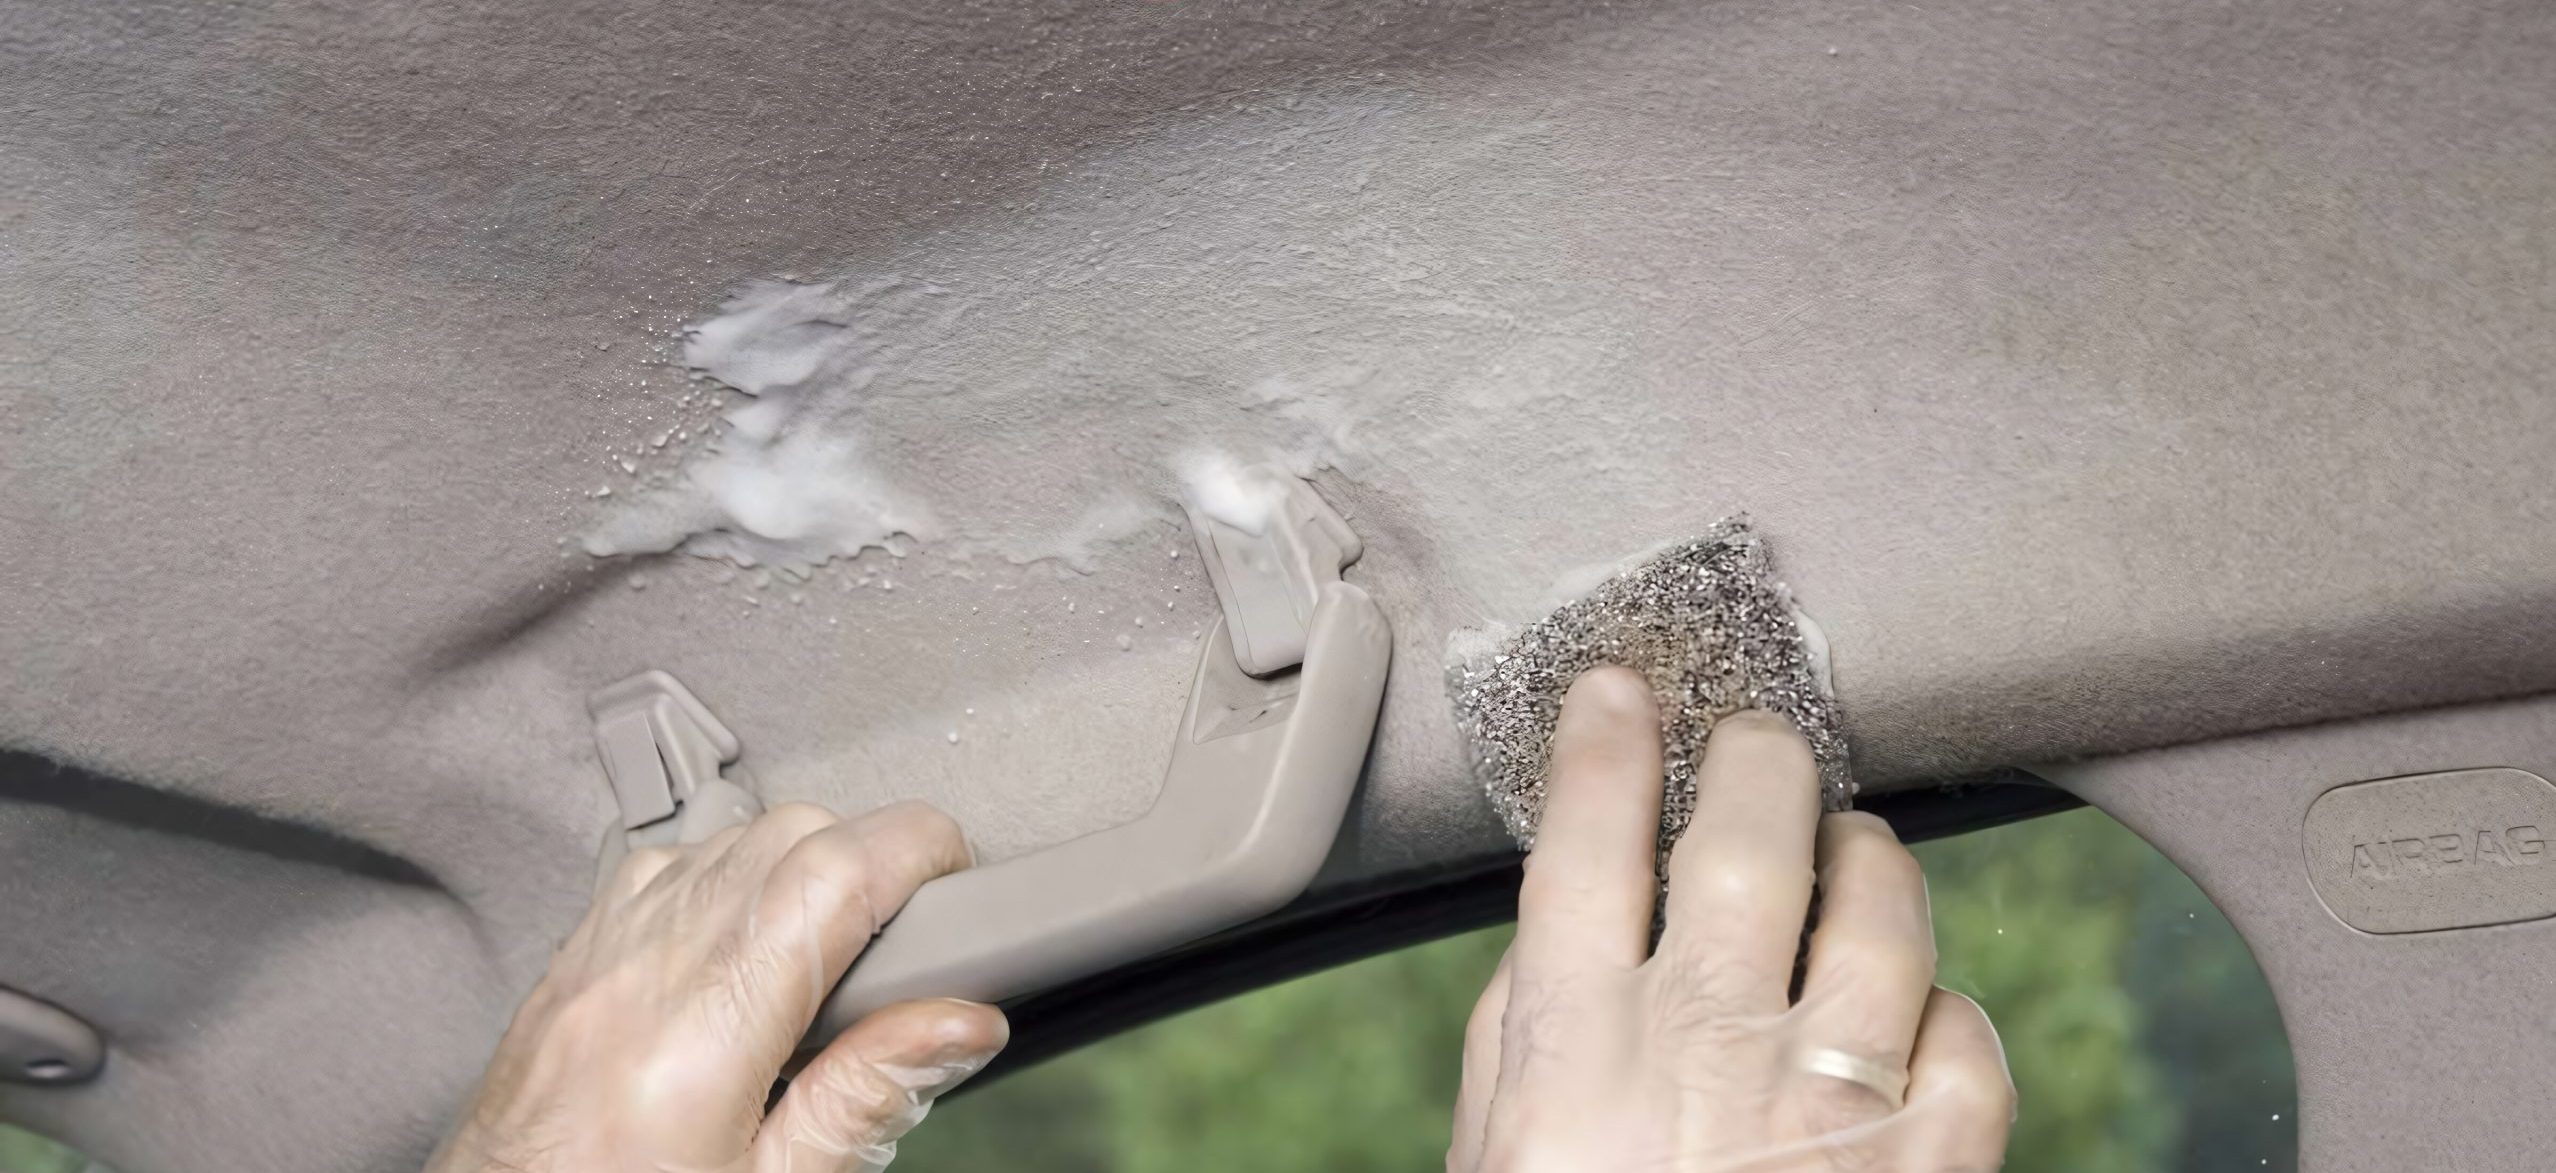
Not every sagging headliner needs a complete repair. If the problem is limited to the edges, gently peel back the loose fabric and apply fresh adhesive around the perimeter. This targeted fix typically costs between $8 and $15.
The biggest advantage is that you can leave the headliner board in the vehicle. There is no need to remove seat belts, visors, or grab handles, which makes the job much simpler. You can work directly on the affected area and avoid unnecessary disassembly.
Edges tend to fail first because they face more stress, sun exposure, and movement. Fixing them early can stop a small problem from spreading across the whole ceiling.
Work in a steady order. Gently lift the loose edge just enough to reach the board, then wipe away dust or flaking foam with a soft brush.
Apply adhesive spray or brush-on glue to both surfaces, wait until tacky, and press the fabric back. Hold it in place with painter’s tape for an hour or so.
Painter’s tape is a handy helper here. It supports the edge while the glue sets, and it peels off without harming the fabric.
Watch for overspray. Cover nearby trim and windows with paper or plastic so stray mist doesn’t land where it shouldn’t. Quick and tidy, this fix suits anyone who spots the droop early.
Catch it near the window seal, spend under fifteen dollars, and keep the rest of the headliner happy. Sometimes the best repair is the one you do before things get worse.
10. Sequin Pins / Clear-Headed Pins
When a headliner has a broad sag, and you need a low-cost way to keep it against the roof, decorative pins can provide a practical answer.
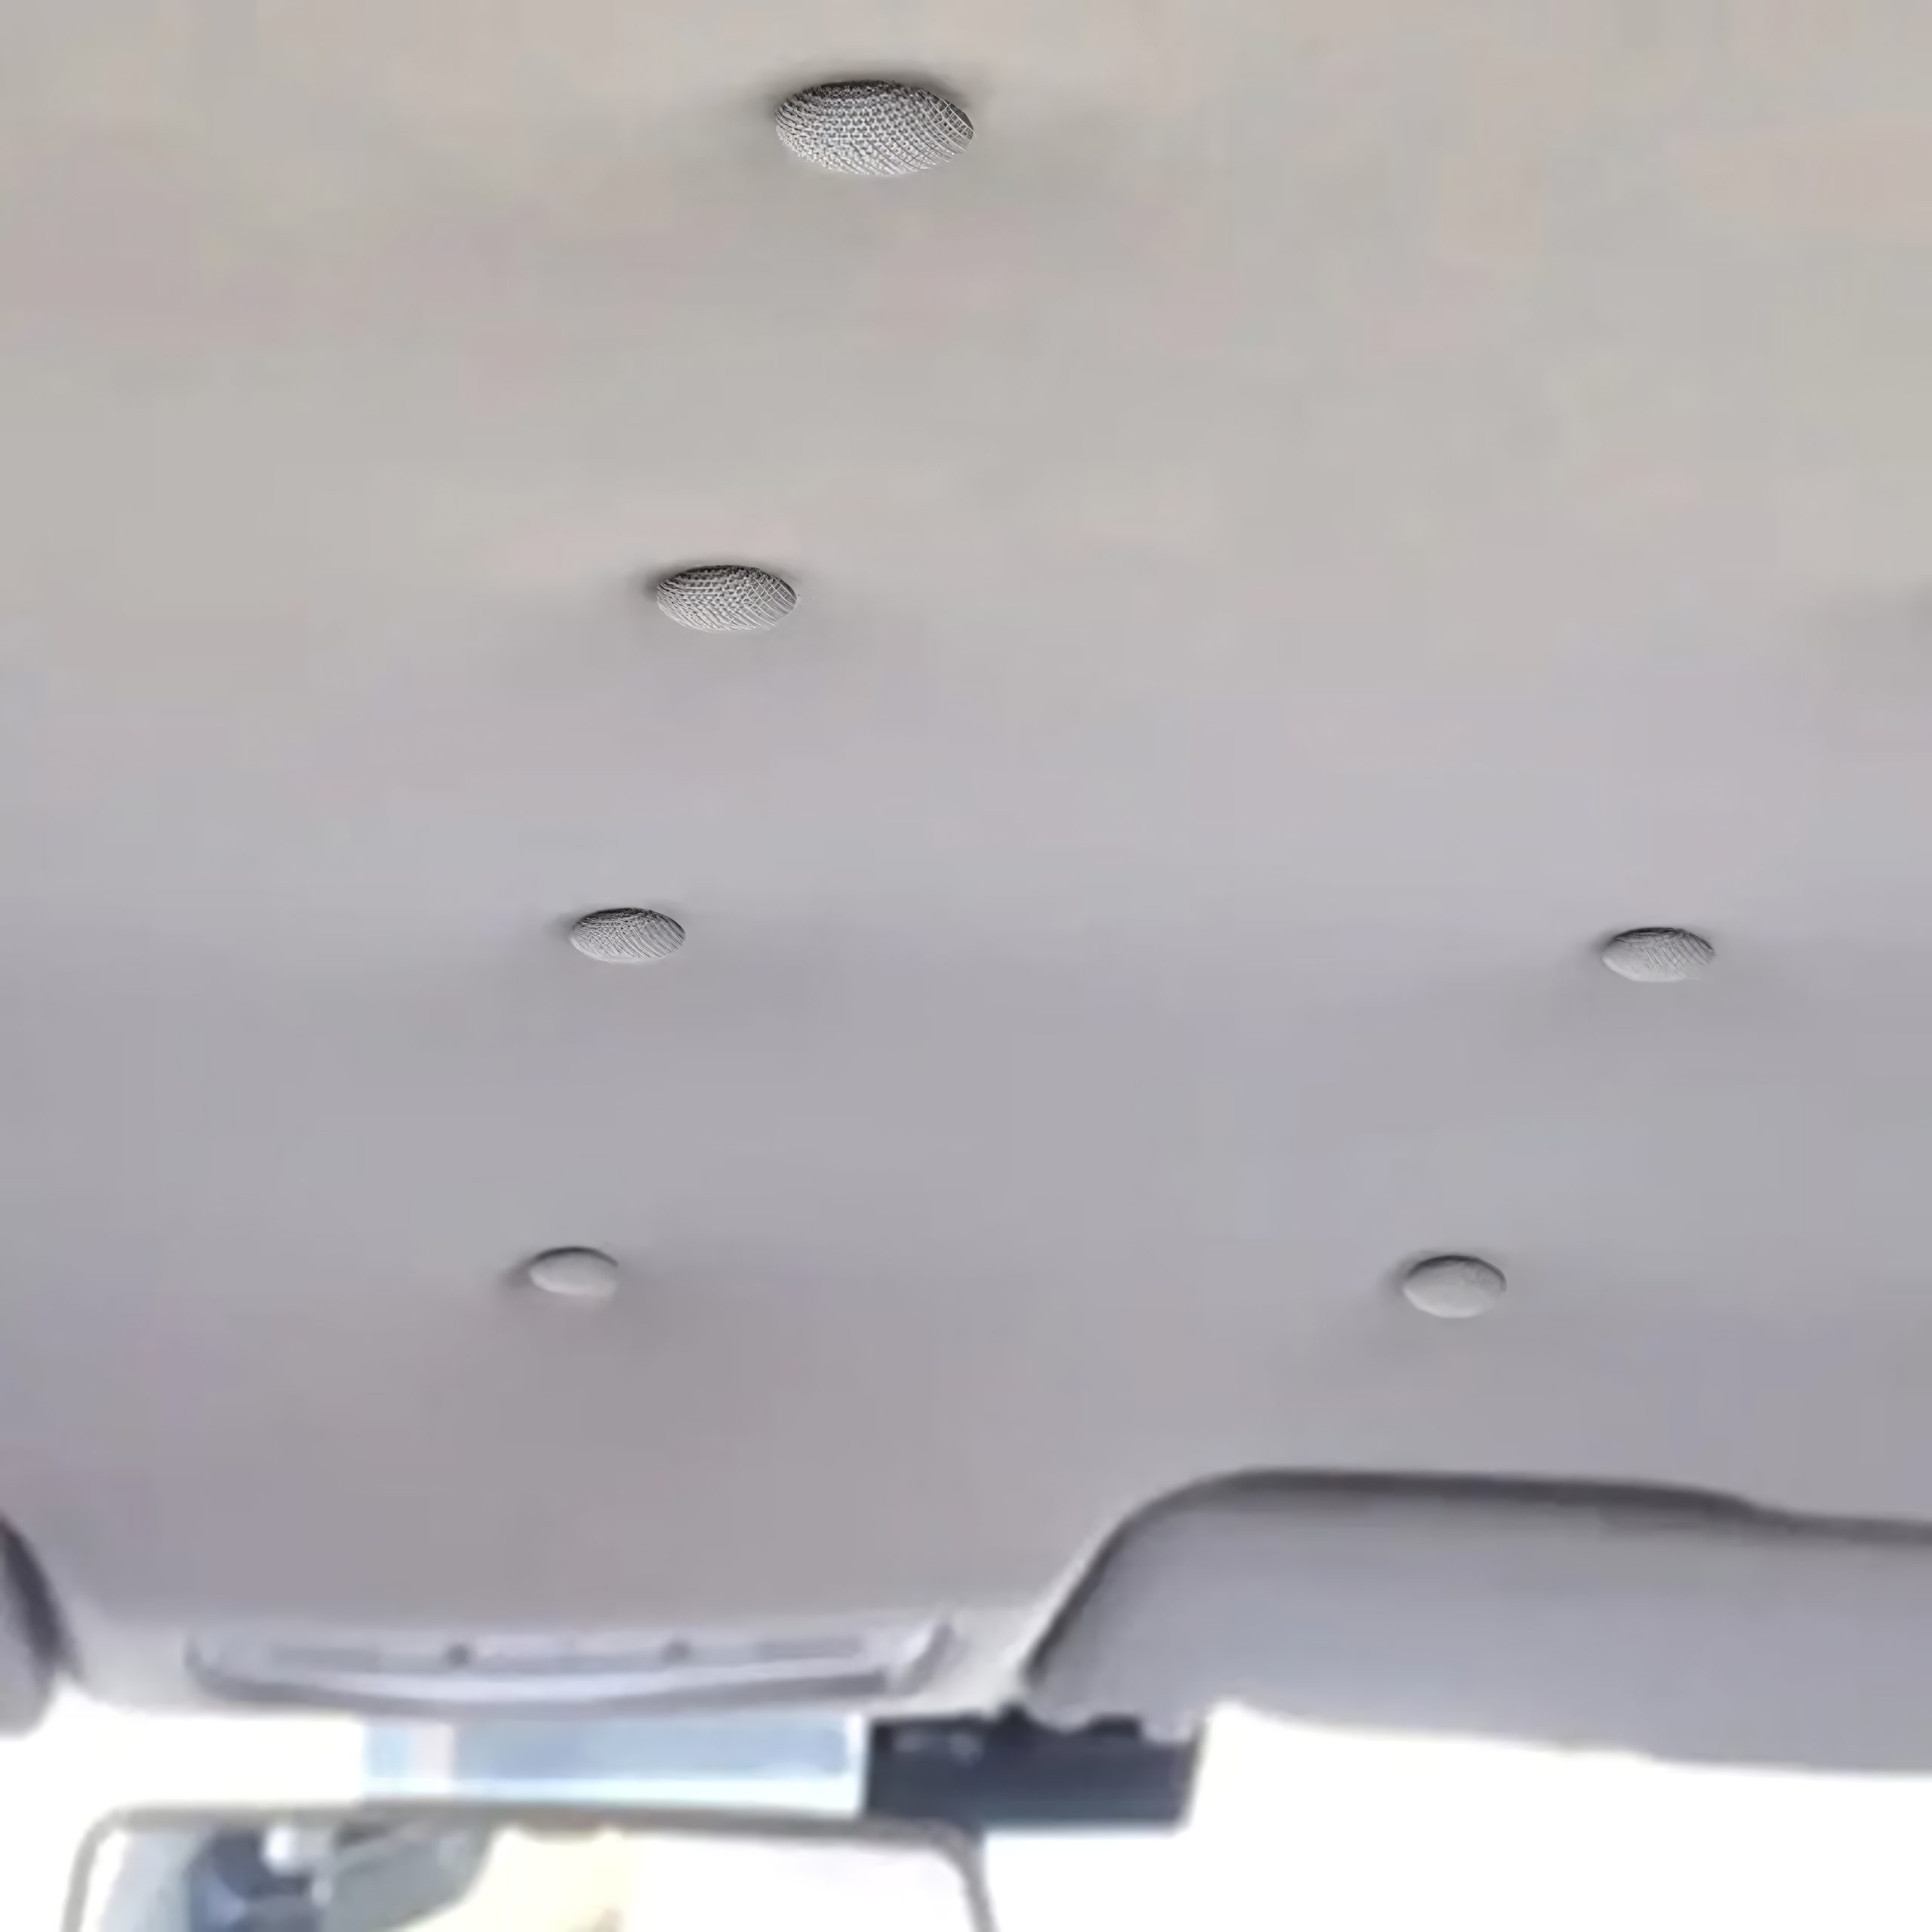
Clear-headed pins or sequin-style pins can be arranged in a pattern that looks more intentional than random fasteners. They cost roughly $2 to $5, so they fit easily within a $30 repair budget.
Begin by deciding where the fabric needs support. Place the first few pins near the center of the sag, then work outward. This can help distribute the fabric instead of allowing one area to carry all the weight.
Spacing matters. A symmetrical arrangement can make it look cleaner, especially when the pins remain visible. Choose pin locations carefully and avoid areas where electrical components or other roof hardware may be hidden.
These pins are best regarded as a practical holding method rather than a permanent restoration. They can stop the fabric from hanging down and make the cabin more comfortable, but they do not replace deteriorated foam or restore failed adhesive.
If the headliner fabric is still clean and intact, the result can be surprisingly presentable. If the backing has turned to powder or the fabric has become brittle, pins may only provide temporary relief.
The main advantages are simple. It costs little, requires only a few basic tools, and can be completed quickly. For a minor sag, this method may be enough to keep the interior looking neat without the expense of professional upholstery work, which can easily run into the hundreds of dollars.