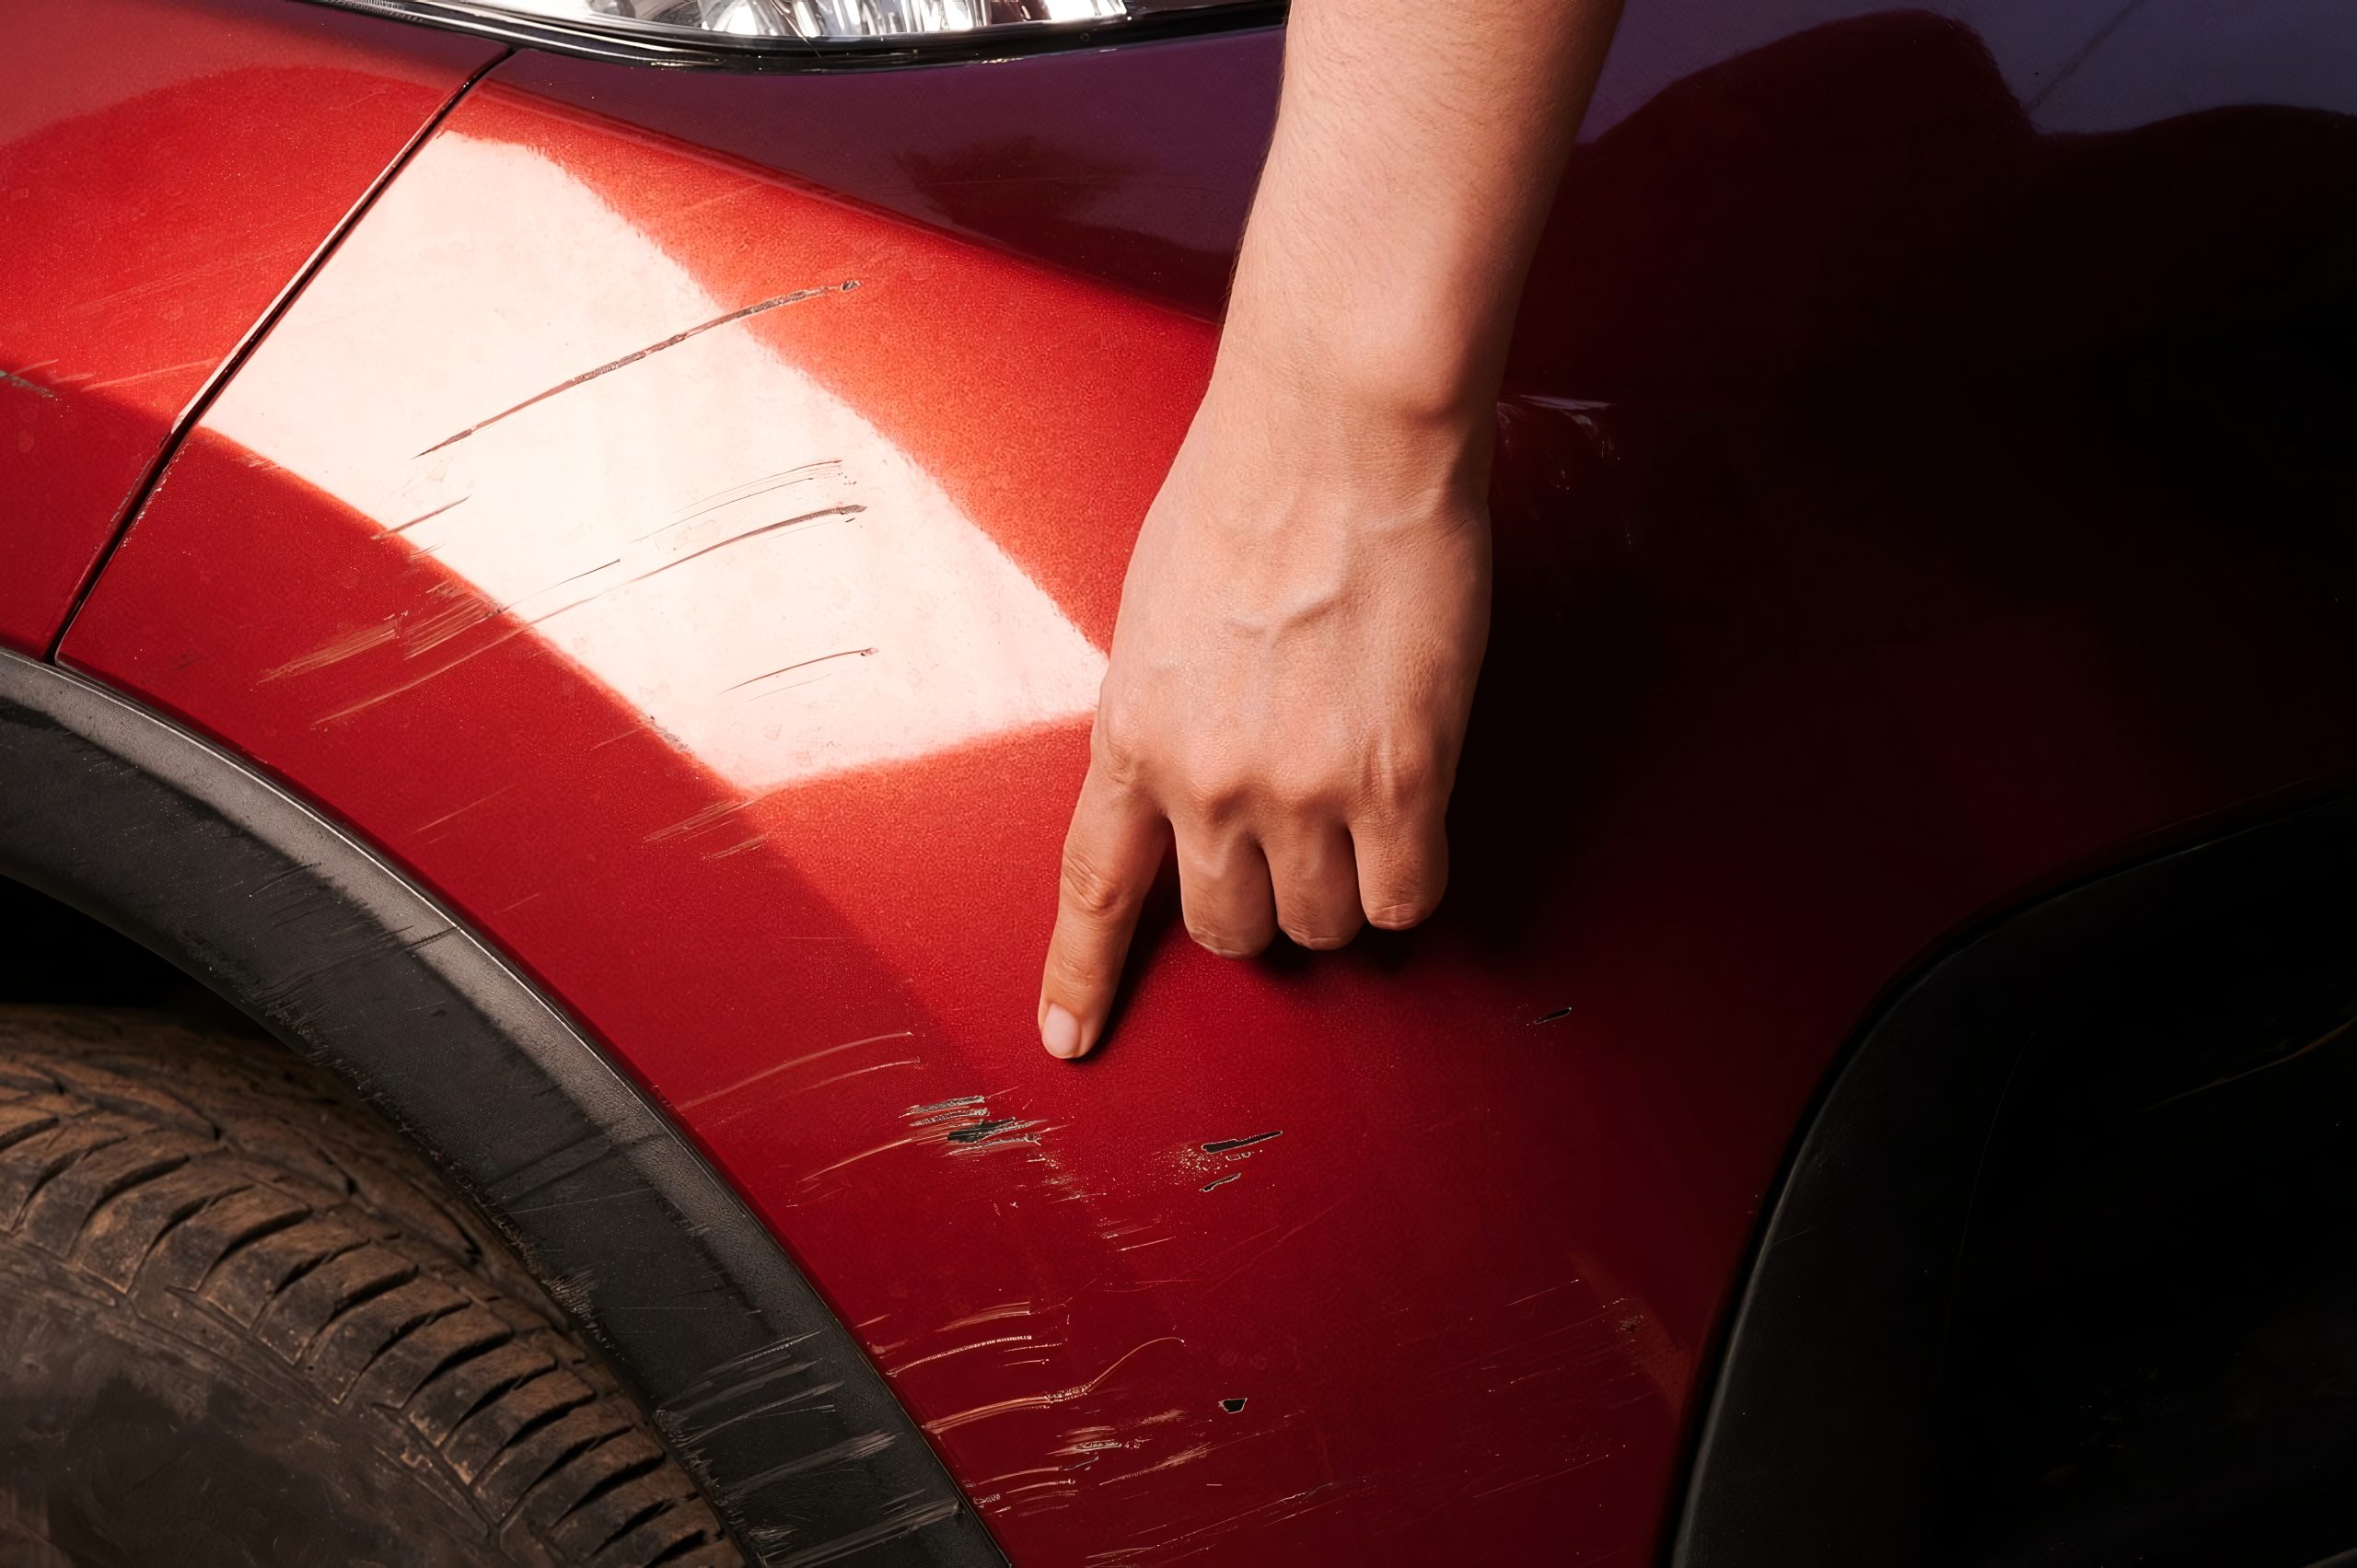
A chipped spot on your car may look like a minor cosmetic issue, but exposed metal can become a rust problem if it is left untreated. The good news is that small paint chips can often be repaired before corrosion gets a chance to spread. You do not need a garage full of professional equipment, either. With basic automotive supplies, careful preparation, and enough drying time, you can protect the damaged area and restore its appearance.
These 6 methods cover the repair process from cleaning the chip to protecting the finished paint. Each method serves a specific purpose, so skipping a preparation step can affect the quality and durability of the repair. If you spot a chip early, taking care of it promptly can save you from dealing with a much larger damaged area later.
1. Clean the Chipped Area
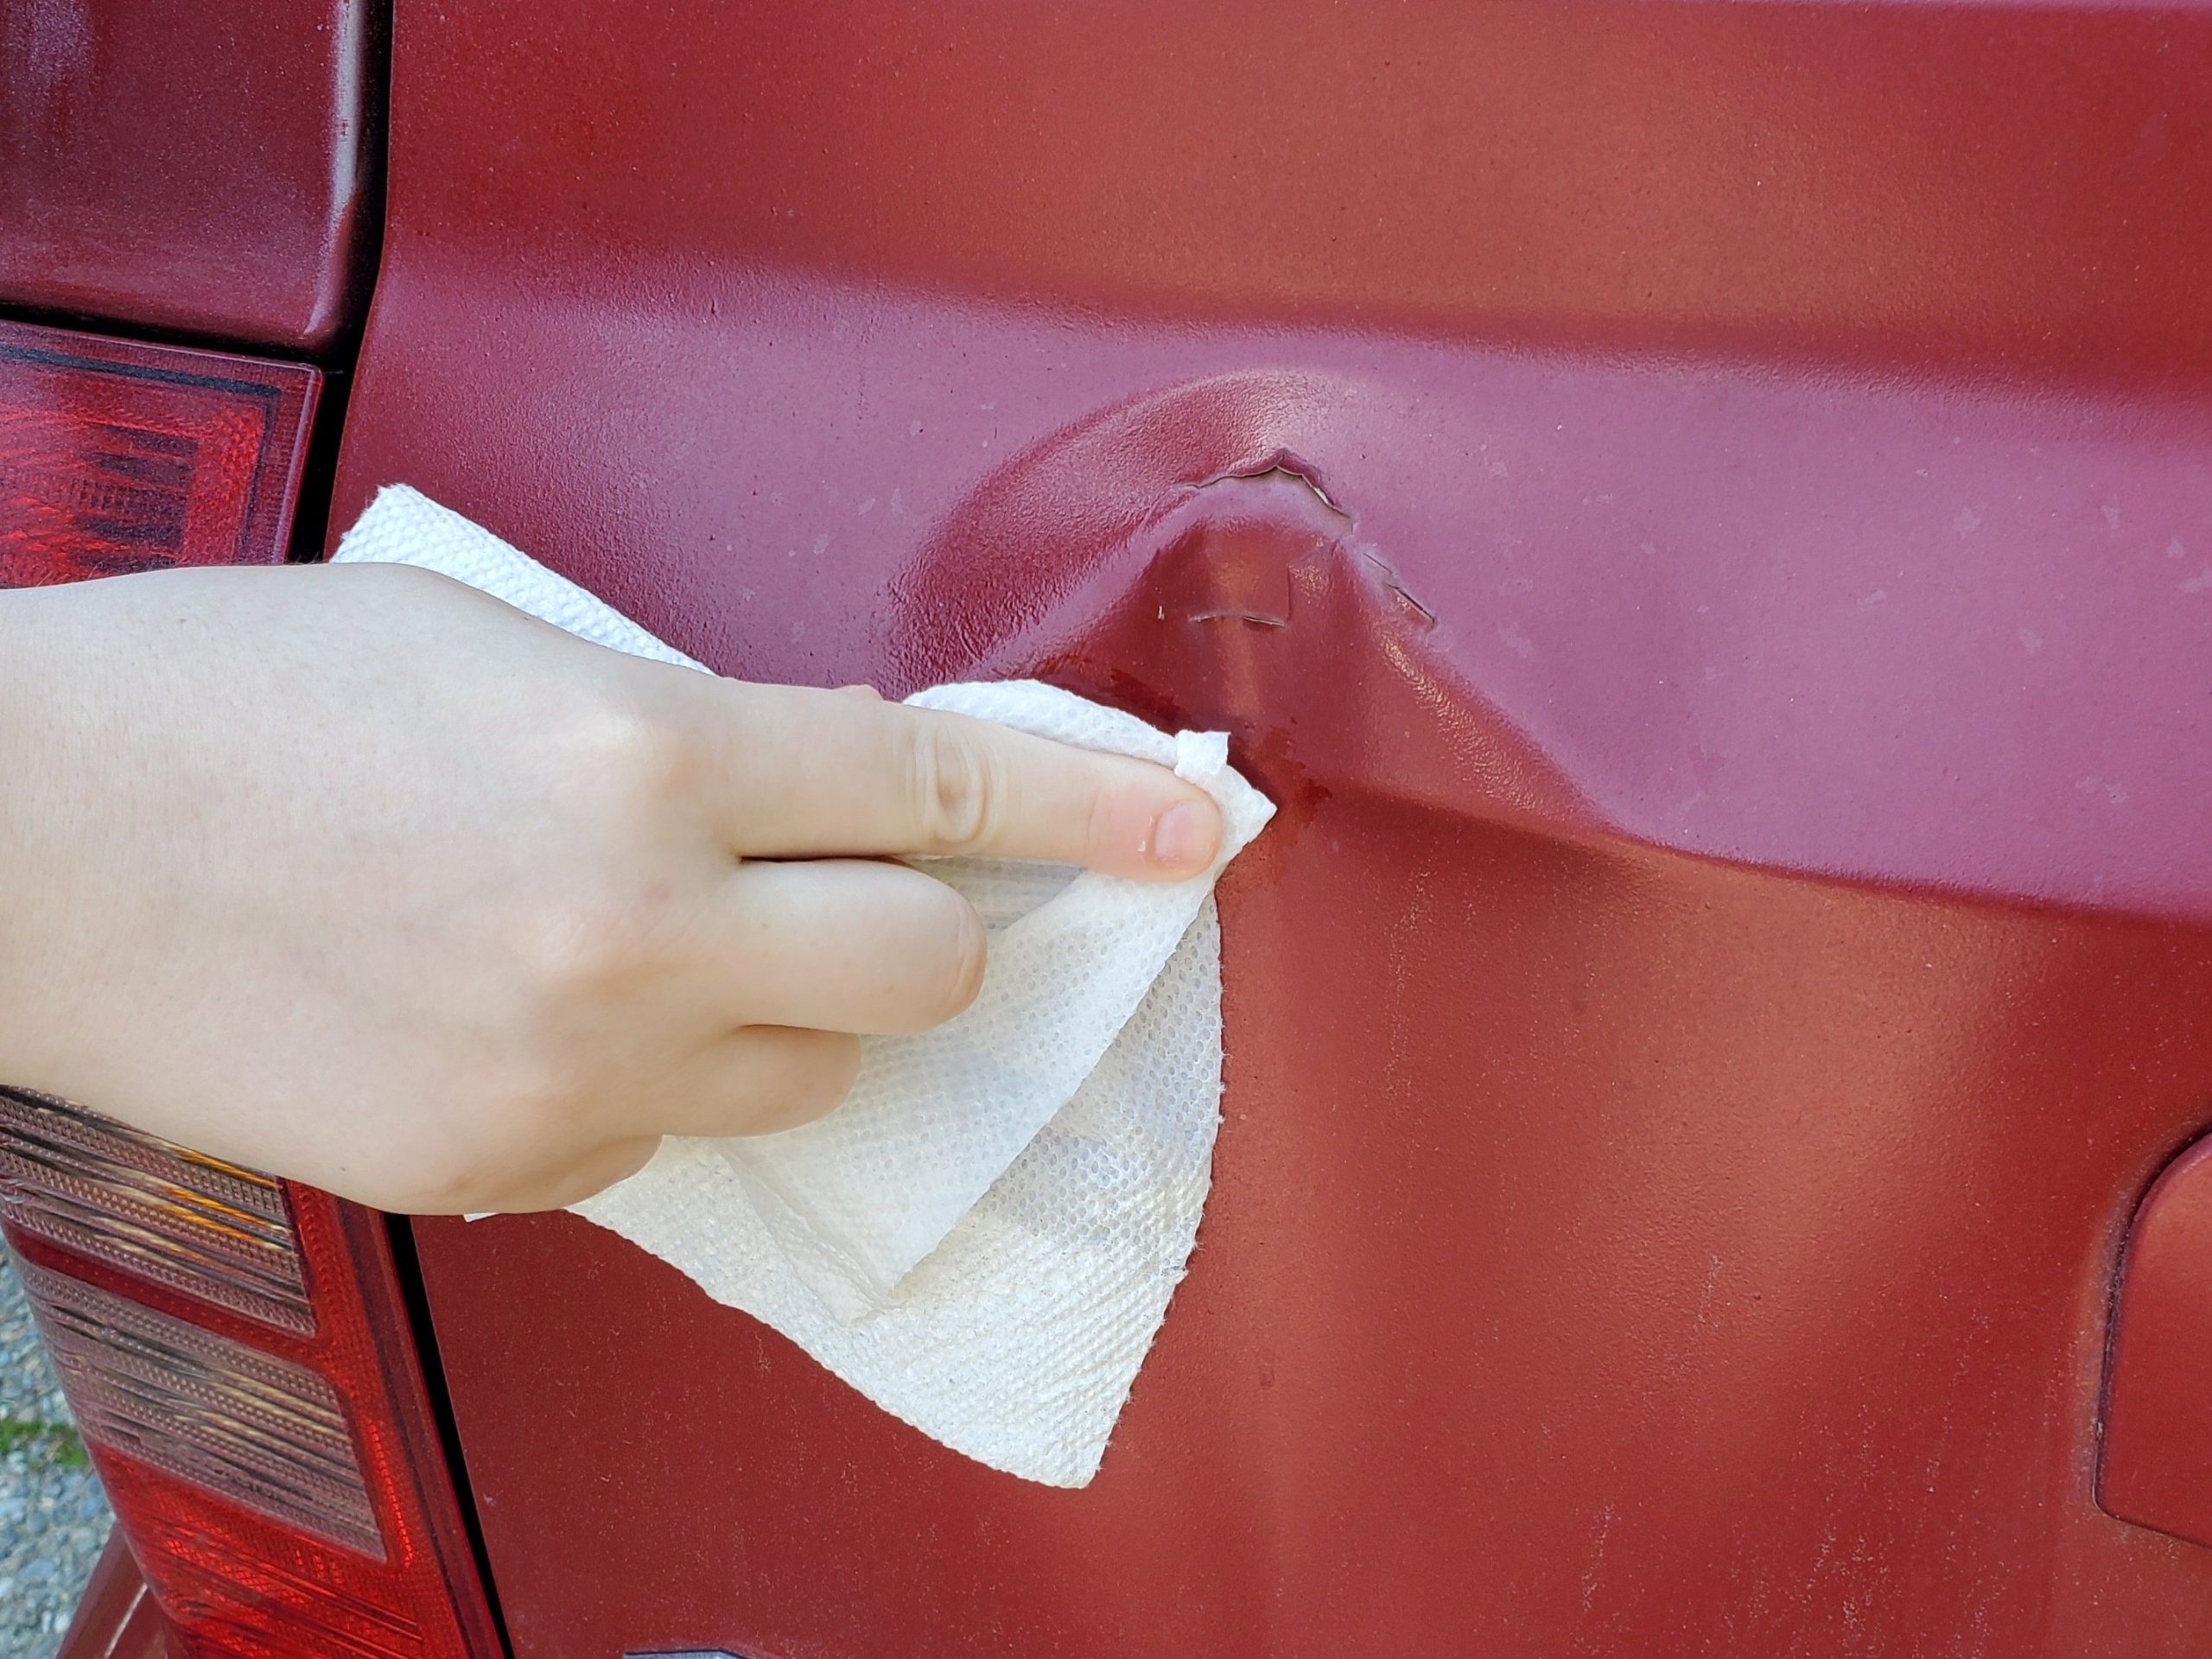
The first of the six methods is simple but important. Start by thoroughly cleaning the damaged area. A paint chip can trap dirt, road grime, wax, grease, dust, and other contaminants that may prevent the primer and touch-up paint from bonding properly.
Cleaning also makes it easier to see the actual condition of the exposed metal and determine whether rust has already started.
Begin by washing the damaged spot with automotive soap and clean water. Use a soft microfiber cloth or sponge to gently clean the chip and the surrounding paint.
Avoid aggressive scrubbing, especially if the damaged area is already exposing bare metal. If wax, grease, or oily residue remains after washing, use an automotive-safe surface cleaner that is suitable for painted surfaces.
Pay attention to the edges of the chip. Dirt can collect where the damaged paint meets the intact factory finish, and leaving that residue behind can affect the quality of the repair.
After cleaning, rinse the area thoroughly to remove soap and residue. Dry it with a clean microfiber towel, then allow additional time for the surface to air-dry completely. Make sure there is no moisture trapped inside the chipped area.
Do not move on to sanding or priming until the surface is completely dry. A clean, dry repair area gives the next method a better starting point and helps the new layers adhere properly.
2. Sand Away Loose Paint and Rust
The second method is removing unstable paint and surface rust. Even when a chip looks small, its edges may contain paint that has already separated from the metal.
Leaving those loose sections in place can cause the repair to lift, crack, or appear uneven after the new paint dries.
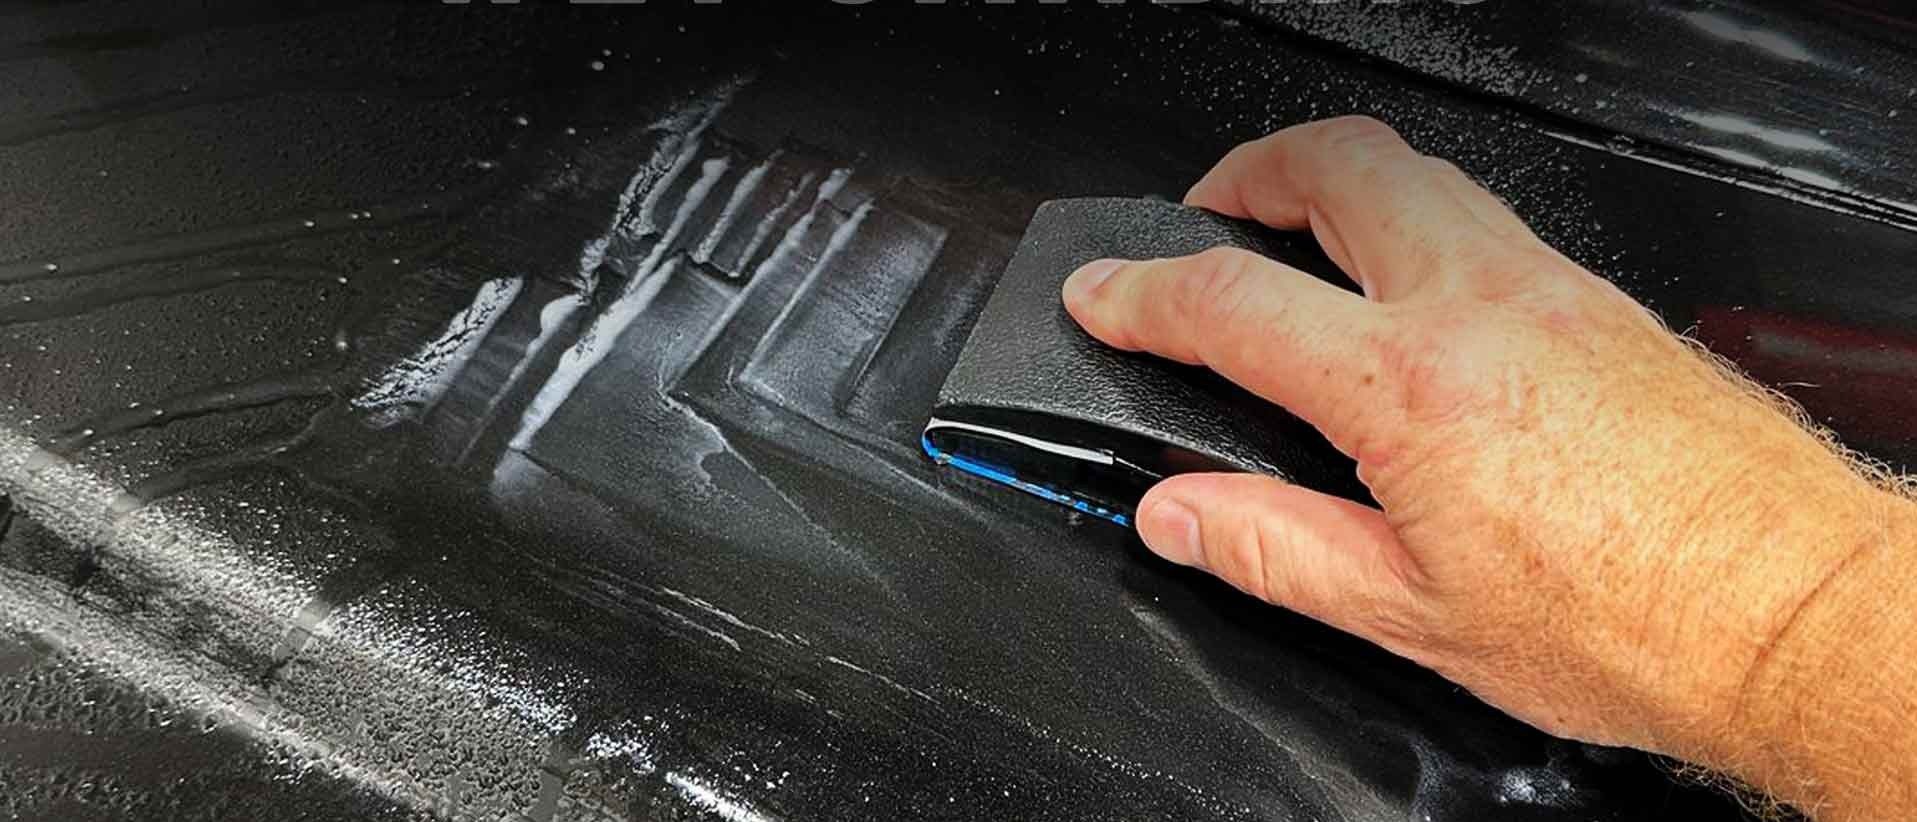
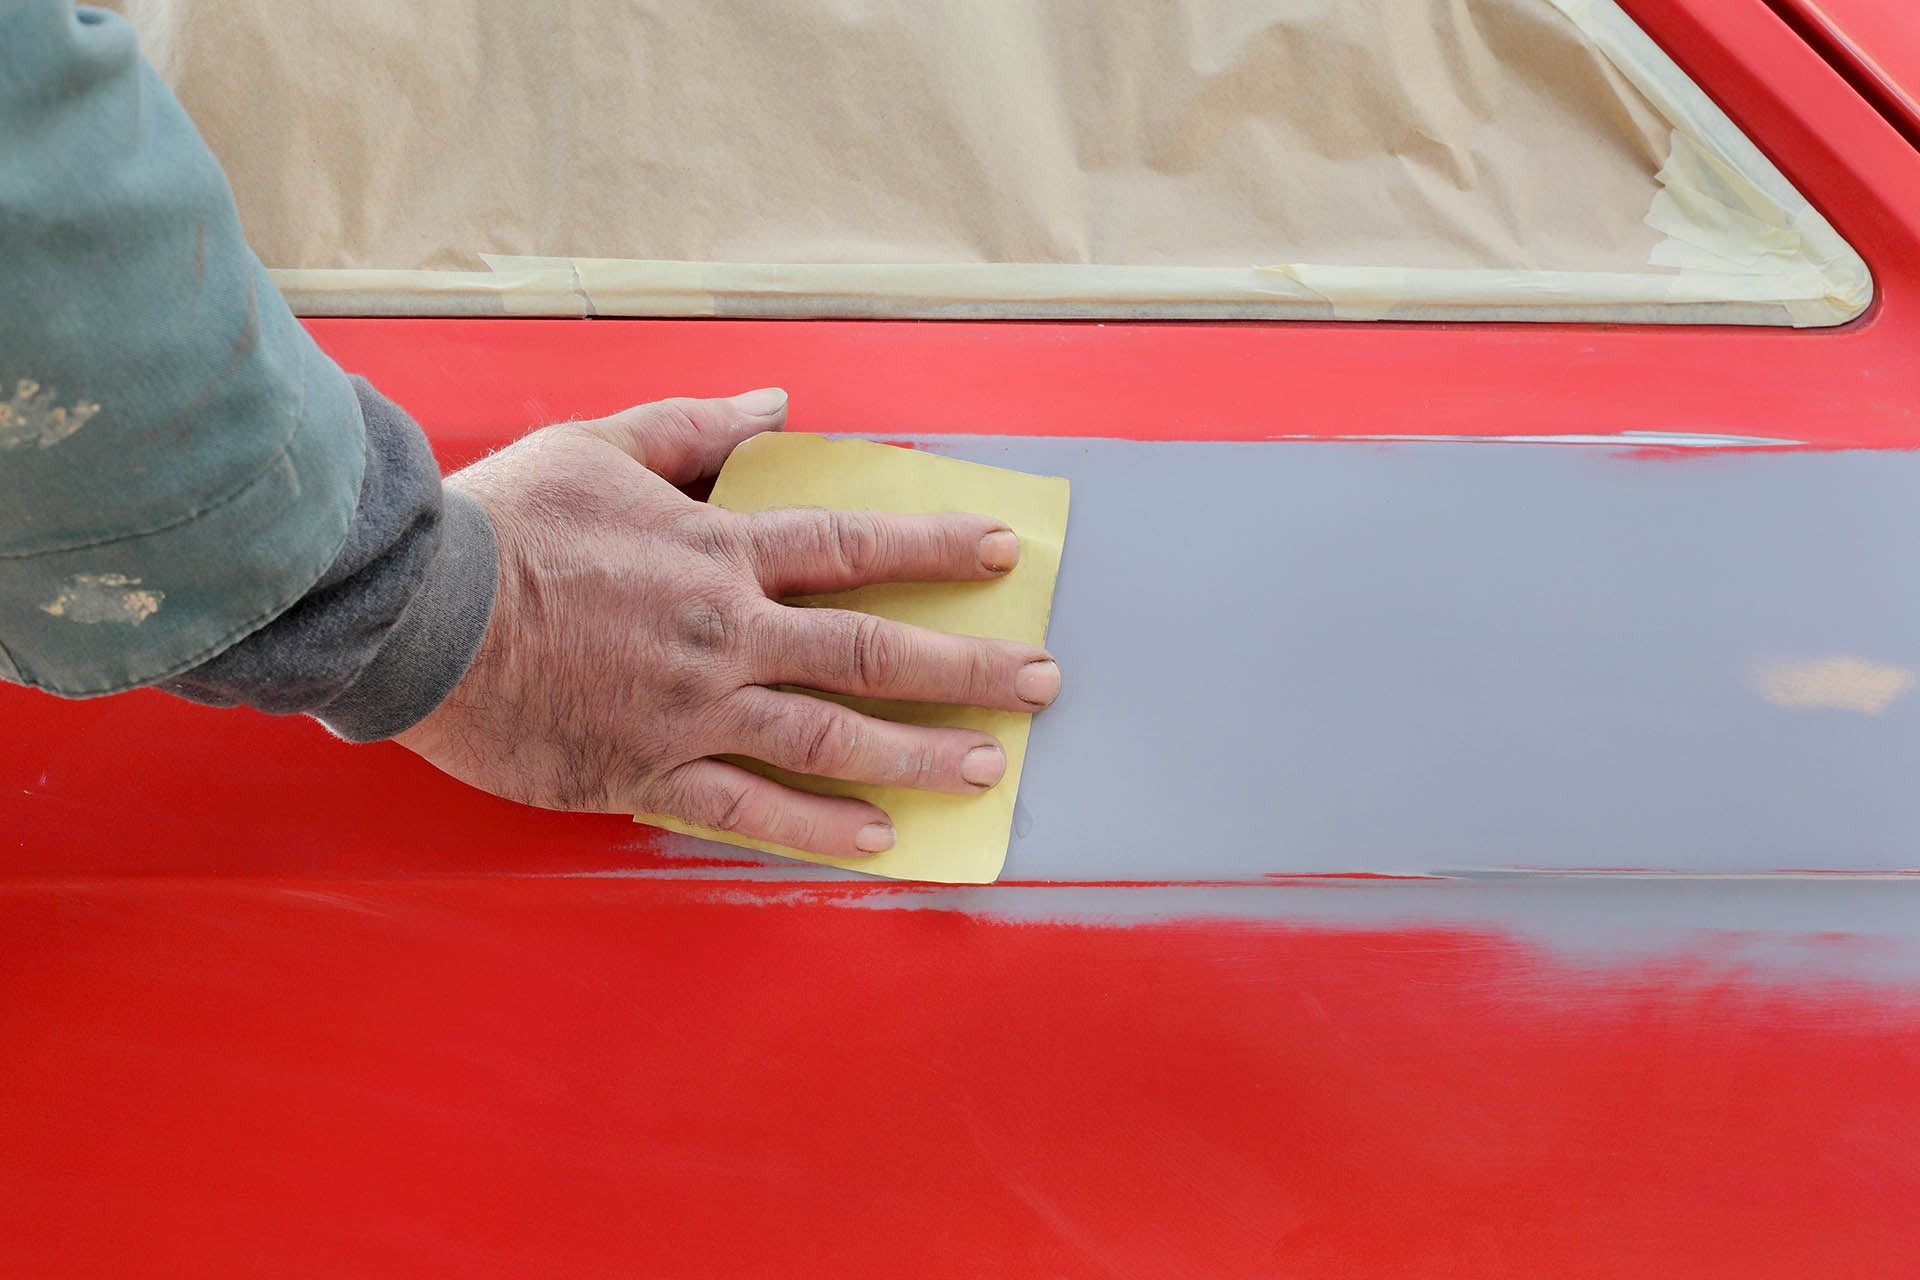
Use fine-to-medium automotive sandpaper to gently remove loose paint around the damaged spot. If light surface rust is visible, carefully sand it away as well.
Work slowly and use controlled pressure rather than aggressively grinding the area. Removing too much of the original factory paint can unnecessarily enlarge the repair.
Pay particular attention to the boundary between the damaged spot and the surrounding finish. Gradually smooth the edges so there is no sharp ridge around the exposed metal.
This process, known as feathering, creates a more gradual transition between the original paint and the repair. A smoother edge can make the finished touch-up less noticeable.
Once the loose paint and rust have been removed, wipe away all sanding dust with a clean microfiber cloth. Inspect the exposed metal carefully under good lighting.
If the surface is clean and free of visible rust, it can be prepared for primer. If light rust remains in small areas despite sanding, the third method, using a compatible rust converter, may be appropriate.
Take your time during this stage because good surface preparation can make the later paint application much easier. The goal is a stable, smooth surface that is ready for treatment.
3. Apply Rust Converter Only When Needed
The third method is using a rust converter when sanding has not removed all light surface corrosion. This step is not necessary for every paint-chip repair.
If the sanding process leaves clean, rust-free bare metal, skip the rust converter. Applying a rust converter to metal that has no rust does not provide an advantage and may introduce an unnecessary product into the repair.
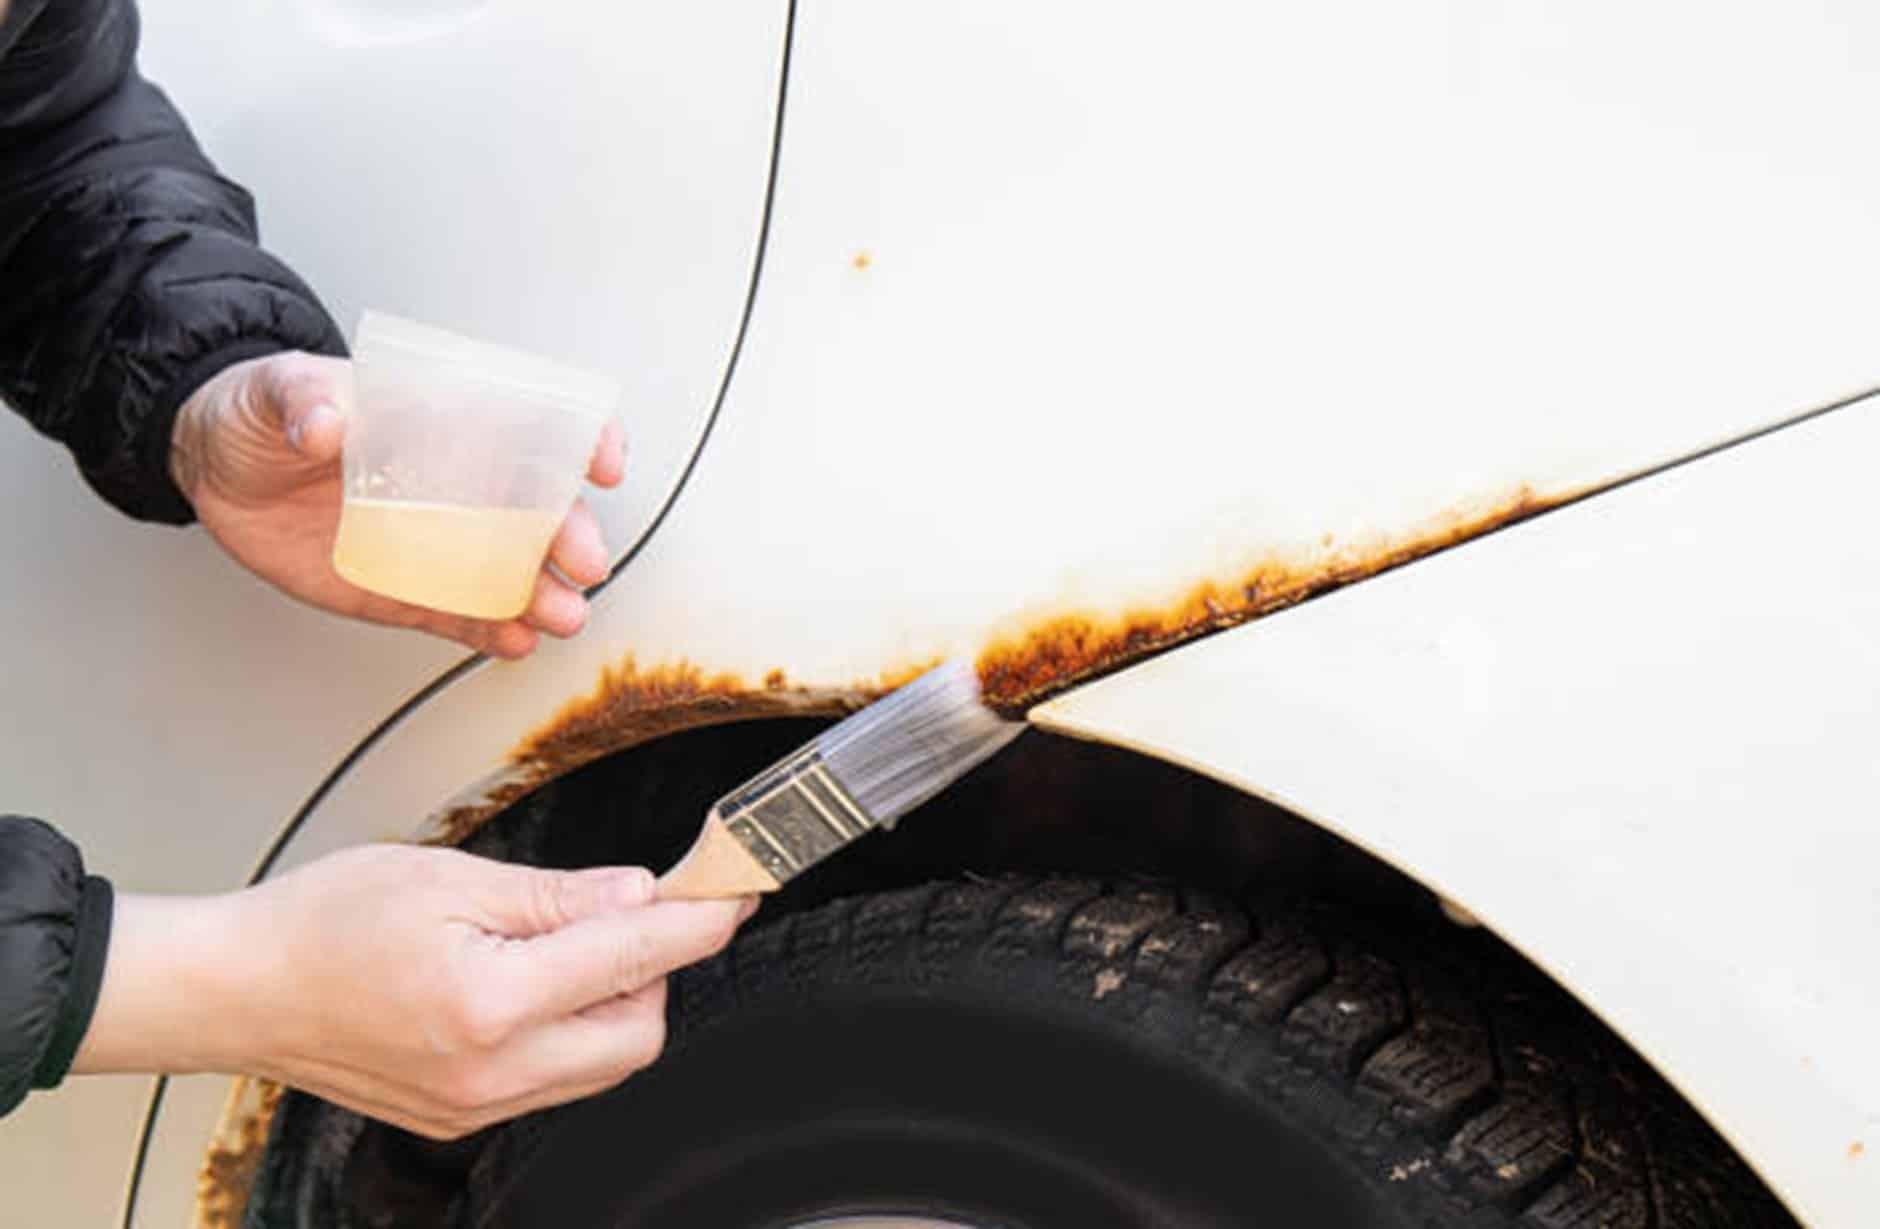
When light surface rust remains, select a rust converter that is compatible with automotive applications. Read the manufacturer’s instructions before applying it because products can have different preparation requirements, application methods, and curing times.
Apply the product only to the affected area and use the amount recommended on its label. Avoid spreading it unnecessarily across the surrounding factory paint.
Give the converter enough time to work and dry according to the manufacturer’s directions. Do not rush into the primer stage while the treatment is still wet or has not reached the required curing stage.
This method is specifically for remaining surface rust. It should not replace proper cleaning and sanding. Once the treated area is ready, you can move to the primer stage and begin rebuilding the protective coating.
4. Apply Automotive Primer
The fourth method is applying automotive primer to the exposed metal. Once the chipped area has been cleaned, sanded, and treated when necessary, primer provides an important protective layer before the color coat goes on.
Choose an automotive primer that is suitable for the surface and compatible with your touch-up paint. Product instructions should always be checked because primers can differ in their recommended uses and drying times.
For a small chip, use a fine brush, small applicator, or another tool designed for precision work. Apply enough primer to cover the exposed metal without creating a large, thick patch around the repair.
A thin, even coat is usually easier to control than a heavy application. Allow the primer to dry for the amount of time specified by the manufacturer. Some products may require additional curing time before paint can be applied.
Once the primer has dried, inspect the repaired spot. The exposed metal should be covered, and the surface should be suitable for the color coat.
This method helps protect the bare metal from moisture while giving the touch-up paint a proper surface to bond with.
5. Apply Matching Touch-Up Paint
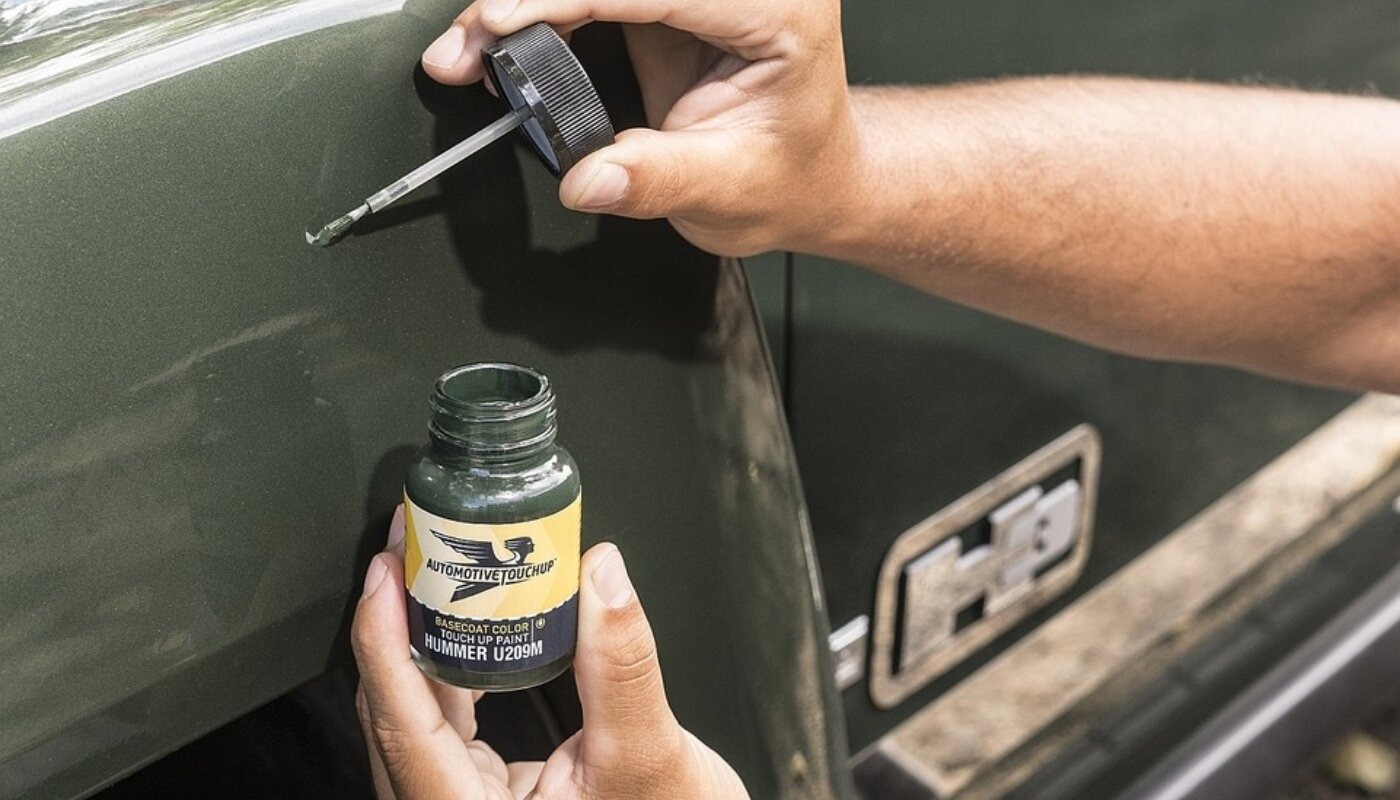
The fifth method is applying the correct touch-up paint. Color matching matters because even a properly repaired chip can remain obvious if the replacement paint is noticeably different from the vehicle’s original finish.
Use the vehicle’s factory paint code to find the closest matching touch-up color. The code can often be found on a vehicle information label or through manufacturer records.
Avoid relying solely on a visual guess, since two colors that look similar in a store may appear quite different once applied to the vehicle.
For a small chip, use a fine brush or precision applicator. Apply a thin coat rather than trying to fill the entire area with one heavy application. Allow each coat to dry according to the paint manufacturer’s instructions before adding another.
Several thin coats can provide better control and coverage than one thick coat. Work slowly around the edges so the paint stays within the prepared area.
Do not judge the final appearance too quickly. Touch-up paint can look different while it is still drying. Give it the required drying time before deciding whether another coat is needed.
Once the color has been properly built up, the final method can provide additional protection and help improve the appearance of the repair.
6. Protect and Blend the Repair
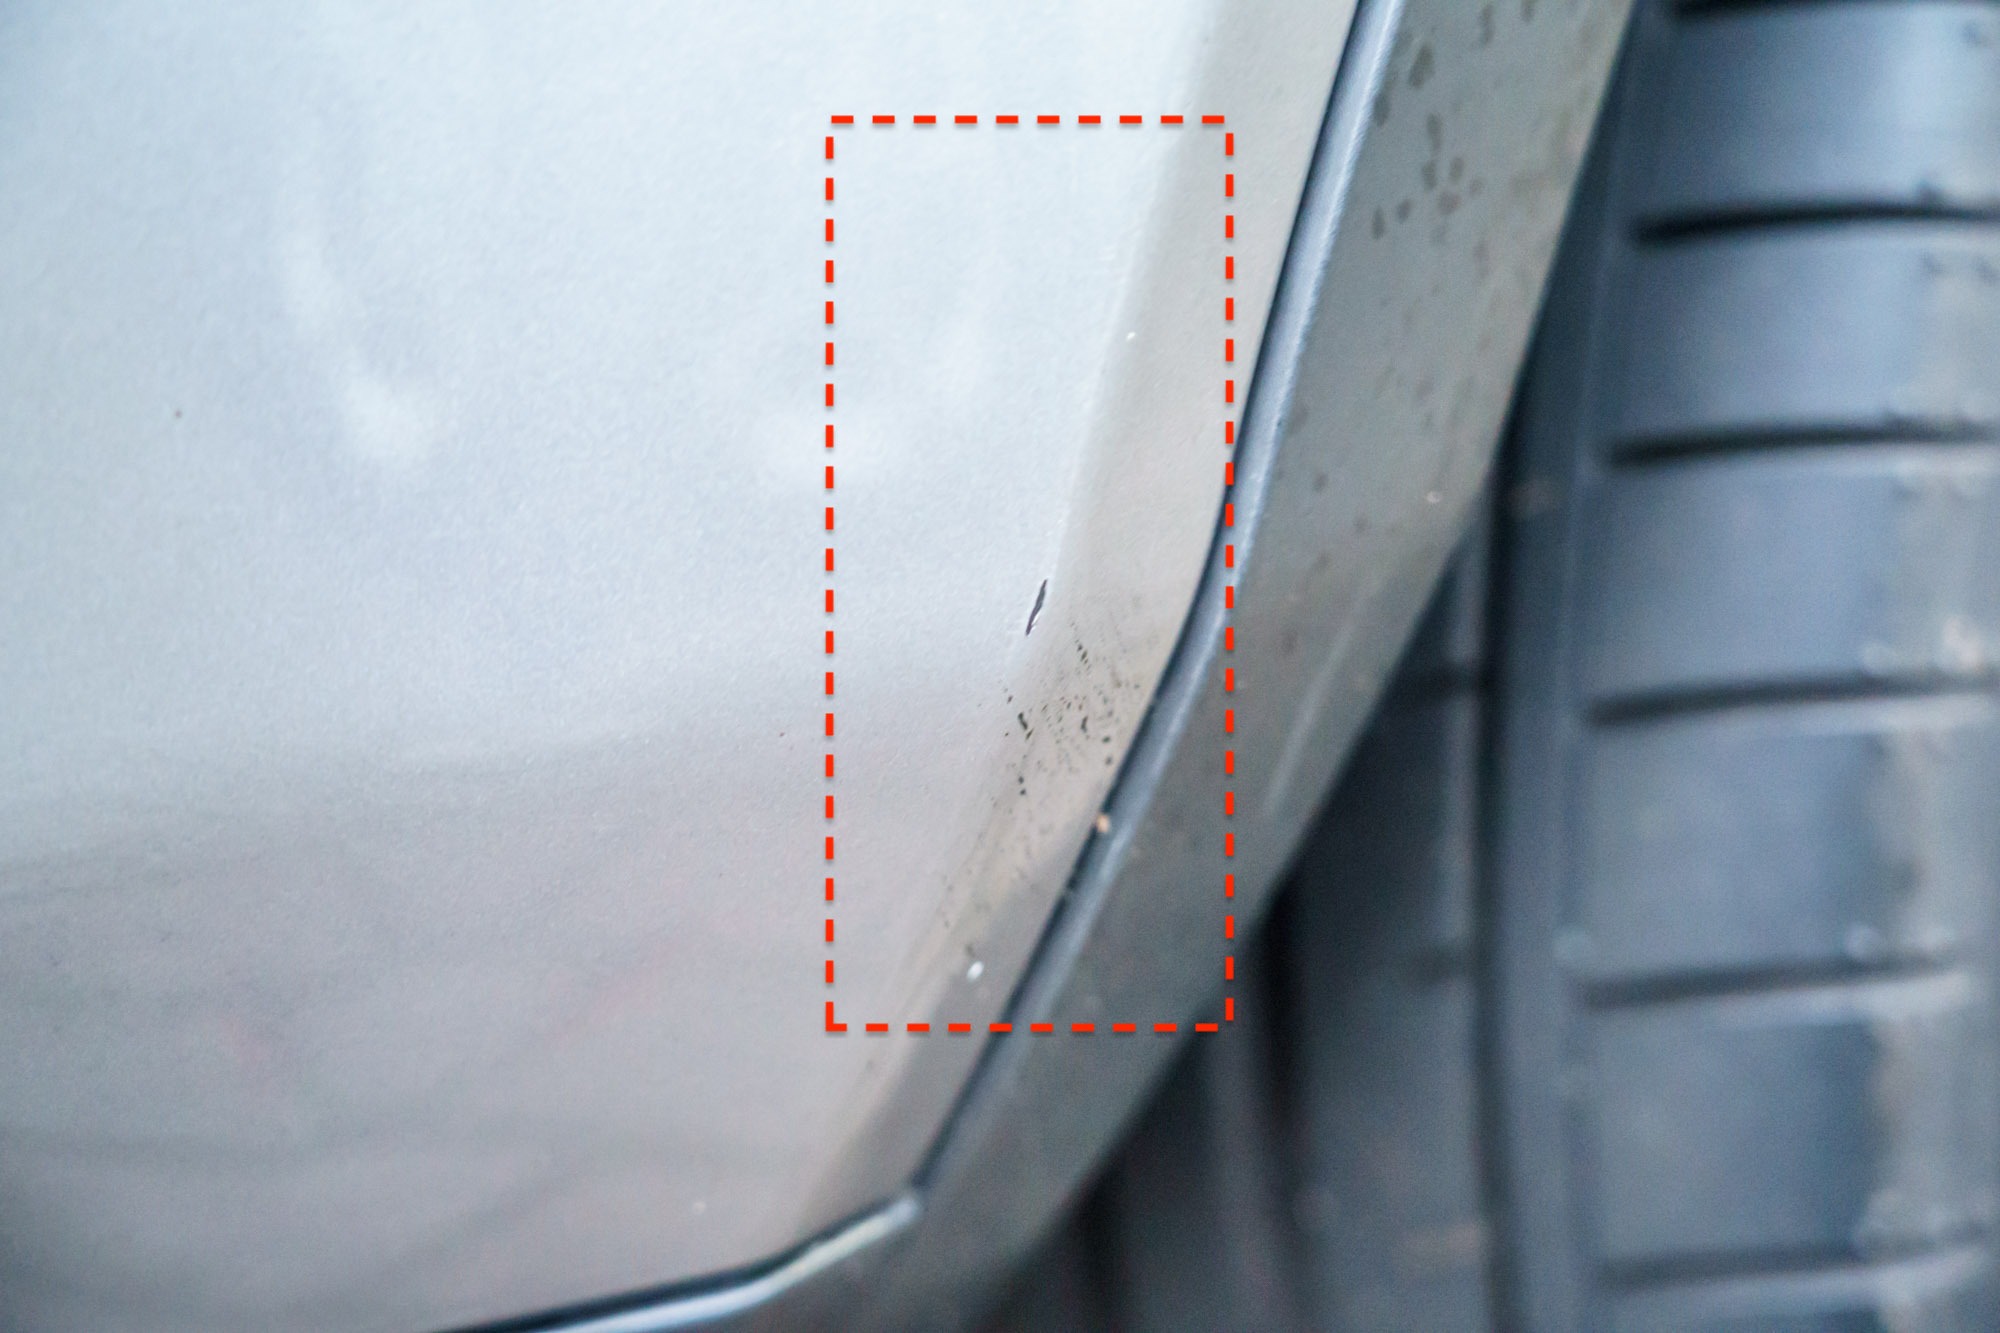
The sixth and final method is protecting the repaired area and blending it with the surrounding finish. This stage helps give the repair a cleaner appearance while adding another layer of protection when the paint system requires it.
Check the instructions for your touch-up paint to determine whether a compatible clear coat should be applied. If required, use the recommended product and apply it carefully.
Thin coats are generally easier to control than one heavy coat, particularly when working on a small chip. Allow the clear coat and color layers to cure for the period specified by the manufacturer.
Avoid washing, rubbing, or polishing the area before it has properly cured. After the repair has fully cured, you may lightly polish the area if the paint system permits it.
Gentle polishing can help soften the boundary between the repaired section and the original finish. The purpose of this final method is not simply to make the chip look better.
Properly completing the repair helps seal the exposed area and provides protection against moisture reaching the metal beneath the paint.
By following all 6 methods cleaning, sanding, treating remaining rust when necessary, priming, applying matching paint, and protecting the repair you can deal with a small paint chip before it develops into a larger corrosion problem.