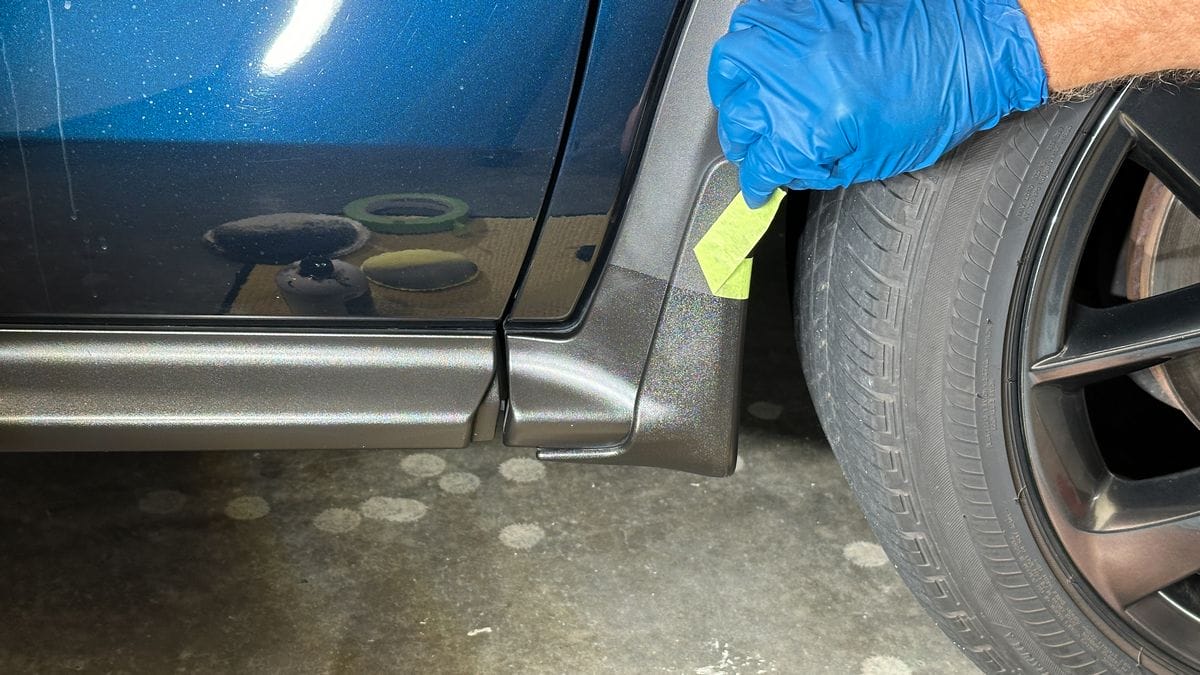
Plastic trim is one of the first parts of an older vehicle to show its age. Exterior moldings, bumper inserts, mirror housings, cowlings, and other black plastic pieces gradually lose their deep finish as sunlight, dirt, weather, and repeated washing take their toll. Fortunately, faded trim does not always mean replacement is necessary.
Several restoration methods can improve its appearance, while the right protective treatment can slow future fading. The key is matching the method to the condition of the plastic. Lightly dull trim needs a different approach from heavily oxidized surfaces. Here are ten practical methods, ranging from simple cleaning to dedicated restoration treatments.
1. Deep Clean the Trim Before Trying to Restore It
Many pieces of plastic trim look faded when the real problem is a layer of road film, old dressing, dust, and embedded contamination. Applying another product over that buildup can make the finish uneven and may prevent a restoration product from bonding properly. That is why deep cleaning should be the starting point rather than an afterthought.
Begin by washing the vehicle and concentrating on the plastic areas with a soft detailing brush or microfiber towel. Use a cleaner suitable for automotive plastic and work the product into textured sections where dirt tends to collect. Rinse thoroughly and inspect the surface once it has dried.
This step is particularly important with heavily neglected trim. Meguiar’s Heavy Duty Trim Restoration Kit, for example, specifically separates cleaning from protection because its cleaning solution is designed to remove embedded contamination and oxidation before the protective treatment is applied.
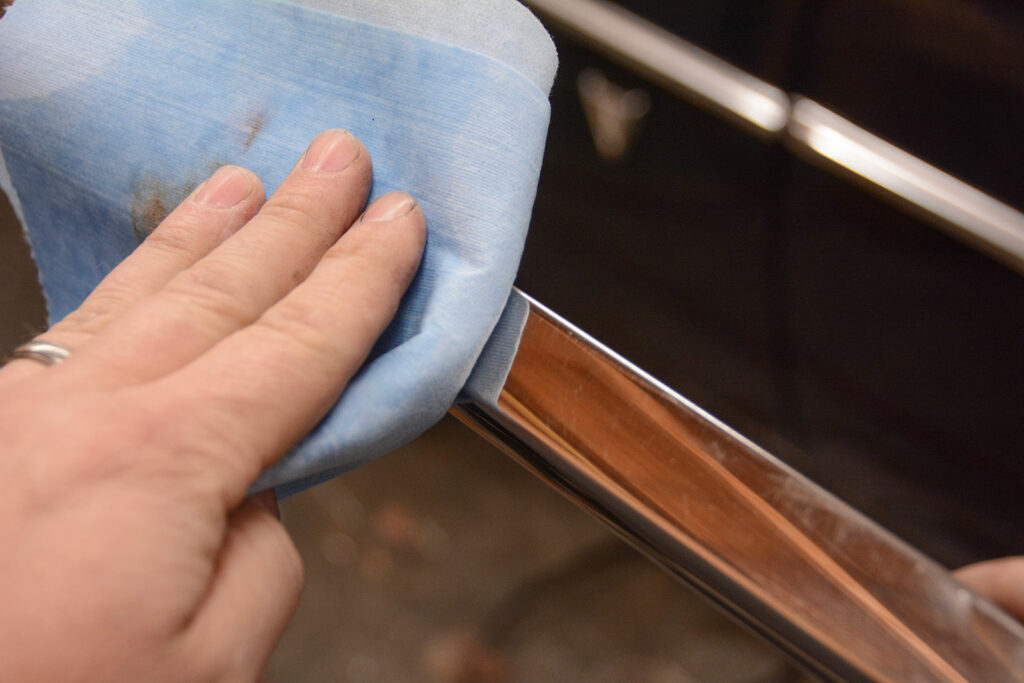
Do not assume that a darker appearance immediately after cleaning means the plastic has been restored. Wet surfaces naturally appear richer than dry ones. Let the trim dry completely before judging its actual condition.
A clean surface also makes it much easier to determine whether the plastic is merely dirty, lightly faded, or genuinely oxidized. That distinction matters because a basic protectant can be sufficient for mild aging, while badly weathered plastic may require a dedicated restoration coating.
2. Use a Dedicated Plastic Trim Restorer
When cleaning alone leaves the plastic gray and lifeless, a purpose-built trim restorer is one of the simplest solutions. These products are formulated specifically for unpainted exterior plastic rather than being general-purpose cleaners or interior dressings.
The advantage is appearance and convenience. A dedicated restorer can replace some of the visual depth that faded black plastic has lost, making bumpers, moldings, mirror housings, and windshield cowlings appear substantially fresher.
Meguiar’s Ultimate Black Plastic Restorer is designed for exterior plastic, vinyl, and rubber trim and is marketed specifically for faded surfaces. The company says its formula provides UV protection while restoring darkness and shine.
Application technique matters almost as much as the product itself. Work on a cool, dry surface and apply a controlled amount rather than flooding the plastic. Spread it evenly so one section does not become noticeably darker than another. Pay particular attention to textured areas, where excess product can collect.
Once the surface has been treated, inspect it from several angles. A good restoration should look consistent rather than excessively glossy or greasy. Some modern products are specifically formulated to dry without streaking or a greasy residue.
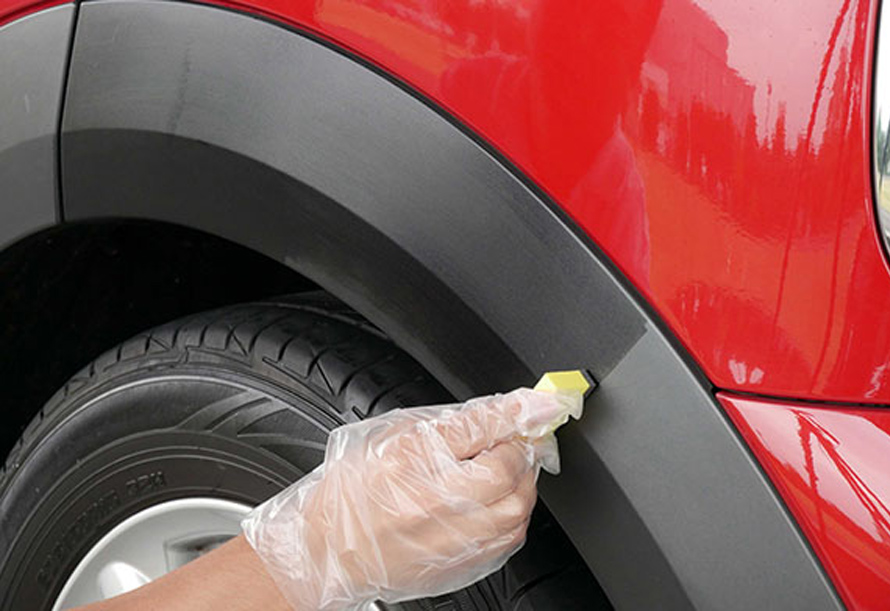
This approach is most useful when the plastic remains structurally sound but has lost its original color and visual depth. It is not a substitute for replacing plastic that is cracked, melted, or physically damaged.
3. Try a UV Protectant After Restoring the Color
Restoring faded trim without protecting it afterward can leave you repeating the same job sooner than necessary. Ultraviolet exposure is a major contributor to the aging of exterior plastic, so UV protection should be considered part of the restoration process rather than an optional finishing touch.
Once the plastic has been properly cleaned and restored, apply a product designed to protect automotive plastic, vinyl, or rubber. The purpose is not simply to make the surface shiny. A quality protectant is intended to help reduce the effects of continued environmental exposure.
Meguiar’s Natural Shine Protectant, for example, is designed for plastic, vinyl, and rubber and includes UV blockers intended to defend against fading, cracking, and aging.
The finish you want depends on the vehicle and the location of the trim. Extremely glossy plastic can look unnatural, particularly on factory-textured surfaces. A restrained satin appearance generally looks closer to original equipment.
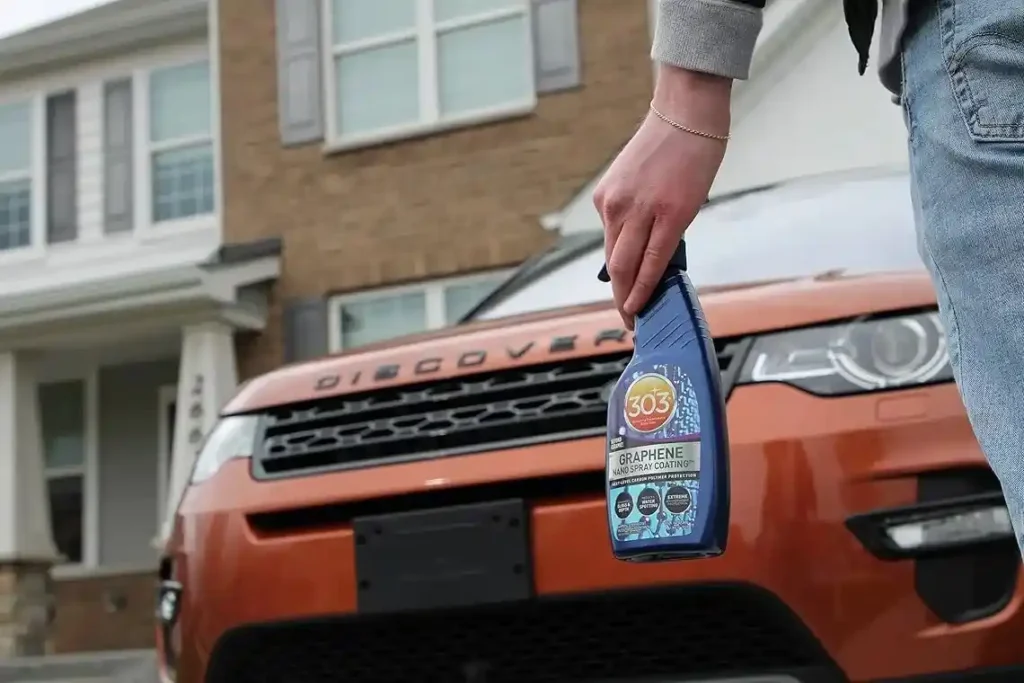
Avoid treating the process like waxing painted bodywork. Plastic often has a different texture and can show streaks or uneven saturation if too much product is used. Apply a small amount, distribute it evenly, and remove excess where necessary.
This method works especially well for vehicles that spend a lot of time outdoors. Regular protection cannot reverse existing deterioration, but it can help preserve the appearance achieved during restoration. Consistency is key. Clean the trim properly before each treatment rather than repeatedly applying fresh dressing over accumulated dirt.
4. Use a Long-Lasting Trim Coating for Severely Faded Plastic
Some plastic has deteriorated beyond what a conventional dressing can convincingly correct. If the surface has become heavily gray or chalky but is still physically intact, a longer-lasting trim coating can be a more appropriate solution.
The difference is how the treatment is designed to remain on the surface. Conventional dressings generally provide an appearance change that gradually diminishes through washing and exposure. Newer restoration coatings are designed to create a more durable layer.
Gtechniq’s guidance on plastic restoration specifically distinguishes conventional dressings from products designed to chemically bond with the plastic surface. Its explanation recommends thoroughly cleaning the trim before applying its permanent trim restorer.
Preparation becomes critical here. Any grease, old dressing, or embedded contamination can interfere with the result. The plastic should be clean and completely dry before application. Mask nearby painted surfaces when appropriate and work methodically on small sections.
A coating can make heavily faded trim appear considerably darker, but expectations should remain realistic. A coating cannot reconstruct plastic that has been physically eroded, cracked, or deeply damaged. It also cannot restore missing texture.
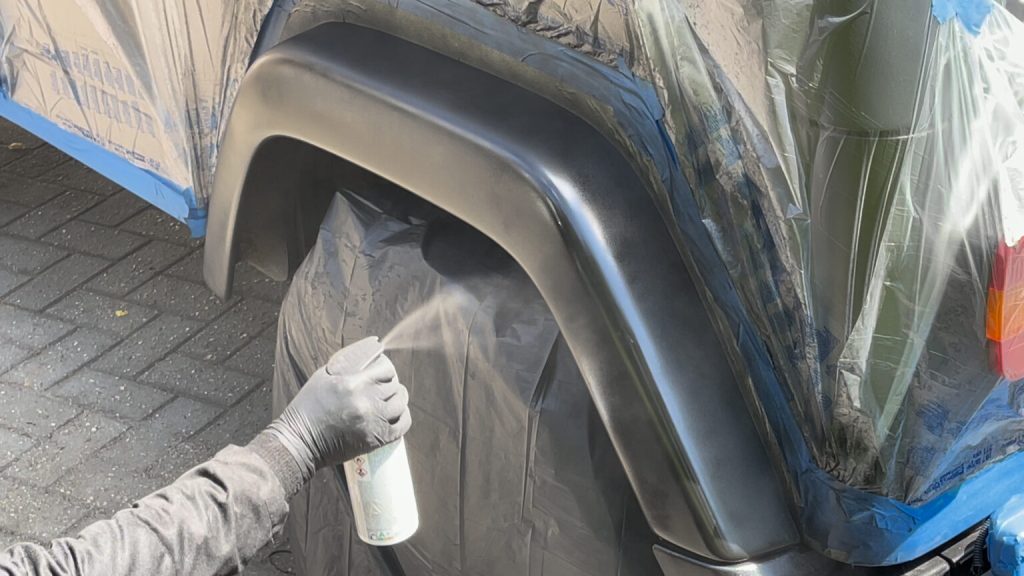
For an older vehicle with extensive exterior plastic, this method can make financial sense because replacing multiple trim pieces can become expensive. The important point is to treat coating application as a restoration job rather than simply wiping on another dressing. Surface preparation determines much of the final appearance.
5. Apply a Ceramic-Based Trim Restorer
Ceramic-based trim products have become another option for owners who want both an improved appearance and longer-lasting protection. These products are designed specifically for exterior unpainted plastic, rather than using a conventional paint ceramic coating without checking compatibility.
Meguiar’s Hybrid Ceramic Trim Restorer uses SiO₂ technology and is intended for exterior plastic, vinyl, and rubber trim. The manufacturer recommends working on a cool, dry surface in the shade, cleaning the trim first and applying the product evenly one section at a time.
This method is useful when the owner wants something between a short-term dressing and a more involved permanent restoration system. The product can darken faded plastic while adding a protective layer designed to withstand washing and exposure.
The application should remain controlled. A quarter-size amount on an applicator is the manufacturer’s suggested starting point for the product referenced above, with excess wiped away after the recommended drying period. Severely oxidized surfaces may benefit from additional applications.
The biggest mistake is treating every ceramic product as interchangeable. Automotive trim varies considerably, and a product intended for painted surfaces should not automatically be assumed to be suitable for textured plastic.
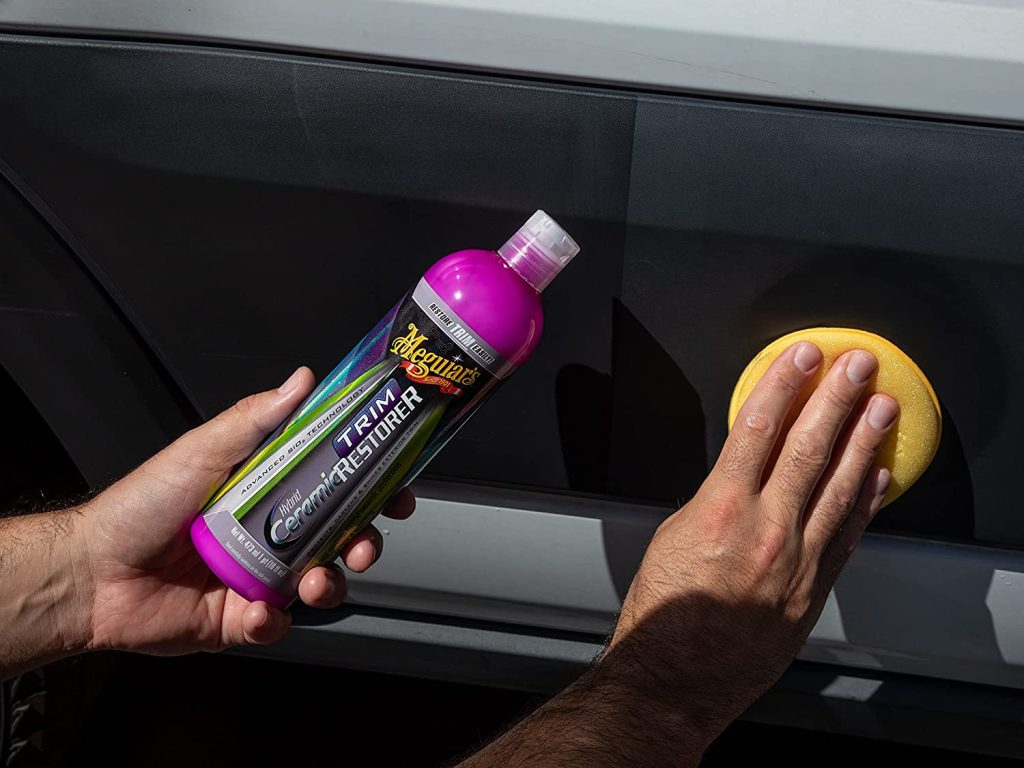
A dedicated trim formulation removes much of that uncertainty. It also allows the owner to target faded black or gray plastic without changing the appearance of nearby painted panels.
For drivers who want restoration and protection in one operation, this can be a practical middle ground.
6. Restore the Trim in Small Sections
Sometimes the problem is not the restoration product but the way it is applied. Trying to cover an entire vehicle’s plastic trim in one operation encourages rushed application, uneven coverage, and missed areas.
Breaking the job into small sections gives you much better control. Choose one bumper section, molding, mirror housing, or cowl area and finish it before moving to the next. This makes it easier to see how much product the plastic actually needs.
It also helps prevent excessive buildup. Textured plastic can trap liquid or dressing in its grooves, leaving certain portions darker than others. Working methodically allows you to spread the product thinly and identify excess before it dries.
Manufacturers commonly recommend controlled application for this reason. Meguiar’s instructions for its Hybrid Ceramic Trim Restorer call for treating one section at a time, while its Heavy Duty Trim Restoration Kit includes an applicator designed to help produce even coverage.
Lighting matters, too. Perform the work in shade or under controlled lighting where possible. Direct sunlight can make the product dry differently and can make it harder to identify streaks while working.
After finishing each section, step back and compare it with untreated plastic. This creates a useful reference point and prevents the common mistake of assuming that more product automatically produces a better result.
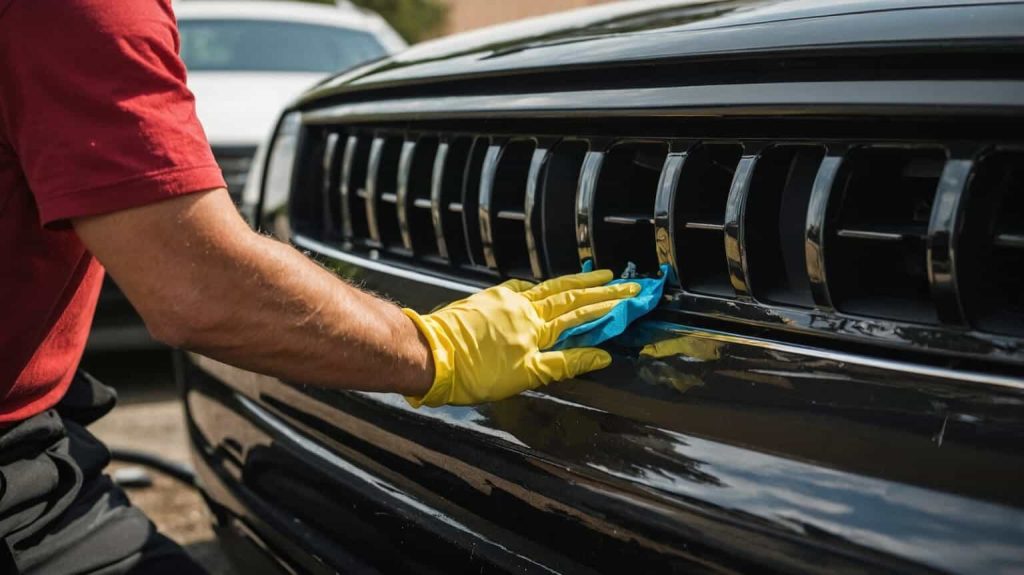
For heavily neglected vehicles, patience is often more valuable than using a stronger chemical. A carefully applied treatment can produce a much more factory-like finish than an aggressive application that leaves the trim excessively glossy.
7. Use a Second Application When the Plastic Is Heavily Oxidized
Not every piece of faded trim will respond fully to one treatment. Severely weathered plastic may absorb or respond unevenly to the first application, leaving lighter patches behind. Instead of immediately switching products, check whether the manufacturer’s instructions permit another application.
Meguiar’s Hybrid Ceramic Trim Restorer specifically notes that severely oxidized surfaces can benefit from two or three applications, with additional applications potentially improving darkness.
That does not mean applying several layers without allowing the first one to dry. The correct interval depends on the product, and instructions should take priority.
A second application can be particularly useful when the first treatment produces an improved but inconsistent appearance. Work only where necessary rather than automatically applying several coats to every piece.
This approach also helps reveal whether the plastic is actually capable of being restored. If repeated applications produce little change, the surface may be too degraded for a conventional restorer. At that point, a longer-lasting coating or replacement may make more sense.
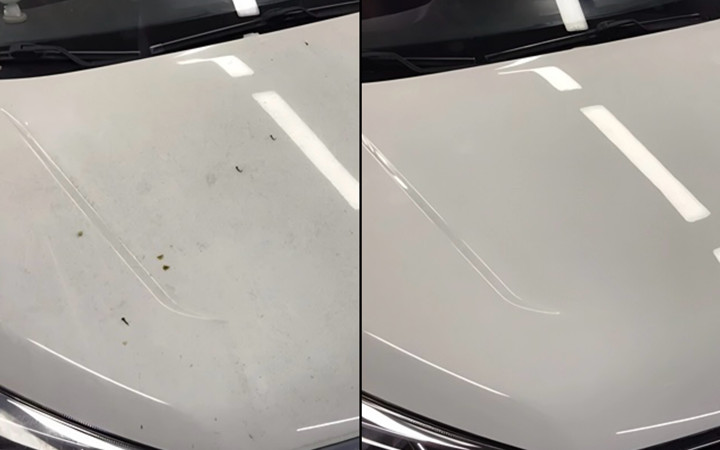
The visual difference should be judged after the product has reached its intended finish. Freshly applied trim can look dramatically darker than it does after drying, so evaluating it too quickly can lead to excessive application.
The goal is not to make old plastic artificially black. A convincing restoration should retain the character and texture of the original material. Controlled additional applications can achieve that without turning the trim into an unnaturally glossy surface.
8. Protect the Trim From Direct Sun Whenever Possible
Even the best restoration treatment has to contend with continued exposure to the environment. Parking habits therefore become an important part of maintaining older plastic.
Whenever practical, parking in a garage, carport, or shaded location reduces the amount of direct sunlight reaching exterior trim. This is particularly useful for vehicles with large areas of black plastic around the bumpers, wheel openings, doors, and windshield.
The reason this matters is simple. UV exposure contributes to fading and aging, while heat and weather can add further stress. Manufacturers of trim-restoration products routinely emphasize UV protection because sunlight plays a major role in the deterioration of exterior plastics.
This method costs nothing and can complement any restoration treatment. It also avoids the temptation to compensate for harsh exposure by repeatedly applying dressing.
Owners who park outside throughout the year should pay particular attention to exposed horizontal surfaces. Windshield cowlings and upper trim can receive substantial environmental exposure, making them frequent candidates for fading.
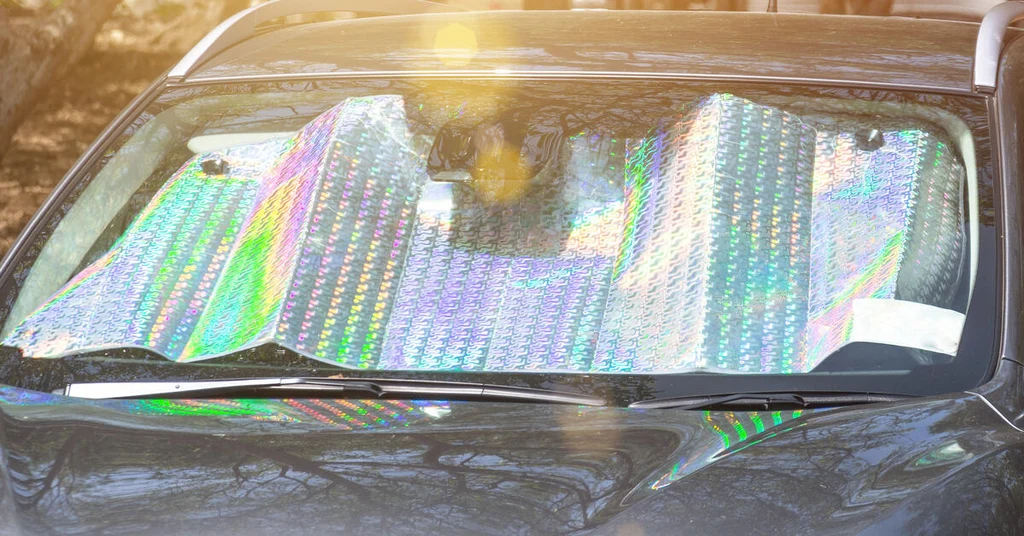
A covered parking space is not a magical solution, but reducing direct exposure can slow the visual aging process. When combined with proper cleaning and a suitable protectant, it gives restored plastic a better chance of retaining its appearance.
For a daily driver, changing where the vehicle is parked may seem insignificant. Over months and years, however, reducing unnecessary sun exposure can be one of the simplest maintenance decisions available.
9. Avoid Greasy Household Products That Only Mask the Problem
A quick search for plastic-restoration tricks can produce numerous household remedies. Some may temporarily darken plastic, but a short-term visual improvement is not necessarily the same thing as proper restoration.
Automotive trim is exposed to rain, washing, road grime, heat, and sunlight. A product that merely makes the surface appear darker can attract dust or leave an oily finish that disappears after washing.
Dedicated automotive products are formulated with these conditions in mind. Meguiar’s, for example, describes its Ultimate Black Plastic Restorer as a non-greasy product designed to dry without streaking, while its Natural Shine Protectant is also marketed as non-greasy.
That distinction matters because a glossy, oily finish can make textured plastic look less like factory trim rather than more like it. It can also create an uneven appearance when different parts of the vehicle receive different amounts of product.
Another concern is compatibility. Household chemicals are not necessarily designed for automotive plastics, rubber seals or adjacent painted surfaces. Without reliable compatibility information, experimenting on visible trim can create a problem that costs more to correct than the original fading.
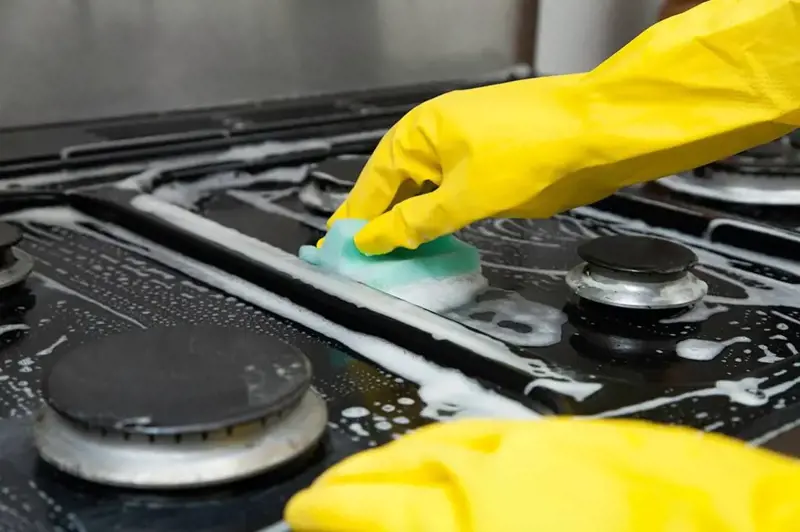
If an inexpensive temporary treatment is being considered, test it on a small, inconspicuous area first. For long-term restoration, however, a product specifically labeled for automotive plastic is the safer route.
The best result is not necessarily the darkest or glossiest one. It is the finish that looks natural, remains consistent after washing and does not leave the vehicle covered in an oily residue.
10. Replace Plastic That Has Actually Deteriorated
Restoration has limits. If plastic trim is cracked, deeply gouged, warped, melted, peeling or structurally damaged, no dressing or coating can truly return it to factory condition.
This is where replacement becomes the correct solution. Cosmetic restoration is effective when the material is still fundamentally intact and the main problem is fading, oxidation or loss of surface appearance. It becomes far less useful when the material itself has failed.
A good inspection should happen before spending money on restoration products. Run your fingers across the surface and look closely at the texture. Deep cracking, missing sections or severe deformation are signs that the problem is physical rather than simply cosmetic.
Even manufacturers describing restoration products place their recommendations around faded or weathered plastic rather than damaged components. Meguiar’s products, for instance, are positioned for exterior plastic, vinyl and rubber trim suffering from fading and aging.
Replacement does not necessarily mean buying a brand-new dealer component. Depending on the vehicle, owners may find good used OEM trim from salvage yards or automotive recyclers. The important factor is matching the correct part and condition.
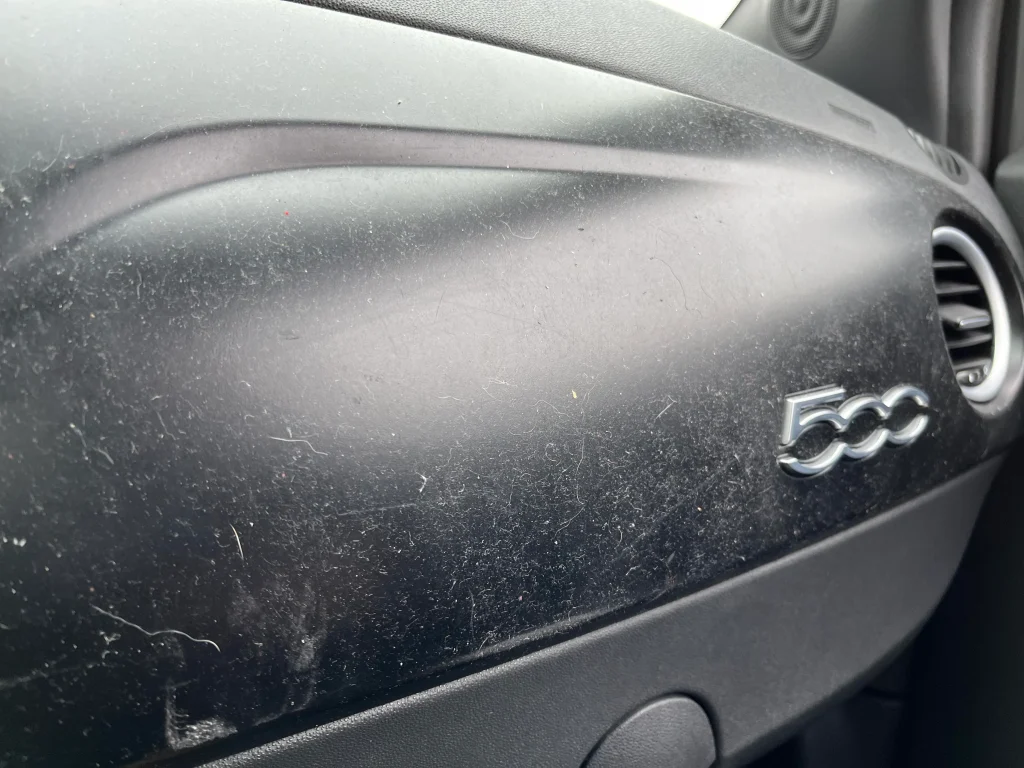
For valuable or enthusiast vehicles, original equipment replacement can also preserve the factory appearance better than repeatedly coating severely damaged plastic.
The smartest restoration is therefore not always another application. Sometimes recognizing that a component has reached the end of its useful cosmetic life saves time, money and frustration. Once replacement trim is installed, regular cleaning and UV protection can help keep it from reaching the same condition again.