
A rattling dashboard can turn an otherwise quiet drive into a constant source of irritation. The difficult part is that the sound rarely identifies its own location. A loose trim clip, mounting fastener, wiring harness, glove box, instrument cluster, HVAC component, or even a panel touching another surface can produce a similar noise.
Manufacturer service information shows that technicians often reproduce the sound first, then isolate the exact component before attempting a repair.
The good news is that many dashboard rattles come from relatively simple fitment or fastening problems. A systematic approach can save unnecessary parts replacement and prevent a small interior noise from becoming a much larger repair.
1. Reproduce the Rattle on the Same Road Where You Hear It
The first mistake many owners make is attacking the dashboard while the vehicle is parked and silent. A rattle that appears only over patched pavement, expansion joints, or rough asphalt can be extremely difficult to identify in a driveway.
Manufacturer diagnostic procedures specifically recommend reproducing the complaint under the conditions that cause it, sometimes using different road surfaces during a controlled road test.
Pay attention to exactly when the sound appears. Does it happen when the vehicle hits a sharp bump, when the body moves over an uneven surface, or when the engine reaches a particular RPM? Does turning the steering wheel change it? Does switching the climate-control system on or off make a difference? Those details can dramatically narrow the search.
Try to identify the character of the noise as well. A light plastic buzz may point toward trim, while a heavier knock can suggest a loose mounting point or component behind the panel. A high-pitched chirp can indicate two surfaces rubbing rather than a loose part.

If possible, have a passenger listen while you drive. The passenger can safely apply light pressure to accessible trim while you concentrate on driving. Service guidance also recommends using controlled pressure on suspected areas to see whether the noise changes or disappears.
The goal is not to repair anything yet. It is to establish a repeatable symptom. Once you know exactly when the rattle occurs, finding its source becomes considerably easier.
2. Press on Dashboard Panels to Find a Loose Contact Point
A dashboard contains numerous panels, seams, mounting points, clips, and interfaces. When one component develops a small amount of movement, road vibration can turn that clearance into an annoying rattle.
Manufacturer diagnostic guidance recommends closely inspecting dashboard mounting points and using controlled pressure to determine whether the noise changes.
With the vehicle stationary, gently press around the area where you believe the sound originates. Do not strike the dashboard aggressively. Instead, apply moderate pressure to individual panels, especially around seams, the instrument cluster, speaker grilles, trim surrounding the windshield, and the edges of the instrument panel.
If pressing a particular section stops the noise during a controlled test, you have gained an important clue. The problem may involve a loose retaining clip, a panel that has shifted, or two surfaces making contact.
Service information identifies loose retaining clips and incorrect or loose fasteners as common causes of interior noise. A damaged mounting hole can also allow a panel to move even when its fastener appears to be installed correctly.
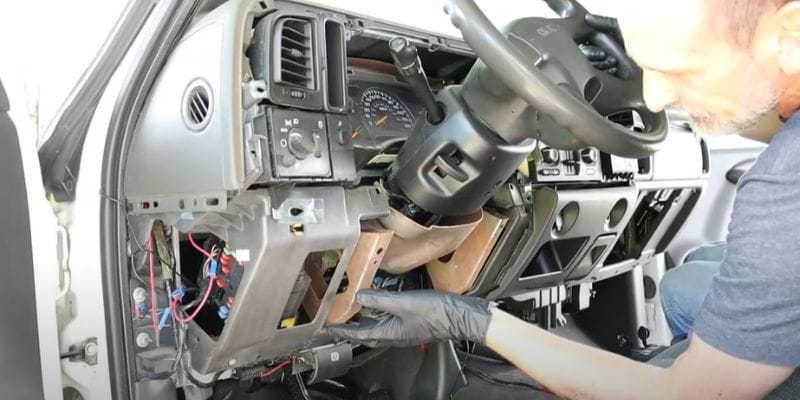
Do not assume that tightening every visible screw is the solution. Dashboard assemblies are engineered with specific attachment points, and overtightening plastic components can damage them. If you find a loose fastener, check whether the surrounding plastic is cracked or distorted before tightening it.
This method works best when combined with the road test from the first step. A panel that feels solid while parked may still move when the vehicle experiences body flex. The more precisely you can reproduce the noise, the less likely you are to replace parts unnecessarily.
3. Inspect and Replace Broken or Missing Trim Clips
Plastic retaining clips are small components, but they can have a major effect on interior noise. A dashboard panel can appear properly positioned while still having enough movement to buzz against another piece. Manufacturer noise-diagnosis material specifically identifies broken, incorrect, or loose retaining clips as causes of interior noise.
Begin by examining the trim around the suspected rattle. Look for gaps that appear wider on one side, panels that can be moved by hand, or sections that sit lower or higher than adjacent pieces. A missing clip can leave a surprisingly small visual difference while allowing enough movement to create noise over rough pavement.
If a panel must be removed, use the correct trim-removal technique for that vehicle. Pulling aggressively in the wrong direction can break mounting tabs or damage the panel itself. Once removed, inspect every retaining point rather than replacing only the clip that appears obviously damaged.
Replacement clips should match the original design. Service guidance notes that retaining clips can differ in diameter, grip length, and mounting characteristics depending on the panel and attachment point. A generic clip that looks similar may not hold the panel correctly.
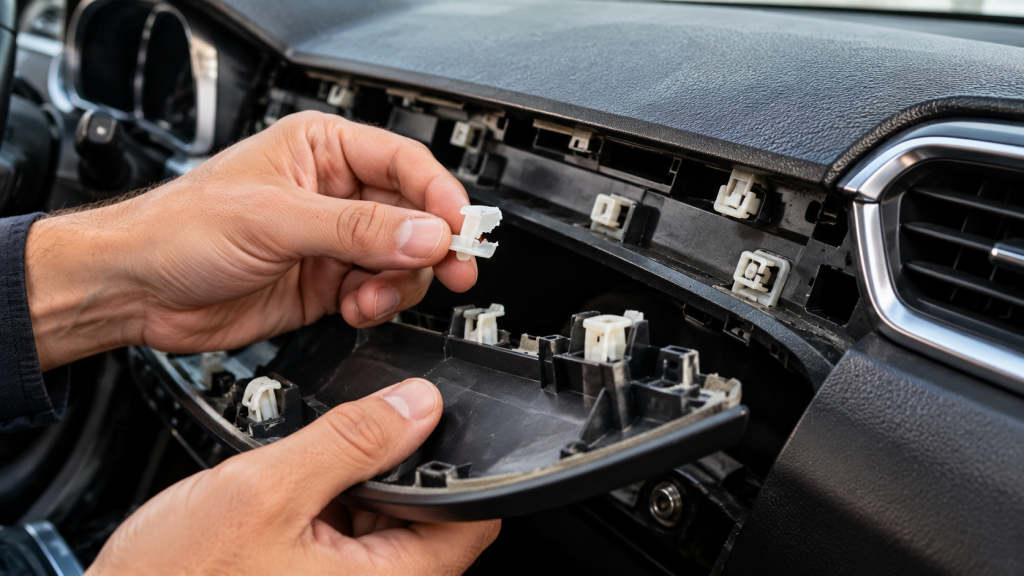
There is another reason to inspect the mounting hole itself. If the plastic surrounding the hole has cracked, installing a new clip alone may not eliminate the movement. In that situation, the underlying mounting point may need repair or the affected component may require replacement.
This is one of the more practical dashboard-rattle repairs because the fault is often straightforward once the panel is accessible. The important part is resisting the temptation to force everything back into place. Correct fitment matters just as much as the replacement clip.
4. Check Dashboard Bolts and Mounting Fasteners
Not every dashboard rattle comes from plastic trim. Some are caused by hardware that has loosened, been incorrectly installed, or been damaged during previous repairs. Manufacturer noise-diagnosis documentation specifically identifies loose mounting fasteners, incorrectly tightened hardware, and cross-threaded fasteners as potential sources of interior rattles.
This becomes particularly relevant on vehicles that have previously had dashboard work. Radio replacements, windshield work, instrument-cluster repairs, HVAC repairs, wiring modifications, and collision repairs can require portions of the interior to be removed.
A missing fastener or improperly secured mounting point can remain unnoticed until road vibration exposes the problem.
If you can access a suspected fastener safely, inspect it rather than immediately applying maximum tightening force. A loose bolt may simply need to be secured to the manufacturer’s specified torque. A cross-threaded fastener, however, can remain loose even when it feels difficult to turn.
The distinction matters because excessive force can damage plastic mounting points or create new problems. Service documentation notes that a cross-threaded fastener can cause a washer or other hardware to rattle against surrounding components.
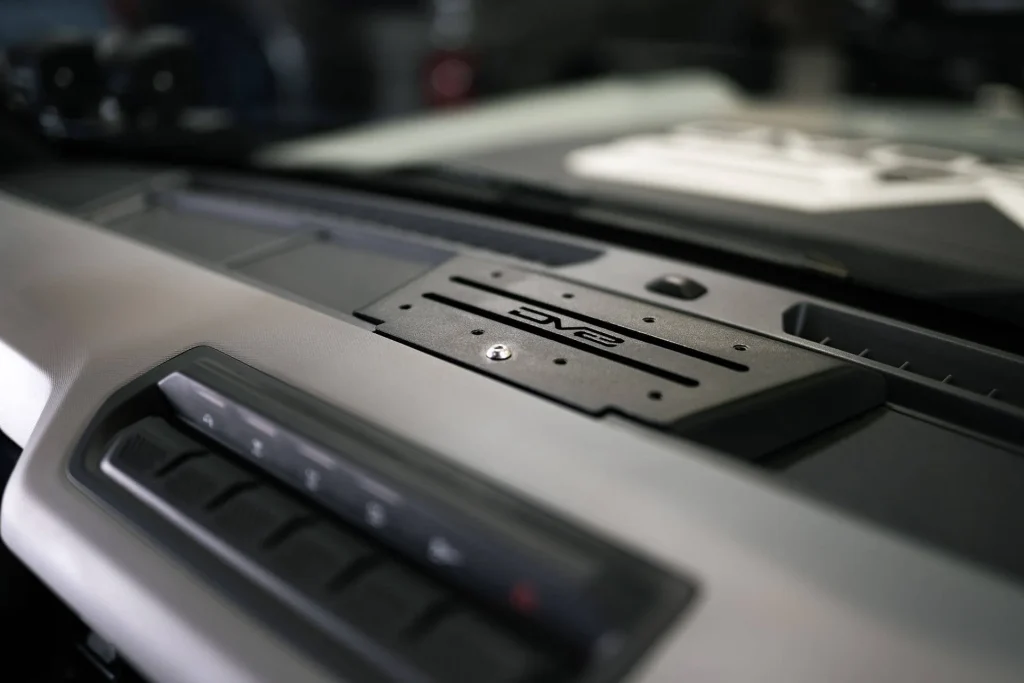
Look for cracked mounting ears, damaged threads, missing washers, or hardware that does not match the surrounding fasteners. These clues can reveal whether the problem is the fastener itself or the component it is supposed to secure.
If the dashboard has recently been removed or partially disassembled, move this inspection higher on the priority list. Previous repair work does not automatically mean the technician caused the rattle, but it provides a logical reason to inspect recently disturbed areas before dismantling unrelated components.
5. Add Proper Foam or Felt Between Contacting Trim
Sometimes nothing is actually loose. Two correctly installed interior components can simply contact each other in a way that produces a squeak, buzz, or rattle as the vehicle moves. In these situations, a suitable damping material can separate the surfaces and stop the noise.
Manufacturer service information recognizes clearance and contact issues as causes of interior noise and describes insulation between contacting components as one possible repair approach.
The important word is suitable. Automotive-grade felt tape, foam tape, or purpose-designed anti-rattle material can provide a controlled barrier between surfaces. The material should not interfere with clips, fasteners, electrical components, airbags, ventilation passages, or moving mechanisms.
Before applying anything, identify exactly where the contact occurs. Adding padding everywhere may temporarily make the dashboard quieter, but it can also make future service unnecessarily difficult. A small piece positioned at the correct contact point is usually preferable to covering an entire panel.
Avoid improvising with materials that can deteriorate, shed particles, retain moisture, or interfere with safety equipment. Interior panels can sit close to wiring, air ducts, and restraint-system components. NHTSA regulations and guidance also emphasize preserving the operation of safety-related equipment when repairs are performed.
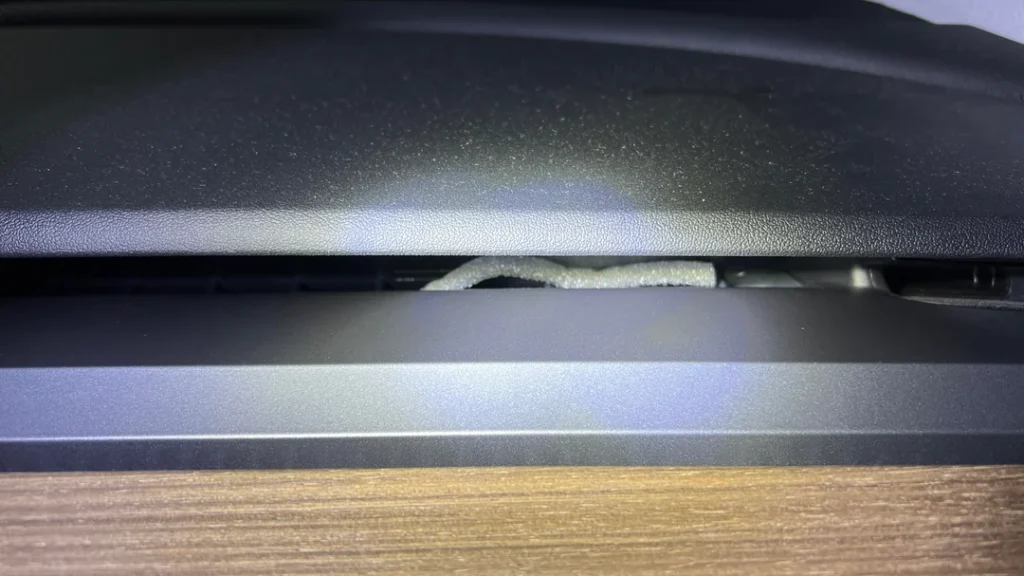
This repair is especially useful for noises that change when you press two adjacent dashboard sections together. If the sound disappears under pressure, the two components may be moving relative to one another.
The objective is not to make the dashboard rigid at every point. Interior assemblies need carefully controlled movement and clearance. The right damping material simply prevents unwanted vibration between surfaces that should not be making noise.
6. Inspect the Glove Box and Its Mounting Points
The glove box is easy to overlook because it is technically part of the dashboard but operates differently from fixed trim. It opens, closes, latches, and moves on hinges or guides, giving it several opportunities to develop a rattle.
Manufacturer diagnostic guidance specifically recommends checking the glove box when dashboard noise is suspected. A technician can attempt to reproduce the noise by applying pressure to the glove box and comparing the result with the sound heard during a road test.
Start by emptying the compartment. Items such as pens, charging cables, sunglasses, coins, tools, and loose paperwork can imitate a mechanical rattle. Once everything has been removed, drive over the same road that normally produces the sound.
If the noise remains, gently press on the glove-box door while the vehicle is stationary and during a safe diagnostic test. A change in the sound can point toward the door, latch, hinges, or surrounding trim.
The latch is worth particular attention. A door that closes but has excessive movement can vibrate against the dashboard structure. Depending on the vehicle, adjustment may be possible, although the correct procedure varies by design.
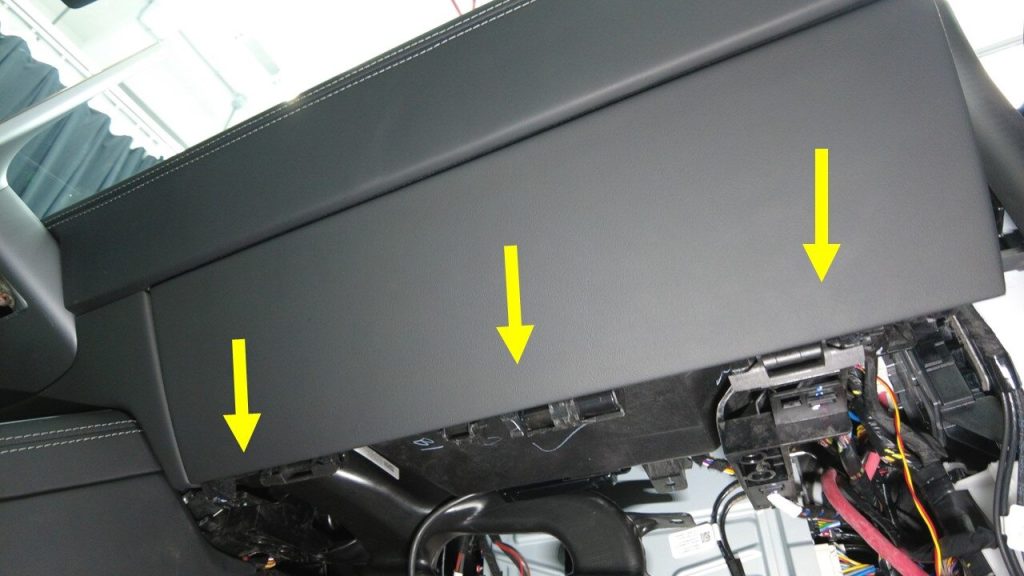
Do not assume the glove box itself is the source simply because the noise appears to come from the passenger side. Dashboard structures can transmit vibrations, making a sound appear to originate several inches away from its true source. Service guidance warns that noises can travel through interconnected dashboard assemblies.
That is why isolation is more useful than guesswork. Empty the compartment, reproduce the noise, apply controlled pressure, and inspect the mounting points. A problem that sounds mysterious can sometimes turn out to be nothing more than a slightly loose glove-box assembly.
7. Check the Instrument Cluster and Surrounding Trim
The instrument cluster sits in one of the most vibration-sensitive areas of the dashboard. It also has multiple surrounding trim pieces, electrical connections, mounting points, and interfaces with the upper dashboard. A small amount of movement can therefore create a noticeable buzz directly in front of the driver.
Manufacturer diagnostic procedures recommend checking the combination-meter area for poor fit, gaps, loose components, and contact problems. They also describe applying controlled pressure to the gauge assembly and surrounding dashboard to see whether the sound changes.
Begin without removing anything. With the vehicle stationary, gently press the trim surrounding the cluster. Listen for changes in the sound or feel for movement that should not be present. Compare the driver’s side with the passenger side where practical, because an uneven gap can reveal a displaced panel.
If the cluster has recently been serviced, that history becomes important. Previous removal can disturb clips or mounting hardware. A panel that was reinstalled slightly out of position may contact another surface and generate noise only when the vehicle is moving.
Do not remove the instrument cluster simply because you suspect it. Modern vehicles can contain sensitive electronics, and procedures for disconnecting components vary. If removal is necessary, follow the vehicle’s service procedure.

This is also an area where a dashboard rattle should not be confused with an electrical problem. A buzzing sound near the gauges may originate from physical trim movement rather than the instrument electronics themselves.
A careful pressure test can therefore save substantial time. If the noise disappears when the cluster trim is held firmly, concentrate on its mounting points and contact surfaces rather than immediately investigating unrelated components behind the dashboard.
8. Look for Wiring, Ducts, or Components Moving Behind the Dashboard
A dashboard can sound solid from the outside while something hidden behind it is vibrating. Wiring harnesses, ducts, hoses, brackets, insulation, and electronic modules occupy the space behind the visible trim. If one of these components loses its intended restraint, it can strike another surface whenever the vehicle encounters bumps.
Manufacturer noise-diagnosis guidance specifically recommends checking hidden components after trim has been removed. It notes that wires and tubes inside structural areas can rattle and that suitable foam or material can sometimes be used to hold them in place. It also warns against using expanding foam as a general solution.
That warning is important. Expanding foam may spread into areas where it does not belong and can create additional problems. It also makes later repairs more difficult. A controlled piece of appropriate insulation is a much more sensible solution when the service procedure calls for it.
The first step is still isolation. Do not dismantle the dashboard simply because the sound seems to come from behind it. Establish that the noise remains after accessible trim has been checked.
If a professional technician removes a panel, they can often reproduce the sound while lightly applying pressure to suspected wiring or ducting. A component that stops moving when restrained is a strong candidate.
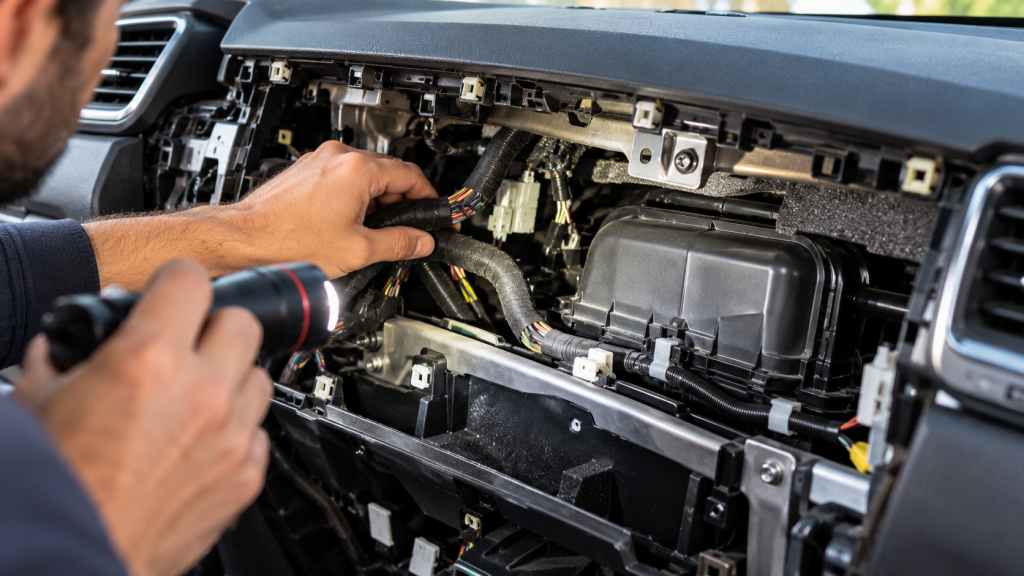
Electrical wiring deserves additional care. Never pull, disconnect, or reposition connectors casually, particularly around airbag systems or other safety equipment. NHTSA emphasizes that repairs must not knowingly compromise federally required safety equipment.
For difficult rattles, this is one of the areas where professional diagnosis can be worthwhile. The noise may be simple, but reaching its source can require removing several dashboard components without damaging them.
9. Inspect HVAC and Air-Duct Areas When the Noise Changes With Temperature
A dashboard rattle that appears only when the climate-control system is running deserves a different diagnostic approach. Heating and cooling change the temperature of interior components, while blower operation introduces vibration and airflow.
Ducts, vents, panels, and surrounding materials can therefore behave differently depending on operating conditions.
Manufacturer diagnostic guidance specifically recommends considering interior temperature and HVAC operating mode when investigating dashboard noises. This makes the pattern itself useful evidence.
Pay attention to whether the rattle begins when the blower is switched on, changes with fan speed, or disappears when airflow is redirected. A noise that follows blower speed is fundamentally different from one that appears only when the vehicle crosses bumps.
Vents deserve a simple inspection. Loose vent louvers or surrounding trim can vibrate at particular airflow settings. The same applies to panels around climate-control openings. If the sound changes when a vent is gently held, that can help identify the location.
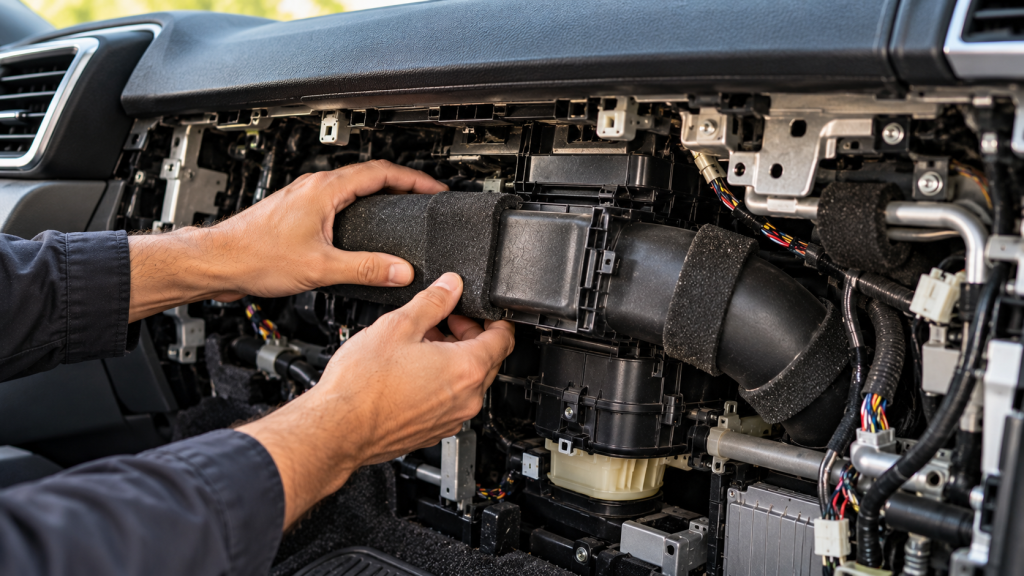
The HVAC housing and ductwork are more complicated. Access may require removing trim, the glove box, or other components. Because dashboard systems vary substantially between vehicles, the correct disassembly procedure should come from the manufacturer’s service information rather than a generic technique.
Do not block an airbag deployment path with foam, tape, or other material simply to eliminate a noise. NHTSA regulations place specific requirements on vehicle safety systems, and repairs should not compromise their operation.
Temperature-related noises can be especially frustrating because they may disappear before you reach a repair shop. Recording when the sound occurs, the outside temperature, HVAC setting, and road conditions can give a technician much better information than simply saying the dashboard rattles.
10. Get a Professional Diagnosis When the Rattle Is Behind Safety Equipment
Some dashboard rattles are excellent candidates for careful DIY inspection. Others are not worth chasing yourself, particularly when the suspected source sits behind an airbag, deep inside the instrument panel, or near complicated electrical equipment.
The reason is not simply convenience. Modern dashboards integrate restraint systems, wiring, electronics, ventilation, displays, and structural components. A seemingly harmless trim repair can become a safety problem if an airbag module, wiring connector, or deployment path is disturbed incorrectly.
NHTSA’s repair guidance makes clear that repairs should not knowingly make required safety equipment inoperative. Manufacturer technical information also shows that dashboard rattle diagnosis can involve removing trim, checking mounting points, identifying detached components, and following specific repair procedures.
Professional diagnosis is particularly sensible when the noise is accompanied by an airbag warning light, electrical symptoms, unusual steering-column noises, or evidence that the dashboard has been damaged in a collision.

It is also worthwhile when previous repairs have left the interior partially disassembled. A technician with access to the vehicle’s service information can identify the correct clips, fasteners, torque specifications, and removal procedures rather than relying on trial and error.
Before the appointment, provide useful information. Tell the technician the road surface that triggers the sound, whether the vehicle must be cold or warm, whether the HVAC system changes it, and where you hear it from the driver’s seat. A short recording can also help if the noise is intermittent.
A dashboard rattle is rarely worth tolerating indefinitely, but it is also rarely worth dismantling an entire interior without a plan. Accurate diagnosis is the fastest route to a quiet cabin and a repair that does not create a second problem.