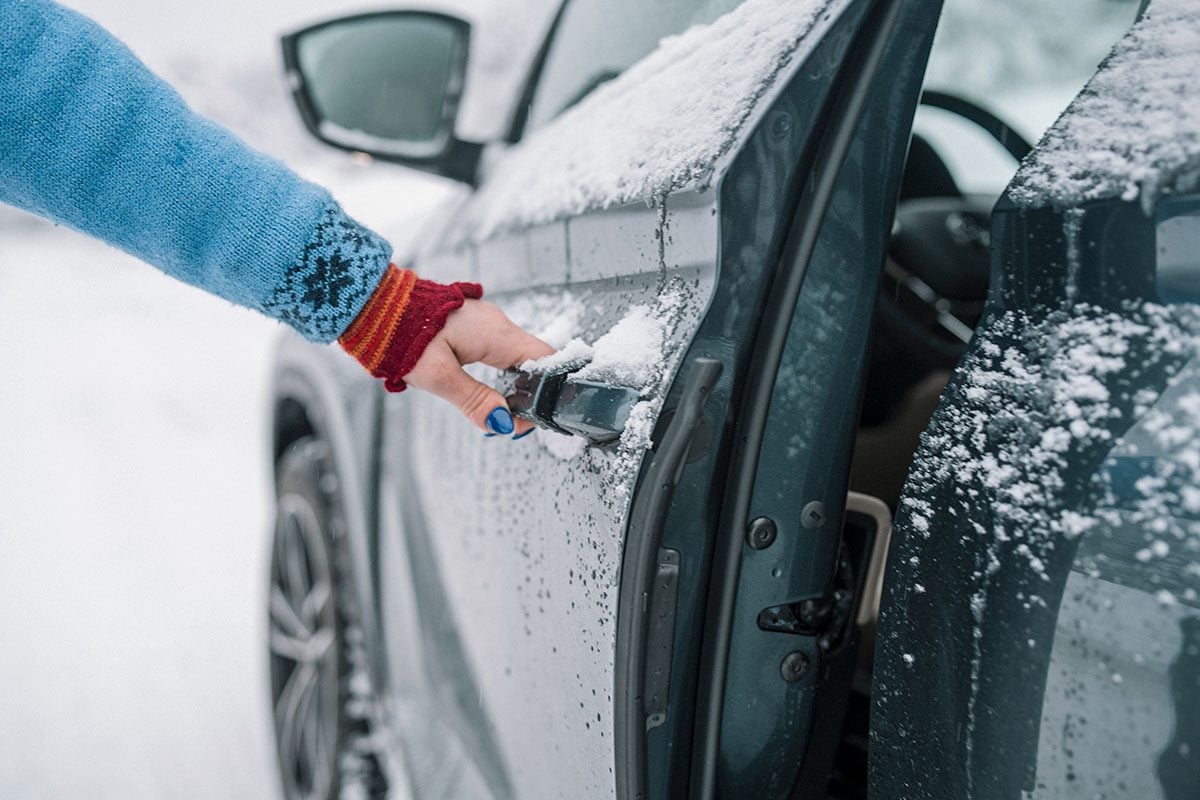
A car door that refuses to latch in freezing weather is more than an annoyance. A frozen latch, ice around the weather seal, moisture inside the mechanism, or stiffened components can prevent the door from securing properly.
Driving with a door that is not fully latched is unsafe, so the problem needs to be addressed before moving the vehicle. The good news is that many cold-weather latch problems are caused by moisture and ice rather than a major mechanical failure.
These fixes focus on thawing the affected areas, removing moisture, using appropriate lubricants, and checking the latch itself. They also avoid forcing frozen components, which can turn a simple winter problem into an expensive repair.
1. Warm the Door and Latch Before Forcing It
The first thing to do when a door will not latch in freezing weather is to resist the temptation to slam it harder. If ice has formed inside or around the latch, additional force may not solve the problem and can damage the handle, latch mechanism, weather seal, or surrounding trim.
AAA specifically advises drivers not to use excessive force when dealing with frozen vehicle doors. Ice can form around the door edges and rubber seals, effectively bonding the door to the body. The latch itself can also freeze when moisture reaches the mechanism.
If the door is already open but refuses to latch, warming the affected area is often the safest starting point. If the vehicle can be moved into a heated garage, allow enough time for the door and latch to warm naturally.
If that is not possible, starting the vehicle and allowing the cabin and surrounding structure to warm can help, provided the vehicle is outdoors and operated safely.
Do not expect the cabin heater to thaw an exterior latch immediately. The mechanism may remain cold even after the interior becomes comfortable.
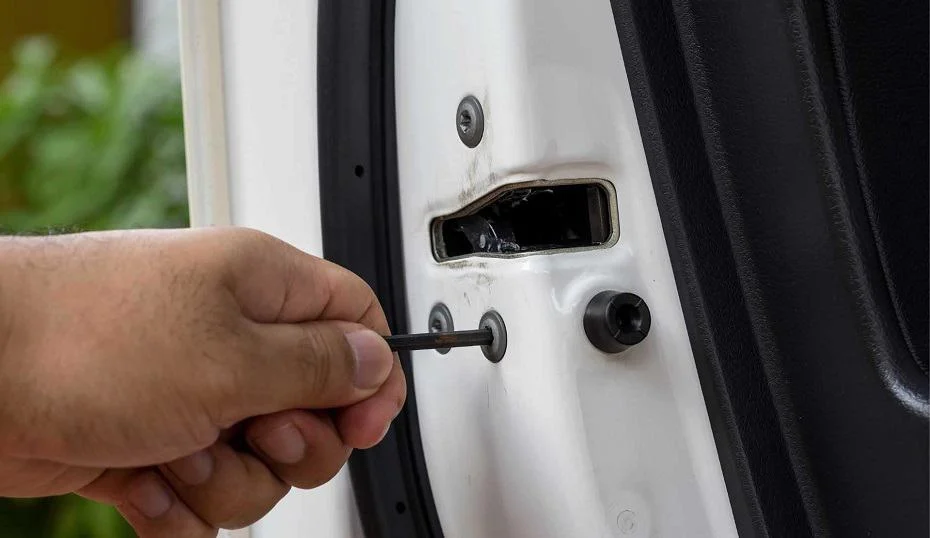
Once the ice has softened, operate the latch gently several times and check whether it returns to its normal position. If it does, close the door without slamming it and verify that it has fully engaged.
If the latch still refuses to catch after thawing, the problem may involve a mechanical fault rather than simple freezing.
2. Remove Ice From Around the Door Seal
Sometimes the latch is functioning correctly, but the door cannot close far enough because ice has formed along the rubber weather seal. Even a relatively thin layer can prevent the door from reaching its normal closed position.
AAA recommends addressing frozen door seals by removing the ice carefully rather than pulling aggressively on the door. The organization also recommends wiping moisture from the seals and applying silicone to help prevent future freezing.
Start by inspecting the entire perimeter of the affected door. Look at the upper frame, sides, and lower edge rather than concentrating only on the latch. Ice can be difficult to see when it is thin, particularly around black rubber seals.
Use your hands or a suitable soft cloth to remove loose ice. A plastic ice scraper can also be useful around areas where it is safe to use one, but avoid attacking rubber seals with sharp tools. The objective is to remove the frozen moisture without cutting, tearing or pulling the weatherstrip away from its mounting.
If the door opens but will not close, check whether the seal is visibly folded or displaced. A seal that has been pulled out of position can also interfere with proper door closure.
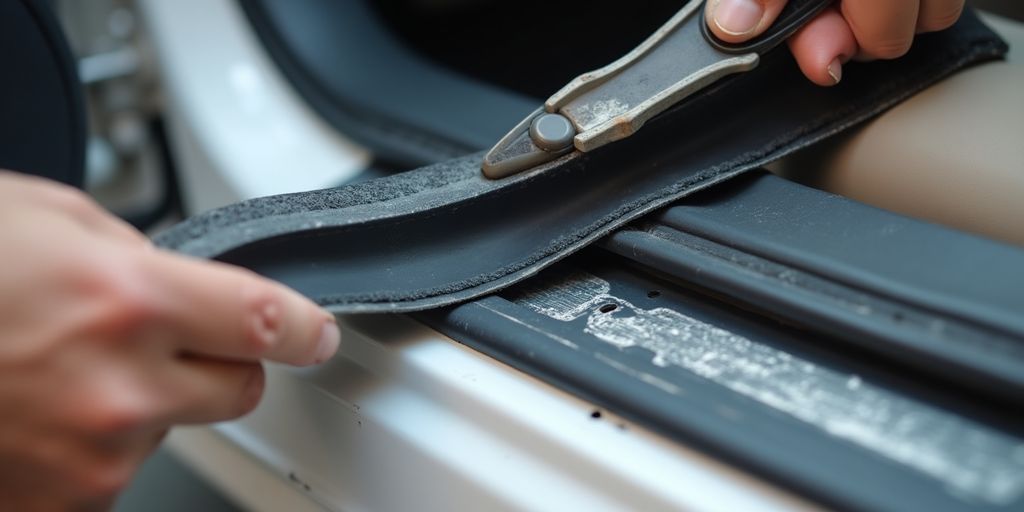
After the ice has been removed, dry the rubber thoroughly. Leaving moisture on the seal can allow the same problem to return when temperatures fall again.
This is especially important after washing the vehicle immediately before a freeze. Water trapped around seals can freeze overnight and create exactly the type of door problem drivers notice the next morning.
3. Apply Silicone to Dry Door Seals
Once the weather seals are clean and dry, a silicone-based product can help reduce the likelihood of them freezing against the body. AAA specifically recommends silicone treatment for door gaskets as part of winter preparation.
The important part is applying it correctly. Do not simply spray a large amount onto every visible surface and walk away. Excess product can collect dirt and make the surrounding area messy. A better approach is to apply an appropriate automotive silicone product to a clean cloth and wipe a thin, even coating onto the rubber sealing surfaces.
The seal should be clean first. If road grime, salt, or old residue is present, clean the rubber and allow it to dry before treatment. The goal is to reduce moisture adhesion and help the rubber remain flexible in cold conditions.
This method addresses one specific cause of a door that appears unable to latch. If the rubber seal is frozen between the door and body, the latch may never reach the position required to engage properly. Once the seal releases, the door may immediately return to normal operation.
Silicone treatment is preventive rather than a guaranteed repair. It cannot fix a broken latch, damaged weatherstrip, or misaligned door.
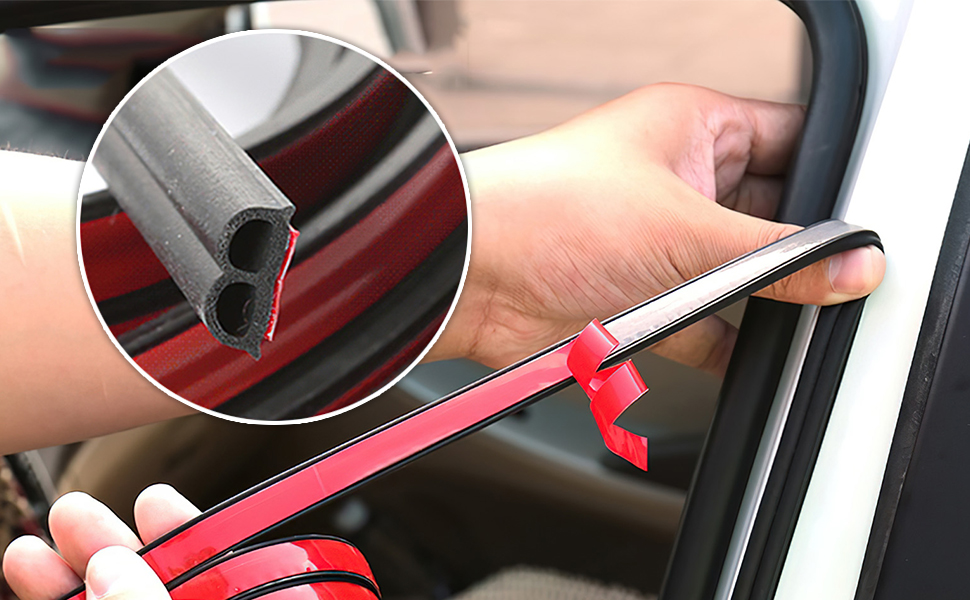
It is also worth inspecting the seal while applying the product. Cracks, tears, sections pulling away from the body, or severely compressed rubber may indicate that replacement is needed.
If the seal is physically damaged, lubrication will not restore its original shape. Replacing a deteriorated seal can be a more permanent solution than repeatedly treating it.
4. Use an Automotive De-Icer on Frozen Areas
A proper automotive de-icer can be useful when ice is preventing a door from operating normally. AAA recommends keeping de-icer available for frozen locks and doors, particularly during winter weather.
The key is applying the product to the area that is actually frozen. If ice is surrounding the exterior portion of the latch or has accumulated around the door edge, carefully applying a suitable de-icing product can help soften it.
Follow the product’s instructions and avoid flooding areas with unnecessary liquid. After the ice has loosened, wipe away the remaining moisture where practical.
De-icer is particularly useful because it can work without requiring the driver to apply significant physical force. That matters when dealing with plastic handles, delicate weatherstrips, and modern door mechanisms.
However, a de-icer should not be treated as a universal solution for every latch problem. If the latch remains stuck after the ice has disappeared, there may be a mechanical problem inside the mechanism.
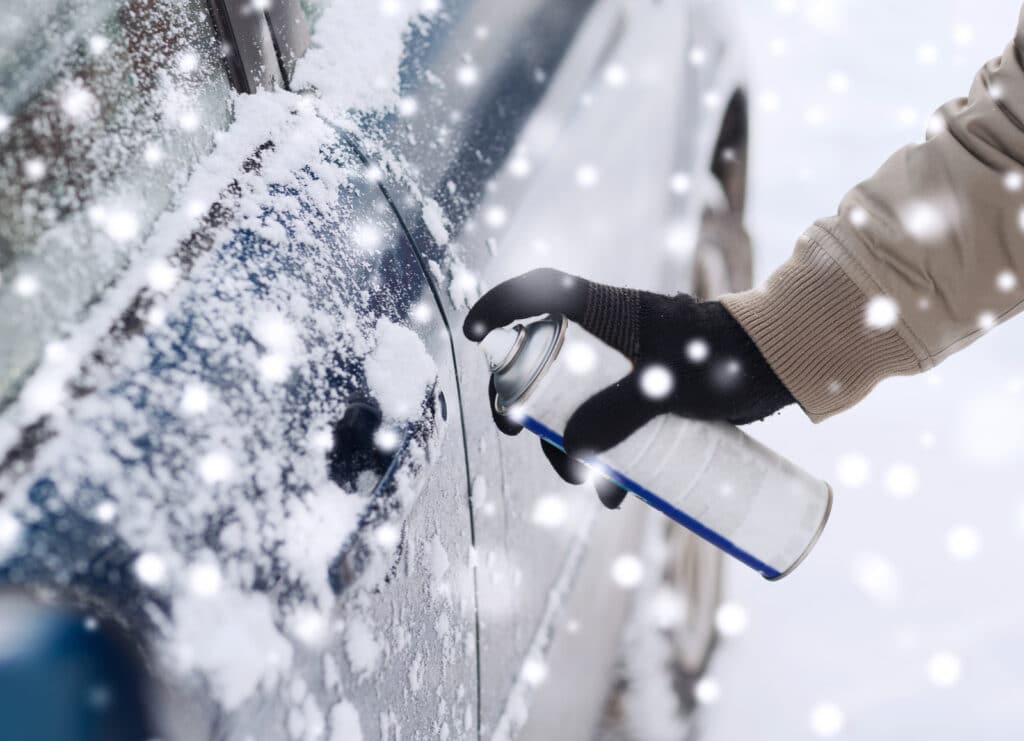
Do not substitute boiling water for a commercial de-icer. AAA specifically warns against pouring hot water onto frozen vehicle doors and locks. Hot water can rapidly thaw ice, but it can also introduce additional moisture that freezes again when the temperature drops. It can also create other problems if it contacts cold glass.
A small container of suitable de-icer kept somewhere outside the locked vehicle is therefore a useful winter precaution. Keeping it inside the car does little good when the frozen door is the reason you cannot get inside.
5. Lubricate the Latch With the Correct Product
A latch that moves sluggishly in cold weather may need lubrication, particularly if moisture, dirt, or old lubricant has accumulated inside the mechanism. AAA’s winter guidance recommends lubricating door hinges and latches with white lithium grease and treating locks with an appropriate lubricant.
Before applying anything, inspect the latch. If you can see ice, remove or thaw it first. Lubricating over a solid block of ice is unlikely to solve the immediate problem.
Once the mechanism is dry and free of visible ice, apply a small amount of lubricant intended for automotive latch mechanisms. White lithium grease is specifically recommended by AAA for hinges and latches. Work the latch gently after application so the lubricant can distribute through the moving contact points.
Do not assume that every lubricant is suitable for every component. A door latch, lock cylinder, rubber seal, and electronic actuator have different requirements. Using an inappropriate product can attract dirt or potentially affect rubber and plastic components.
If the latch moves freely after lubrication and the door begins closing normally, the problem may have been caused by stiffness or contamination rather than a failed component.
A latch that remains mechanically loose, fails to return to its normal position or refuses to engage even after thawing should be inspected professionally.
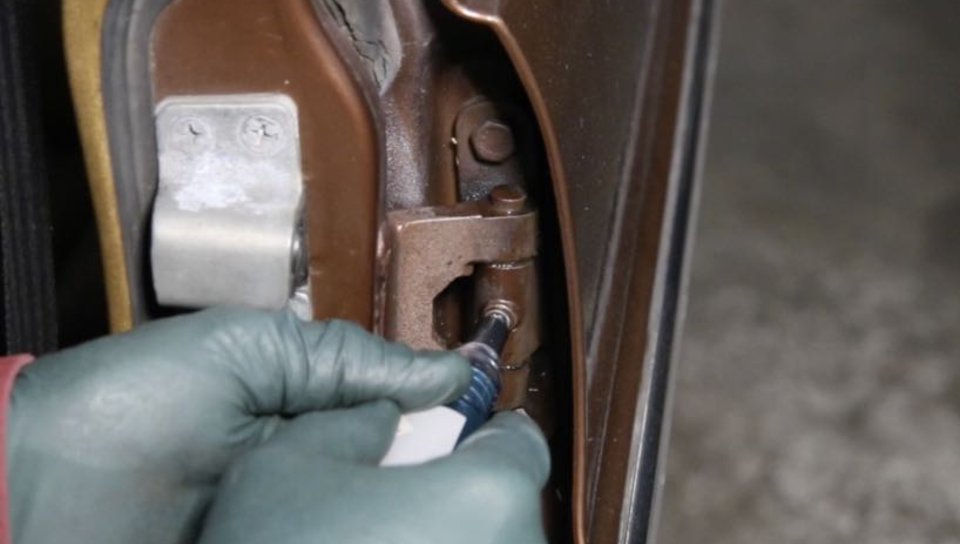
Regular winter maintenance can also help. Removing dirt and road salt from exposed latch areas and keeping the mechanism appropriately lubricated can reduce the chance of moisture becoming trapped inside.
The goal is not to coat the entire mechanism heavily. A small, correctly placed amount of suitable lubricant is preferable to excessive product.
6. Gently Press the Door In Before Pulling It Open
If the door is frozen shut rather than simply refusing to latch, changing the direction of force can sometimes help. AAA recommends gently pressing inward on a frozen door before pulling it open. This can help break the ice bond between the seal and the vehicle body without putting excessive stress on the handle.
The technique matters. The pressure should be firm but controlled. Do not throw your body weight against the door or repeatedly yank the handle.
Pressing inward can compress or break small areas of ice around the seal, allowing the rubber to separate from the body. Once the bond is released, the door can often be opened normally.
This method is particularly useful when the lock has already been unlocked, and the handle moves normally, but the door itself remains stuck. It does not address a frozen latch that is preventing an already-open door from closing, so identifying the problem first is important.
If the door opens but then refuses to latch, inspect the latch mechanism and door edge instead of repeatedly pushing and pulling the entire door.
After opening a frozen door, inspect the weather seal before closing it again. Pieces of ice can remain attached to the rubber and prevent proper closure.
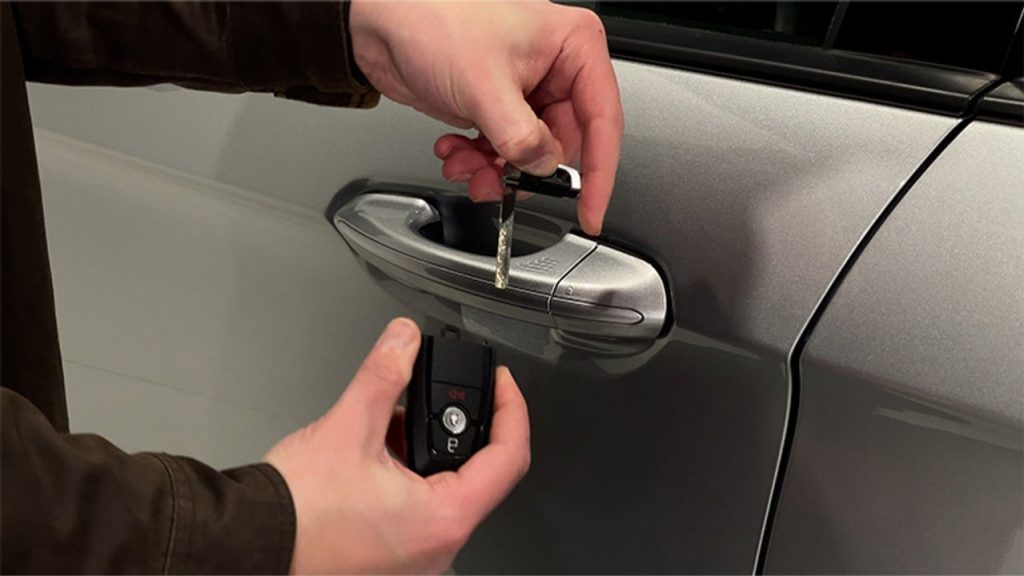
AAA also recommends trying another door or the hatch if the vehicle has one when the primary door is frozen shut. Getting inside allows the vehicle’s heating system to assist with thawing, although the engine should only be run outdoors or in an appropriately ventilated environment.
The basic rule is straightforward. Apply gentle pressure to loosen the ice, since pulling too hard can turn a frozen door into a damaged one.
7. Dry the Latch After Washing the Vehicle
A winter door problem can begin hours before the latch actually freezes. Washing a vehicle and then exposing it to freezing temperatures can leave water around door seals, locks and latch mechanisms. When that moisture freezes, the door may become difficult to open or close.
AAA has specifically warned that lingering water after washing can freeze in vehicle locking mechanisms and make doors difficult to operate. That makes drying part of the solution, not merely a cosmetic step.
After washing the vehicle when freezing temperatures are expected, pay particular attention to the door edges, rubber seals and accessible latch areas. Use a clean microfiber towel to remove visible water. Opening each door briefly can also help identify trapped moisture before the vehicle is parked.
Do not ignore the lower portions of the doors. Water can collect in areas that are not immediately visible and later freeze into small deposits around the sealing surfaces.
If a door has already developed a latch problem after a wash, allow the affected area to thaw completely and dry it before applying an appropriate lubricant. Simply forcing the latch closed while ice remains can leave the mechanism partially engaged or damage components.
This is also a good time to inspect the weatherstrip. If water repeatedly collects in the same location, the seal may not be sitting correctly.
The safest winter routine is straightforward. Wash the vehicle when there is enough time for it to dry, clear moisture from the door areas, and avoid parking it immediately before a severe freeze.
Preventing water from freezing in the first place is considerably easier than repairing a damaged latch later.
8. Check That the Latch Is Returning to Its Normal Position
A frozen latch can sometimes remain partially moved after the ice around it melts. If the mechanism does not return to its normal position, the door may appear physically capable of closing but fail to catch.
With the door open and the vehicle safely parked, inspect the latch on the edge of the door. Compare its position with the other doors if they use a similar mechanism. You should not force the latch with a screwdriver or other object simply to test it.
Instead, operate the exterior and interior door handles normally and observe whether the latch mechanism responds correctly. If it remains stuck, moves unusually slowly or does not return consistently, additional attention is required.
AAA notes that door and latch mechanisms can freeze in very cold conditions, including electrically operated mechanisms. Lubrication and thawing may restore normal operation when ice or moisture is the cause.
Once the latch appears to be operating correctly, close the door gently and verify that it has fully engaged. Never assume a door is secure simply because it appears closed.
If the vehicle provides a door-ajar warning, make sure the warning disappears. On vehicles without such a warning, physically check the door by applying gentle pressure from inside while stationary.
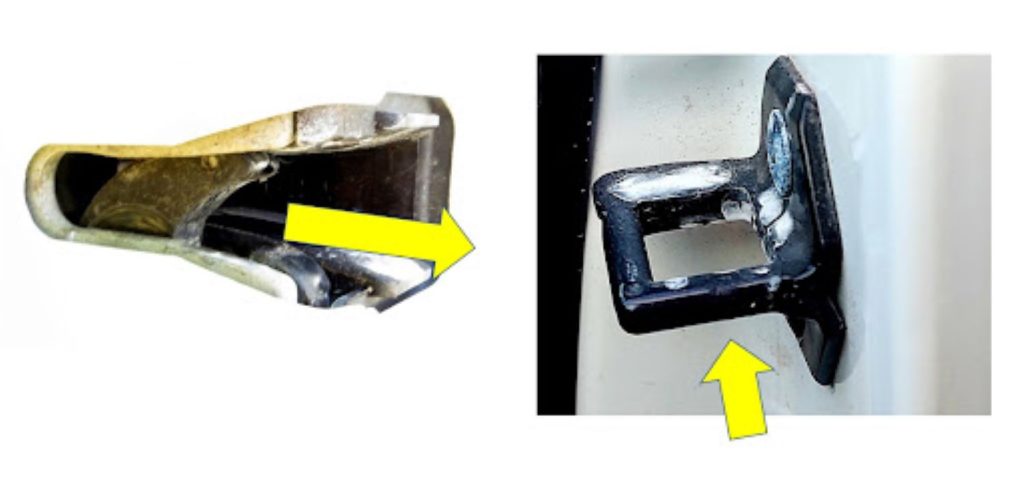
If the latch continues to malfunction after it is completely thawed, stop treating the issue as a simple cold-weather problem. A damaged latch, cable, actuator or alignment issue may require professional diagnosis.
Cold temperatures can expose a weak component that was already beginning to fail. In that situation, repeated thawing and lubrication may only postpone the repair.
9. Inspect Door Alignment if the Latch Still Will Not Catch
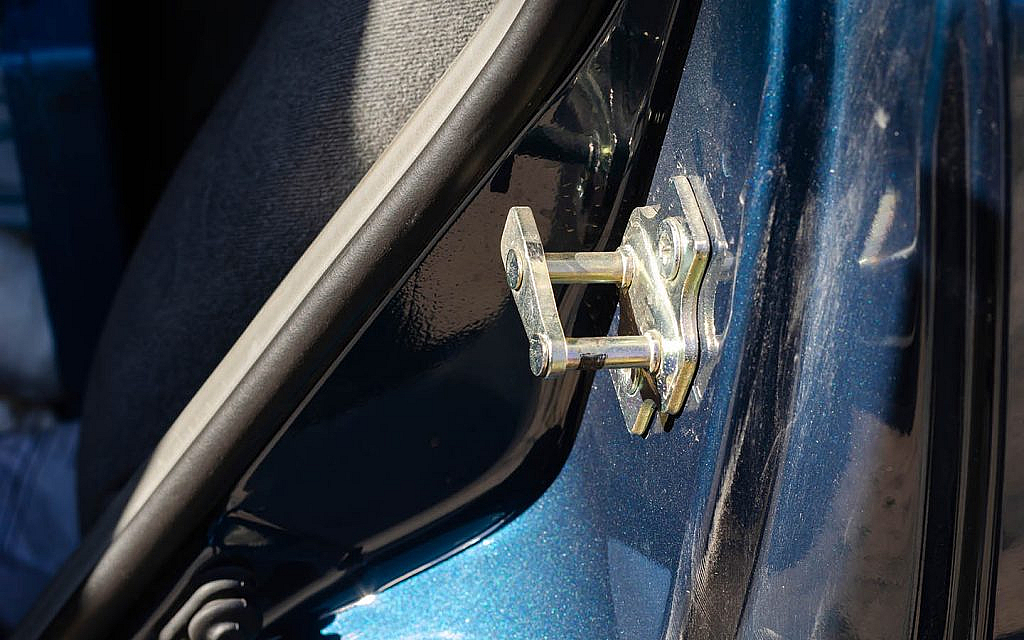
If the latch is moving freely and there is no visible ice, the next possibility is door alignment. A door that has shifted slightly can fail to meet the striker correctly, leaving the latch unable to engage.
Cold weather itself does not automatically mean that a door has become misaligned. However, winter conditions can reveal an existing alignment problem because stiff seals and increased resistance make a marginal fit more noticeable.
Look at the gap around the closed door and compare it with the opposite side of the vehicle. Check whether the door sits noticeably higher, lower or farther inward than it normally does. Also inspect whether the weatherstrip appears compressed unevenly.
Do not attempt to correct door alignment by repeatedly slamming the door. The striker and latch are safety-related components, and improper adjustment can create a more serious problem.
If the door closes normally in warmer conditions but becomes difficult to latch only when temperatures are very low, the seal or moisture around the latch is still a strong possibility. AAA identifies frozen seals and latches as common winter door problems.
If the door remains difficult to close after the vehicle has completely thawed, professional inspection is the safer choice.
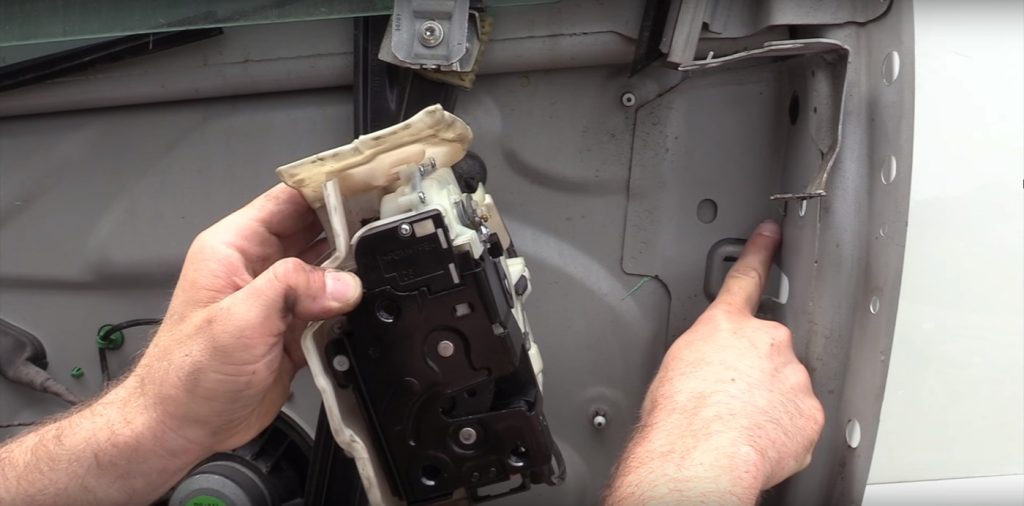
A technician can check the latch, striker, hinges and alignment together rather than replacing parts based only on symptoms.
Most importantly, do not drive with a door that cannot securely latch. A door that looks nearly closed is not necessarily locked into the striker, and opening unexpectedly while the vehicle is moving creates an obvious safety hazard.
10. Get the Latch Repaired if Thawing Does Not Solve It
Sometimes winter weather gets blamed for a problem that is actually mechanical. If the door still will not latch after all visible ice has melted, the seals are dry, the latch has been properly lubricated, and the door remains correctly aligned, it is time to stop experimenting and have the mechanism inspected.
The latch is a safety-critical component. It must securely retain the door and release only when the appropriate handle or electronic mechanism is operated.
A professional inspection can determine whether the problem involves the latch assembly, striker, cable, actuator, hinge alignment or another component. Modern vehicles can also have electronically controlled locks and handles, meaning a cold-weather symptom is not always caused by a simple frozen mechanical part.
AAA’s winter guidance makes an important distinction between temporary freezing problems and vehicle conditions that require professional attention. The organization advises drivers to address vehicle malfunctions before relying on the vehicle in difficult winter conditions.
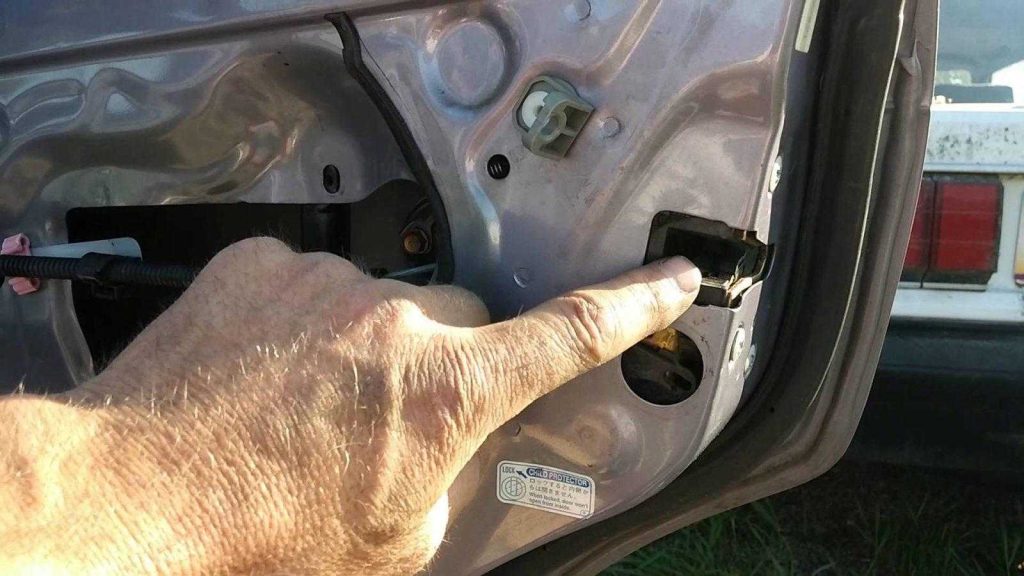
If the door cannot be secured, do not drive simply because the trip is short. A partially closed door can open unexpectedly, and repeated slamming can make an underlying problem worse.
The best approach is to thaw the vehicle completely, inspect the latch and seals, remove moisture, apply the correct lubricant where appropriate and test the door carefully. If it still does not latch, arrange a repair.
A winter door problem can begin with something as simple as frozen moisture, but once a latch refuses to secure the door after thawing, it should be treated as a mechanical issue rather than a temperature inconvenience.