Nobody wants to collect their vehicle from a repair shop only to return days later with the same problem. Some repeat visits are unavoidable when a separate fault appears, but many happen because the original diagnosis was incomplete, the wrong component was replaced, or an essential verification step was skipped.
A properly performed repair should include more than fitting a new part. It requires identifying the actual cause, following the manufacturer’s procedure, and checking that the original complaint has disappeared.
These nine repairs highlight jobs where careful diagnosis and final testing should prevent unnecessary repeat visits.
1. Car Battery Replacement
A new battery should solve a confirmed battery failure, not temporarily hide an electrical problem. One reason drivers return to the repair shop shortly after replacement is that the original diagnosis focused entirely on the battery without checking the charging and starting systems.
A battery that repeatedly loses charge may not actually be defective. The alternator could be failing to recharge it, a damaged cable could be restricting current, or an electrical component could be drawing power while the vehicle is switched off. Installing another battery without investigating these possibilities simply repeats the expense.
AAA’s battery service includes testing the battery, starter, and charging system before recommending replacement. This is an important distinction because a proper diagnosis checks the components responsible for starting and maintaining electrical power.
Modern vehicles also introduce another consideration. Some use battery-management systems that require a registration or reset procedure after installation.
Others have specific requirements for battery technology, capacity, and cold-cranking performance. Installing an incompatible battery or skipping a required procedure can create charging and electrical problems.
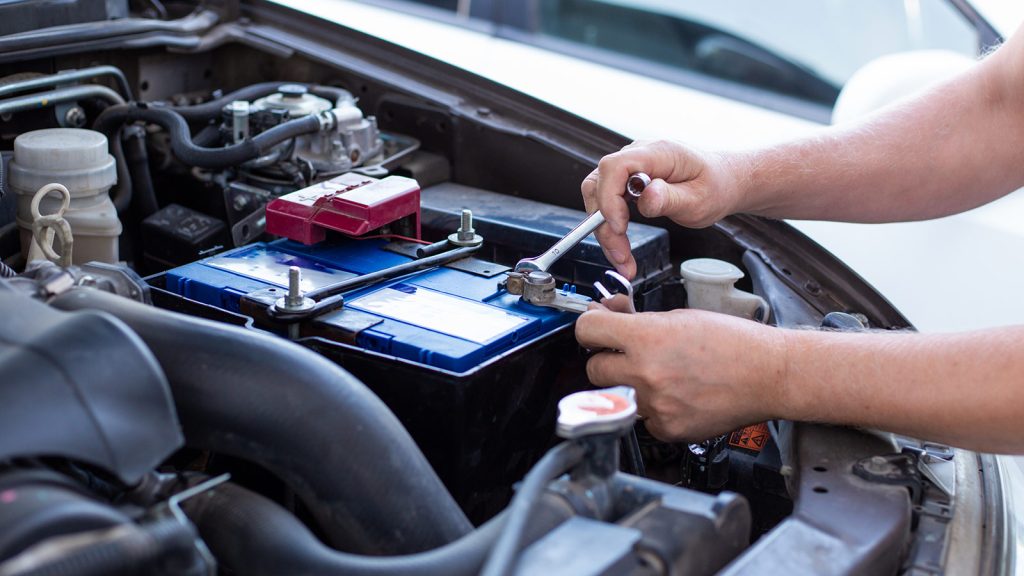
The repair should finish with a battery test, charging-system verification, inspection of terminals and cables, and confirmation that the vehicle starts reliably. ASE’s automotive study guide includes battery testing, charging-system diagnosis, voltage-drop testing, and inspection of battery connections among the required technician tasks.
If you are paying for a replacement, ask for the test results showing why the old battery failed. A new battery should be the conclusion of a proper diagnosis, not a substitute for one.
2. Tire Puncture Repair
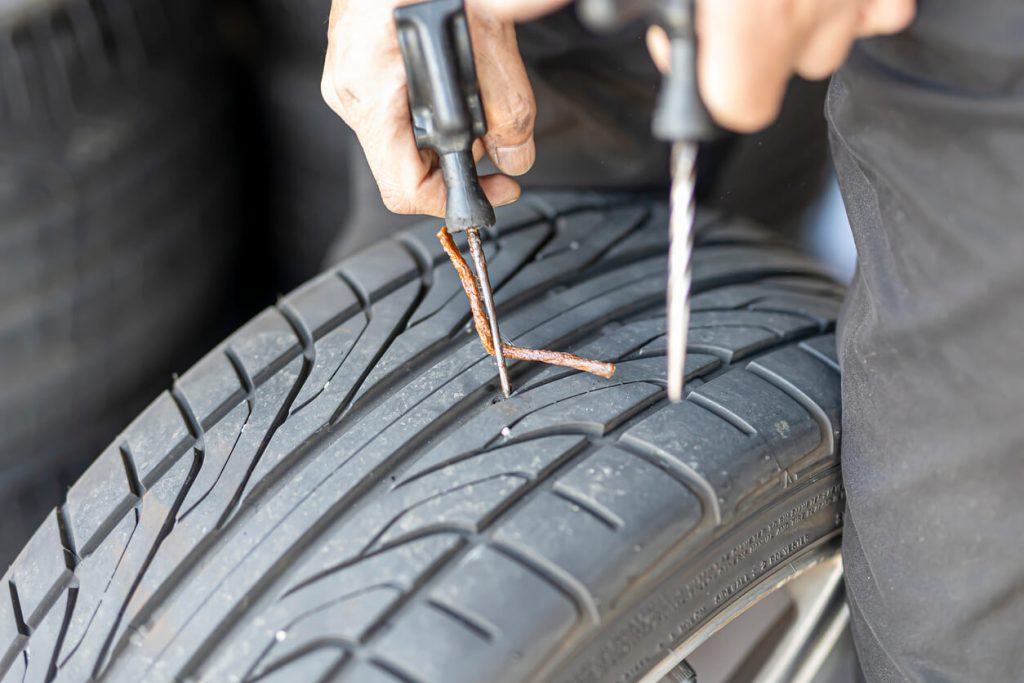
A tire puncture repair should not be treated as a quick job involving nothing more than pushing a rubber plug into a hole. An improper repair can allow air to escape again, damage the tire internally, or create a serious safety risk. The correct procedure is particularly important because some damage cannot be identified from the outside.
The U.S. Tire Manufacturers Association recommends removing the tire from the wheel for a complete internal inspection before repairing it. A proper repair uses both a rubber stem to fill the puncture and a patch to seal the inner liner. A plug alone or a patch alone is not considered an acceptable permanent repair.
There are also strict limits on which punctures can be repaired. The injury generally must be no larger than 1/4 inch in diameter and confined to the repairable tread area. Damage involving the shoulder or sidewall should not be repaired. Tires with certain previous improper repairs or internal damage may also need replacement.
The reason this matters becomes clear when a vehicle repeatedly loses pressure after a supposed repair. The technician may have missed internal damage, used an unsuitable repair method, or failed to identify a puncture that was outside the permitted repair area.
Ask the shop whether the tire was removed and inspected internally. A proper repair should also include checking the completed area for leakage before the wheel is returned to the vehicle.
A second visit should not be necessary simply because the original repair was rushed. However, no repair can guarantee that another puncture or unrelated tire defect will not occur later.
3. Four-Wheel Alignment
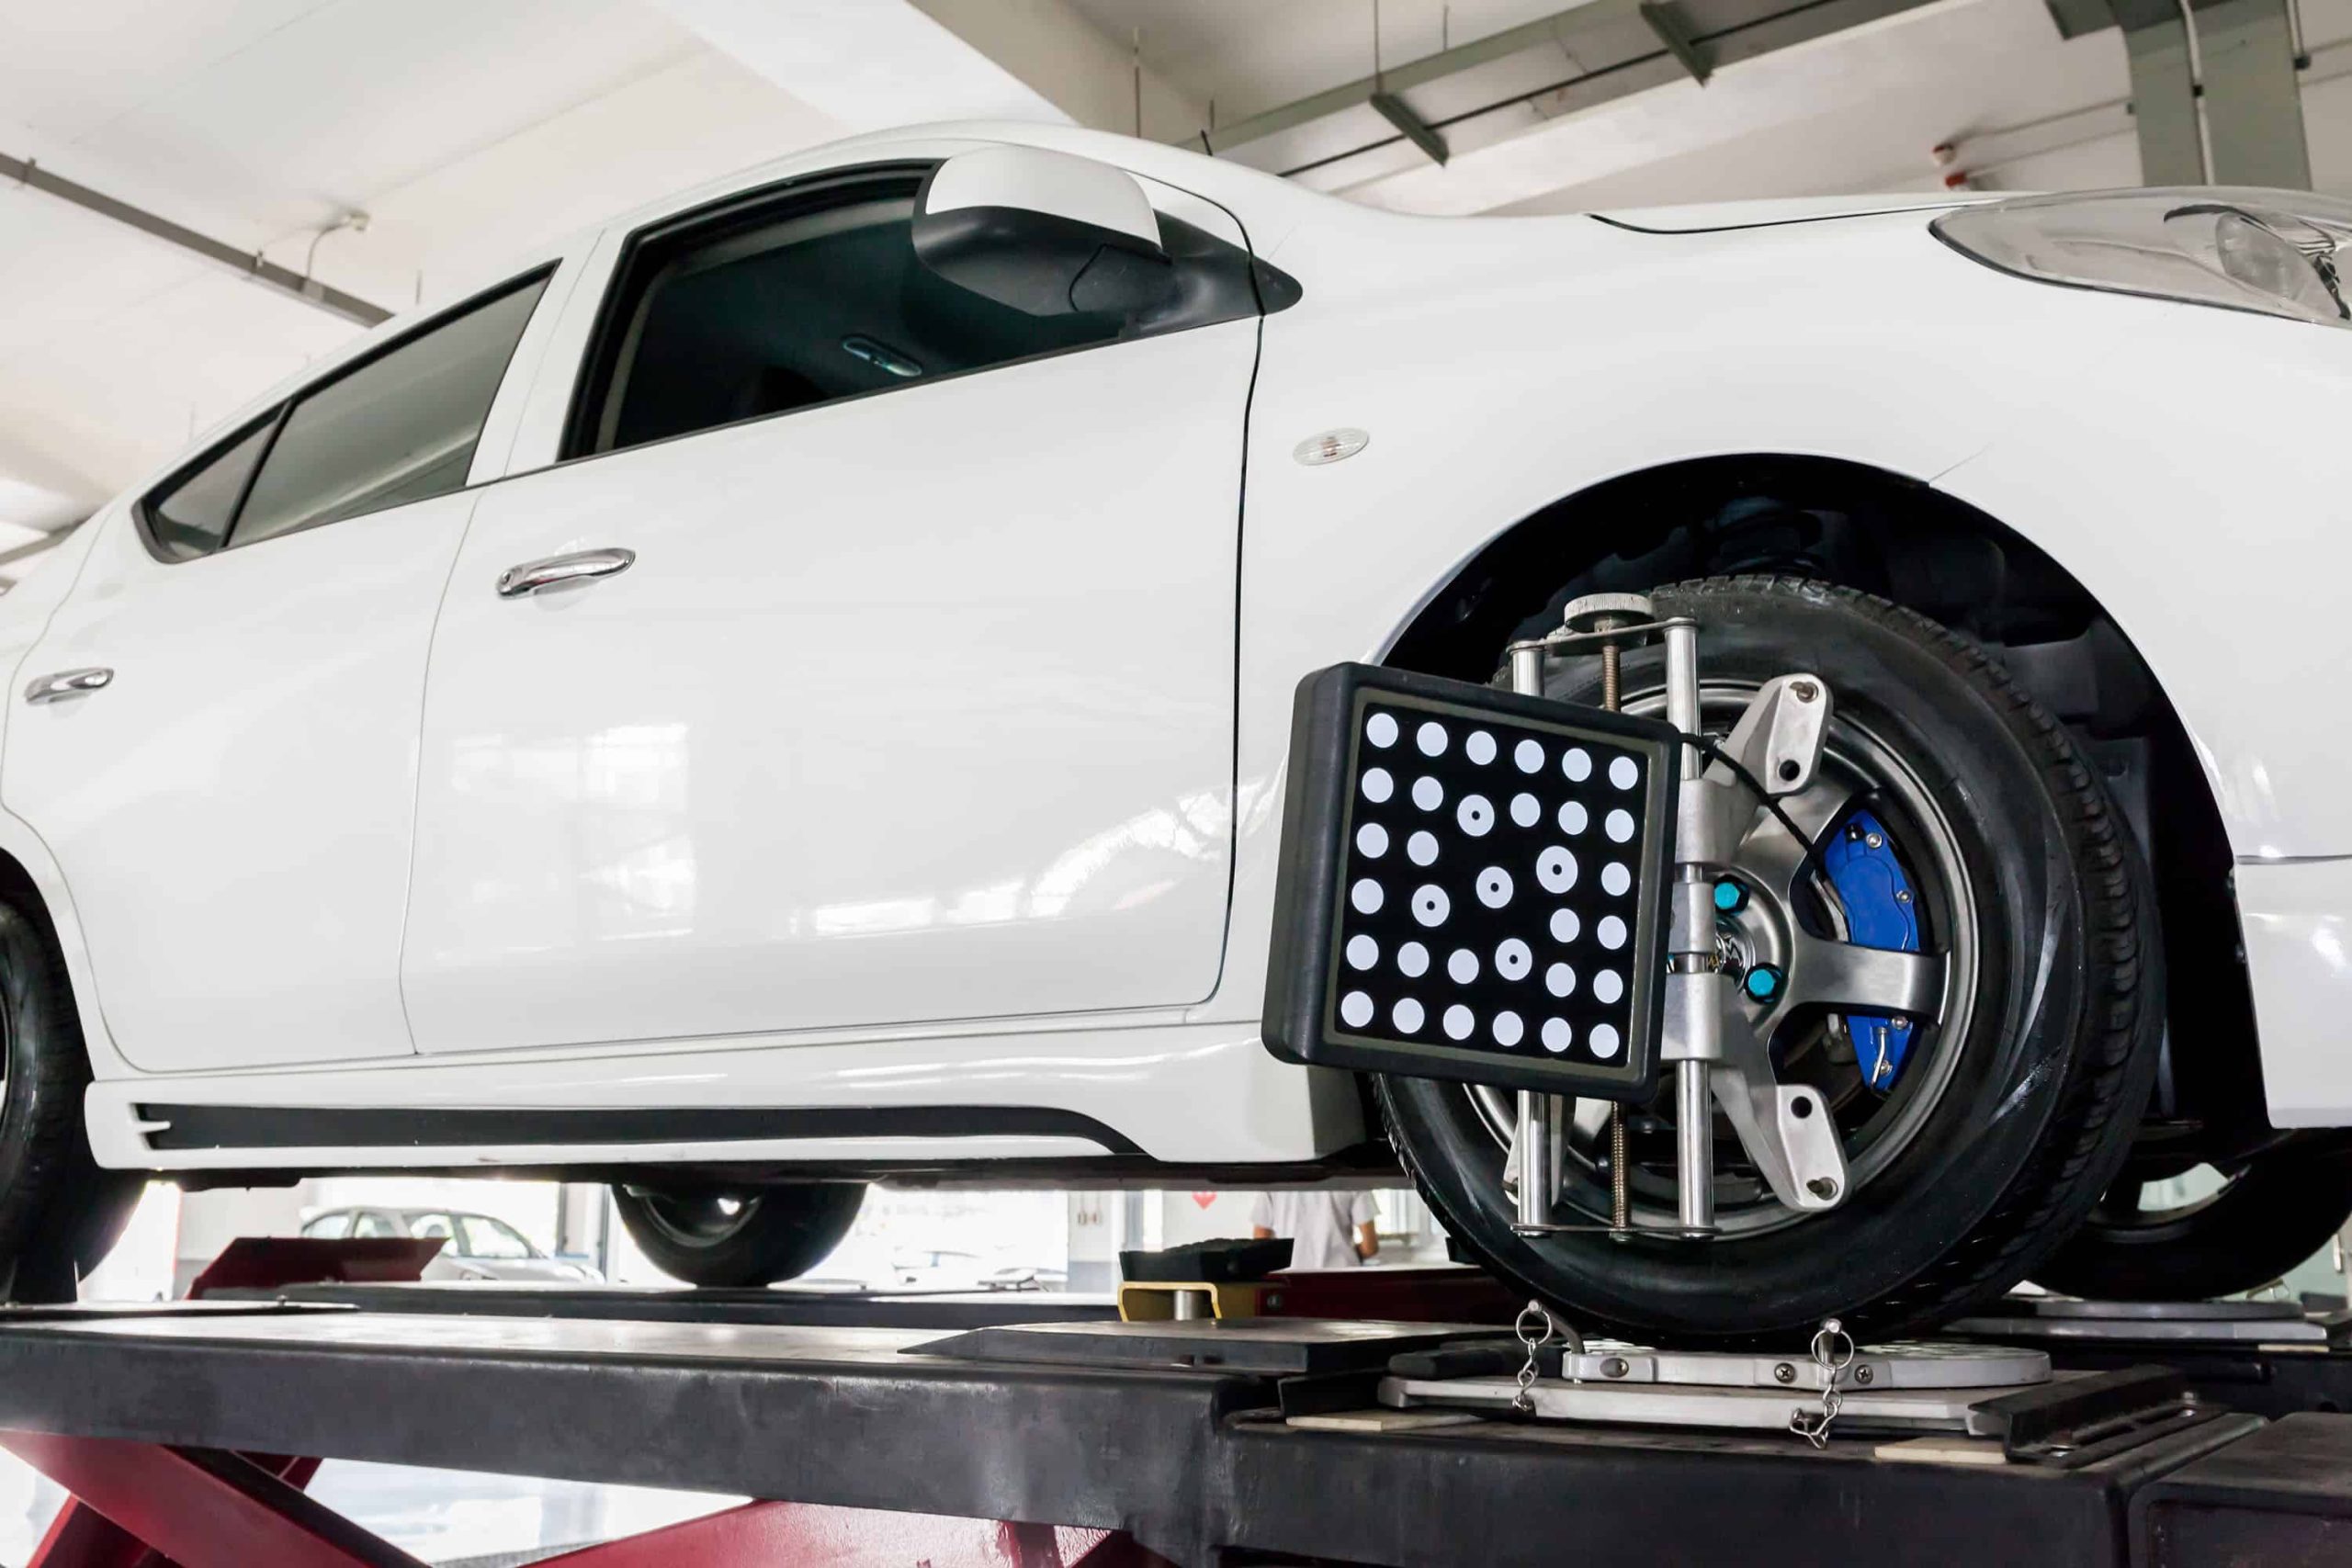
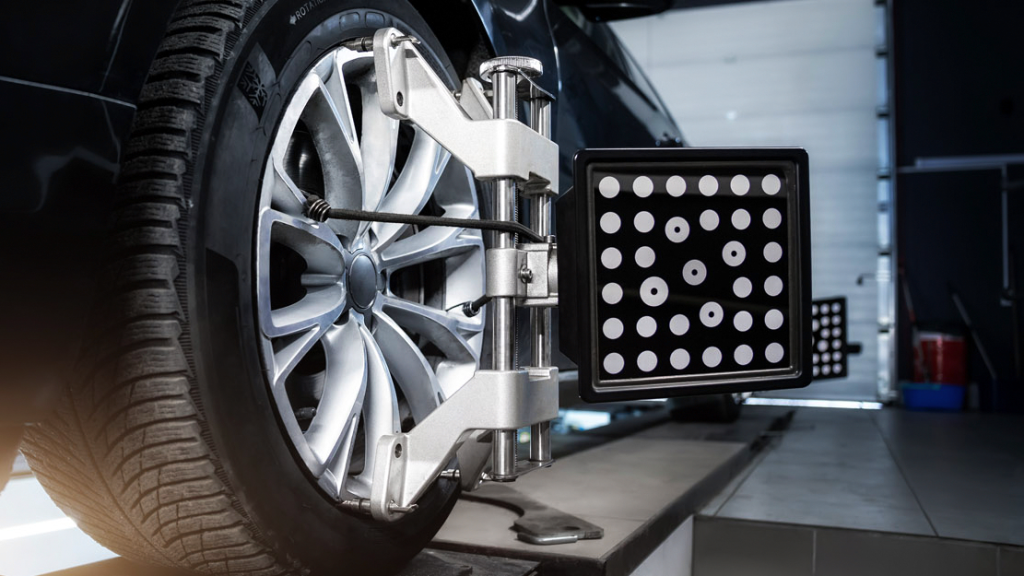
A vehicle that leaves an alignment shop with its steering wheel crooked or continues pulling to one side has not received a properly verified alignment. The purpose of the procedure is to bring wheel angles within the manufacturer’s specifications, helping the vehicle track correctly and reducing irregular tire wear.
However, alignment is not simply a matter of connecting a machine and adjusting a few settings. The technician must first inspect tire pressures, tire condition, steering components, suspension joints, and ride height. Worn ball joints, damaged tie rods, or loose suspension components can prevent the alignment from holding its settings.
The Automotive Service Excellence (ASE) technician task list specifically includes pre-alignment inspections, measuring ride height, performing four-wheel alignment, adjusting front and rear caster, camber, and toe where applicable, and centering the steering wheel. It also includes resetting the steering-angle sensor when required.
A proper repair should produce measurable results. Ask for the before-and-after alignment report showing the original readings and final measurements against the vehicle’s specifications.
Tesla’s published service procedure, for example, instructs technicians to verify the alignment parameters and print an alignment summary before completing the procedure.
The final road test matters just as much. The steering wheel should remain centered when driving straight, and the vehicle should not display the original pulling or wandering complaint. If the alignment cannot be brought within specification, the shop should identify the mechanical reason instead of simply handing the vehicle back.
It is important to remember that a car may still pull to one side due to tire problems, brake issues, or road conditions, even if its wheel alignment is correct. This is why the underlying cause should be identified before making any adjustments.
4. Brake Pad and Rotor Replacement
A brake job should not require another visit because the new pads produce grinding noises, the pedal feels abnormal, or the vehicle pulls during braking. These symptoms can indicate that the original installation was incomplete or that another brake component was overlooked.
Replacing pads and rotors involves more than removing the old components and fitting new ones. The technician should inspect the calipers, mounting brackets, guide pins, retaining hardware, and brake hoses. Rotors must be measured for thickness and checked for excessive runout or damage.
The hub mounting surface also needs proper preparation because corrosion or debris between the hub and rotor can contribute to vibration.
ASE’s official 2025 automobile study guide lists these procedures as part of professional disc-brake service. It includes measuring rotors, inspecting caliper slides, installing hardware correctly, following manufacturer lubrication specifications, checking for leaks, torquing wheel fasteners, and performing a road test.
A useful example of why details matter is caliper hardware. If guide pins are seized or retaining clips are installed incorrectly, the pads may not move as intended. This can cause uneven wear, noise, or dragging even though the replacement pads are new.
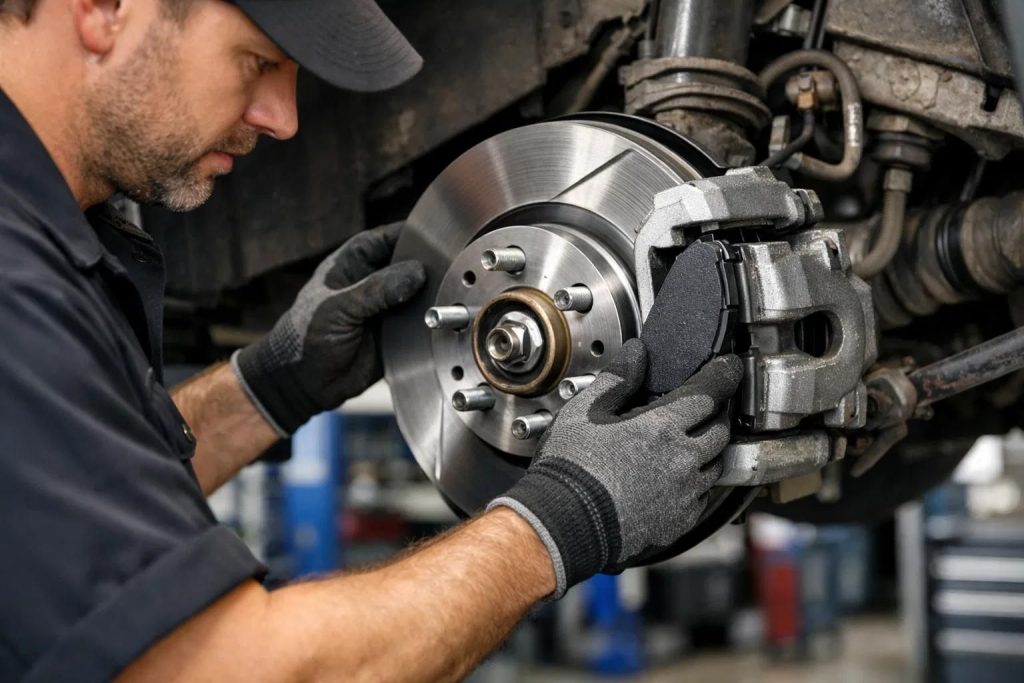
The repair should finish with a firm brake pedal, a leak inspection, correct wheel-fastener torque, and a controlled road test. New pads and rotors may also require a bedding procedure specified by the manufacturer.
A second visit is sometimes necessary because a separate caliper or hydraulic fault becomes apparent. But the shop should identify such problems during inspection whenever possible, explain them before additional work, and verify the completed repair before returning the vehicle.
5. Water Pump Replacement
A water pump replacement should not end with a vehicle that still loses coolant, overheats, or produces unusual noises. The pump circulates coolant through the engine, and a successful repair must restore proper circulation while preventing leaks from the pump housing, seals, and connected components.
One common reason for a repeat visit is replacing the pump without checking why the cooling system failed in the first place.
A leaking radiator, damaged hose, faulty thermostat, or malfunctioning cooling fan can cause overheating even after a new pump has been installed. If the technician only addresses the suspected pump, the original complaint may remain.
The 2026 ASE Automobile Study Guide includes water-pump inspection and replacement, cooling-system pressure and leak testing, thermostat inspection, coolant testing, and bleeding trapped air as separate technician tasks.
Air trapped inside the cooling system is particularly important. After installation, the system must be refilled with the correct coolant and bled according to the vehicle manufacturer’s procedure. Some vehicles use special bleeding sequences or electric pumps, so simply pouring coolant into the reservoir may not be sufficient.
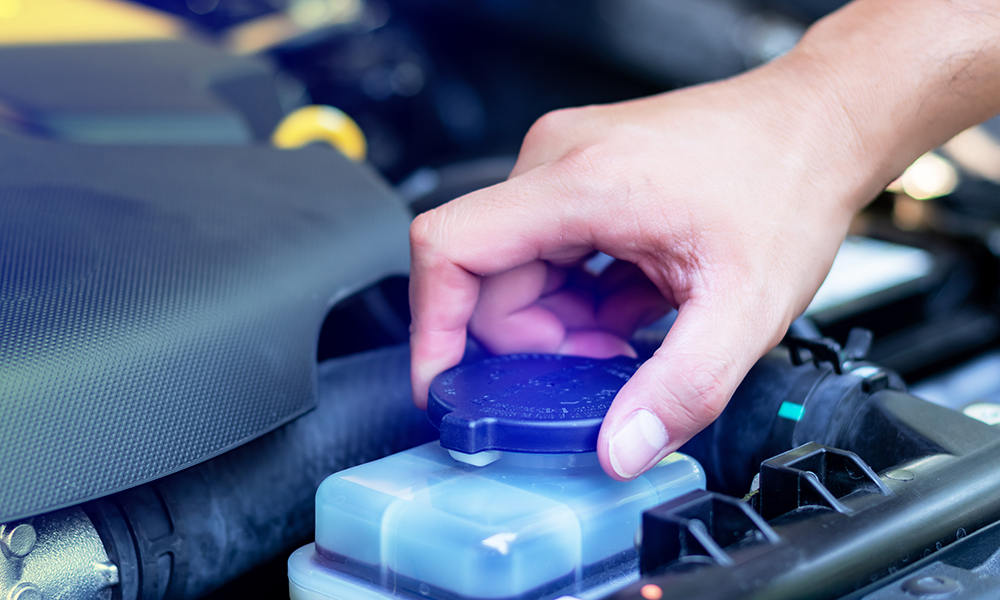
The technician should also inspect the pump’s mounting surface, gasket, belt or drive system, and nearby hoses. Once the engine reaches operating temperature, the shop should check for leaks and confirm that the cooling system maintains the correct temperature.
Before collecting the vehicle, ask whether the shop performed a pressure test and verified normal operating temperature. A new pump is only part of the job. The repair is complete when the cooling system works correctly under operating conditions.
6. Wheel Bearing or Hub Assembly Replacement
A wheel bearing replacement should eliminate the original humming, grinding, or looseness complaint without introducing new vibration, noise, or wheel-play problems. If the vehicle returns shortly after the repair, the installation or original diagnosis deserves closer examination.
Wheel bearings support the vehicle’s weight while allowing the wheels to rotate. They operate under substantial loads, and incorrect installation can damage a replacement bearing before it has had much time in service.
On vehicles using sealed hub assemblies, the replacement must also match the vehicle’s specifications and any integrated ABS sensor requirements.
The 2025 ASE Automobile Study Guide includes diagnosing wheel-bearing noise and vibration, inspecting and replacing hub assemblies, and servicing wheel bearings as defined technician tasks. It also covers checking suspension components that can produce similar symptoms.
Proper fastener torque is a critical part of installation. Axle nuts and hub mounting bolts must be tightened to the specifications provided by the manufacturer. Incorrect torque can disrupt bearing preload and cause damage to surrounding components.
Technicians must also avoid applying installation force through the wrong bearing race, which can damage the internal bearing surfaces.
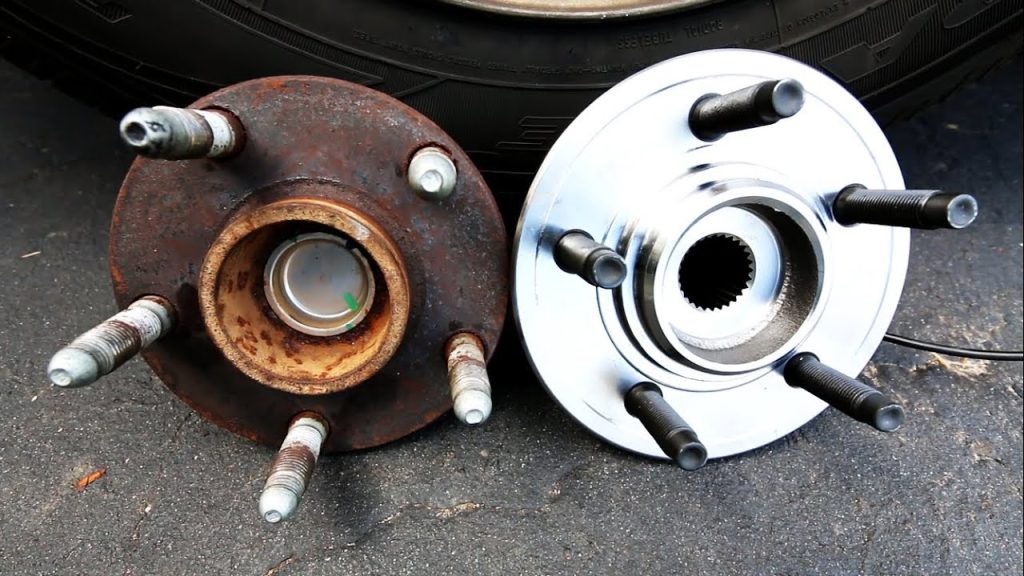
The shop should inspect the hub, axle splines, mounting surface, and related hardware before installing the replacement. If an ABS sensor is integrated into the assembly, the warning-light system should be checked after installation.
A final road test should confirm that the original noise has disappeared and that no new warning lights or vibration have appeared. Ask for the part number and installation details on the invoice. That documentation is useful if the replacement develops a genuine defect later.
7. Spark Plug and Ignition Coil Repairs
Replacing spark plugs or ignition coils should resolve the misfire or starting problem that justified the repair. If the check-engine light returns shortly afterward, the shop may have replaced the wrong component or failed to investigate the underlying cause.
A common mistake is treating every engine misfire as a bad spark plug or ignition coil. A misfire can also result from a faulty fuel injector, vacuum leak, low cylinder compression, damaged wiring, or another engine-management problem. Diagnostic trouble codes can help identify the affected cylinder, but they do not automatically identify the failed part.
The National Institute for Automotive Service Excellence (ASE) includes ignition coil testing, ignition-circuit inspection, misfire diagnosis, and verification of repair effectiveness in its 2025 automobile technician study materials.
Consider a Ford Mustang experiencing a cylinder-specific misfire. Replacing its ignition coil without testing the spark plug, connector, wiring, and cylinder condition might temporarily change the symptoms without fixing the actual fault. A competent technician should use the appropriate diagnostic procedure before recommending parts.
Installation quality matters too. Spark plugs must match the engine’s required specification and be tightened to the manufacturer’s torque requirements. Incorrect installation can damage threads or create ignition problems. Coil connectors and electrical terminals should also be inspected rather than simply reattached.
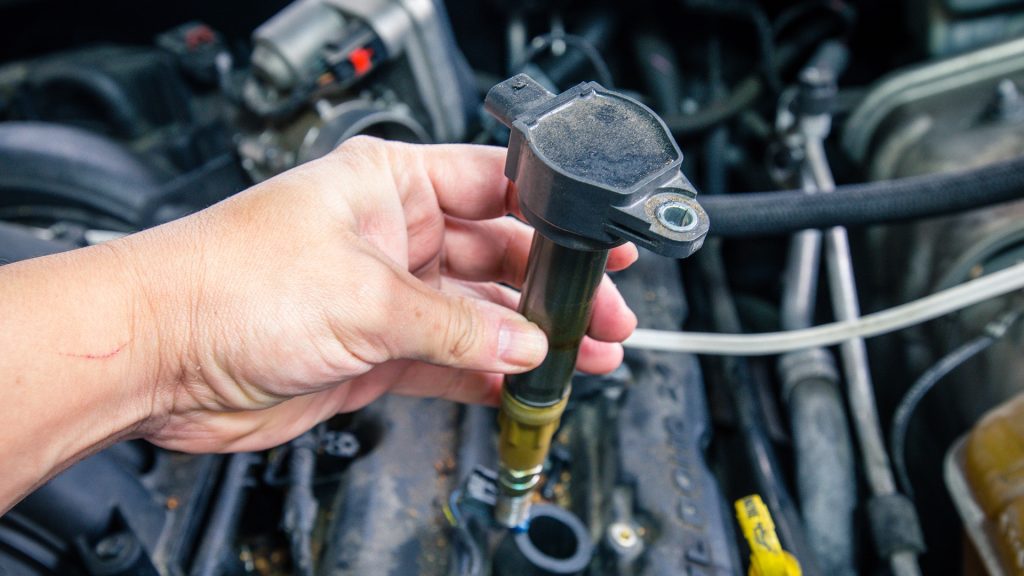
Before collecting the vehicle, ask the shop to confirm that the original misfire is no longer present. This may involve checking diagnostic codes, monitoring misfire data, and conducting a road test under the conditions that originally triggered the problem.
A new ignition component is not proof of a successful repair. The engine should run properly, and the original complaint should be verified as resolved.
8. Air Conditioning Compressor Replacement
Replacing an air conditioning compressor should restore reliable cooling, not simply make the system cold for a few days before the same problem returns. Compressor failures can involve several related components, and replacing the unit without investigating the cause may leave the new compressor exposed to the same damage.
One important example is contamination. If an old compressor fails internally, metal debris or other contaminants may circulate through the refrigerant system. Installing a replacement without inspecting the system and following the manufacturer’s cleaning or component-replacement requirements can compromise the new unit.
ASE’s 2025 automobile study guide specifically includes refrigerant recovery, leak testing, system evacuation, inspection for contamination, correct refrigerant charging, and identifying the required lubricant type and capacity. These are essential parts of proper air conditioning service, not optional finishing steps.
The technician should also inspect the condenser, expansion device, receiver-drier or accumulator, hoses, fittings, and compressor drive components as appropriate. Not every vehicle needs all these parts replaced, but the shop should establish whether contamination or another fault makes additional work necessary.
Correct refrigerant and oil quantities are particularly important. Different systems use different refrigerants and lubricants, and an incorrect charge can affect cooling performance and compressor operation. The technician should follow the vehicle-specific service information rather than relying on a generic filling amount.
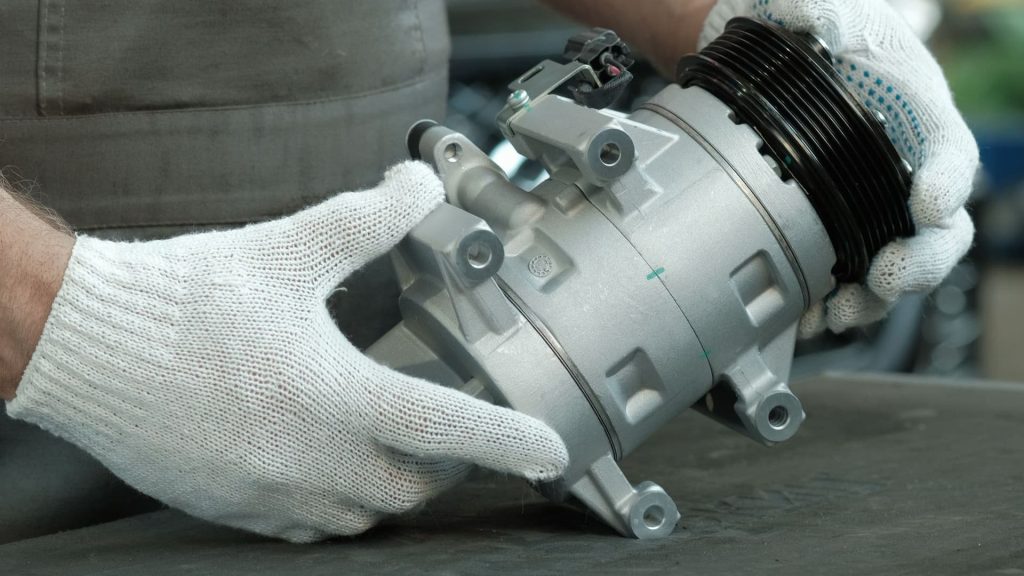
After installation, the system should be evacuated, charged to specification, leak-tested, and checked for cooling performance. Ask the shop to record the refrigerant type and charge quantity.
If the compressor is replaced but the system is not tested properly, a second visit becomes much more likely. A complete repair addresses the cause of failure as well as the failed component.
9. Timing Belt Replacement
A timing belt replacement should be completed the first time correctly because an installation error can cause serious engine damage. Unlike a wiper blade or air filter, this is not a maintenance task where a minor mistake simply creates an inconvenience.
The belt synchronizes the crankshaft and camshaft, ensuring that the valves operate at the correct time in relation to piston movement.
One common source of repeat problems is incorrect belt tension. If the belt is too loose, it can produce noise, jump teeth, or lose synchronization. Excessive tension can place unnecessary stress on the belt, tensioner, and related bearings. Incorrect alignment of timing marks can also cause poor engine performance or prevent the engine from starting.
The 2025 ASE Automobile Study Guide includes timing belt inspection and replacement, checking belt tension, aligning timing marks, and verifying engine mechanical timing among its technician tasks.
A complete job should also consider related components. Depending on the engine design, the tensioner, idler pulleys, seals, and water pump may be accessible during the same procedure. Replacing these parts is not automatically necessary in every situation, but the technician should inspect them and follow the manufacturer’s service recommendations.
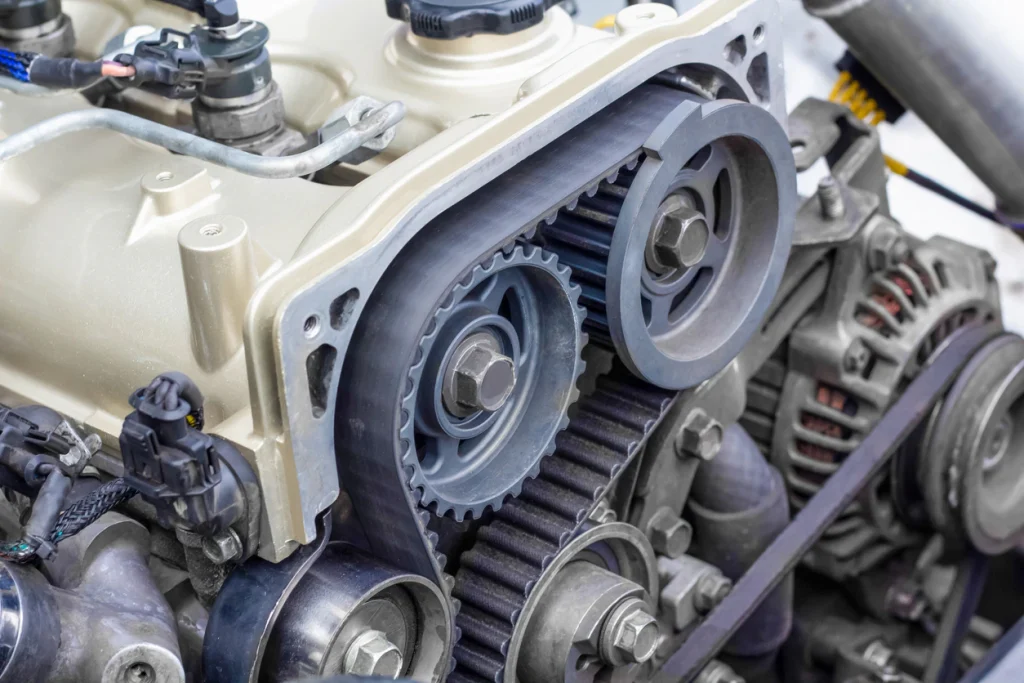
After installation, the engine should be rotated manually according to the service procedure, and timing alignment should be rechecked before startup where specified. The technician should then verify normal operation and investigate any unusual noise, warning light, or performance issue.
Ask the shop to list the belt kit components installed, record the mileage, and provide the next recommended replacement interval. Keep that invoice with your maintenance records.
A properly completed timing belt service should not require a return visit because of incorrect timing, poor tension, or an overlooked installation issue.