
Your tires play a crucial role in keeping your vehicle connected to the road, yet they often receive little attention until a problem arises. Fortunately, maintaining them doesn’t require professional equipment, special tools, or hours of work. A few simple routine checks can help identify potential issues early, improve fuel efficiency, extend tire life, and make every trip safer.
Each one takes under a minute per tire, which is less time than it takes to pick a playlist. Whether you’re heading to work, loading up for a road trip, or just walking past your car in the driveway, these simple habits pay off fast. Ready to give your tires the attention they deserve? Let’s get started.
1. Penny or Quarter Tread Test
Estimated time: 30 seconds.
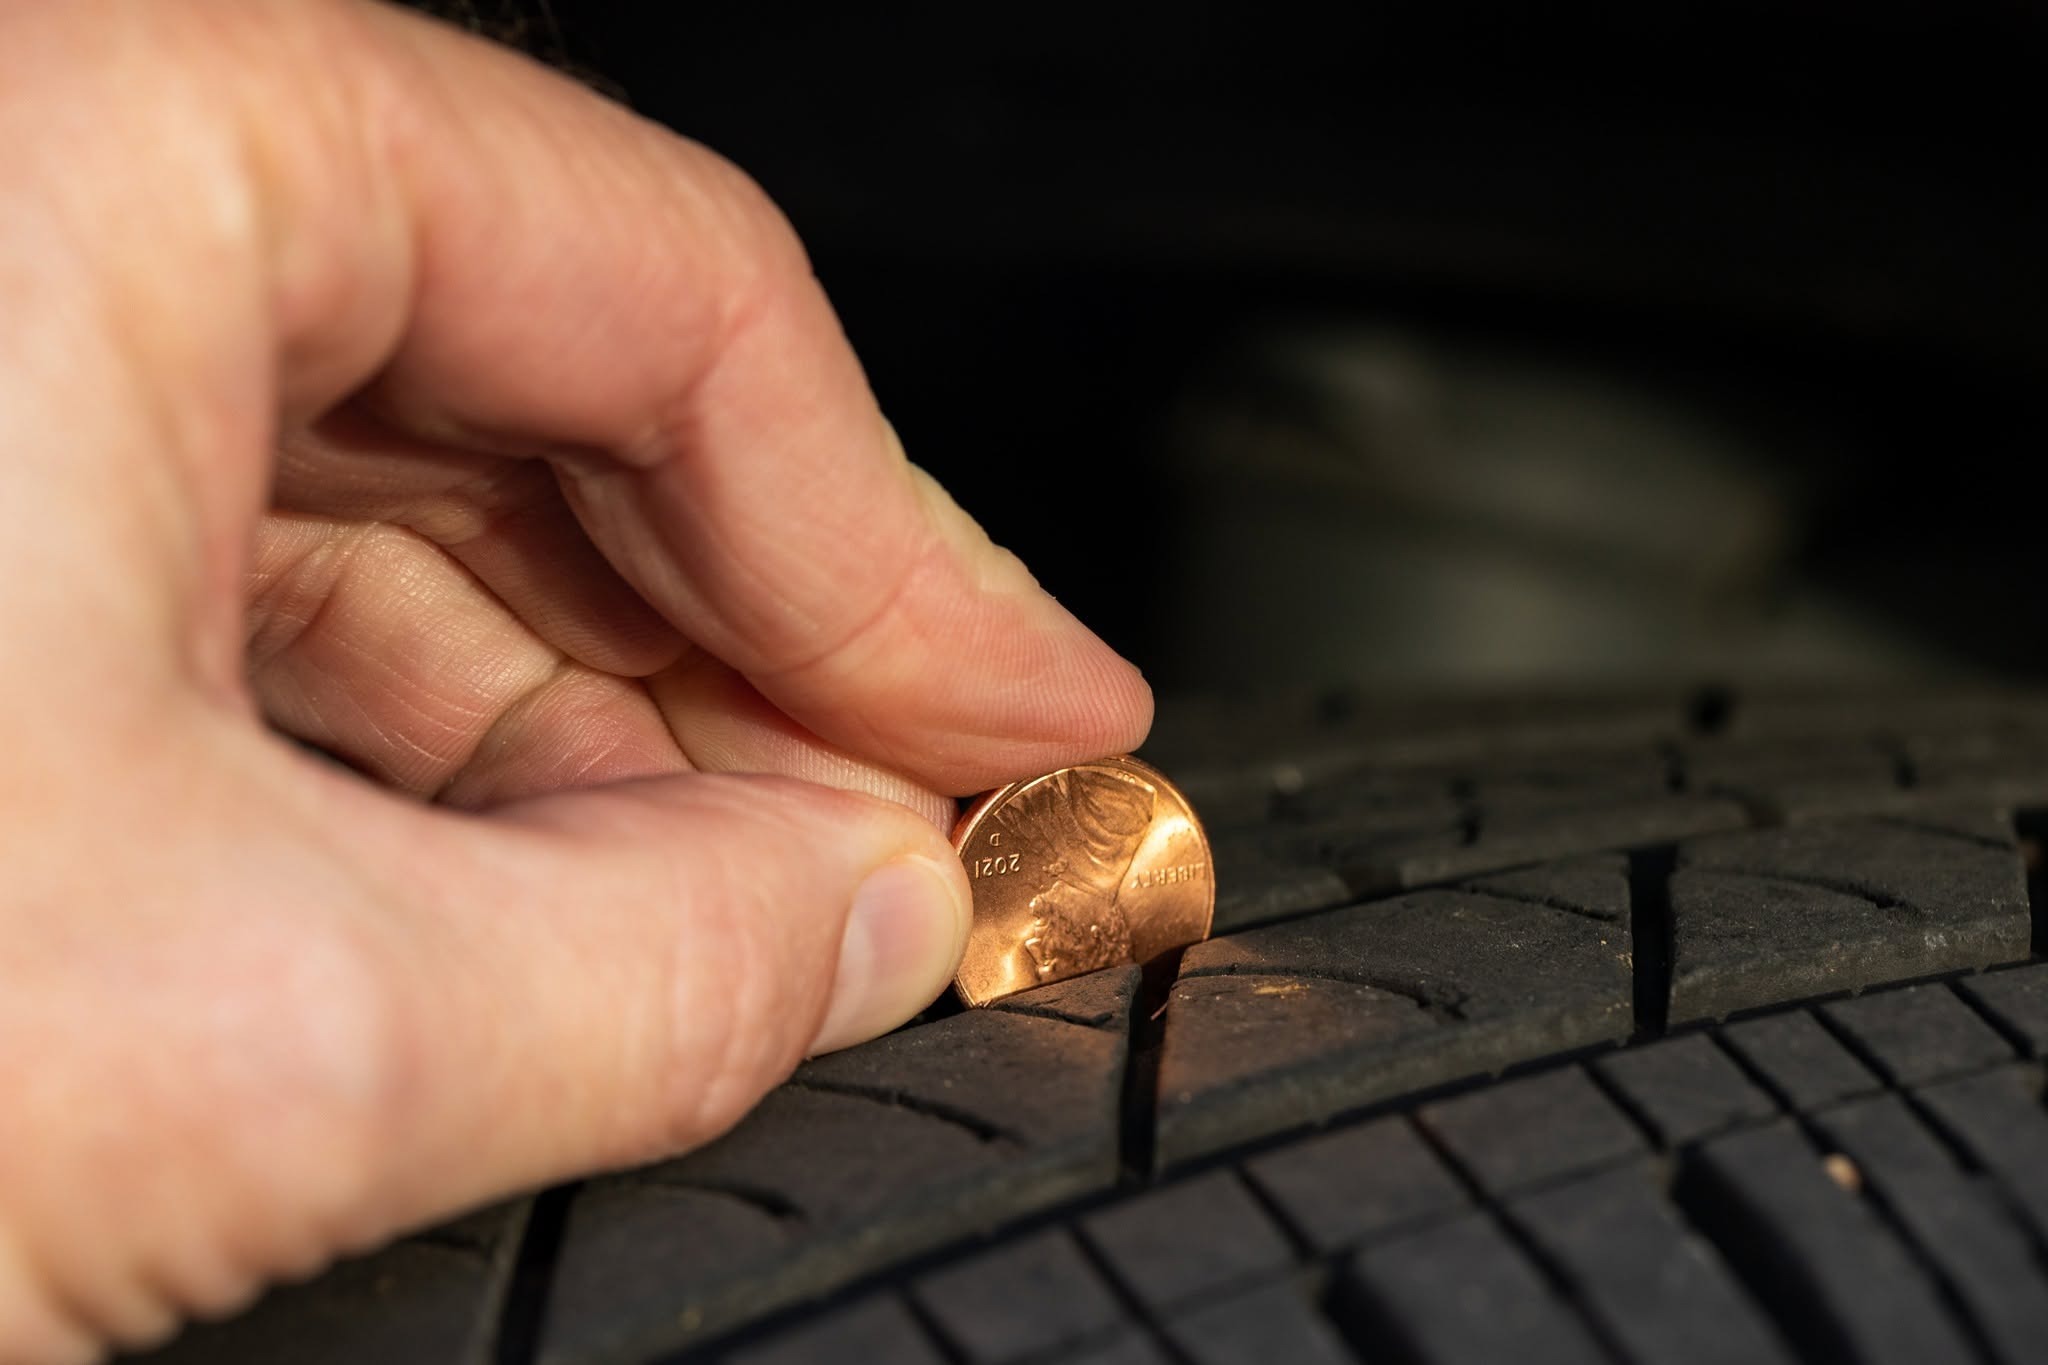
Checking your tire tread does not require expensive equipment or a trip to an auto repair shop. A simple penny or quarter can help you determine whether your tires have enough tread remaining to provide reliable traction.
This quick inspection is especially useful because worn tread can reduce your vehicle’s ability to grip the road, particularly when driving in rainy conditions.
To perform the penny test, take a penny and insert it into one of the tire’s tread grooves with Abraham Lincoln’s head facing downward. Examine how much of his head remains visible.
If you can see the top of his head, your tire may have reached the point where replacement is necessary. This indicates that the tread depth is approximately 2/32 of an inch or less.
You can also use a quarter for another quick assessment. Insert it into a tread groove with George Washington’s head facing downward. If the top of his head is visible, the tire may have insufficient tread and should be examined more closely.
For a more reliable assessment, check several grooves across different sections of the tire rather than relying on one spot. Uneven wear can make one section look healthier than another.
Although this coin test is convenient, a tread depth gauge provides a more accurate measurement. Replacing tires before they reach the legal minimum can also help maintain better traction, especially on wet roads.
2. Check for Uneven Wear
Estimated time: 30 seconds.
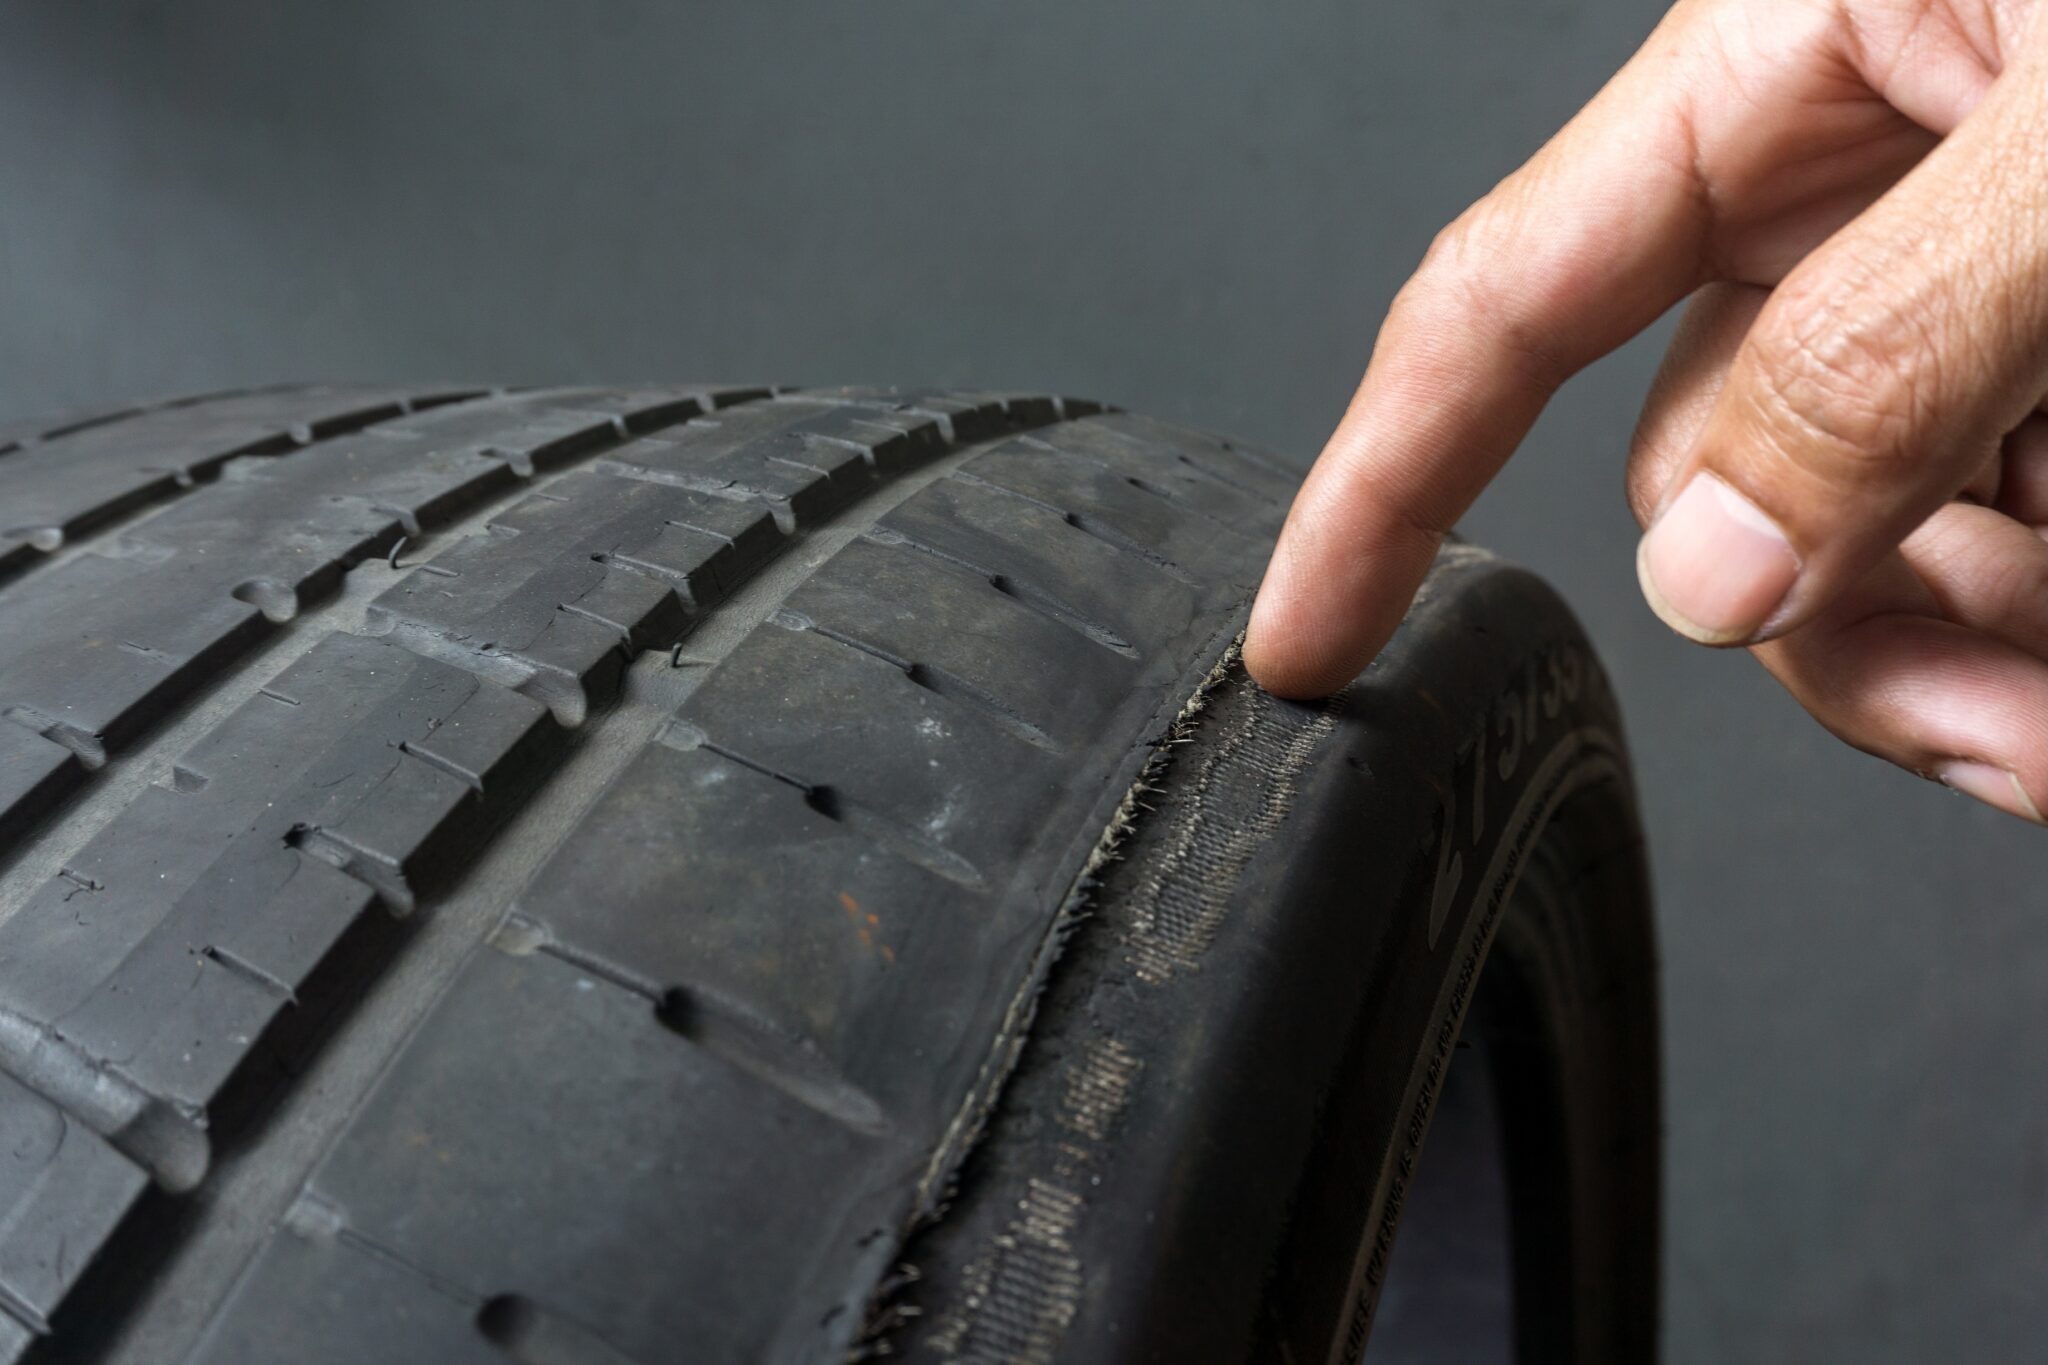
Your tire tread can reveal useful information about your vehicle’s condition, even before you notice a problem while driving. Uneven wear occurs when certain sections of a tire lose rubber faster than others.
A quick visual inspection can help you identify these patterns and determine whether your tires need additional attention.
Start by examining the tread from the inner edge to the outer edge. If the center appears smoother than both shoulders, excessive tire pressure could be responsible. Overinflated tires may place more pressure on the center portion of the tread, causing it to wear faster.
When both outer edges show heavier wear, underinflation may be the cause because the tire’s shoulders experience additional stress.
Pay attention to one-sided wear as well. If the inner or outer edge looks noticeably smoother than the opposite side, your vehicle may have an alignment problem. Worn suspension components or other mechanical issues can also contribute to irregular tread patterns.
Don’t forget to inspect all four tires. Front tires may experience different wear patterns from rear tires because steering, braking, weight distribution, and vehicle design affect how each tire contacts the road.
If you notice unusual wear, check the tire pressure and arrange a professional inspection. A technician can assess the alignment, suspension, and rotation schedule to identify the underlying cause.
Correcting these issues early can help extend tire life, improve handling, and prevent unnecessary replacement expenses.
3. Look for Cracks or Bulges
Estimated time: 20 seconds.
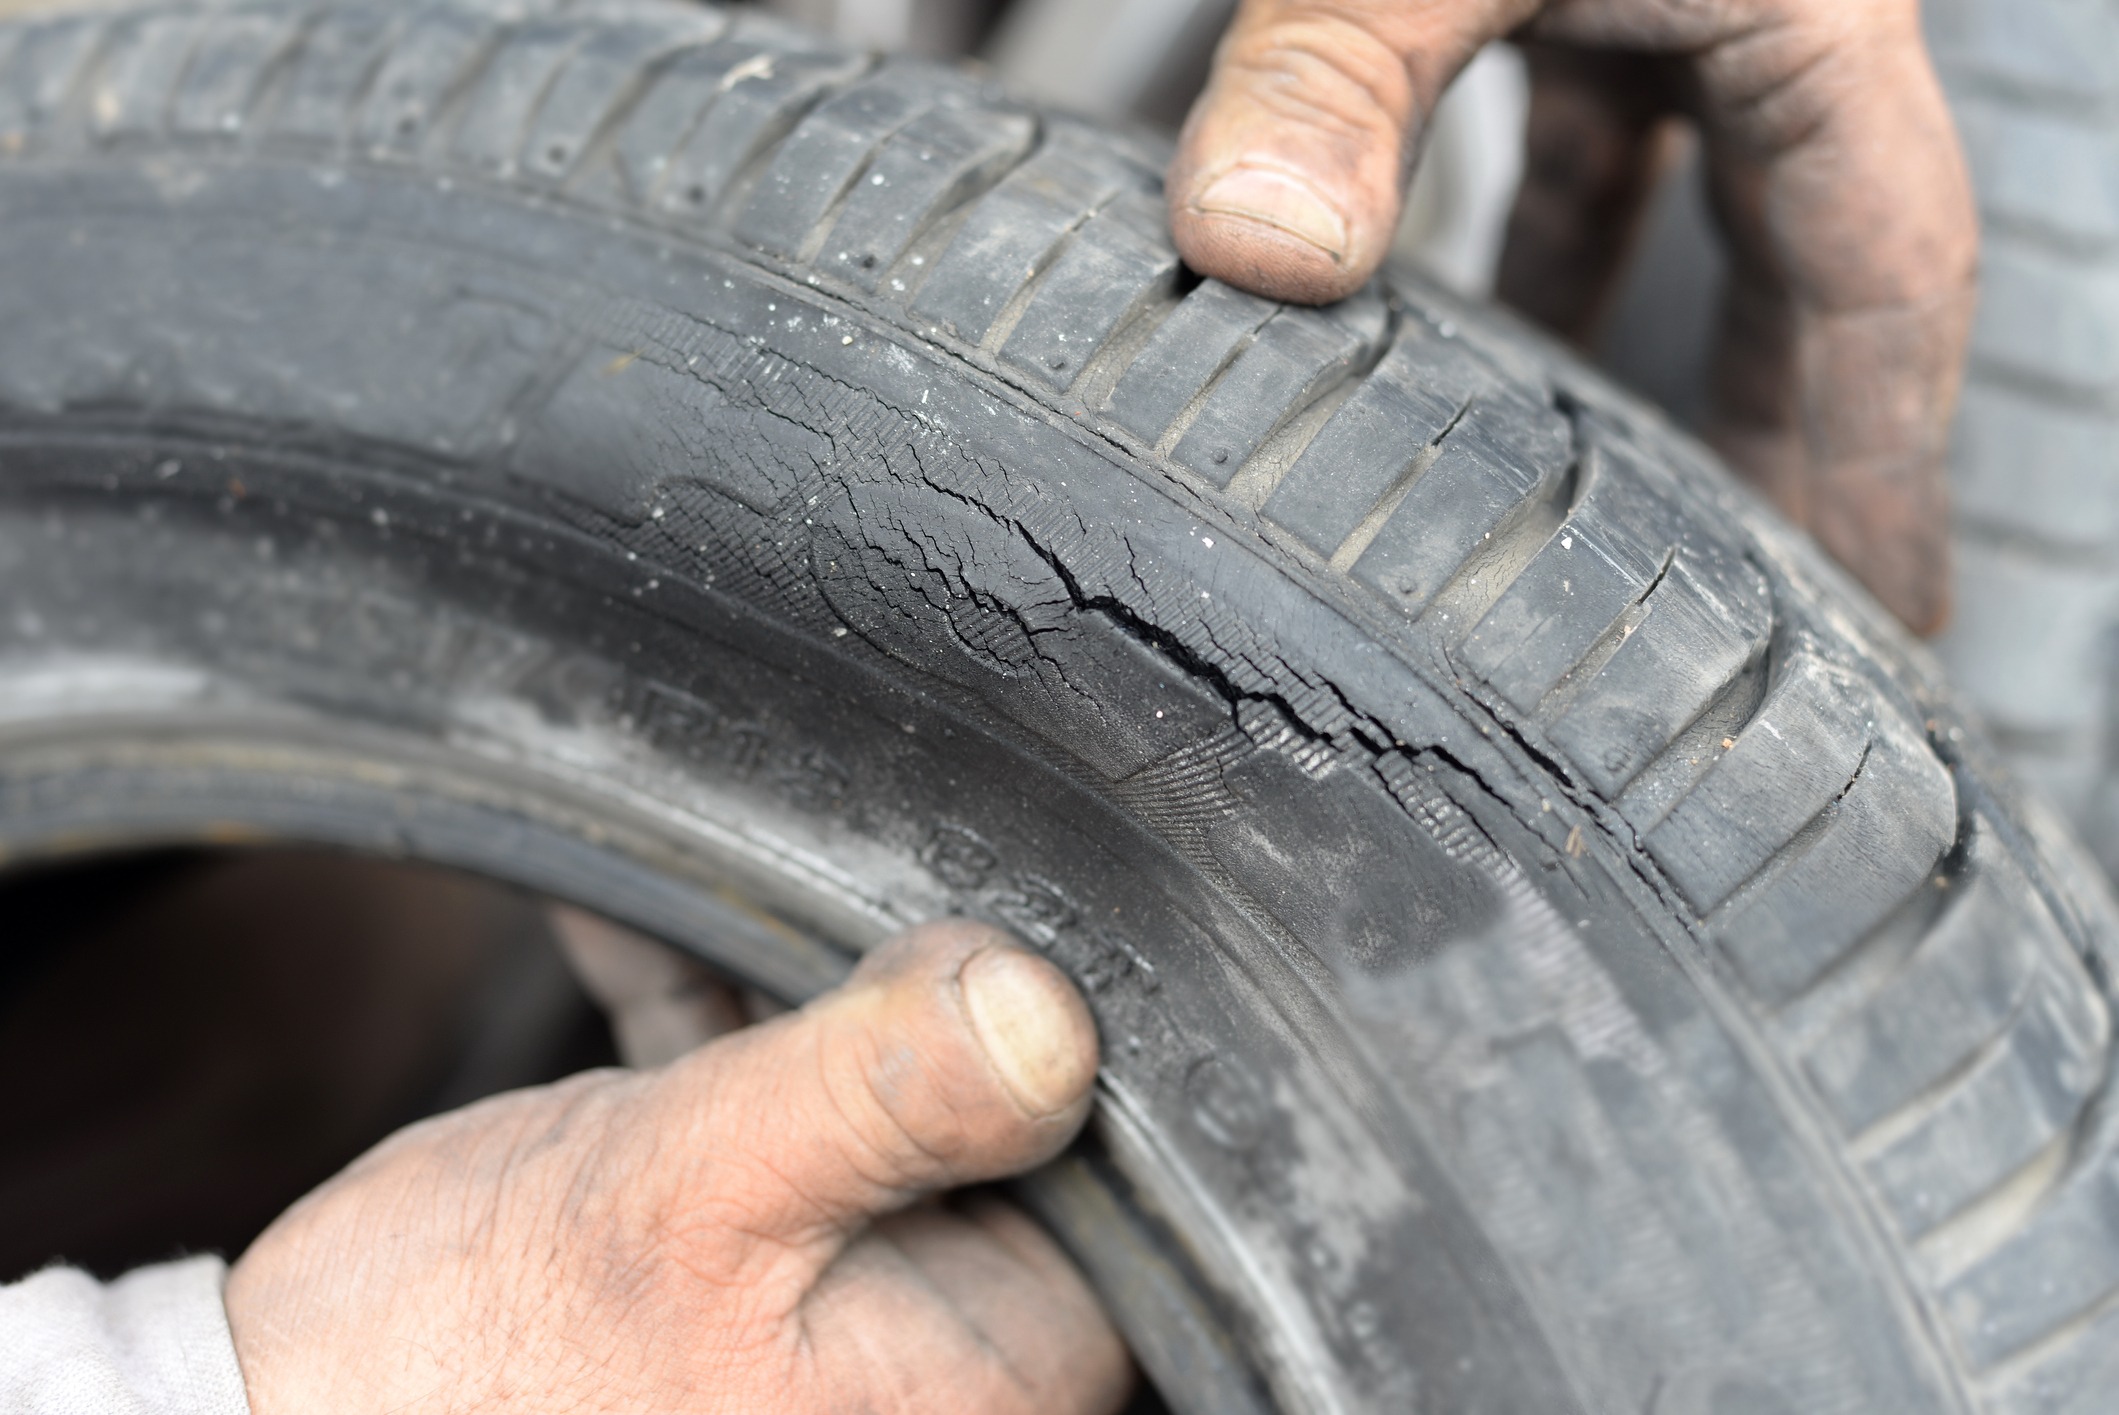
Stop and look at the sidewalls. Cracks or bulges there mean trouble, and they aren’t something to postpone. A bulge looks like a bubble or bump on the side of the tire, and it appears when the internal structure has been damaged, often from hitting a pothole or curb.
The air pressure then pushes against a weak spot, and that spot can fail suddenly. Cracks, sometimes called dry rot, show up as fine lines in the rubber, usually from age, sun exposure, and heat.
Both conditions point to structural weakness, and both call for immediate replacement. No patch or repair will make a bulging sidewall safe. Walk around the car and check the inside sidewalls too, since those are easy to miss when you only view the tire from the outside.
Turn the steering wheel to one side if you need a better angle. This check takes seconds and could prevent a blowout at highway speed, which is one of the scariest things that can happen behind the wheel.
If you do spot a bulge, avoid driving long distances or at high speeds. Swap on the spare or call for help, then visit a tire shop. Tires that sit unused for long periods can crack as well, so check them even if the car rarely moves. A quick look today is cheaper than a tow tomorrow.
4. Spot Embedded Objects
Estimated time: 30 seconds.
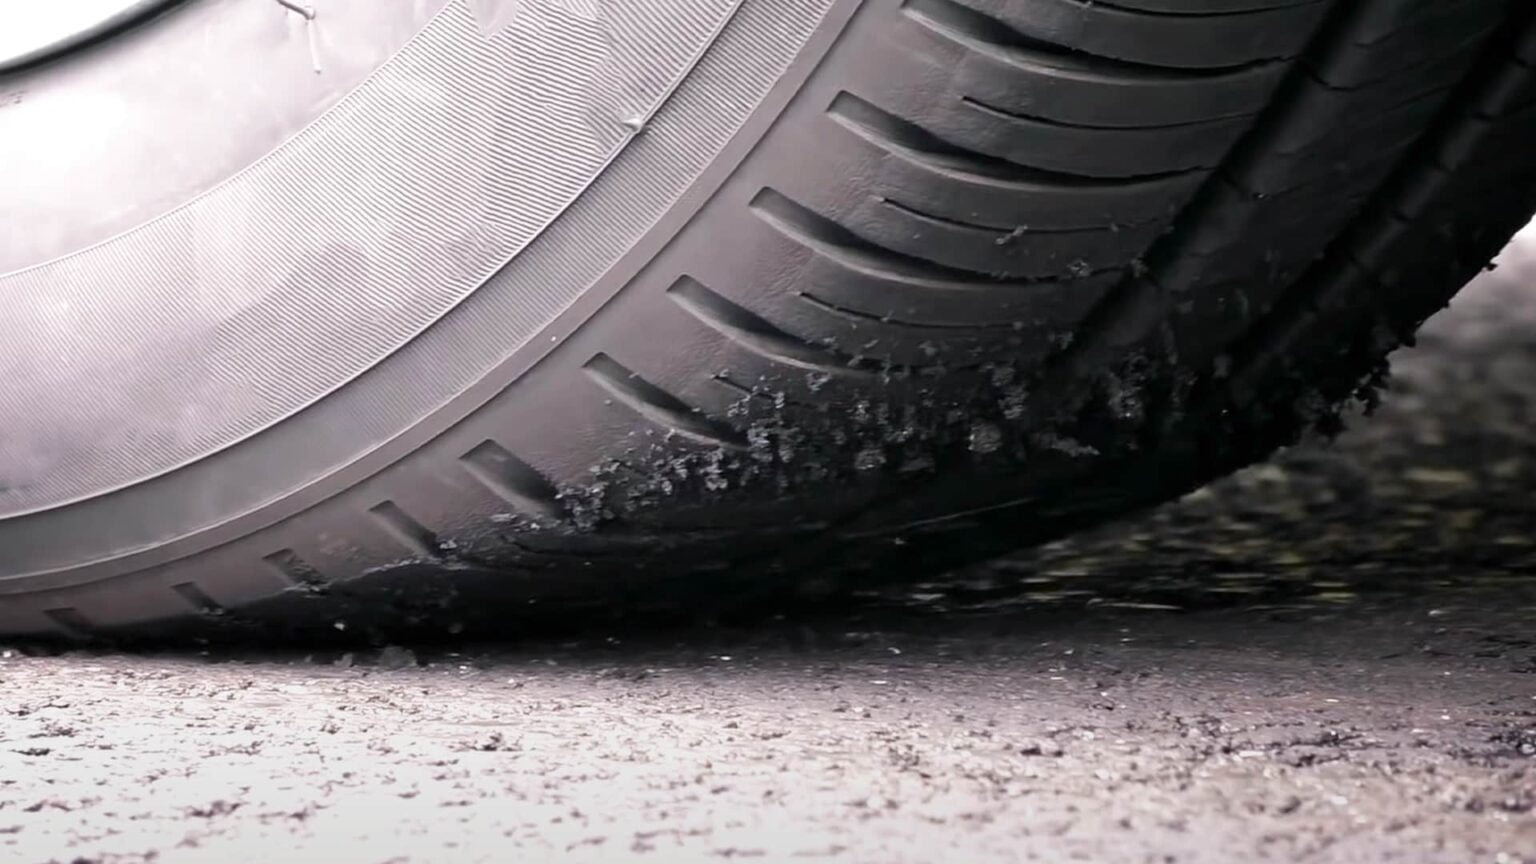
Nails, screws, bits of glass, small stones. Roads are full of them, and your tires collect more than you might think. Spend a few seconds scanning the tread for anything stuck in the rubber, because a small object can cause a slow leak or a full puncture.
Look carefully, since a tiny screw head can hide in a groove, and glass shards can blend in with the pattern. Don’t forget to check the shoulders of the tire where the tread meets the sidewall.
If you find something, resist the urge to yank it out right away. A nail or screw may be plugging the hole it made, and removing it could let air escape quickly. Instead, note where it is, check the pressure, and head to a tire shop for a proper repair.
Small stones wedged between tread blocks are usually harmless, though they can make noise and sometimes wear grooves. You can pry them out gently with a tool, such as a key or a small screwdriver, as long as you don’t damage the rubber.
A good habit is to check after driving through construction zones, gravel roads, or debris-filled areas. Also give the tires a once-over whenever you park at home, since that’s the easiest time to spot problems.
Finding a nail in your driveway beats finding it on a dark highway shoulder.
5. Quick Tire Pressure Check
Estimated time: 45 to 60 seconds.
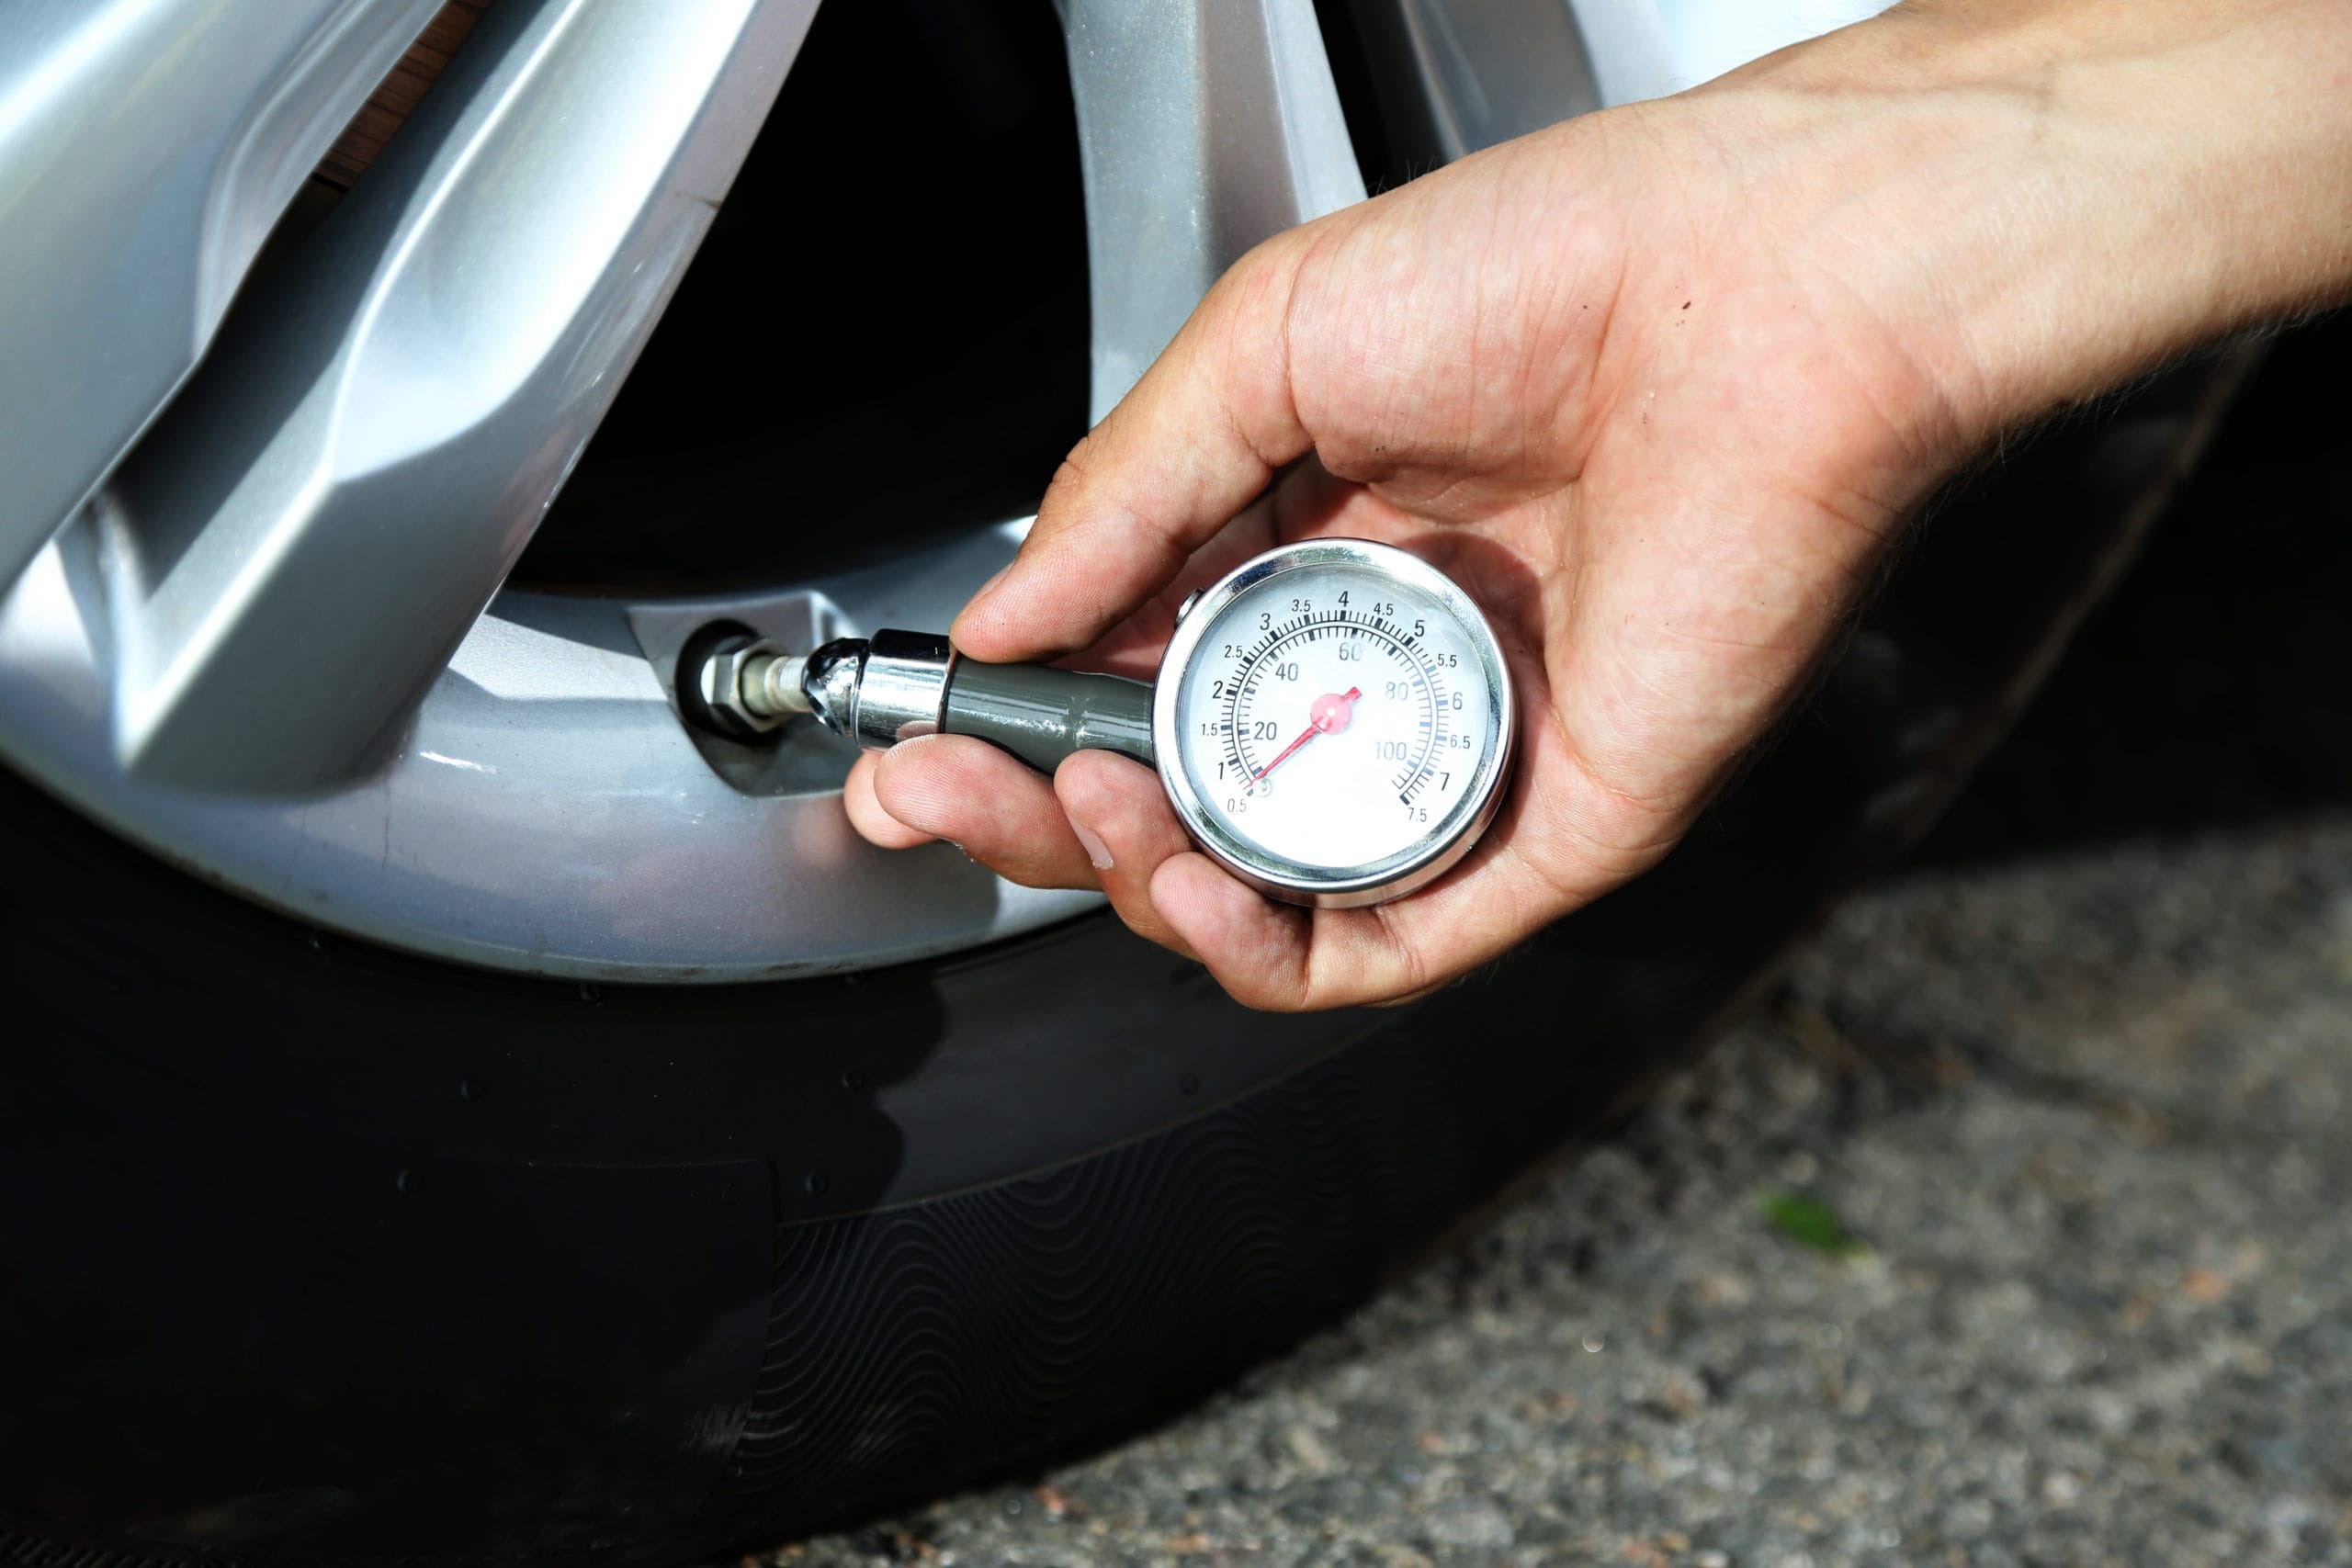
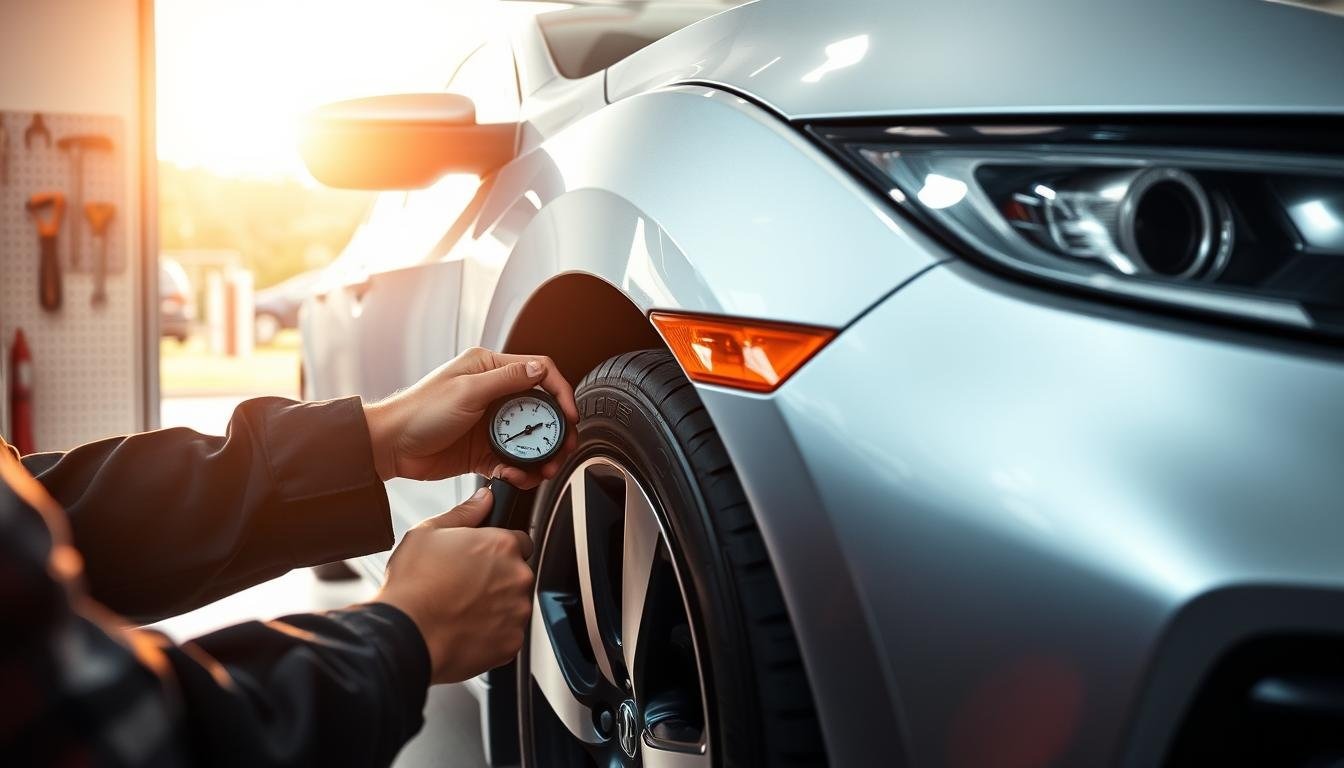
Here’s the check that matters most. Tire pressure affects safety, fuel economy, handling, and tire life, and it changes with the weather. Use a simple gauge to read each tire, ideally when the tires are cold, meaning the car has been parked for a few hours or driven only a short distance.
Compare your reading with the recommended PSI printed on the sticker inside the driver’s door. Don’t use the number on the tire’s sidewall, since that shows the maximum pressure the tire can hold, not the right pressure for your car.
Digital gauges are inexpensive and easy to read, and many fit in a glove compartment without taking up space. Press the gauge firmly onto the valve stem, listen for a brief hiss, and read the number.
If it’s low, add air at a gas station or with a portable inflator. If it’s high, release a bit. Cold weather lowers pressure, so check more often when temperatures drop.
Underinflated tires wear faster, run hotter, and use more fuel, while overinflated ones can feel harsh and reduce grip. A quick monthly check pays for itself.
Make it a habit, and you’ll extend the life of your tires while keeping the car steady and responsive. Don’t forget the spare if you have a full-size one.
6. Check Wear Bars
Estimated time: 20 seconds.
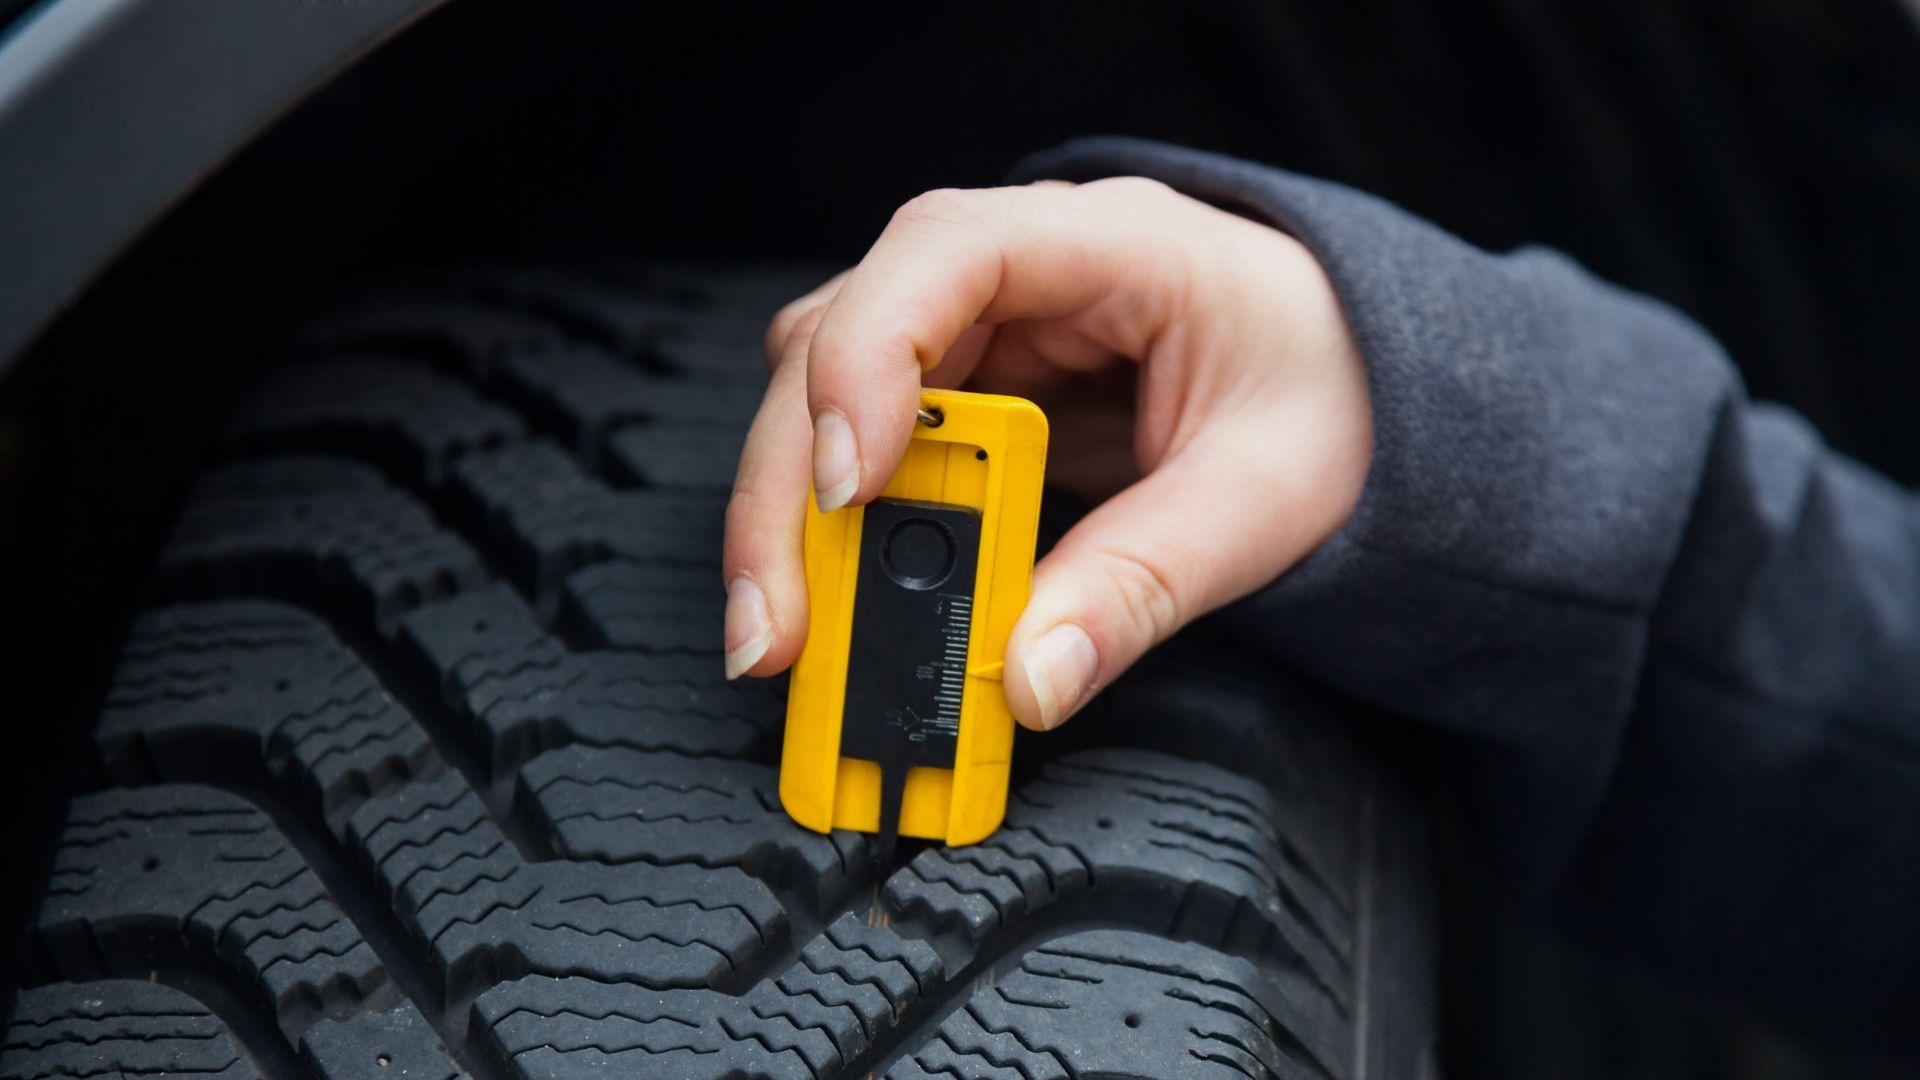
Your tires come with a built-in warning system, and most people never notice it. Look inside the main grooves of the tread, and you’ll find small raised strips of rubber running across the groove, known as wear bars.
They sit at a very shallow depth by design. When the tread wears down until it’s flush with those bars, the tire has reached its legal limit and must be replaced. At that point, wet-road performance drops sharply, and the risk of skidding rises.
Finding the bars is easy. Look for small rectangular bumps spaced around the tire inside the grooves, and check the sidewall for little markings, often a triangle or the letters TWI, which point to their locations. Compare the surrounding tread to the bar height.
If the tread blocks sit well above them, you still have life left. If the two look level, shop for new tires right away. Many drivers like to use this check alongside the coin test, since the two together give a fuller picture of tread health.
Take a moment to inspect more than one groove, because wear can be uneven. Driving on tires at or beyond the limit can also lead to fines or failed inspections in some places. A short glance at these little bars keeps you legal, safe, and in control.
7. Valve Stem and Cap Check
Estimated time: 20 seconds.
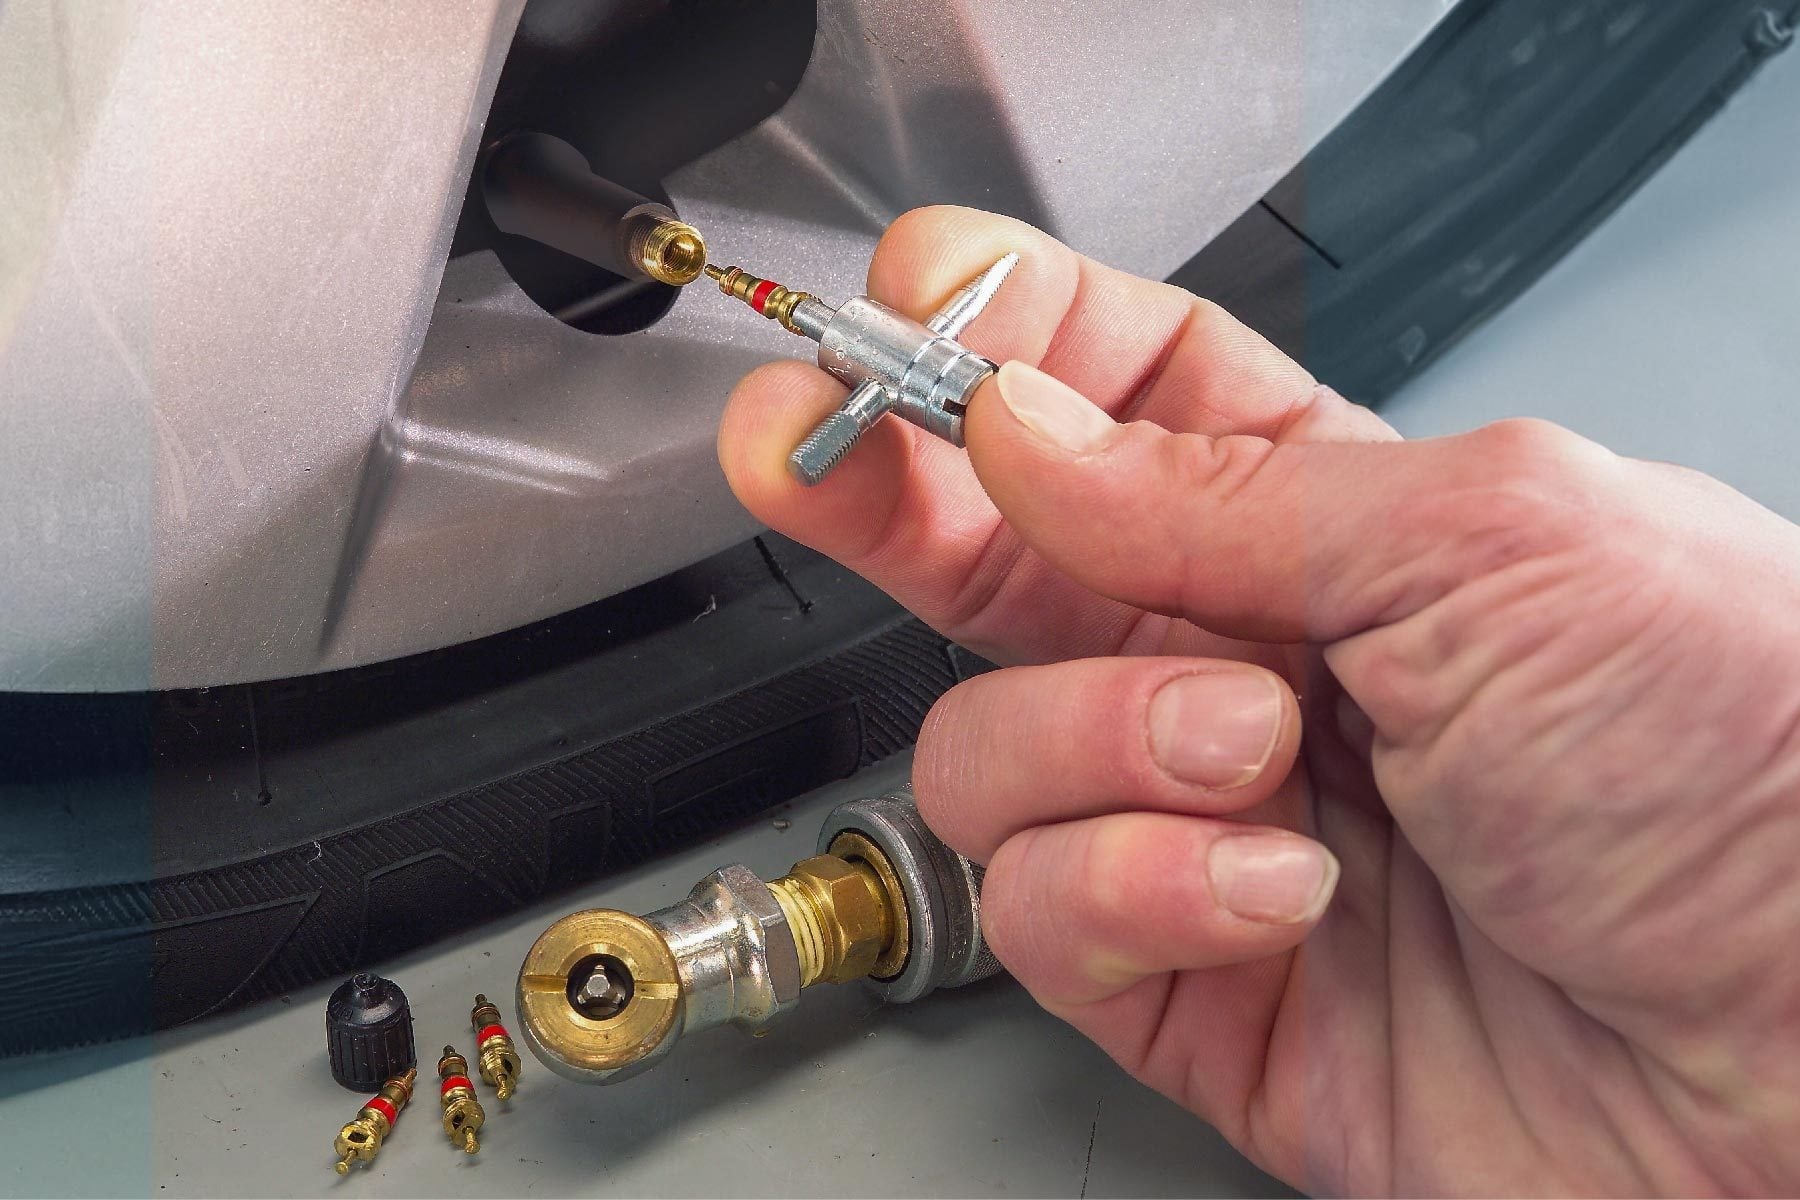
Although valve stems and caps are small components, they play an important role in keeping your tires properly inflated. The valve stem provides the access point for adding or releasing air, while the valve core inside it helps maintain the tire’s air pressure.
The cap protects the opening from dirt, dust, moisture, and other contaminants that could interfere with its operation.
Start by looking at each tire’s valve stem. Check for visible cracks, bending, brittleness, or signs of deterioration. Rubber valve stems can become damaged through age, exposure to sunlight, and regular contact with road conditions.
If the stem is damaged, air may escape slowly, leaving your tire underinflated without an obvious warning.
Next, make sure each valve stem has a properly fitted cap. While a missing cap does not automatically cause air leakage, it removes an extra layer of protection against dirt and moisture. A contaminated valve can develop problems that affect its ability to maintain pressure.
You can also listen briefly for a hissing sound around the valve area. If you suspect an air leak, use a suitable leak-detection solution or ask a tire technician to inspect it. Avoid driving on a tire that is losing pressure rapidly.
If you discover a damaged valve stem, have it replaced by a qualified professional. Keeping a few spare valve caps in your glove compartment is also a practical idea. This simple inspection takes very little time but can help prevent unnecessary pressure loss and tire maintenance problems.
8. Sidewall Damage Scan
Estimated time: 30 seconds.
Your tire’s sidewall does more than give the tire its shape. It supports the vehicle’s weight, absorbs road impacts, and flexes continuously as the wheels rotate.
Because this section performs an important job, even visible damage deserves attention. A quick sidewall inspection can help you identify problems before they develop into serious safety concerns.
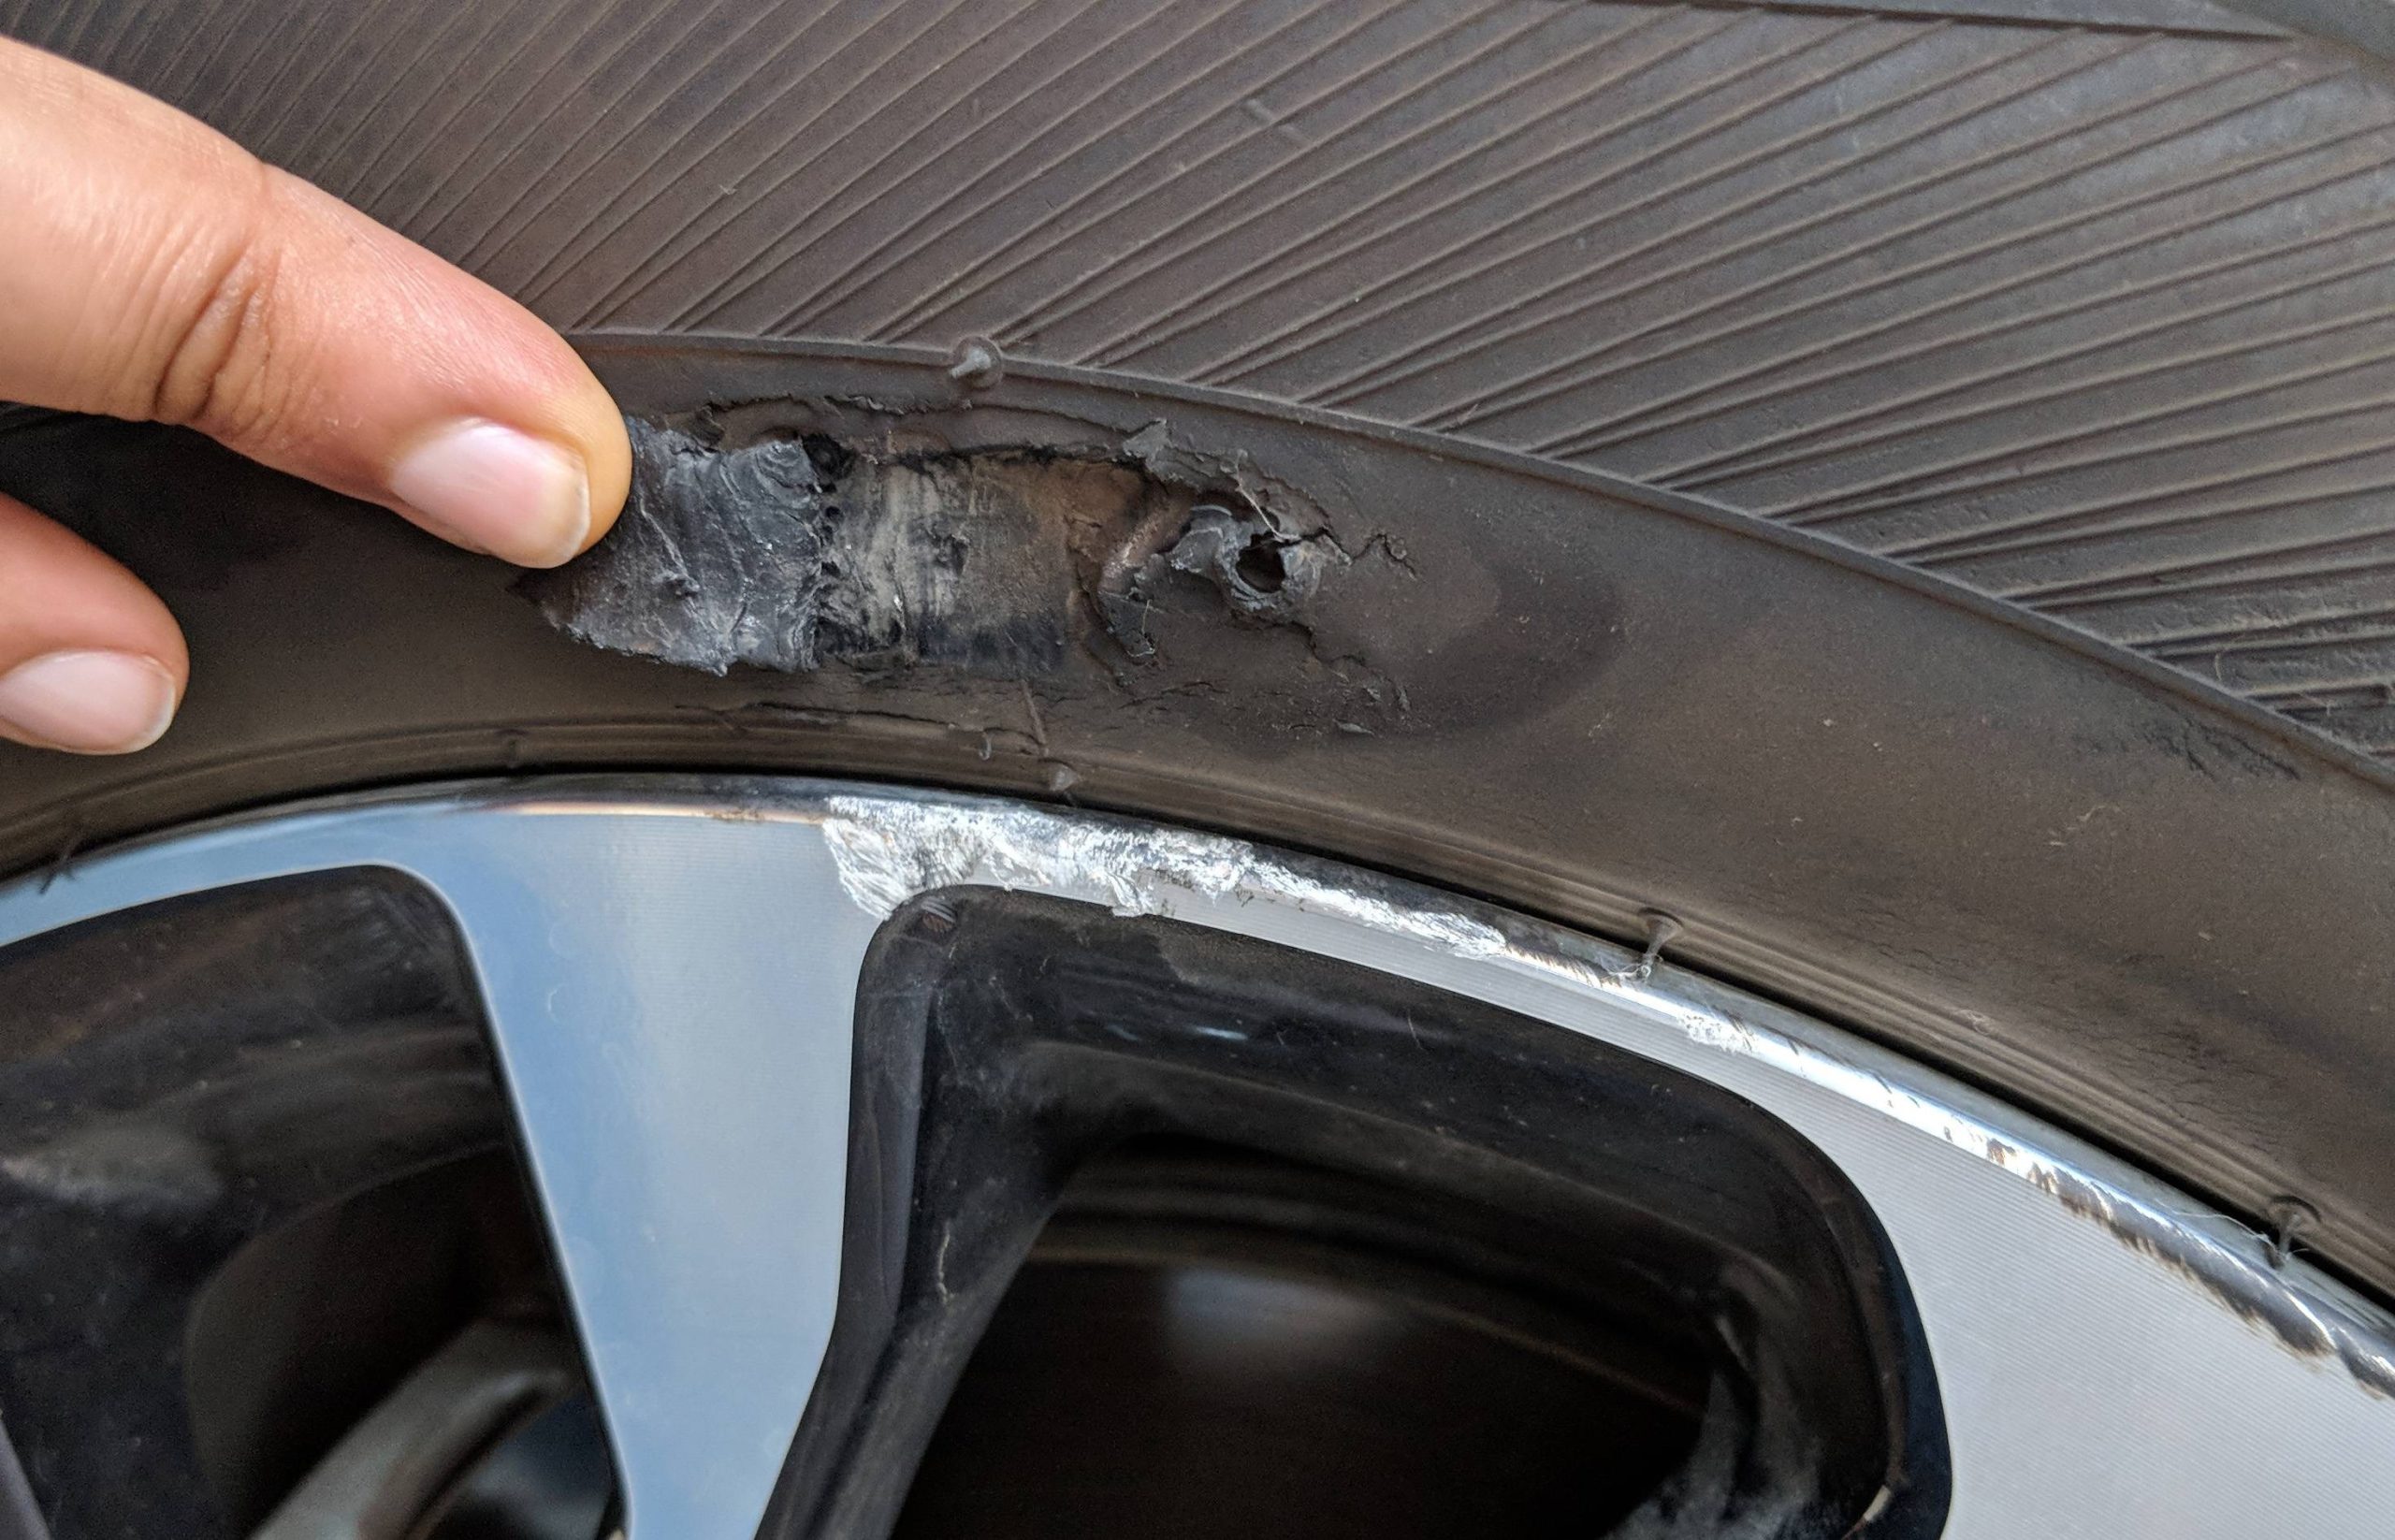
Begin by looking closely at the outer surface of each tire. Watch for deep cuts, unusual scratches, abrasions, cracks, or areas where the rubber appears damaged.
These problems can occur after hitting a pothole, scraping against a curb, or running over sharp debris. Even a minor collision with a road obstacle can sometimes cause internal damage that is not immediately obvious.
Pay particular attention to bulges, raised sections, and exposed cords. A bulge may indicate that the tire’s internal reinforcing structure has been damaged. Exposed cords suggest that the protective rubber has worn away or been cut deeply. Both conditions require prompt attention.
You should also inspect the area where the tread meets the sidewall. Look for unusual separation, peeling, or lifting that could indicate structural deterioration.
Unlike many punctures in the central tread area, sidewall damage generally cannot be repaired safely. The constant flexing of this section makes repairs unreliable.
If you discover a deep cut, bulge, or exposed cord, stop using the tire and arrange professional assistance. Never assume that a tire is safe simply because it still holds air.
9. Vehicle Stance Check
Estimated time: 20 seconds.
Step back. Literally. Before you touch a single tire, walk about ten feet from the front or rear of your car and look at how it sits. Does one corner appear lower than the others? Does the whole car lean slightly to one side?
A visibly low tire is often the first sign of a slow leak, and it’s easy to miss when you’re standing right next to it. Comparing the height of the wheel arches side by side makes any difference stand out.
This check works best on level ground, so avoid doing it on a slope or in a driveway with a steep angle. If something seems off, grab your gauge and confirm the pressure, then look for punctures or other damage.
An uneven stance can also hint at suspension problems, such as a worn spring or damaged shock, which deserve attention from a mechanic. The beauty of this check is its speed.
You can do it while walking toward your car in a parking lot, as a quick scan before getting in. Many drivers have spotted a flat before it became a real problem simply by noticing that something looked a little off.
Make this a habit, and you’ll build an instinct for how your car normally looks. That instinct becomes a free early warning system you carry everywhere.
10. TPMS Light Confirmation
Estimated time: 15 seconds.
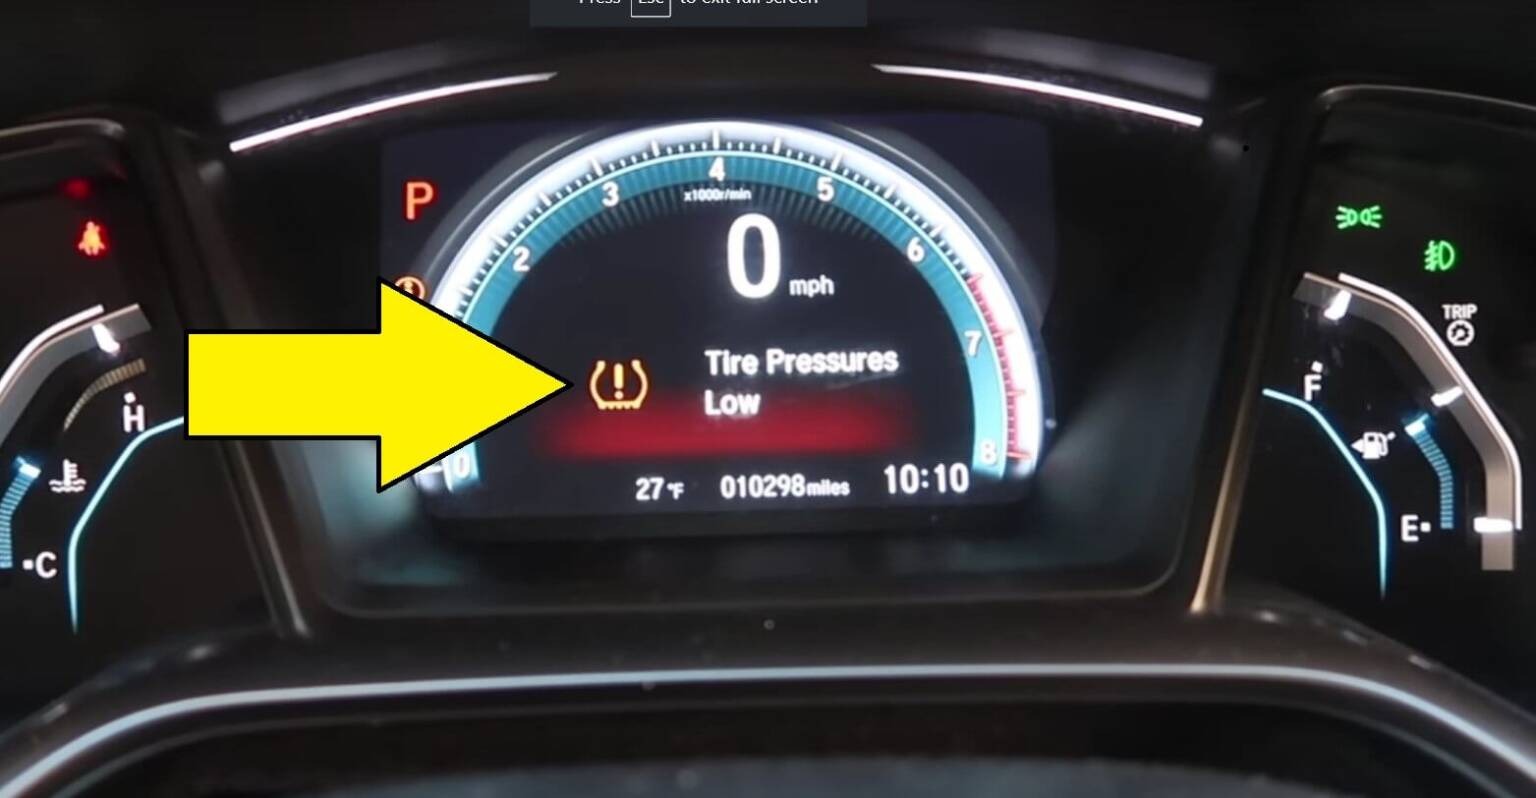
Finally, look at your dashboard. Modern cars have a tire pressure monitoring system, or TPMS, which watches the pressure in each tire and alerts you when it drops too low.
When you start the car, the warning light, usually a yellow symbol shaped like a horseshoe with an exclamation point, should flash briefly and then turn off. If it stays on, treat it as a prompt to act.
Pull over safely when you can, and check the pressure in all four tires with a gauge. Add air as needed, and the light often goes out after a short drive.
If it keeps blinking or stays lit even though the pressure looks fine, there may be a faulty sensor, a dead sensor battery, or another issue, and a shop can run a diagnostic. Cold mornings commonly trigger the light because falling temperatures reduce tire pressure.
Don’t ignore it simply because it came on before and went away. The system is designed to protect you, but it isn’t a replacement for manual checks, since most systems warn you only after pressure has dropped quite low.
Use the light as a backup, not your main plan. Combine it with a regular gauge reading, and you’ll have a solid safety net. Do these ten checks regularly, and your tires will reward you with miles of safe, smooth driving.